I am a photographer based out of Washington, DC so all bookings will have to be in the DMV area. I will also be available in the greater Houston area on select dates, please contact me if you would like to book from Houston. I have included my pricing and details for any shoot I am available to do below.
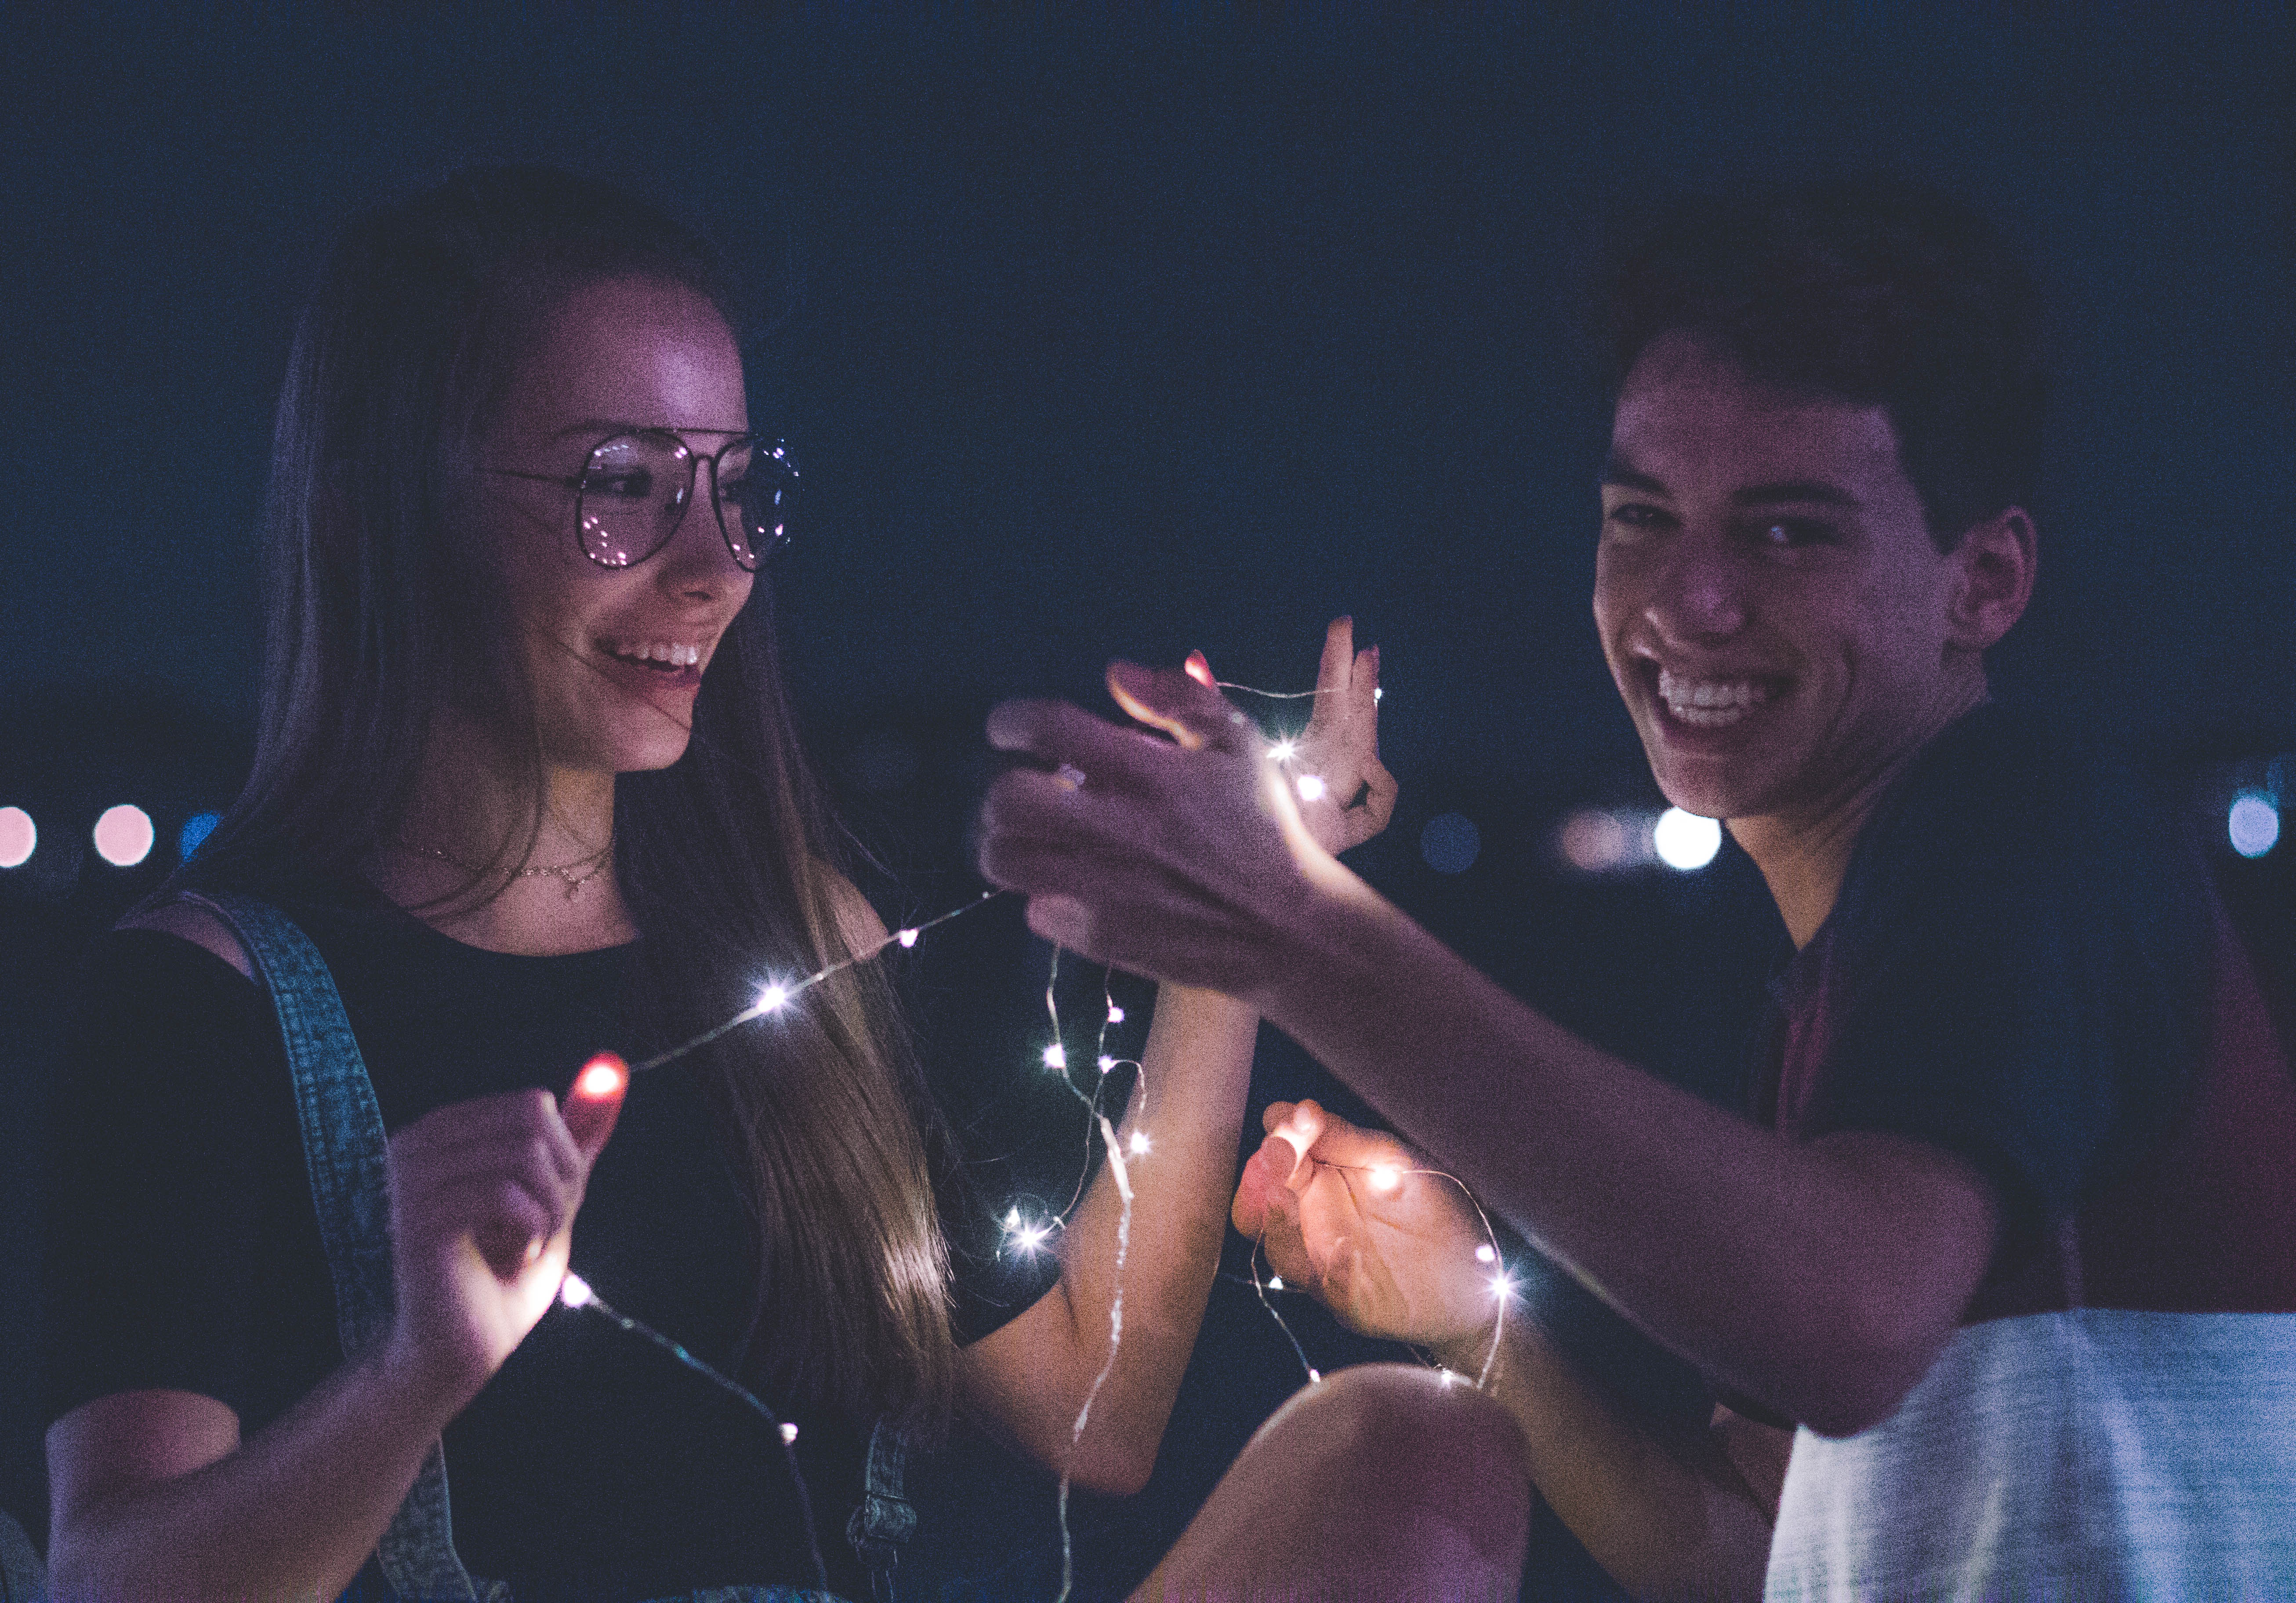
Couples
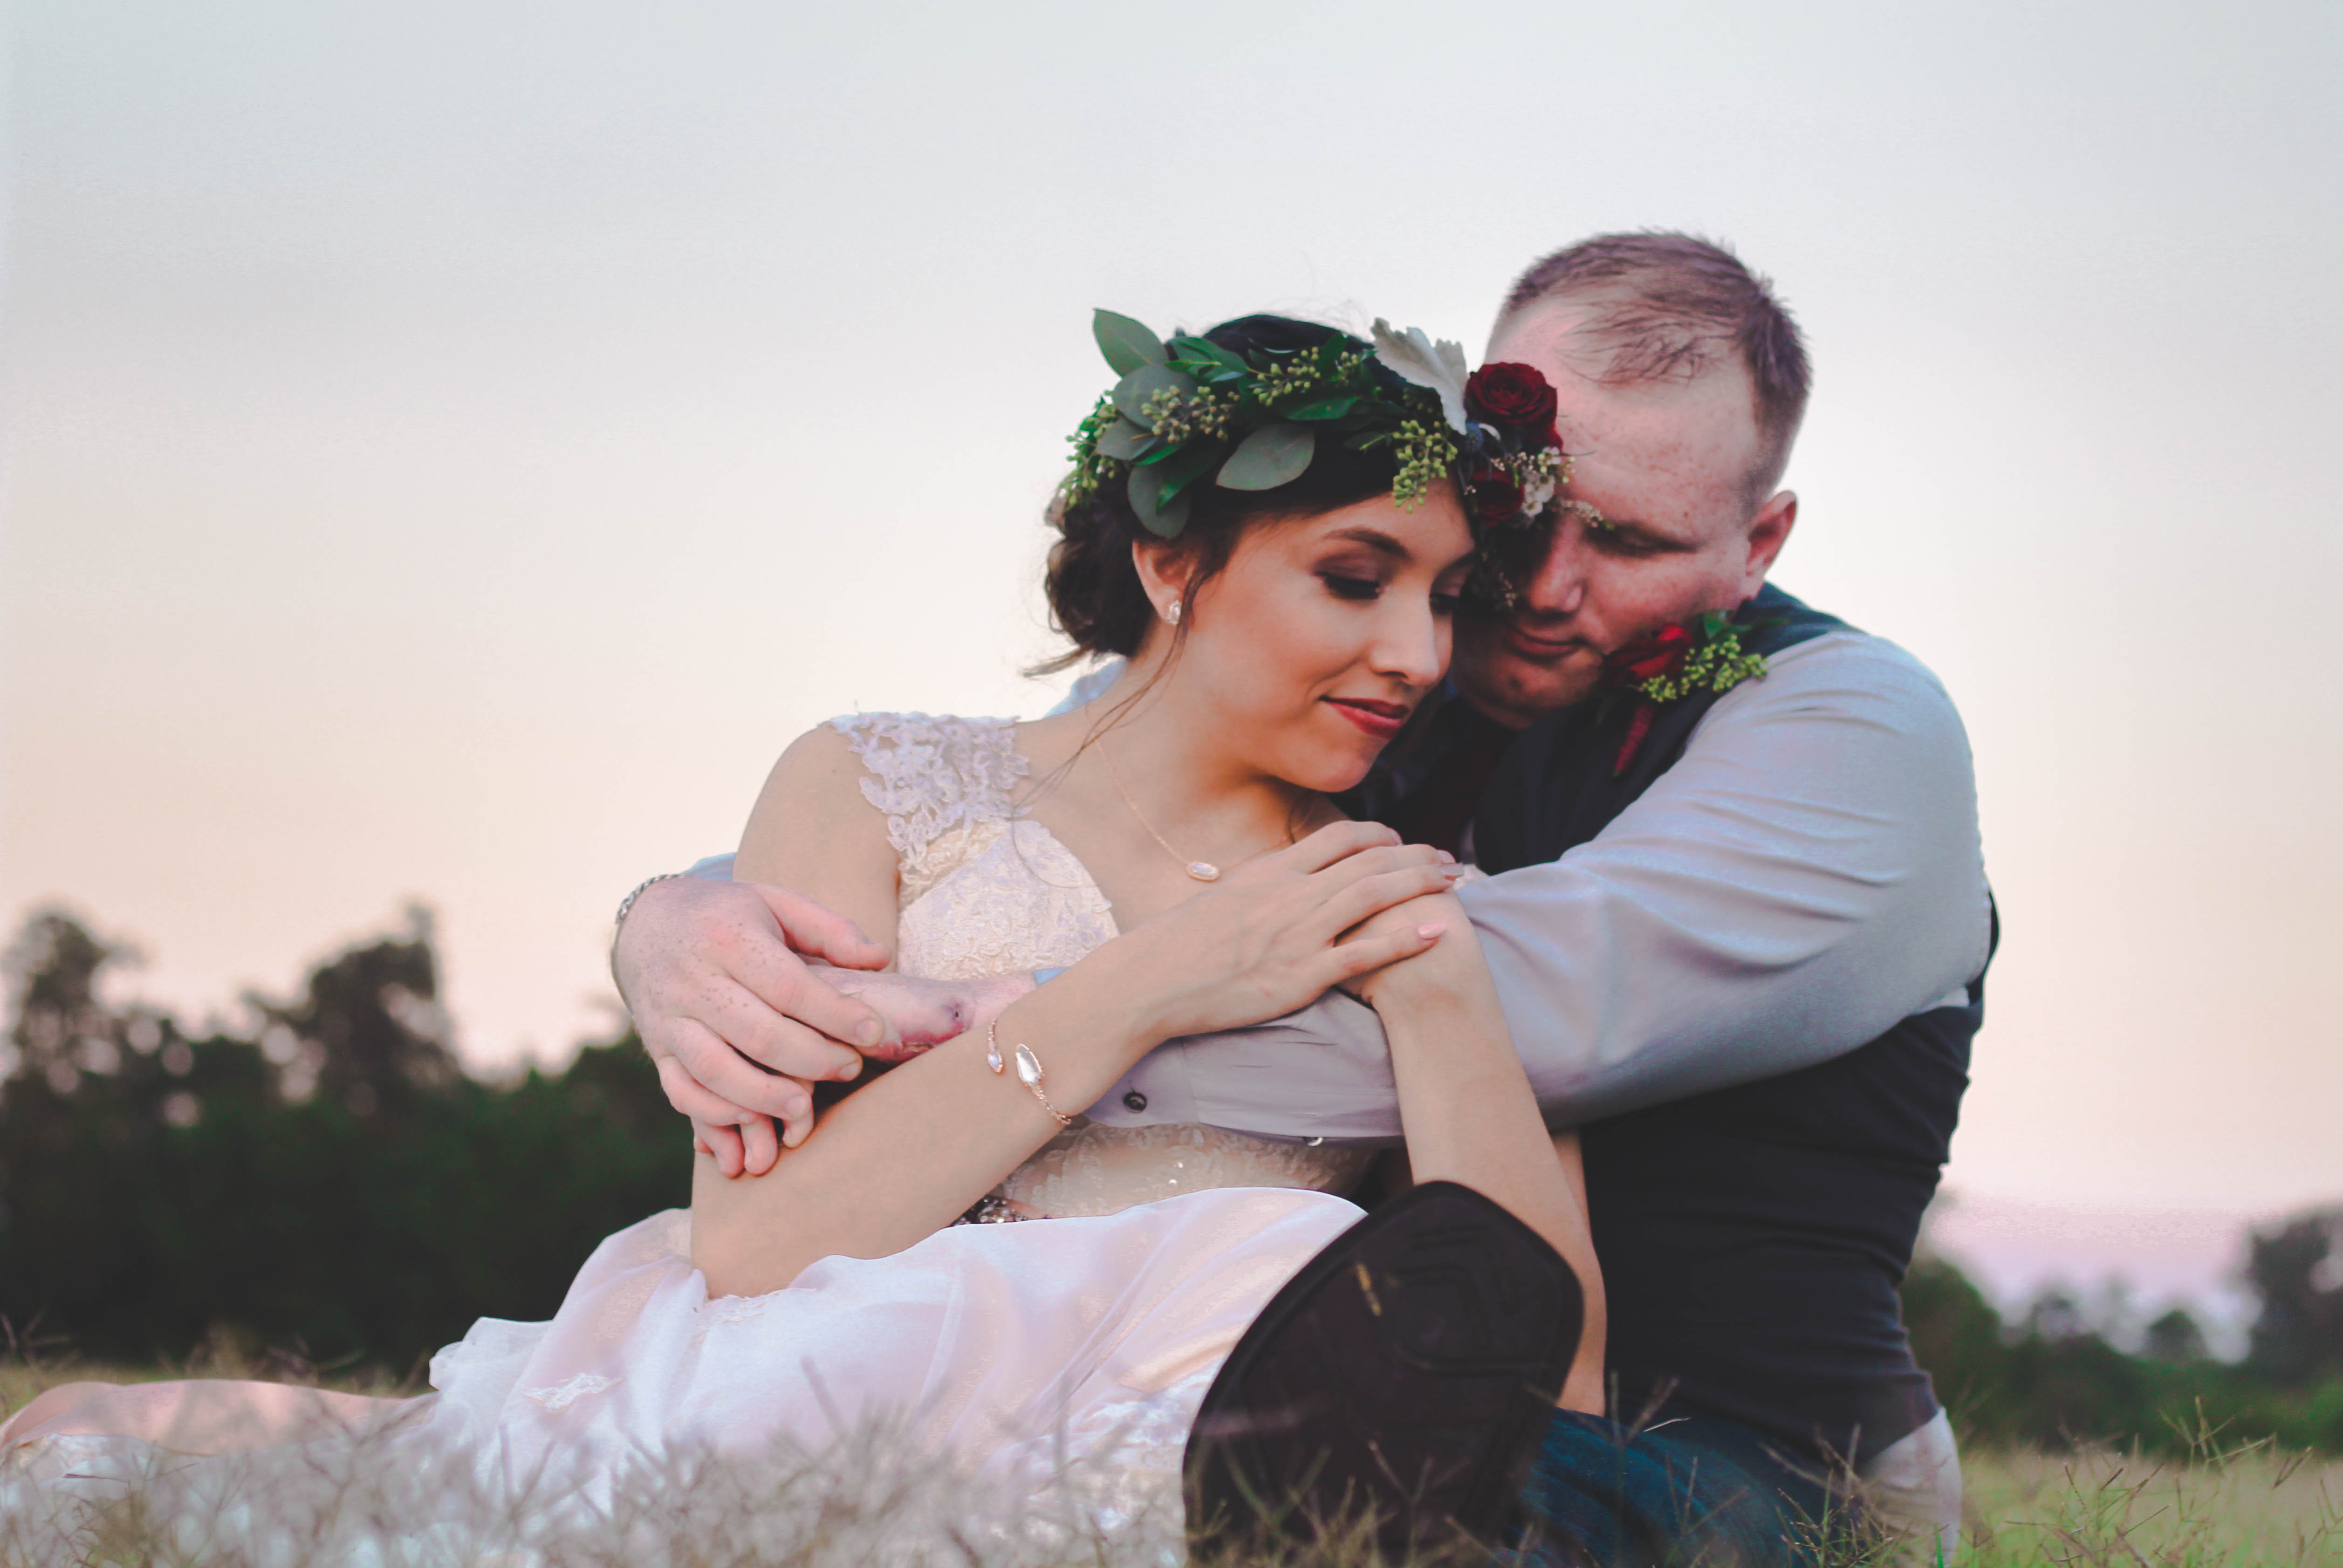
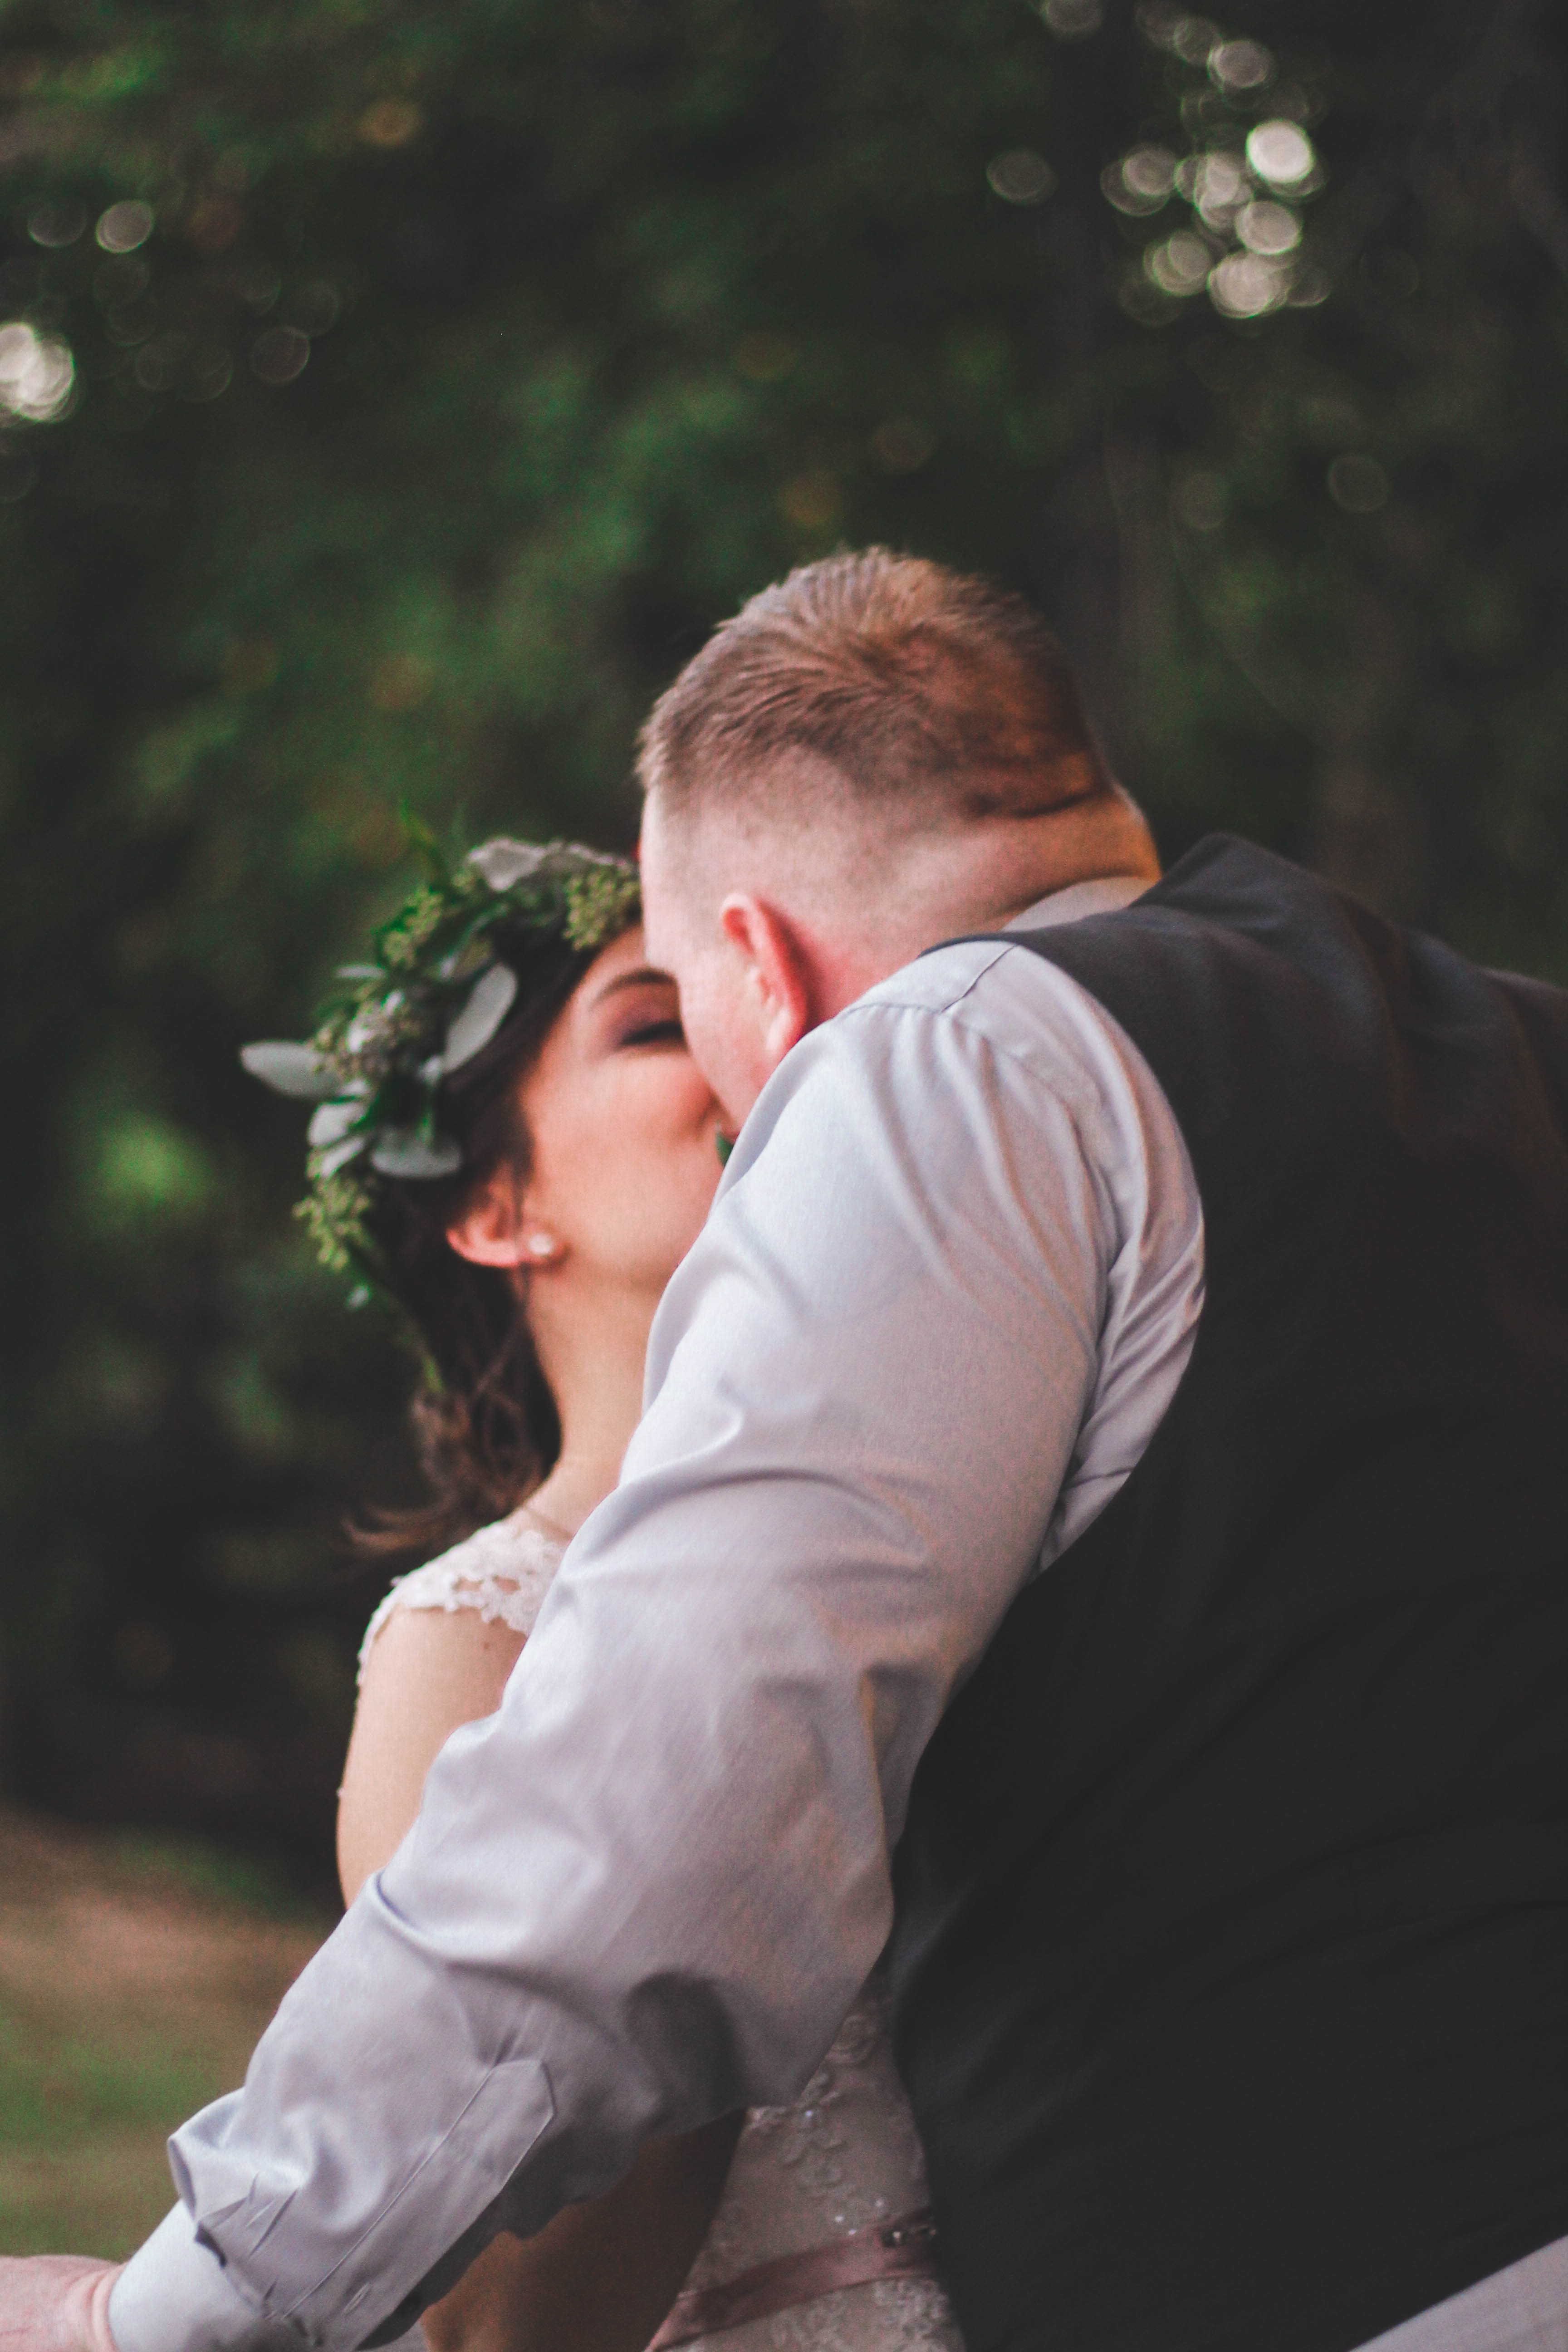
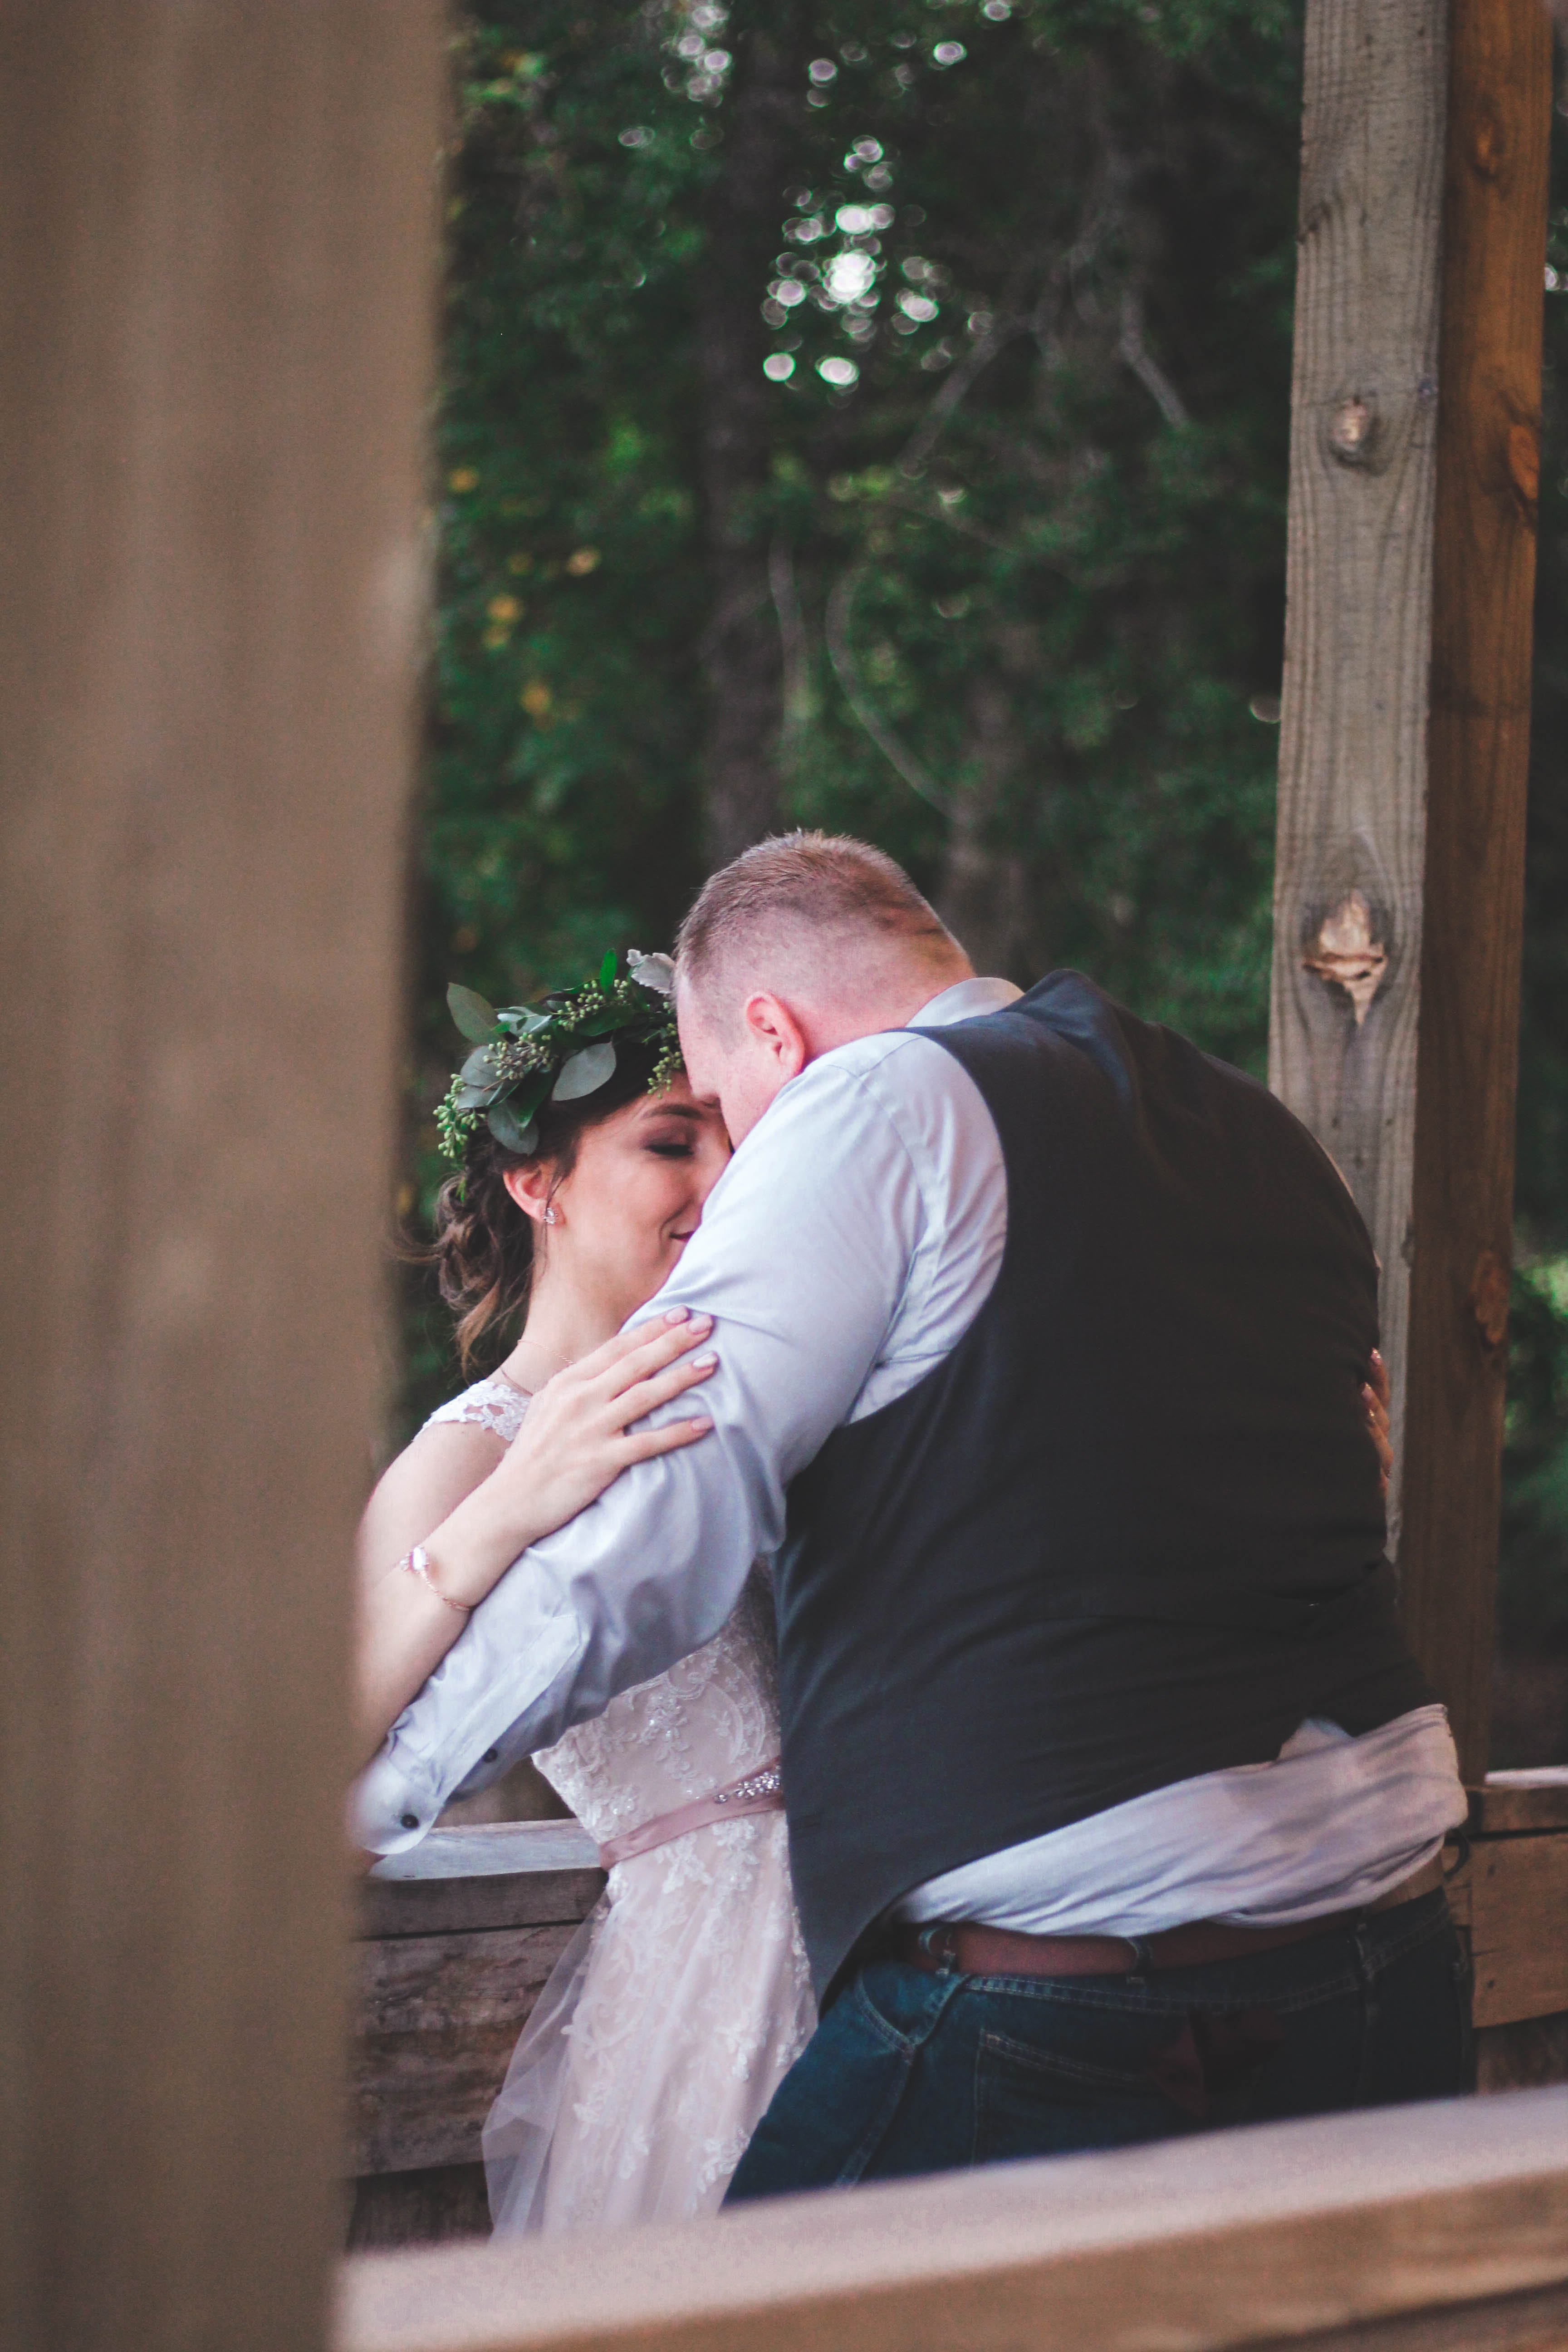
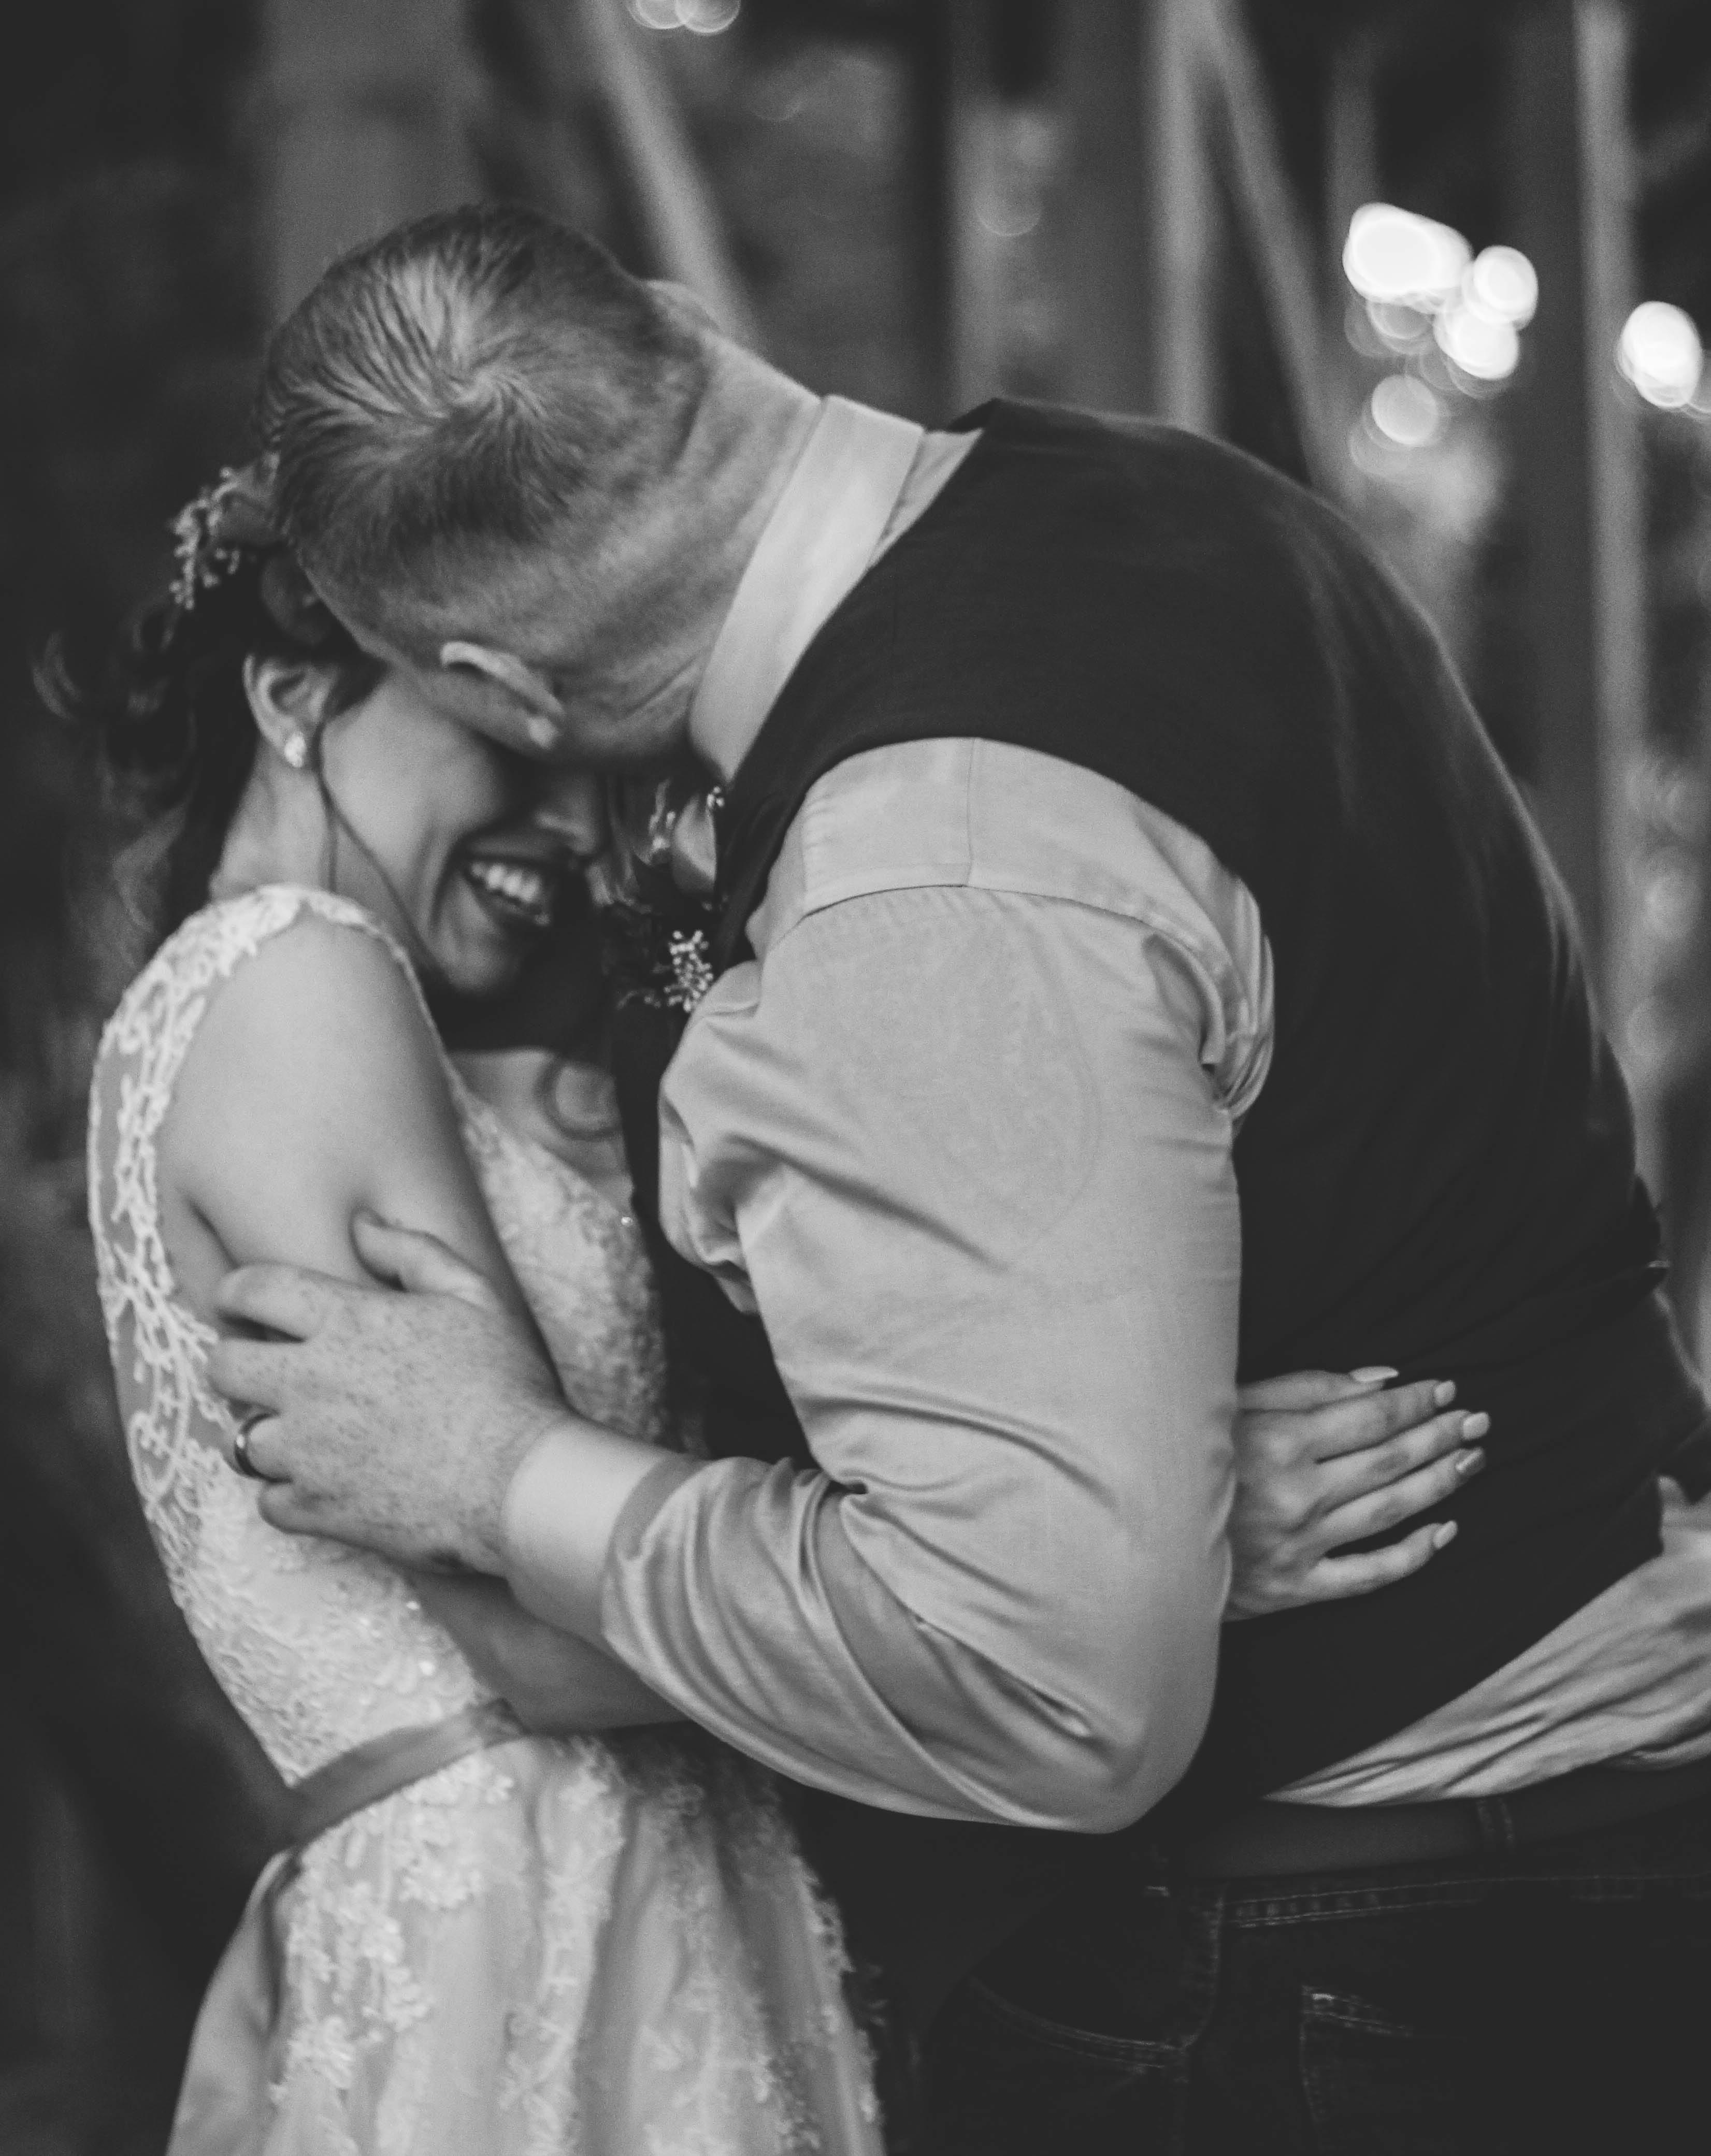
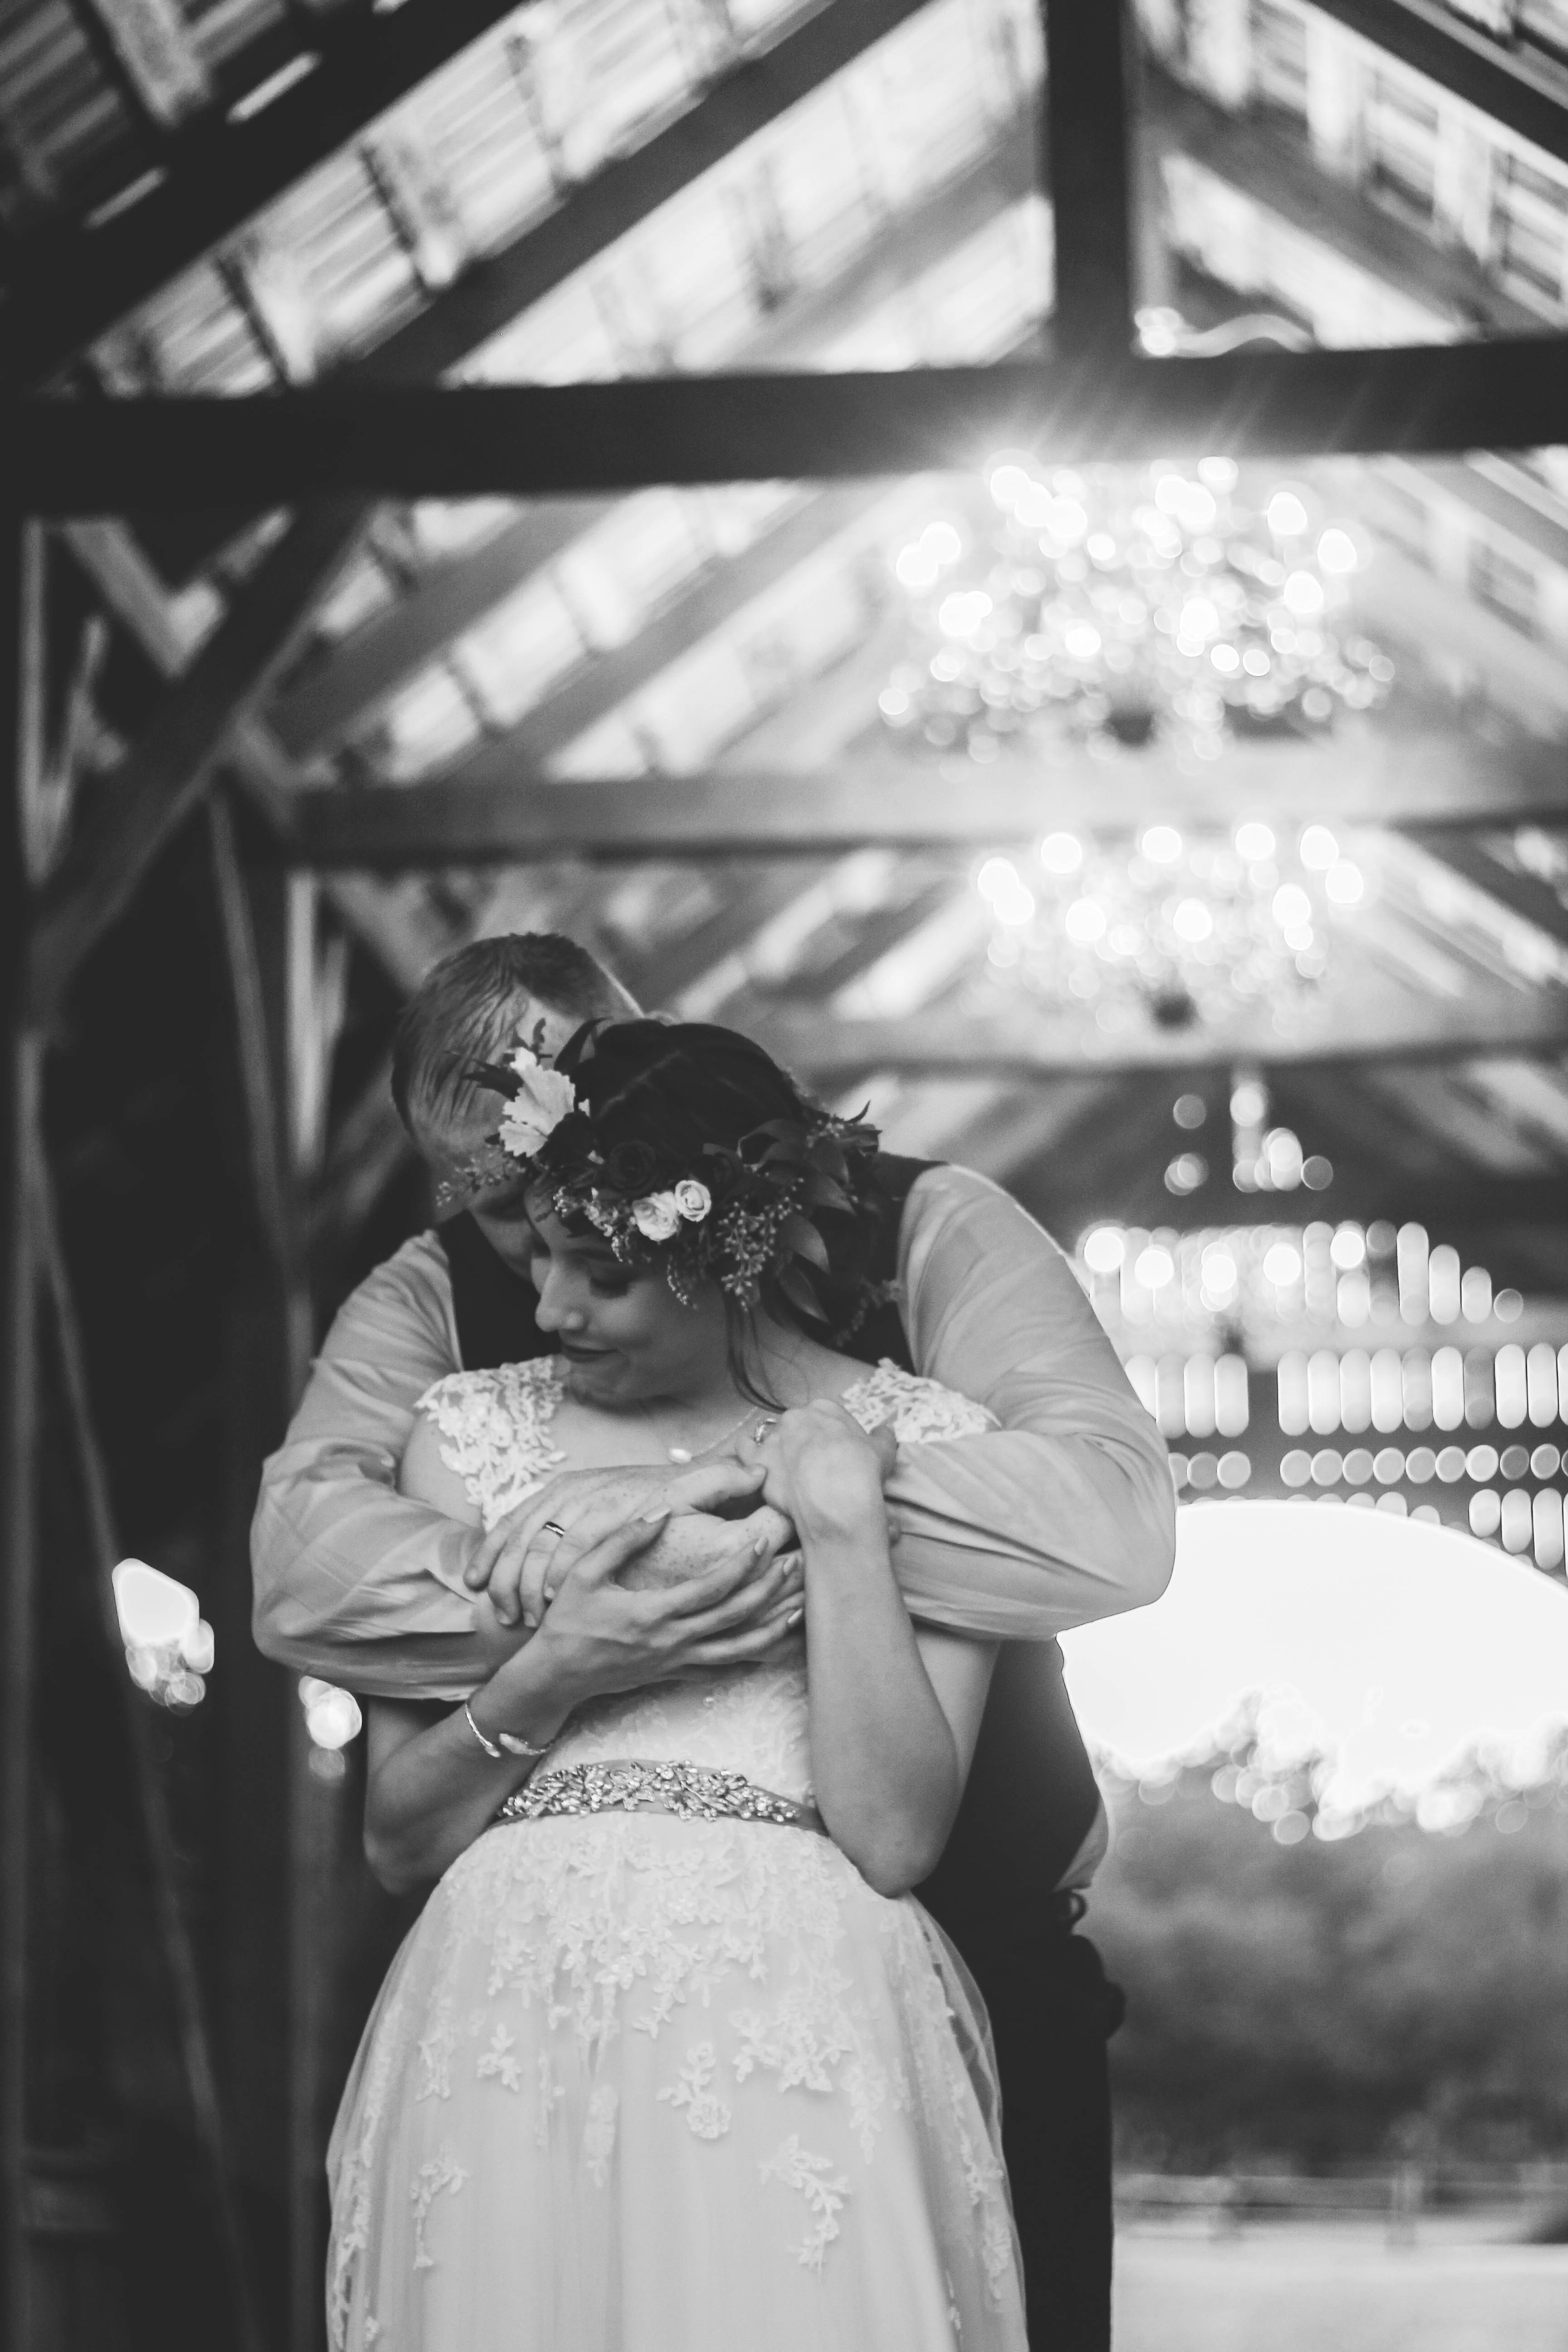
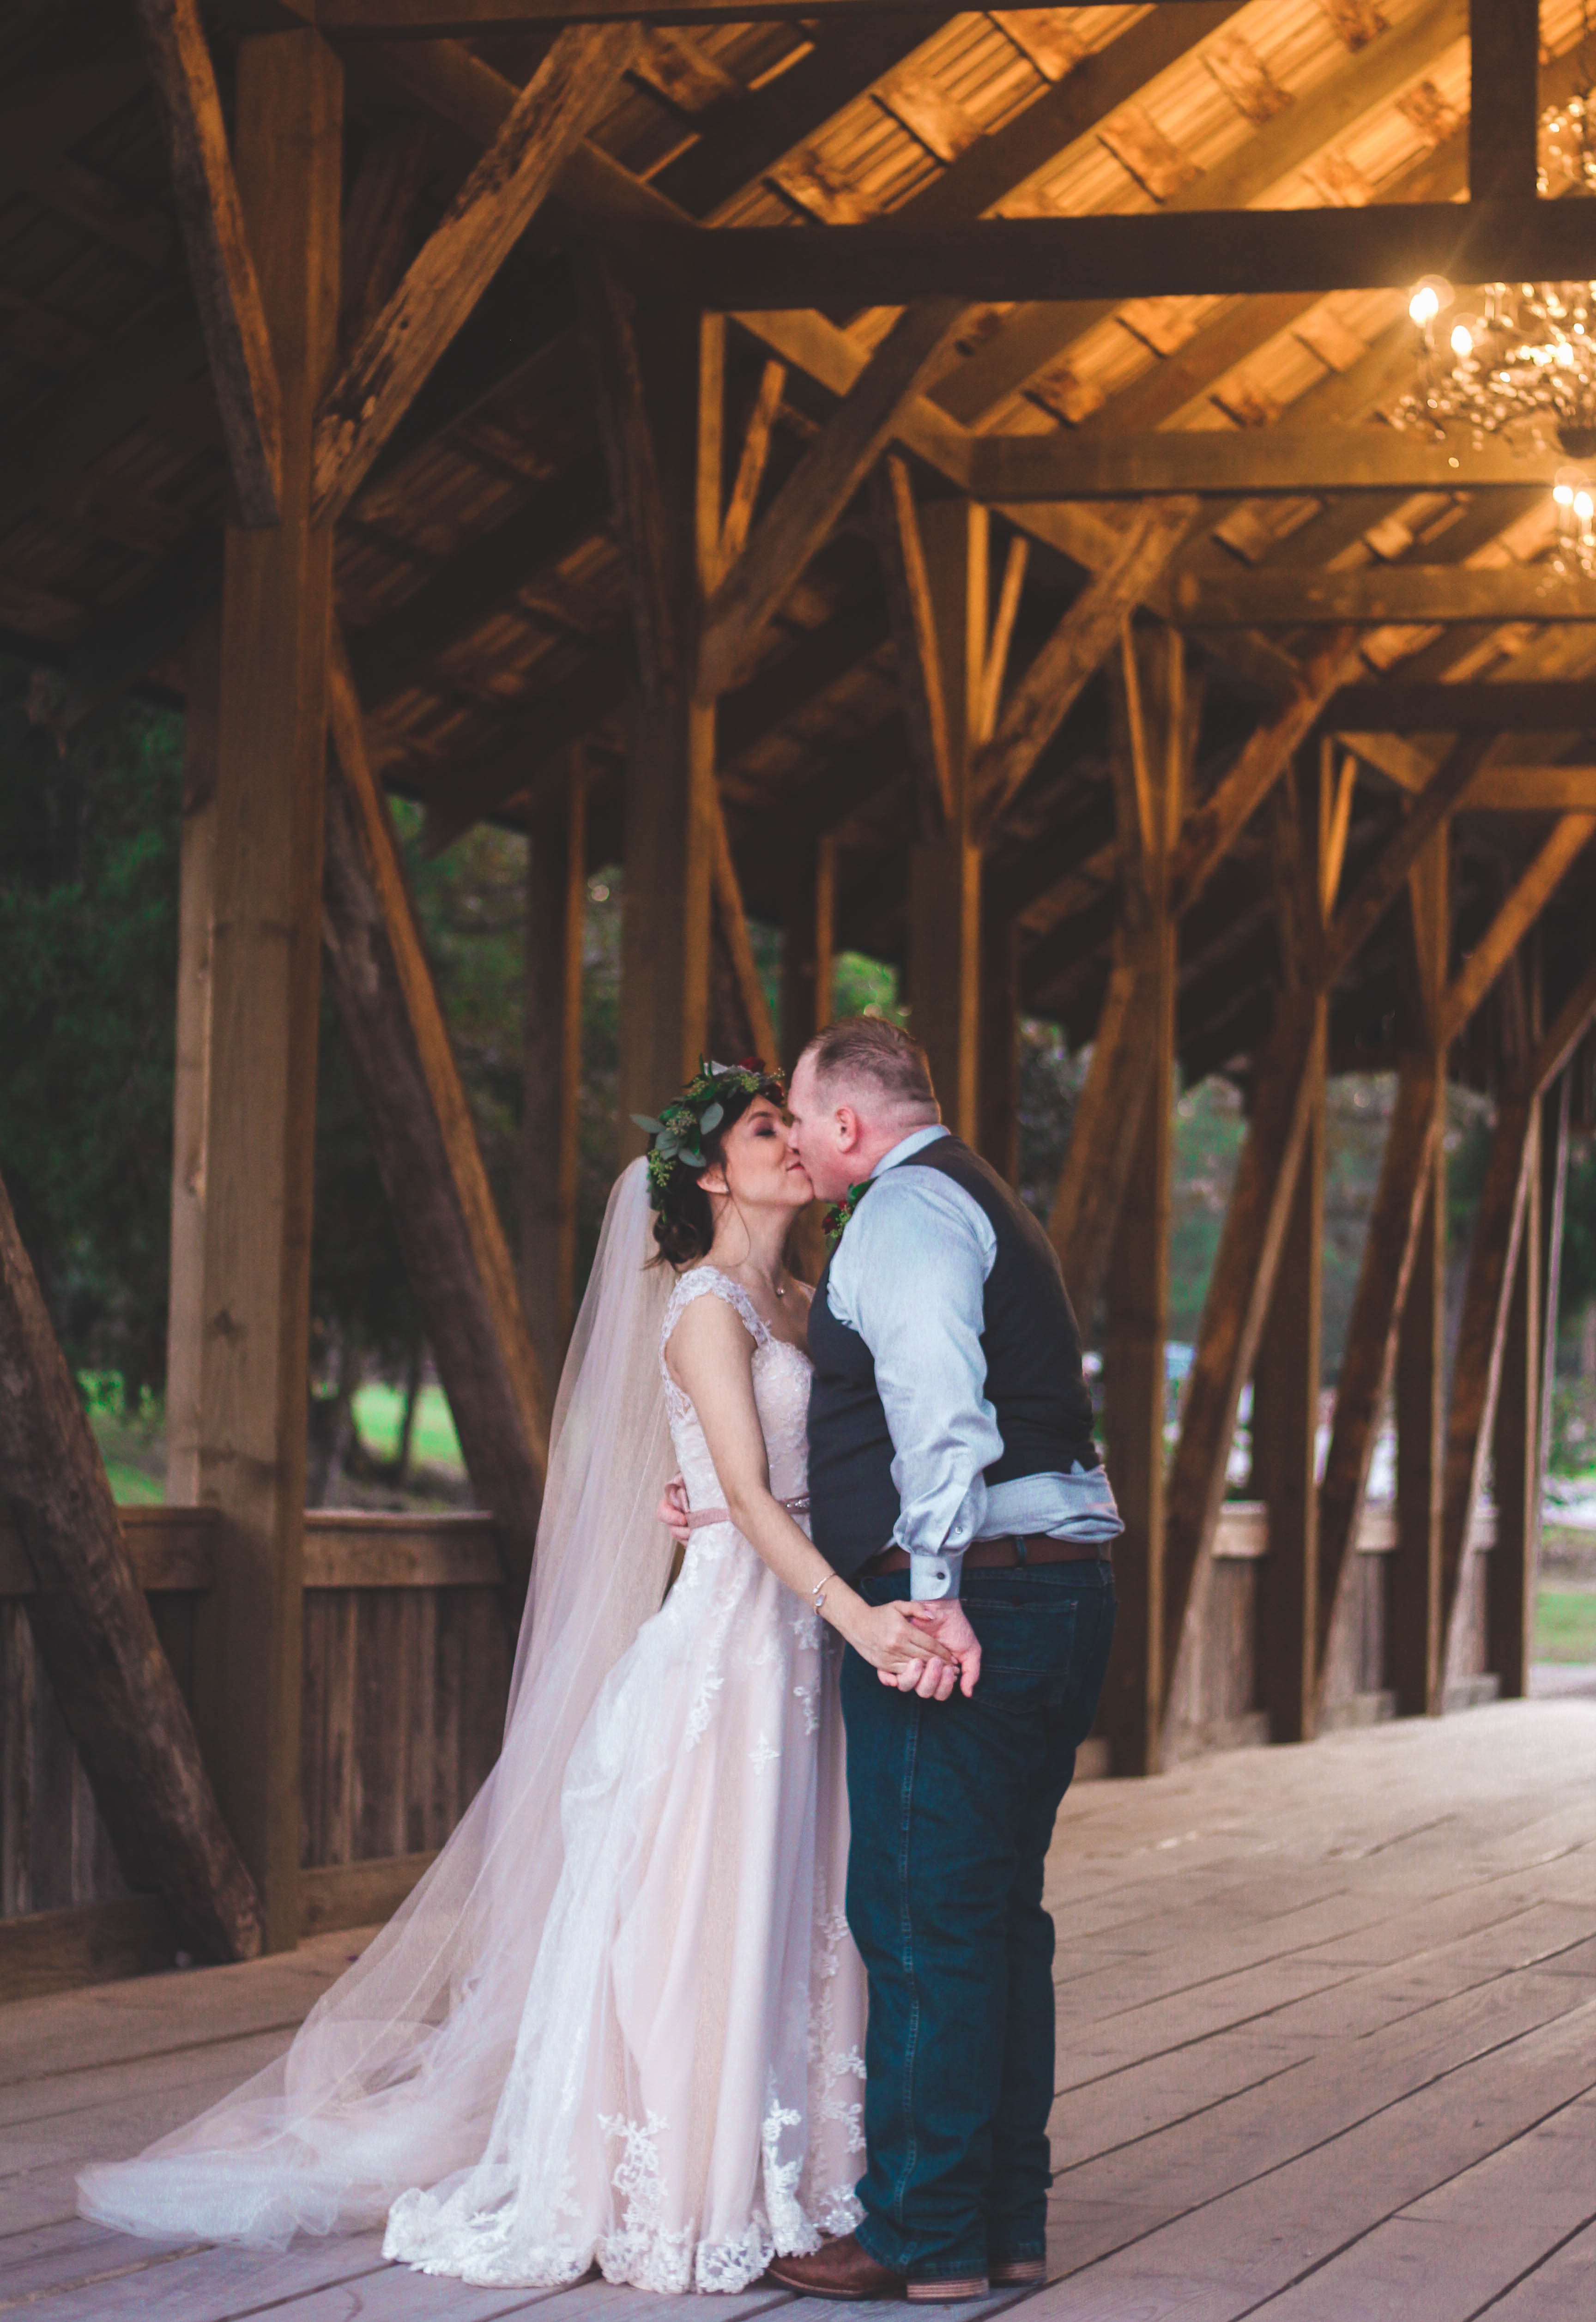
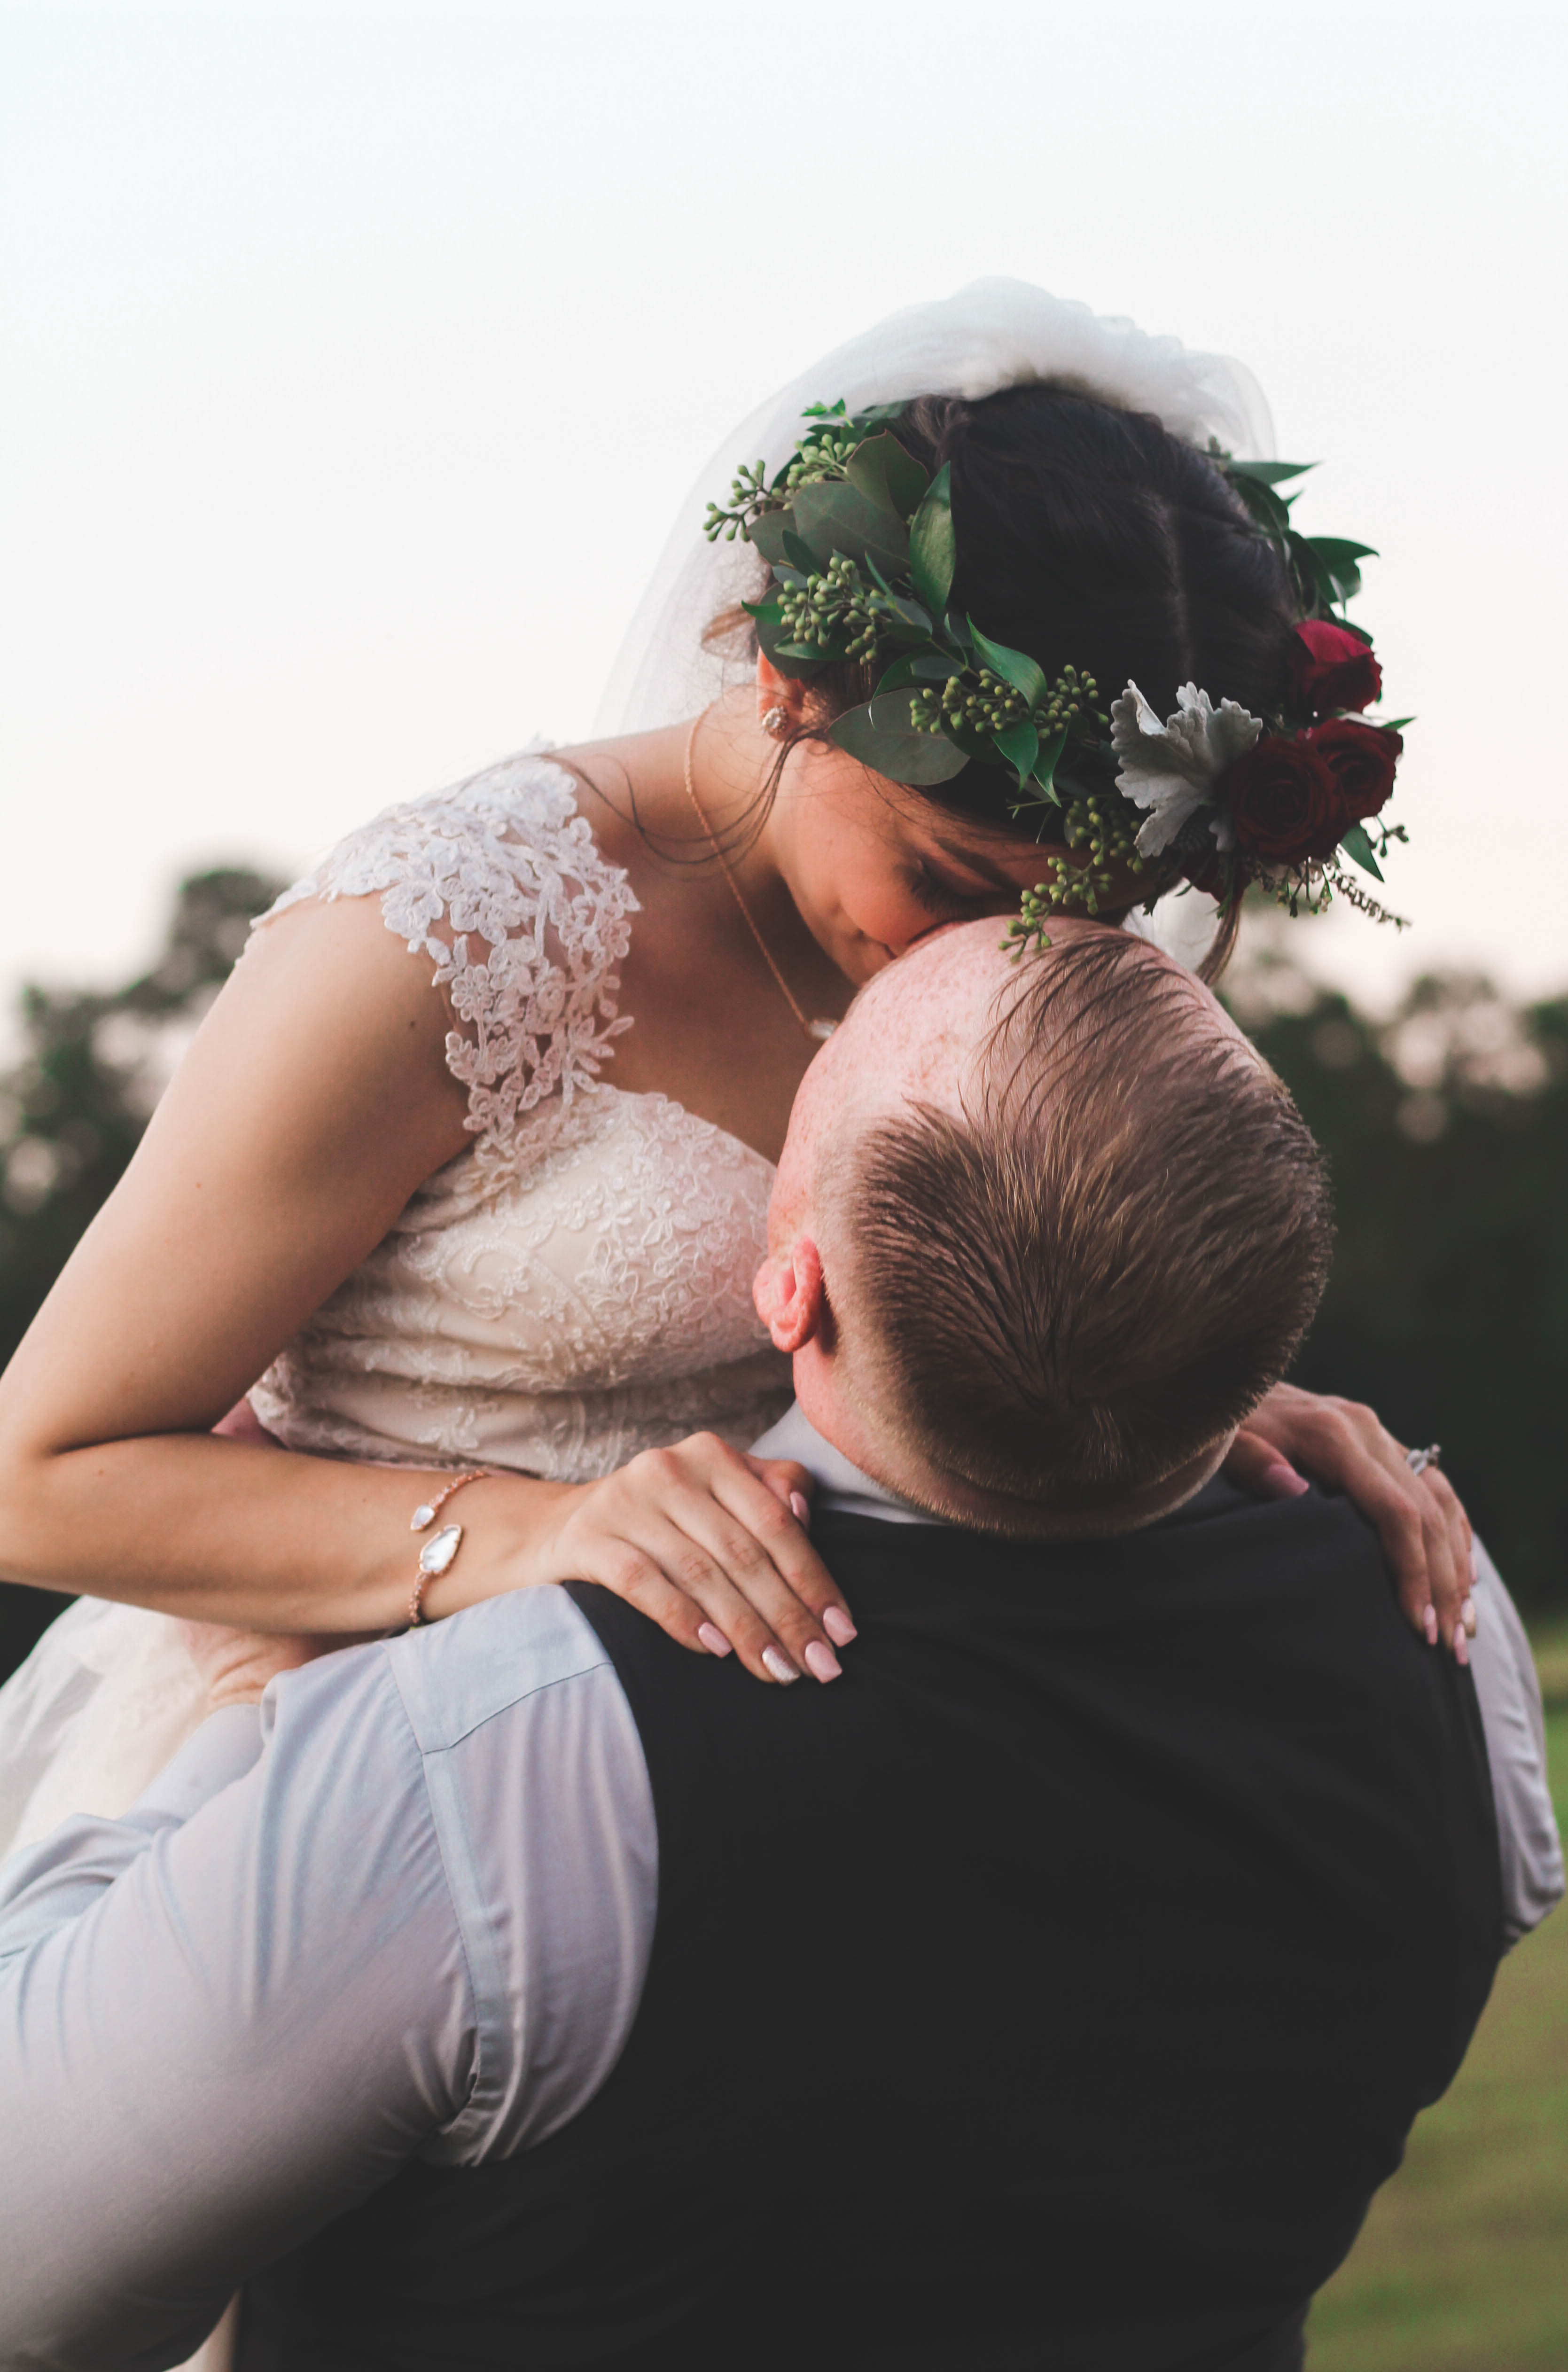
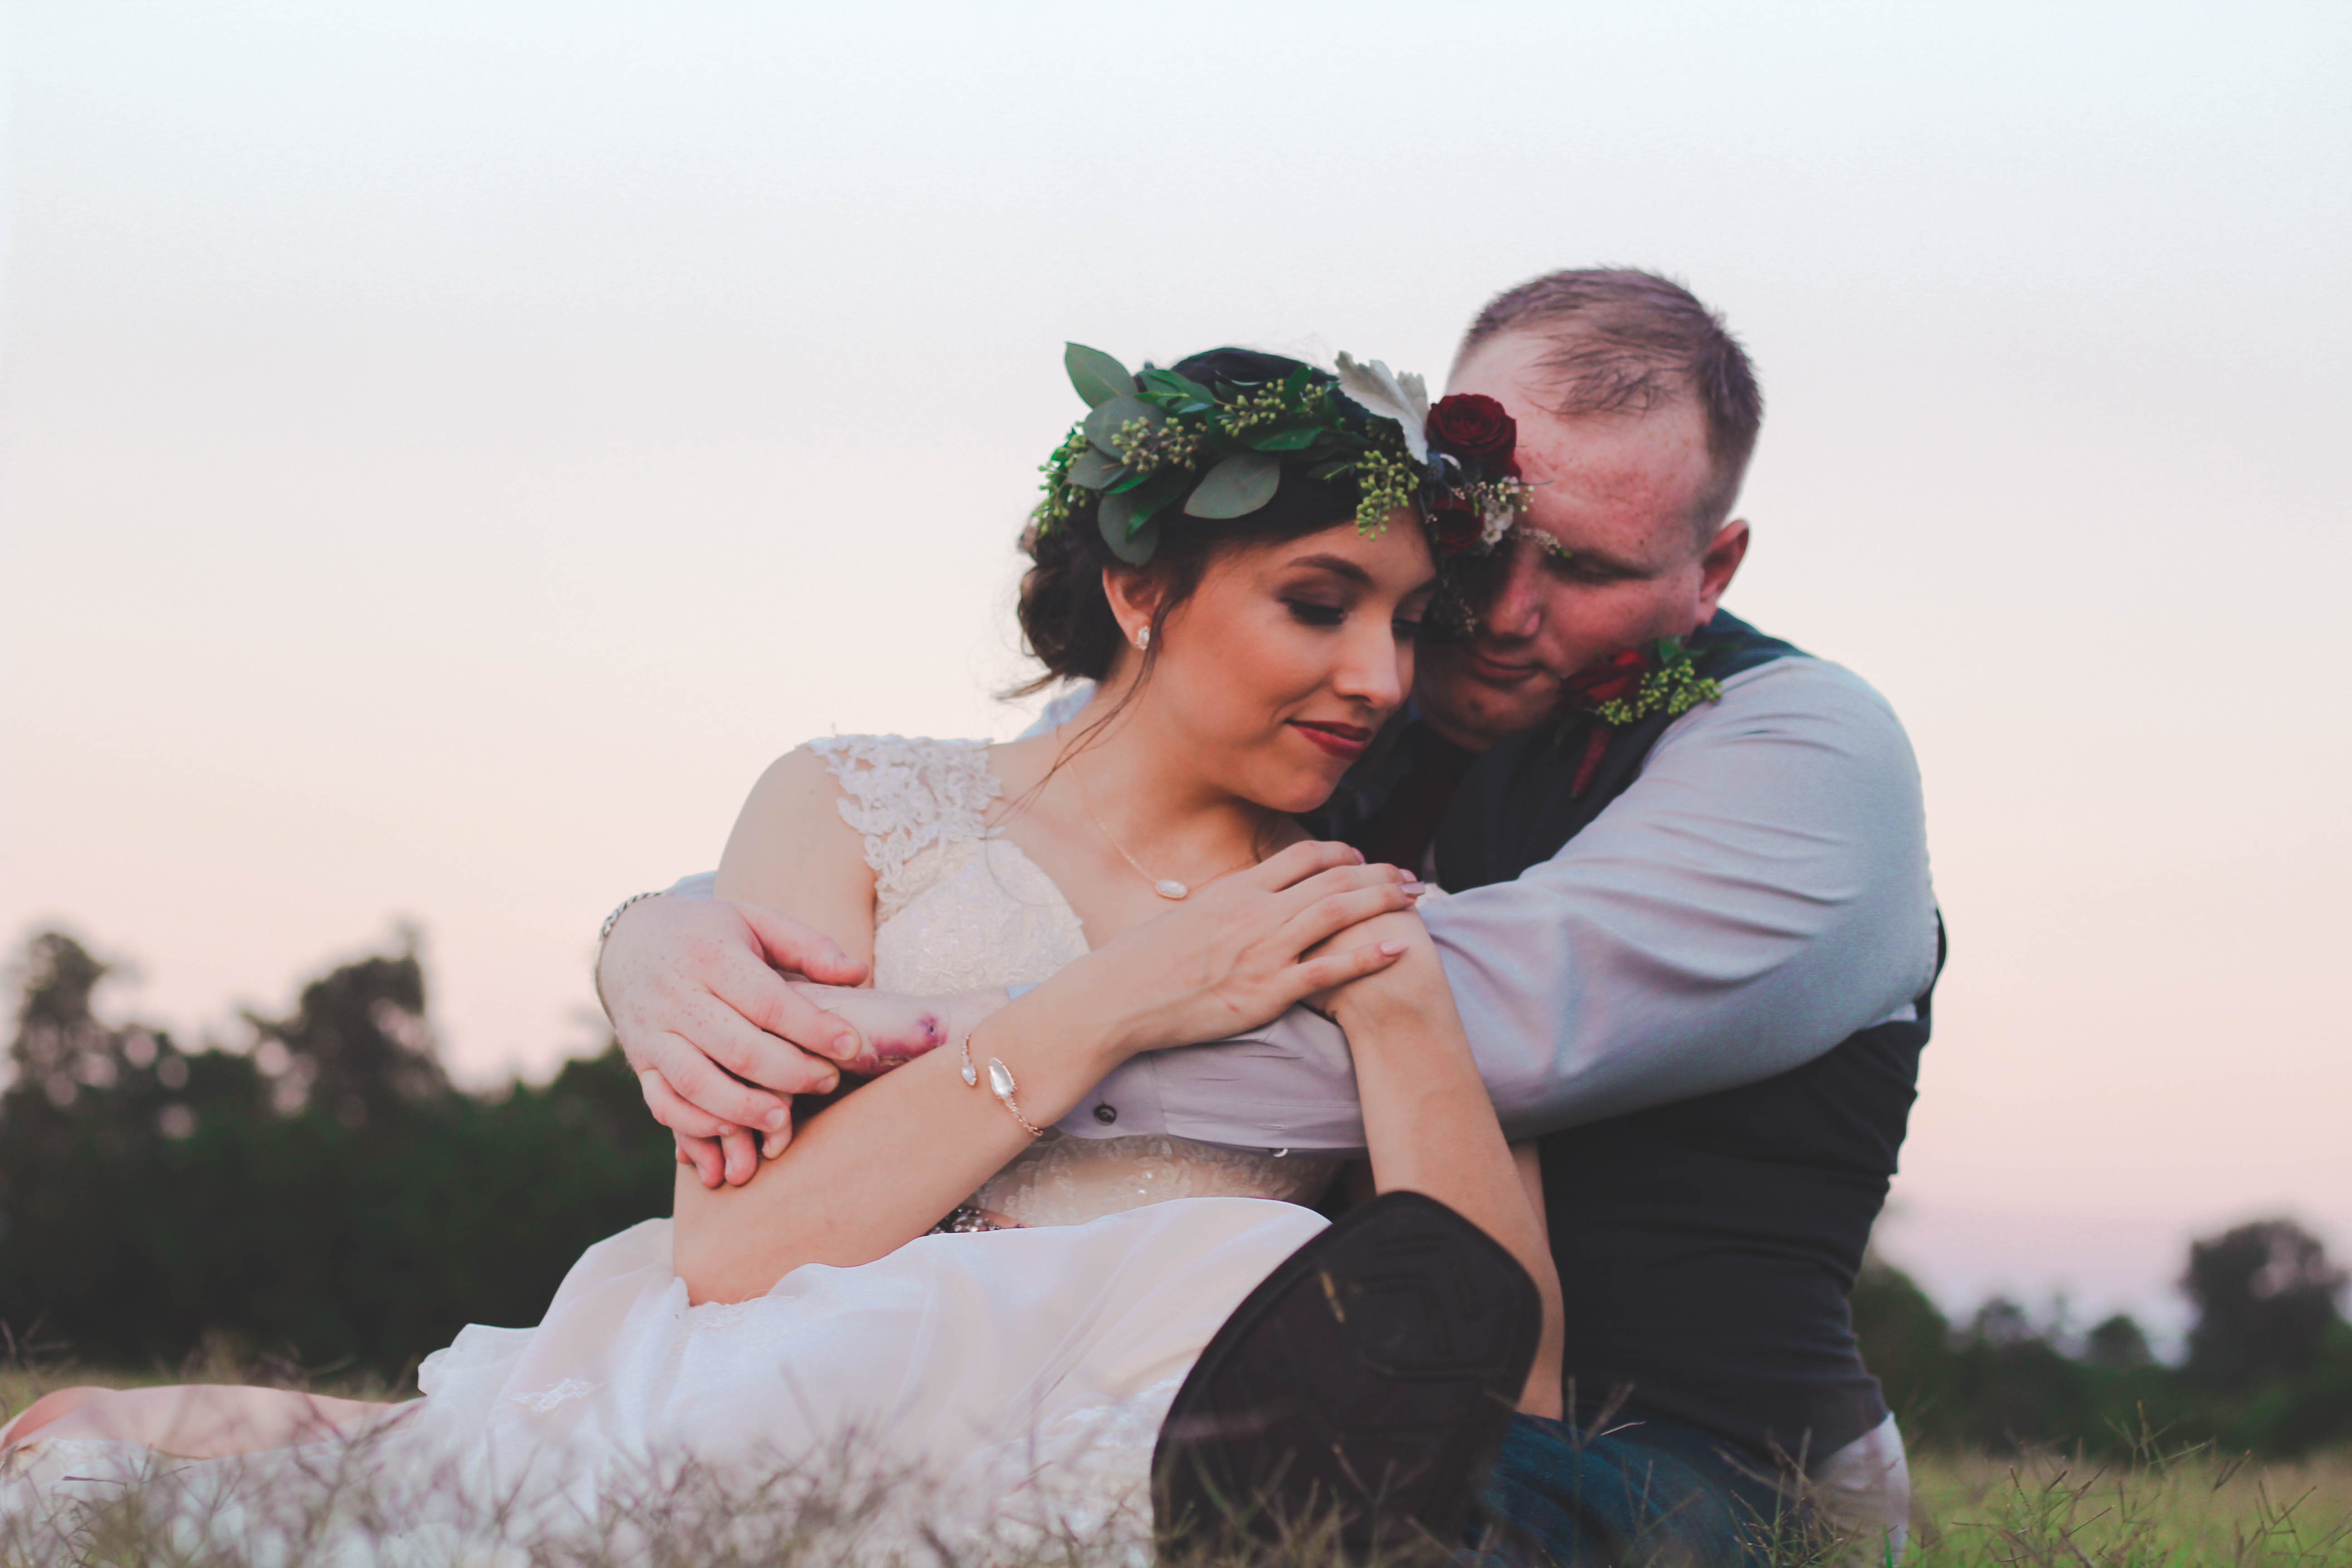
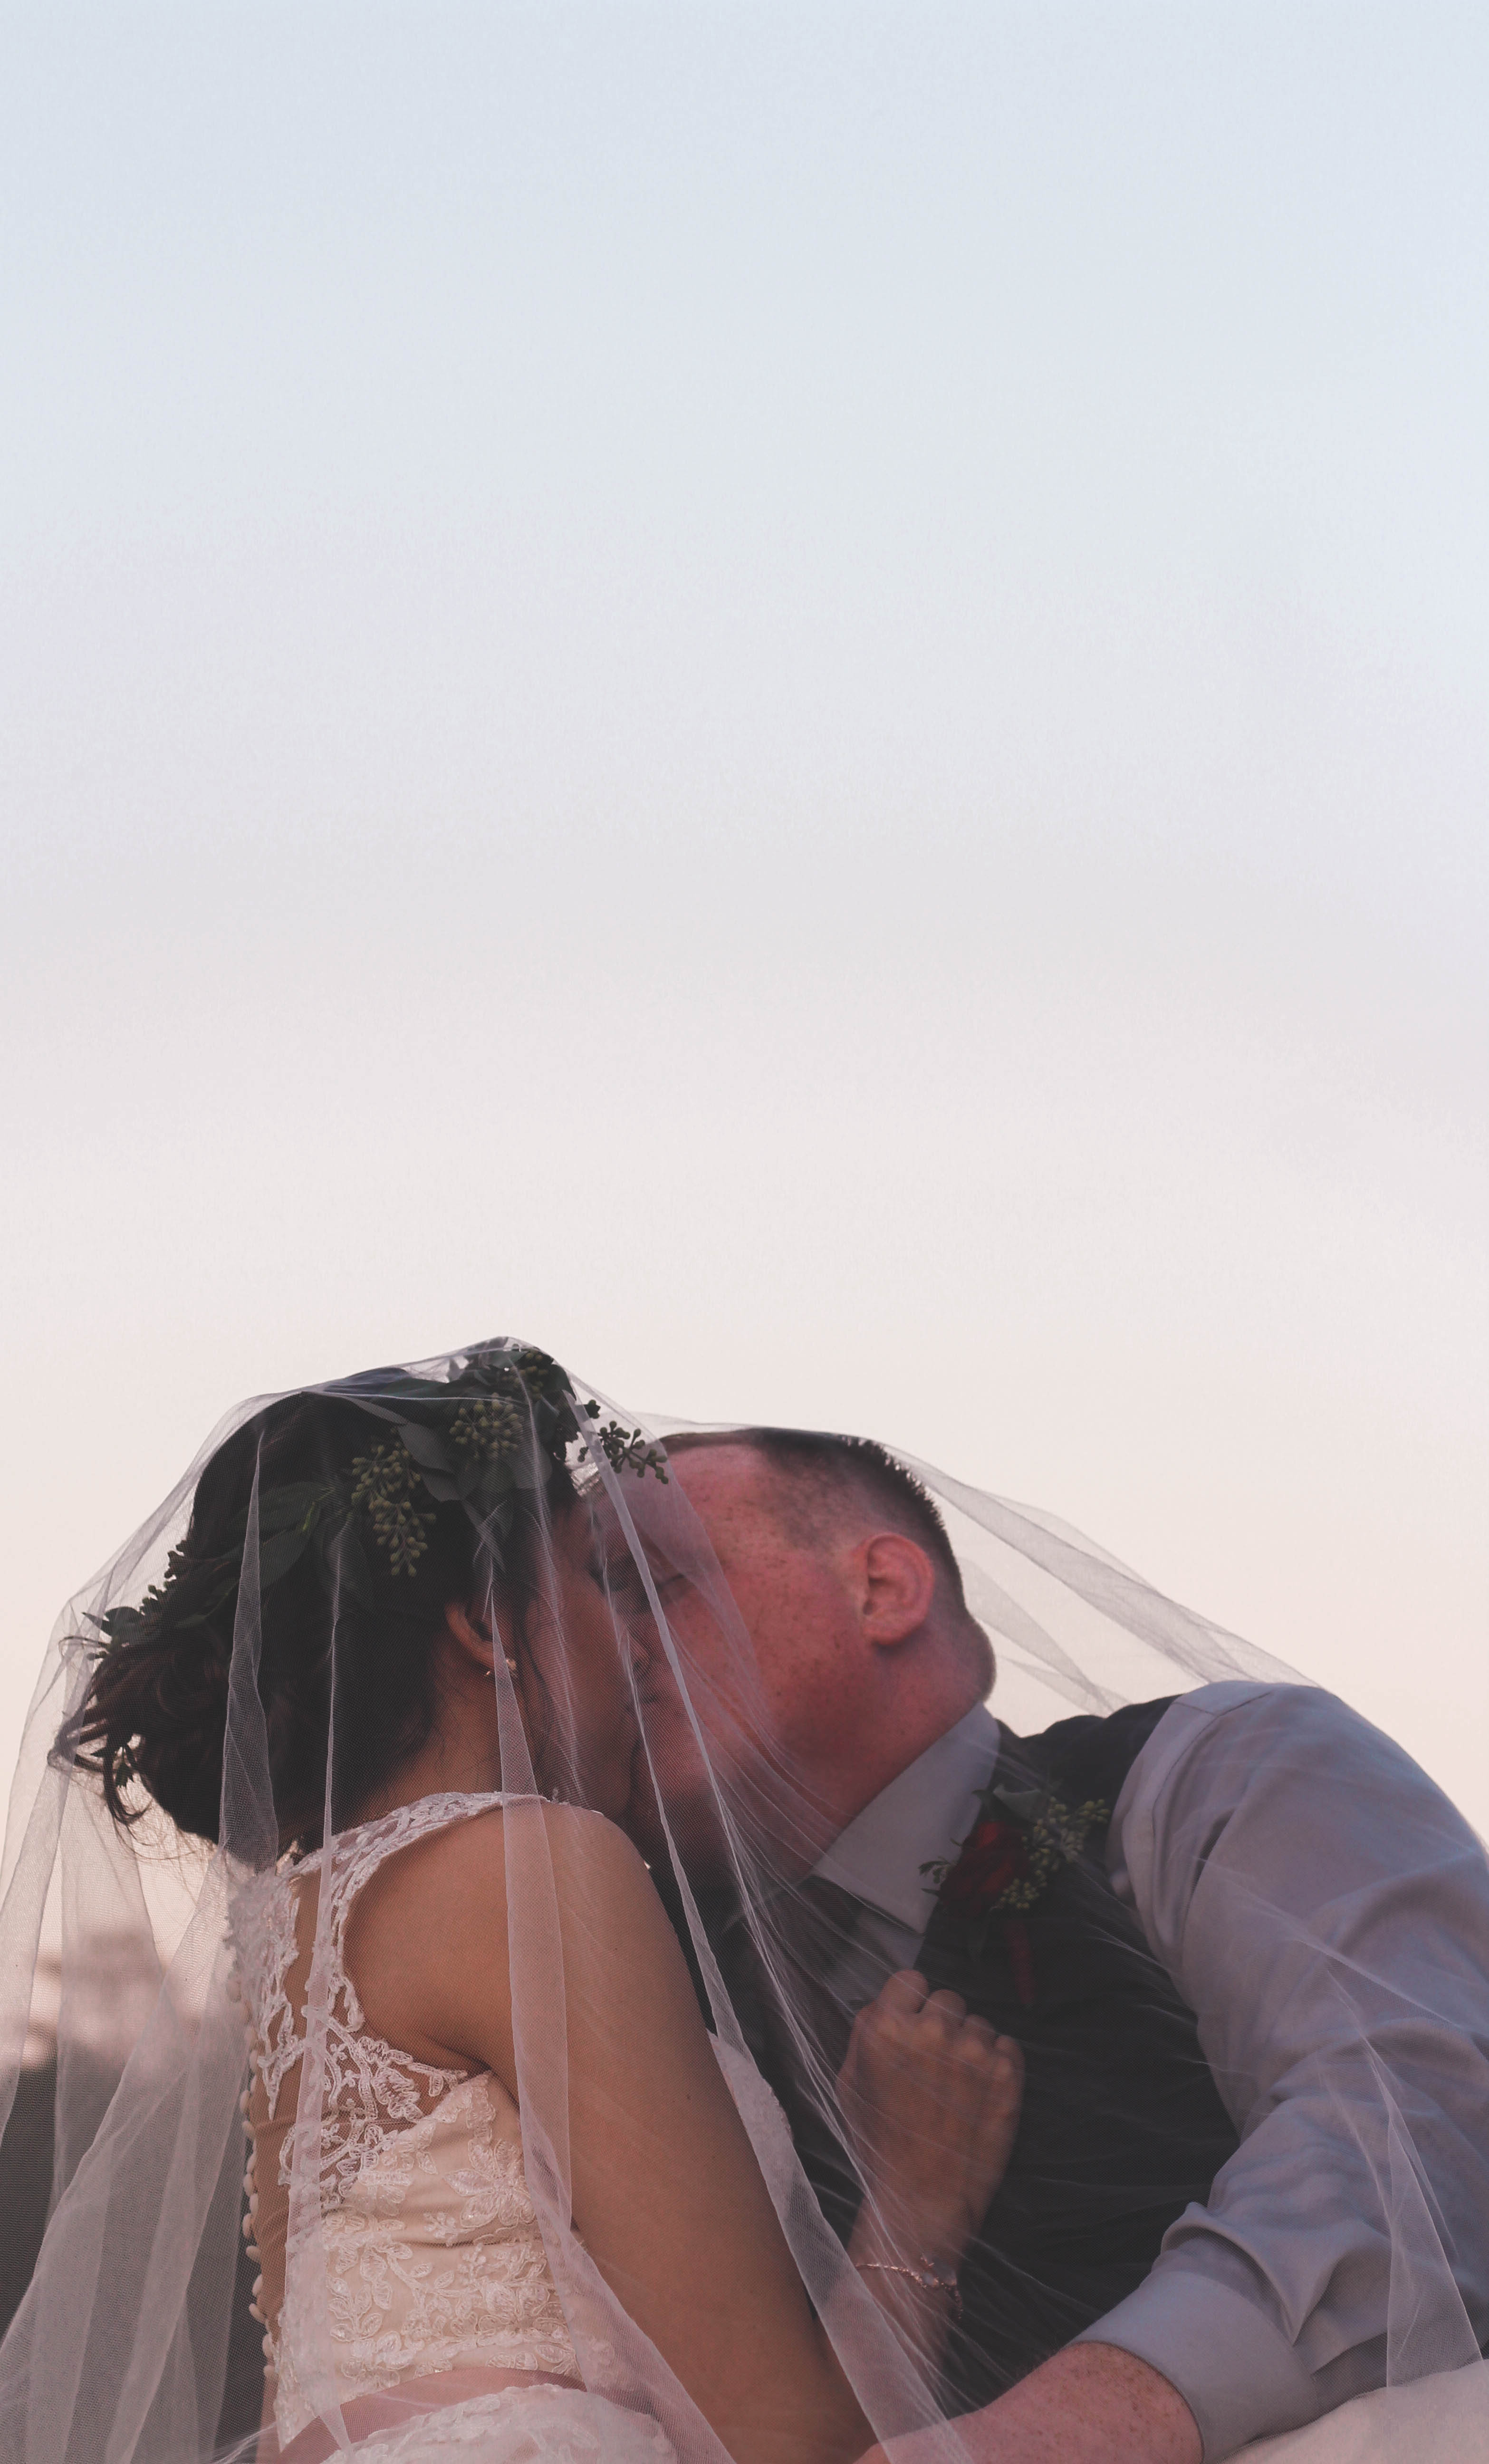
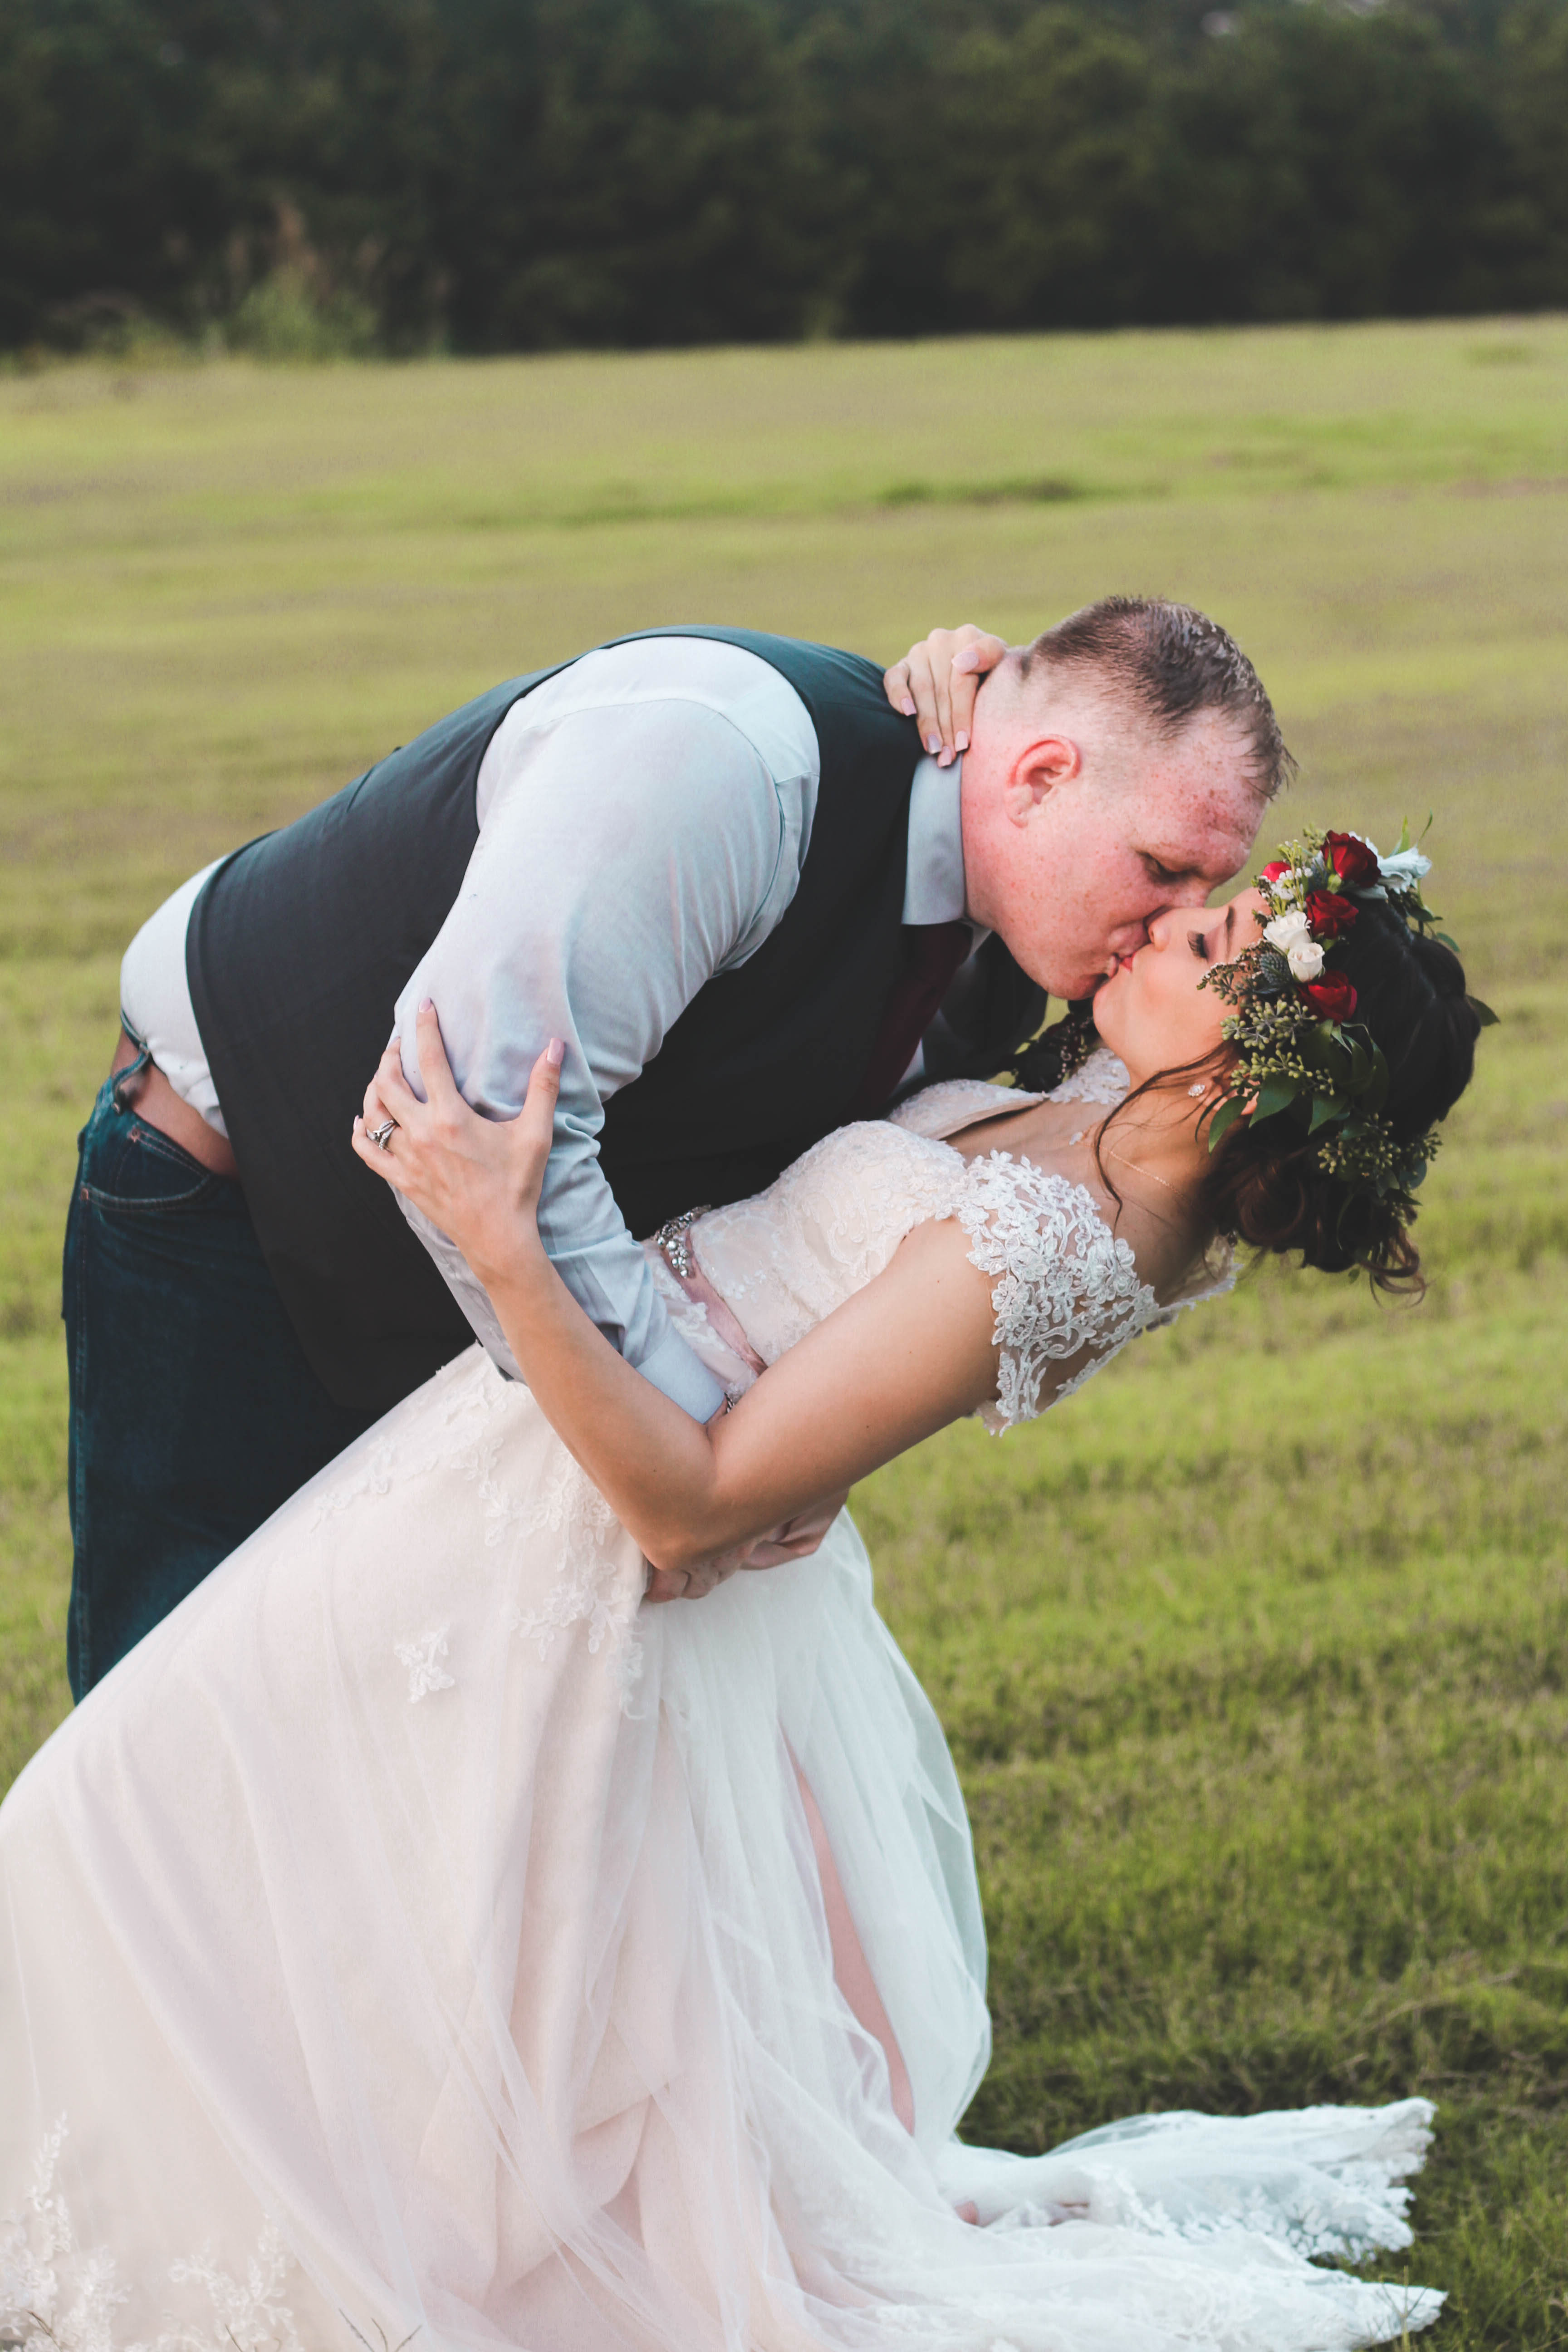
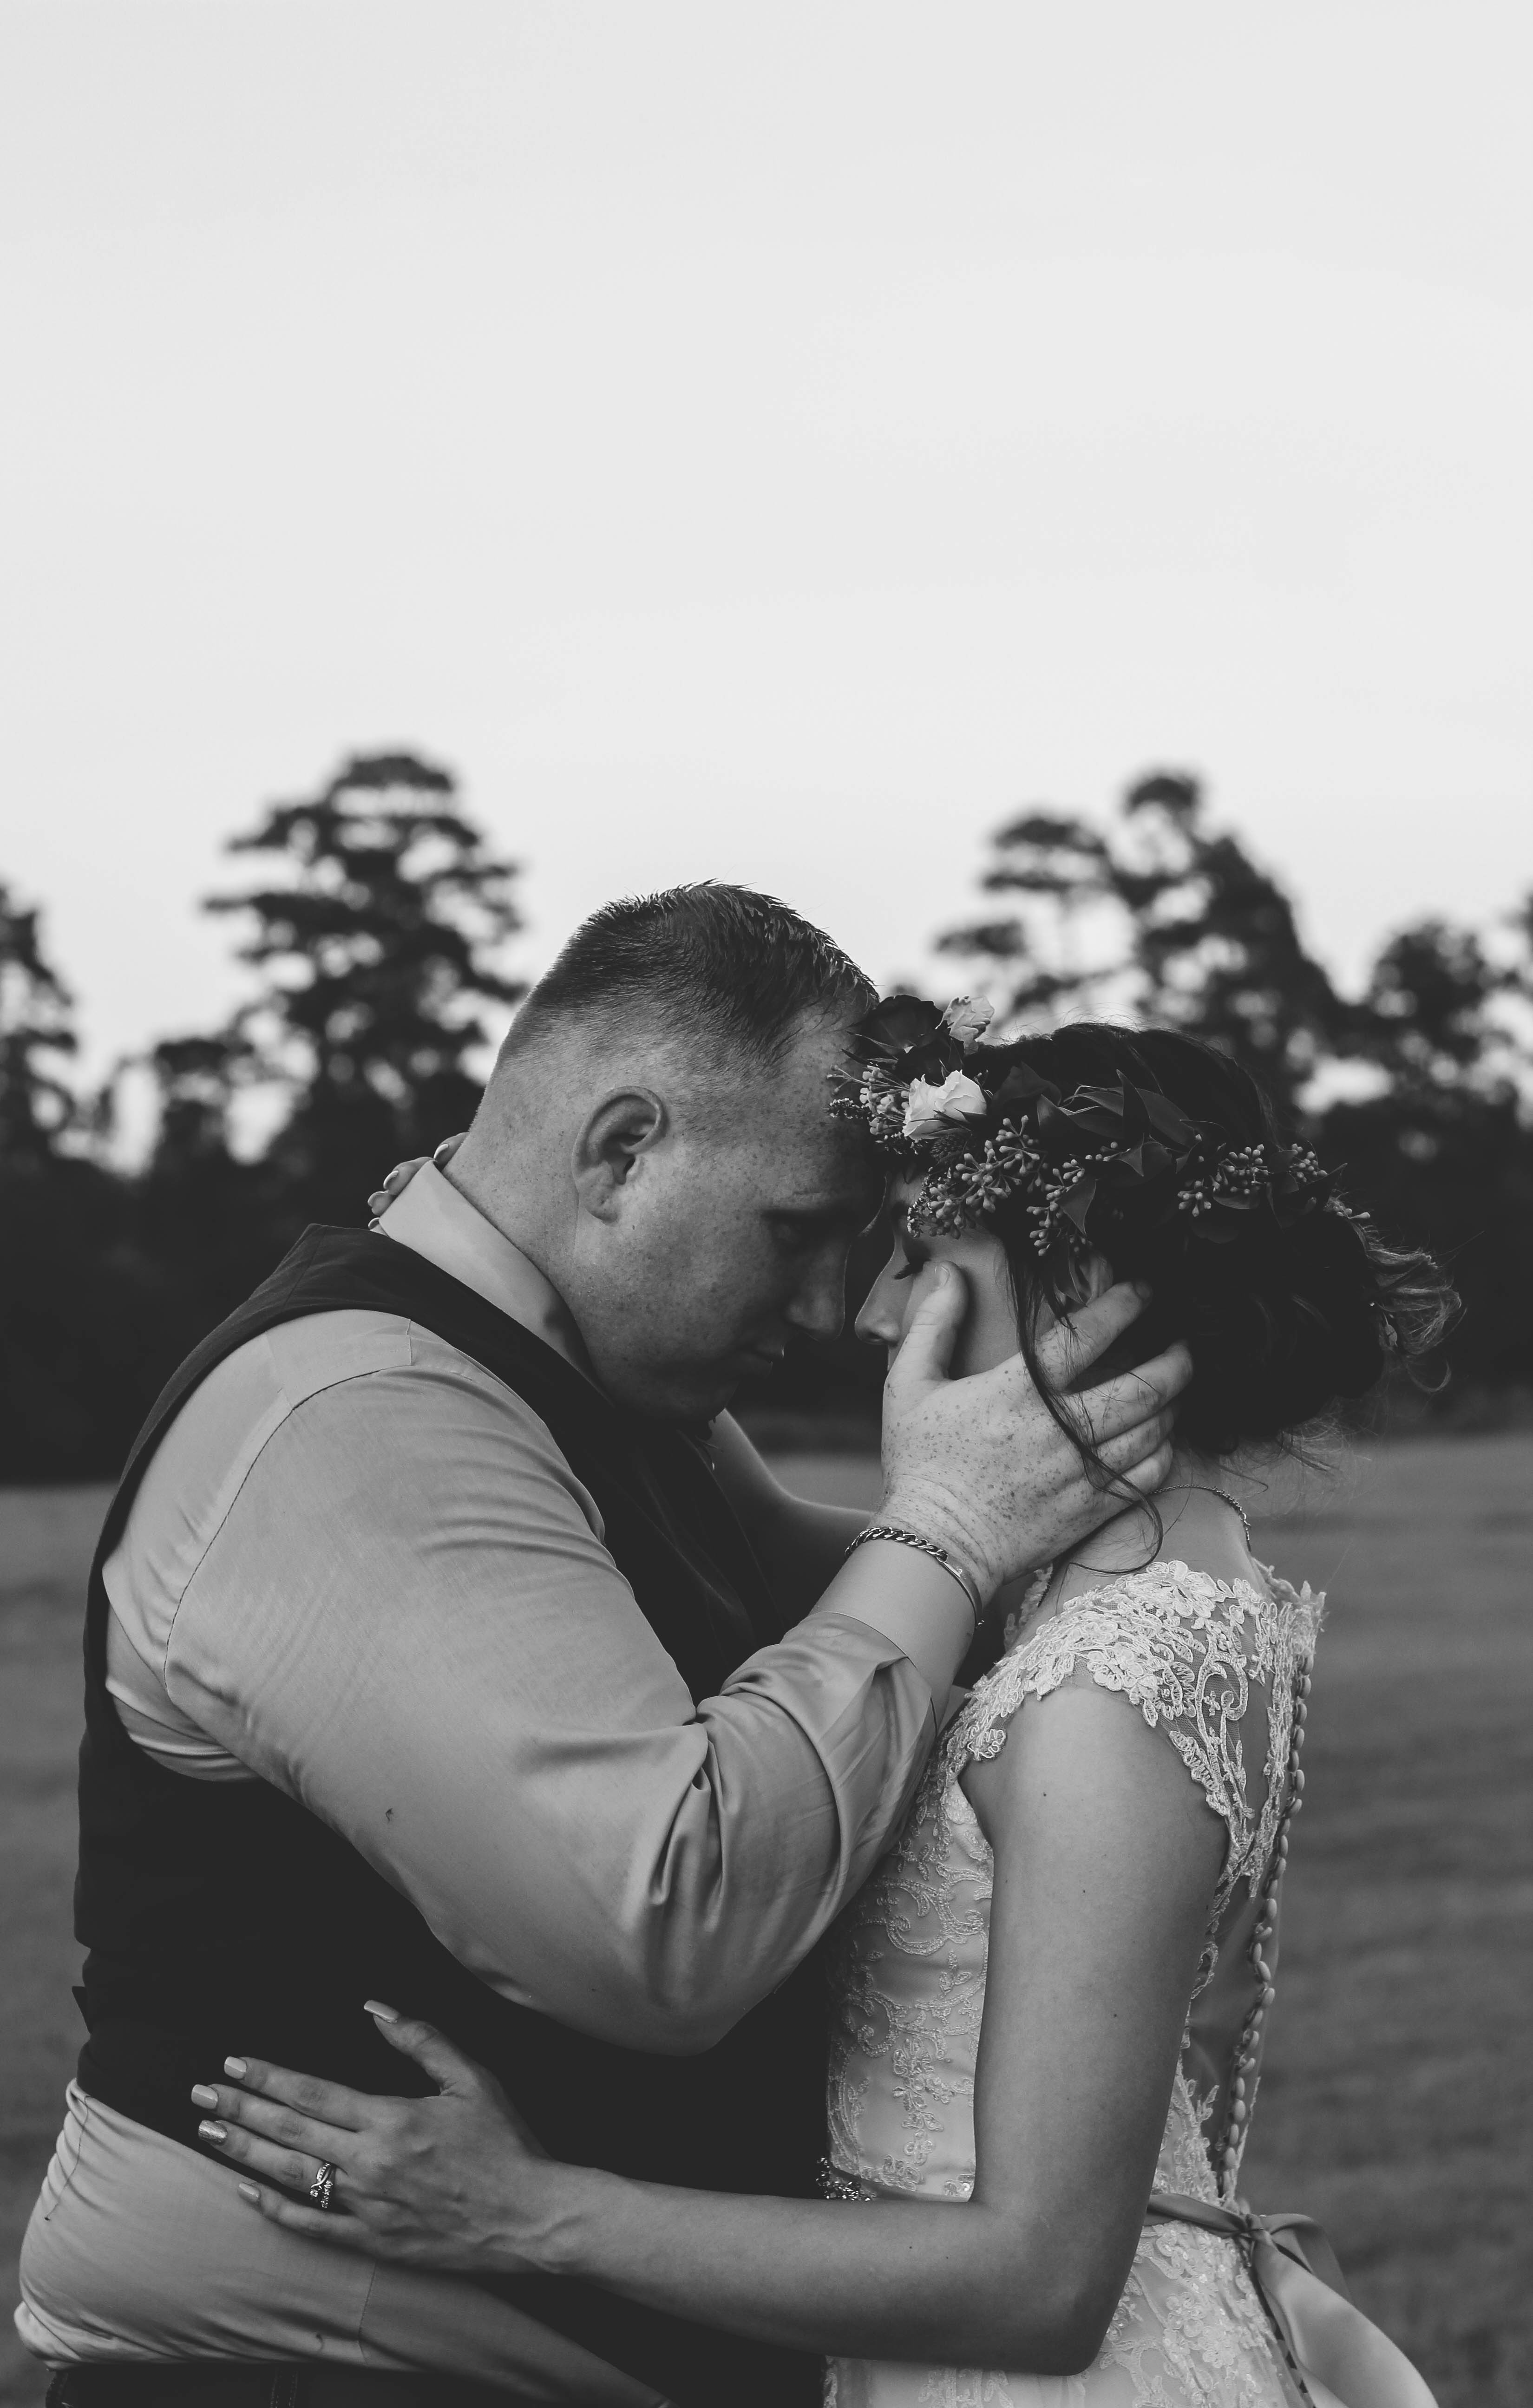
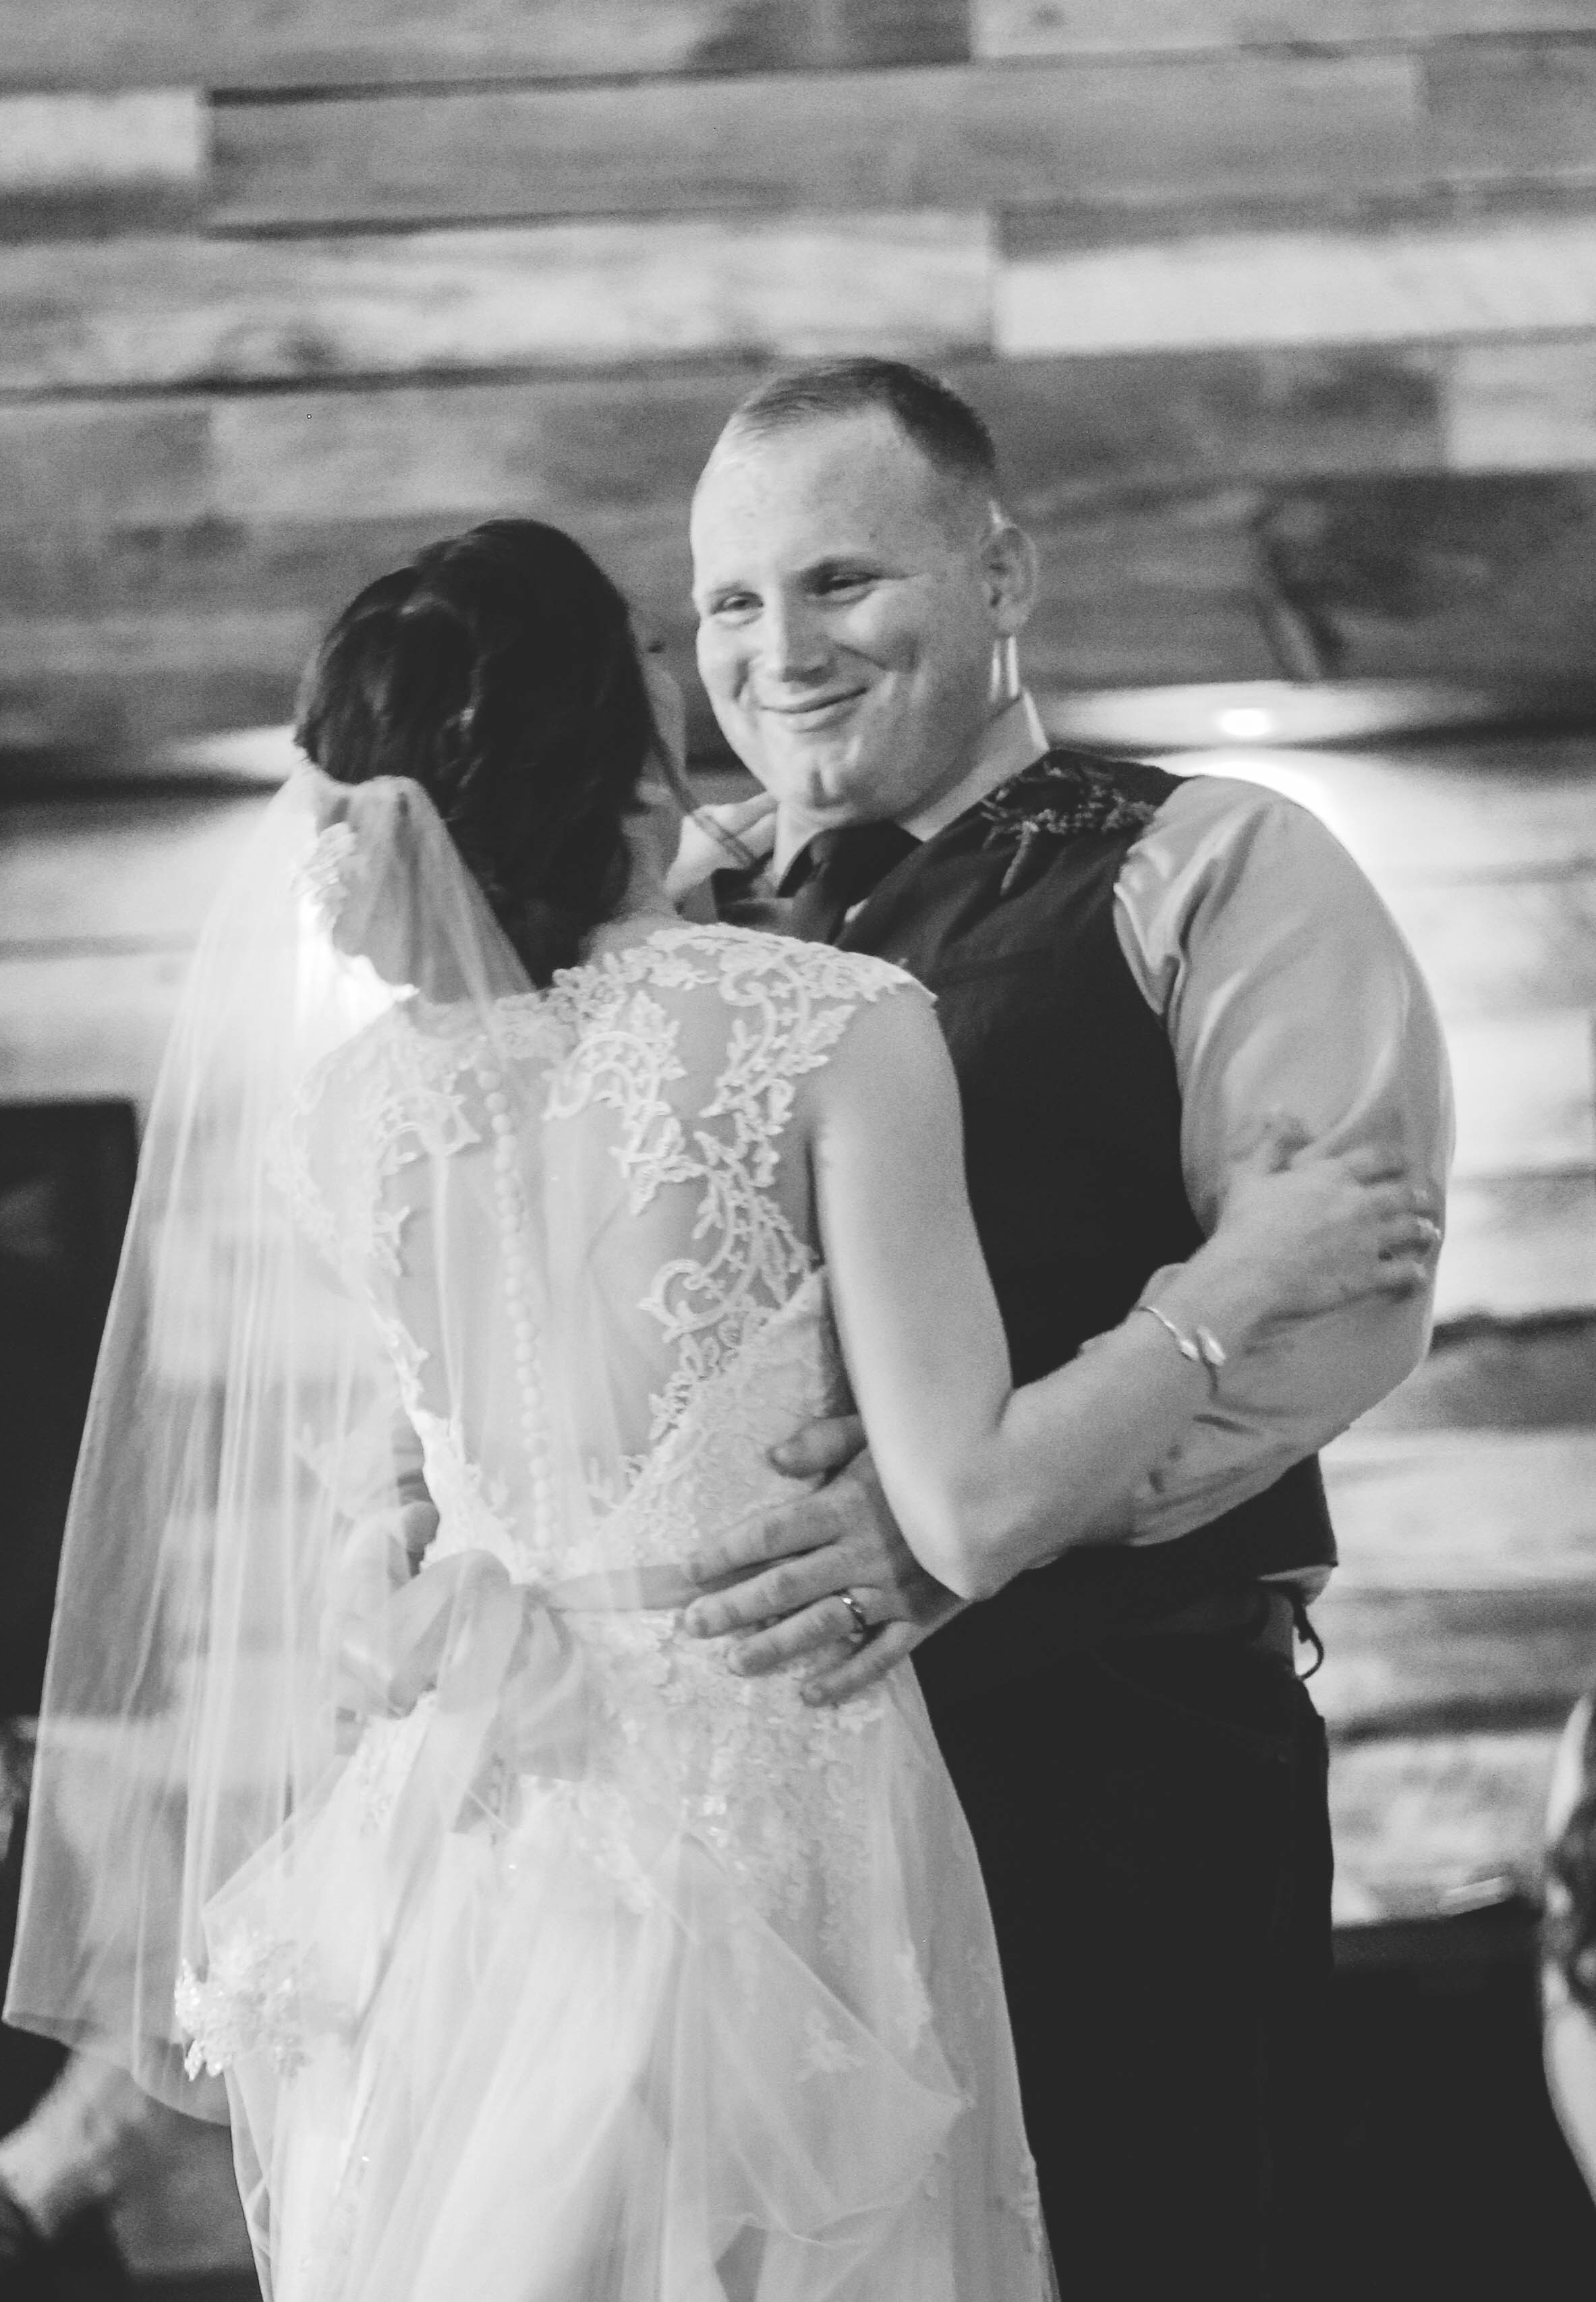
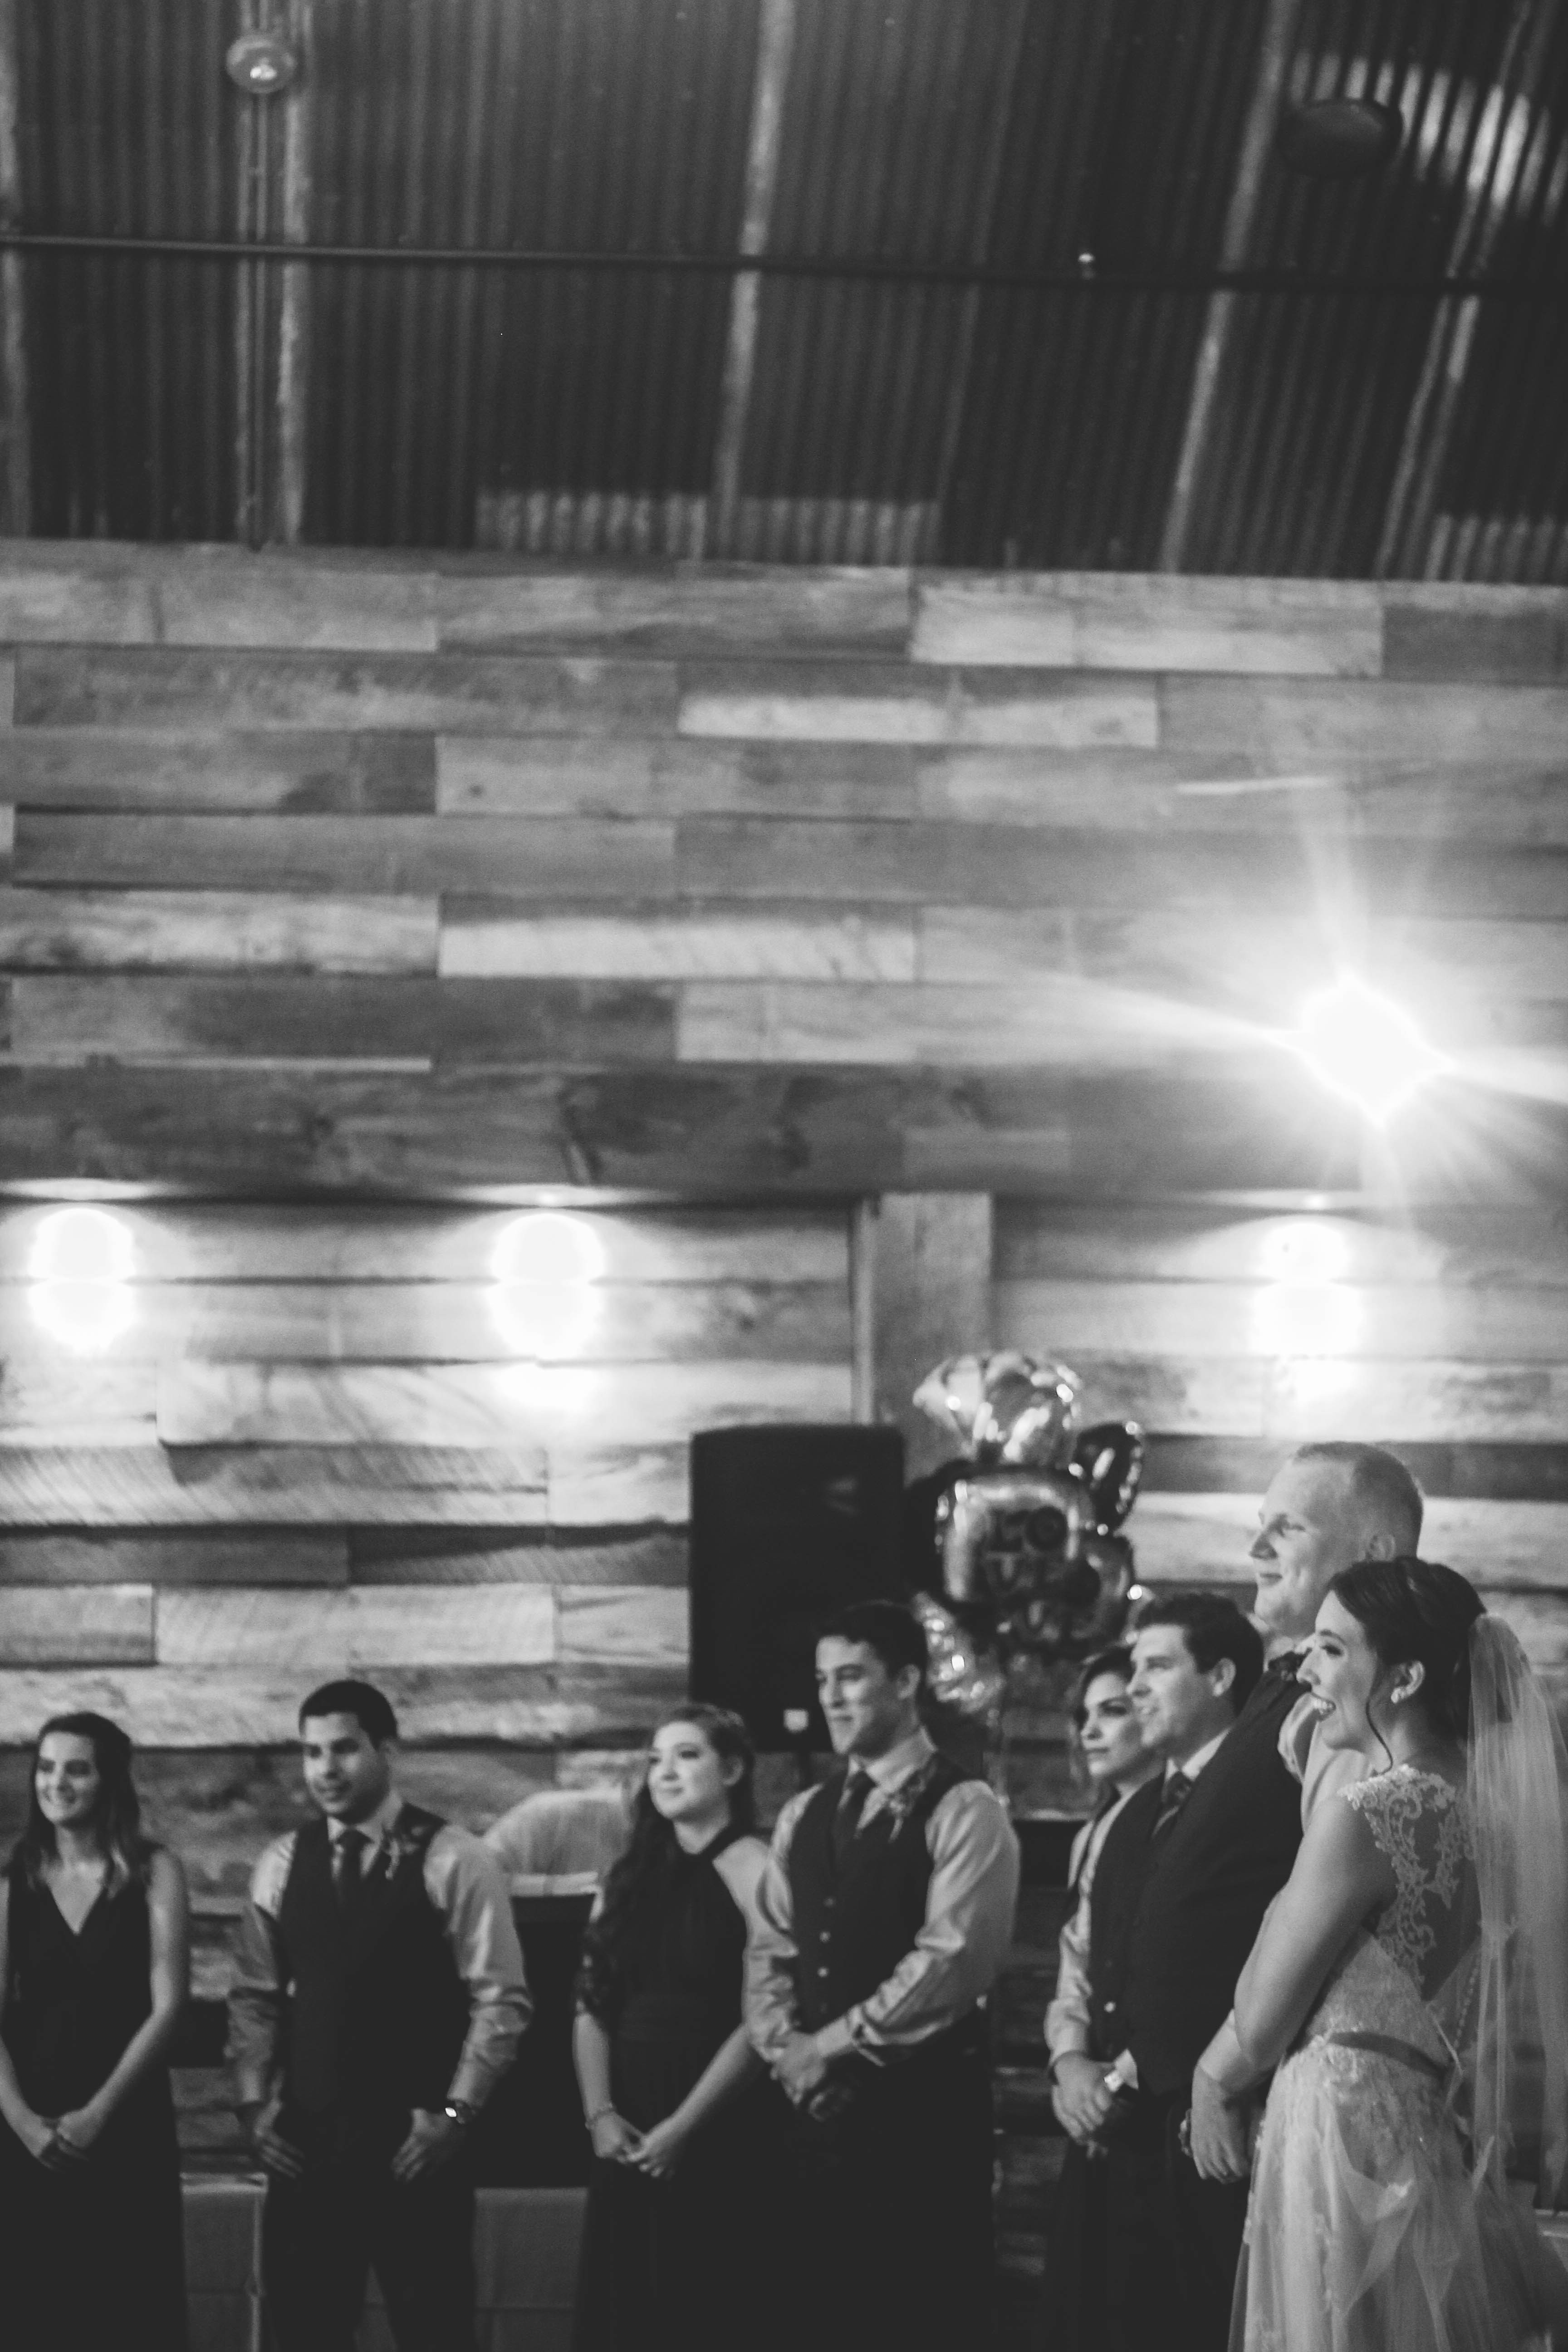
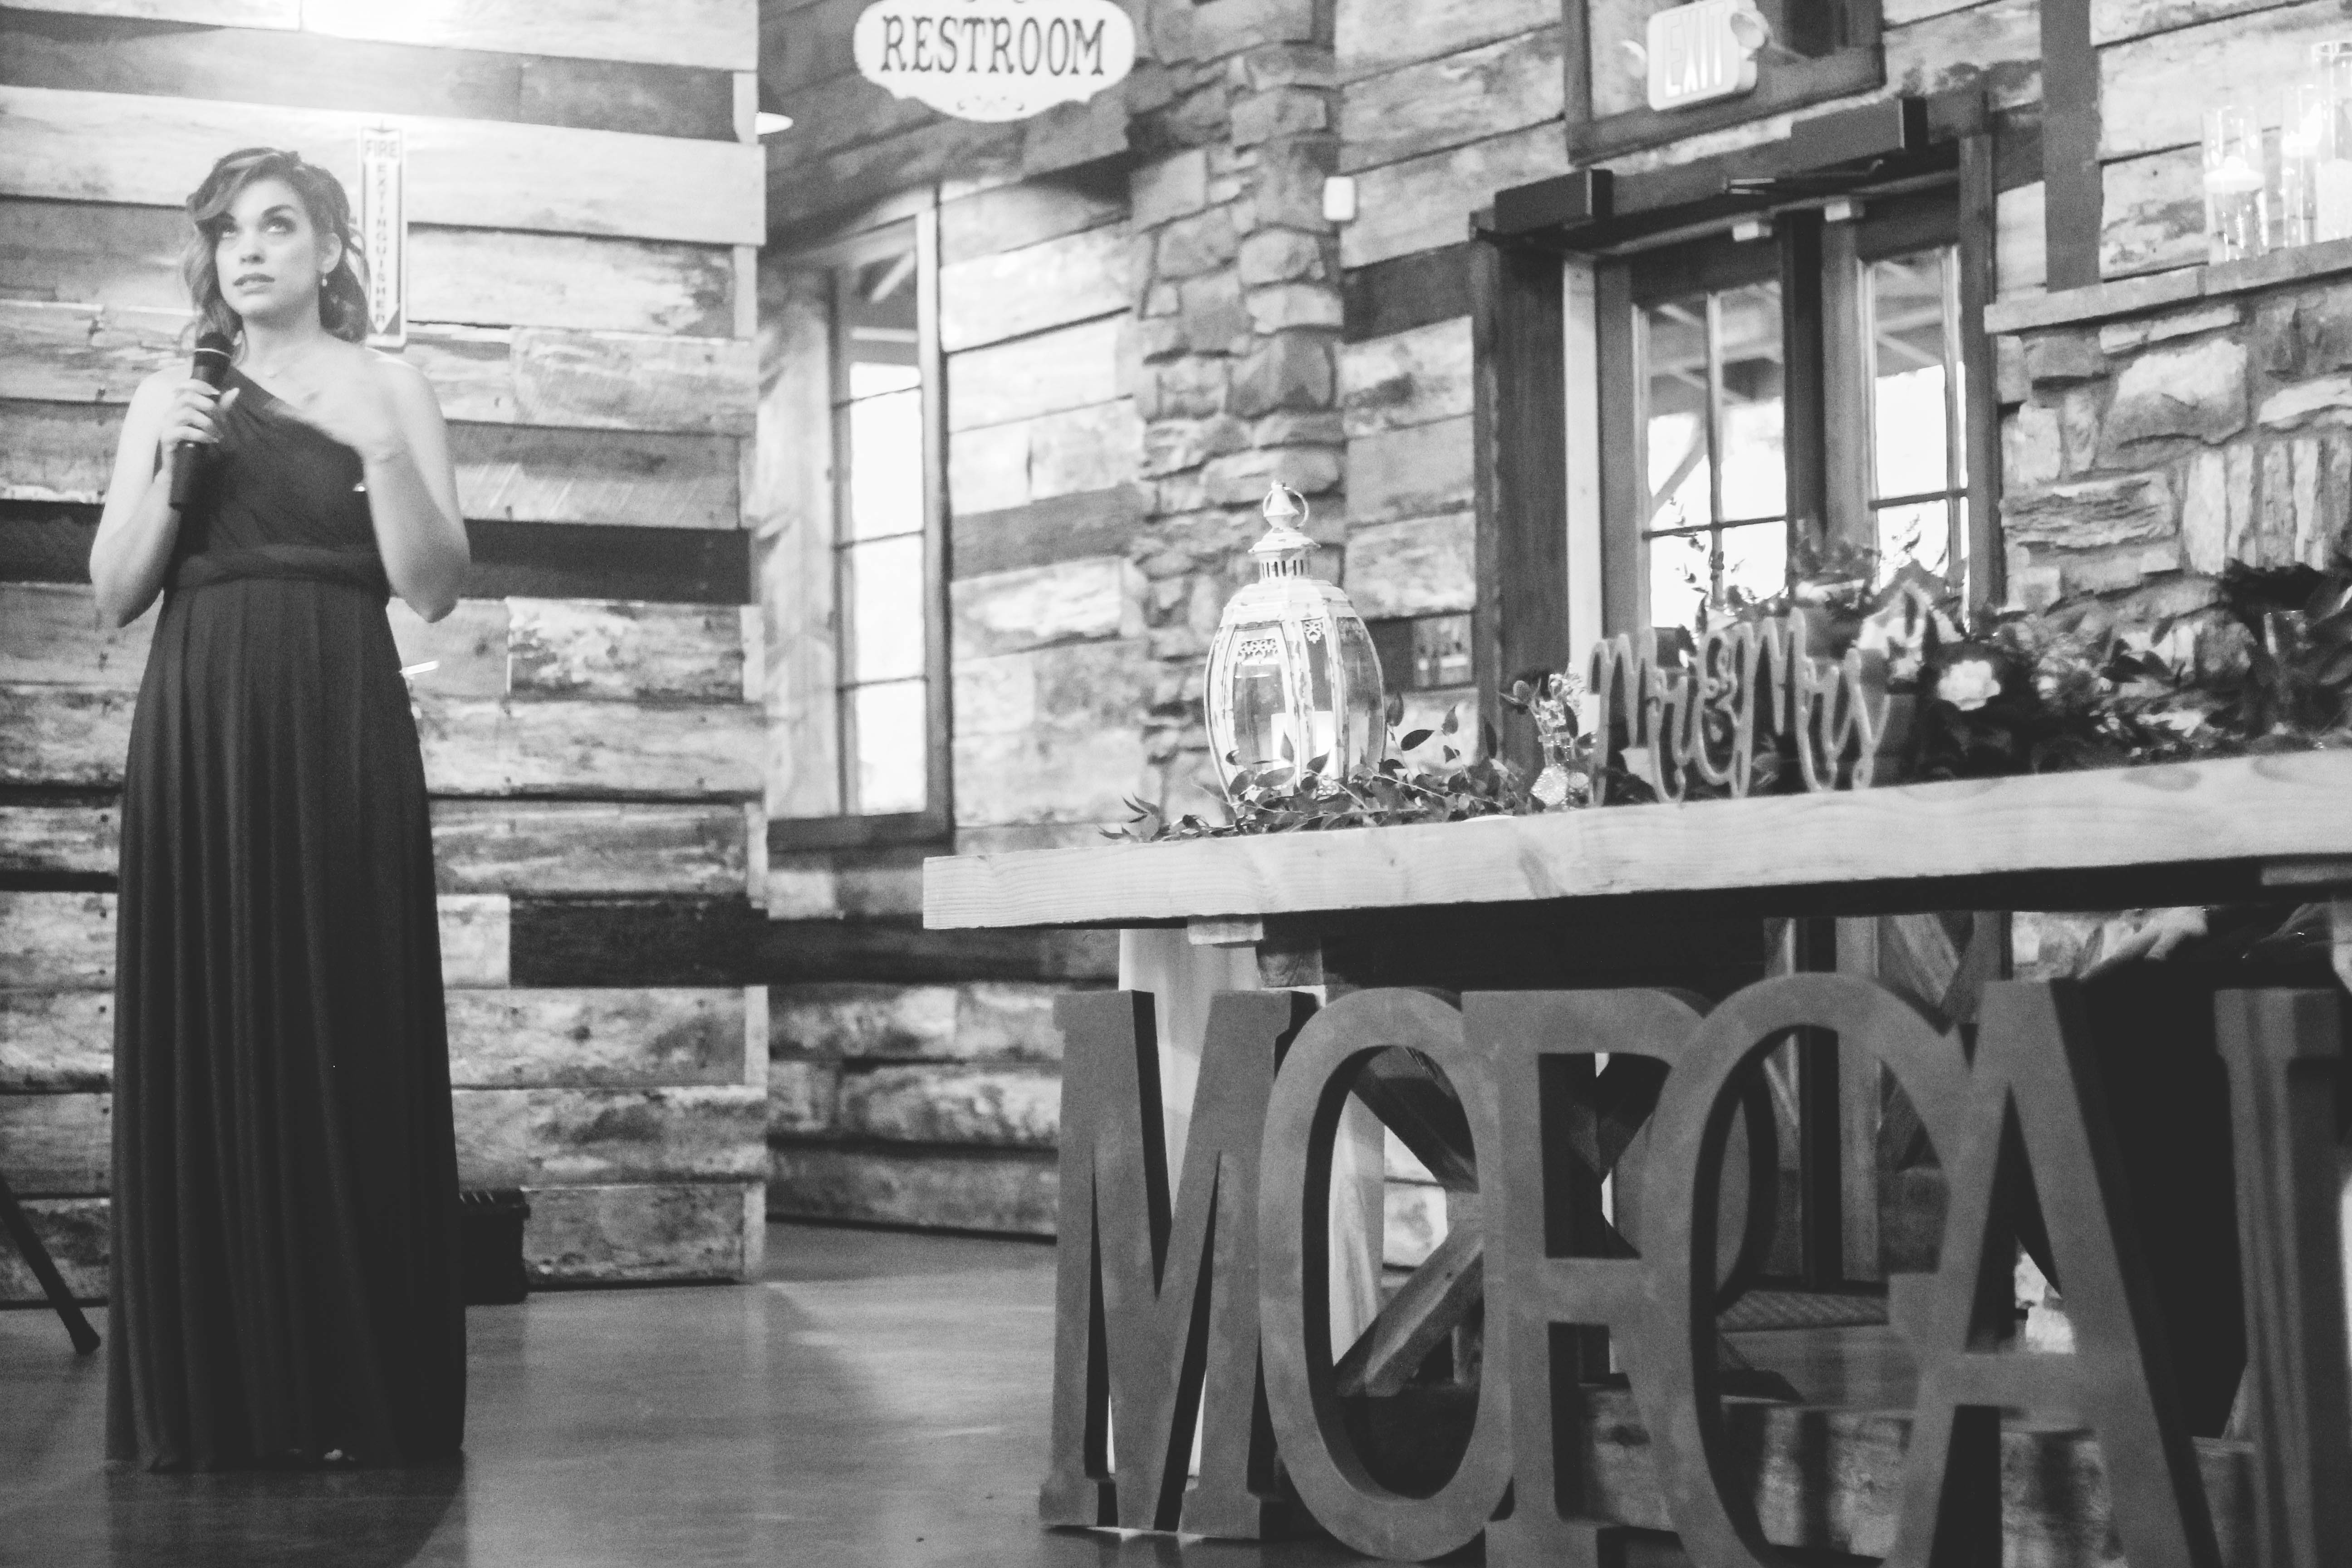
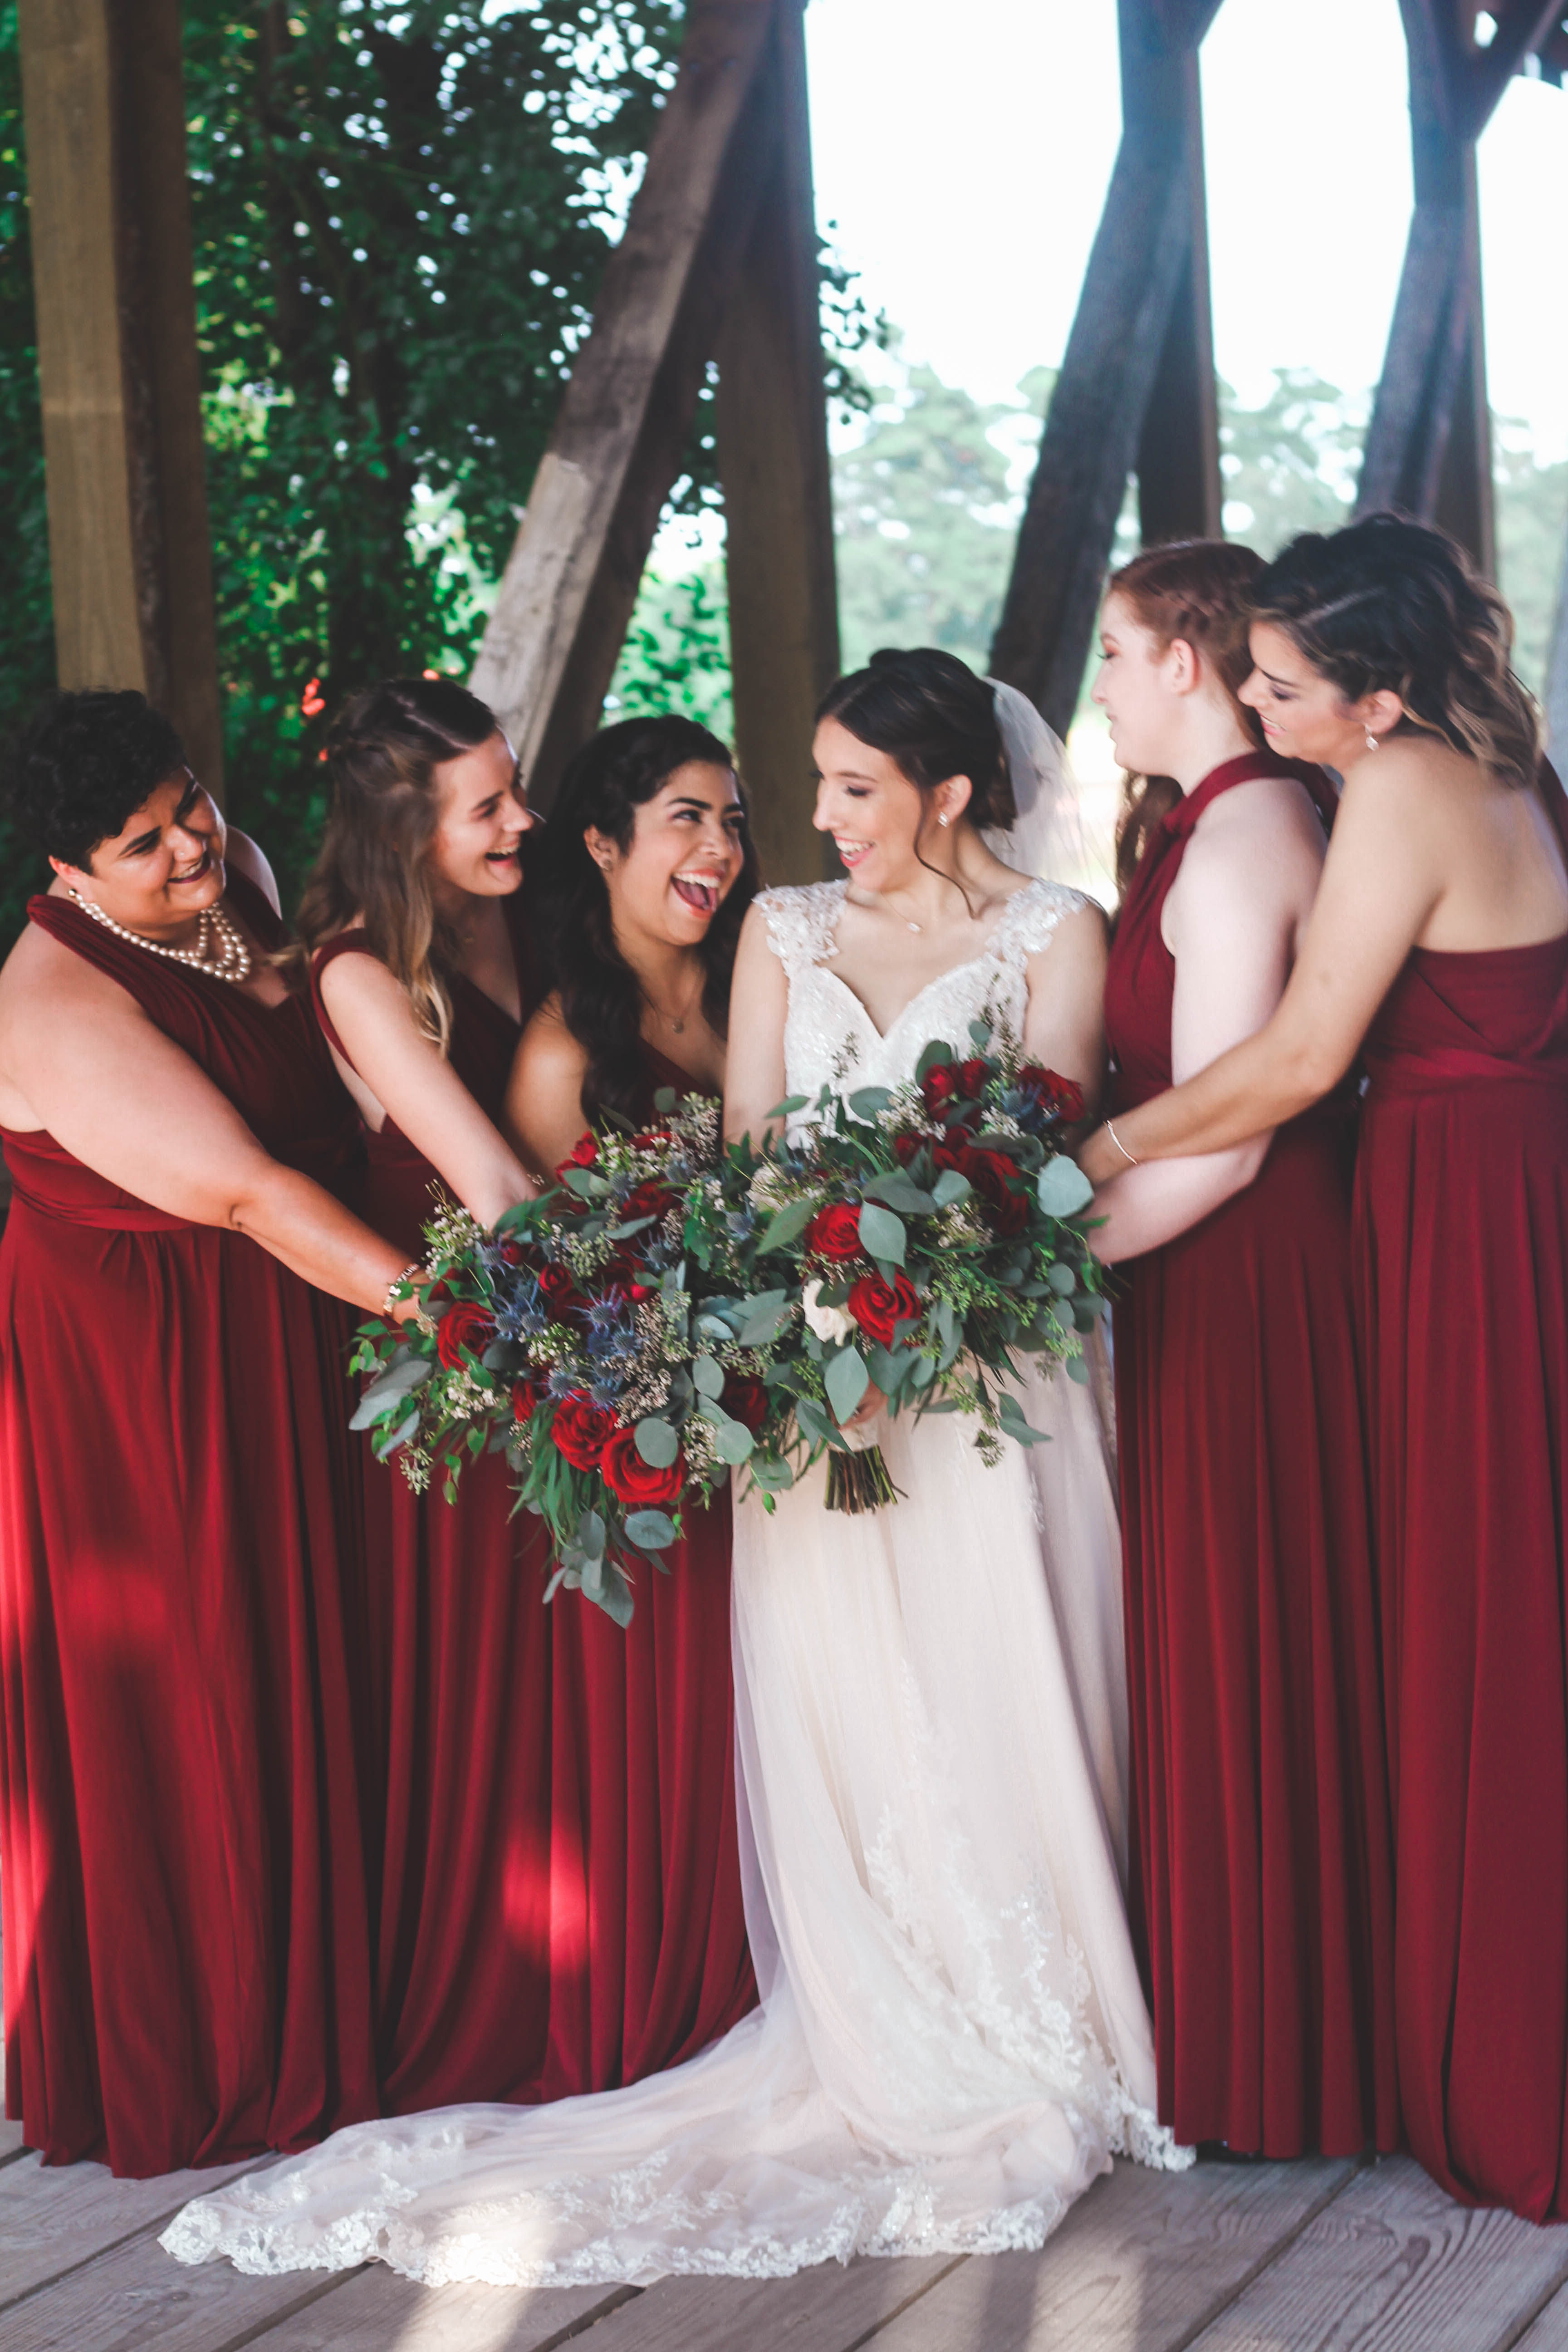
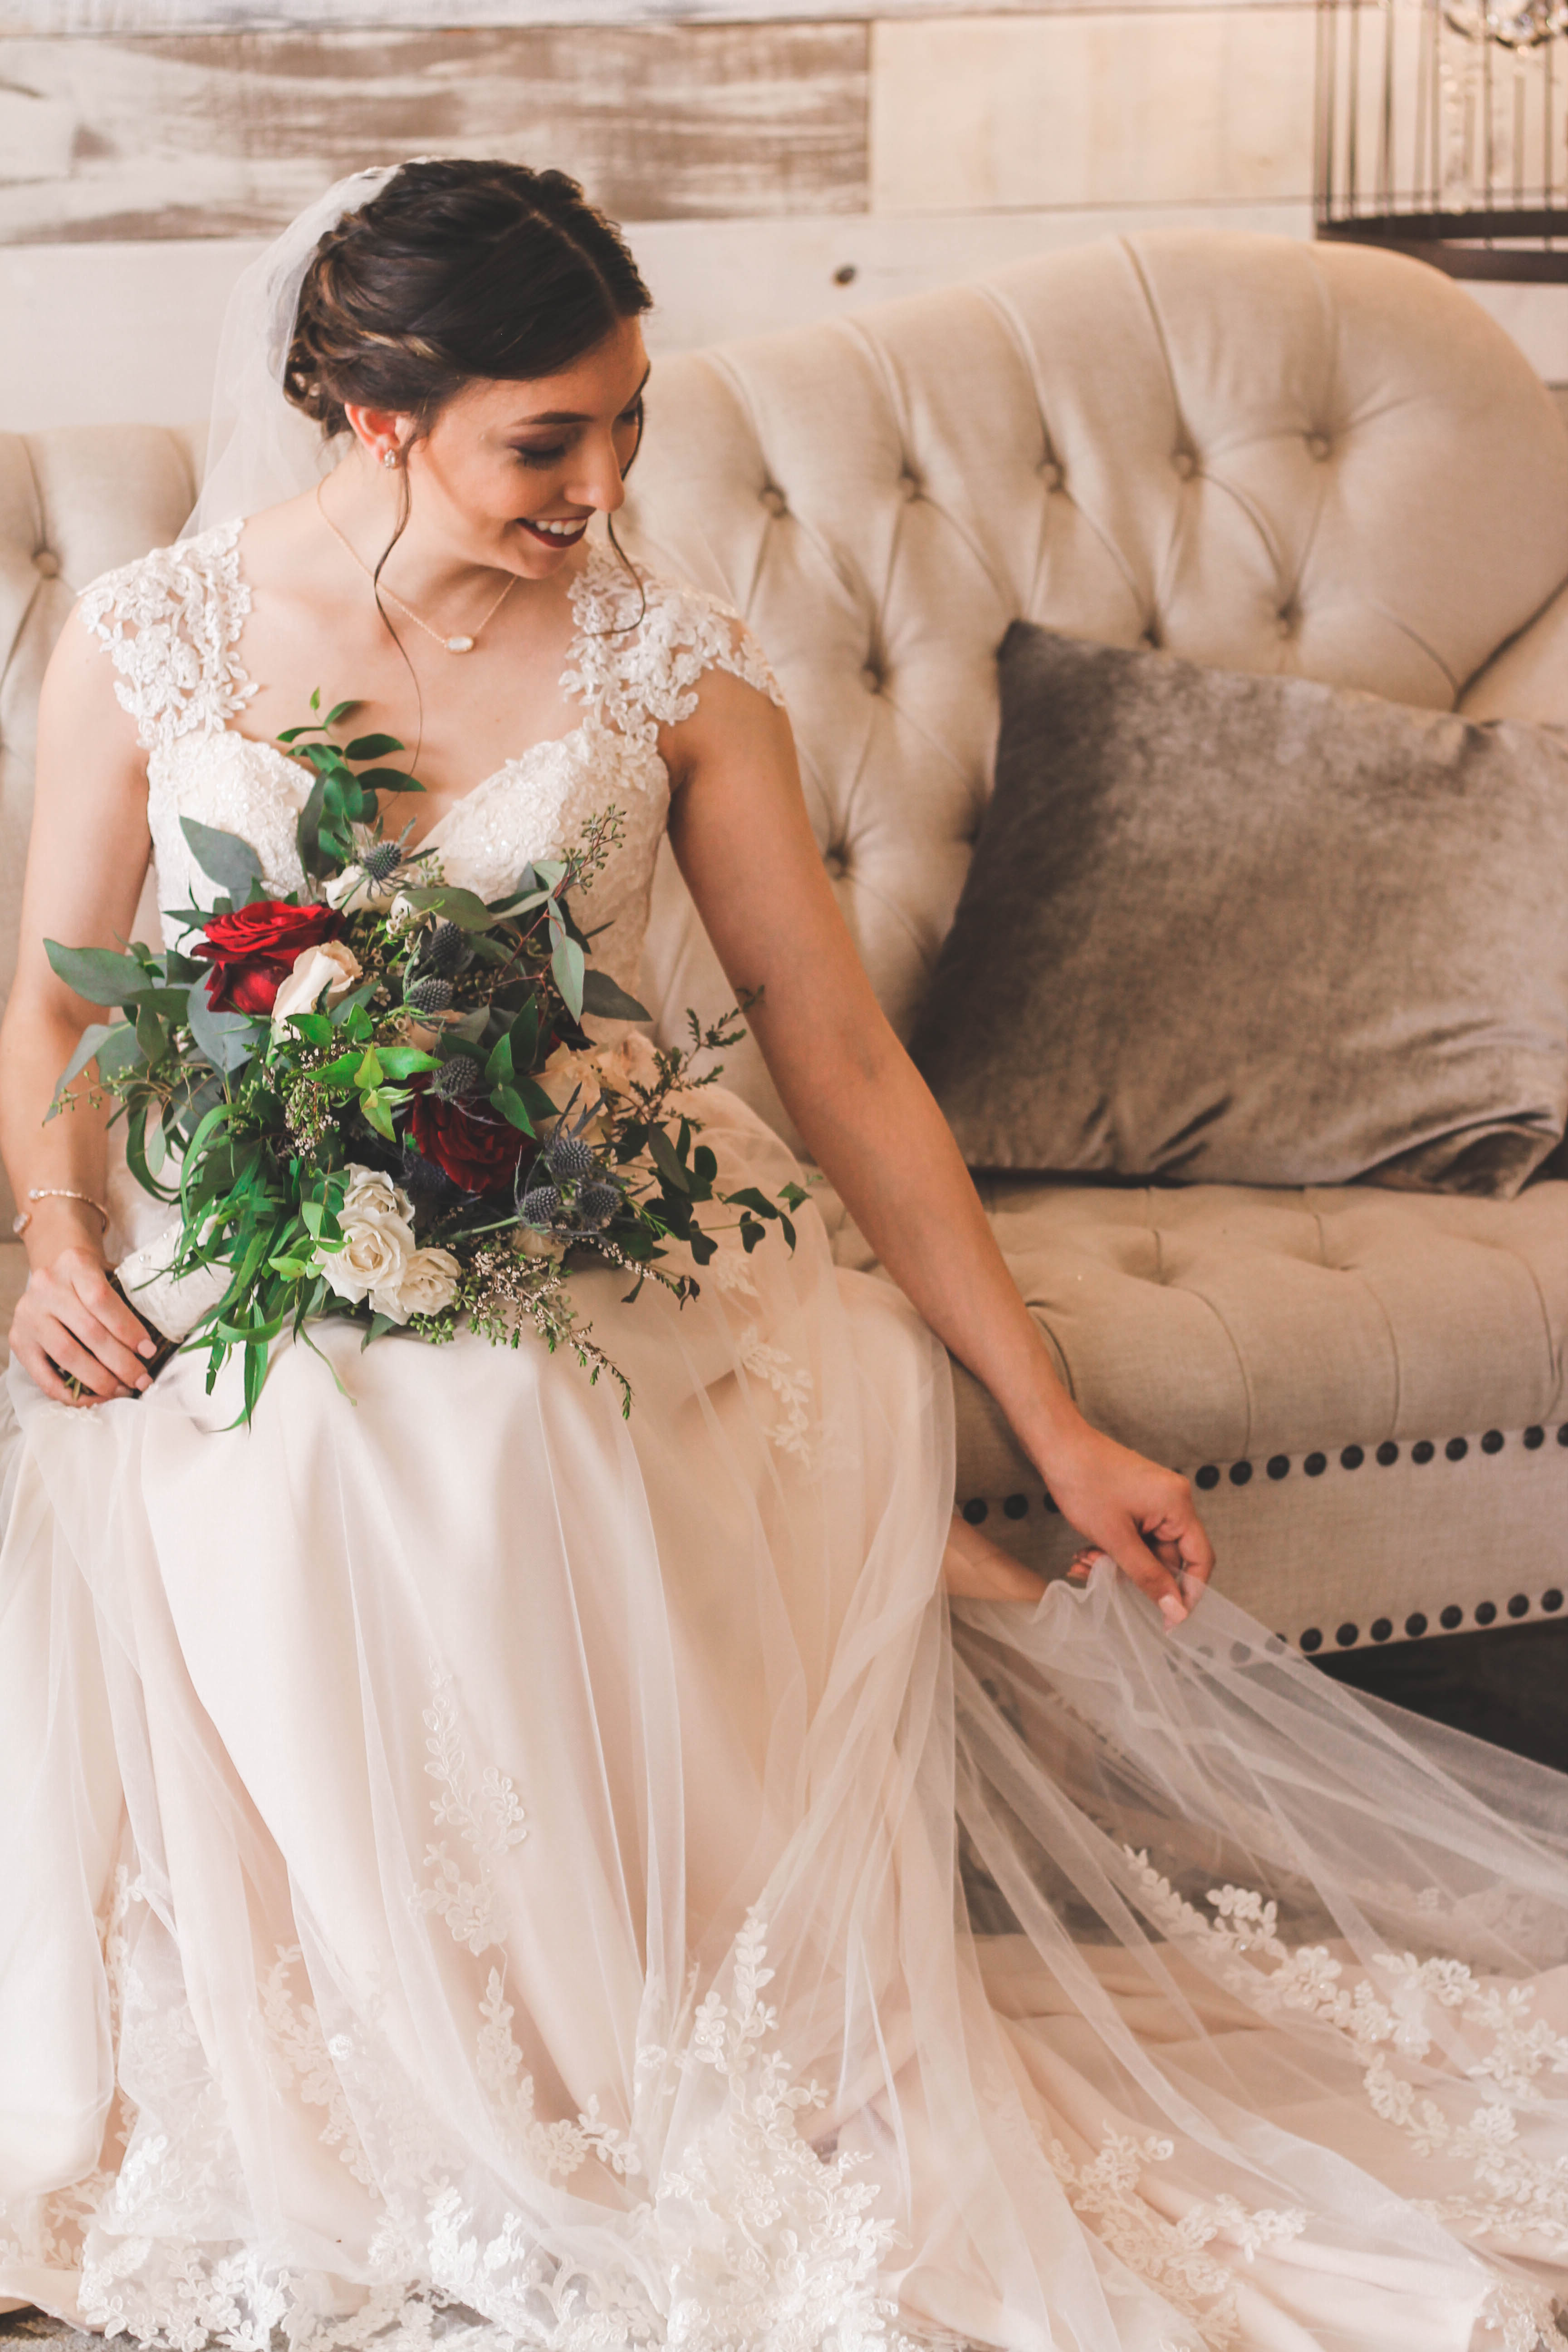
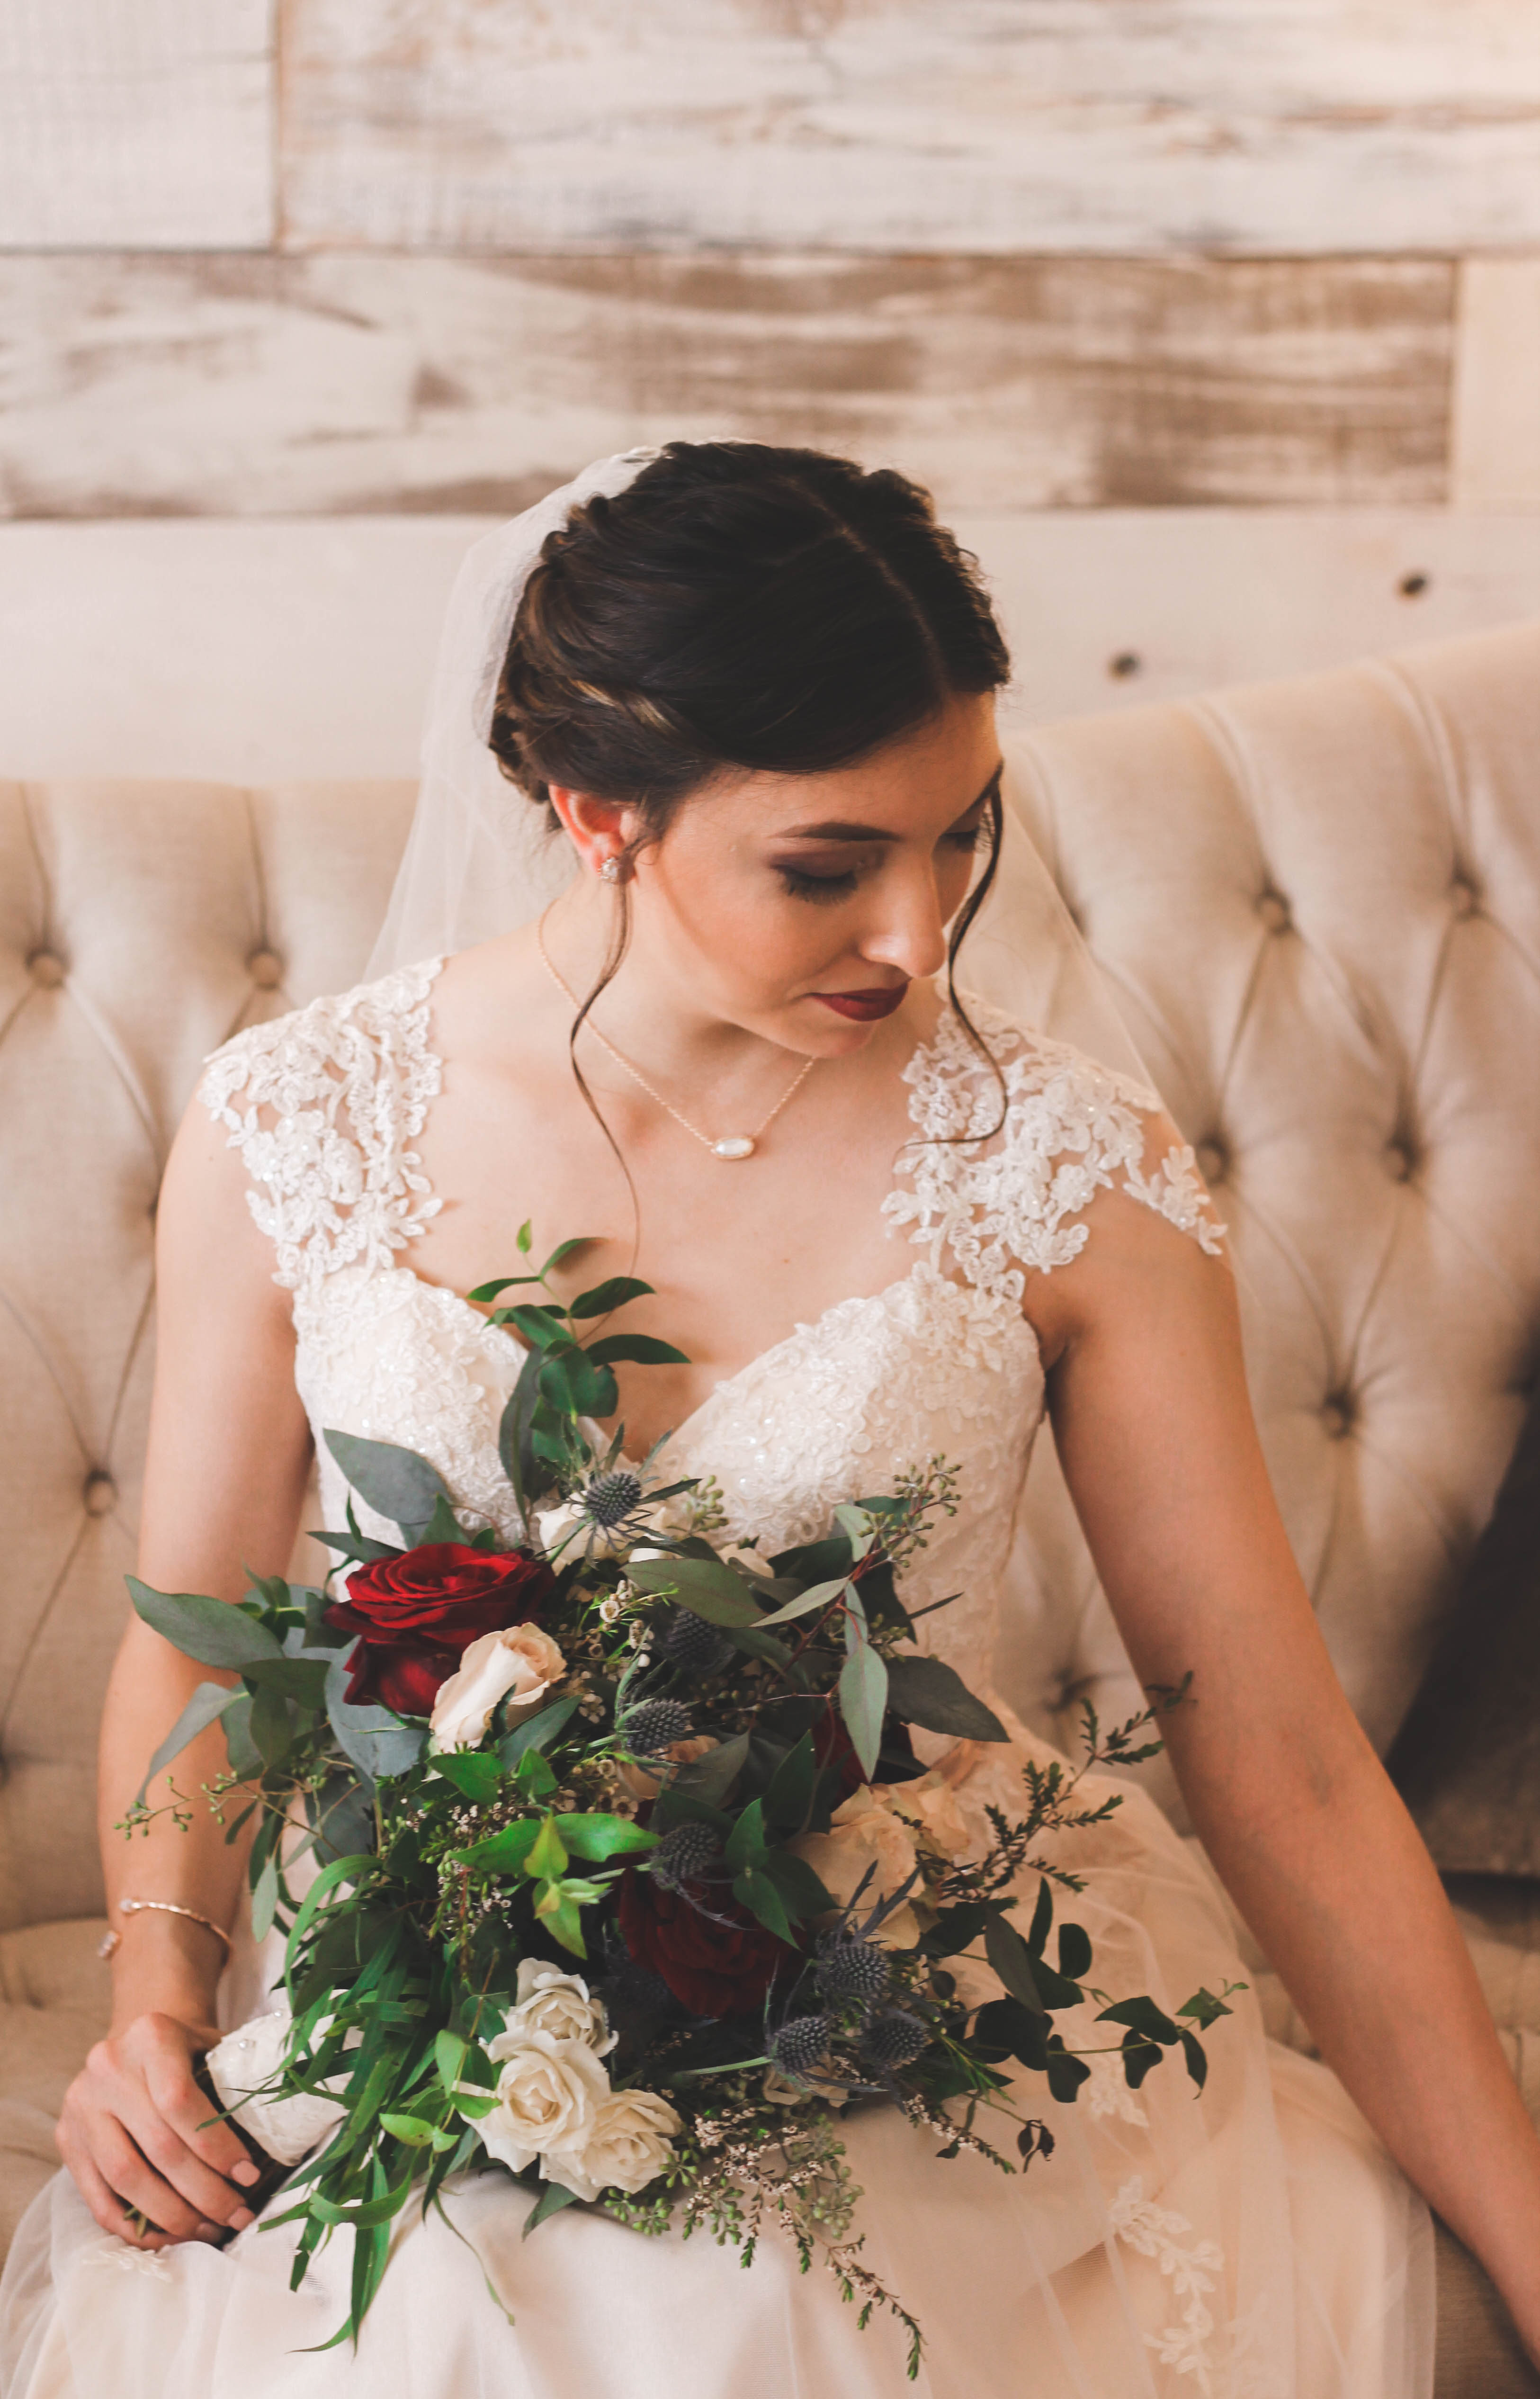
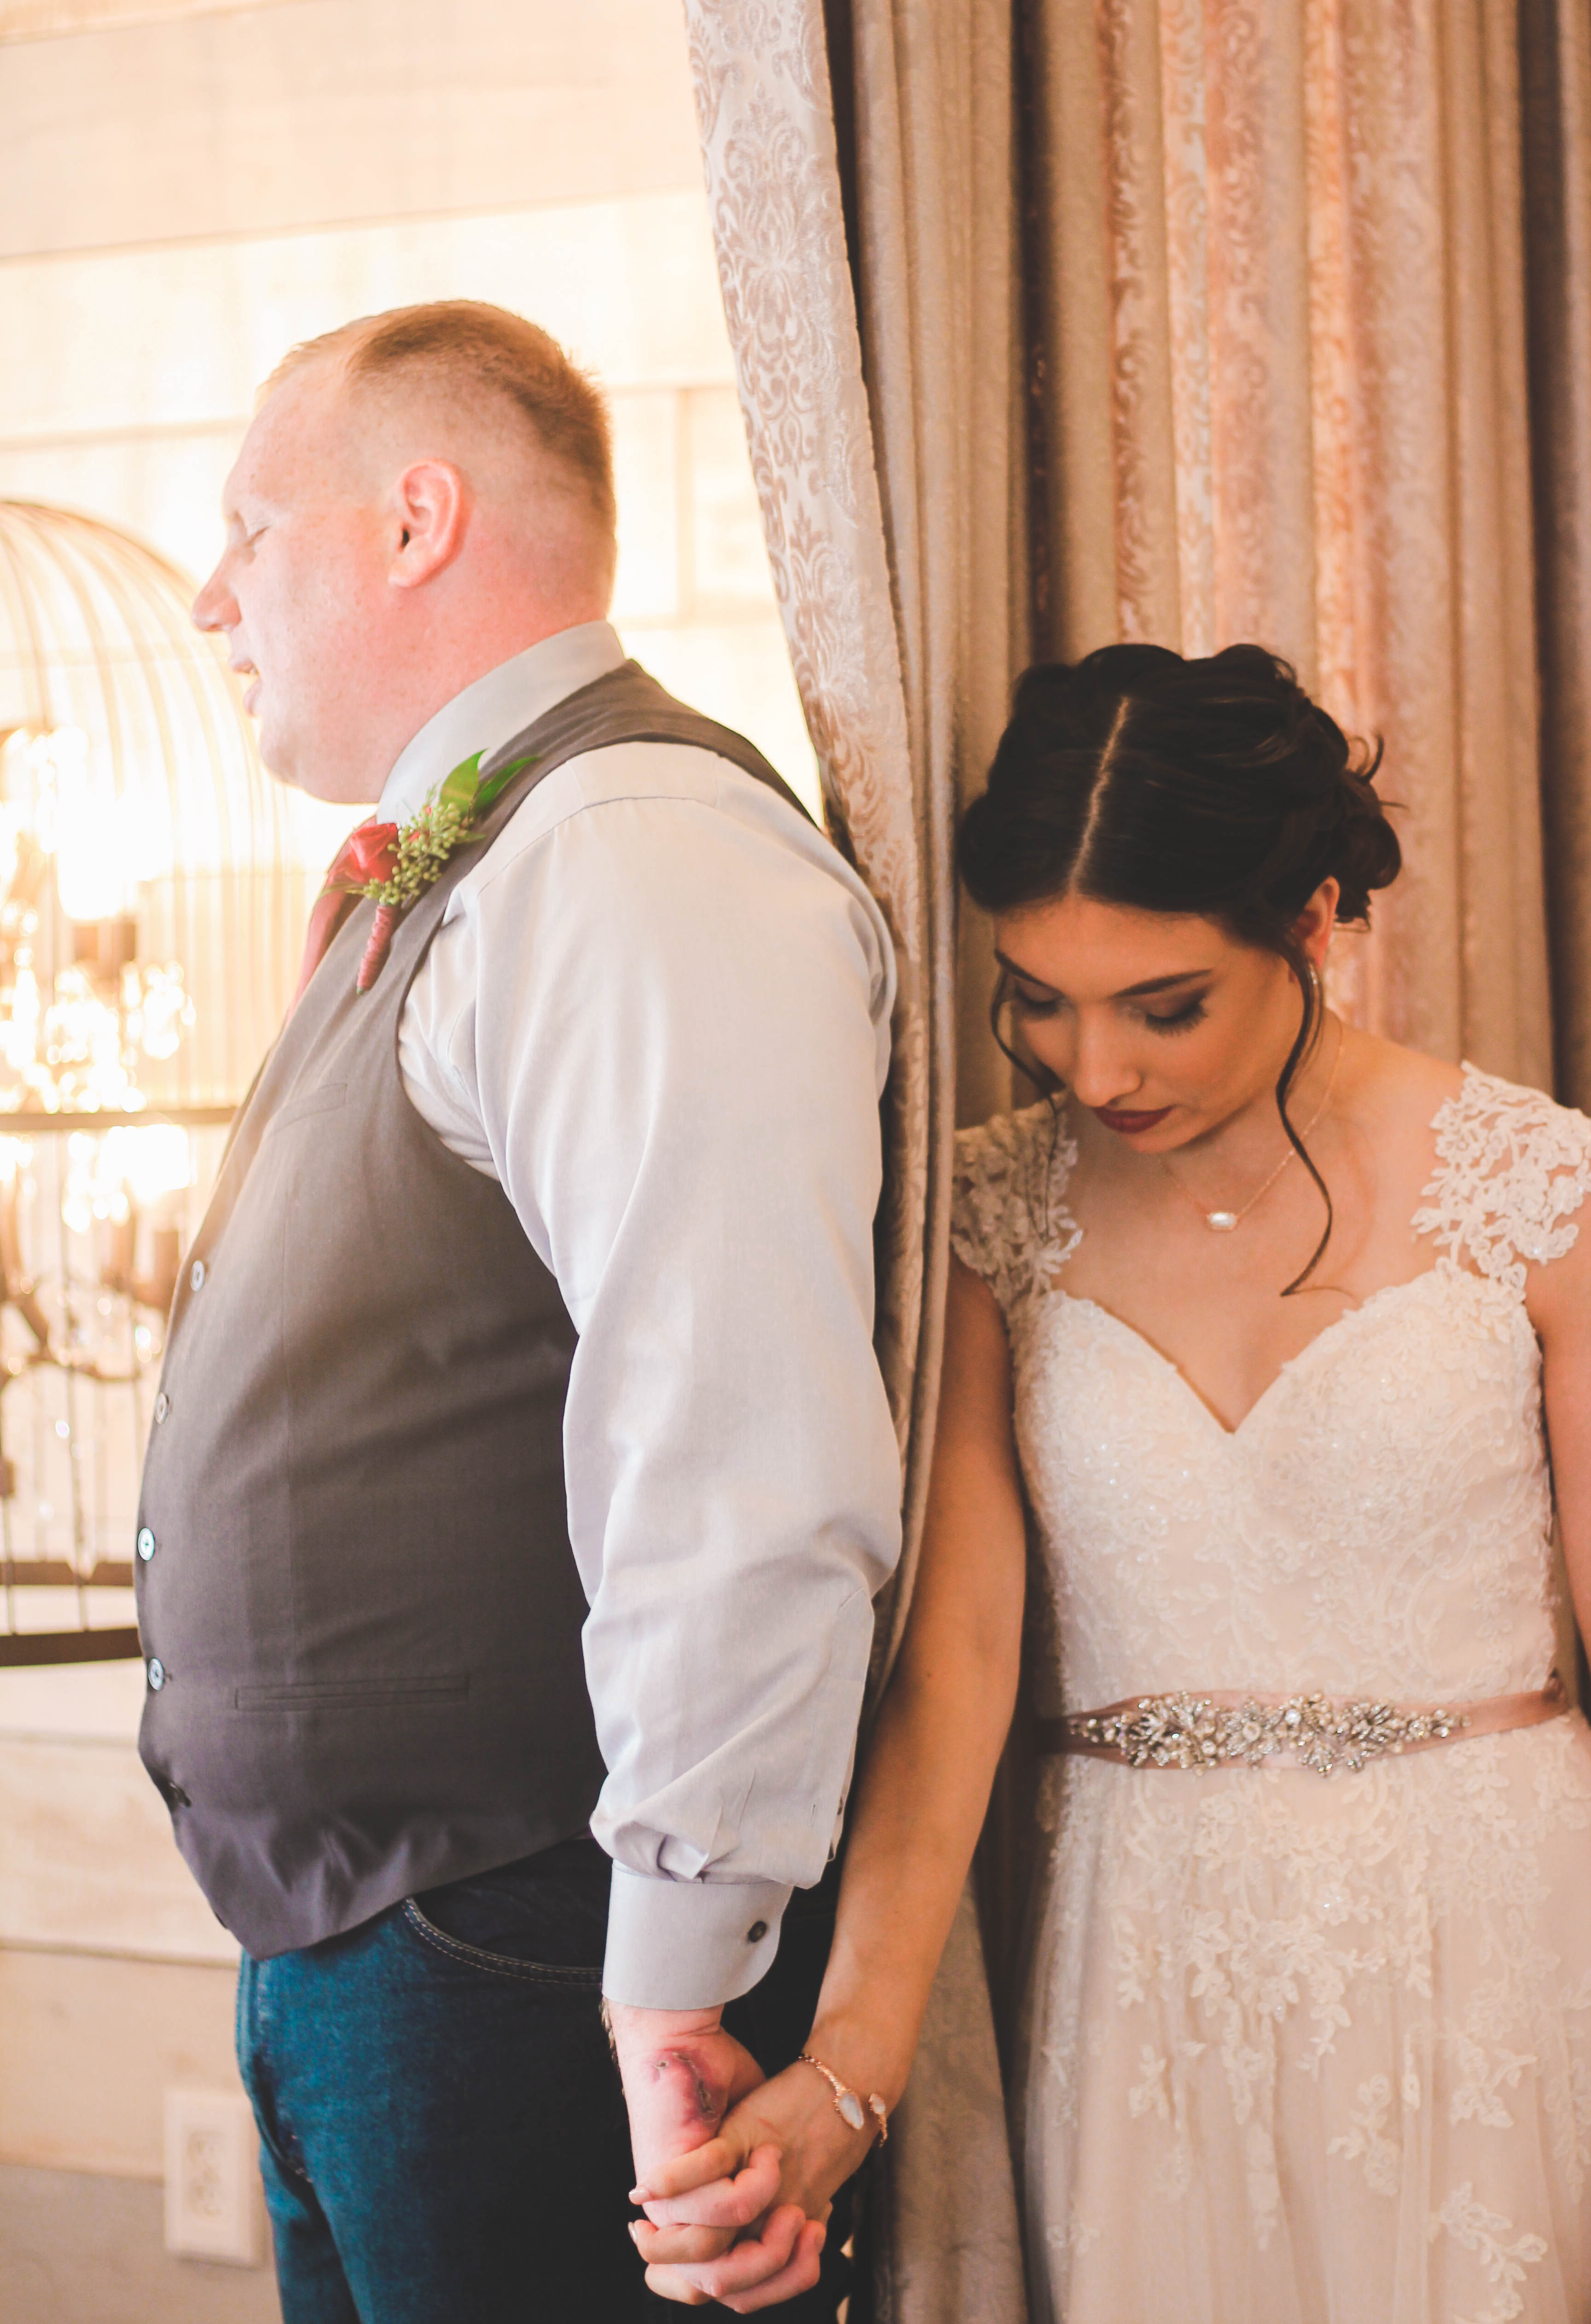
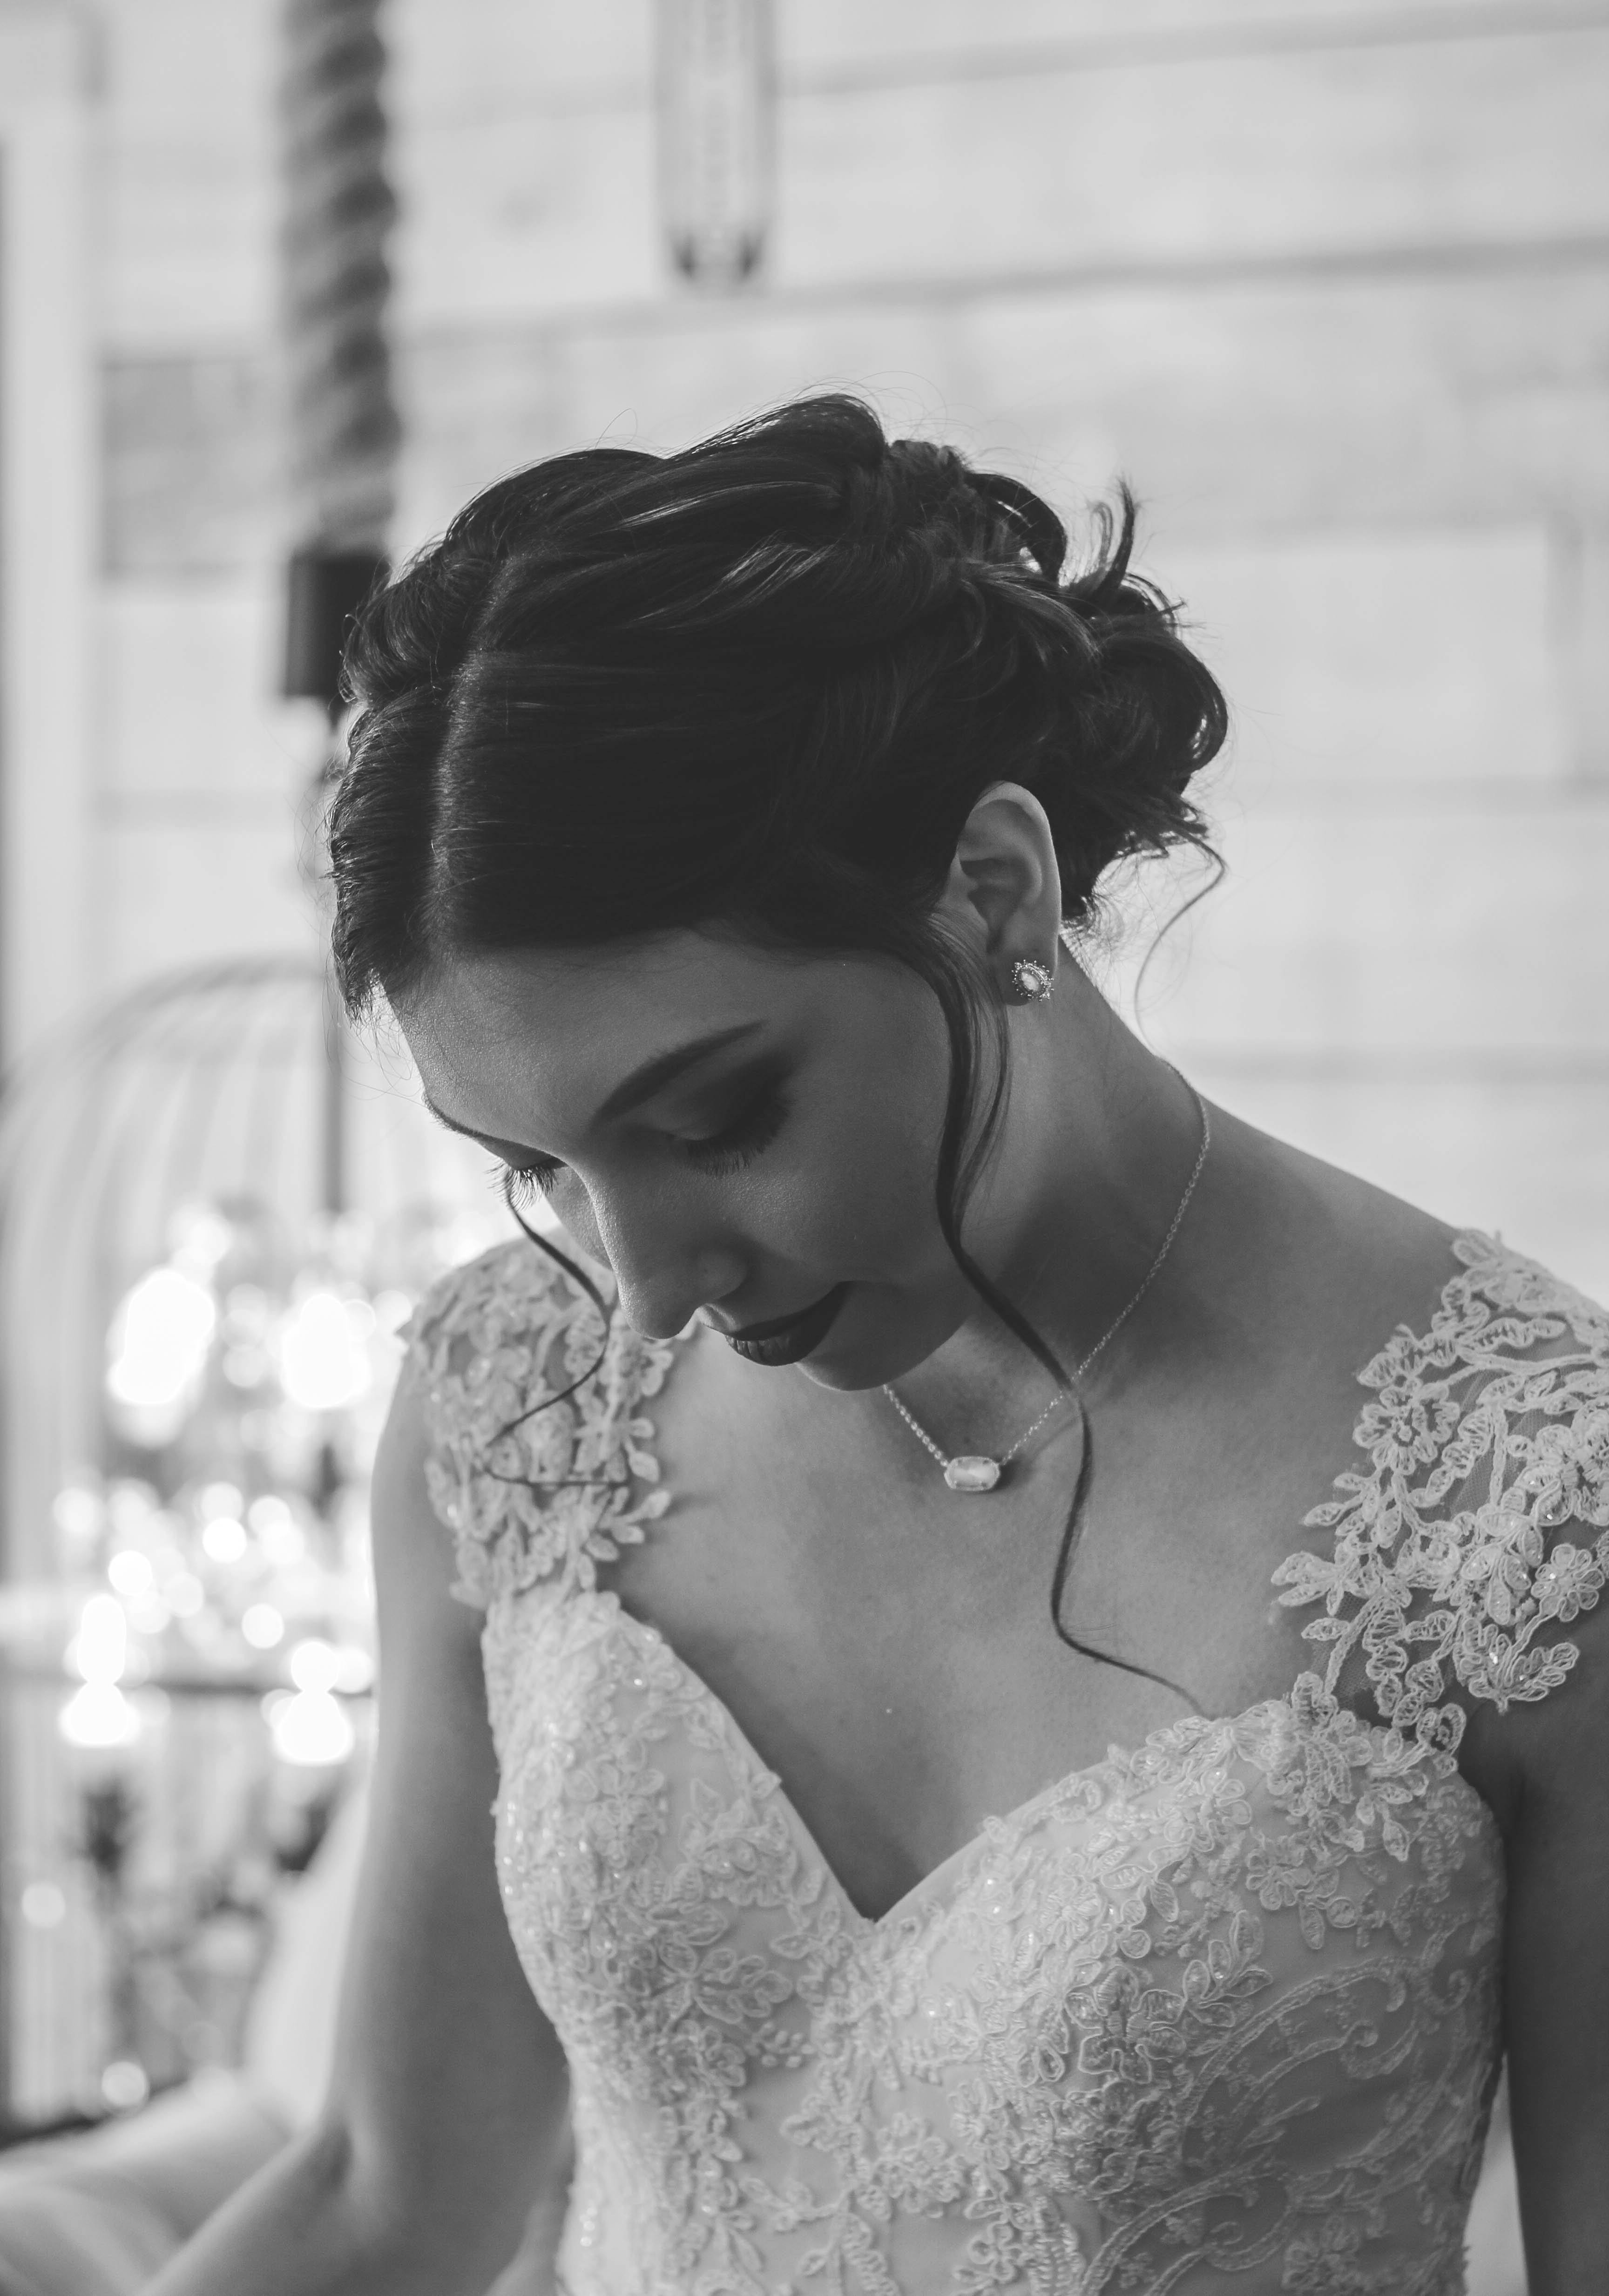
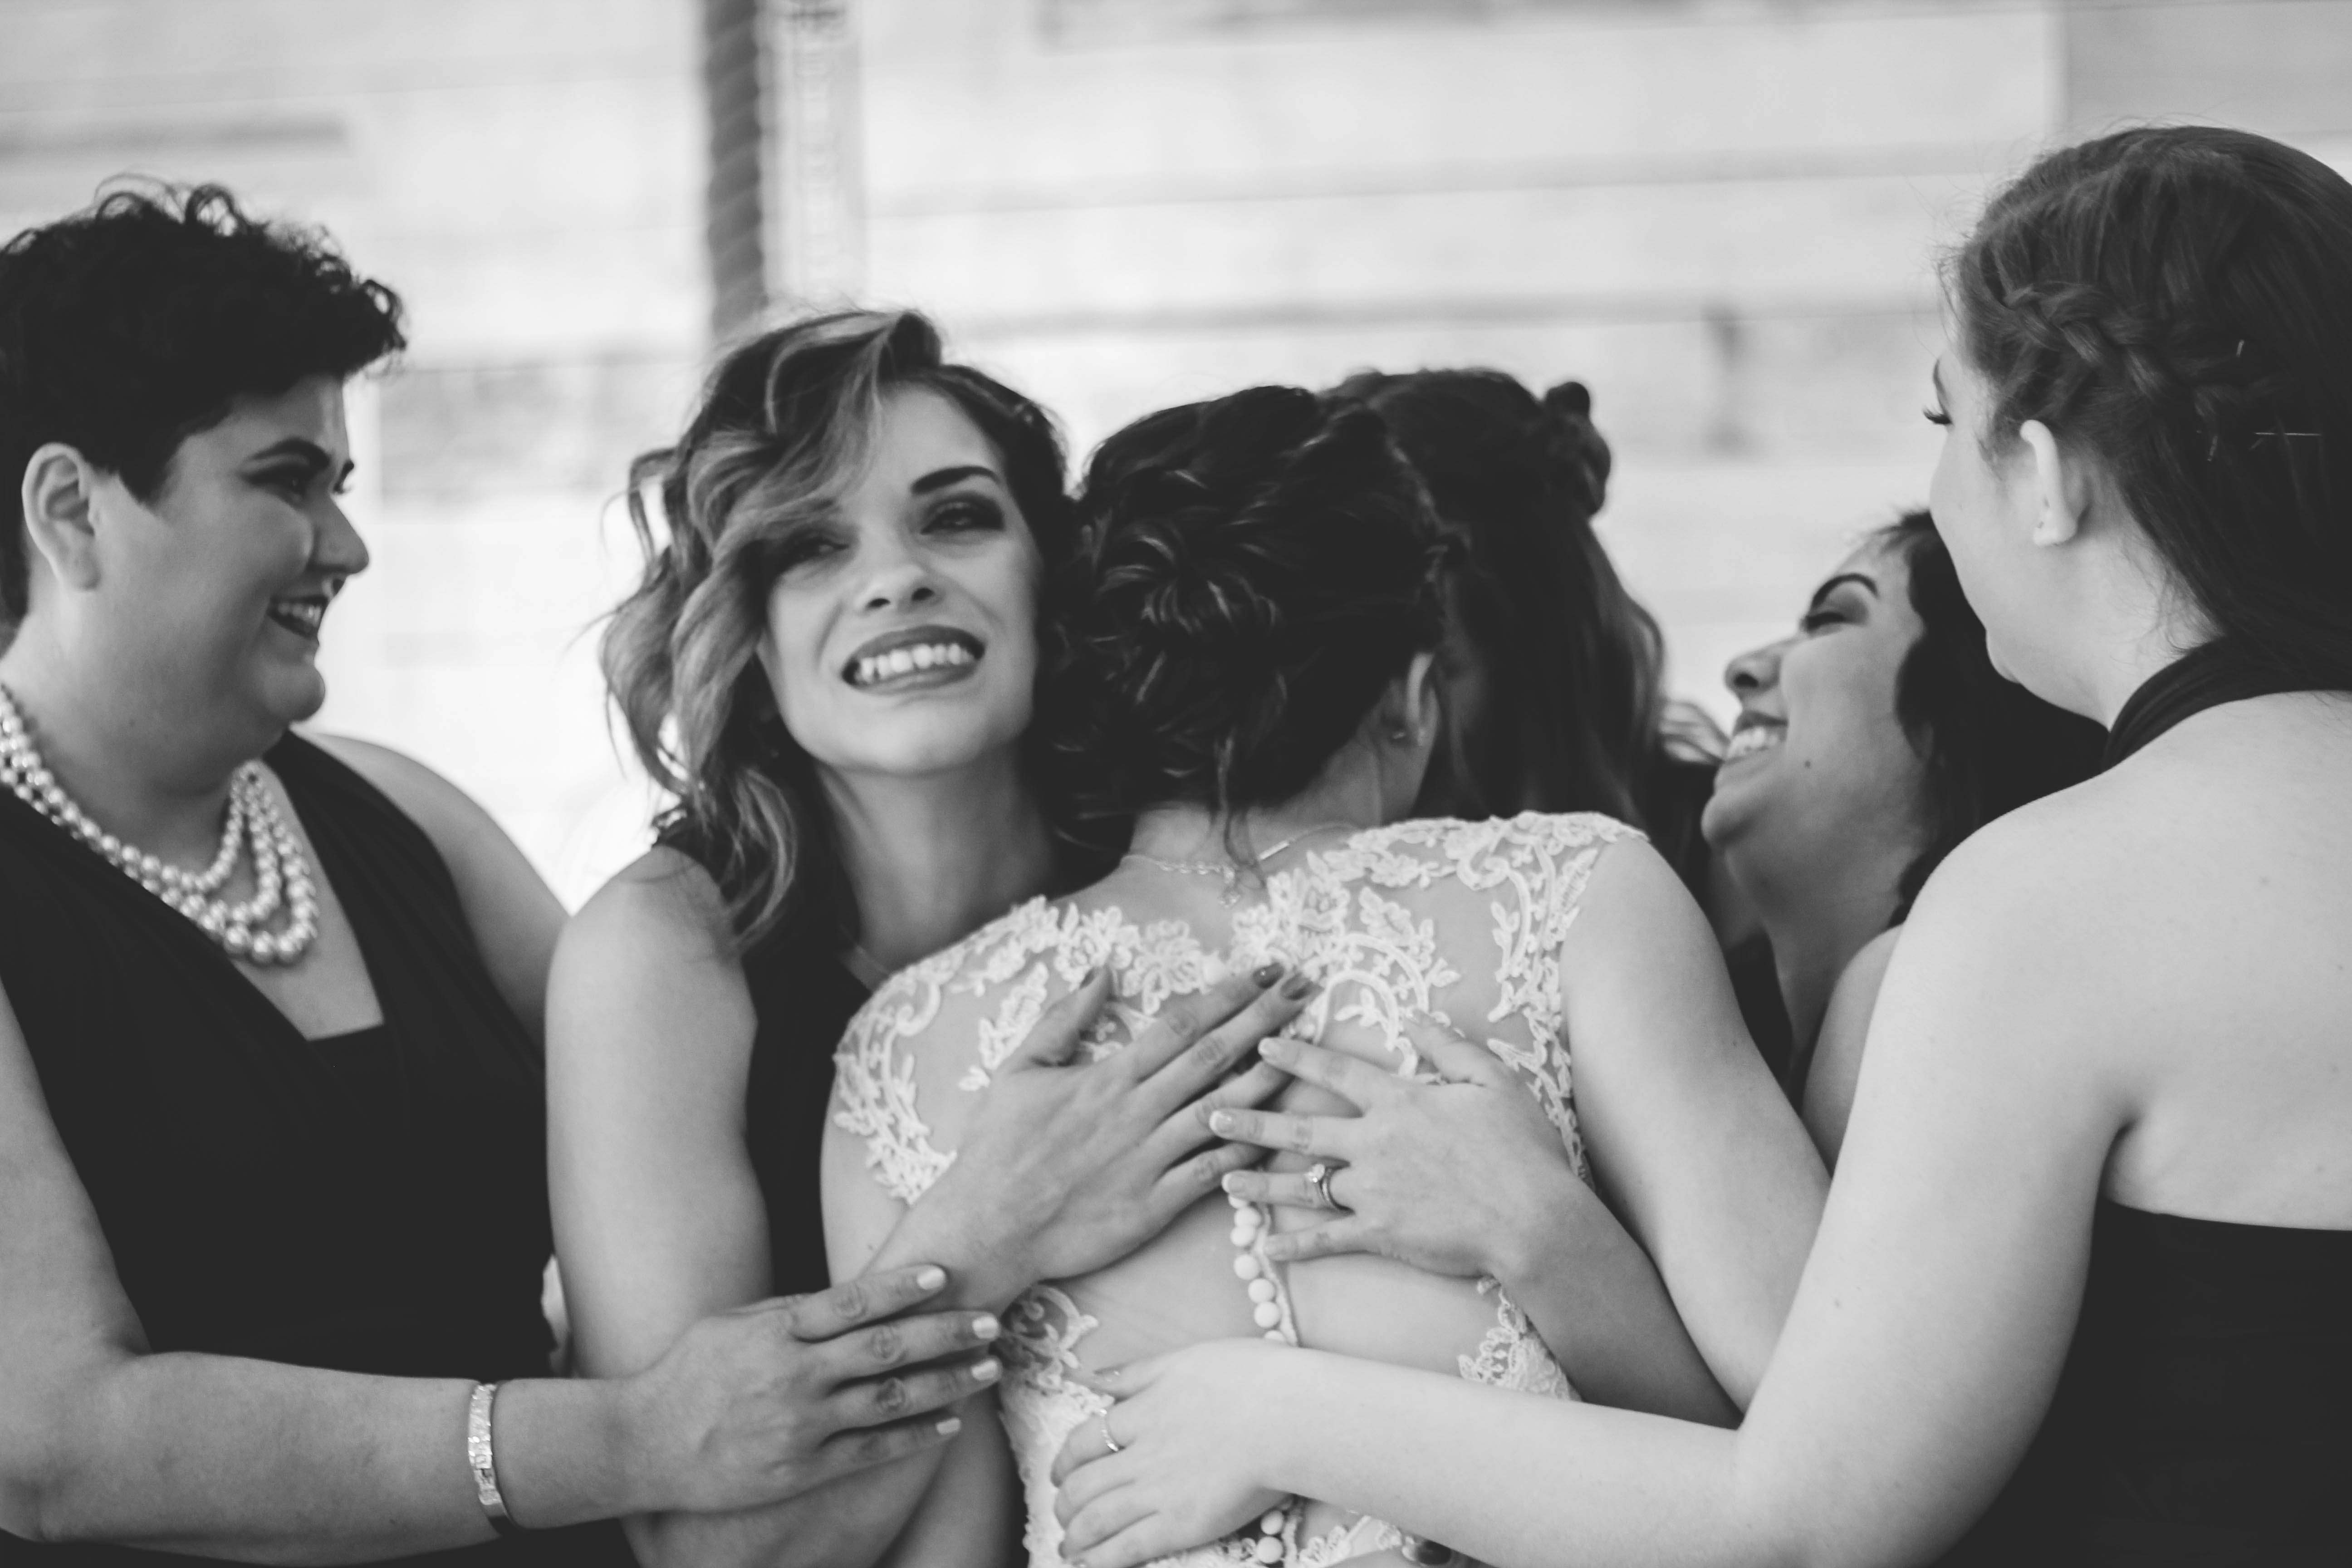
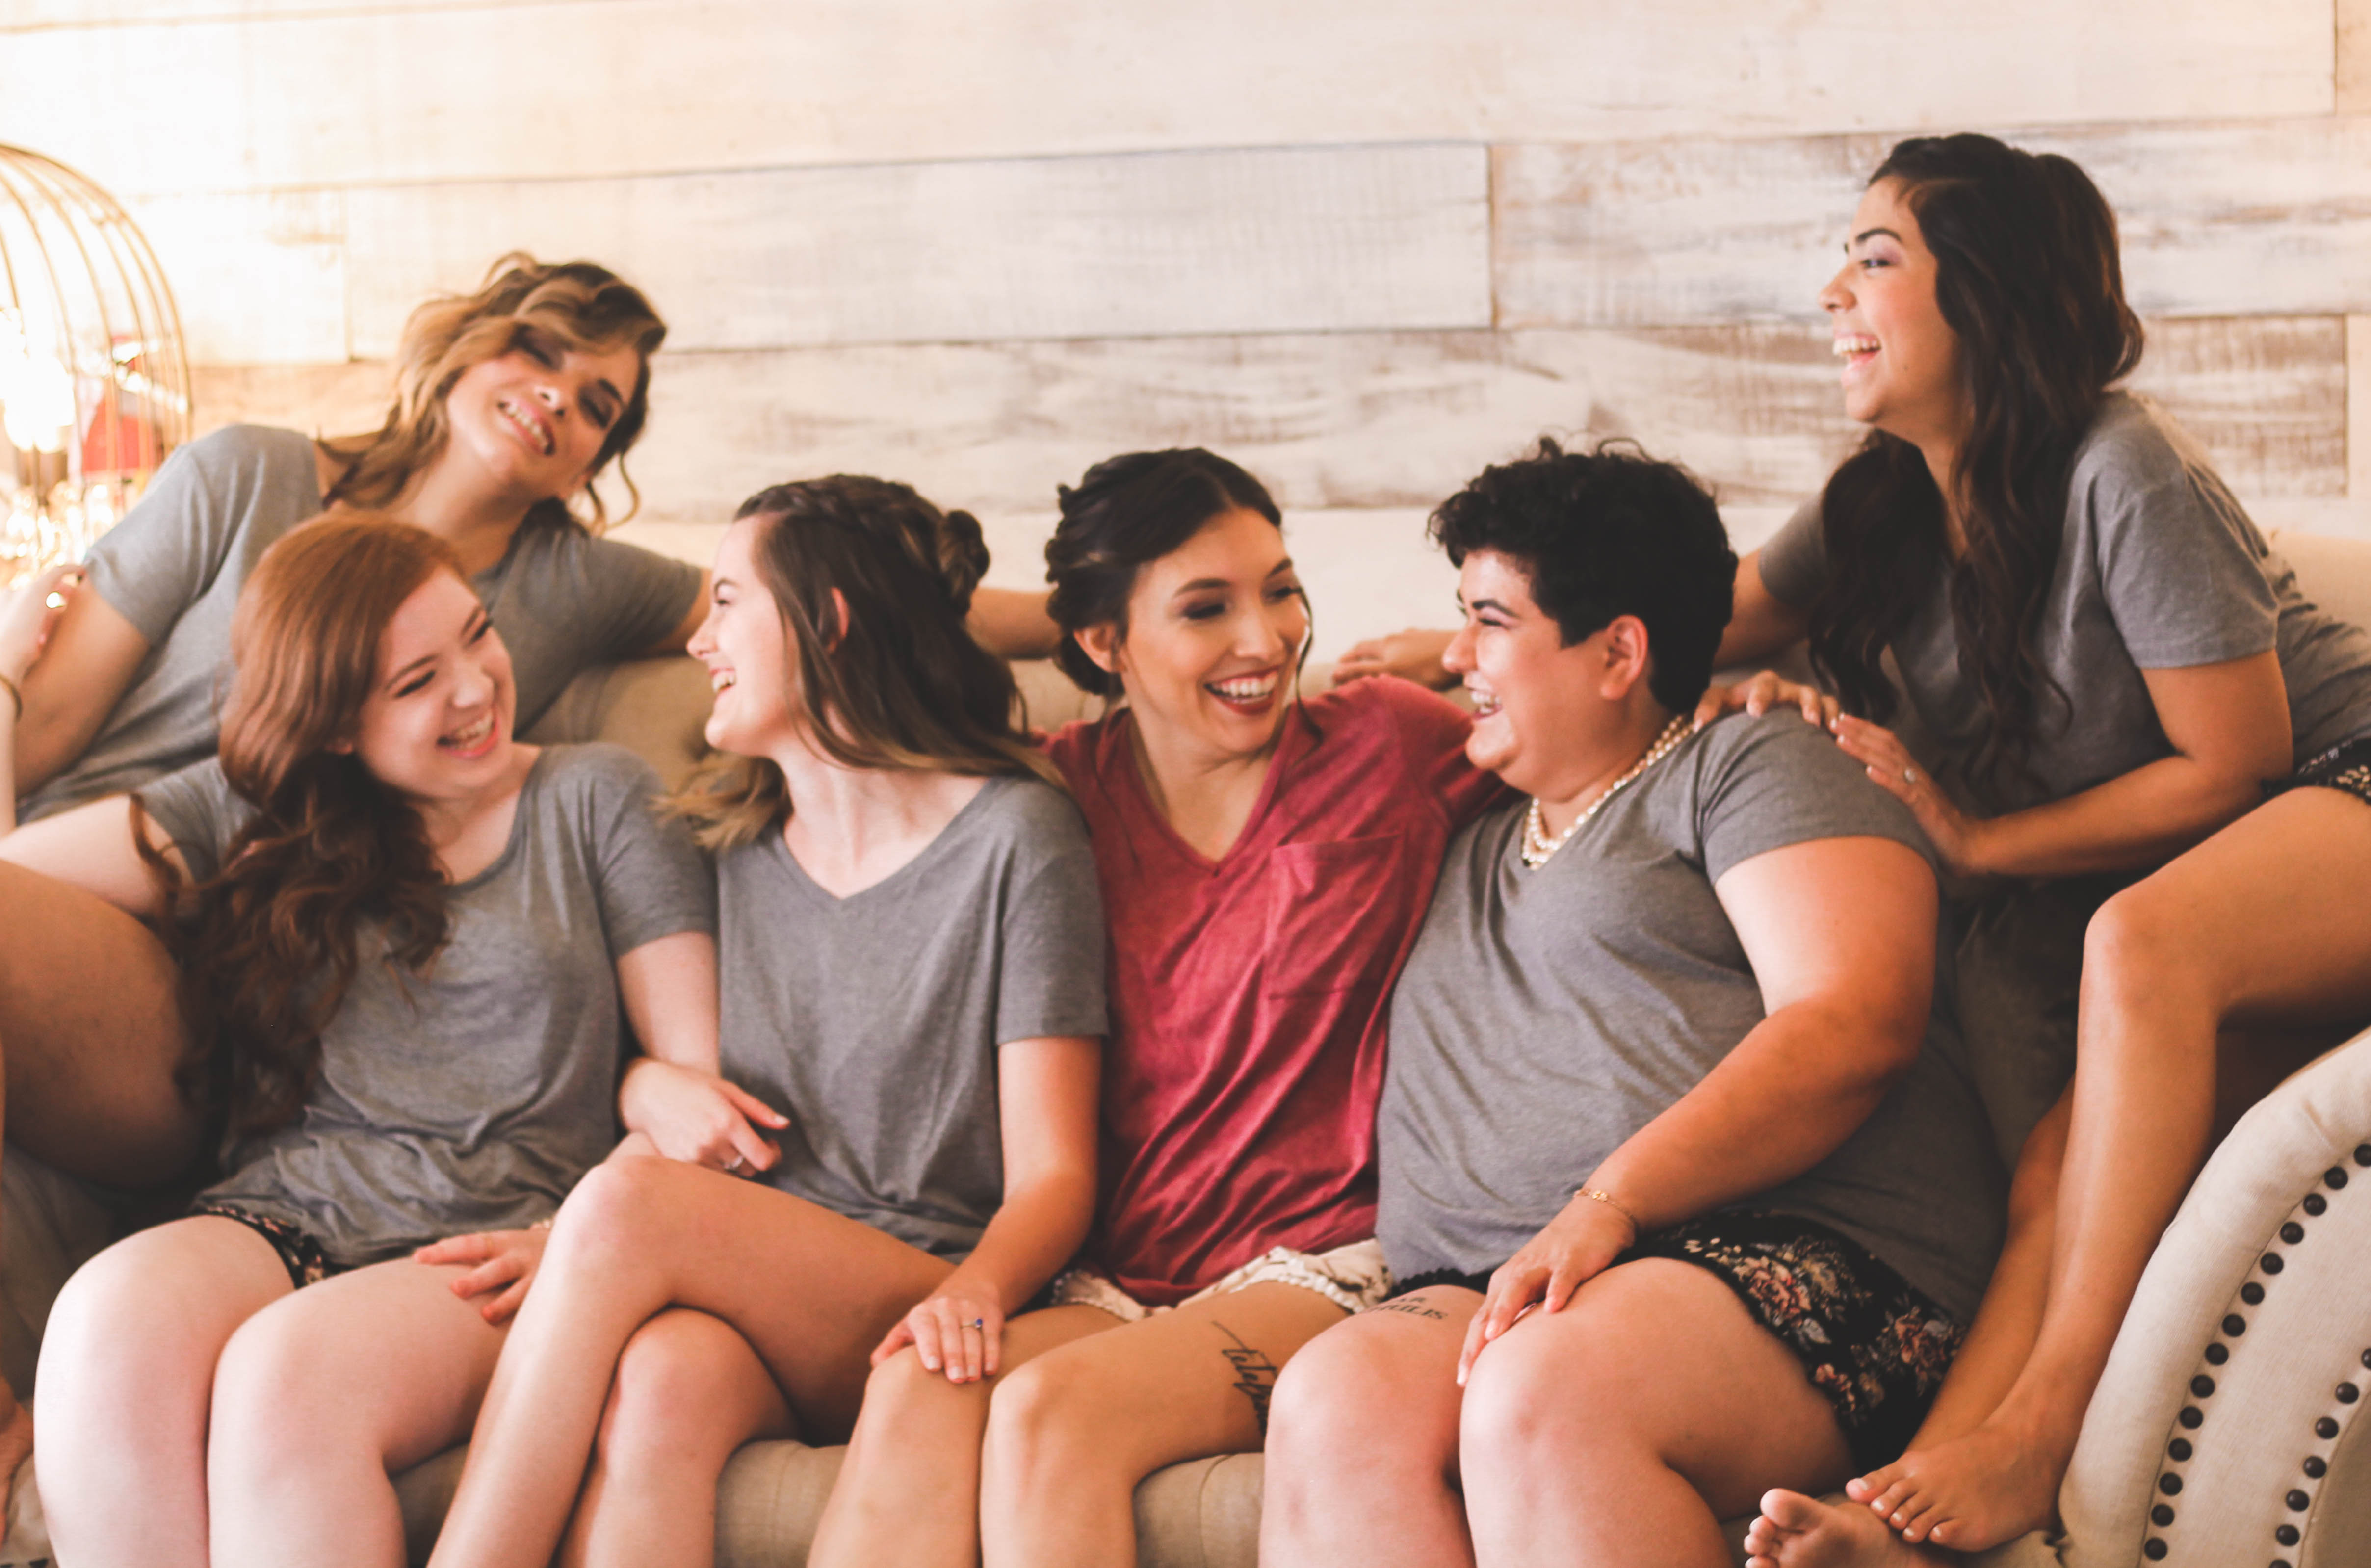
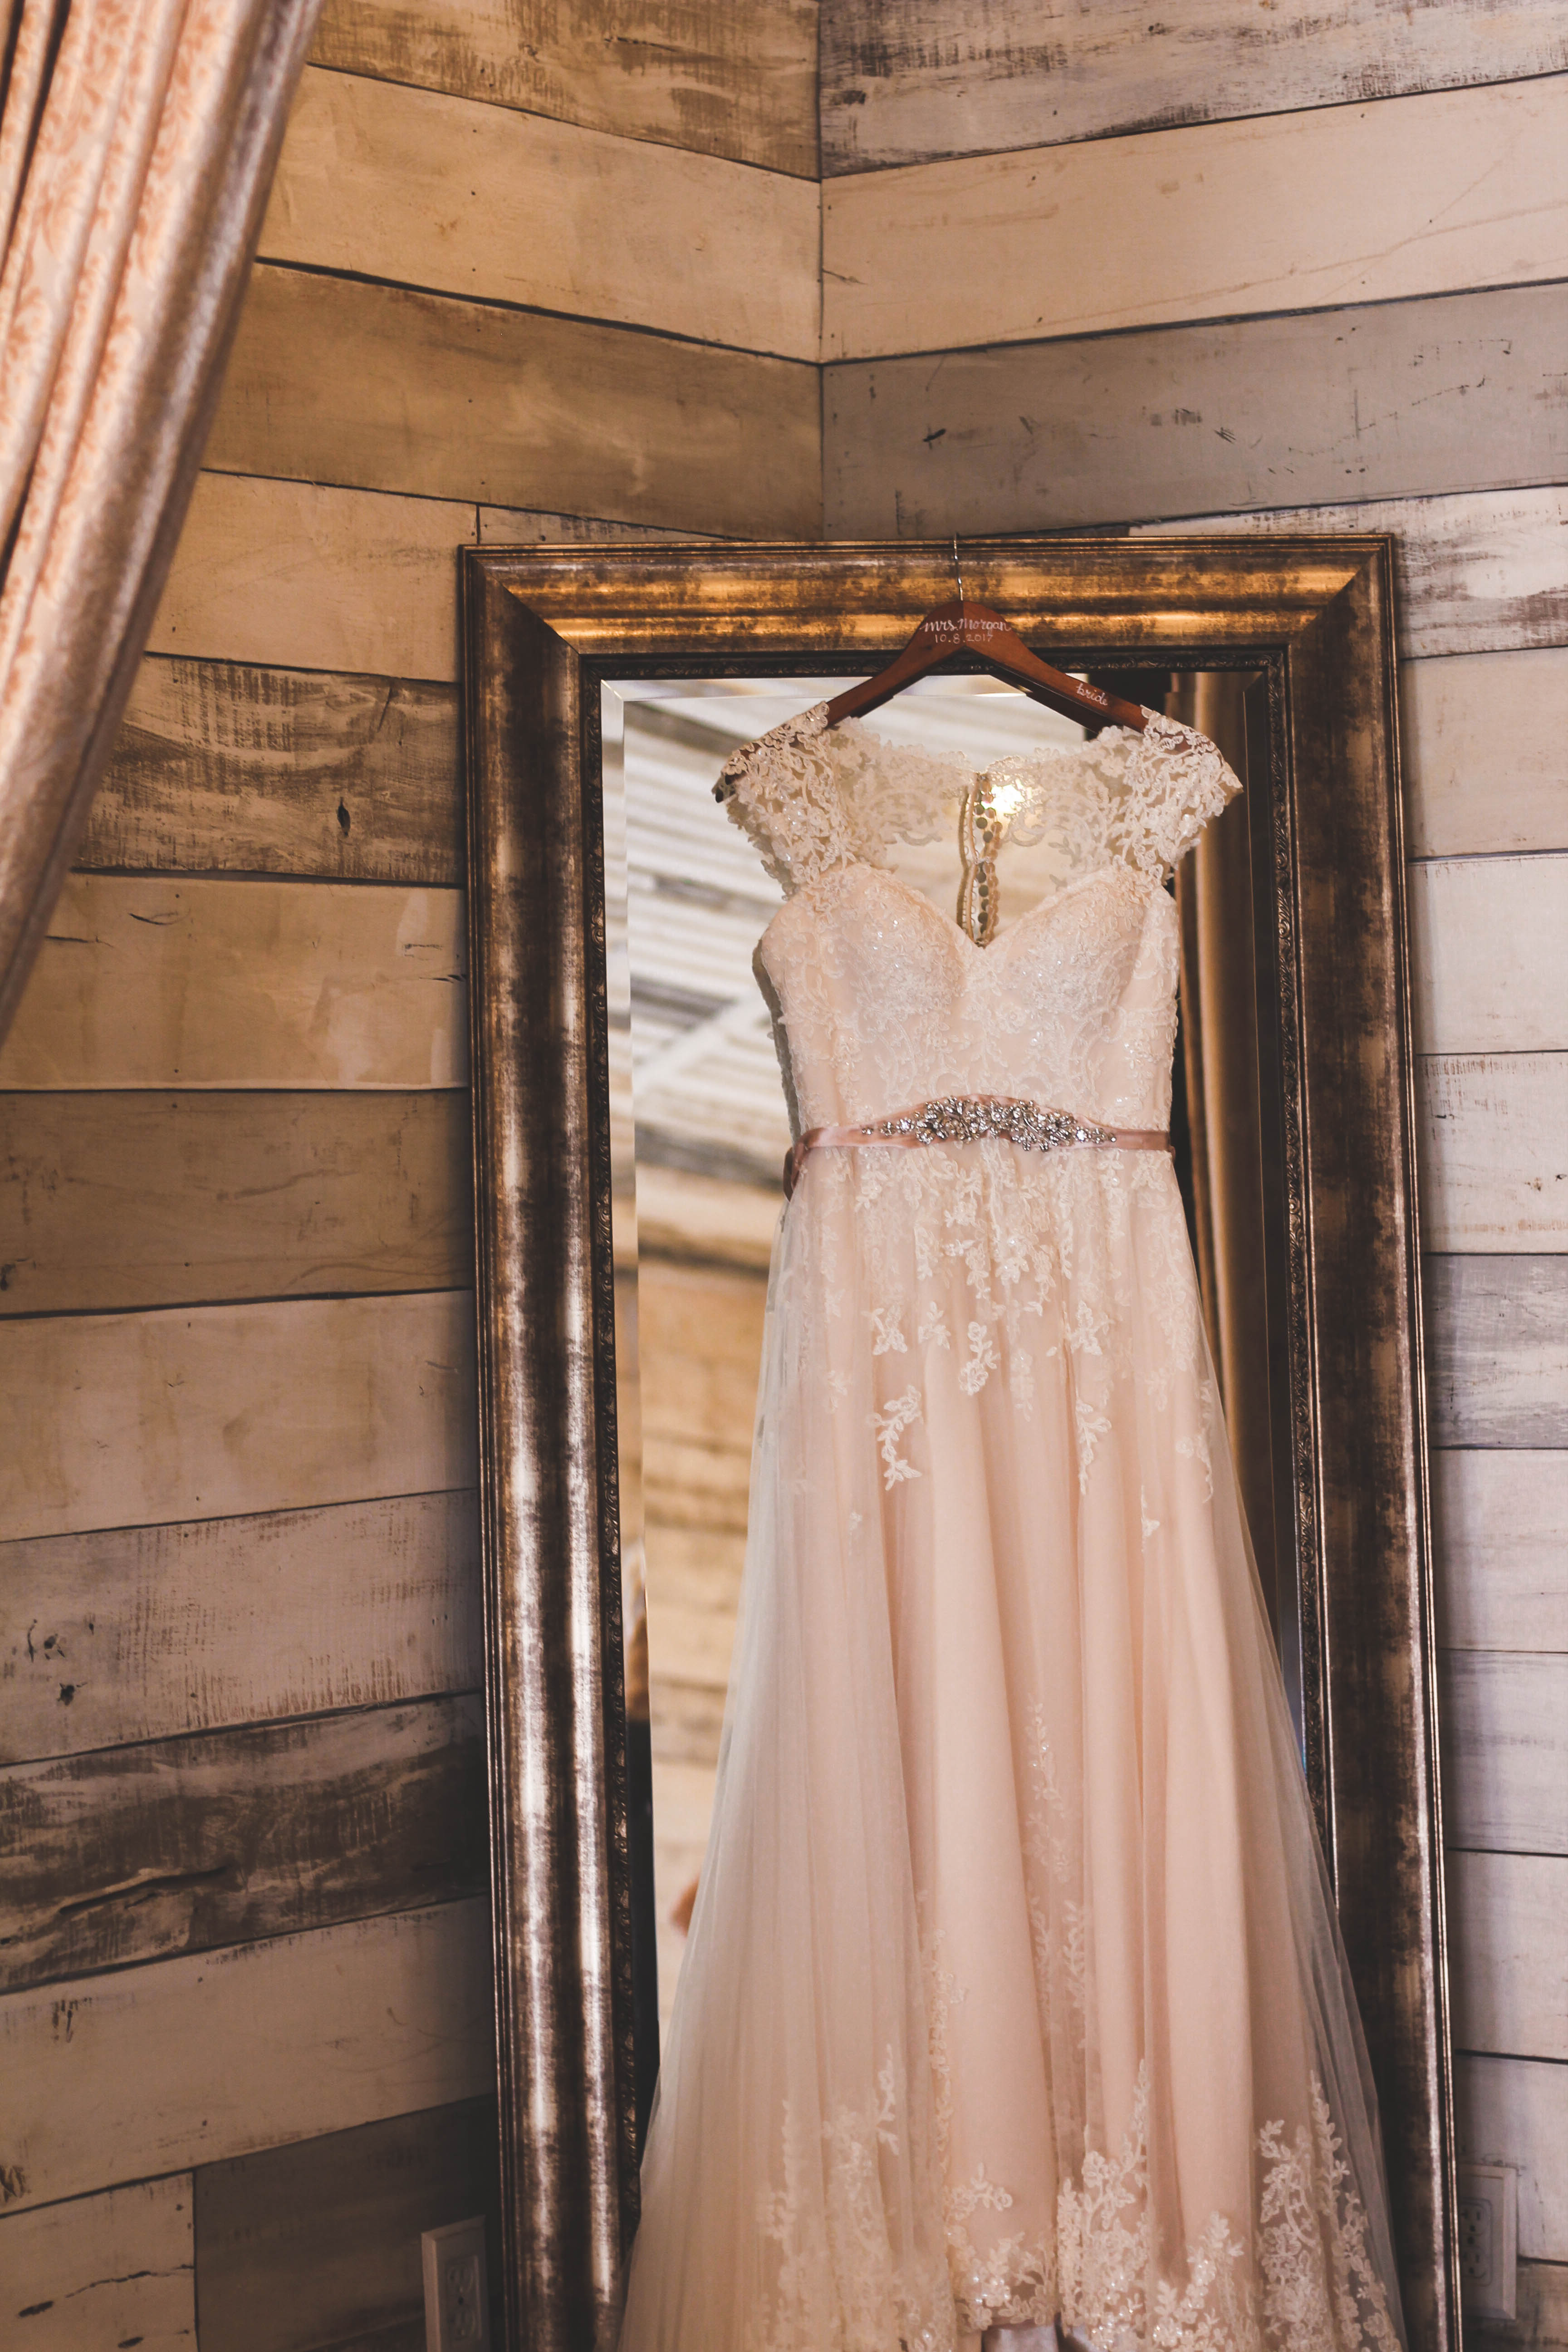
Weddings
- Good Package: $2000
- approximately 500 images
- 8-hour coverage
- flash drive of high quality, edited images delivered 4-6 weeks after the wedding date
- single photographer coverage
- sneak preview of up to 50 images sent within 1-3 days
- includes ceremony, family pictures & either pre-wedding images (first look) or reception (send-off)
- deposit of $1000 must be made upon booking date
- engagement shoot NOT included
- All Good Package: $3000
- approximately 700 images
- all day coverage
- flash drive of high quality, edited images delivered 4-6 weeks after the wedding date
- single photographer coverage
- sneak preview of up to 75 images sent within 1-3 days
- includes ceremony, family pictures, & both pre-wedding (first look) and reception images (send-off)
- deposit of $1,000 must be made upon booking date
- complimentary engagement shoot included
Contact me at goodallphotos1@gmail.com for specific booking information and questions.


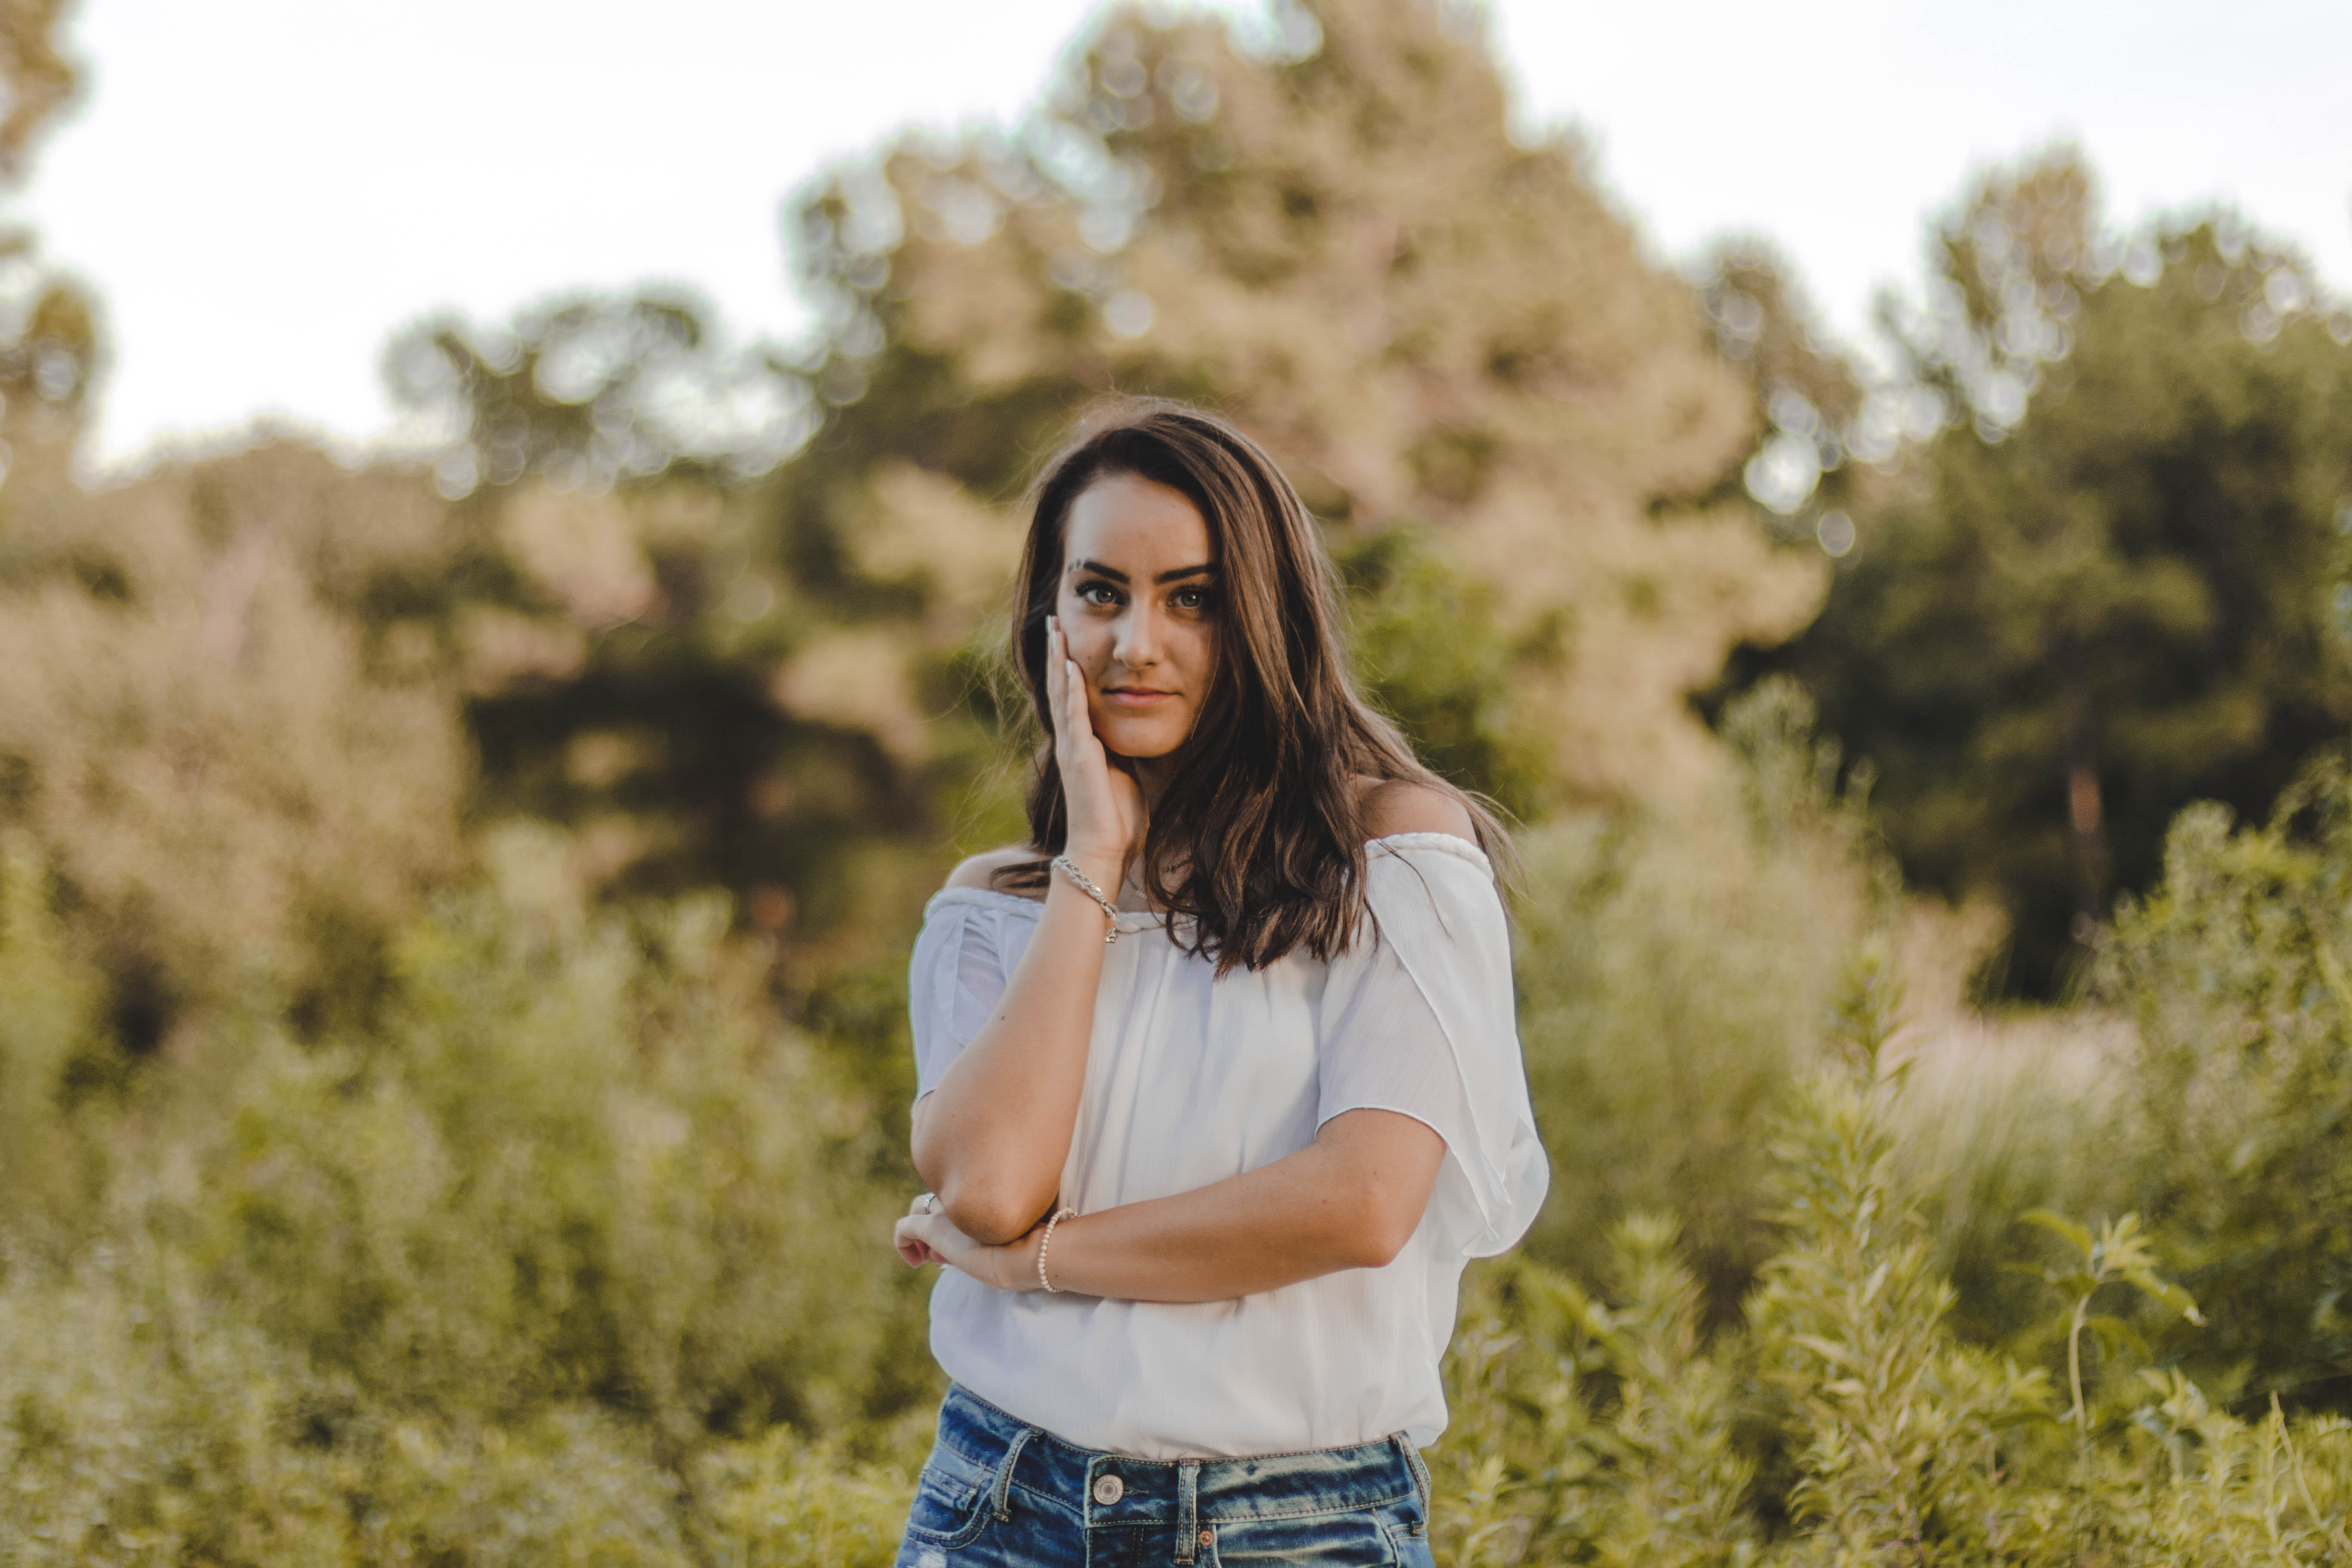
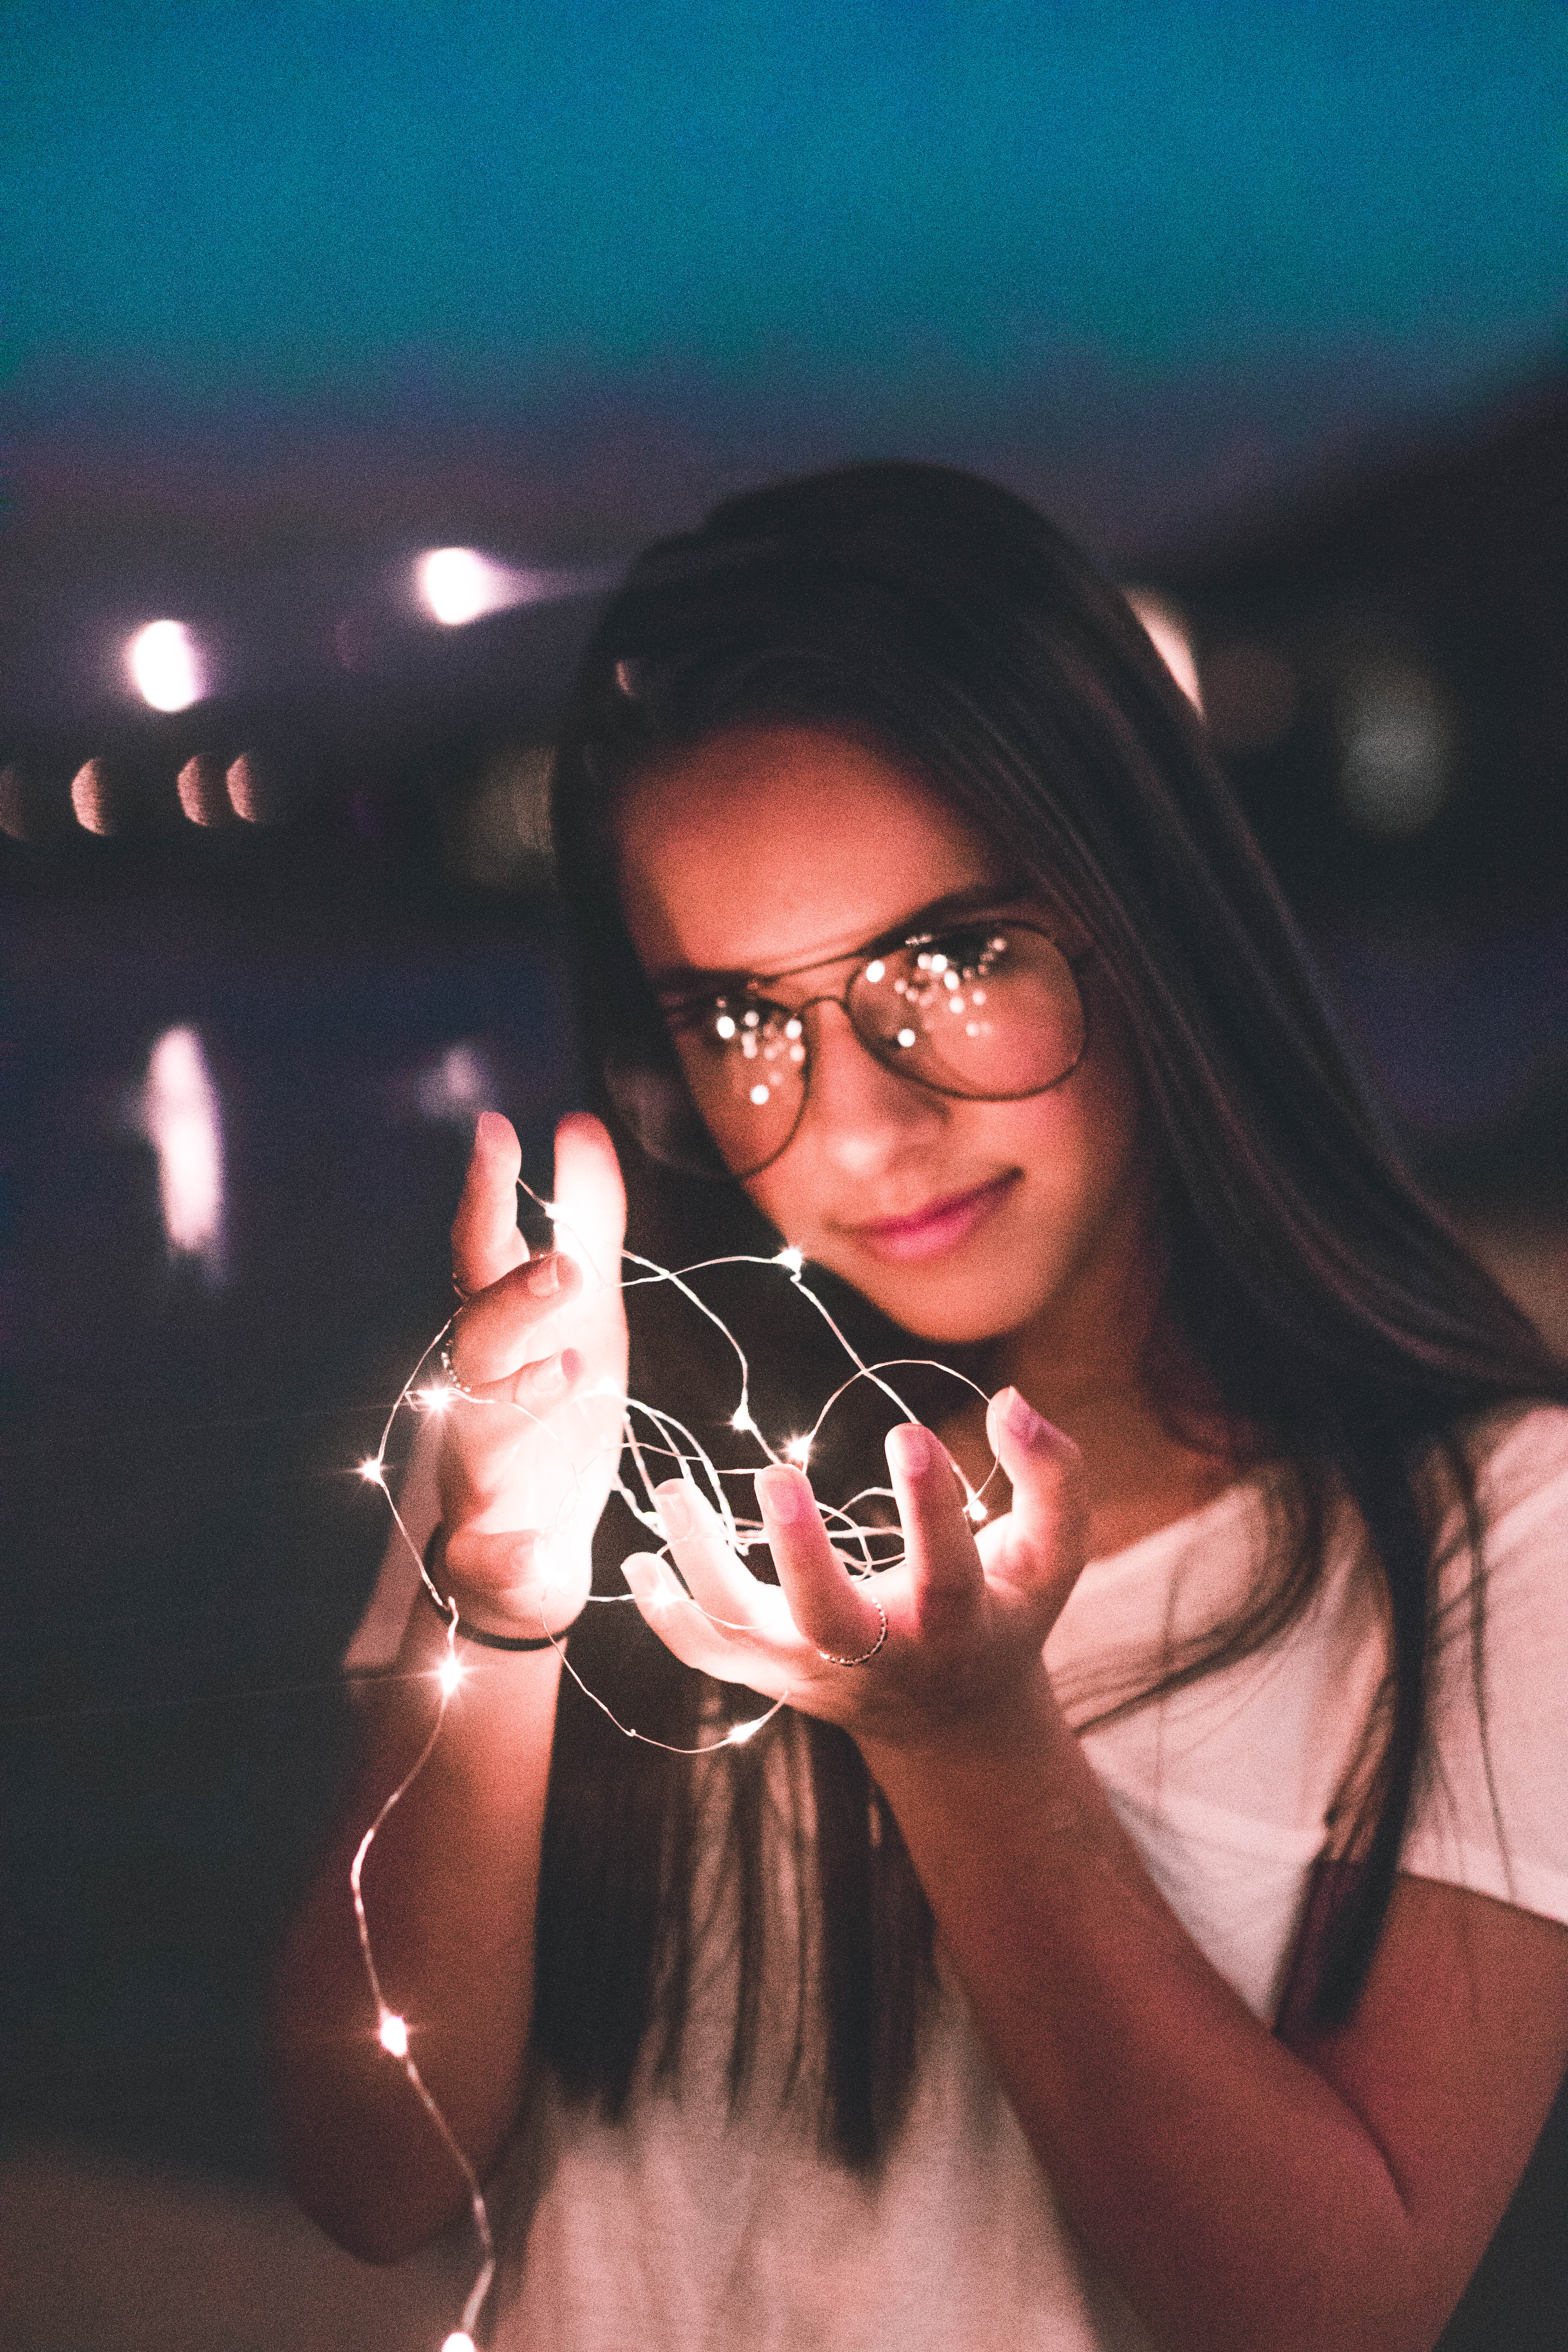
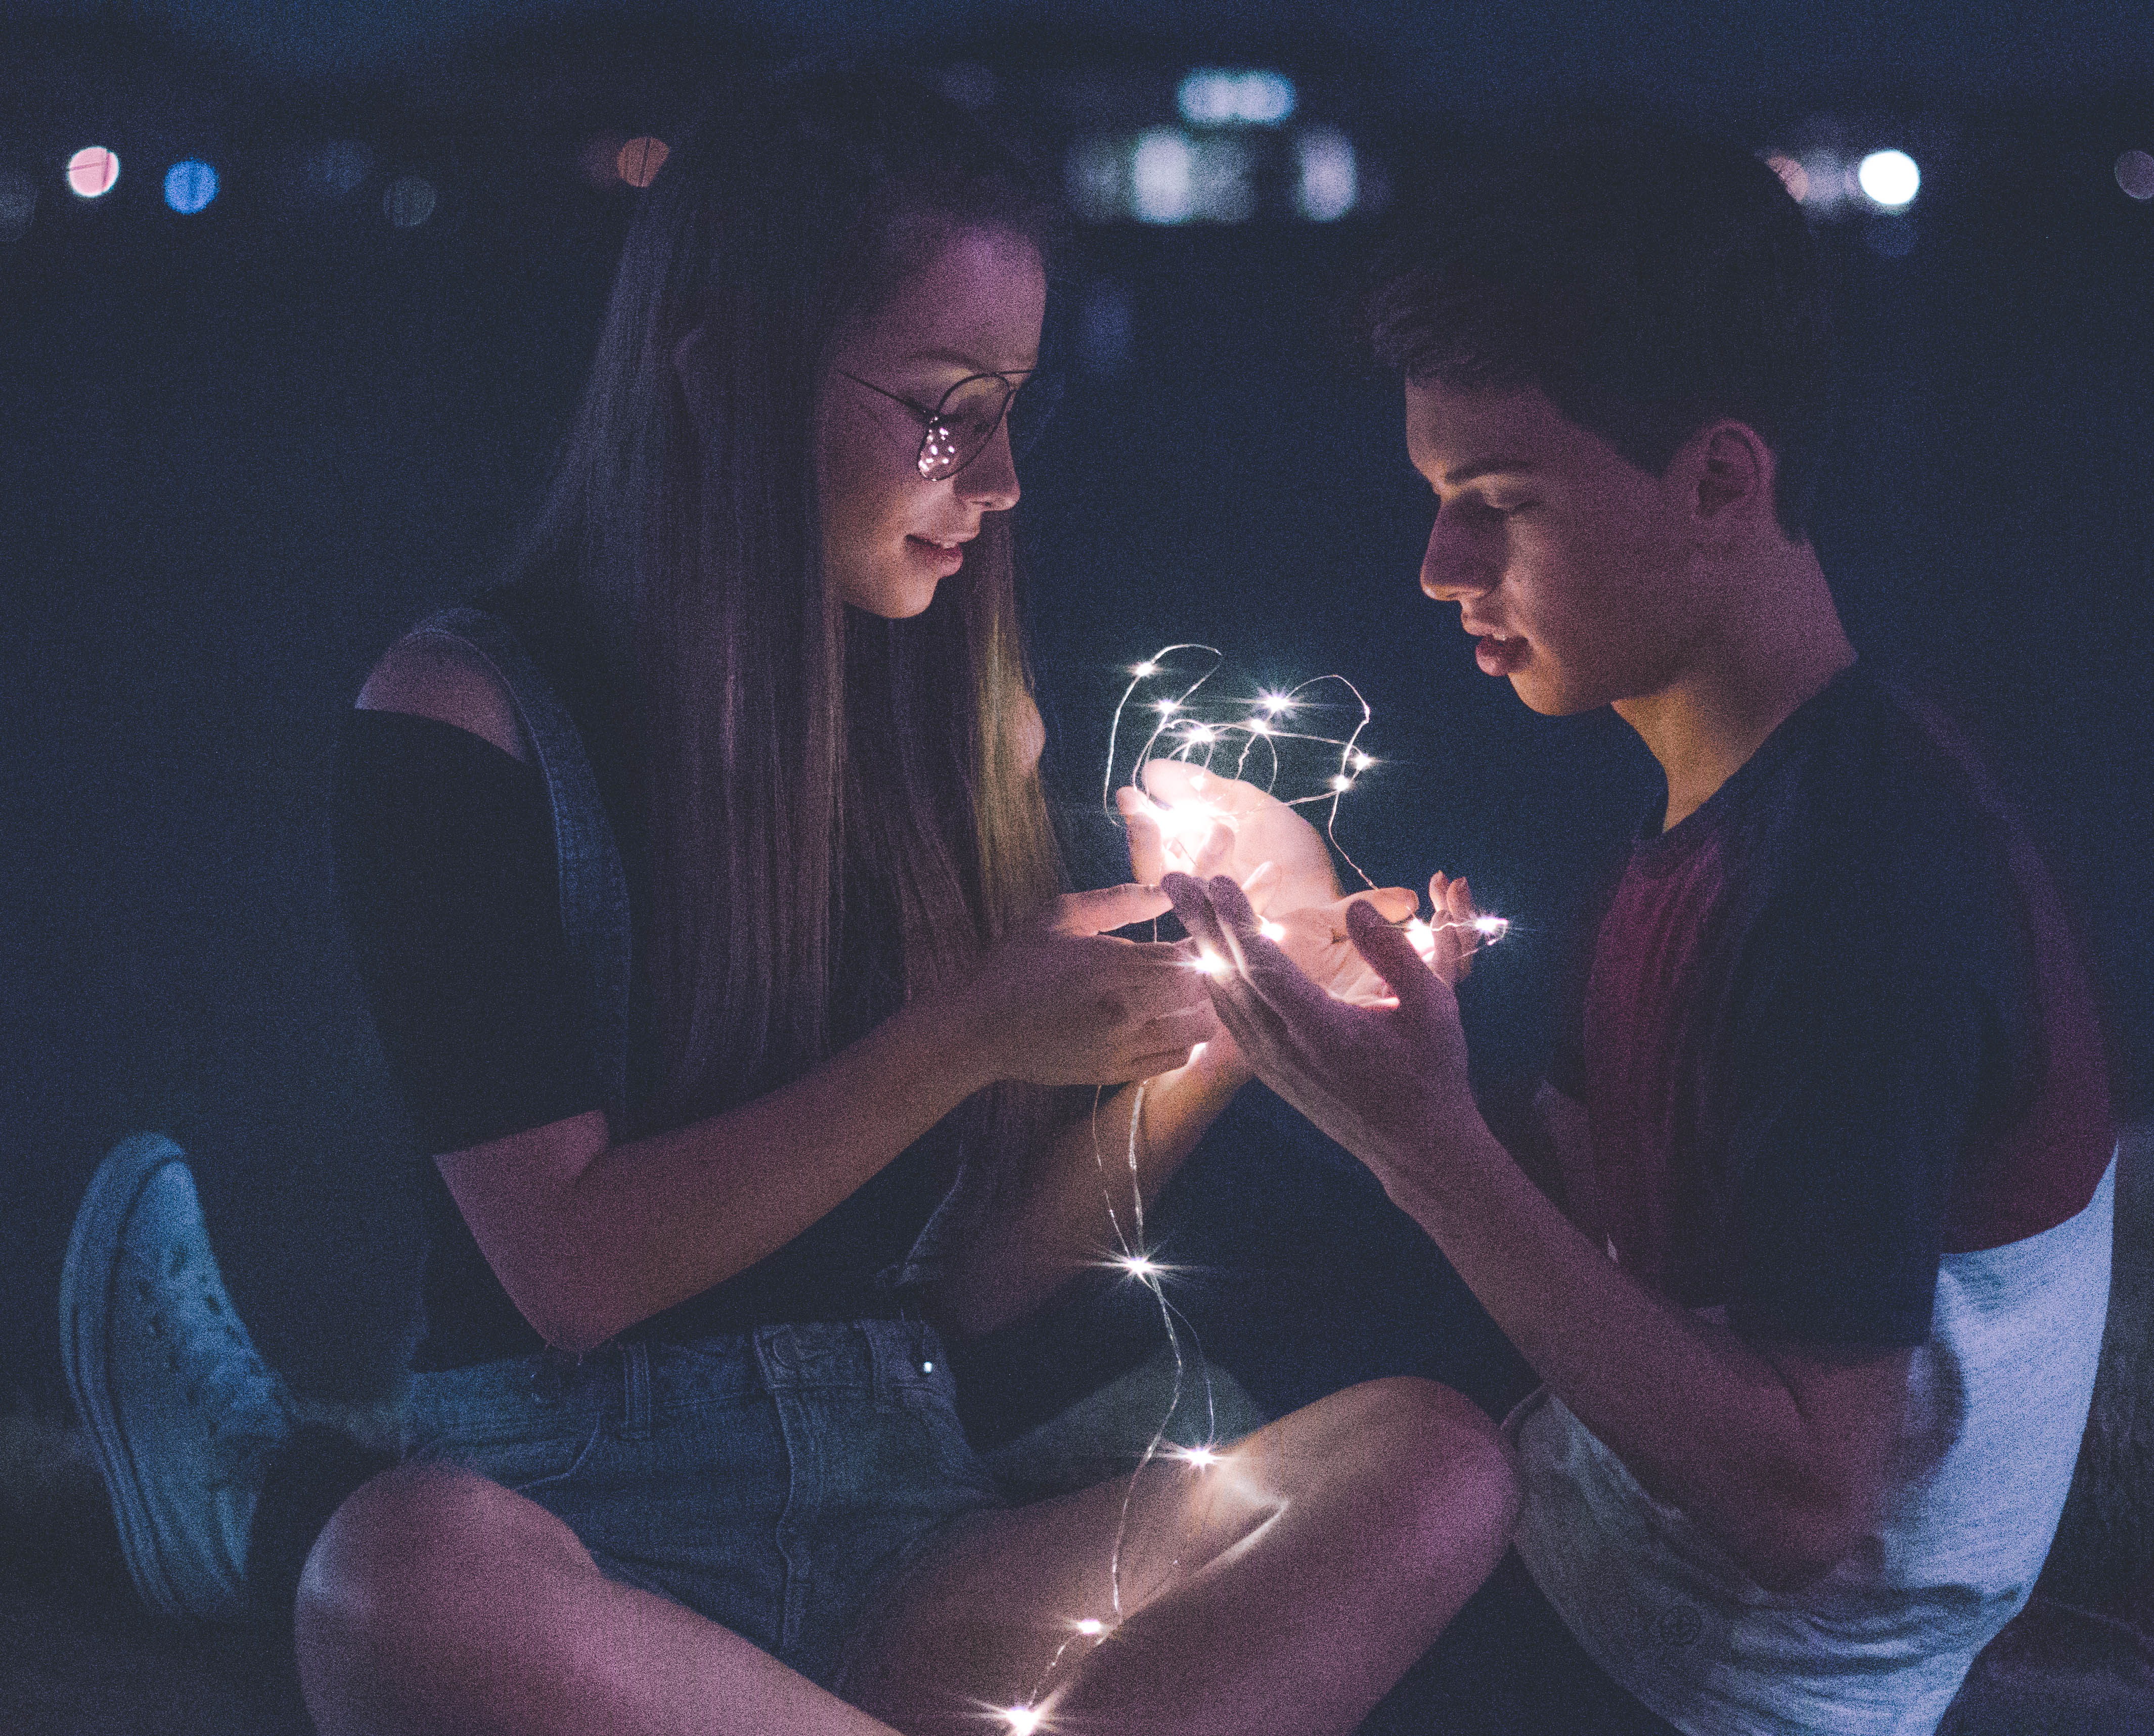
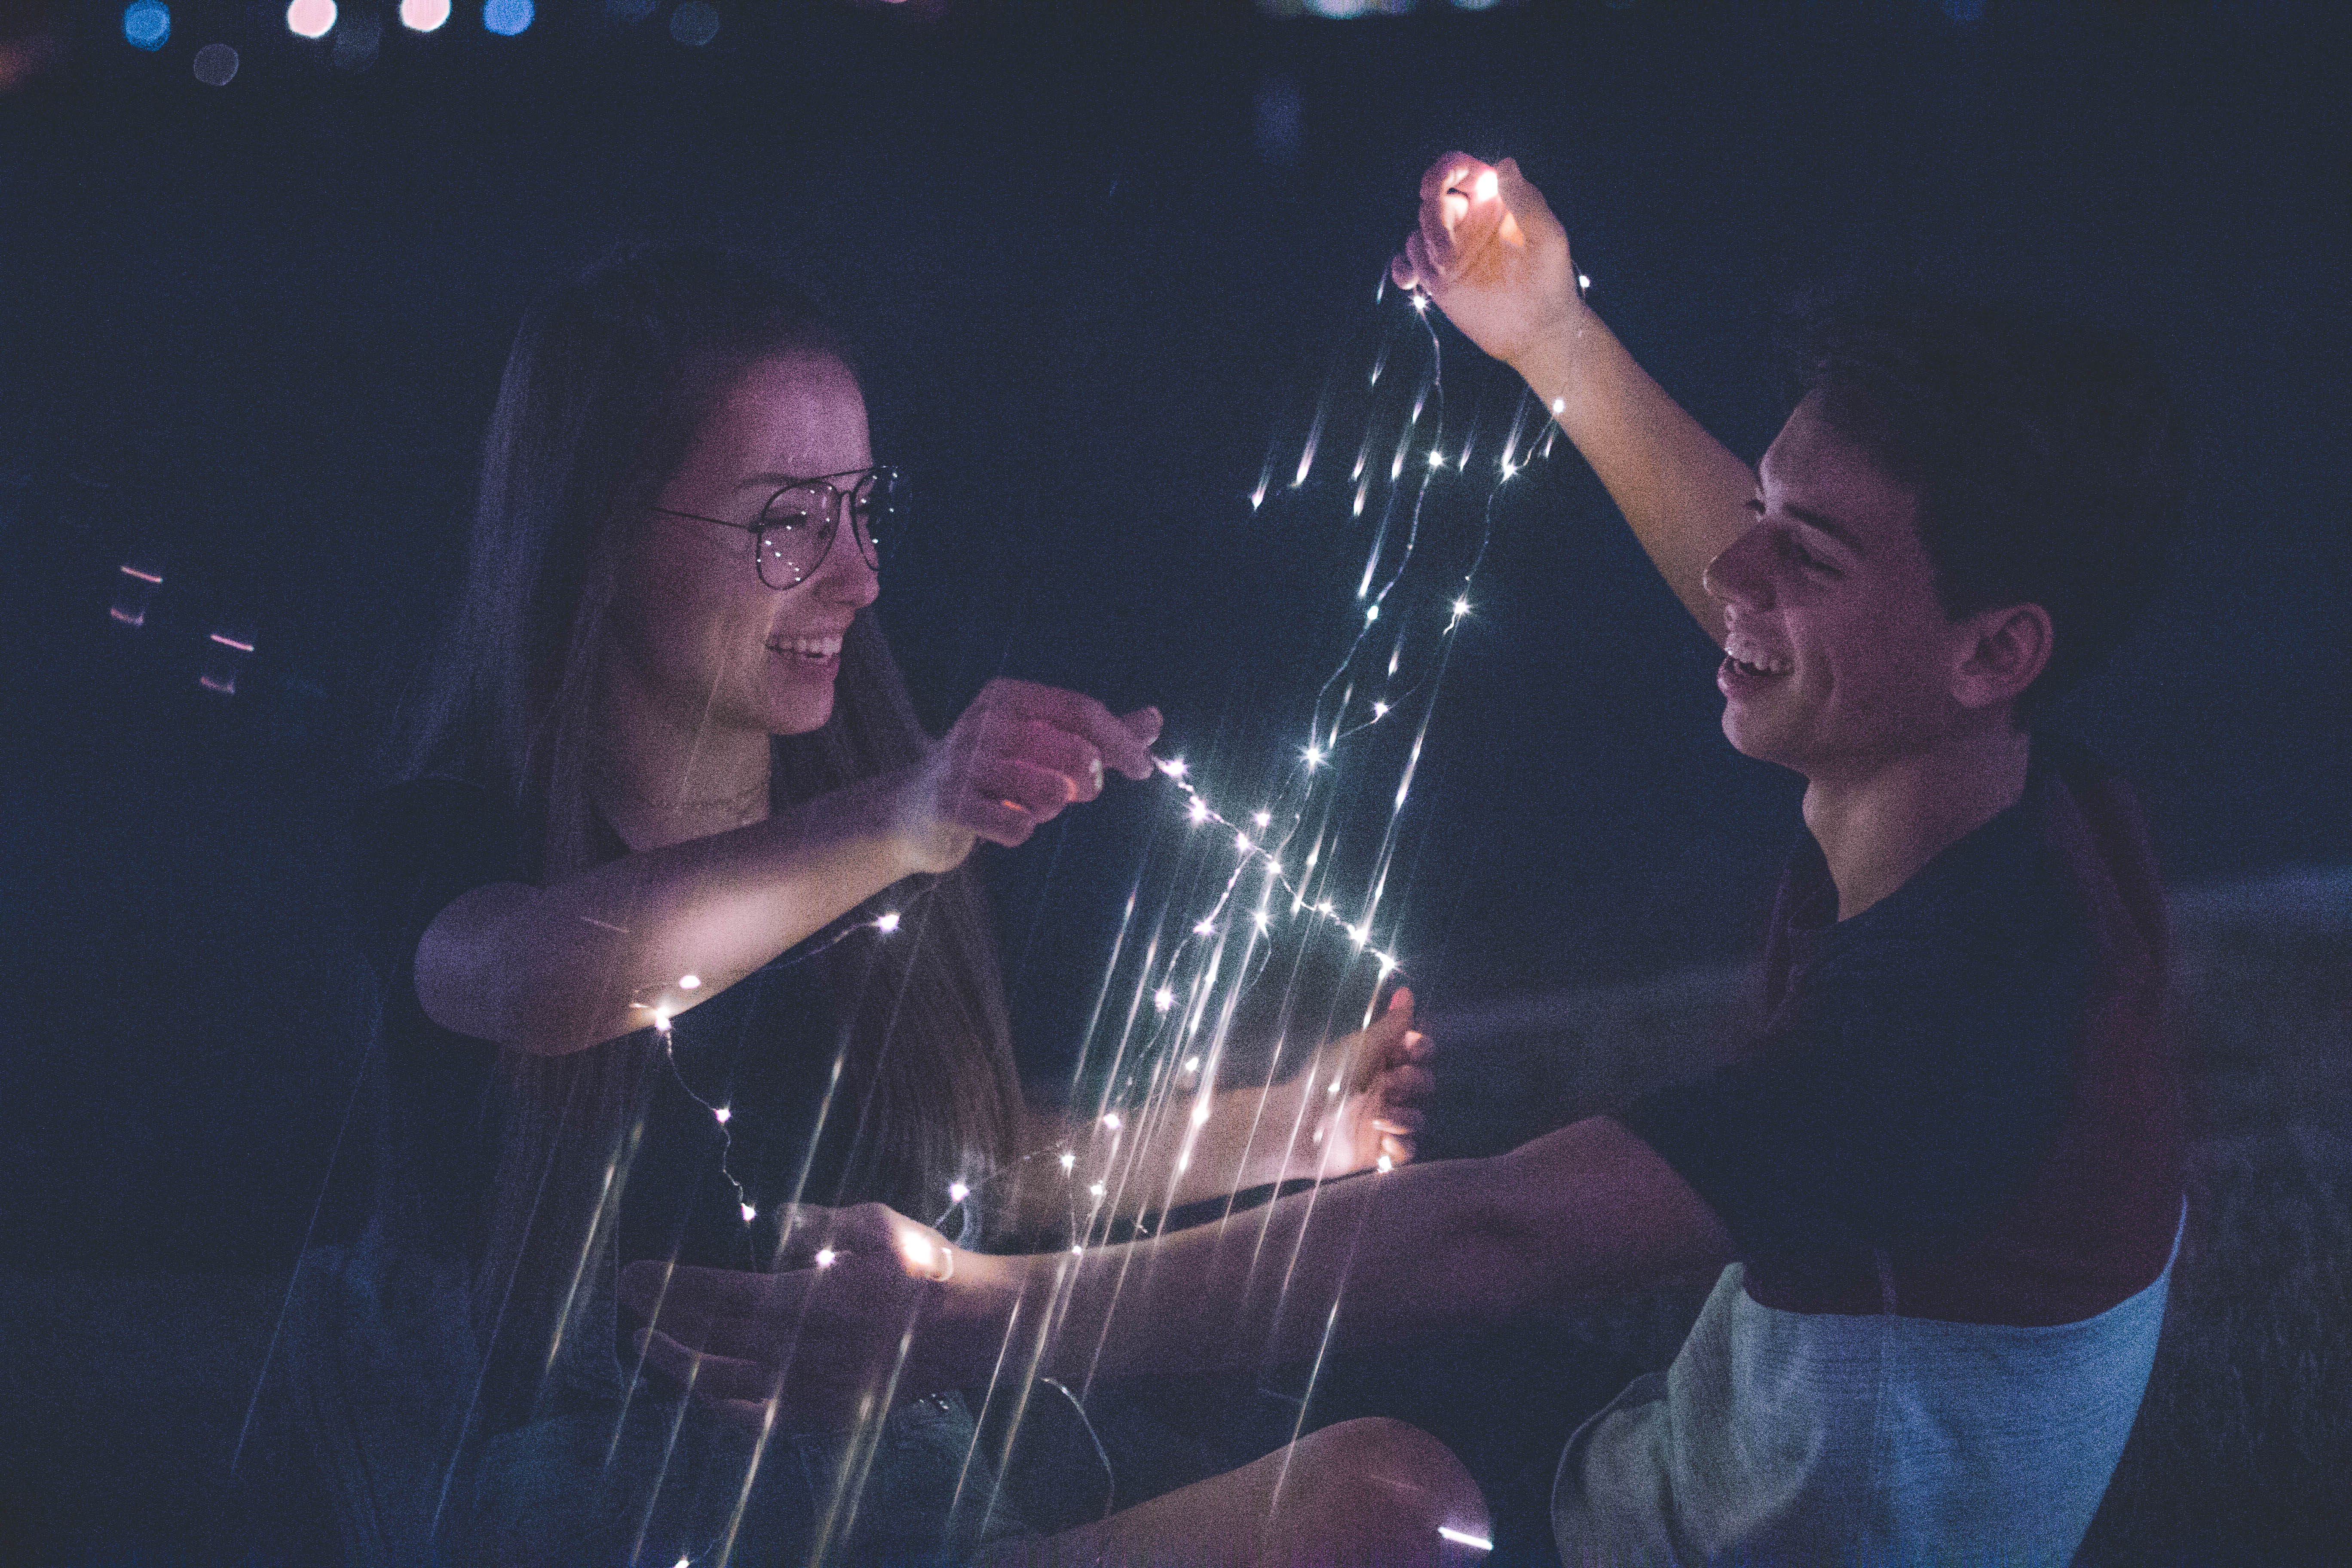
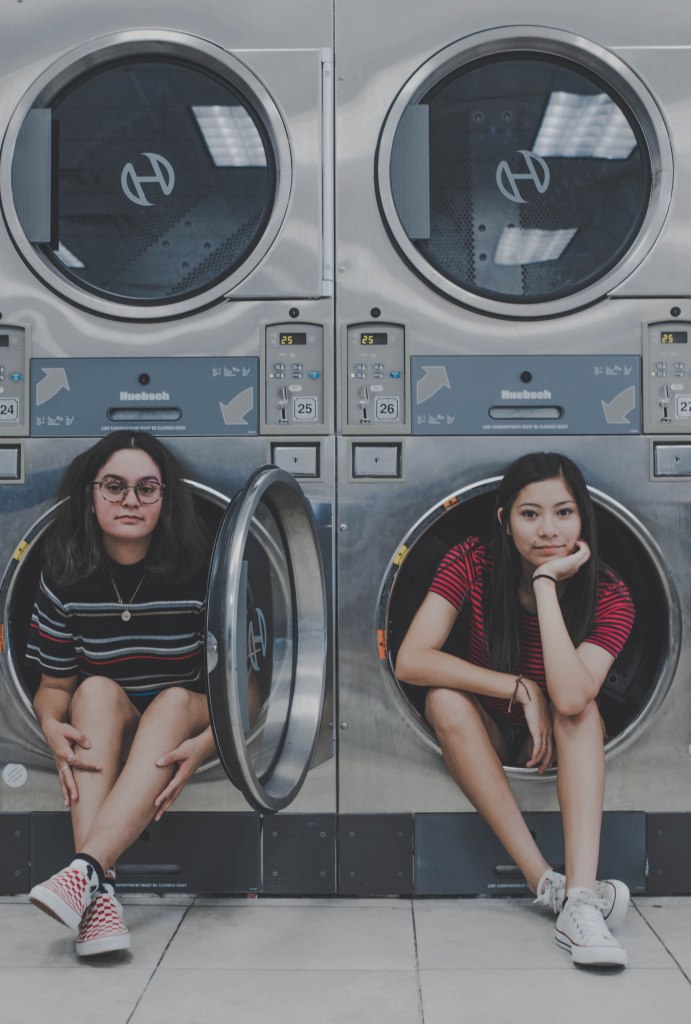
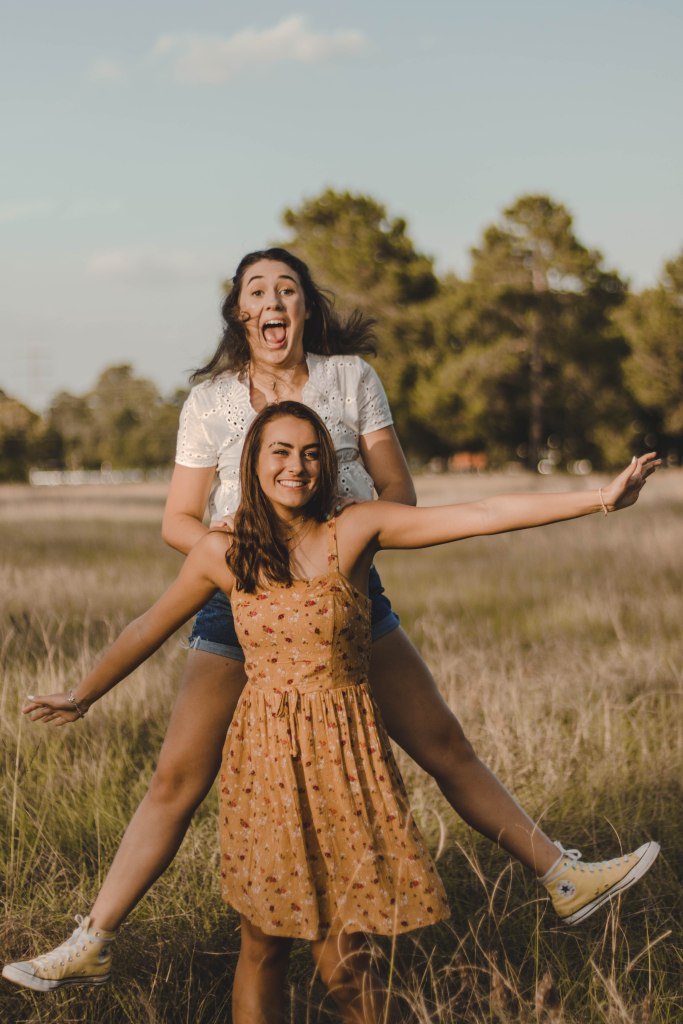
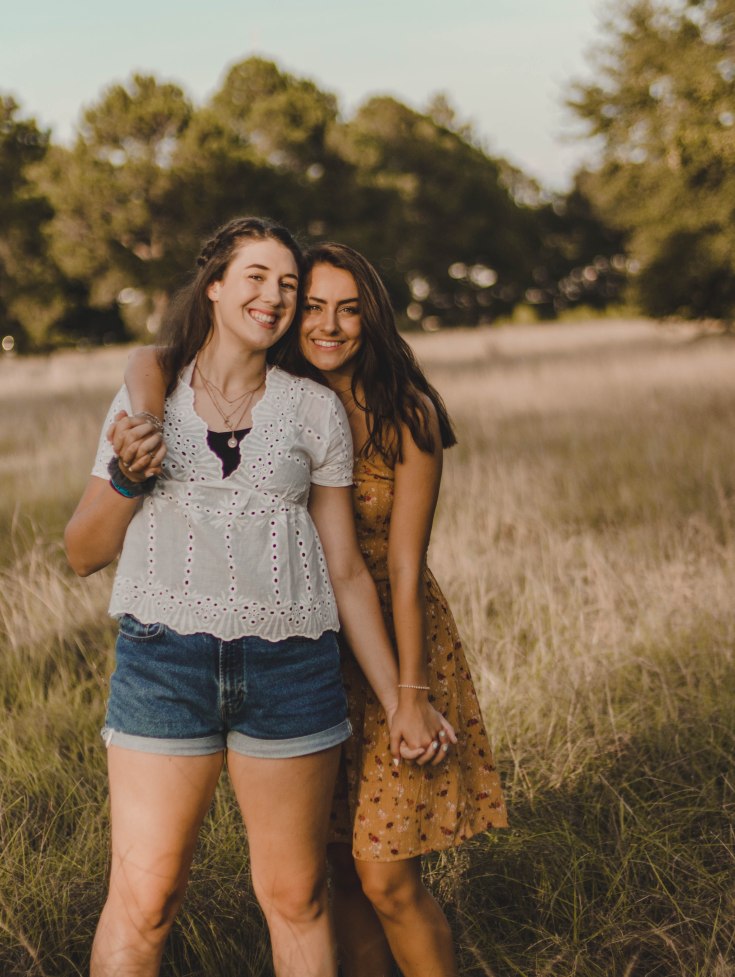
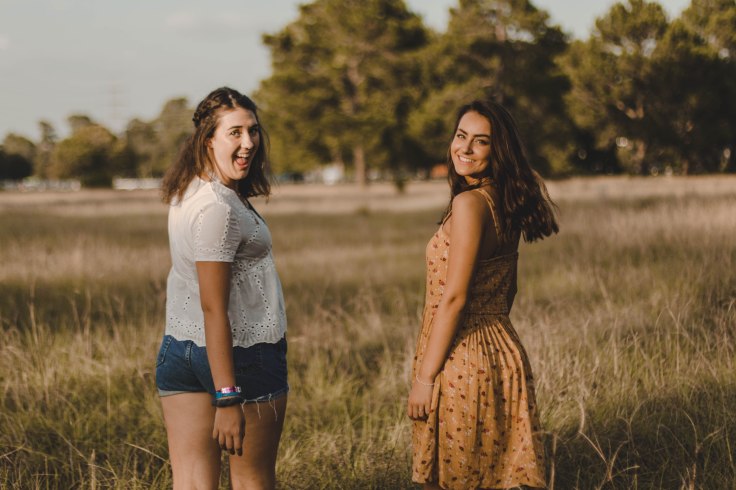
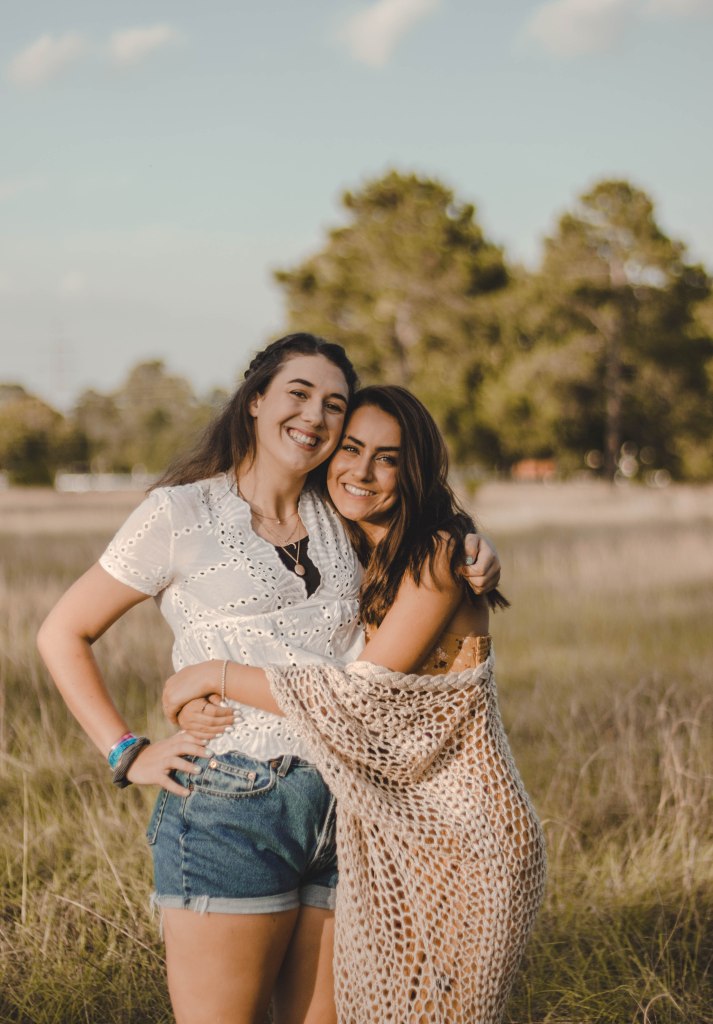
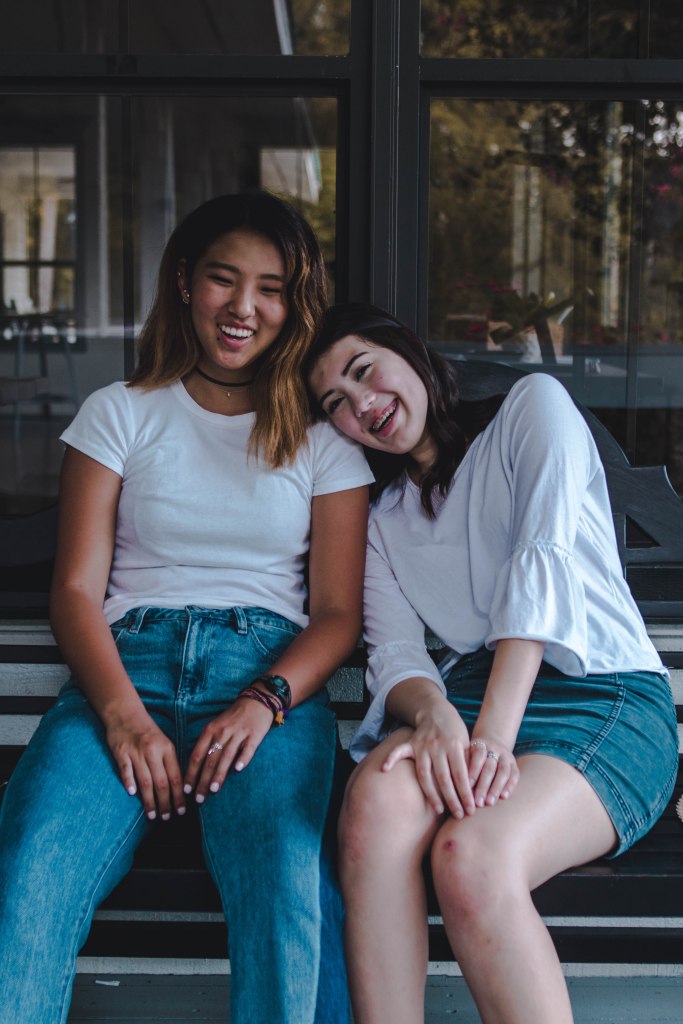
Engagement/Couples
- Good Package: $250
- 2 outfits
- 1 location
- approximately 40 edited images on a flash drive
- about 1 hour
- deposit of $100 must be made upon booking date
- All Good Package: $350
- 4 outfits
- 2 locations (must be within 30 mins of each other)
- approximately 70 edited images on a flash drive
- about 2 hours
- deposit of $100 must be made upon booking date
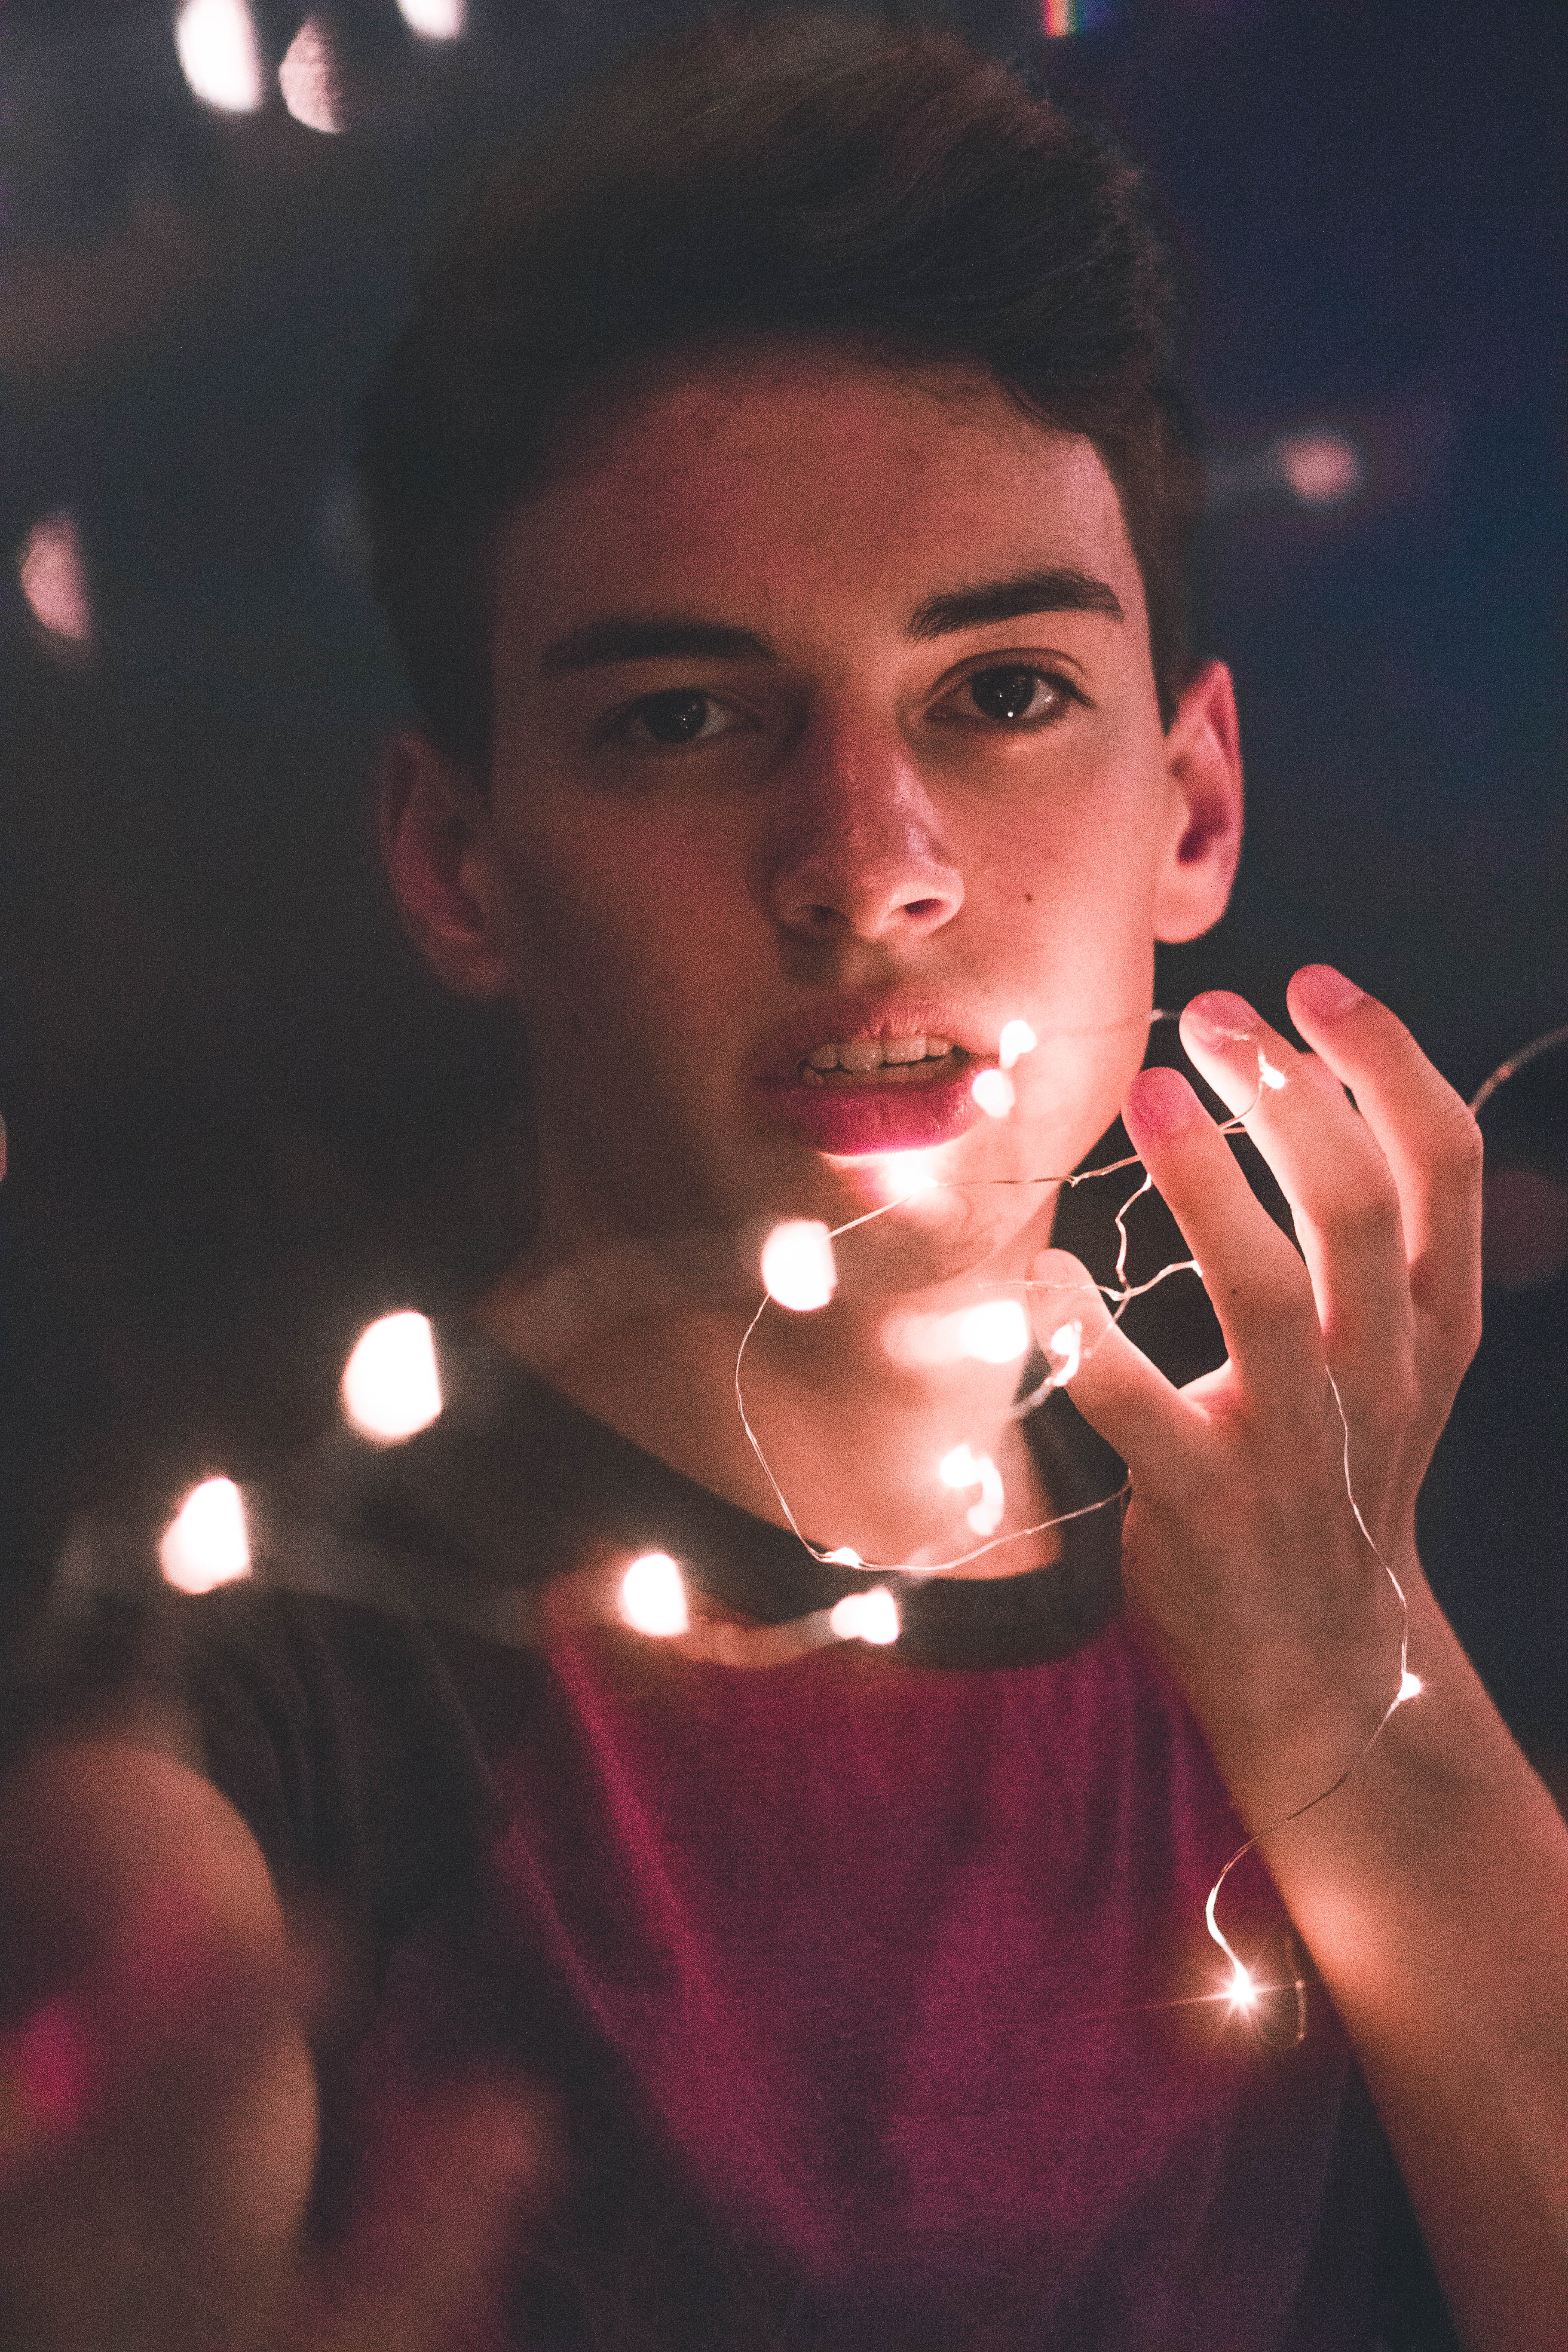
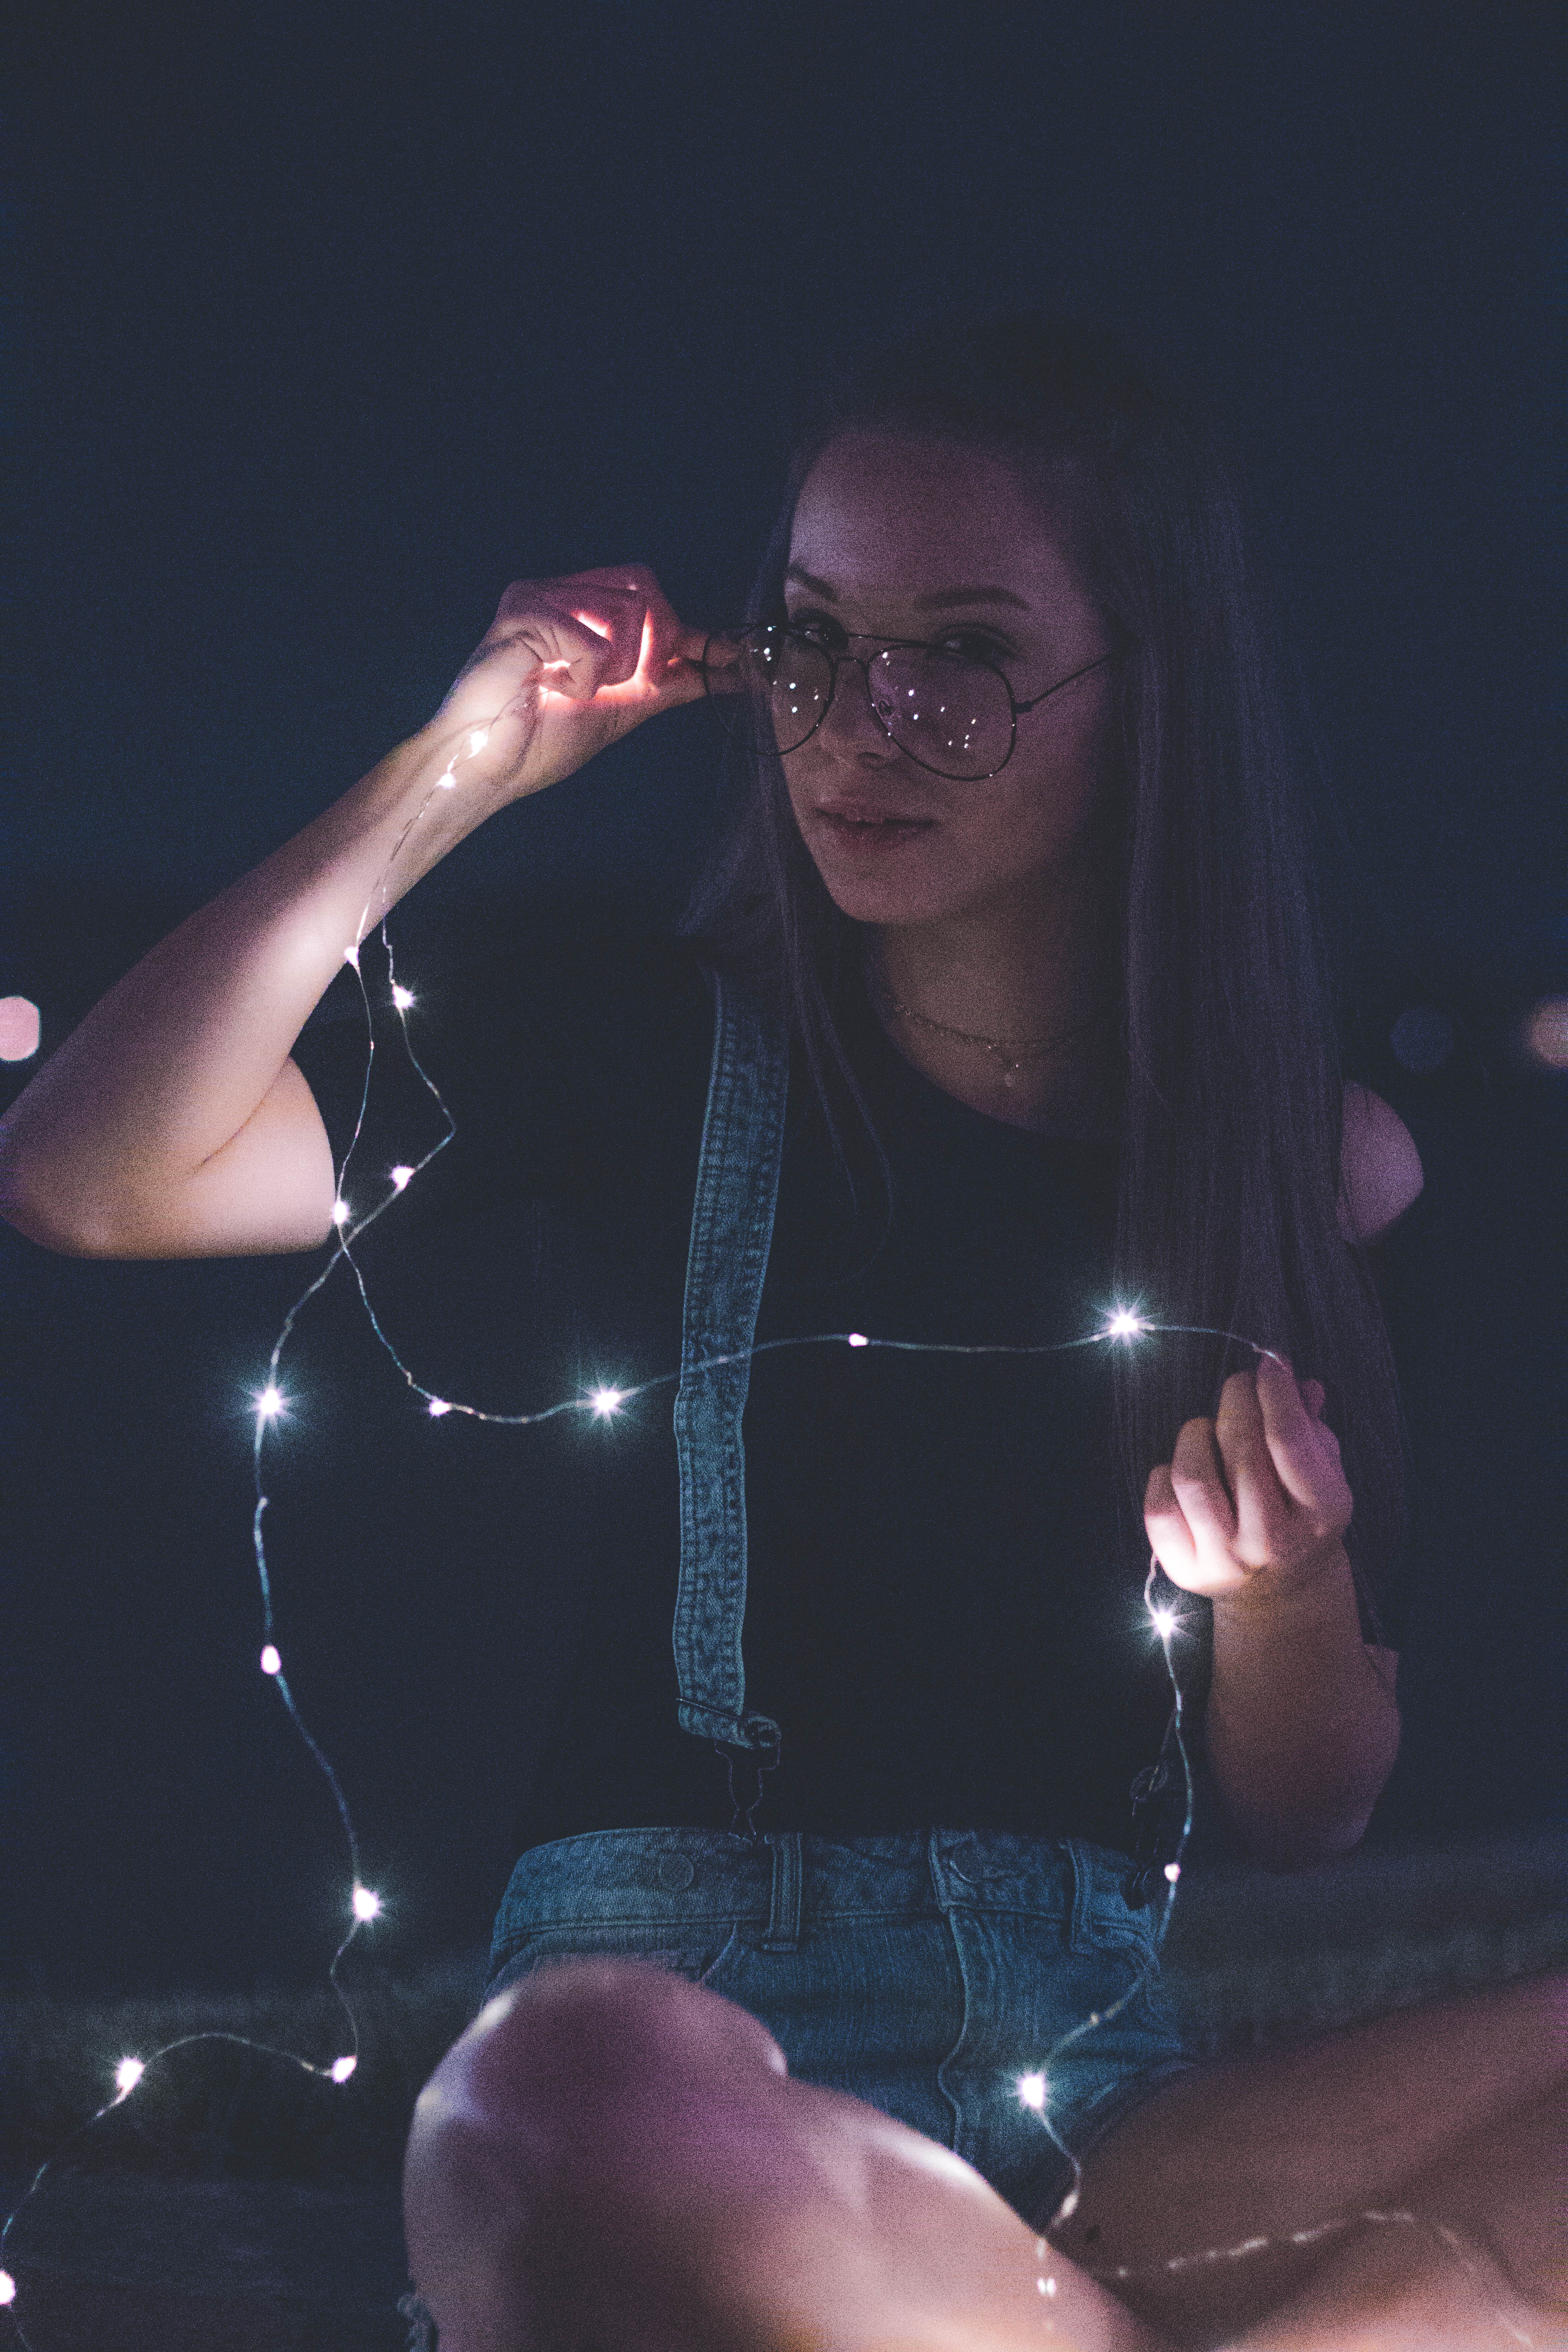
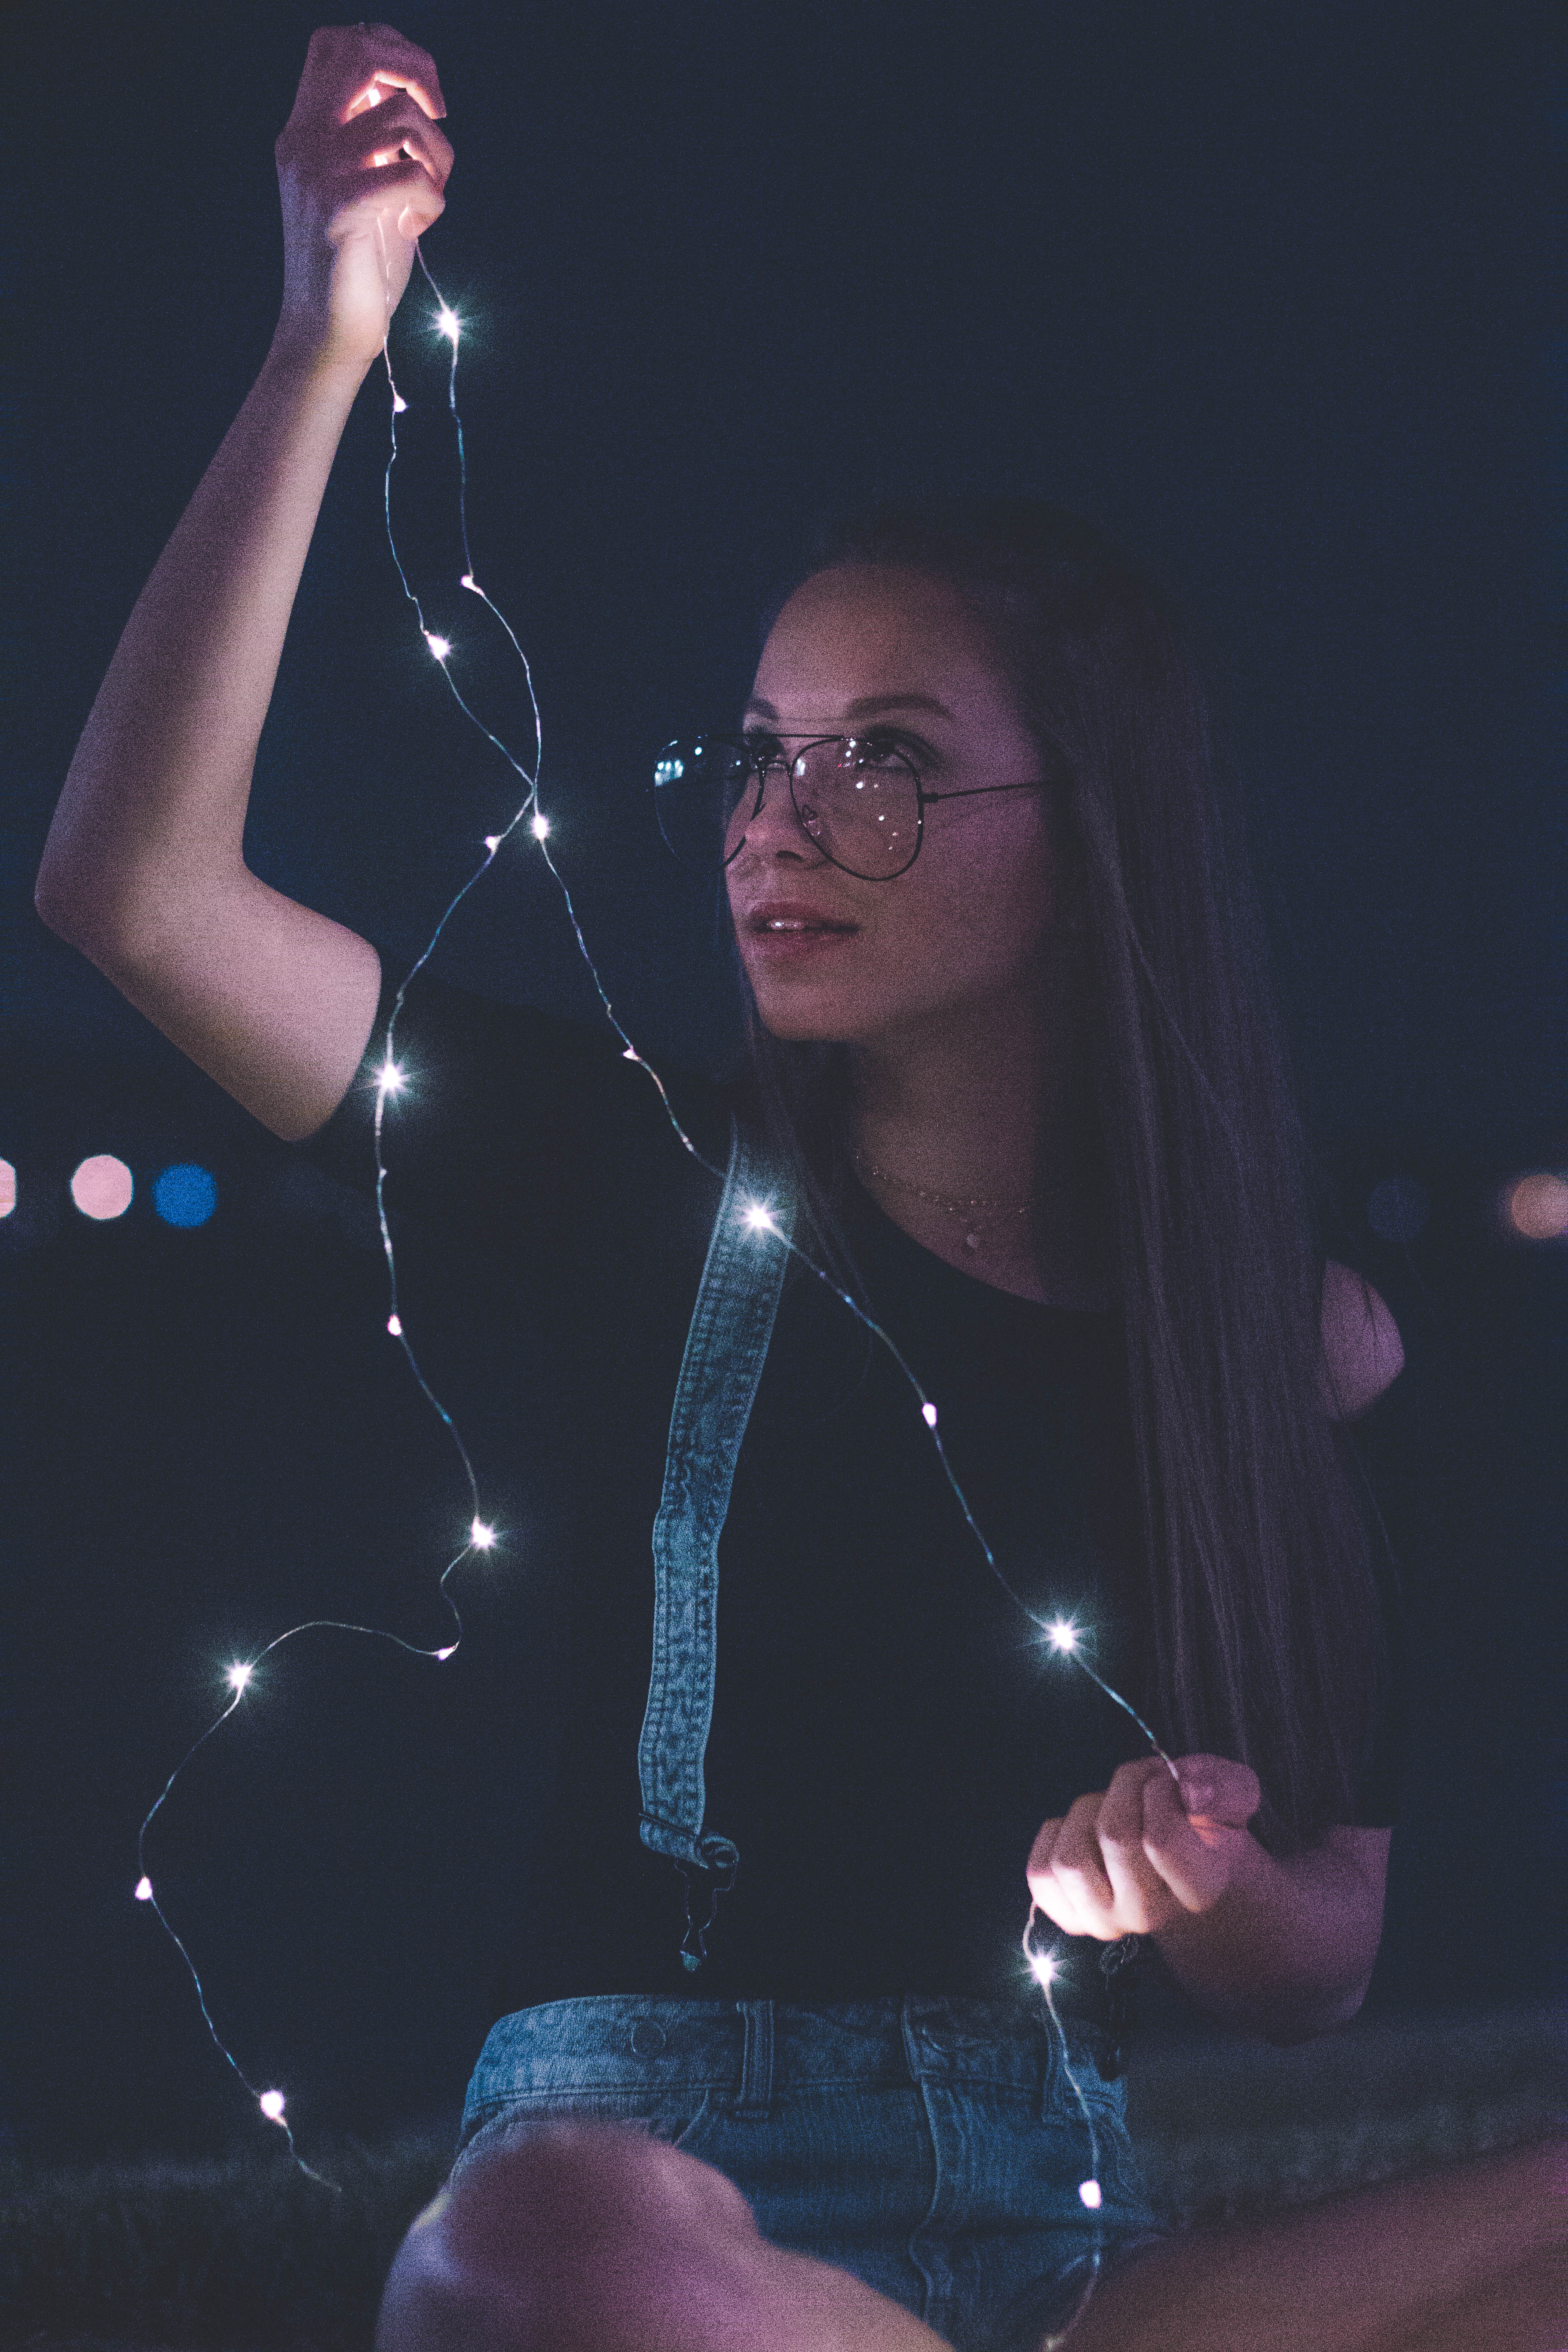
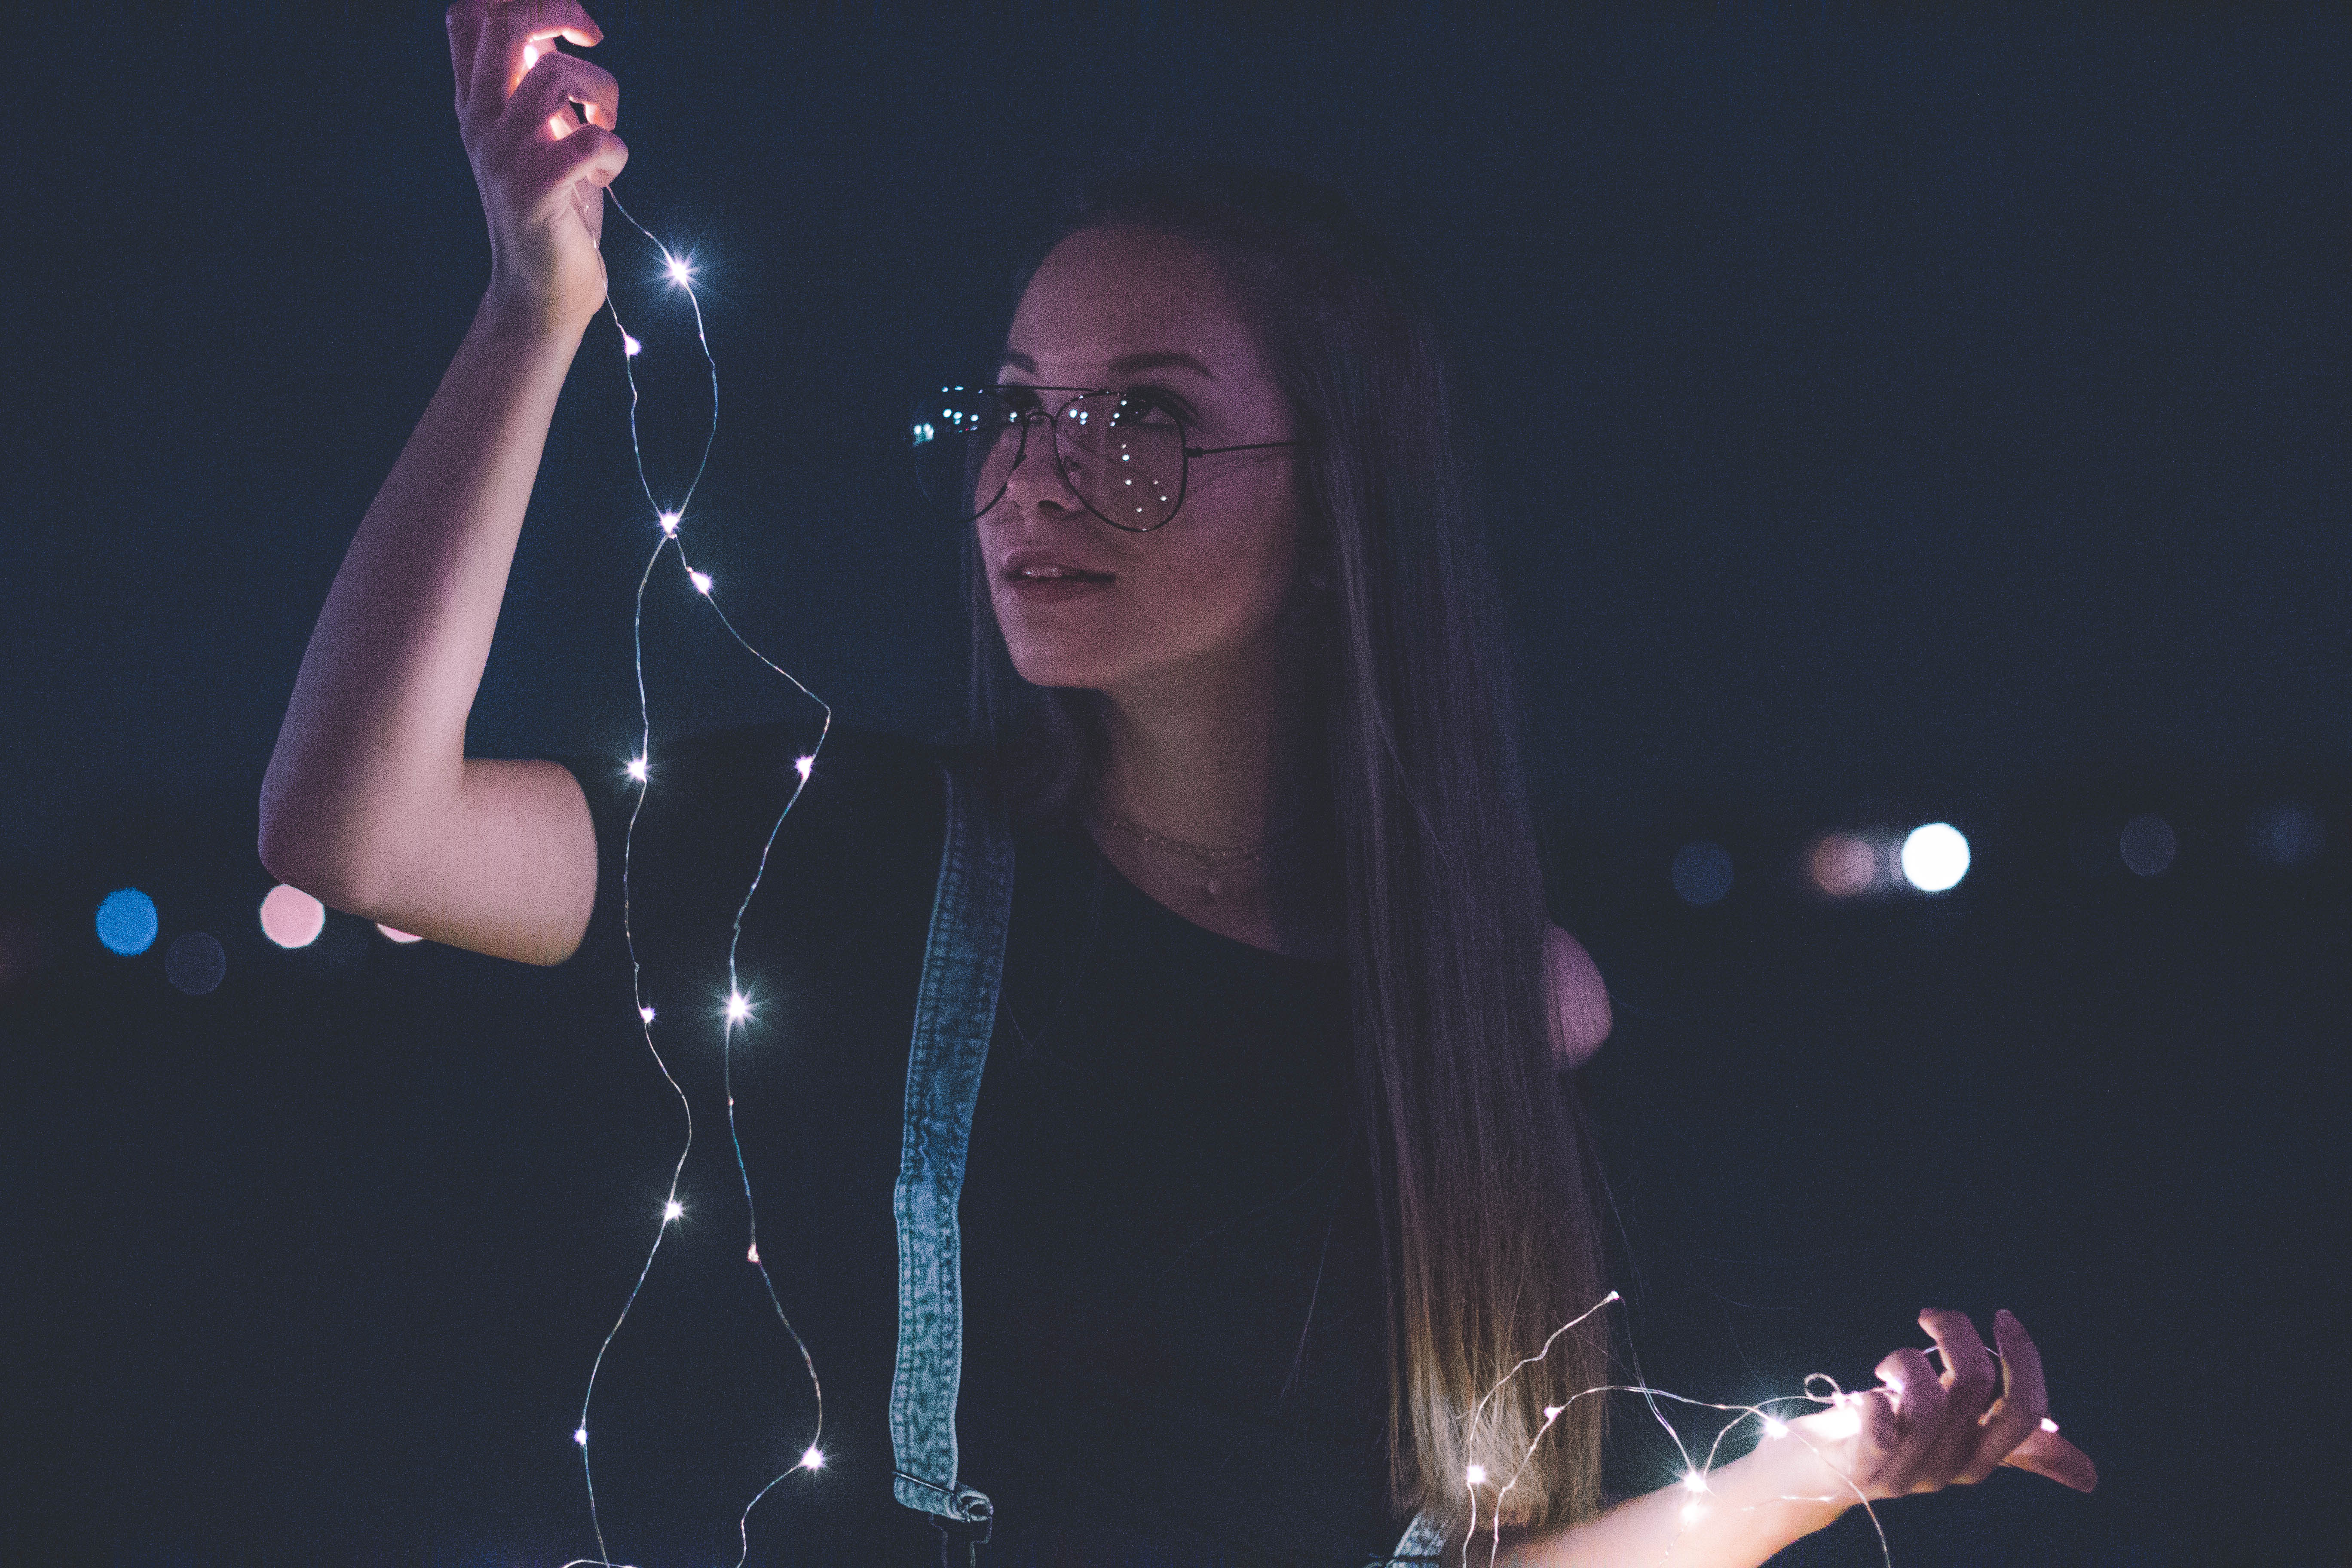
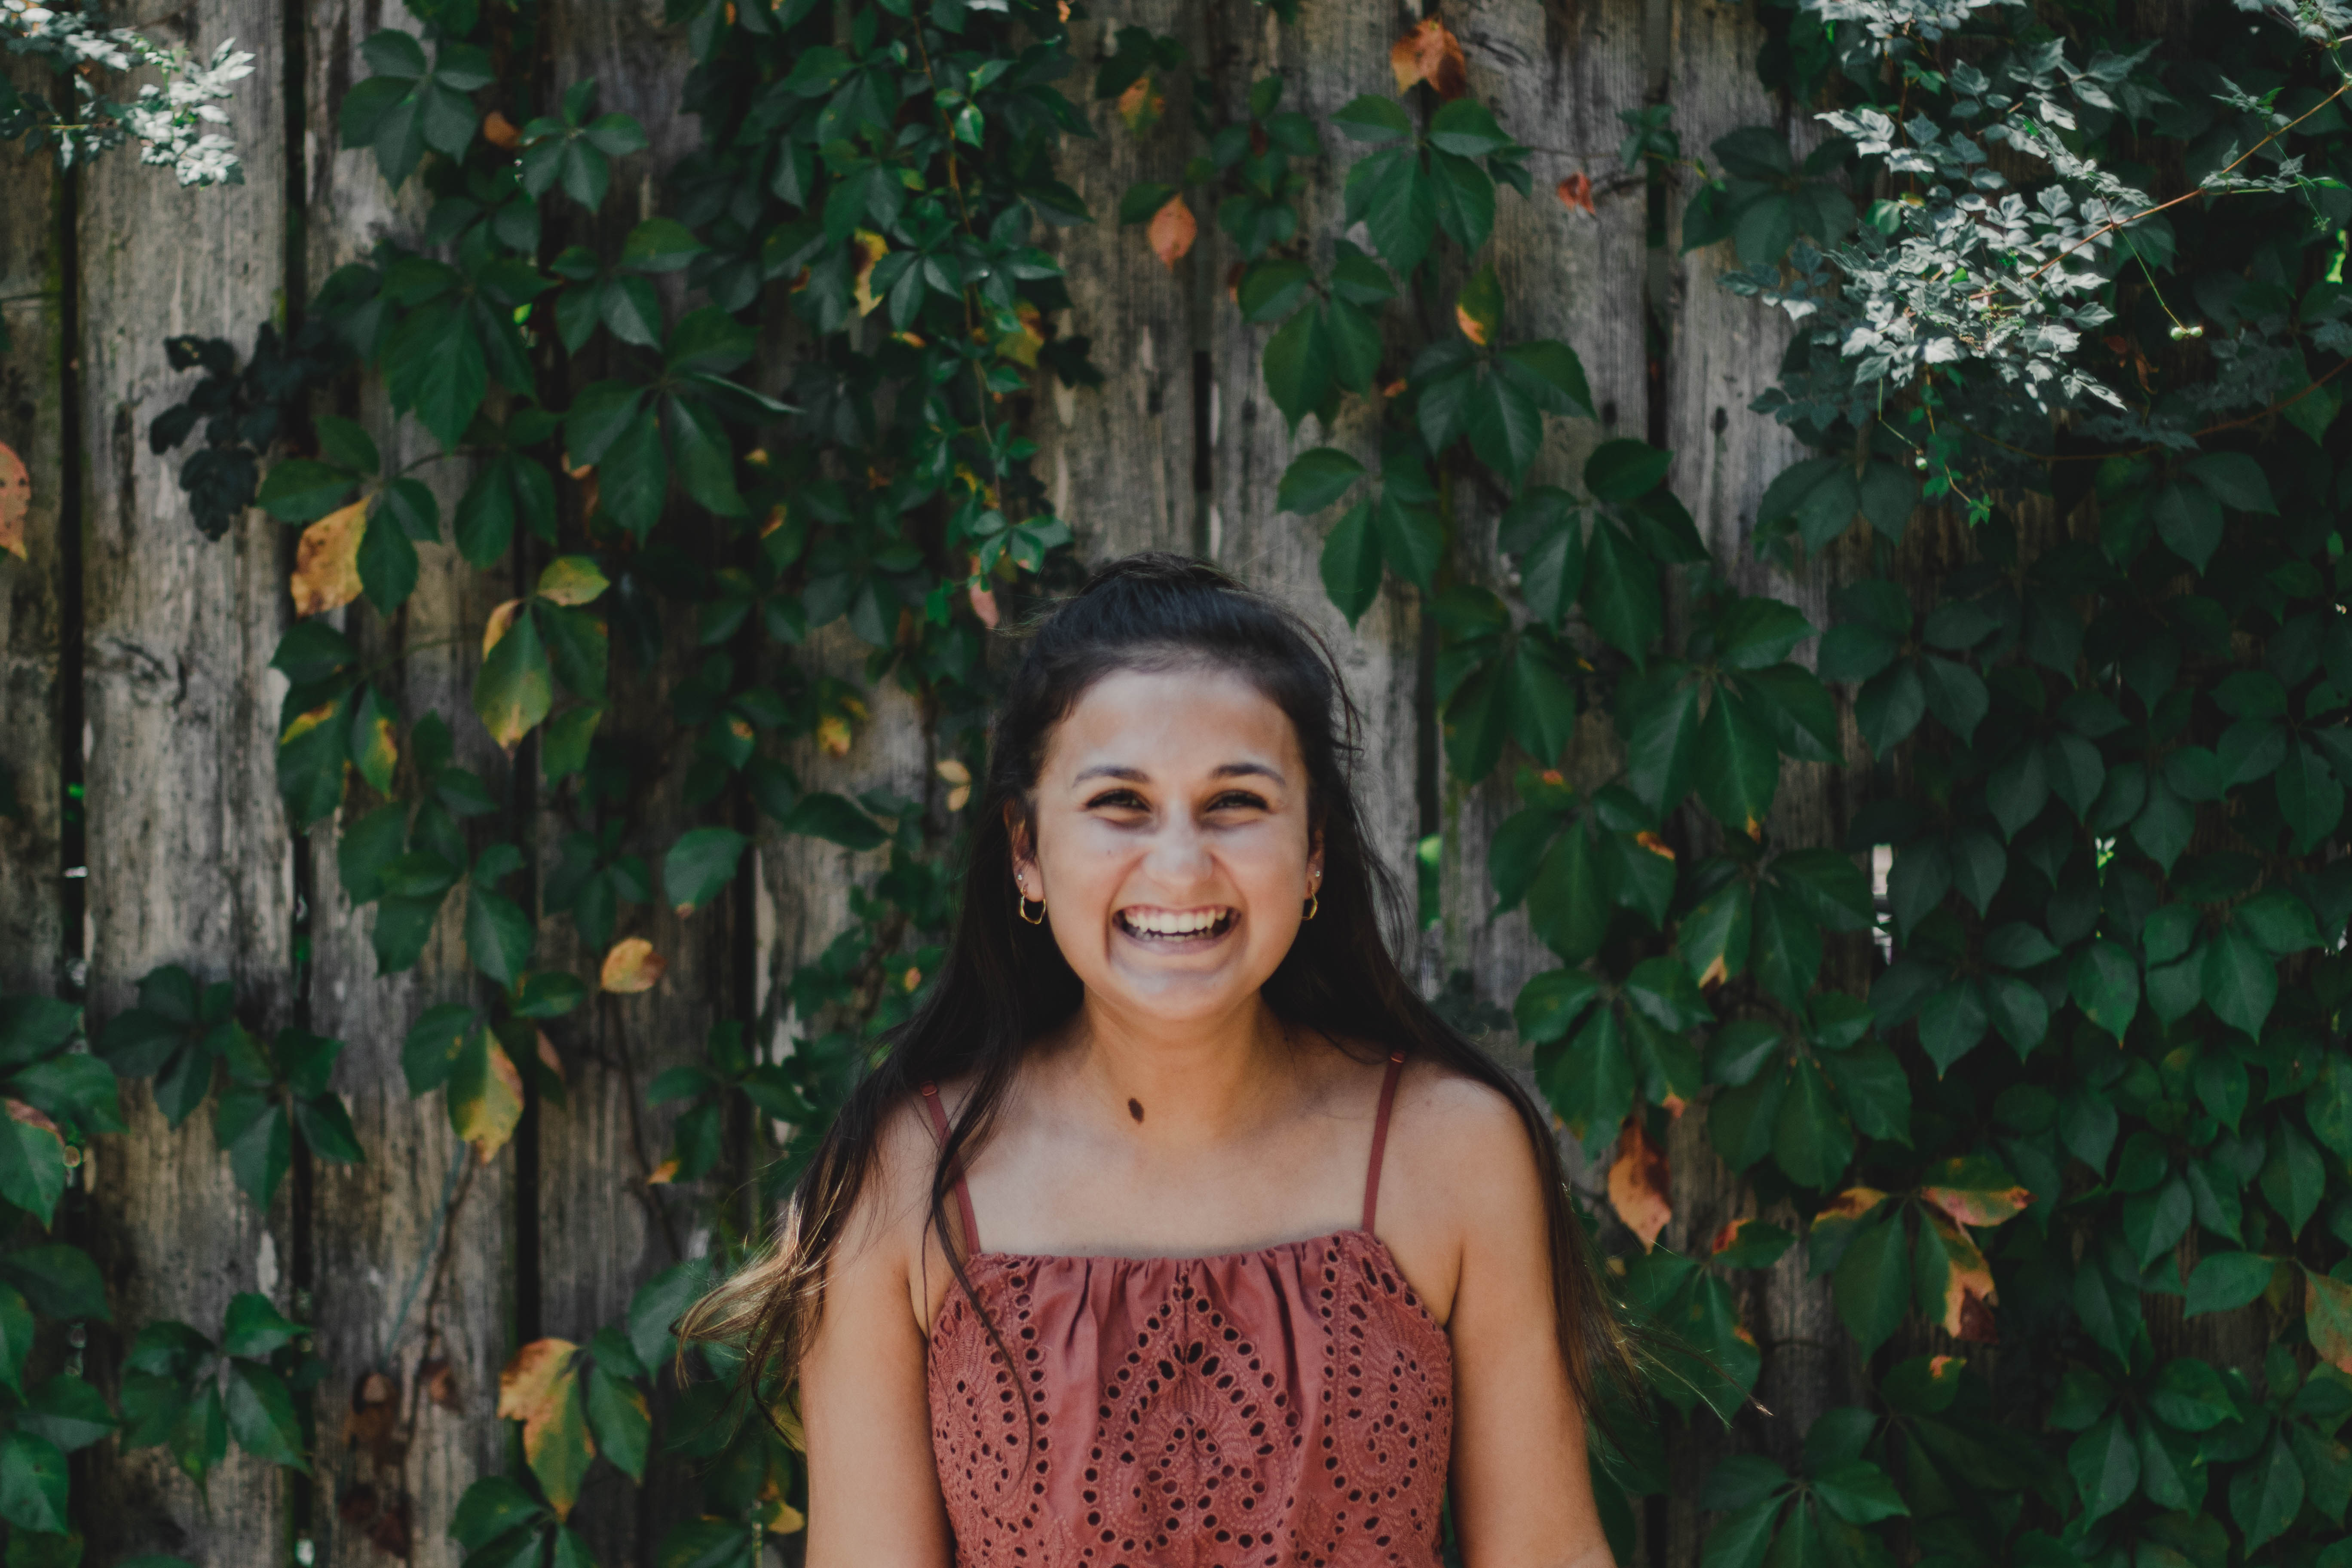
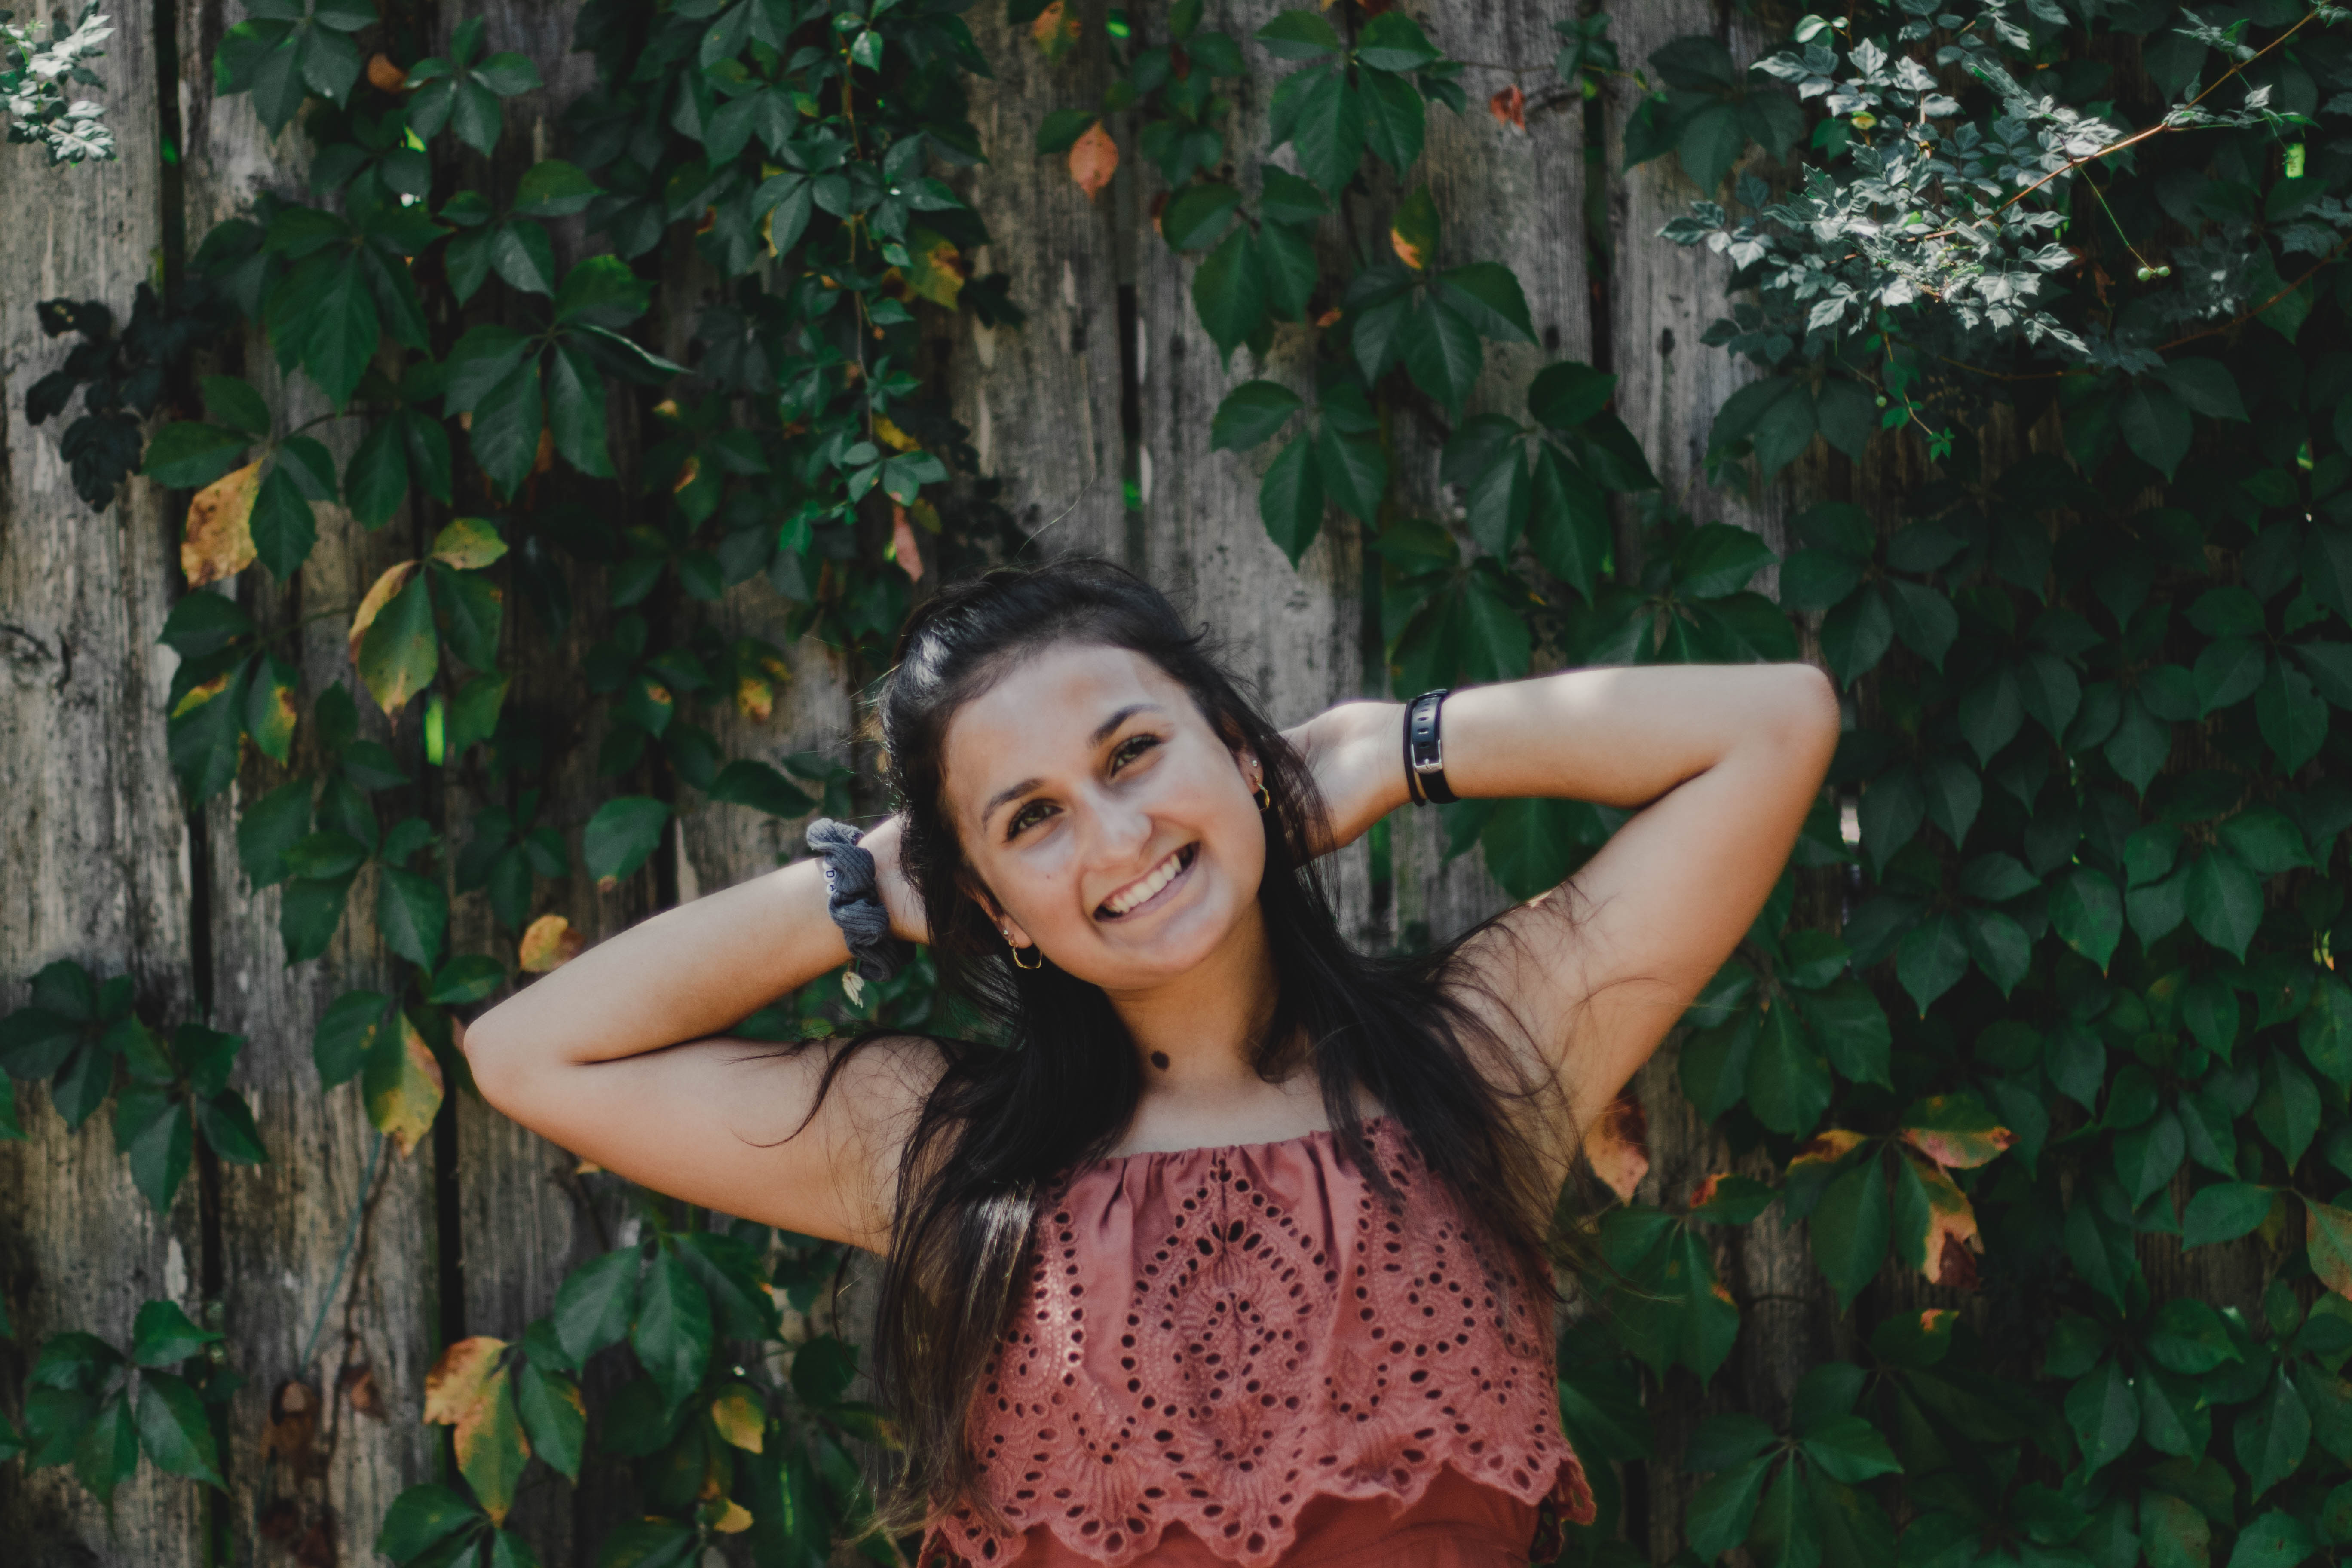
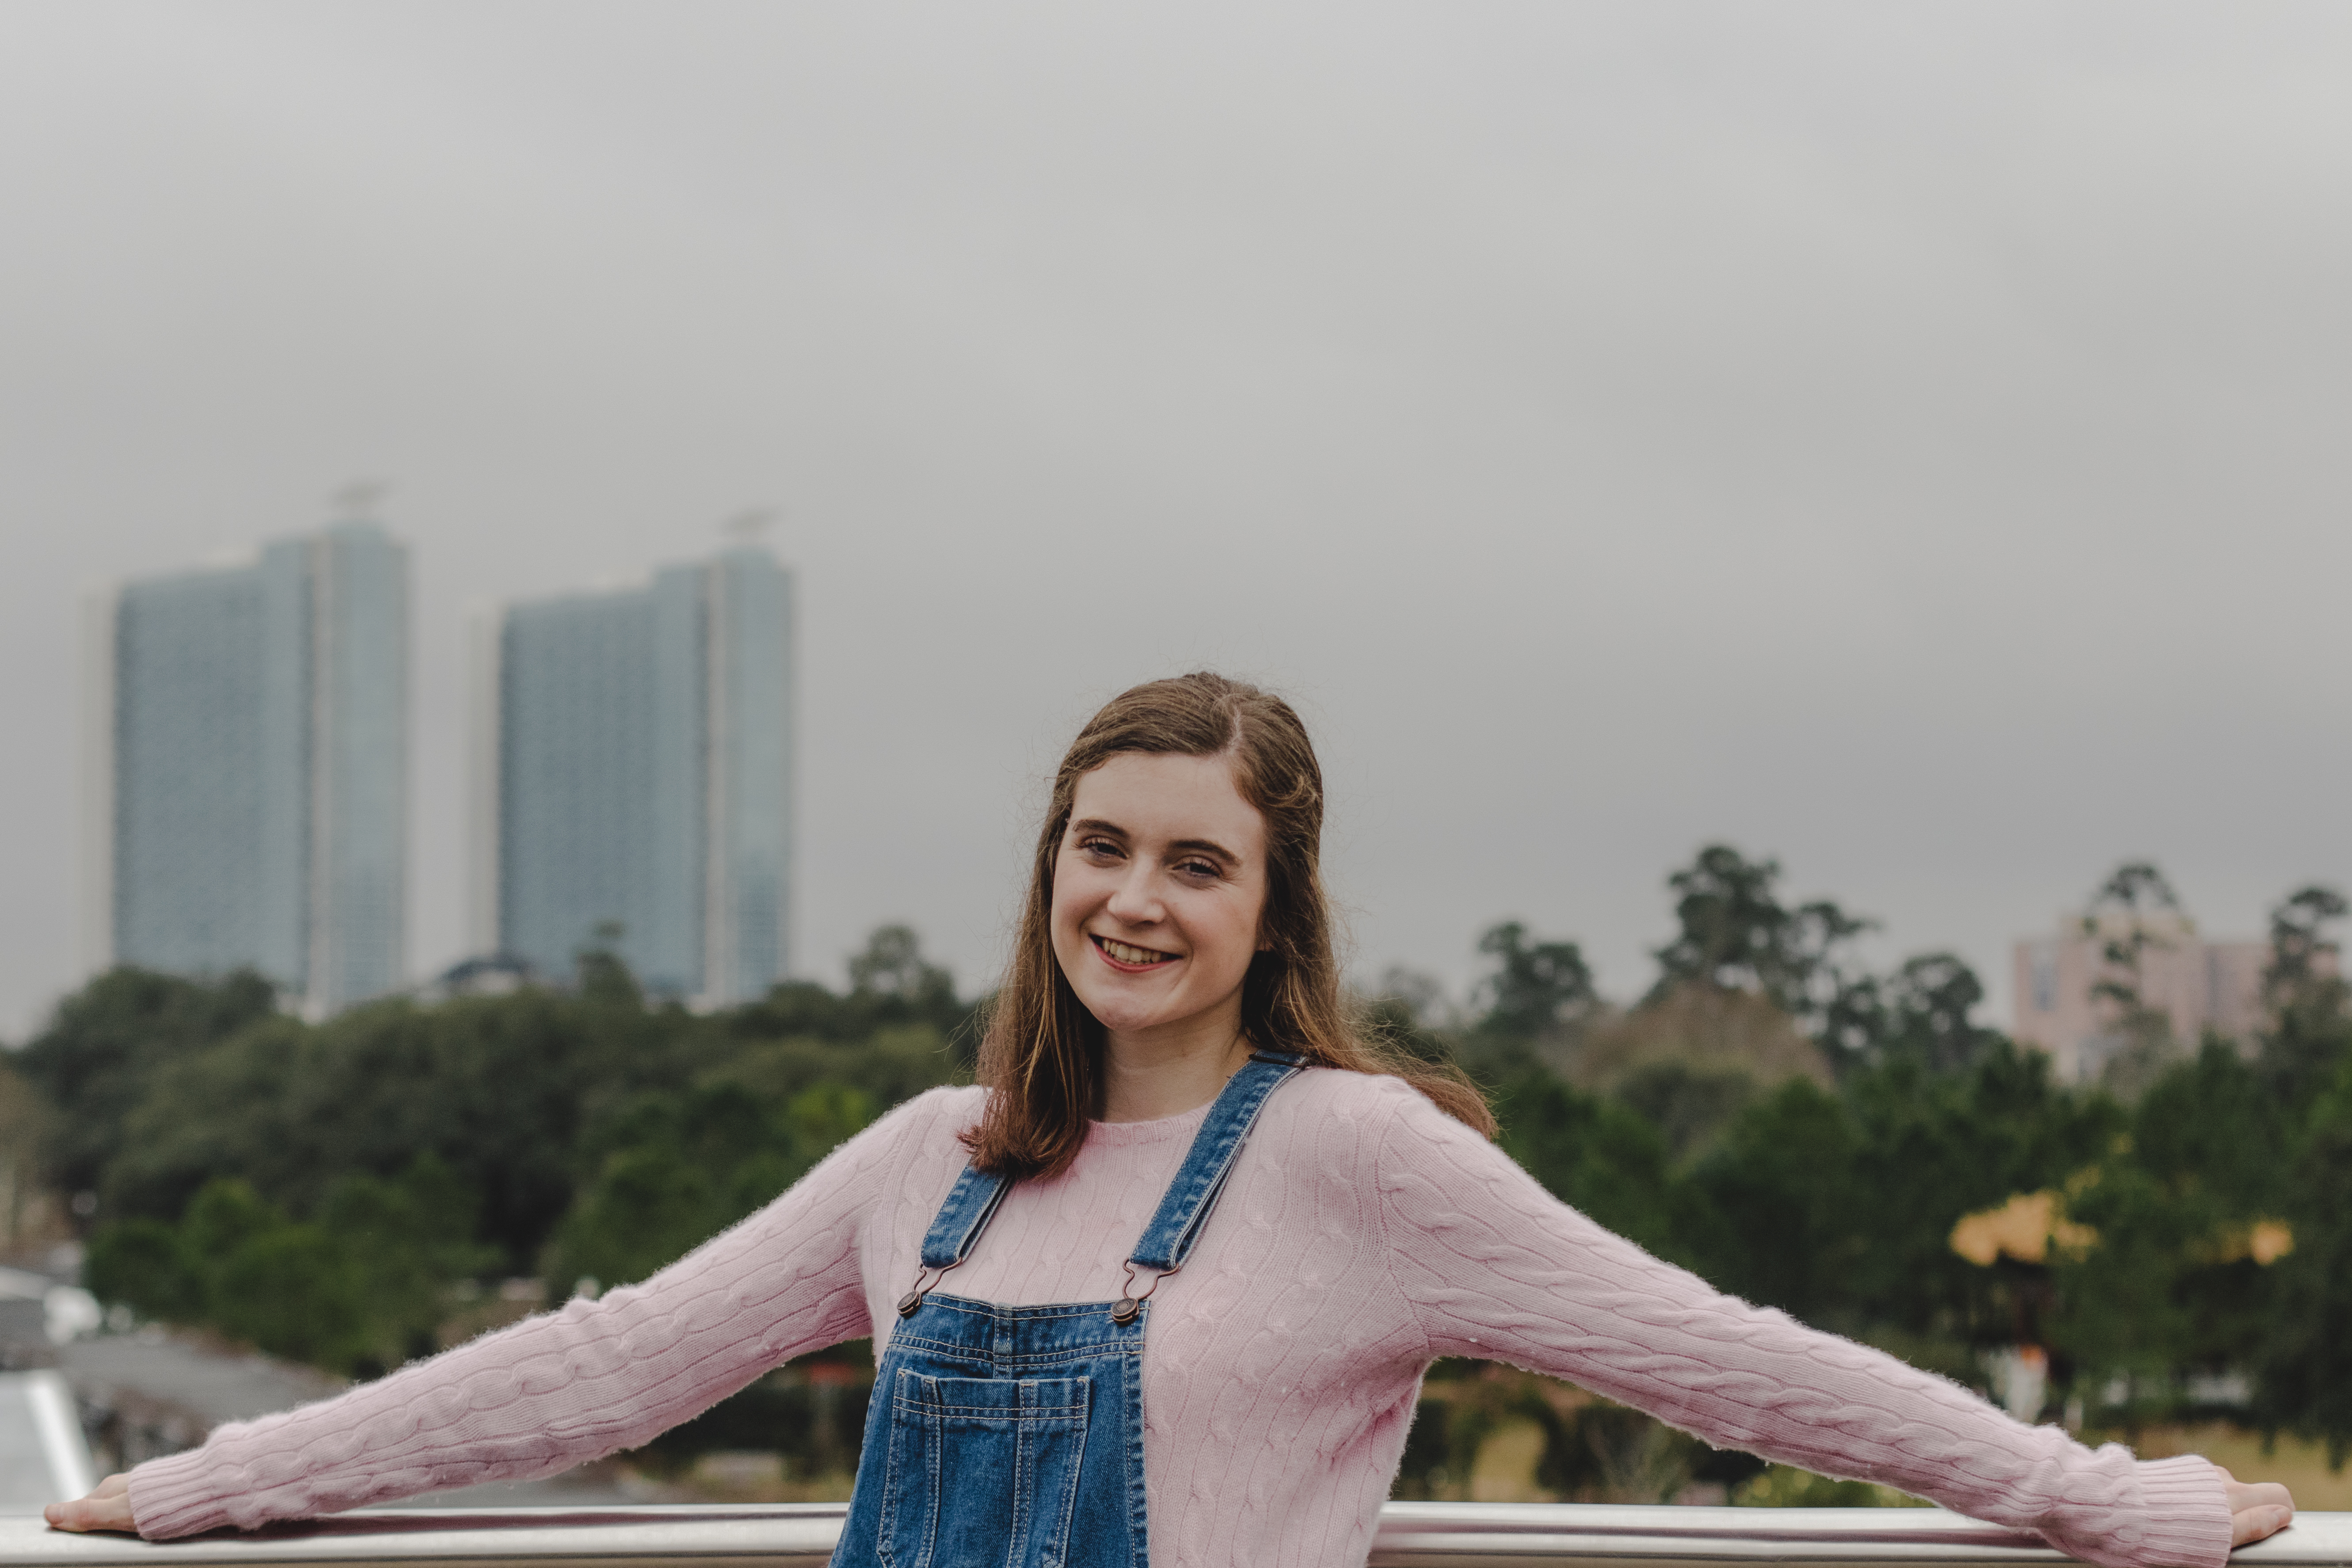
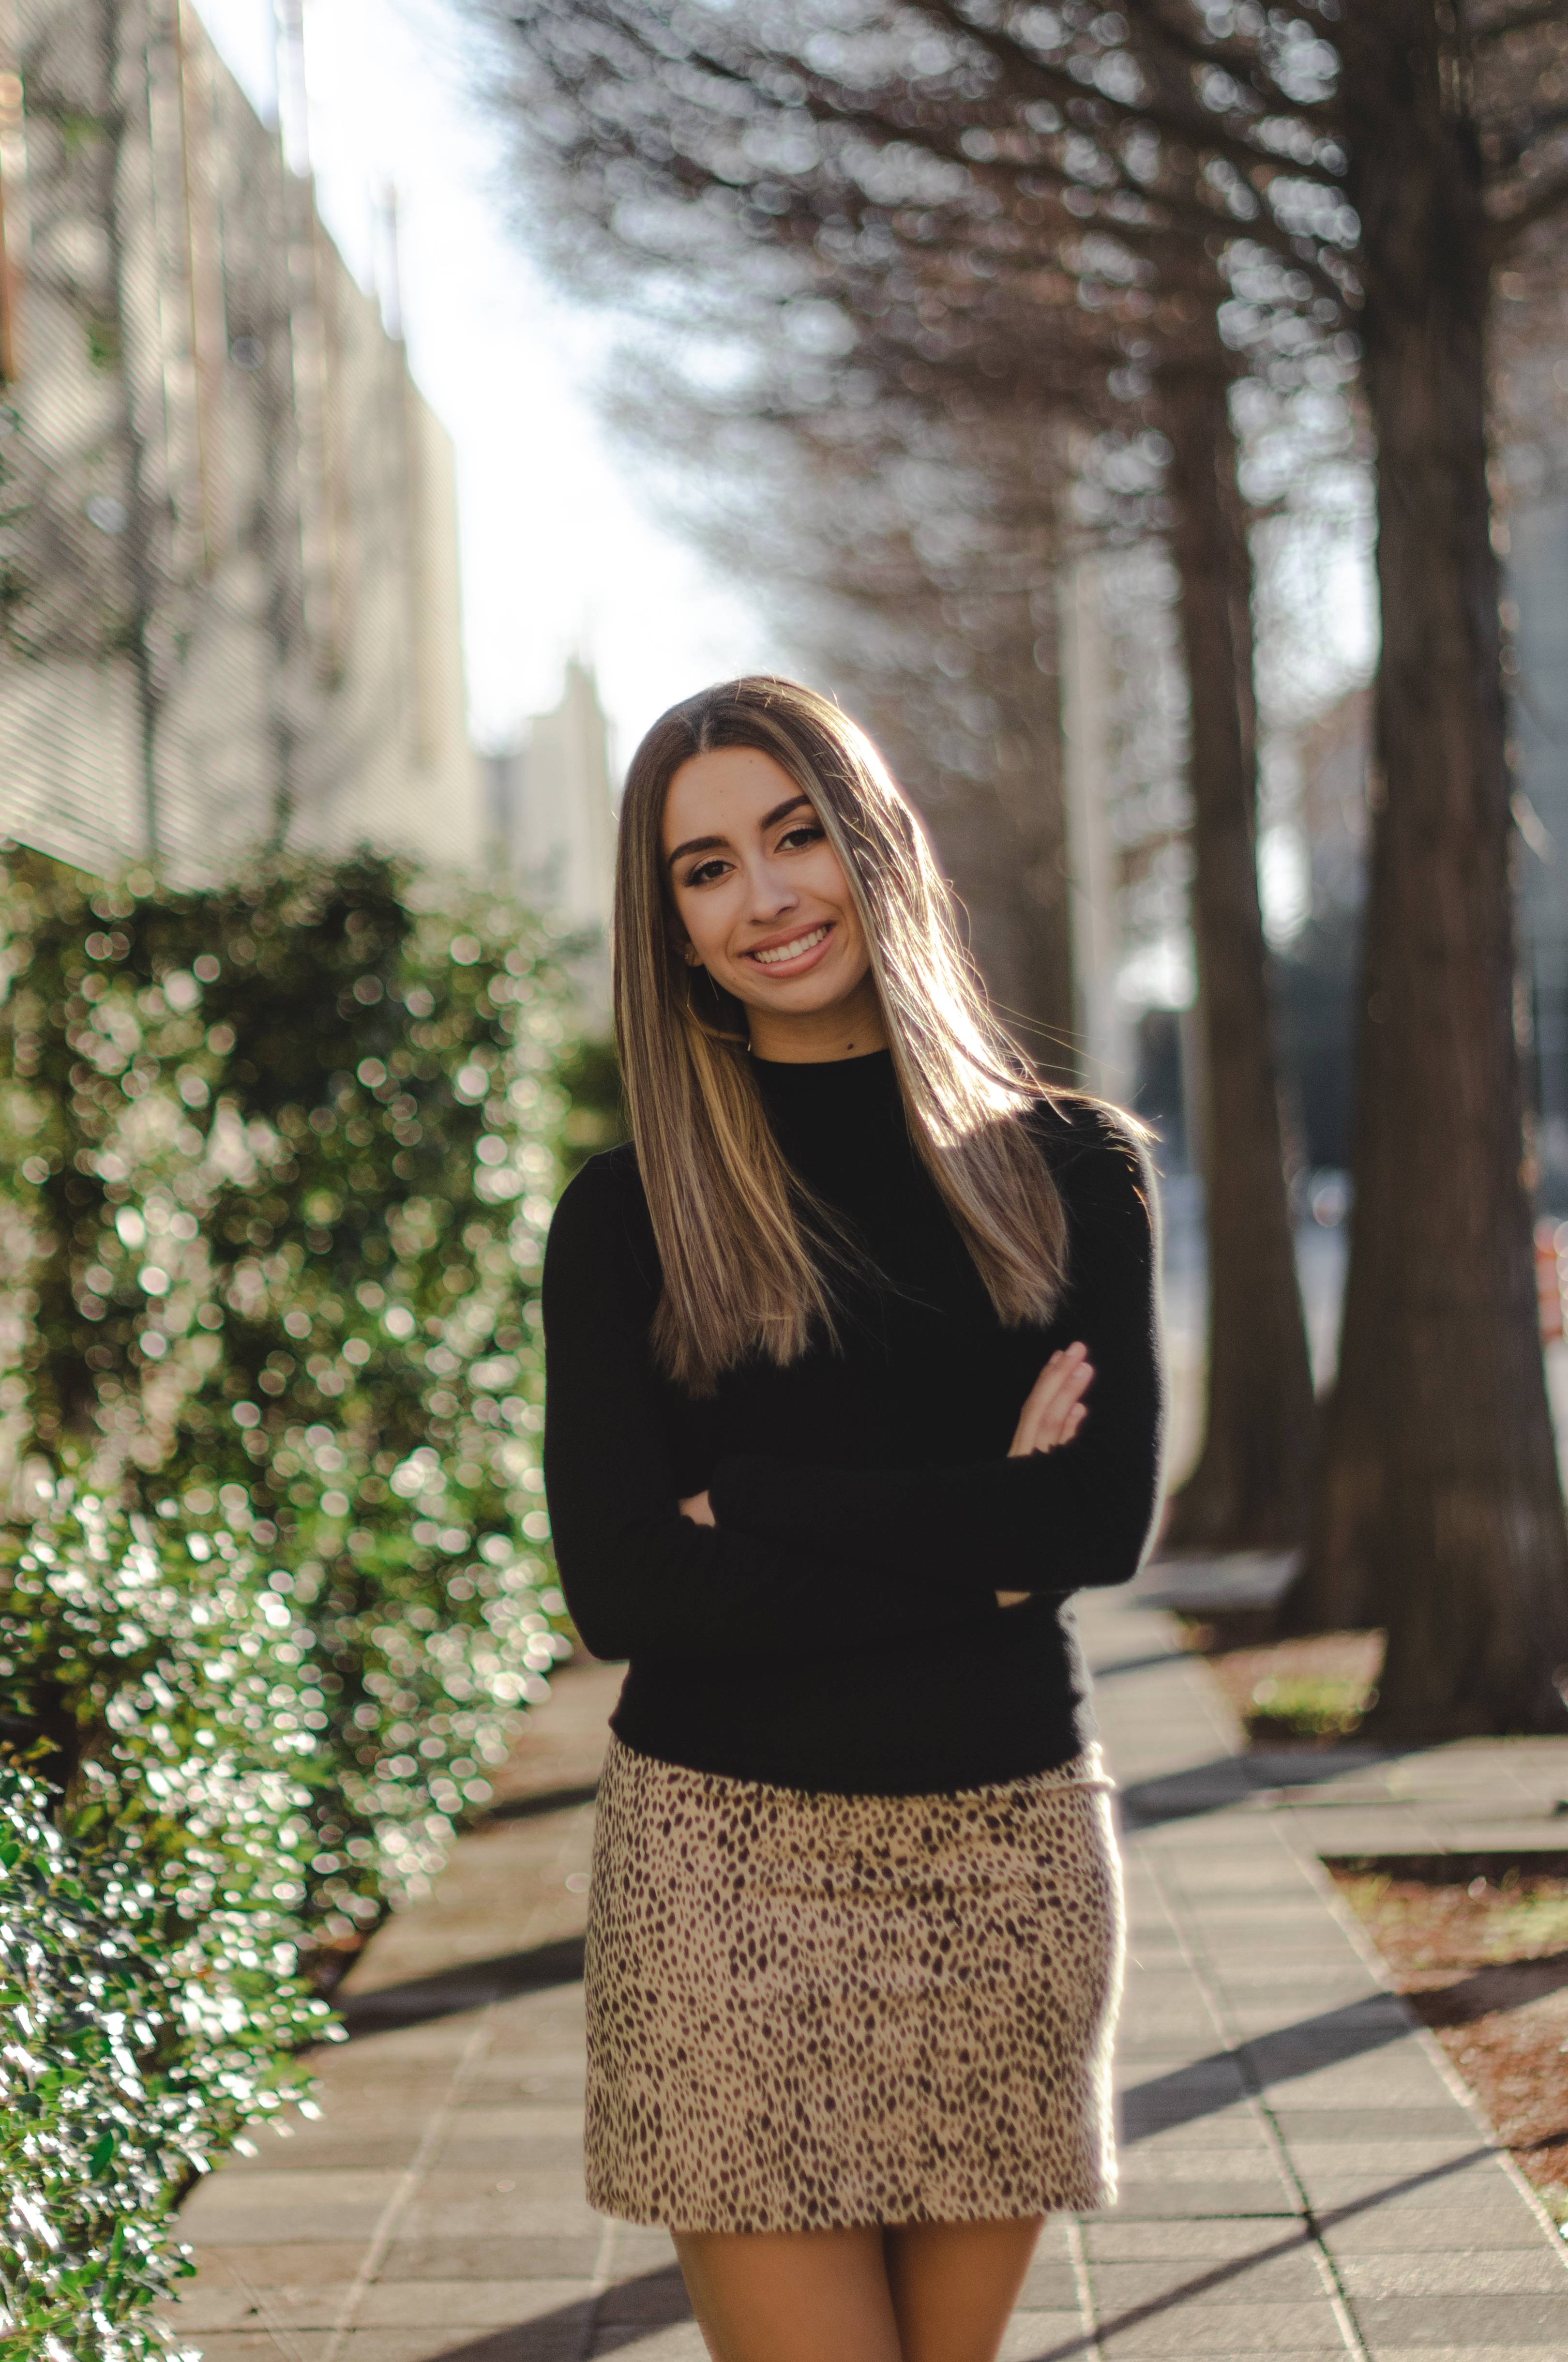
Single Portraits / Headshots

- STUDENT DISCOUNT 20% off
- Good Package: $200
- 1 location
- 2 outfits
- approximately 40 edited images on a flash drive
- deposit of $100 must be made upon booking or date will not be set
- All Good Package: $350
- 2 locations (must be within 30 minutes of each other)
- 4 outfits
- approximately 70 edited images on a flash drive
- deposit of $100 must be made upon booking or date will not be set
- Good Package: $200


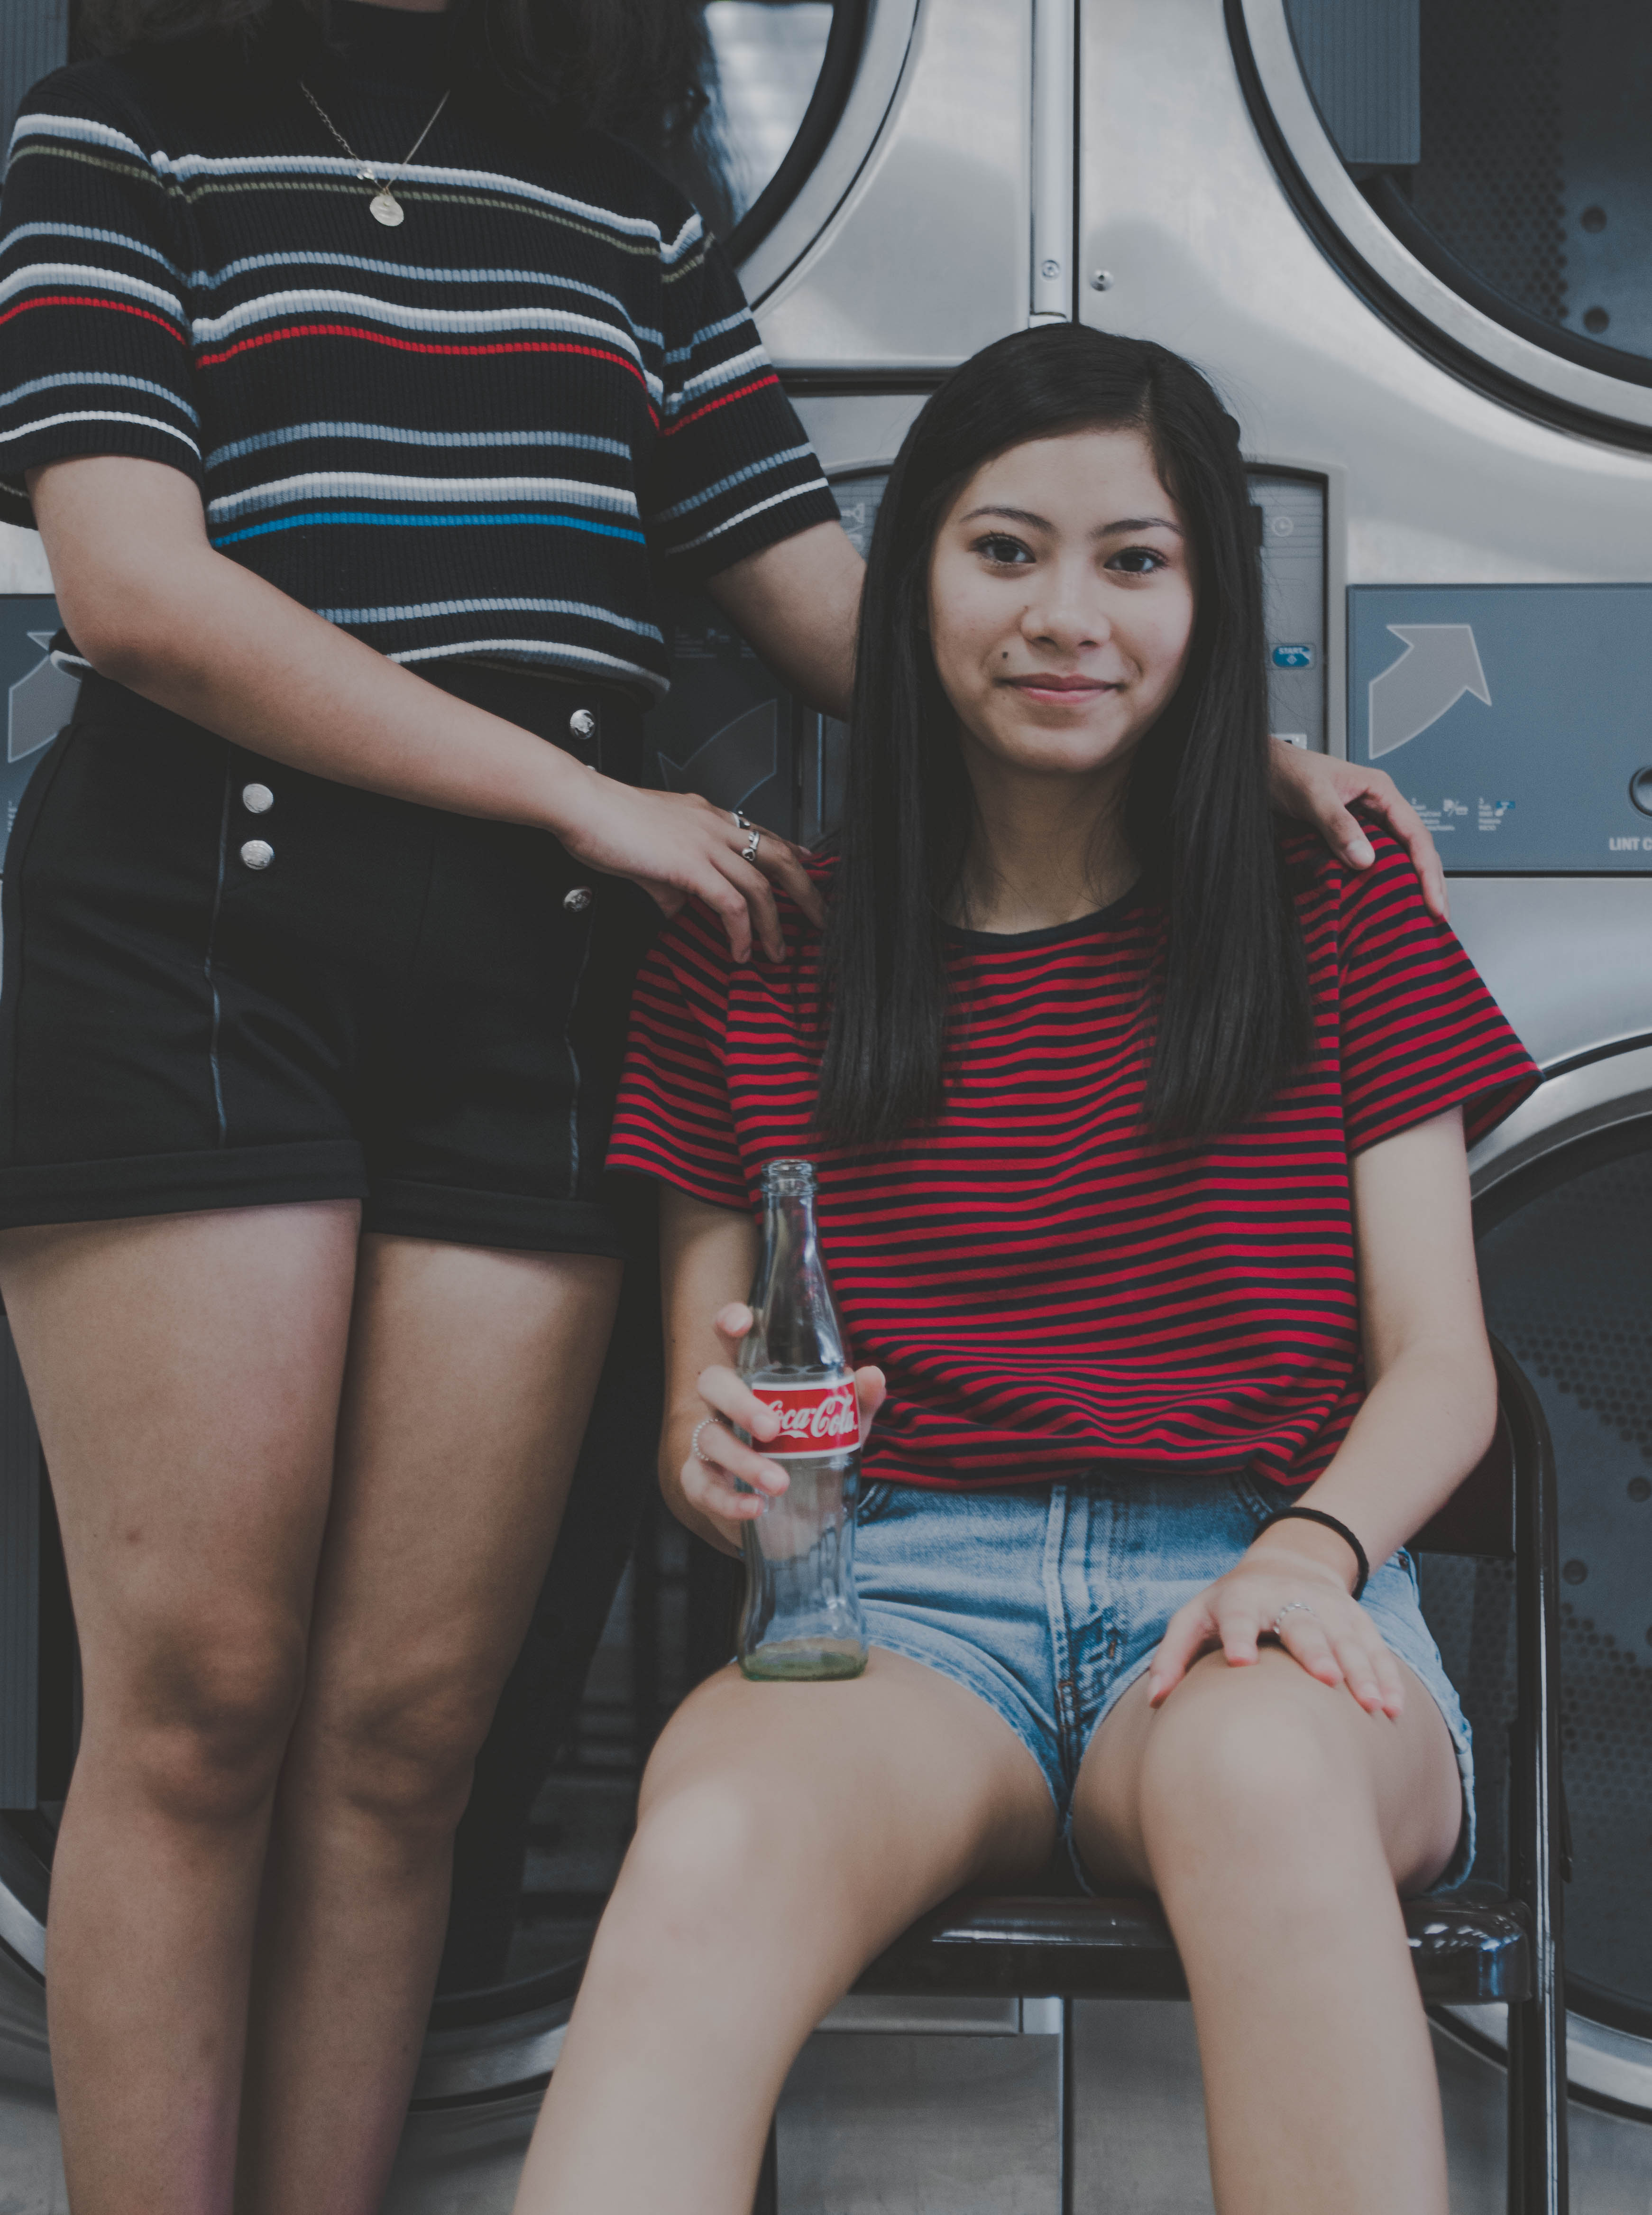
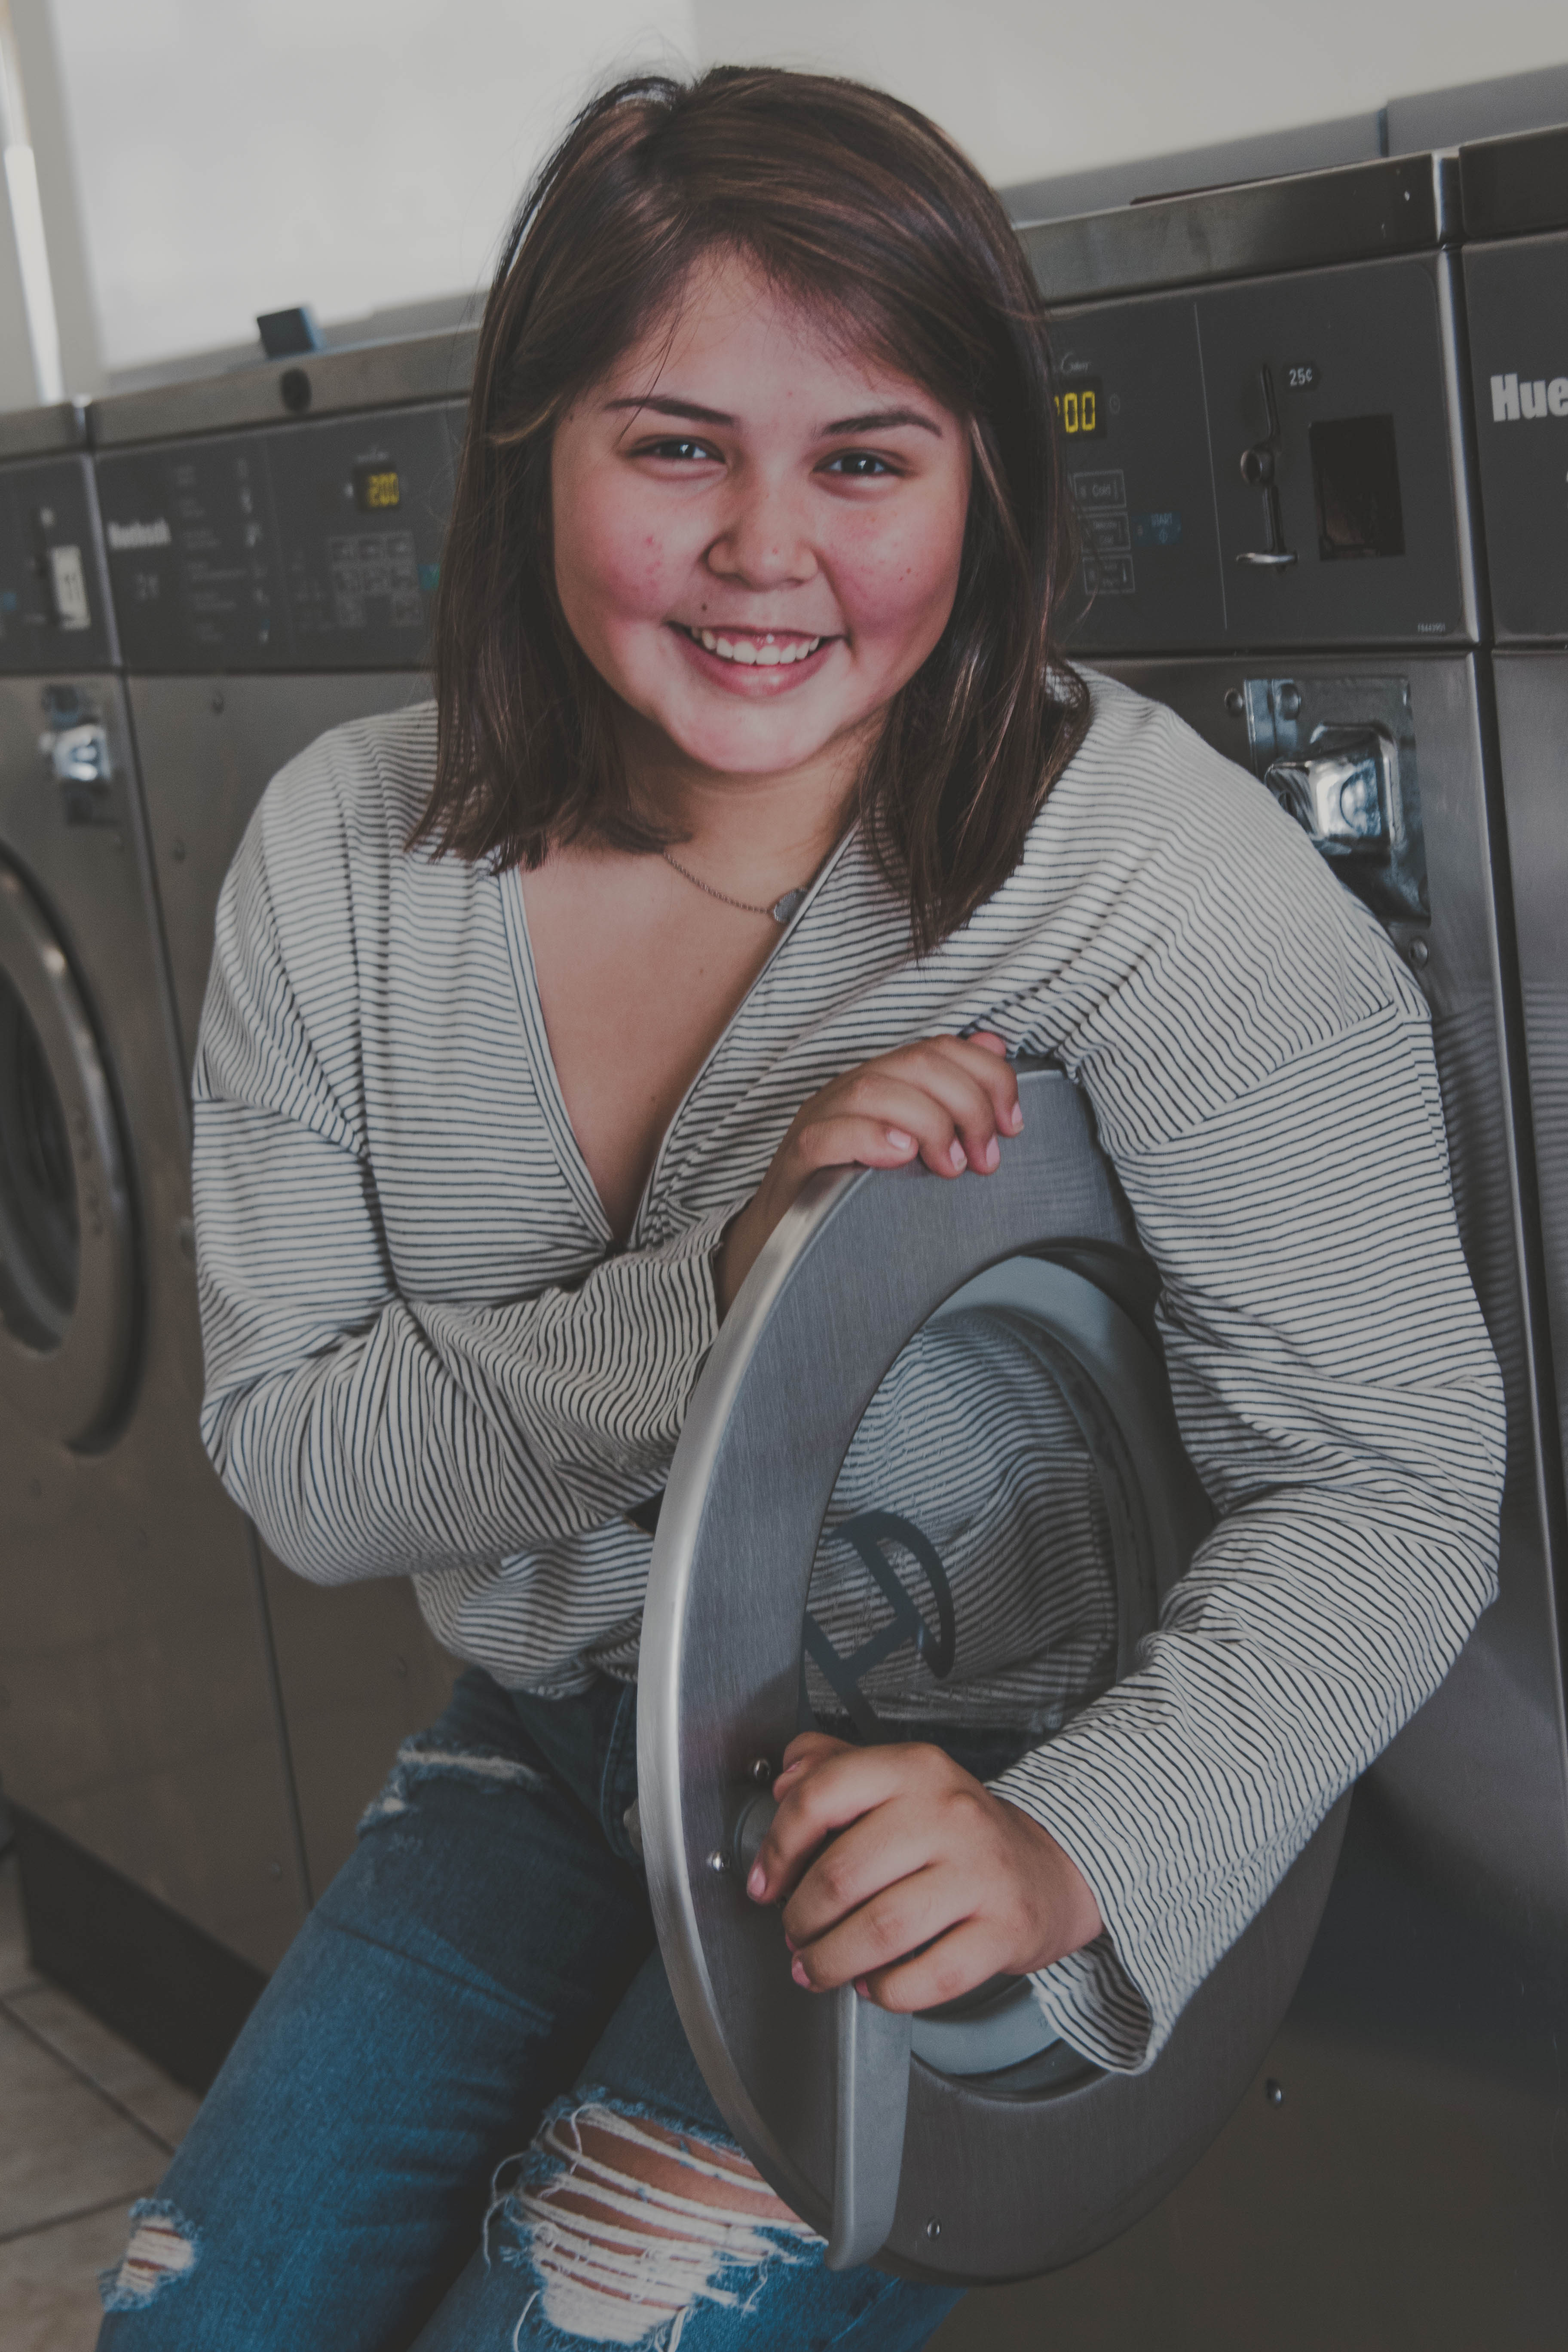
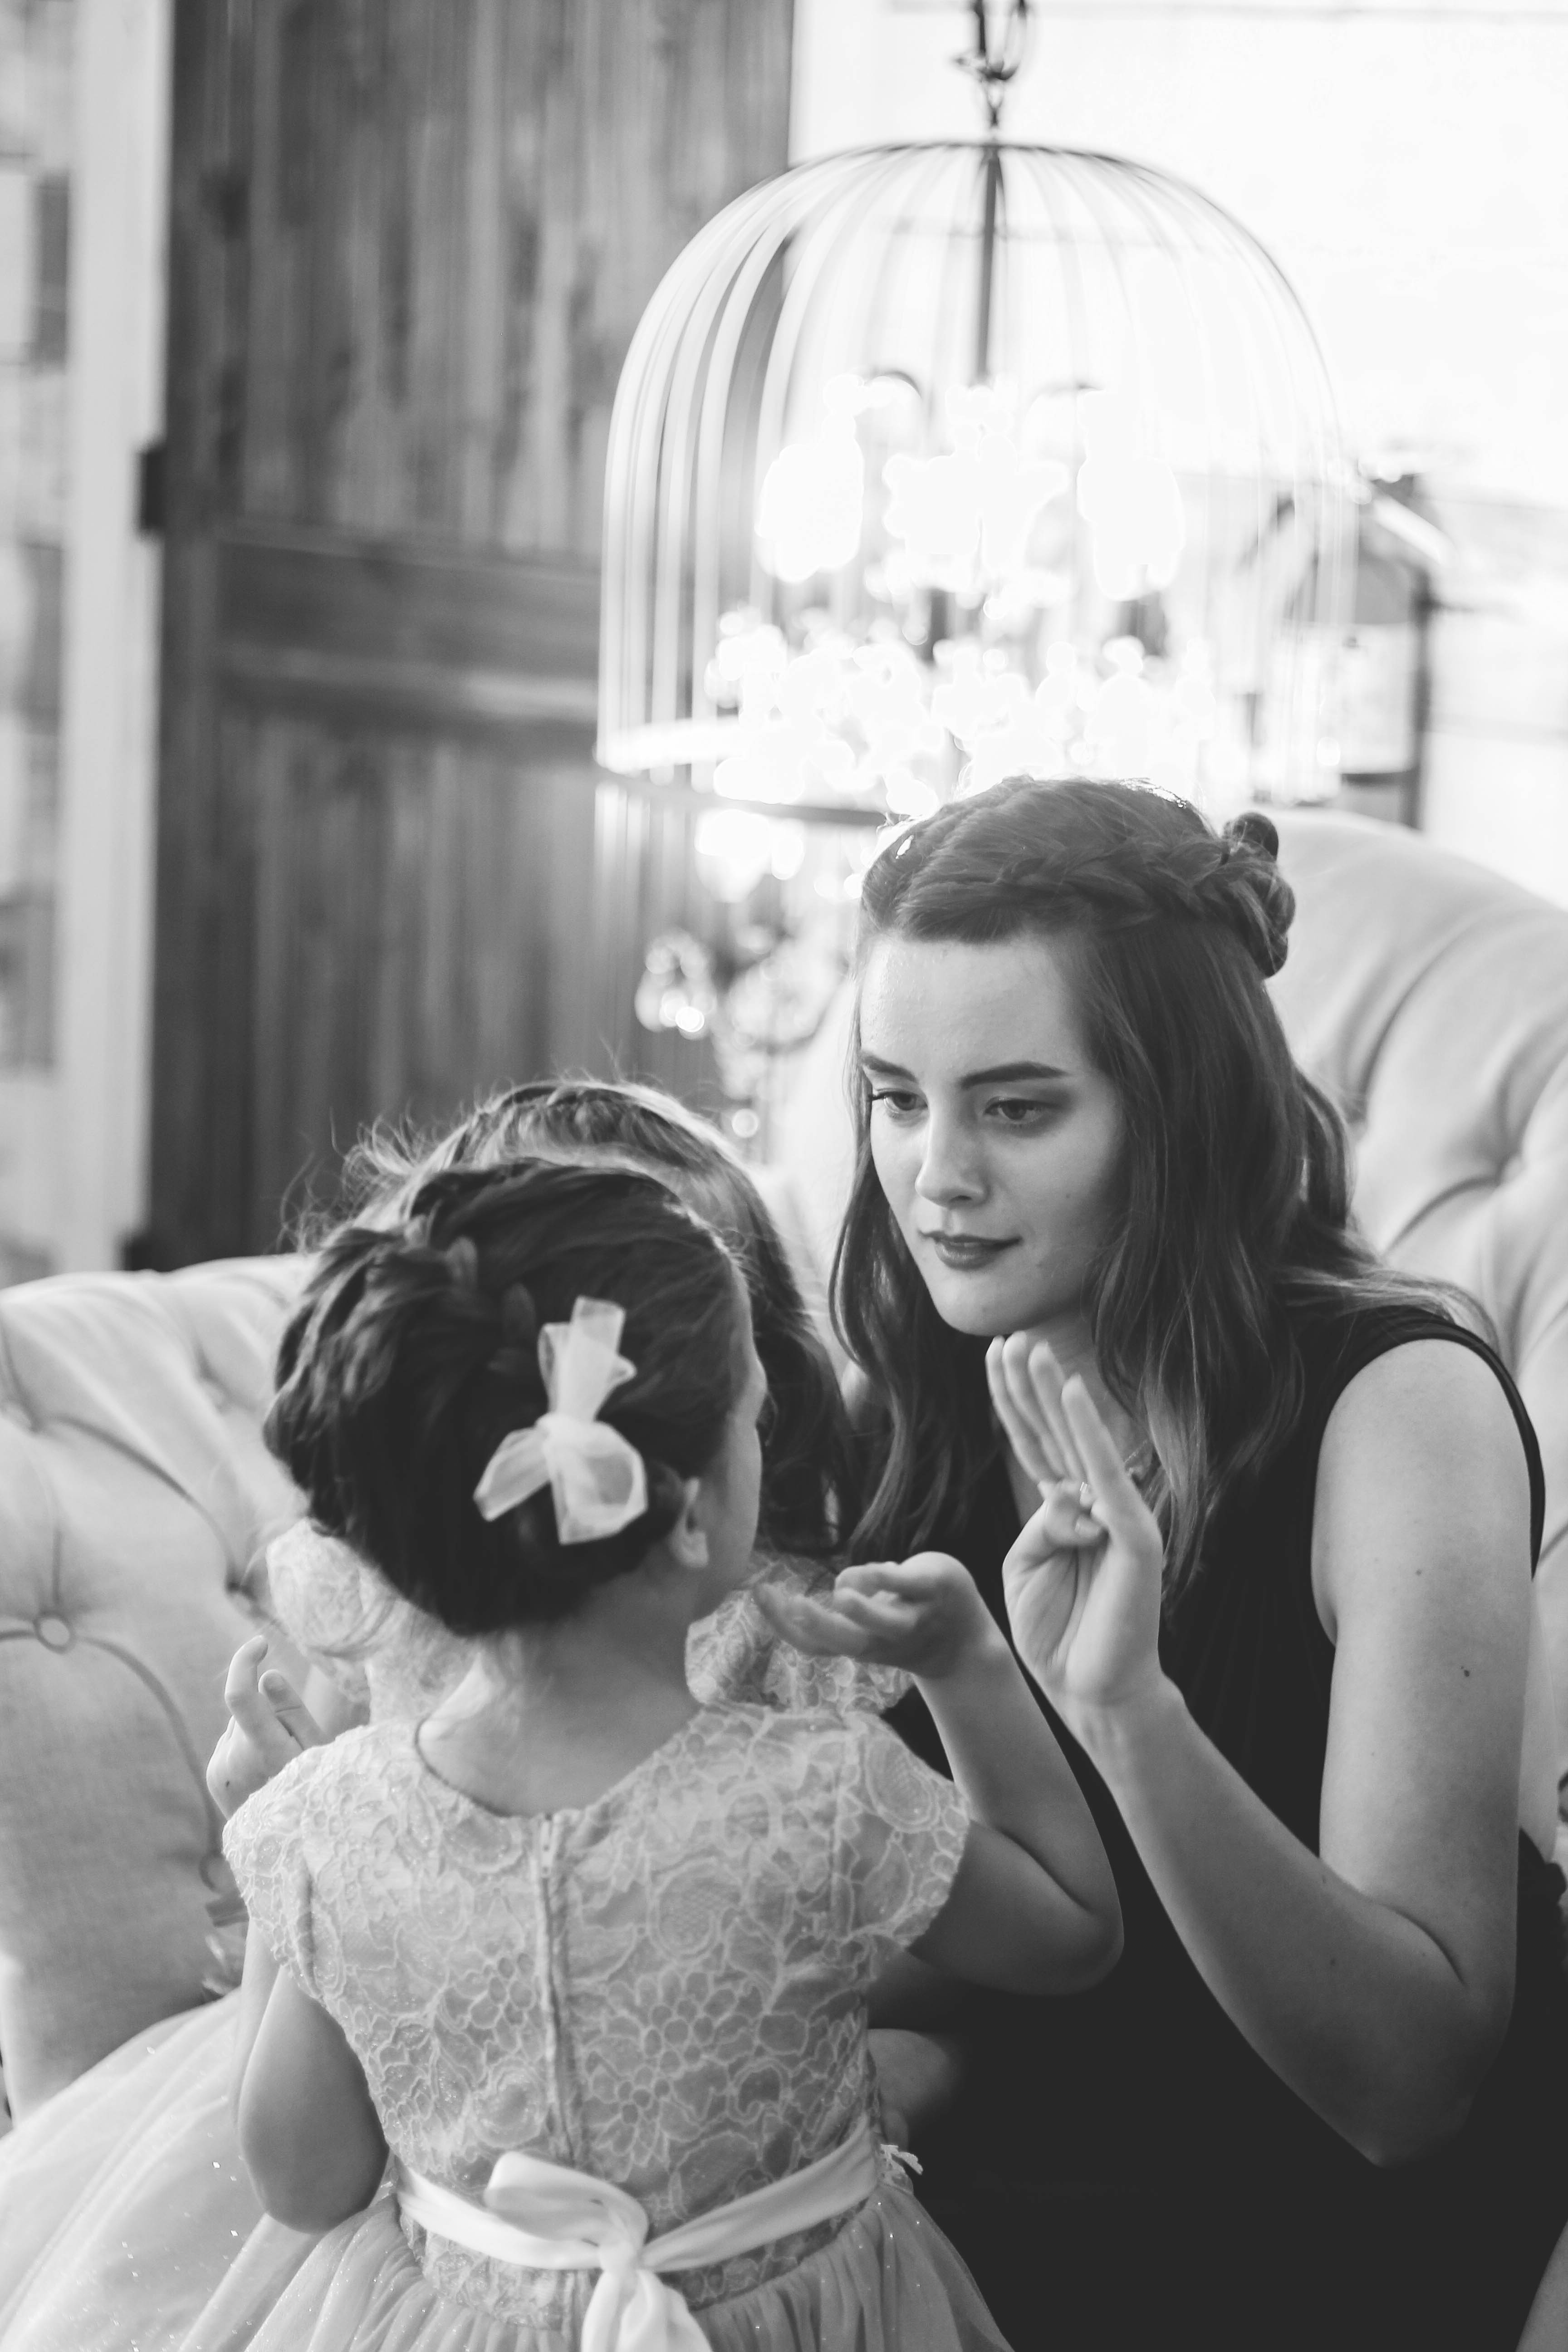
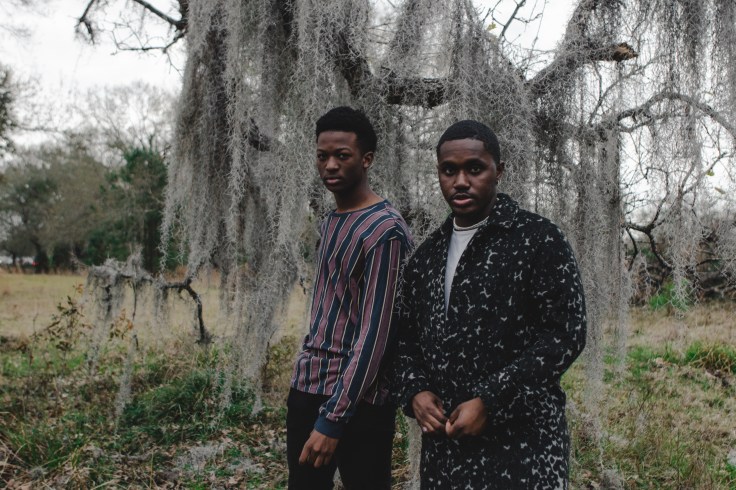
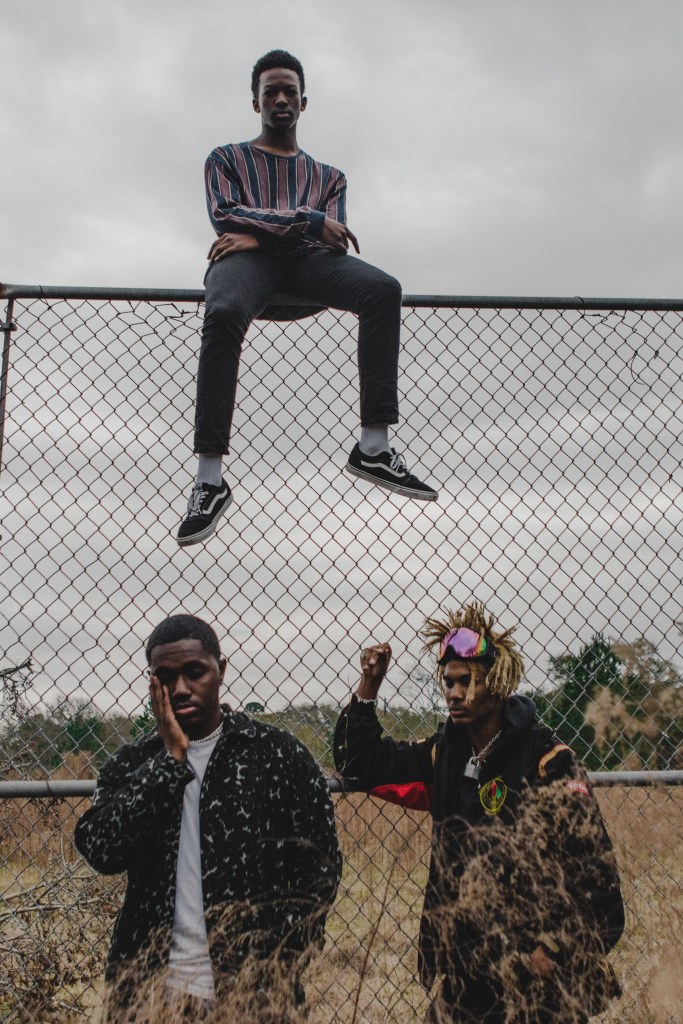
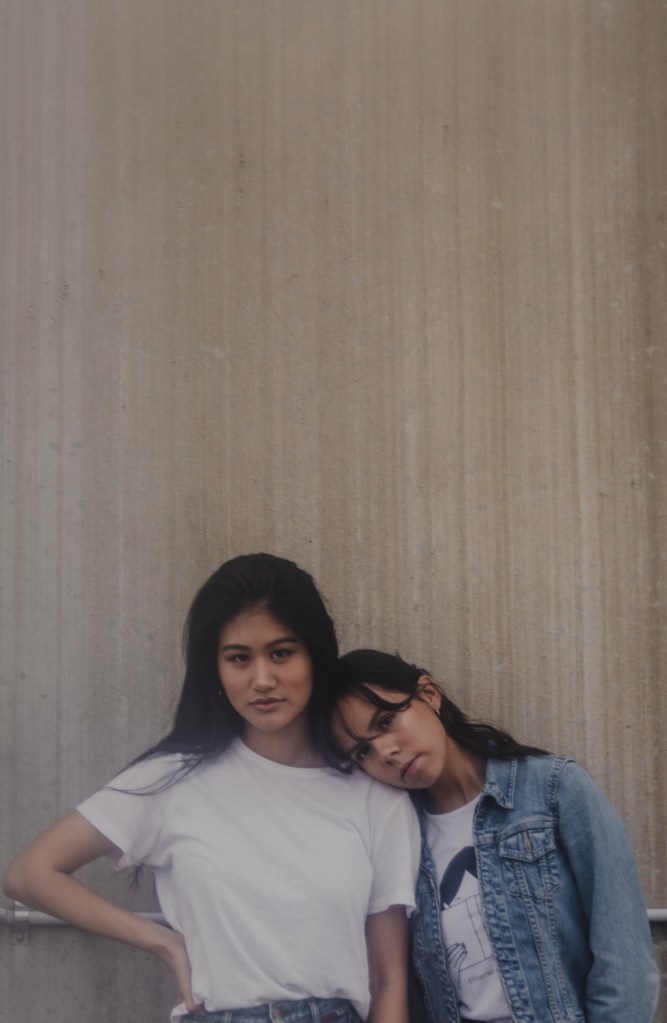
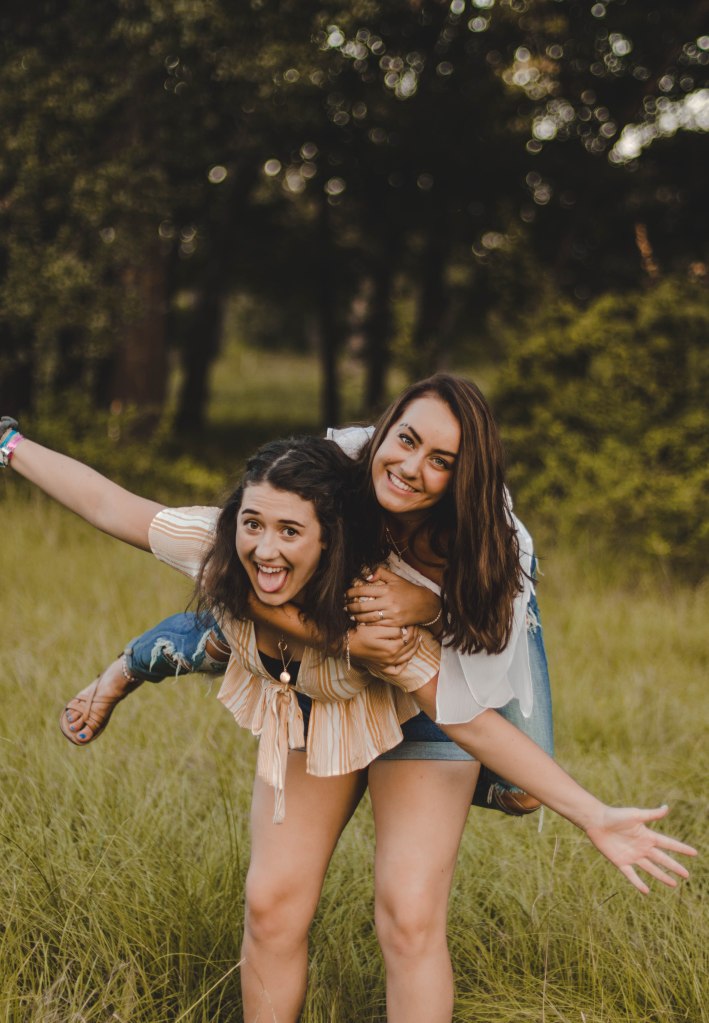
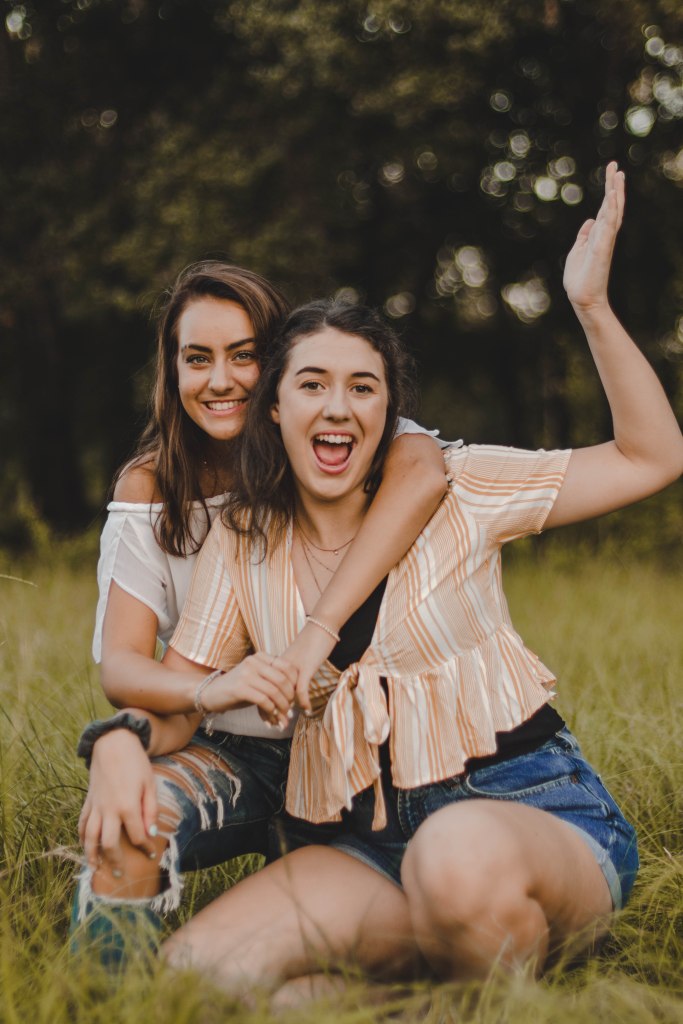
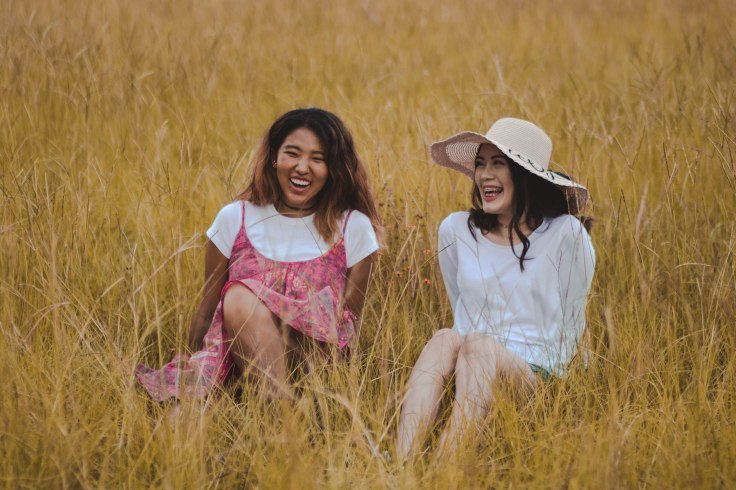
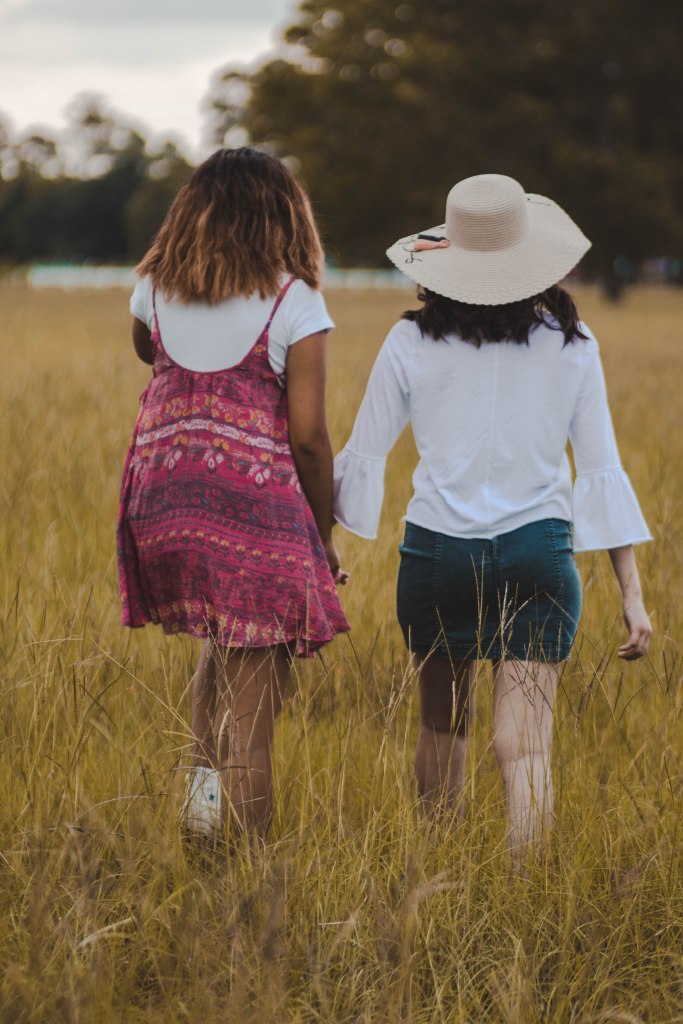
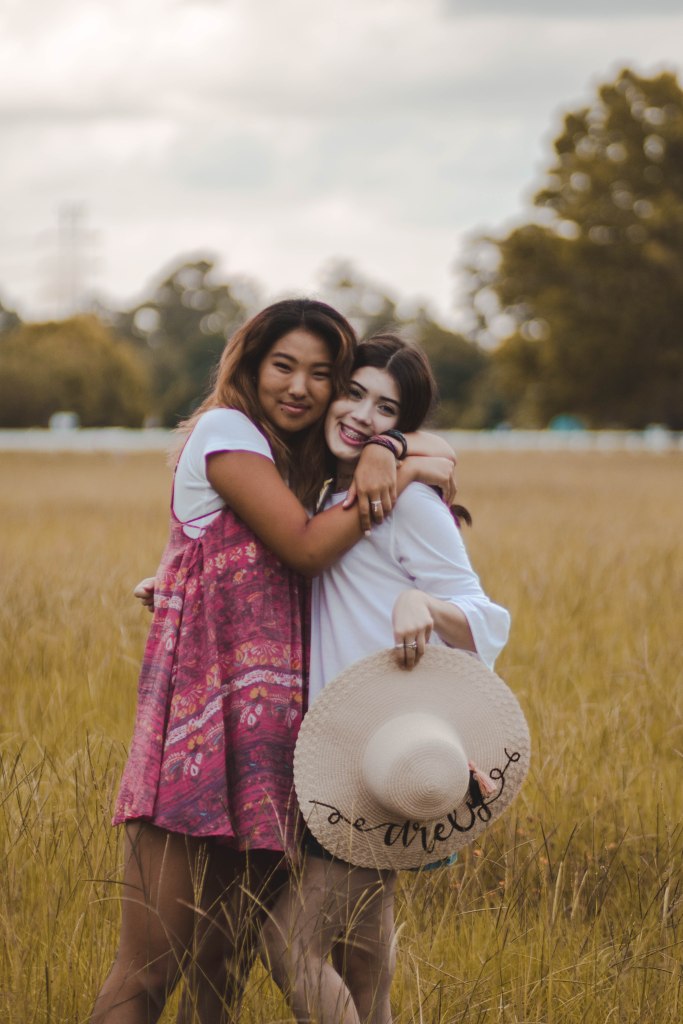
Friends + Families
- STUDENT DISCOUNT 20% OFF
- Good Package: $250
- Includes up to 5 Family members or friends
- 1 Location
- 2 Outfits
- Approximately 40 edited images on a flashdrive
- Deposit of $100 must be made upon booking or date will not be set
- All Good Package: $350
- Includes up to 10 Family members or friends
- 2 Locations
- 4 Outfits
- Approximately 70 edited images on a flashdrive
- Deposit of $100 must be made upon booking or date will not be set


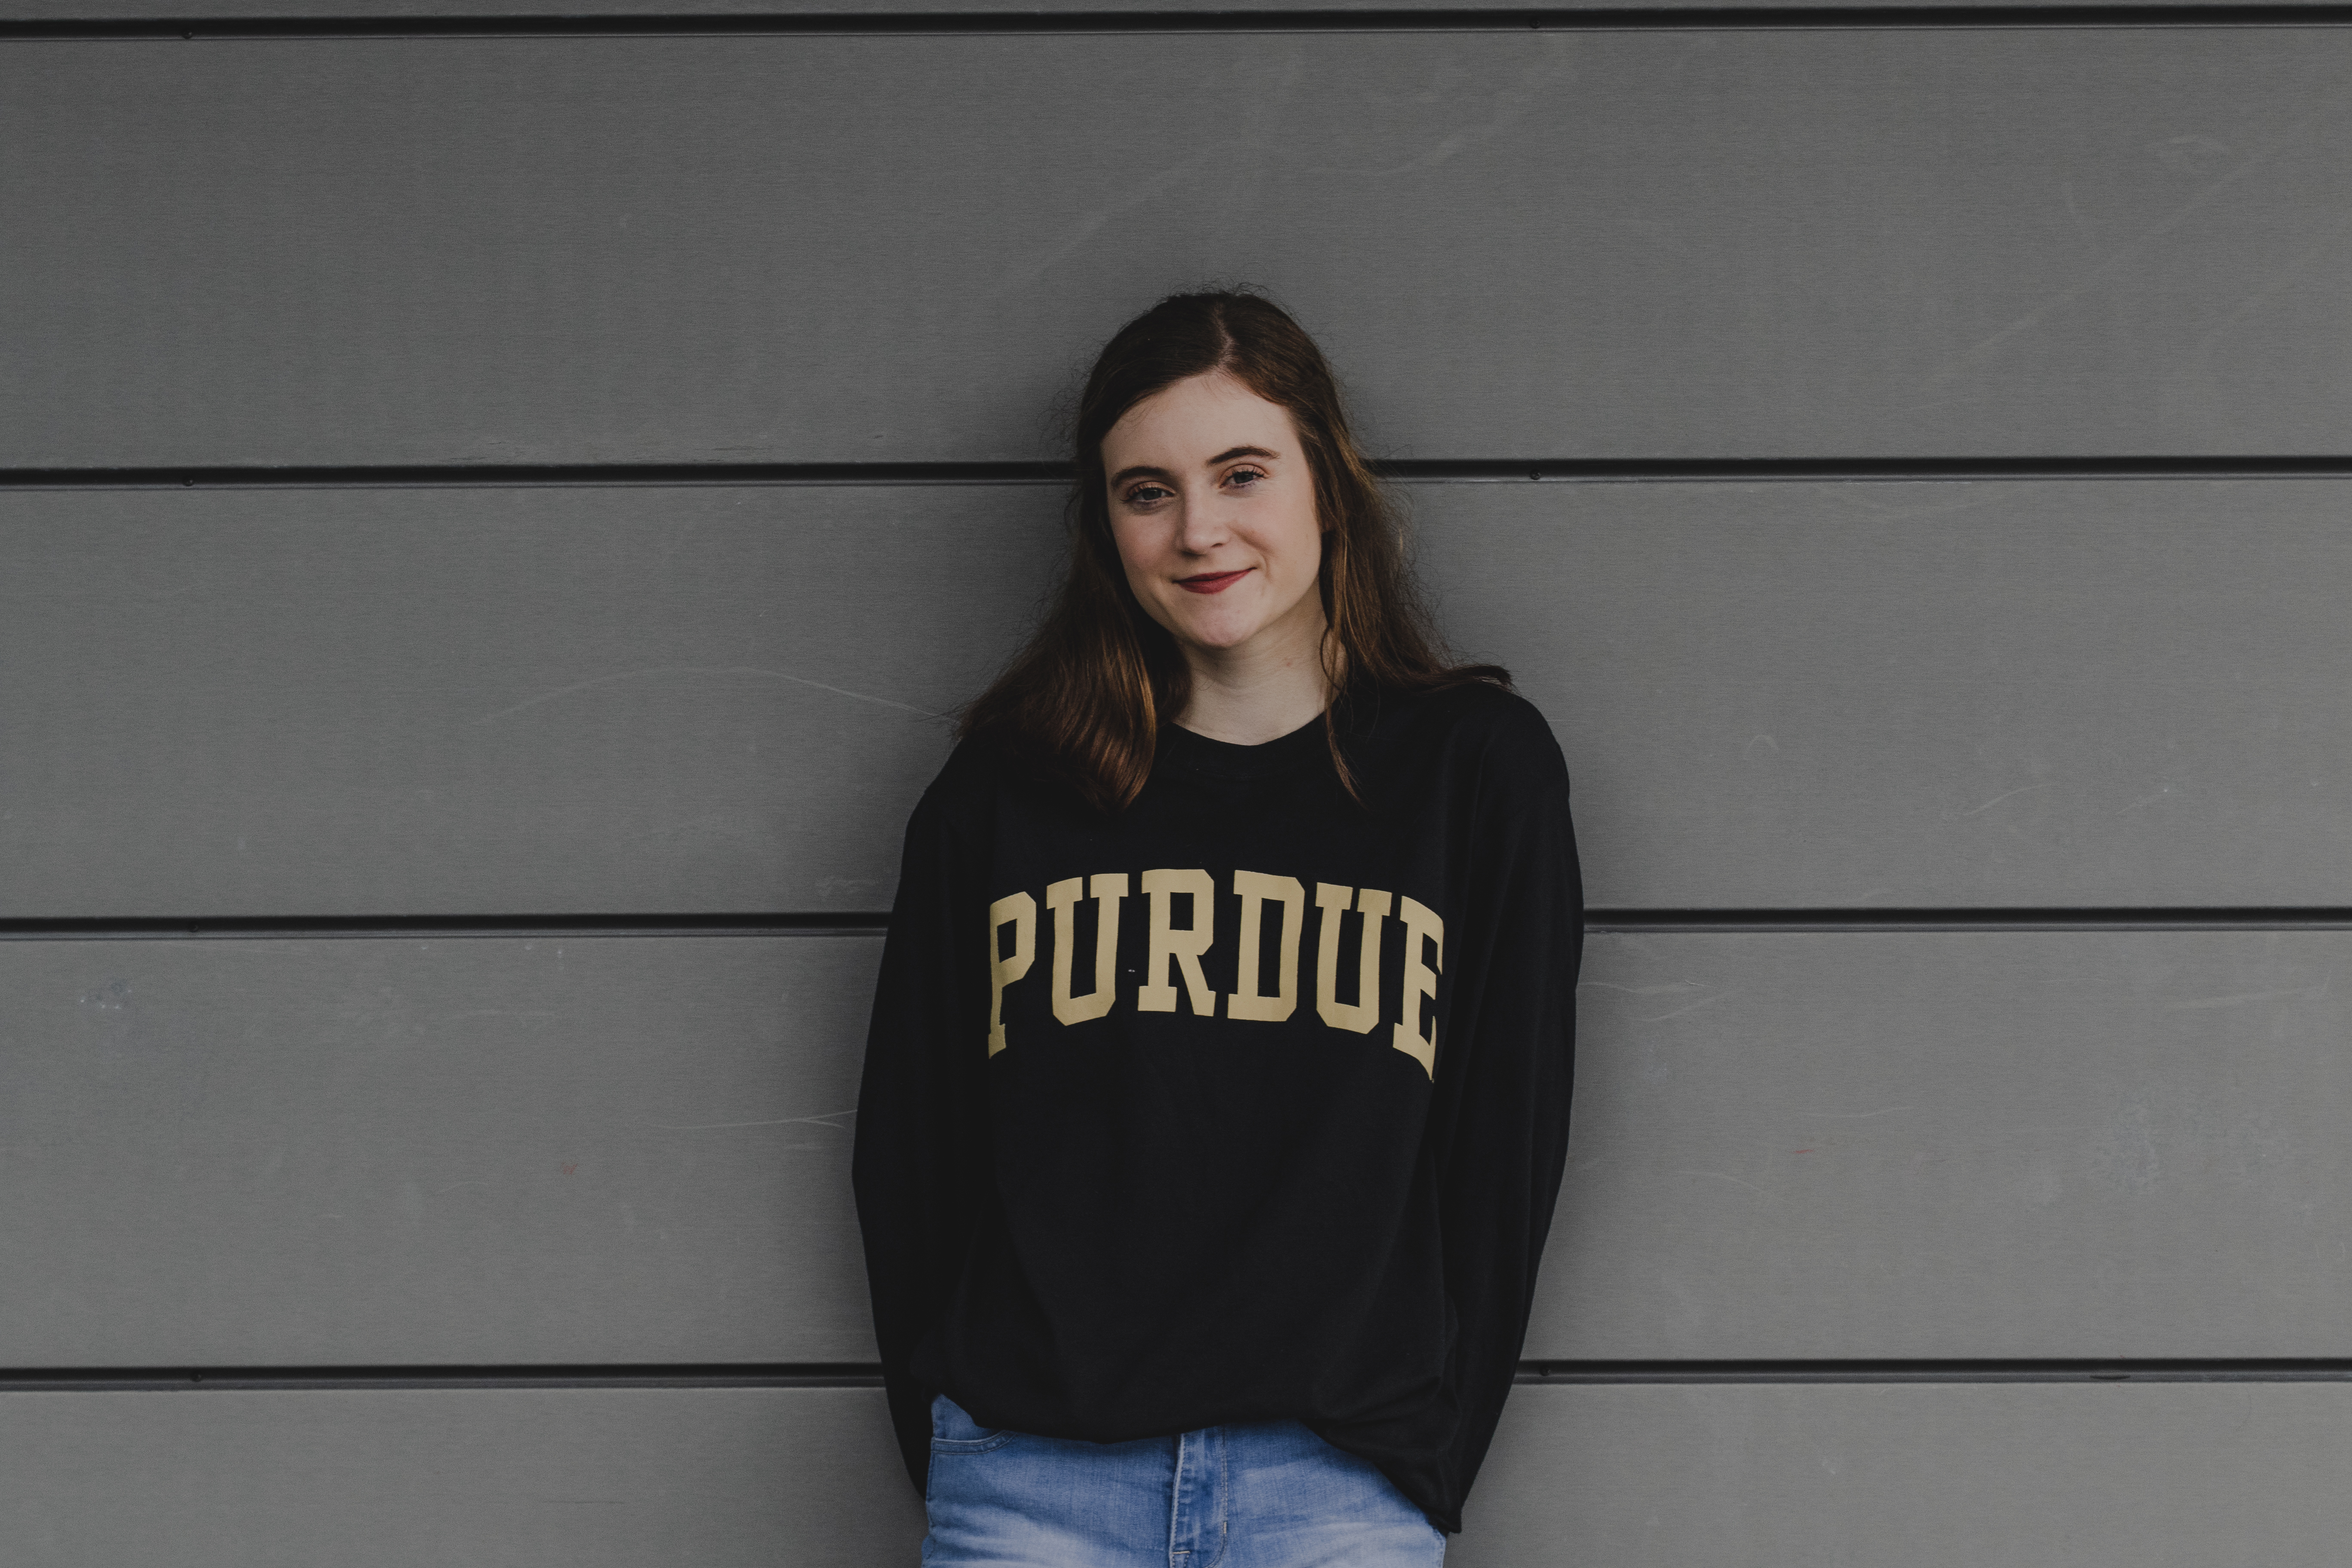
Senior Portraits
- STUDENT DISCOUNT 20% OFF APPLICABLE
- Cap & Gown Mini Package: $120
- 1 location
- Only cap & gown images
- approximately 15 edited images on a drive
- deposit of $50 must be made upon booking date
- Good Package: $300
- 1 location
- 2 outfits + 5 images in college shirt of choice OR cap & gown
- approximately 50 edited images on a drive
- deposit of $75 must be made upon booking date or date will not be set
- All Good Package: $450
- 2 locations (must be within 30 minutes of each other)
- 4 outfits + 10 images in college shirt of choice OR cap & gown
- approximately 90 edited images on a drive
- deposit of $100 must be made upon booking date or date will not be set
- Cap & Gown Mini Package: $120


IMPORTANT INFORMATION
All cancellations must be made at least 24 hours before the shoot to be refunded or rescheduled
In the event of bad weather or I have to cancel, your deposit will be put towards rescheduling or refunded.
By doing a shoot with me you are fully consenting to Goodall Photos posting these images to all Goodall Photos social media and to the official Goodall Photos blog at niagoodallphoto.com
Payment must be issued on the date of the photoshoot or images will not be released
Accepted forms of payment include: Venmo, Cash App, Apple Pay or Cash
NO CHECKS
Prices are non negotiable
FAQ
How long will it take to receive my images?
I estimate approximately 4-6 weeks for weddings and engagements but about 2-4 weeks for any other portraits. I send out a few images as samples after one week to tie you over!
Can I have my raw/unedited images?
No! I’m sorry but it makes it easier for me to send the high quality, edited images as it eliminates any images taken with blinking eyes or uneven lighting.
How will I receive my images?
All images will be given to you on a flash drive but your sneak peeks will be sent on a google photos album only accessed by me and you.
Can I post these images?
Yes, of course! Just make sure you do not edit them in any way and make sure to tag me @Goodallphotos!
What should I wear?
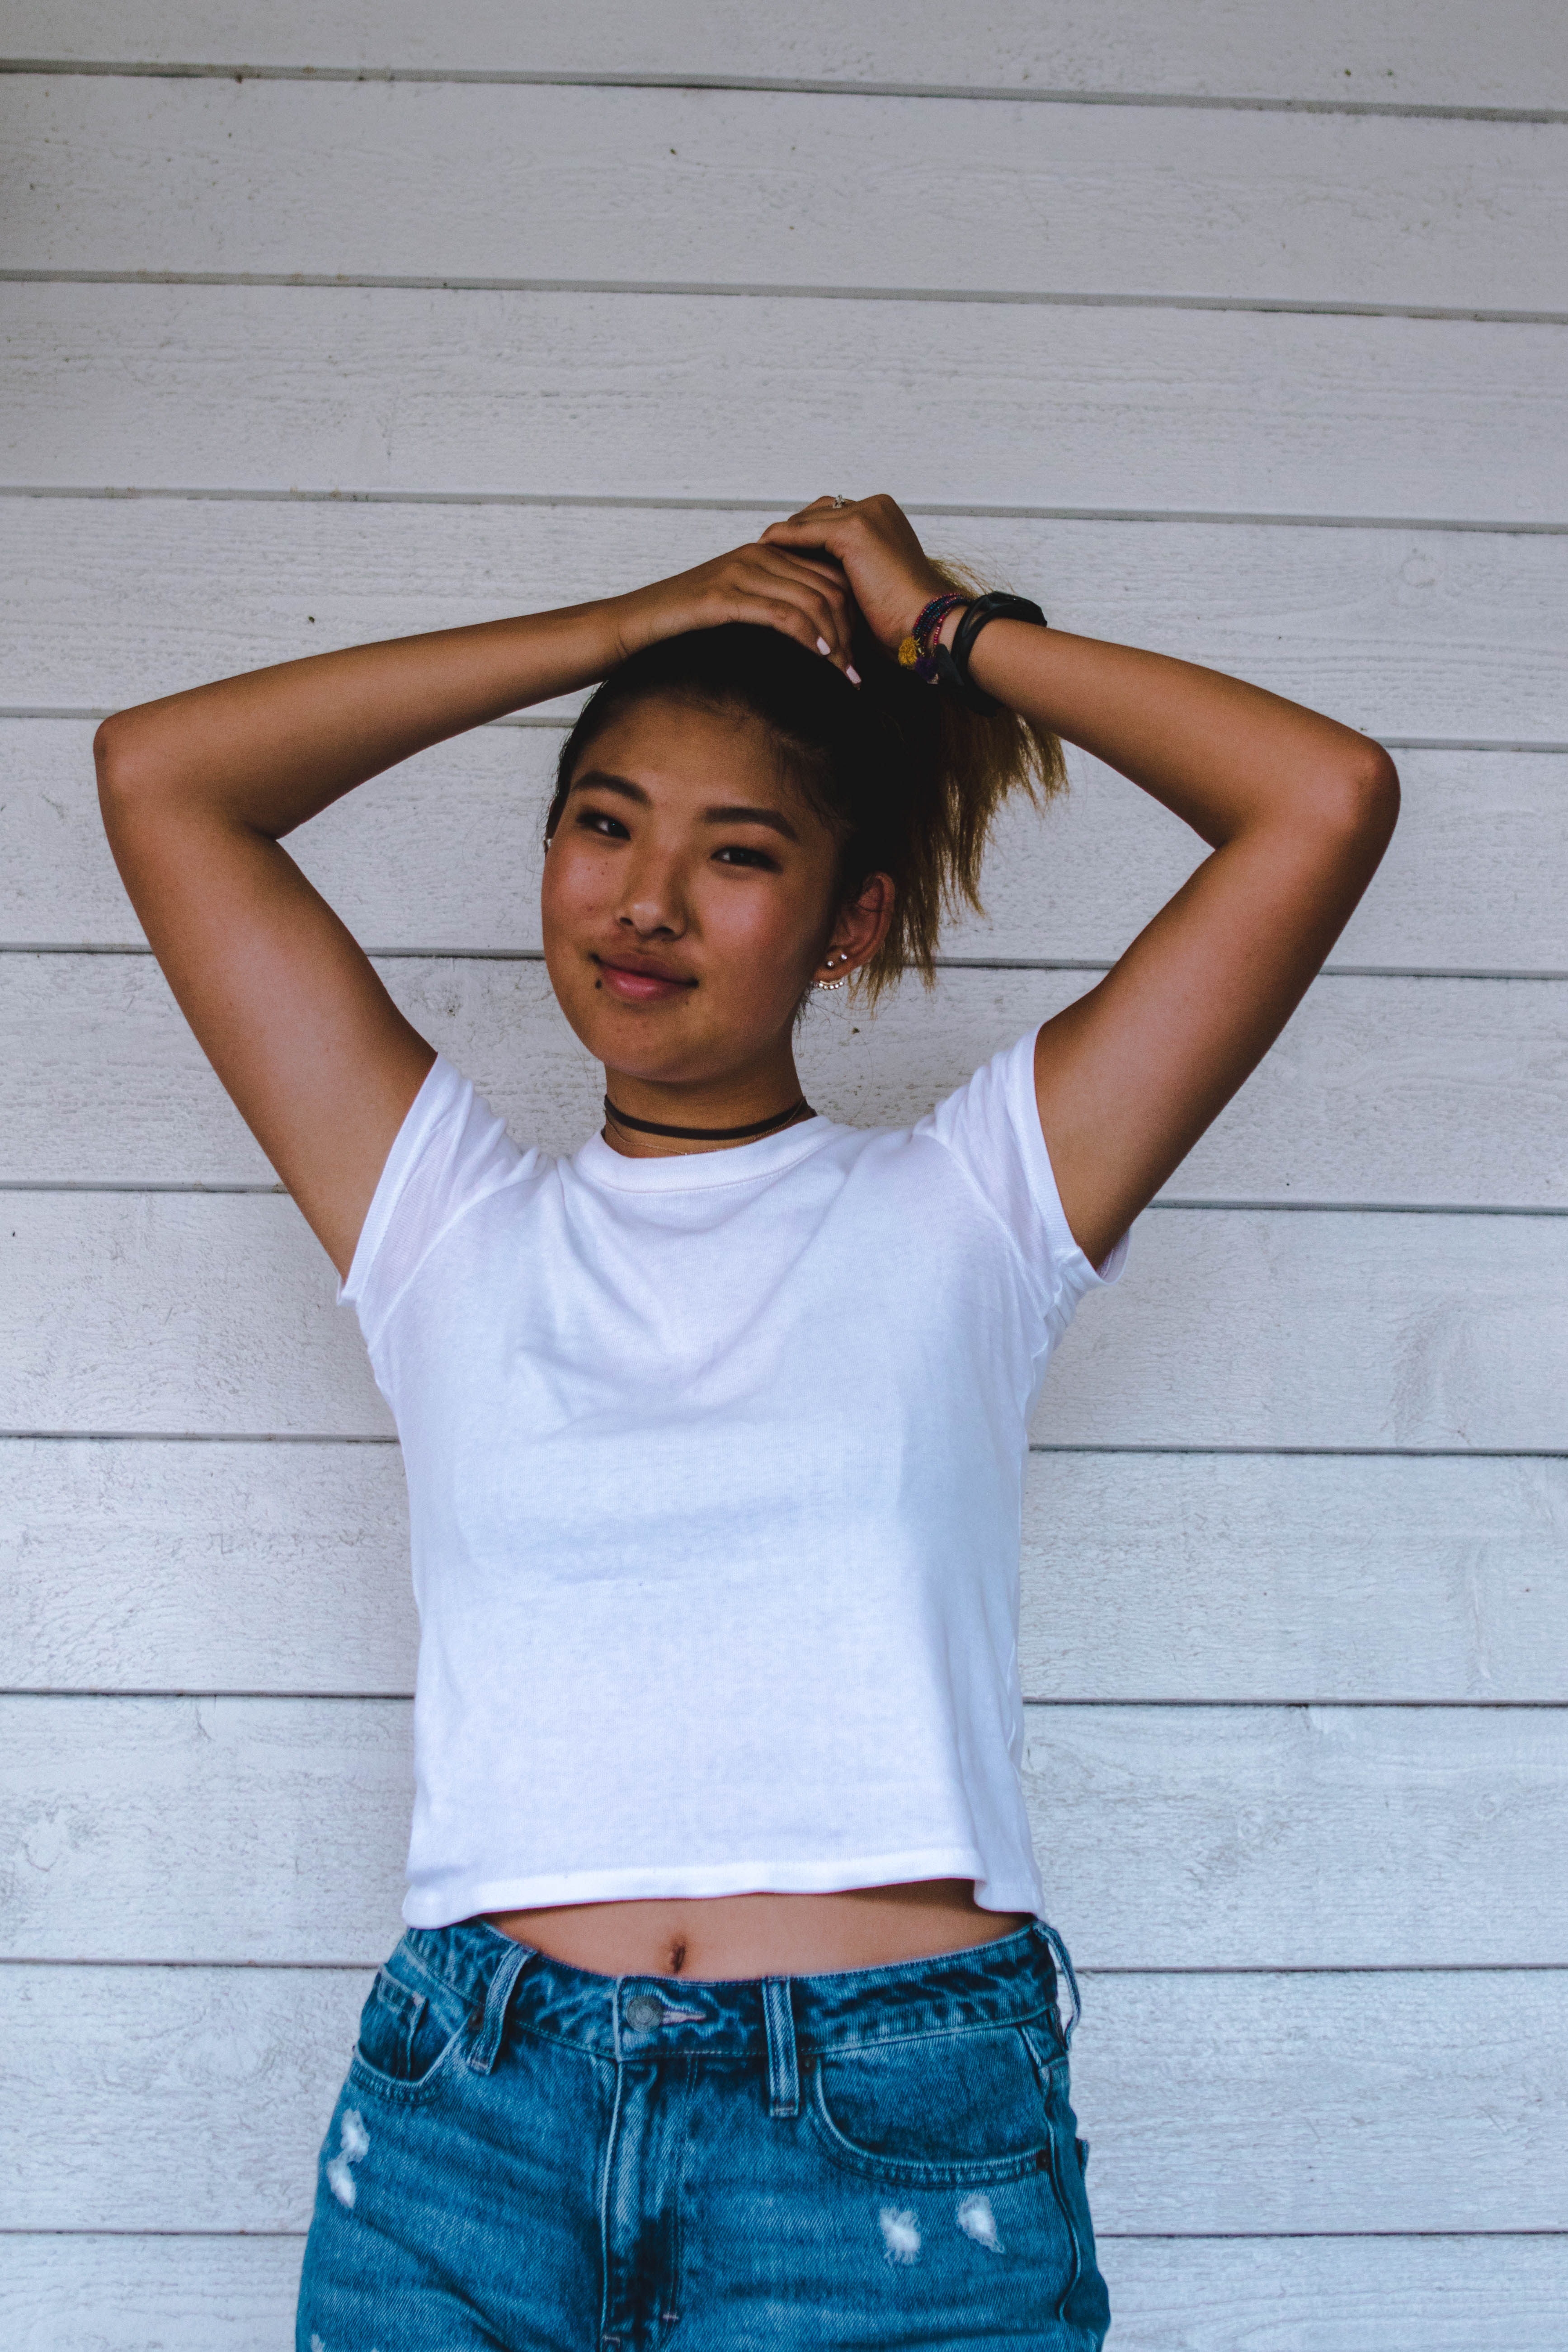
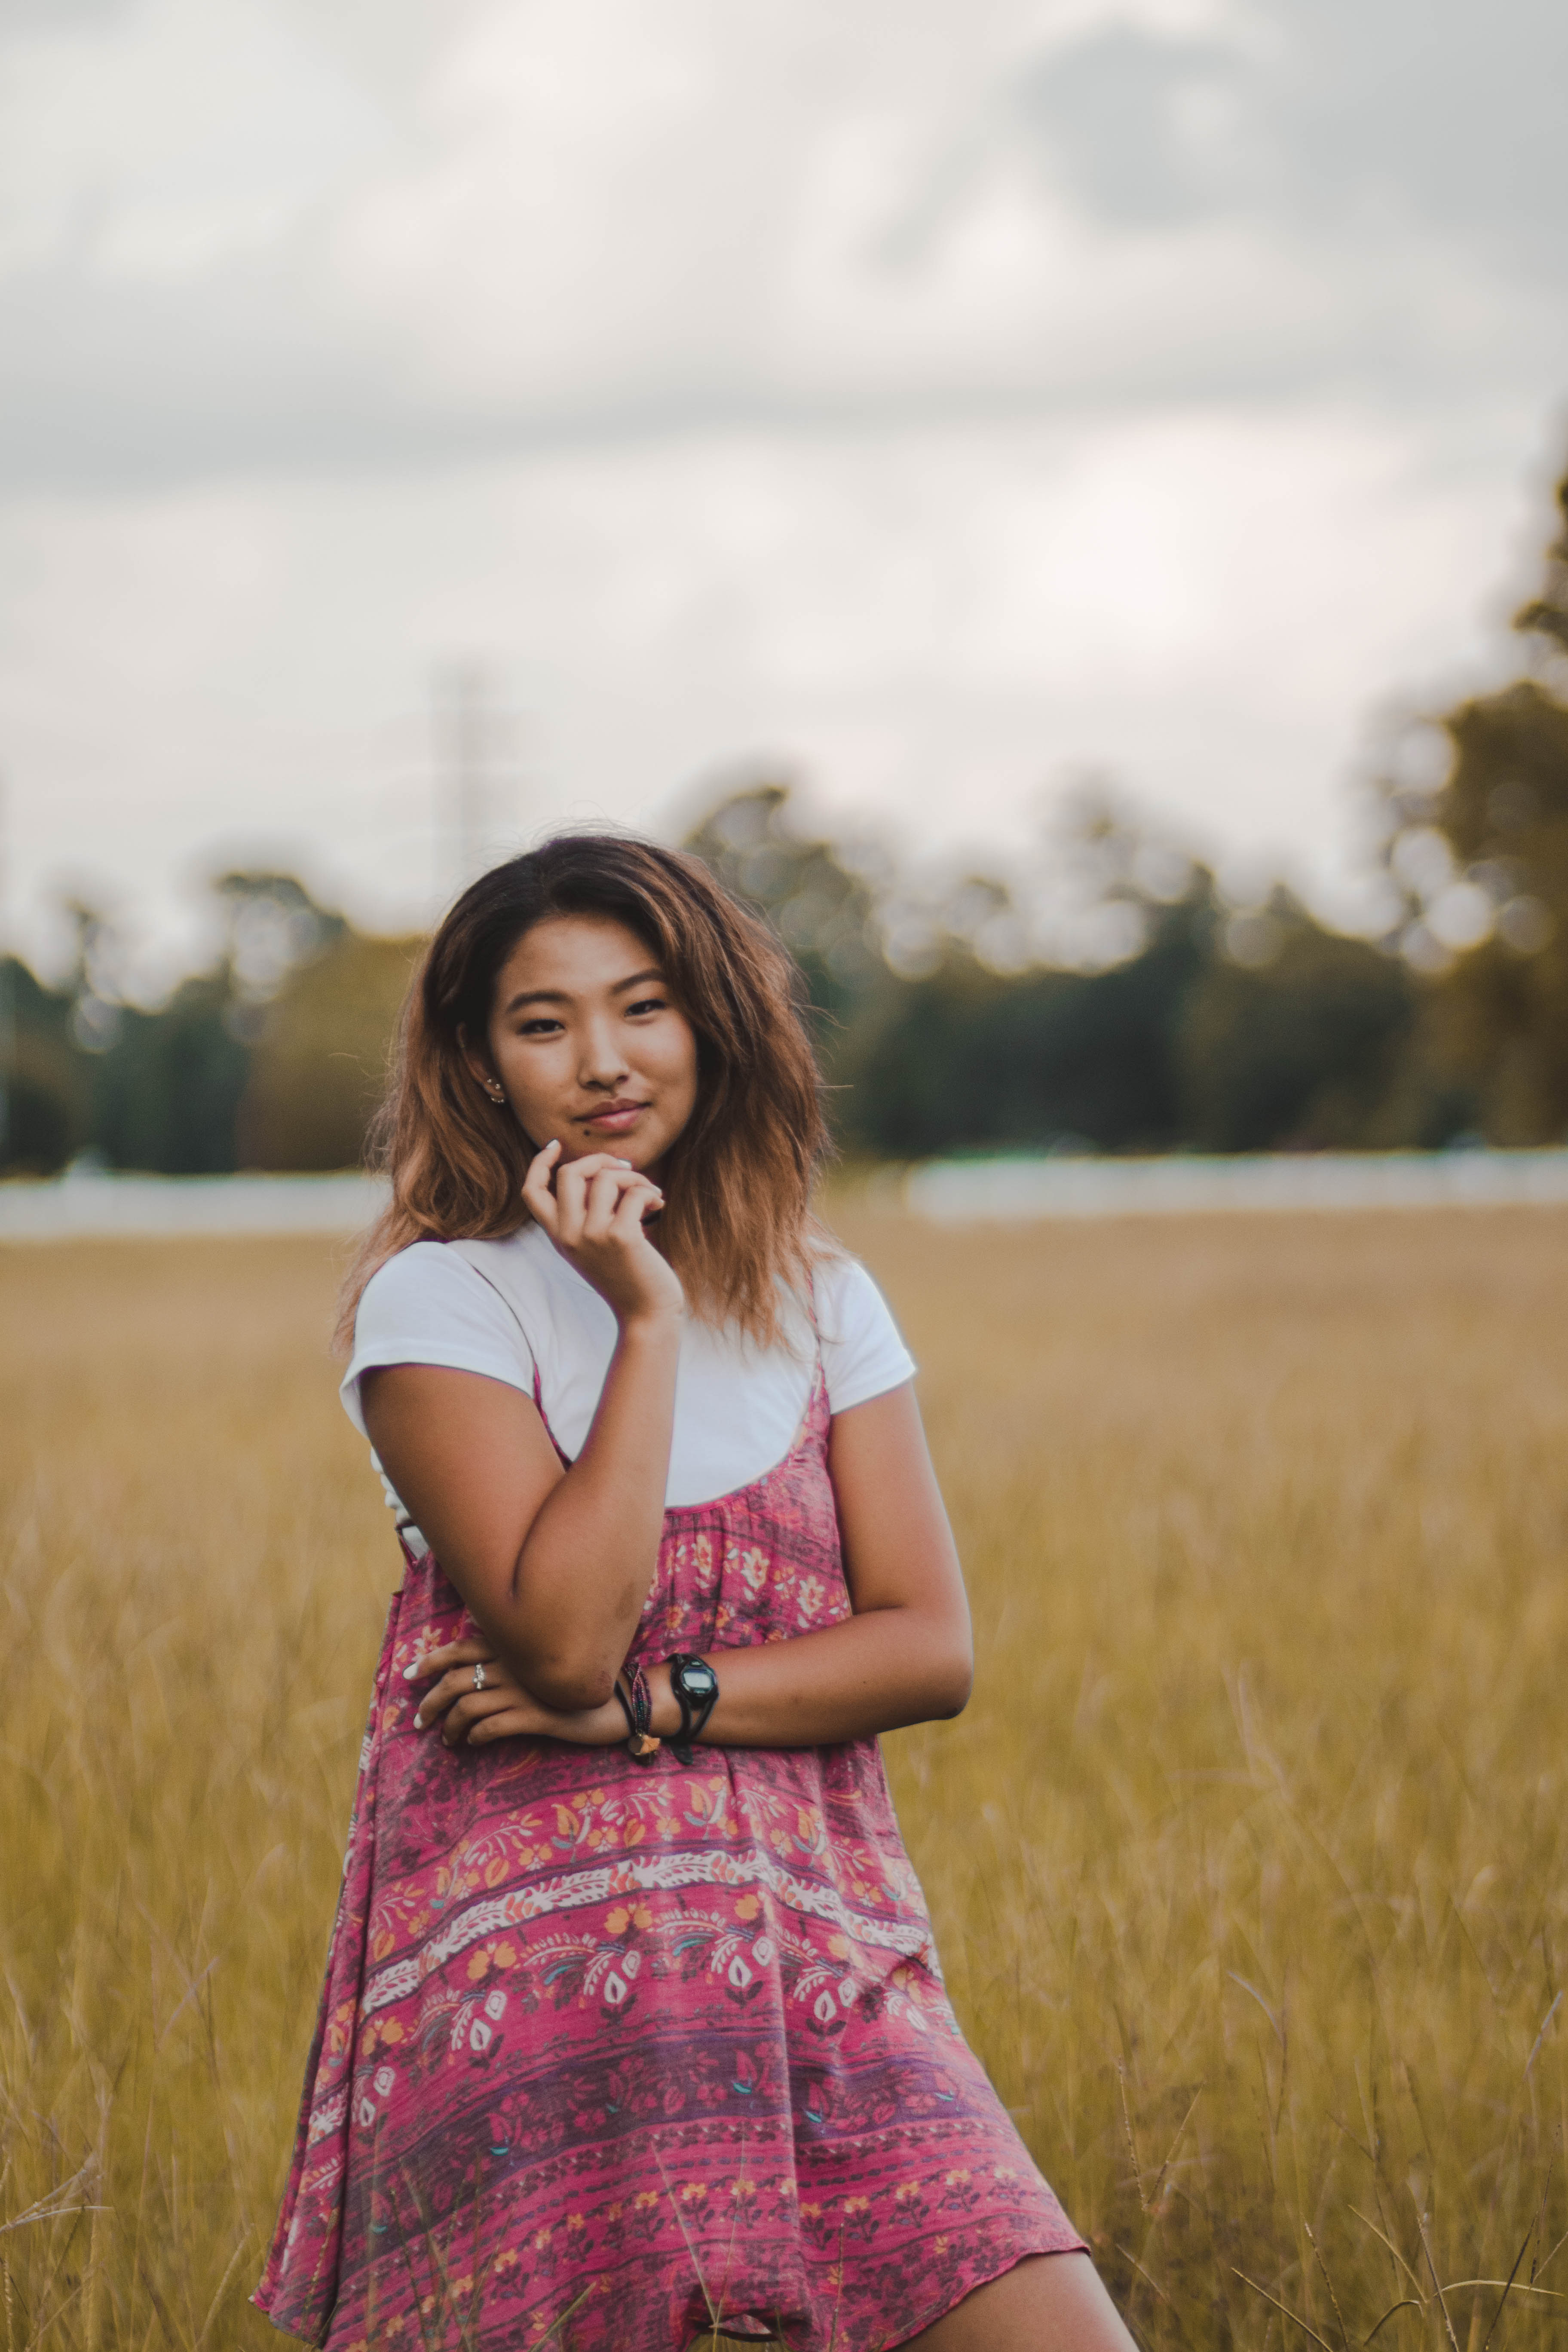
Whatever makes you the most comfortable! Muted, pastel and dark colors photograph the best along with neutrals and small patterns. However, I want your style to show in your images because they’re for you!
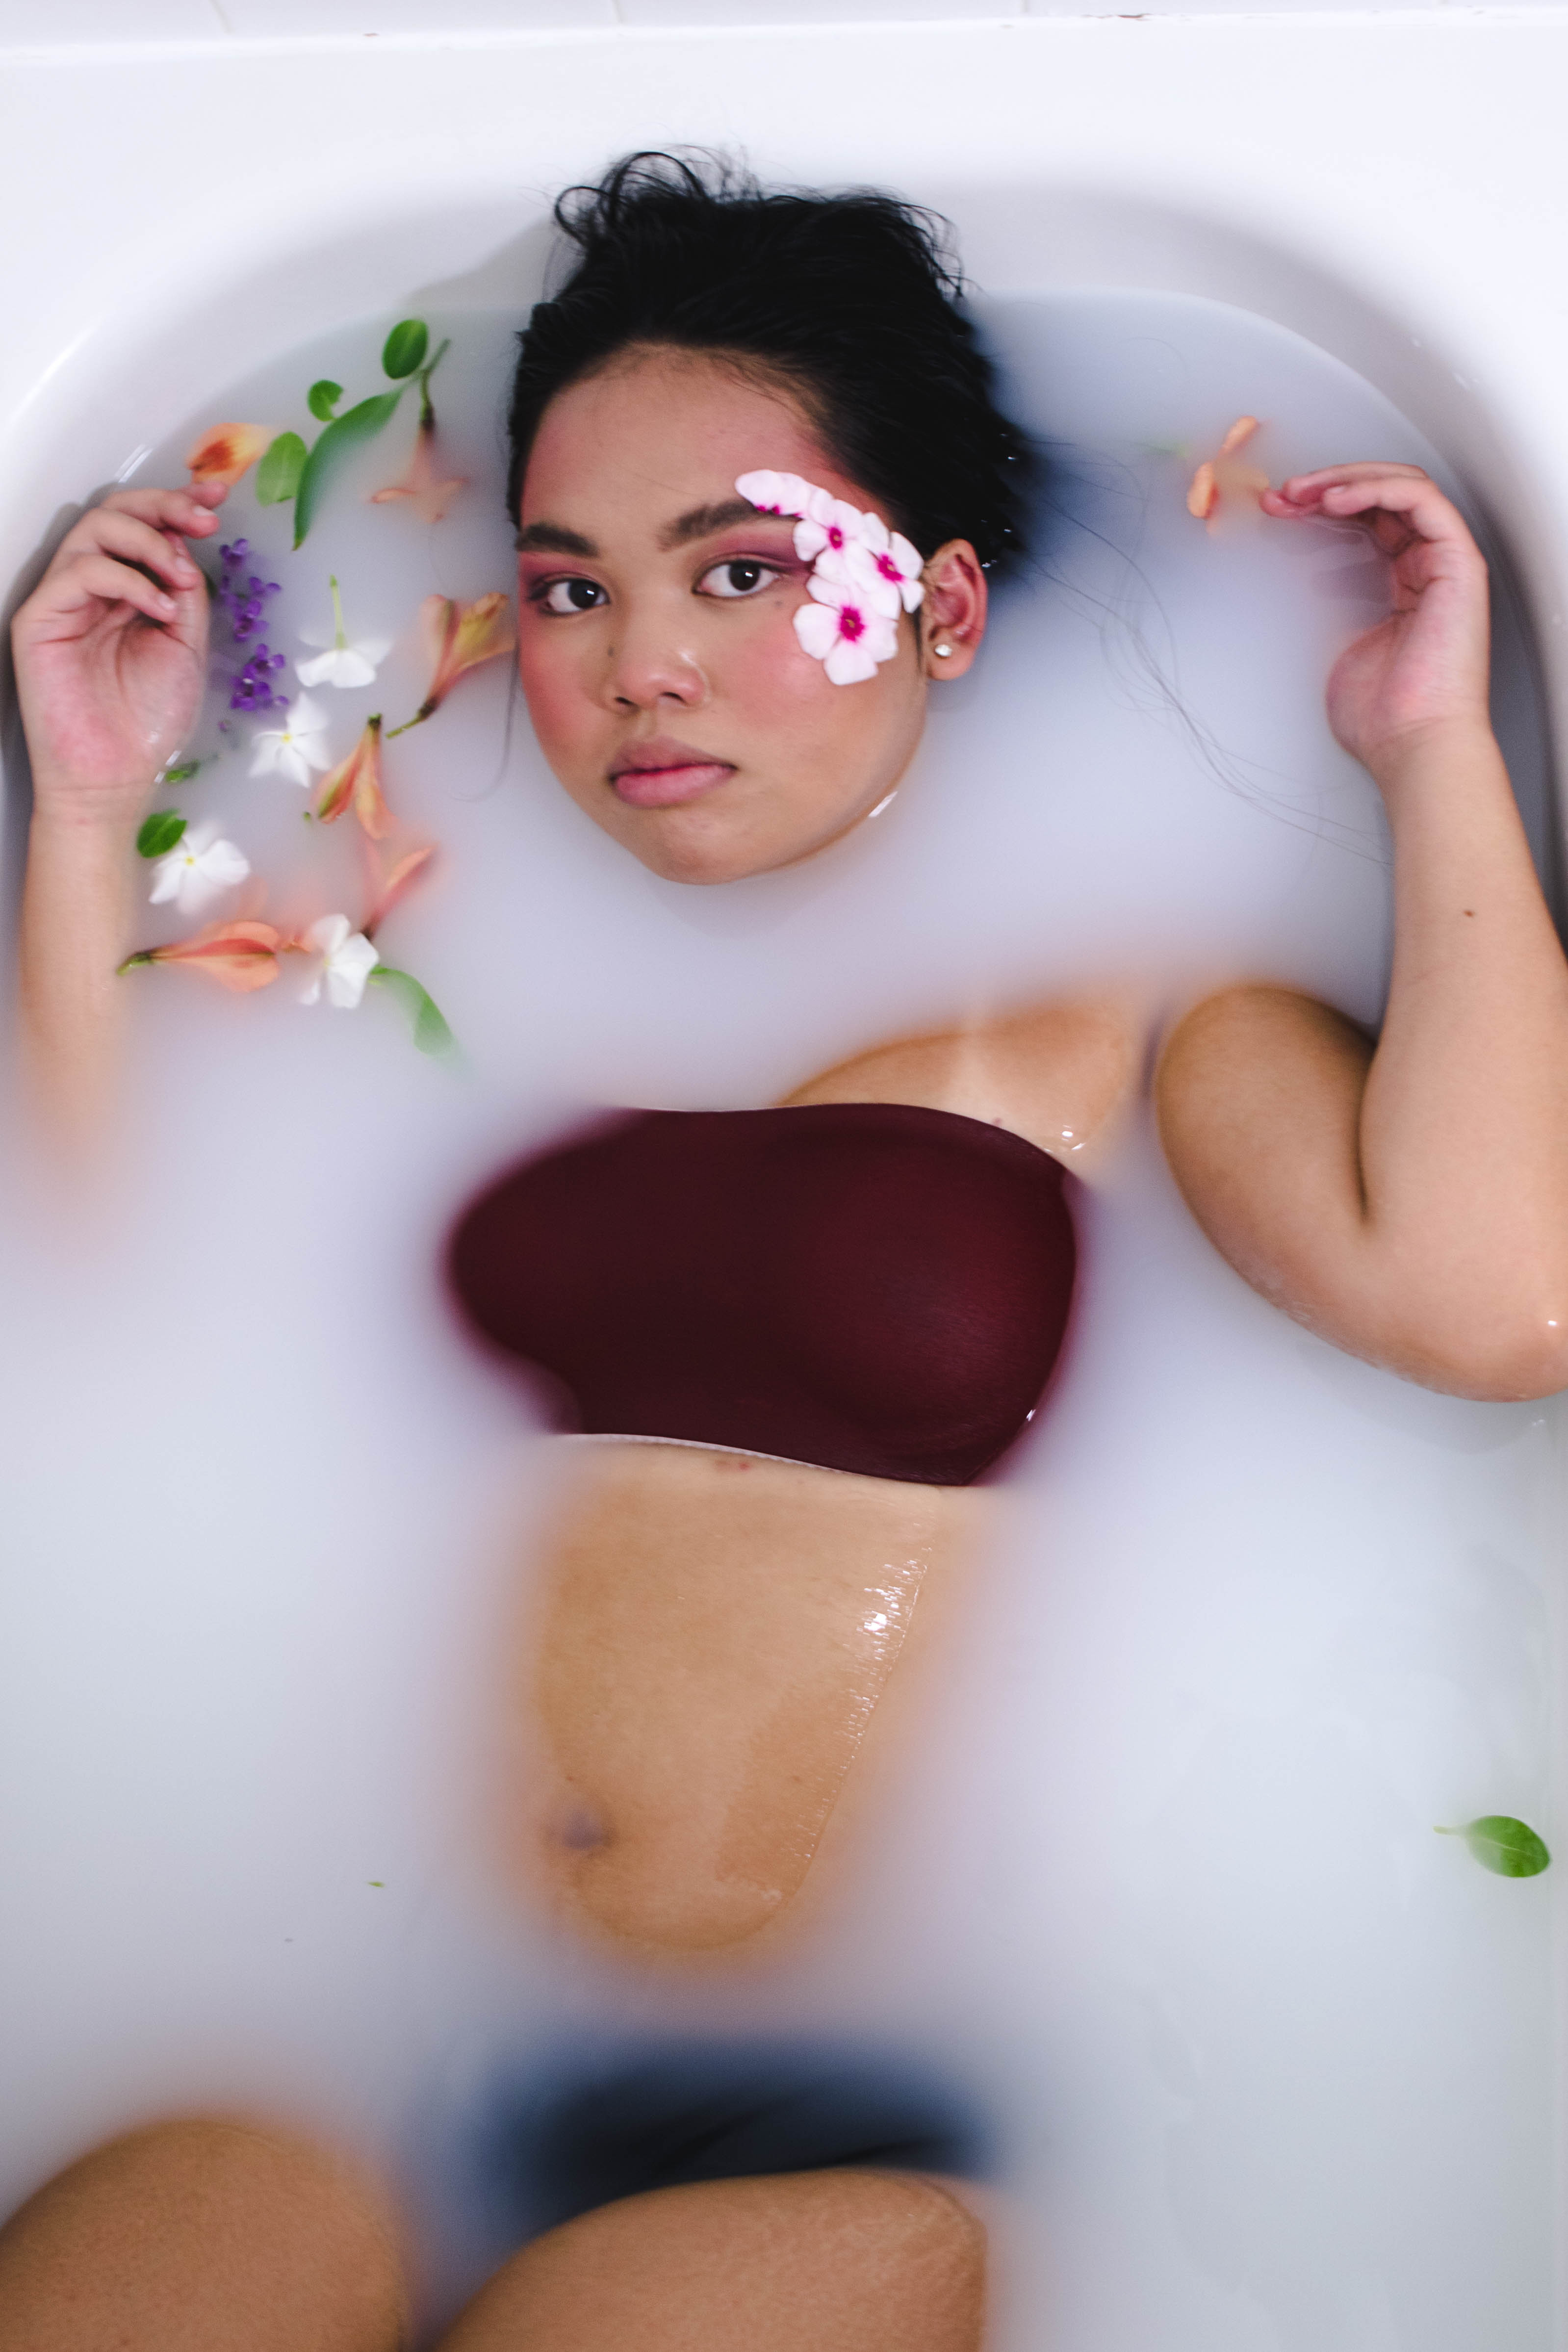
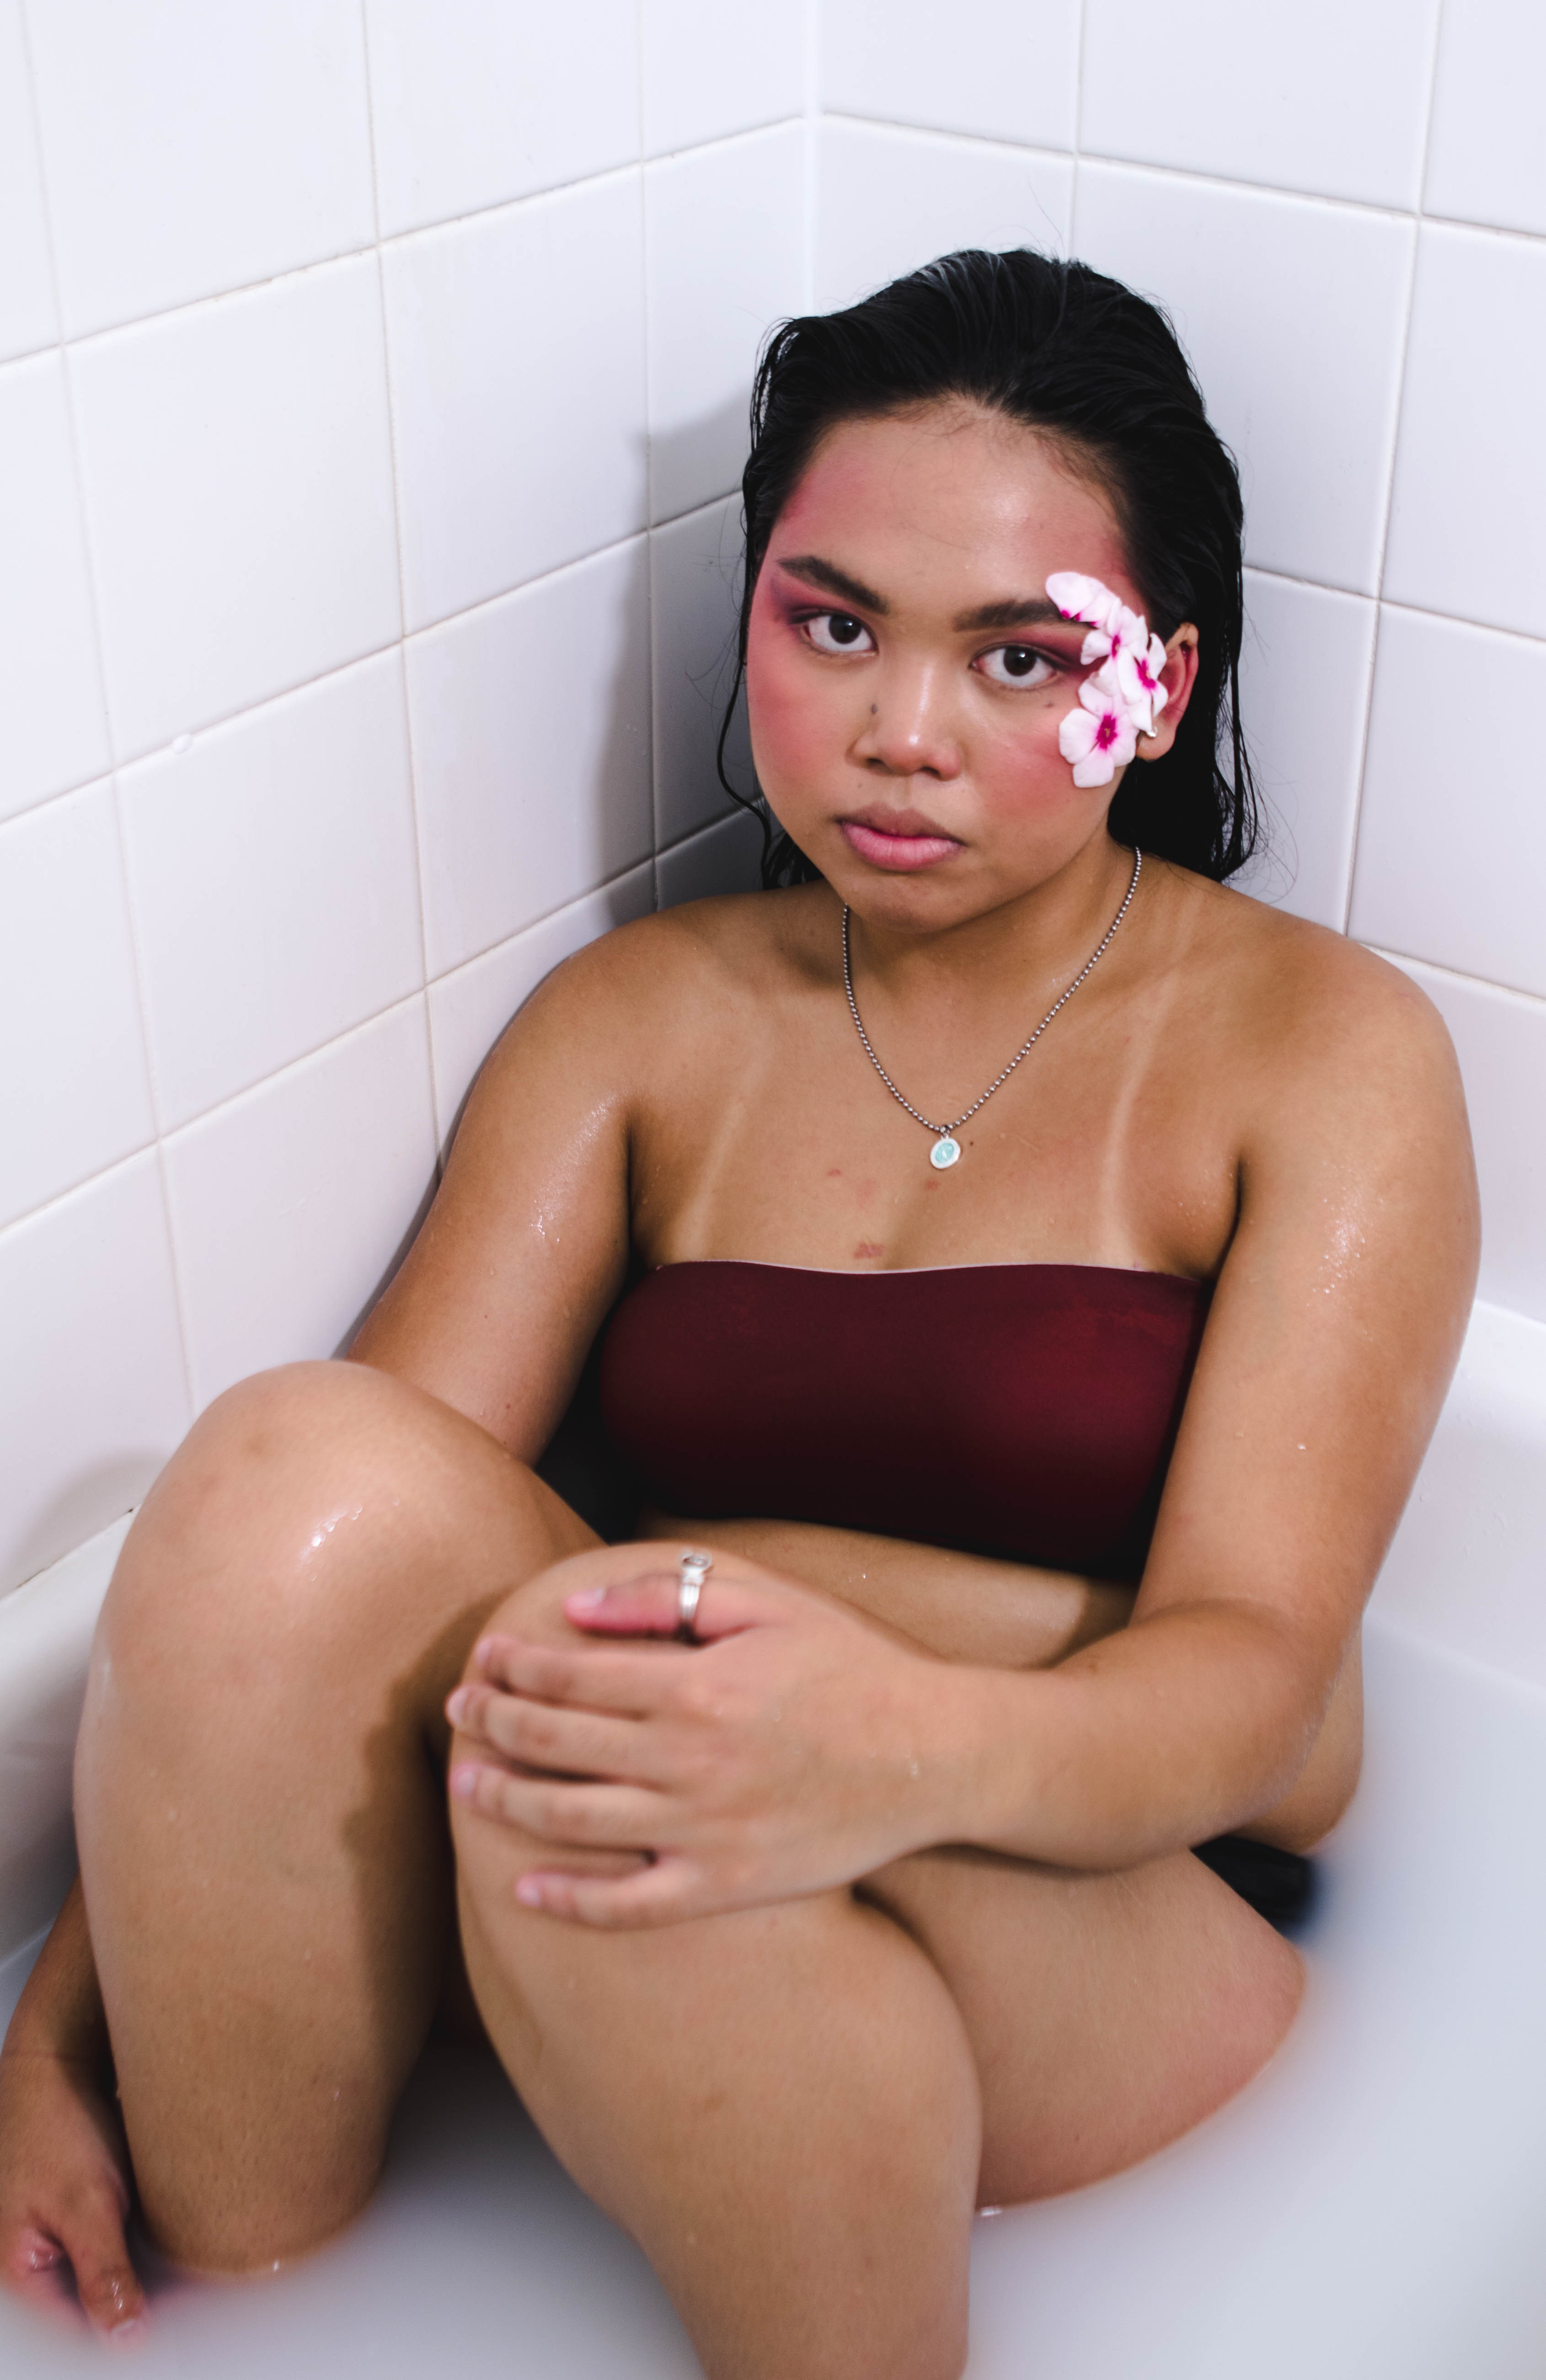
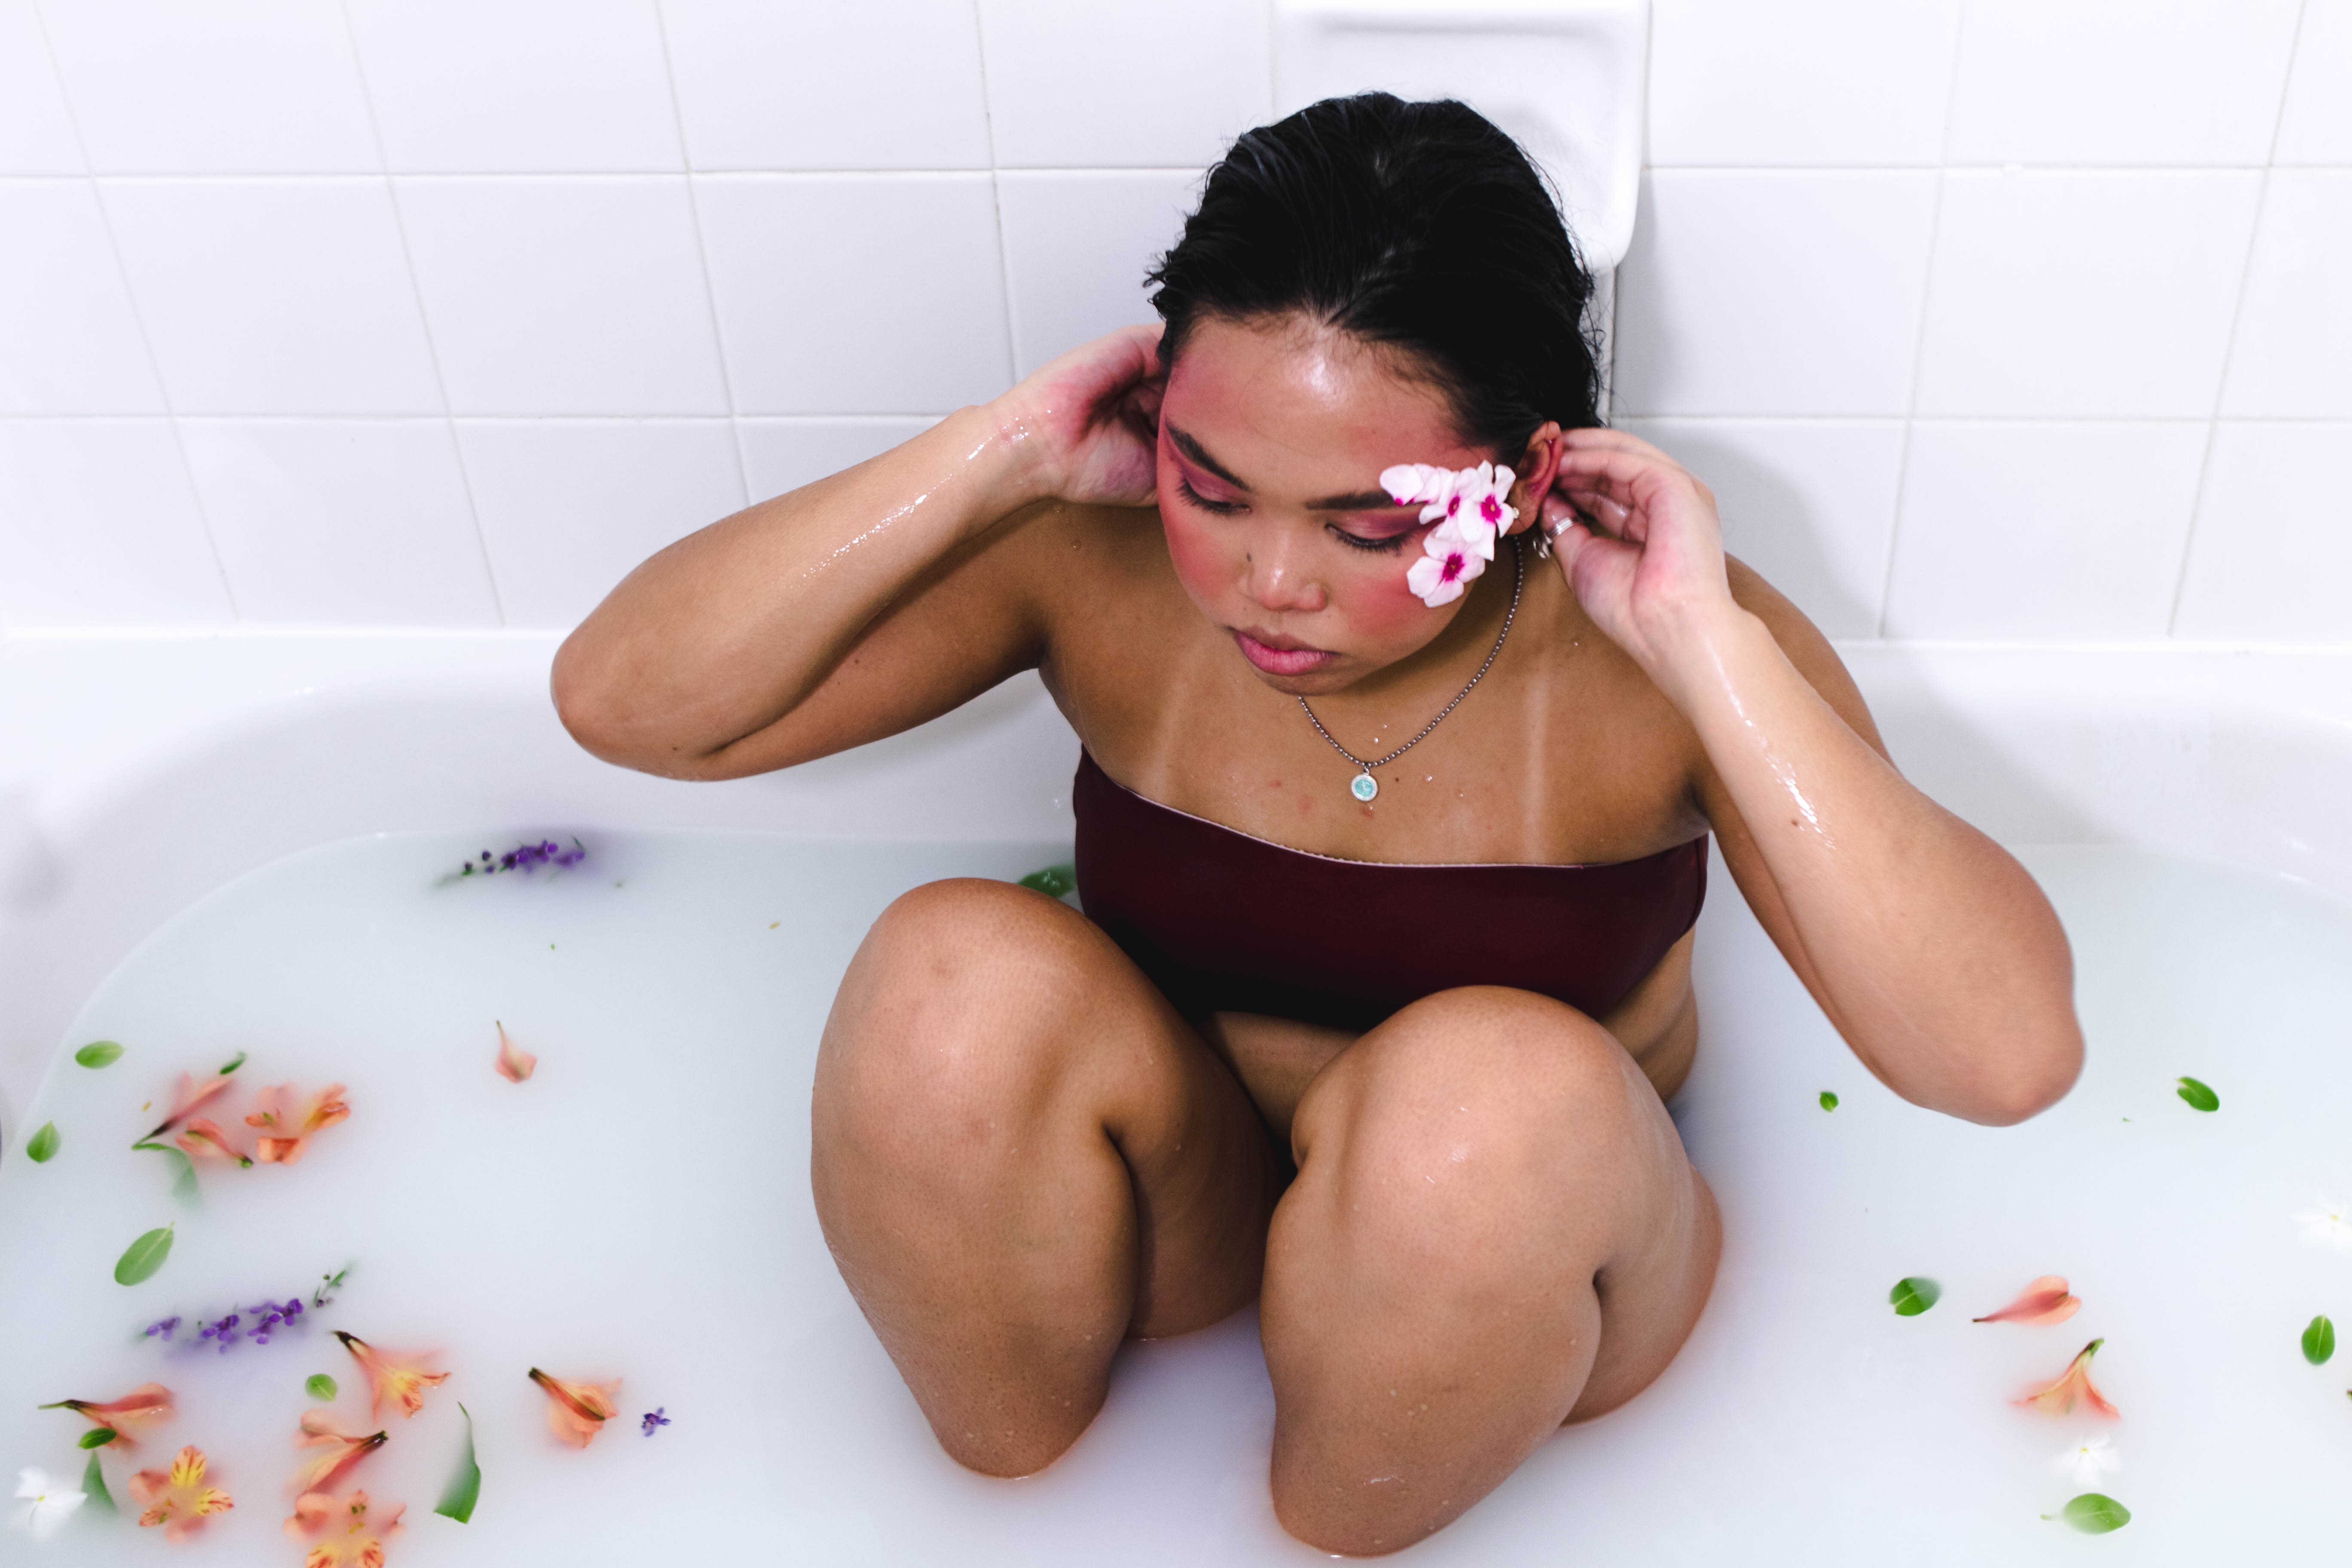
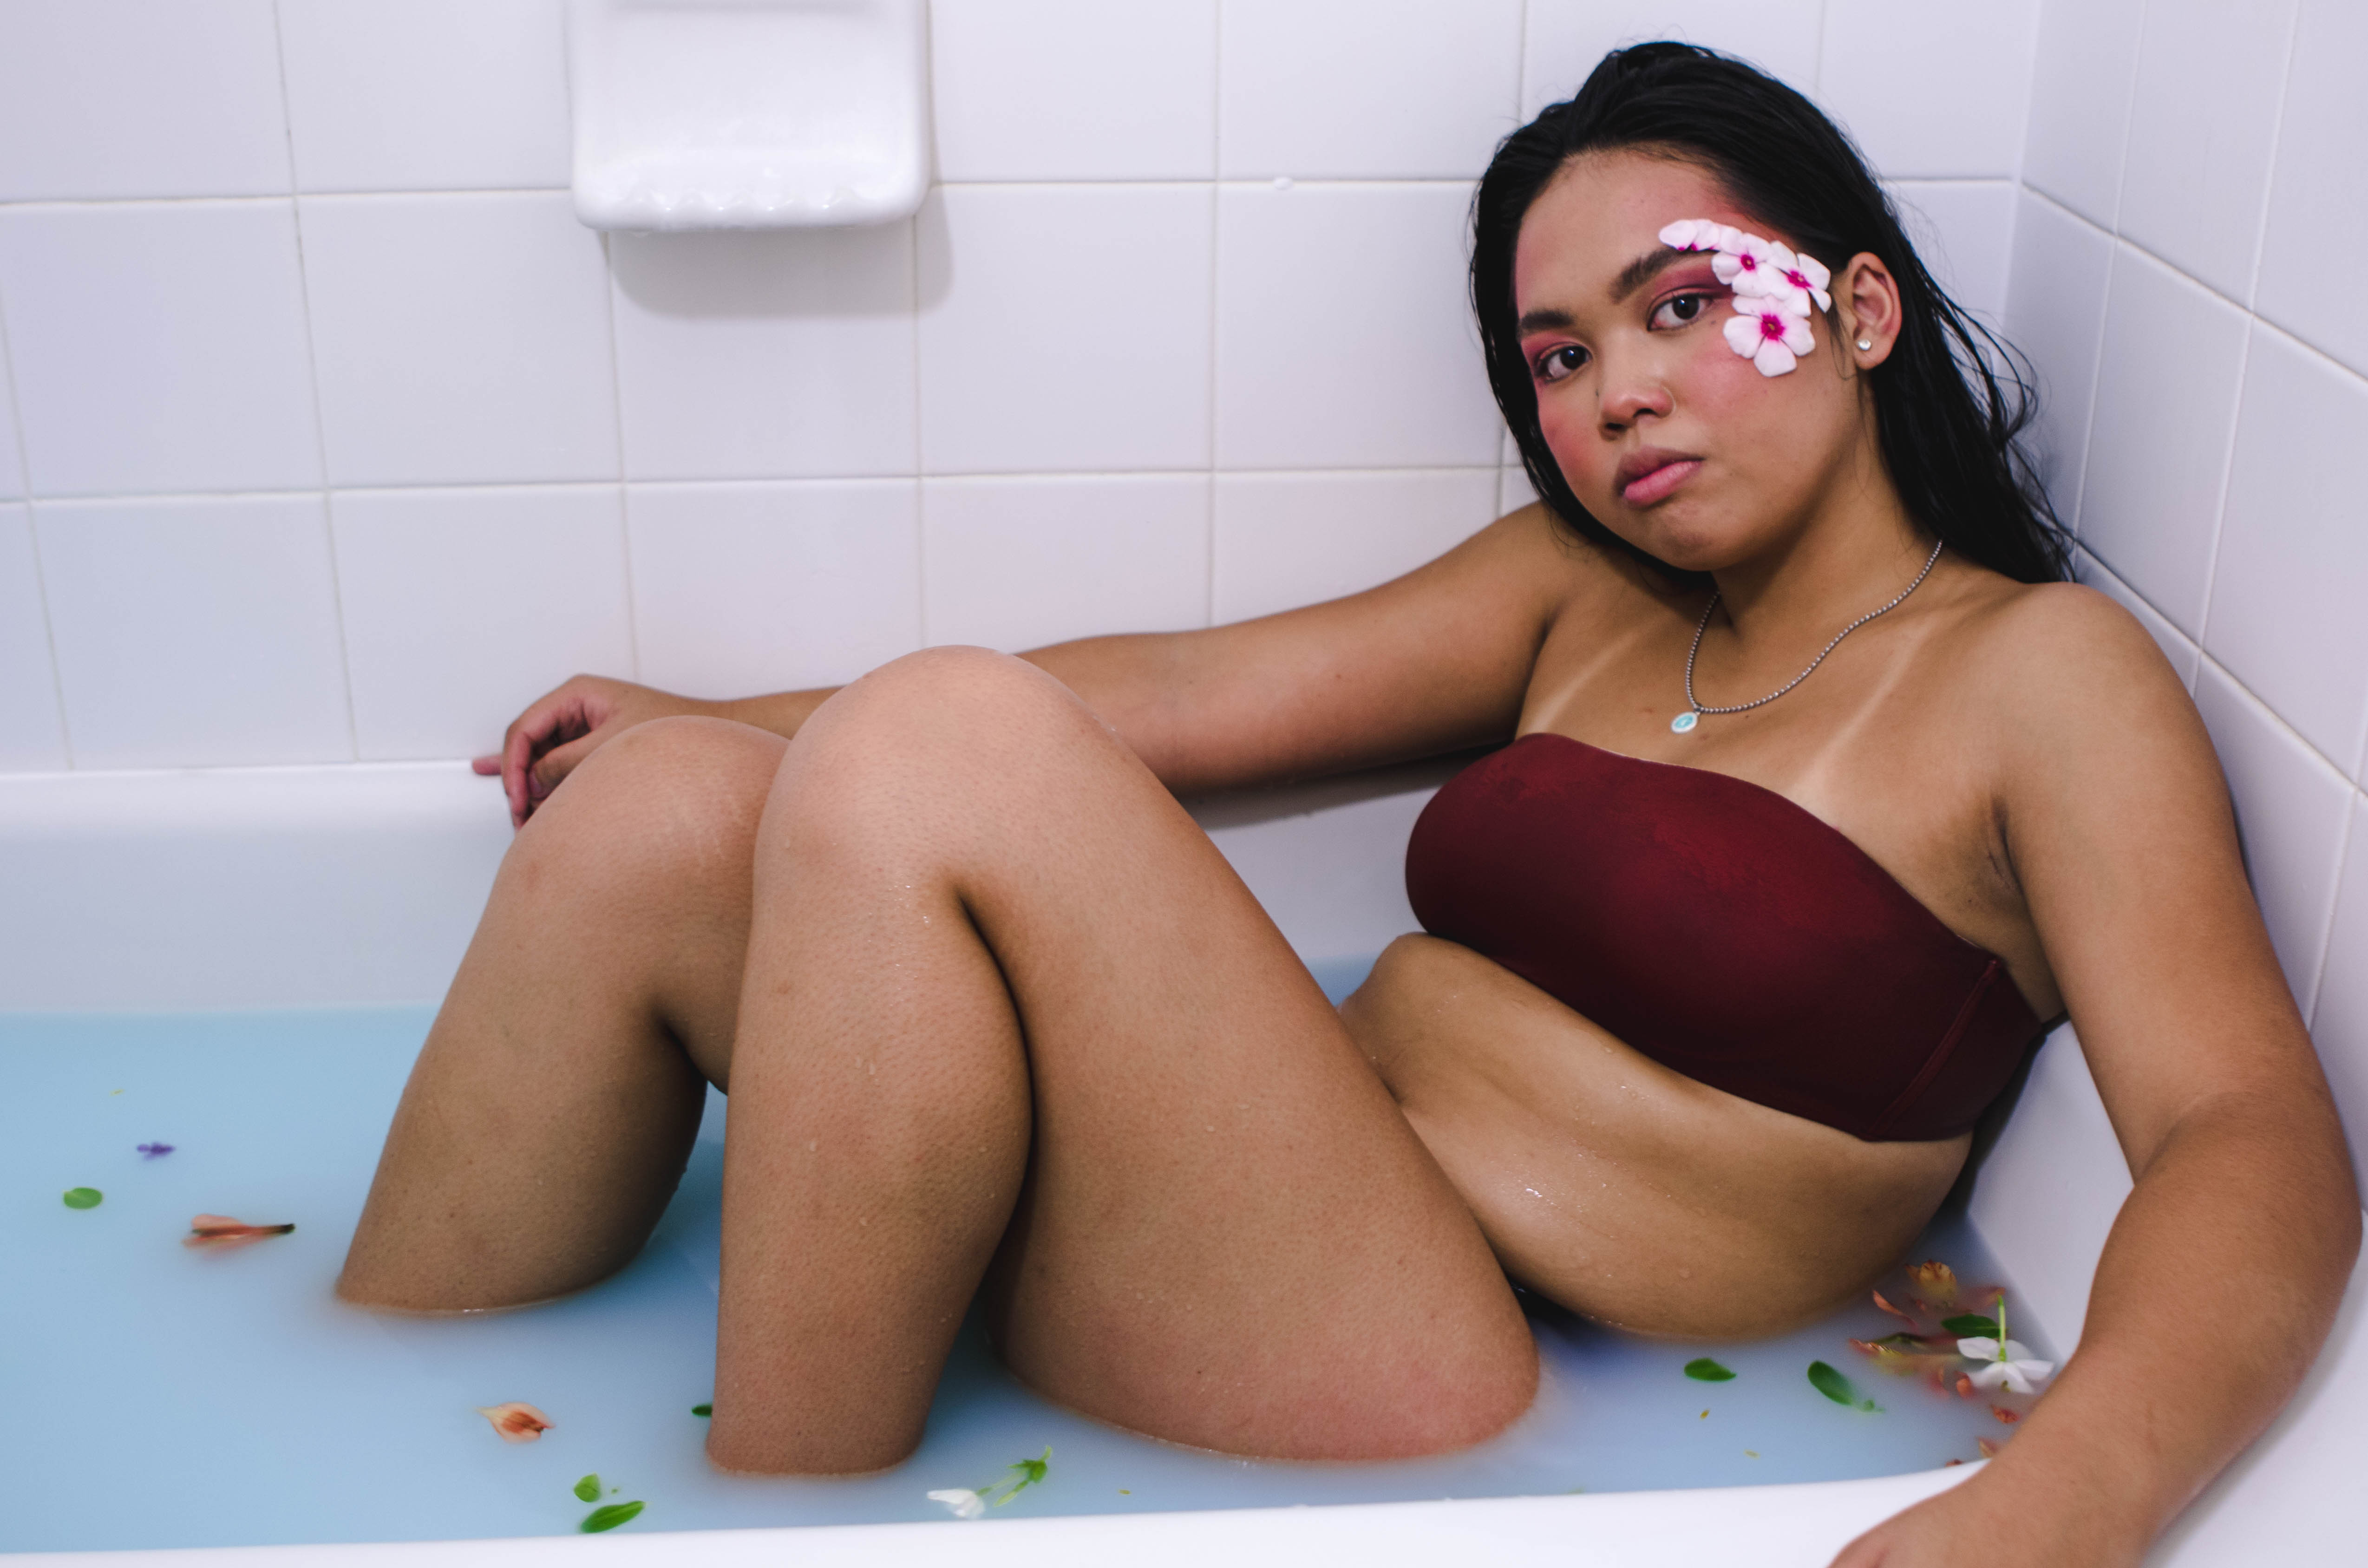
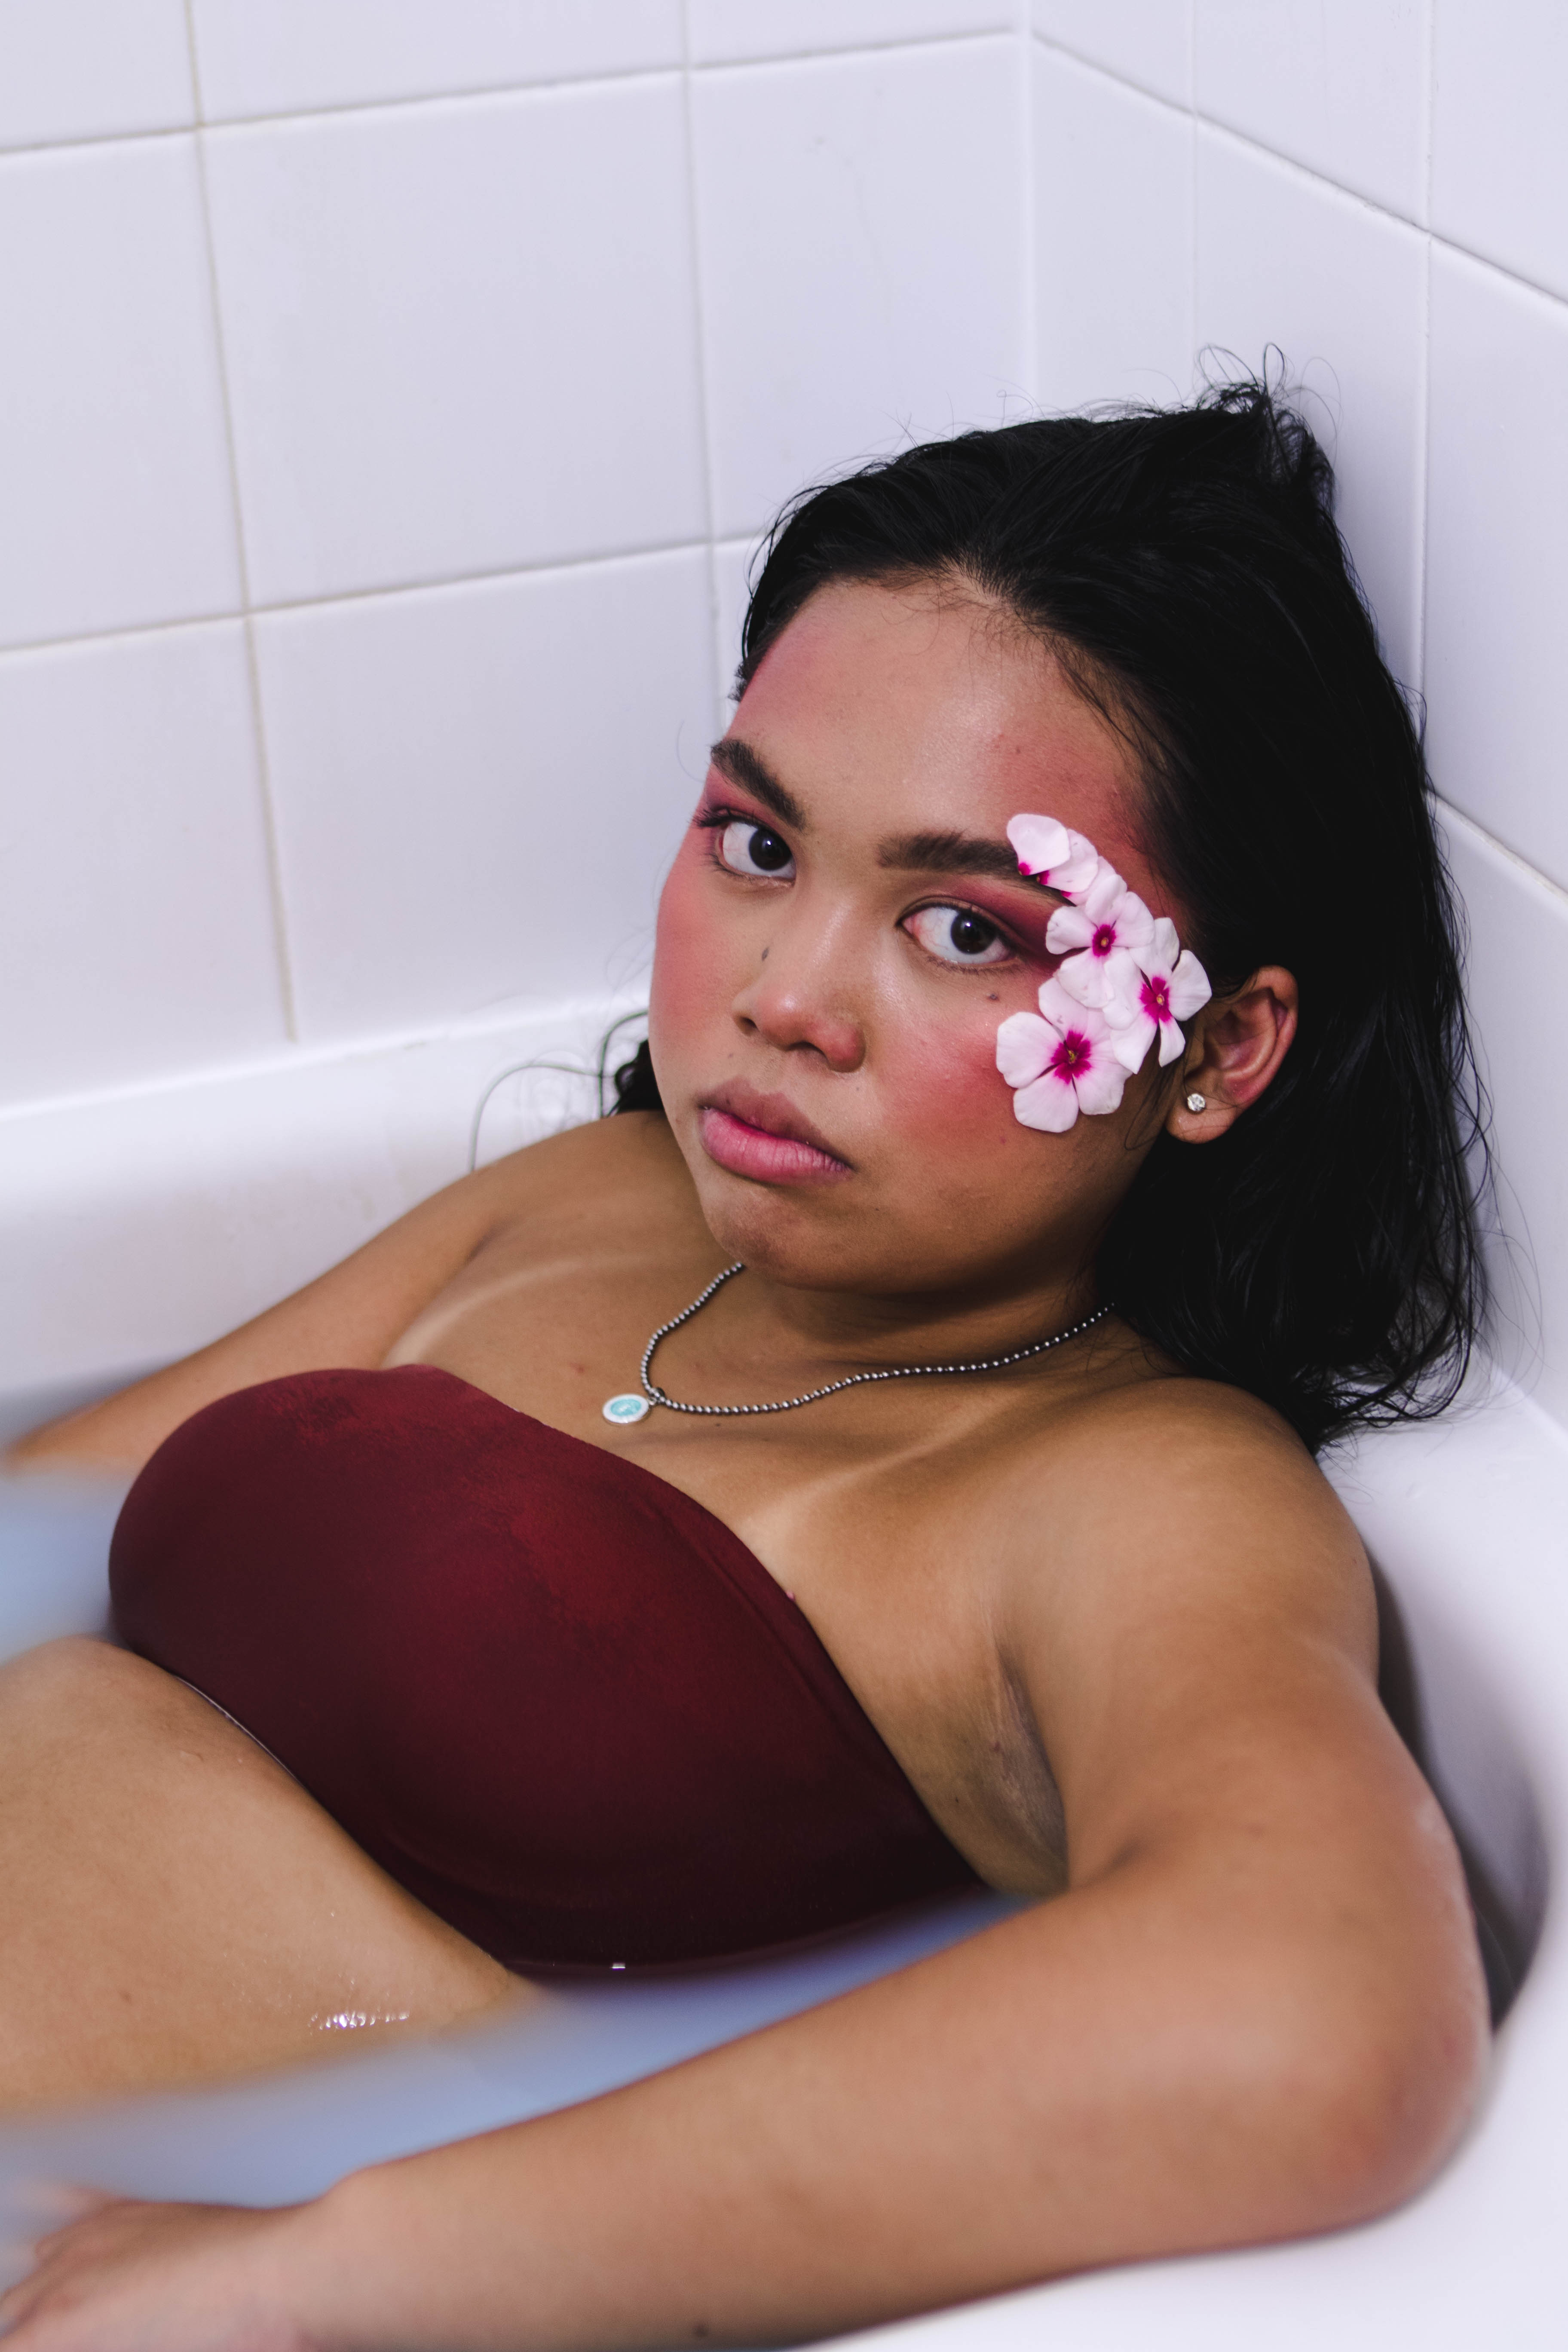
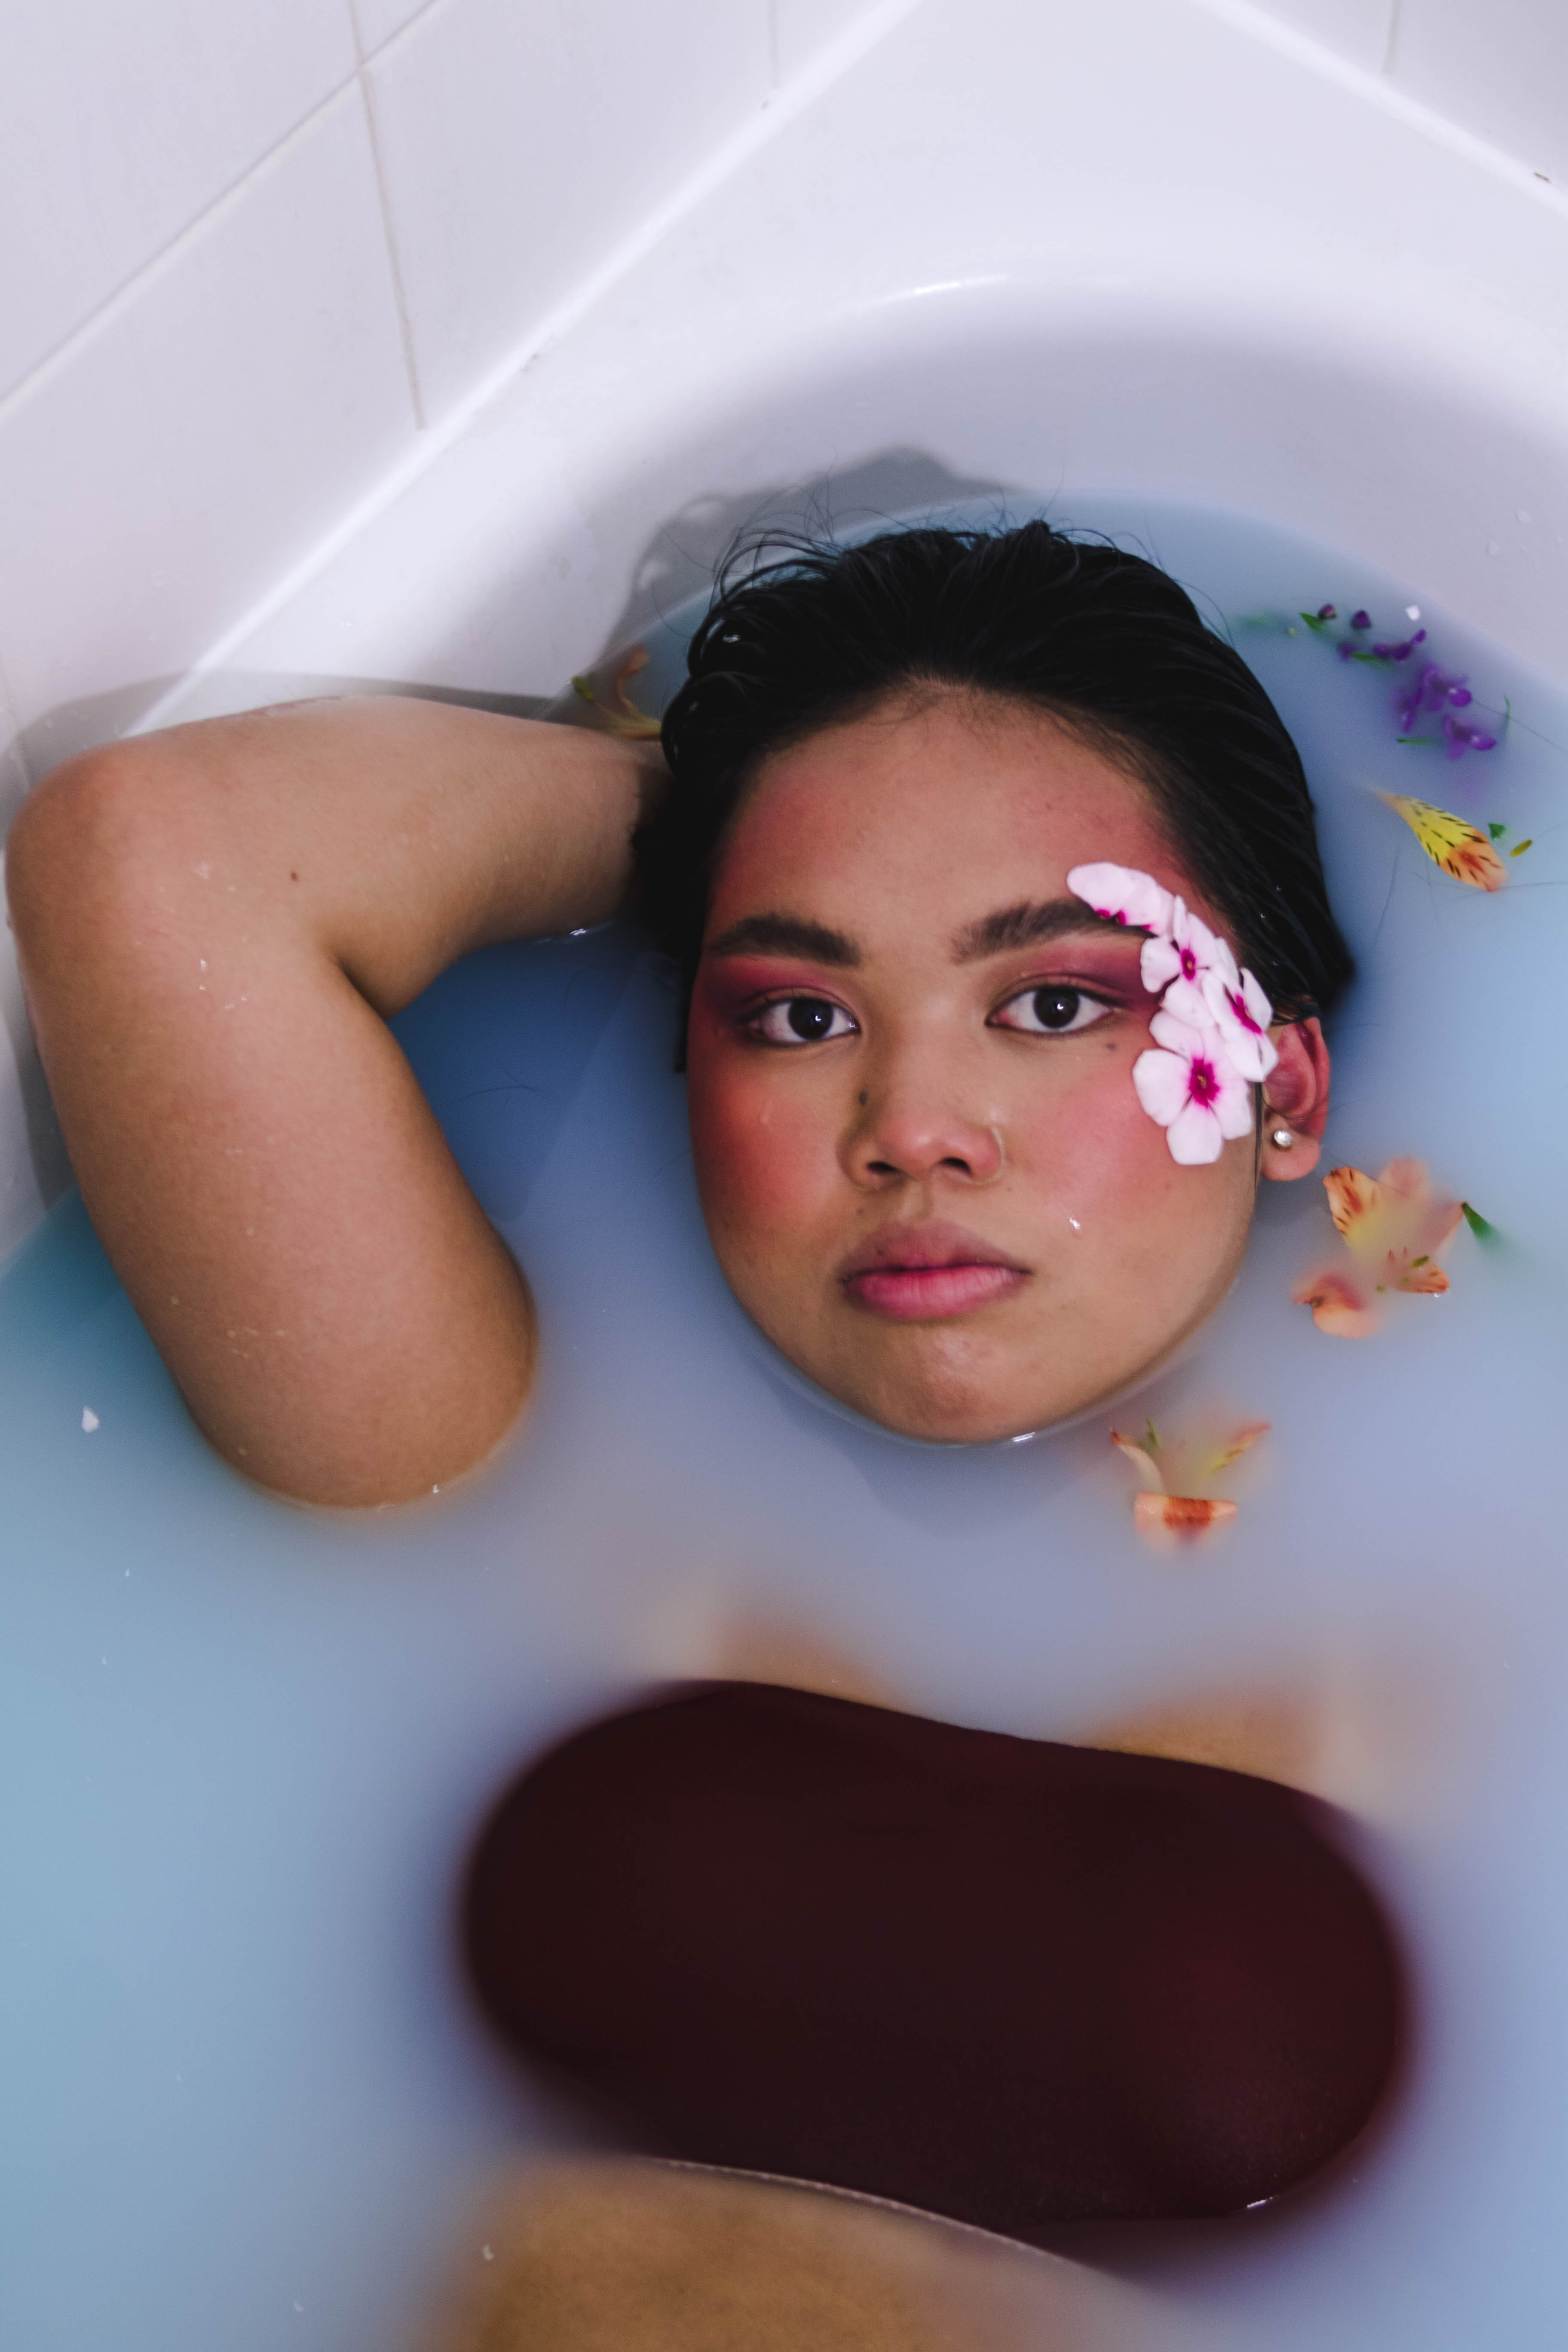
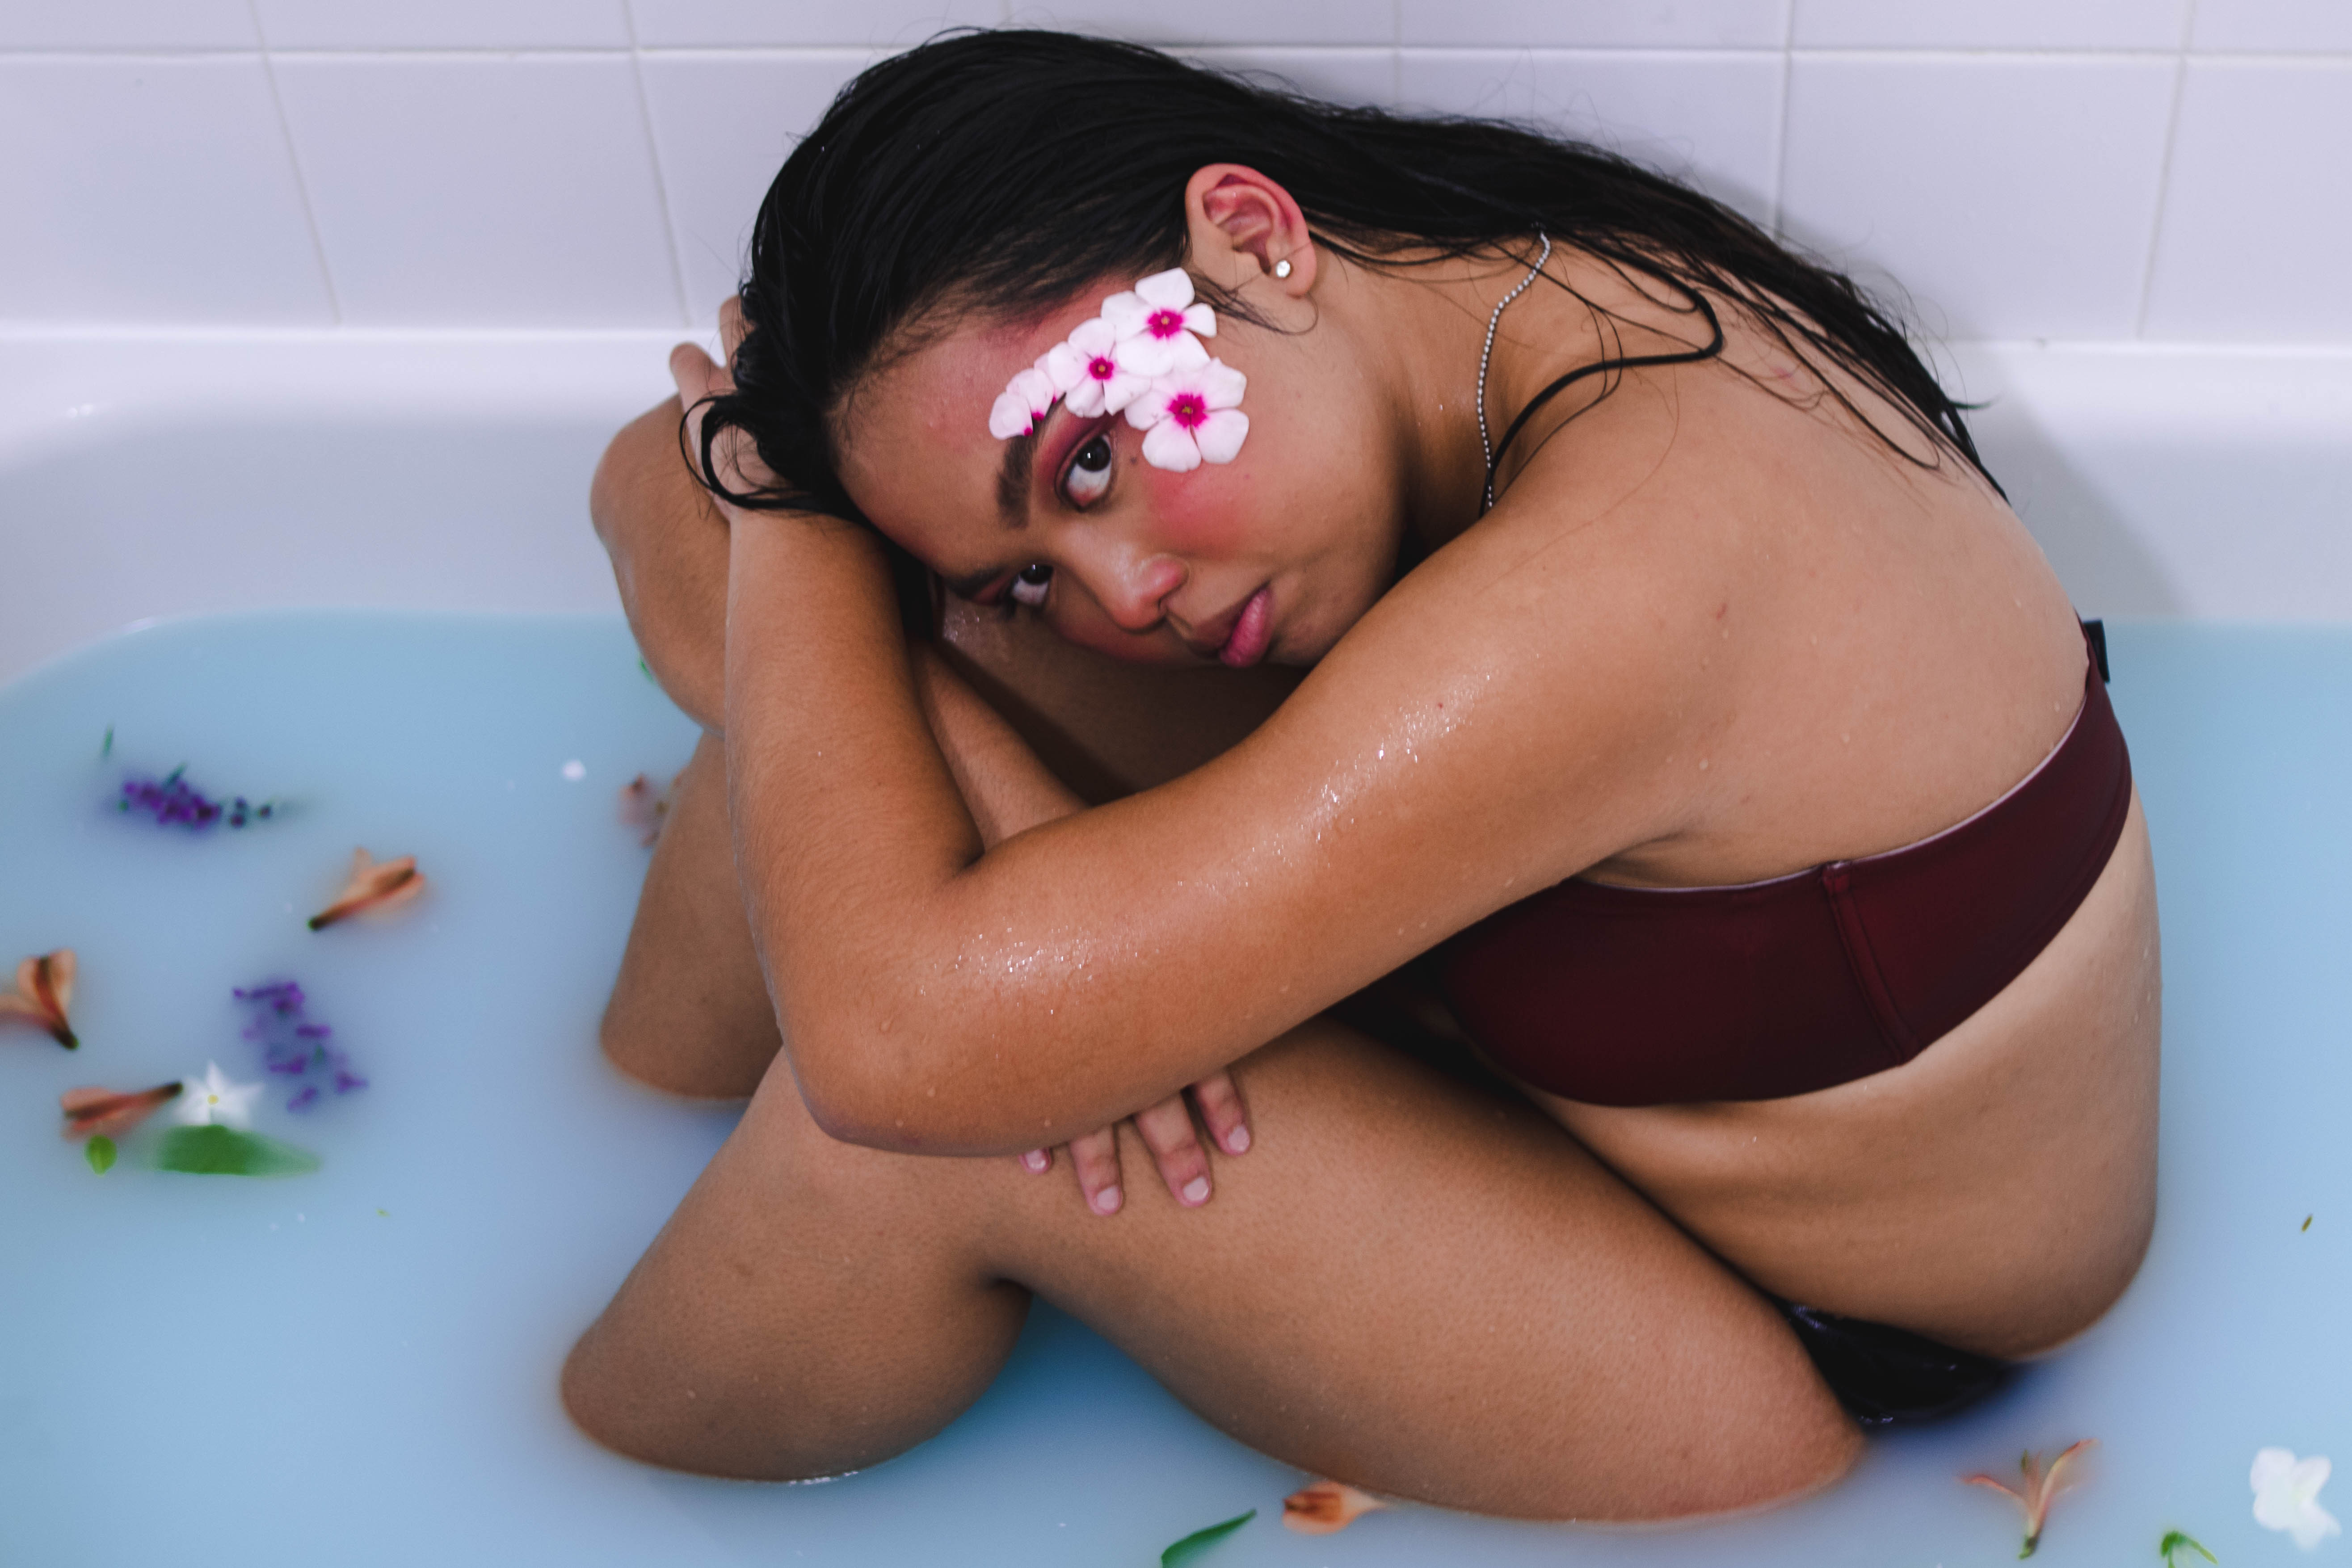
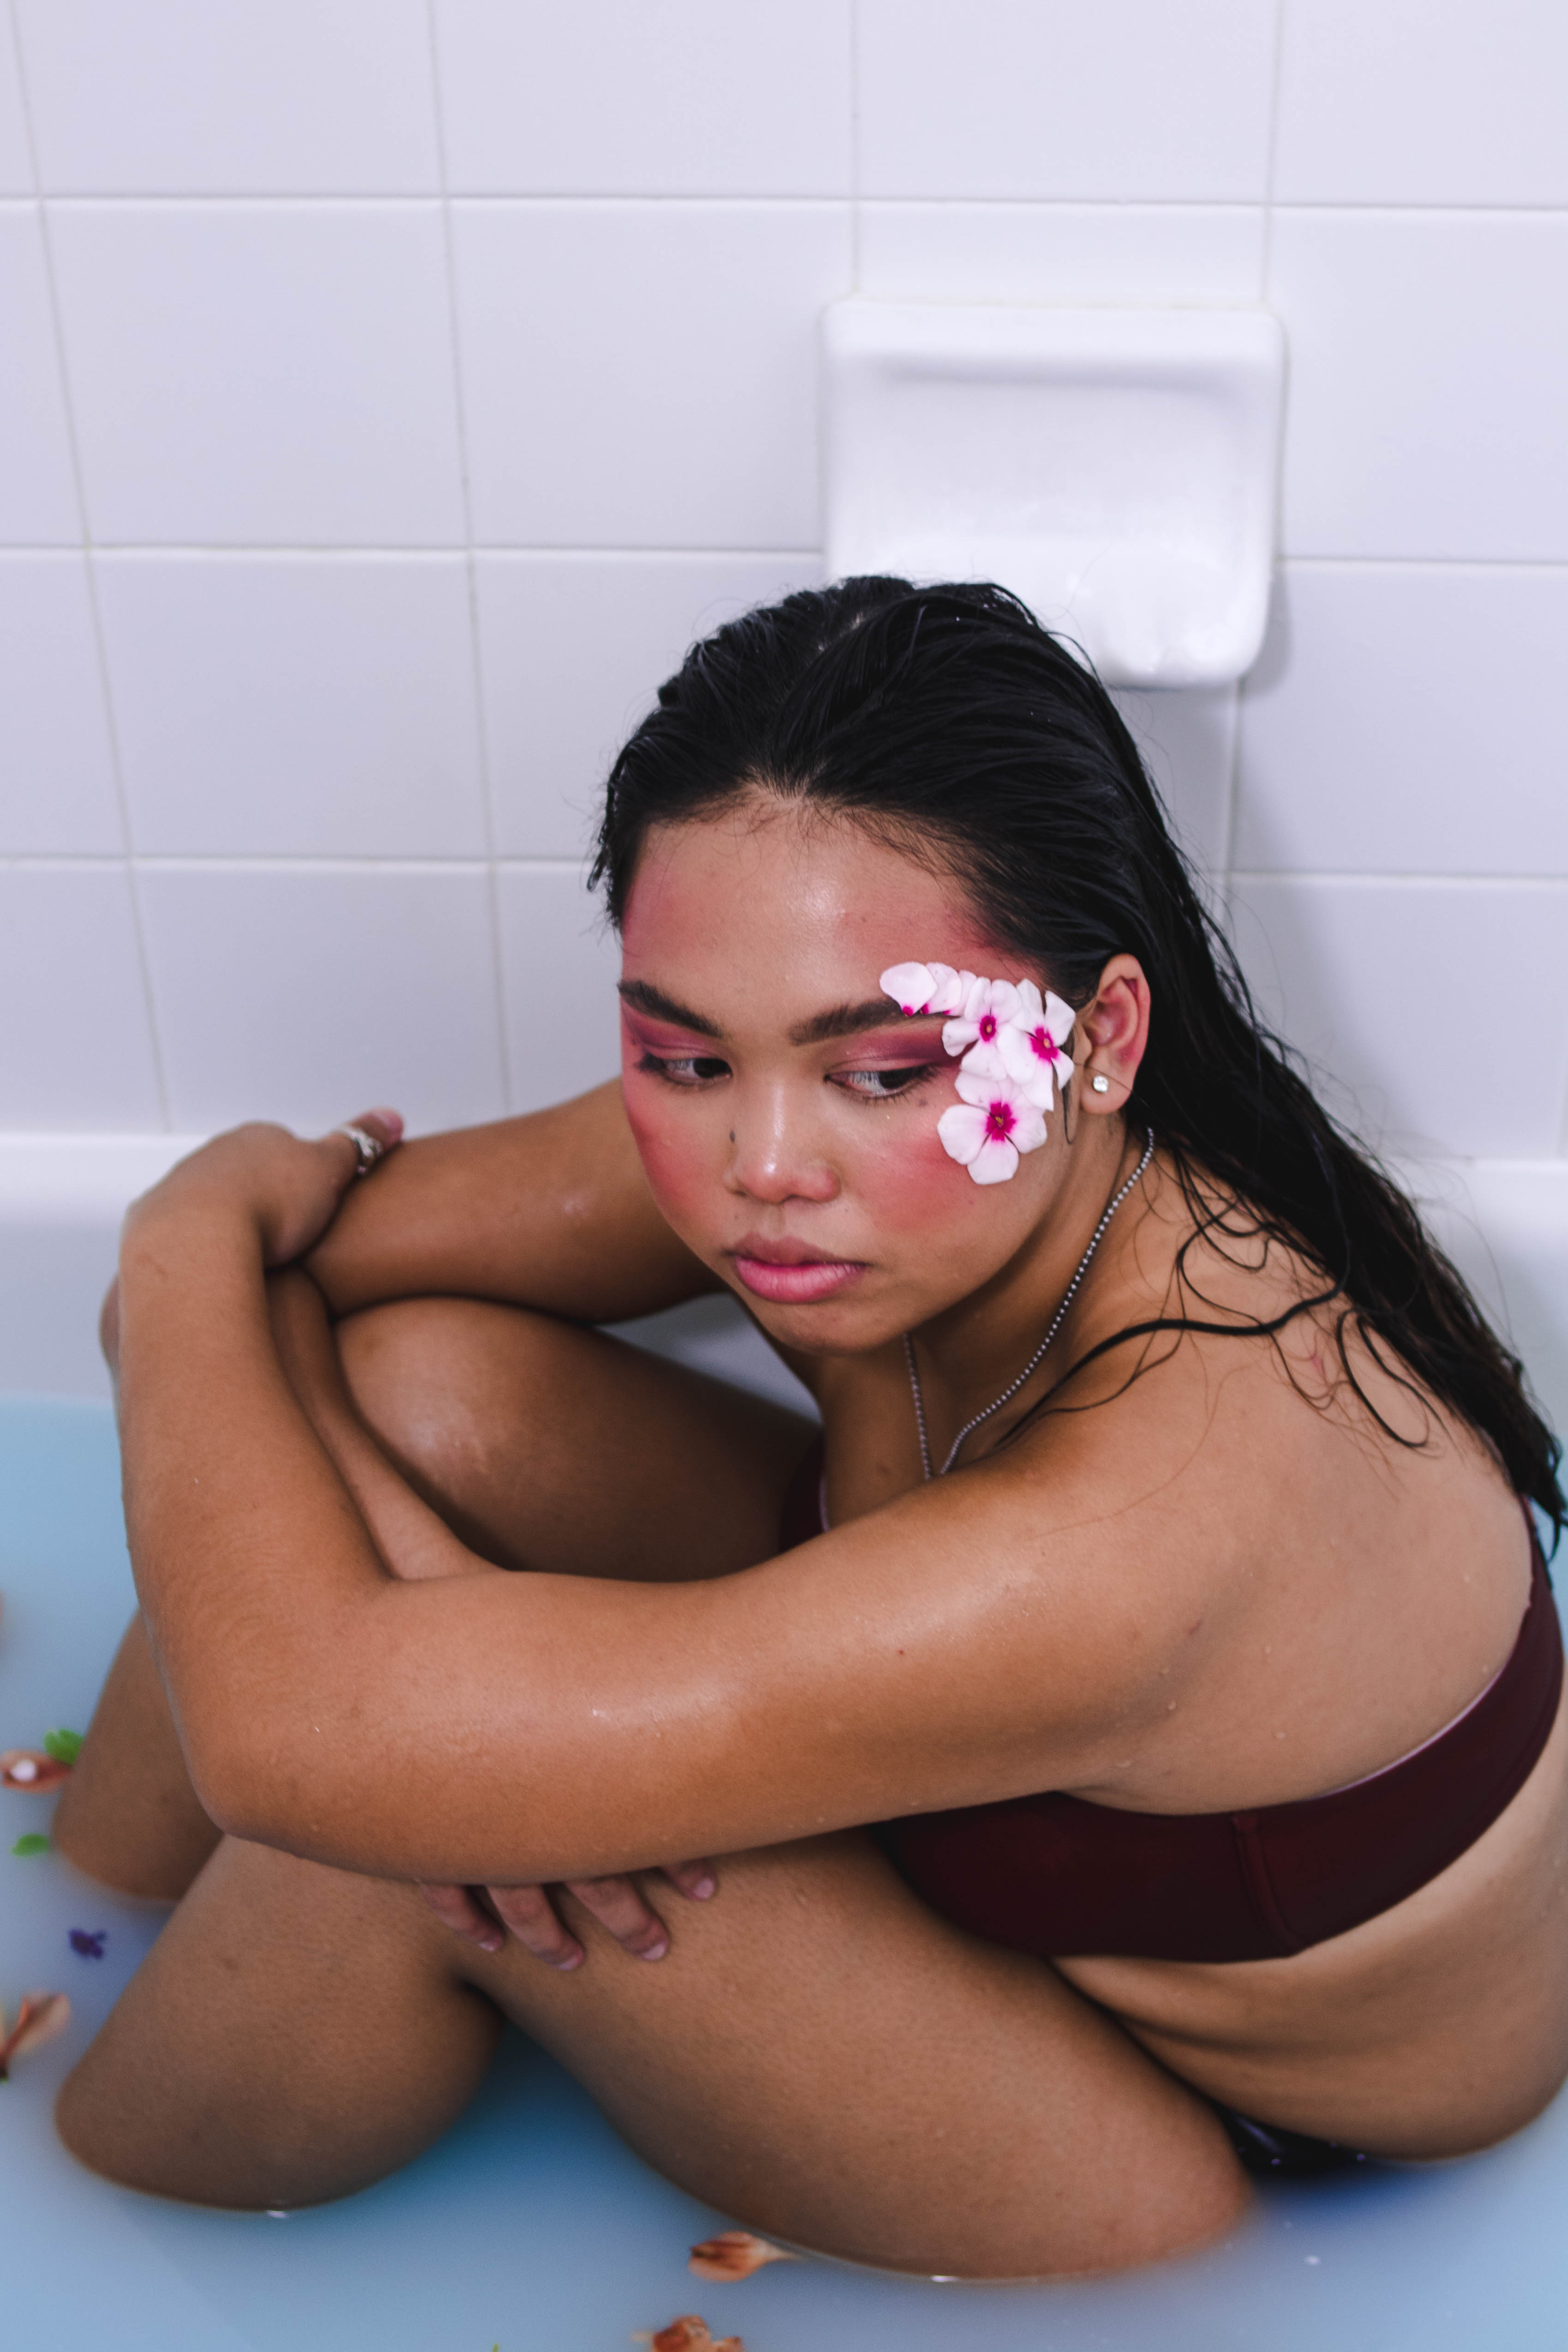
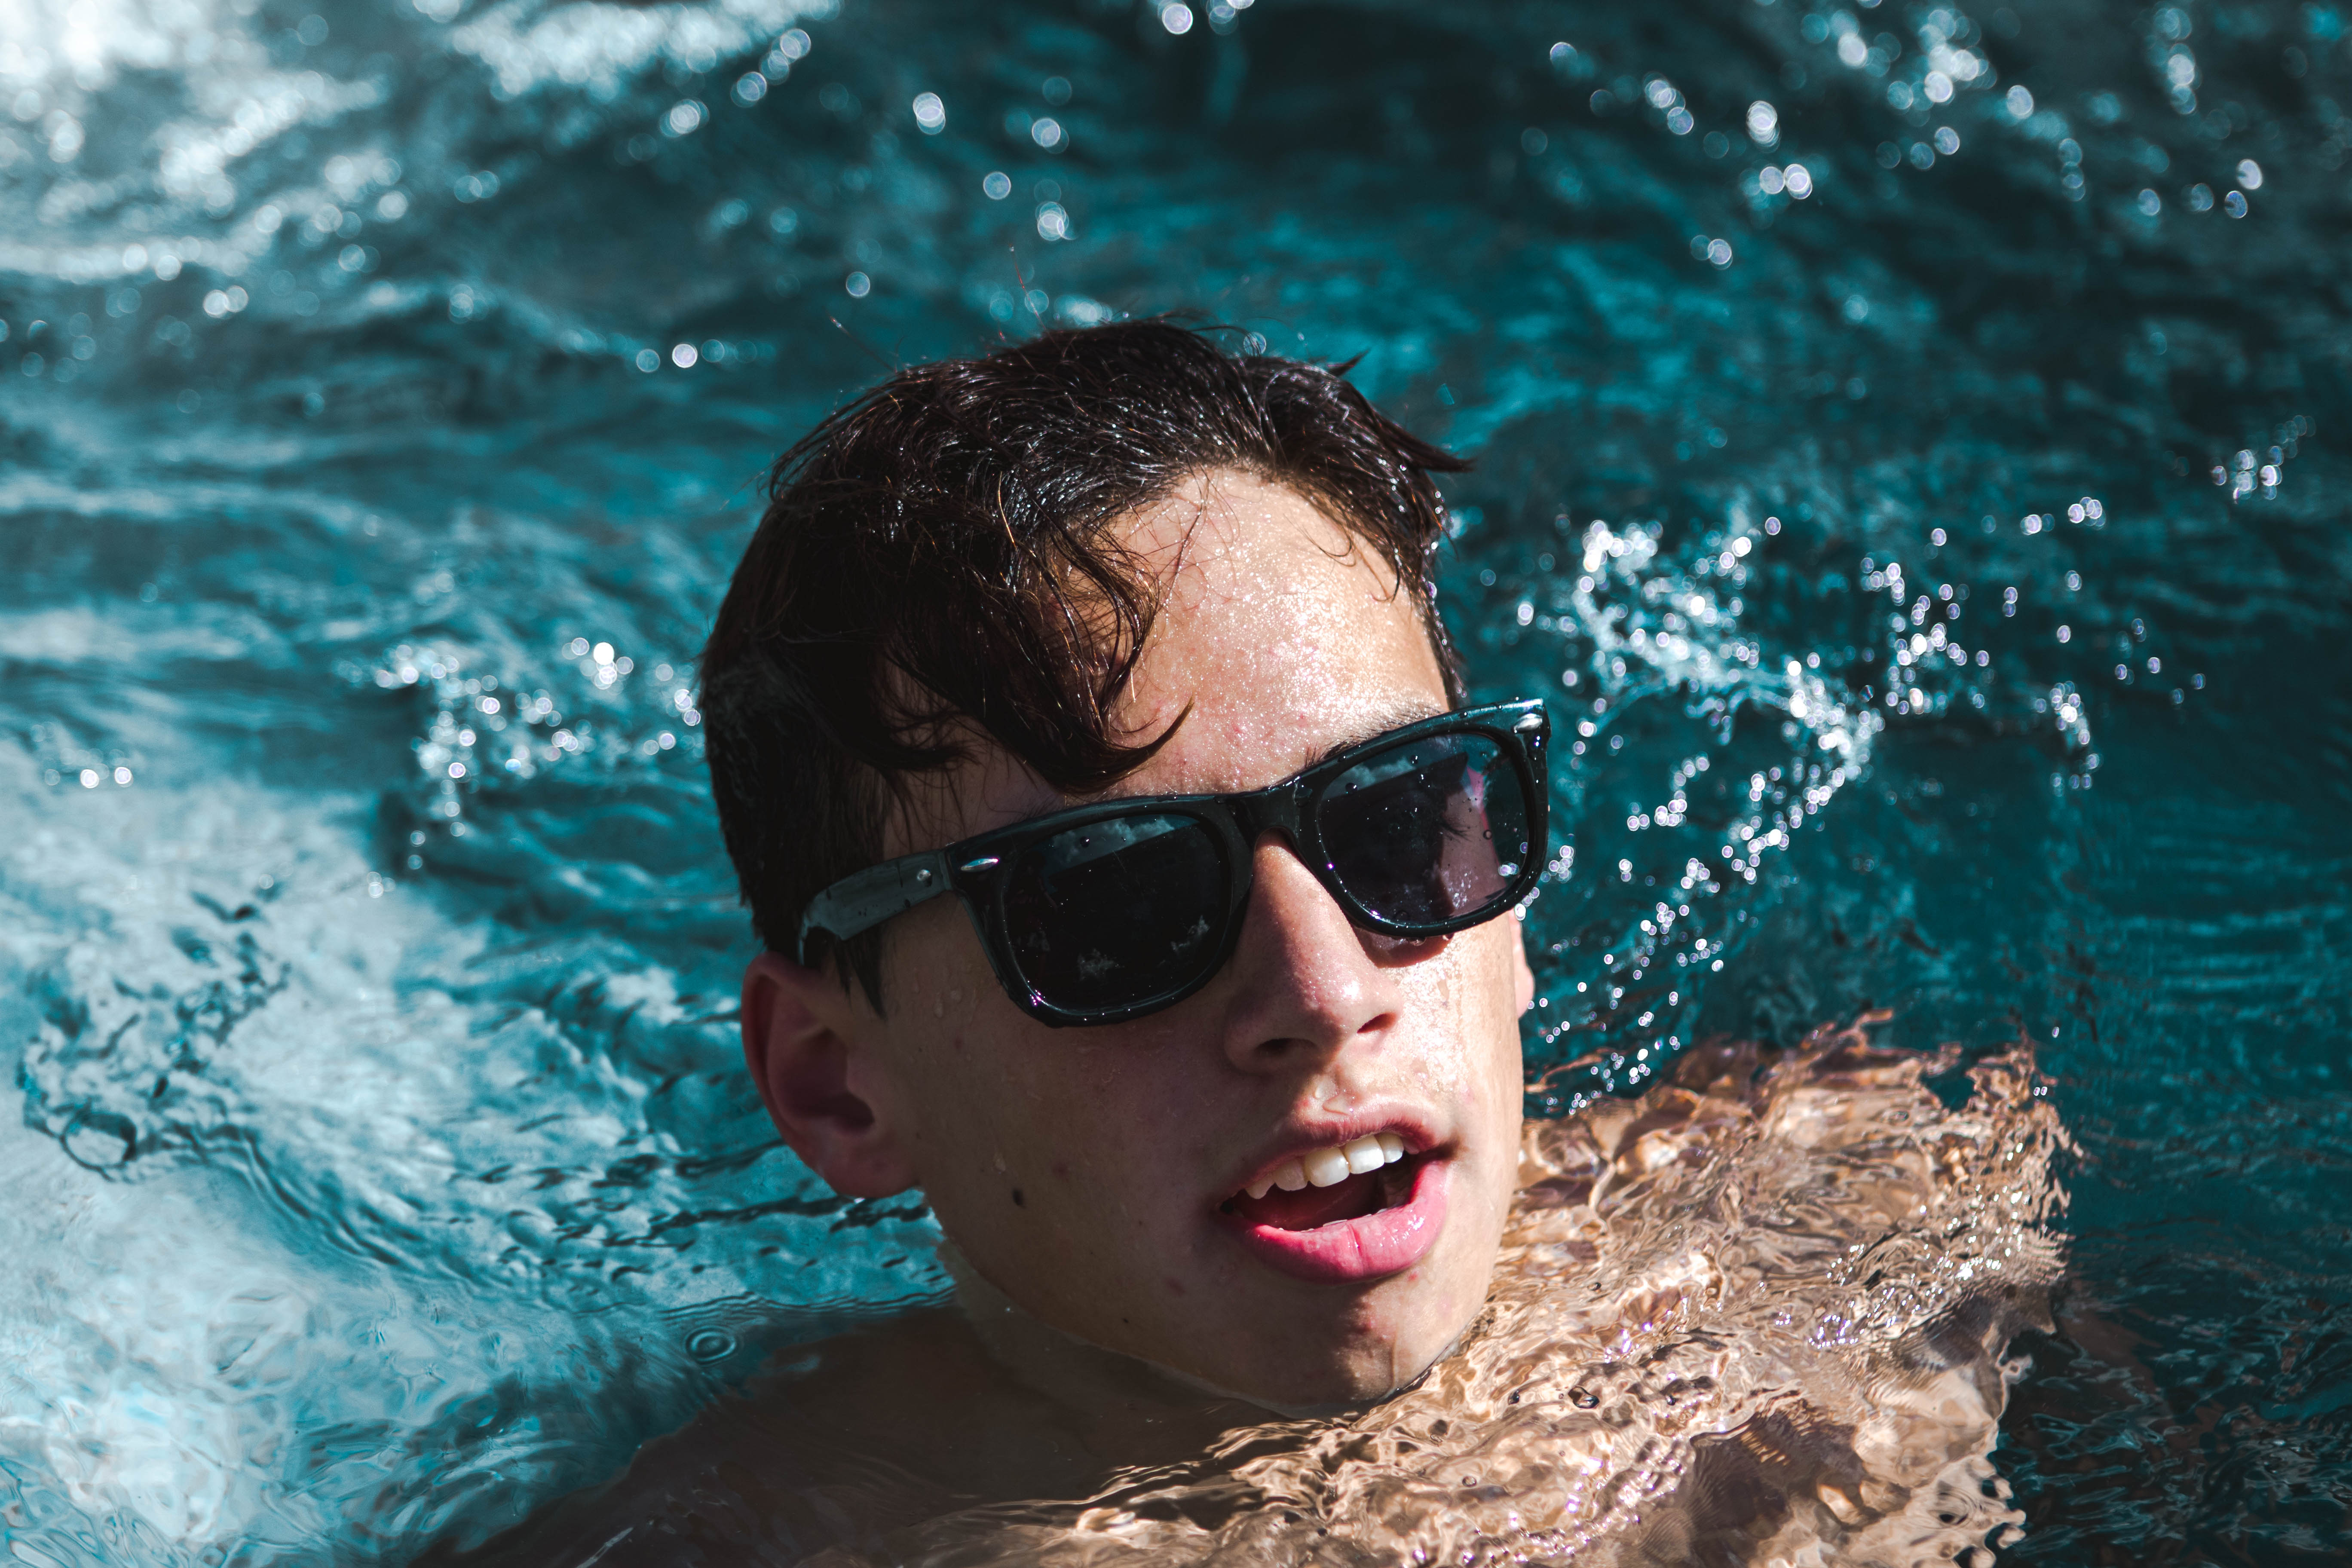
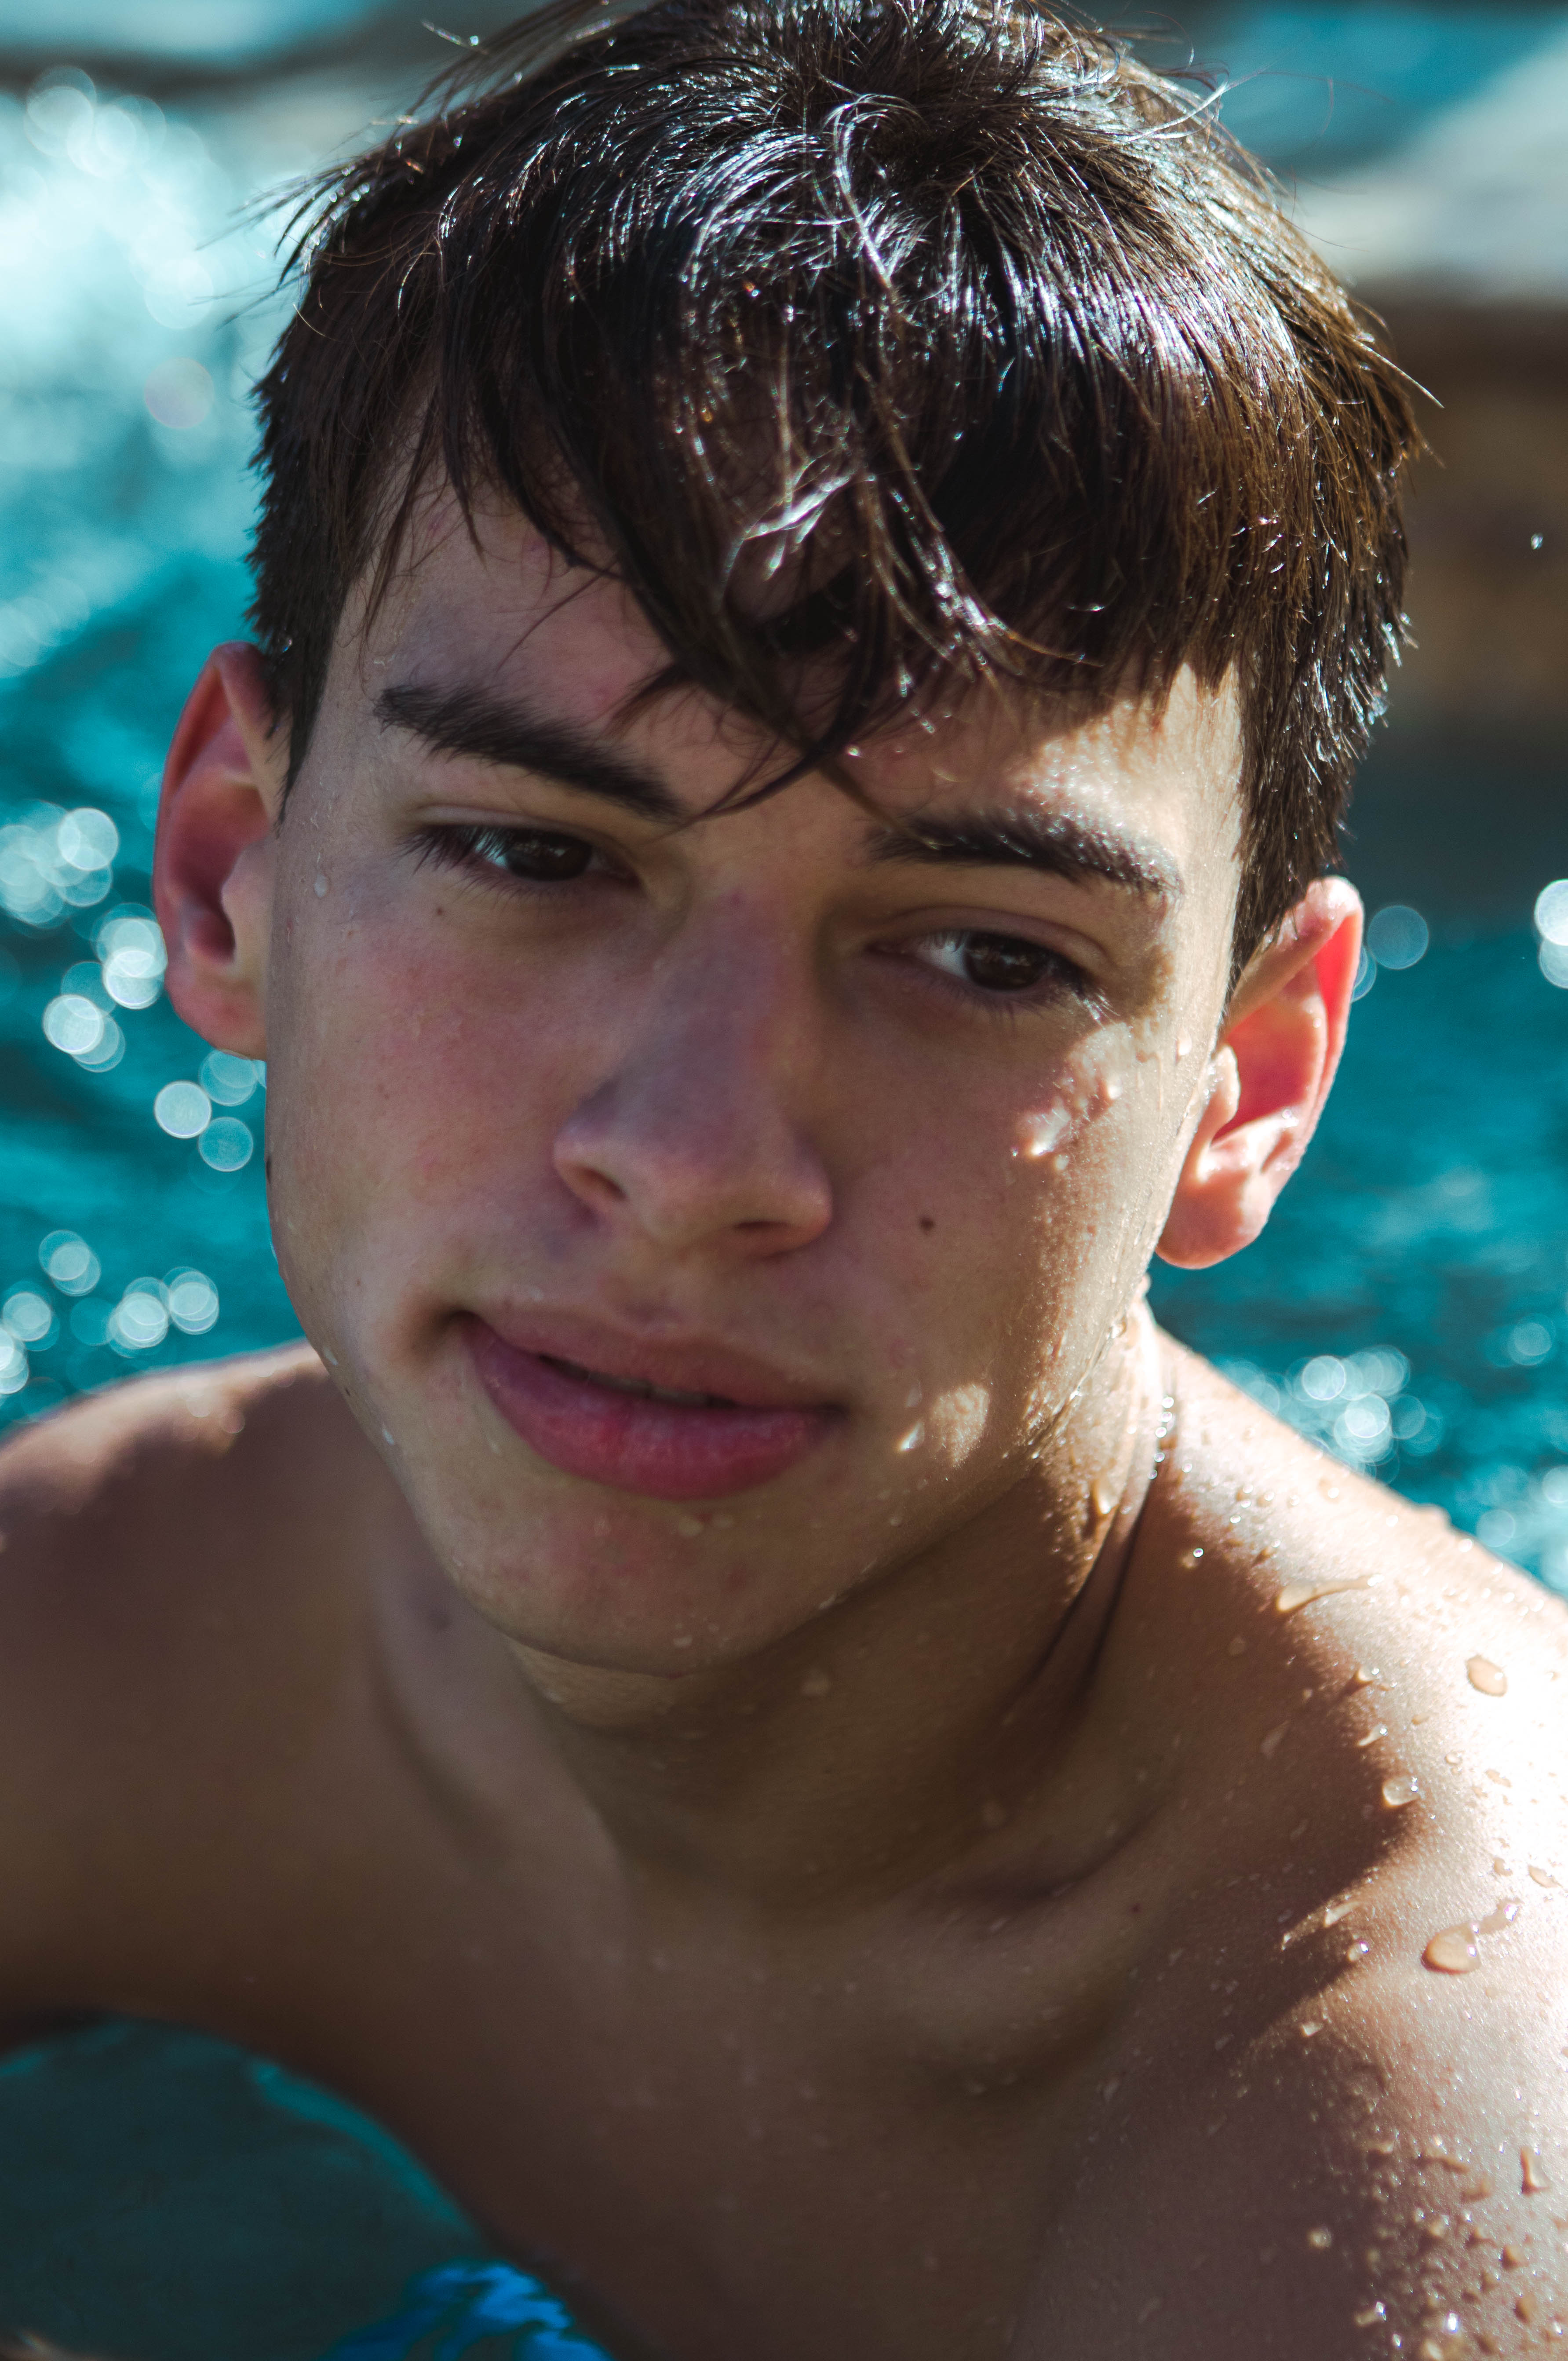
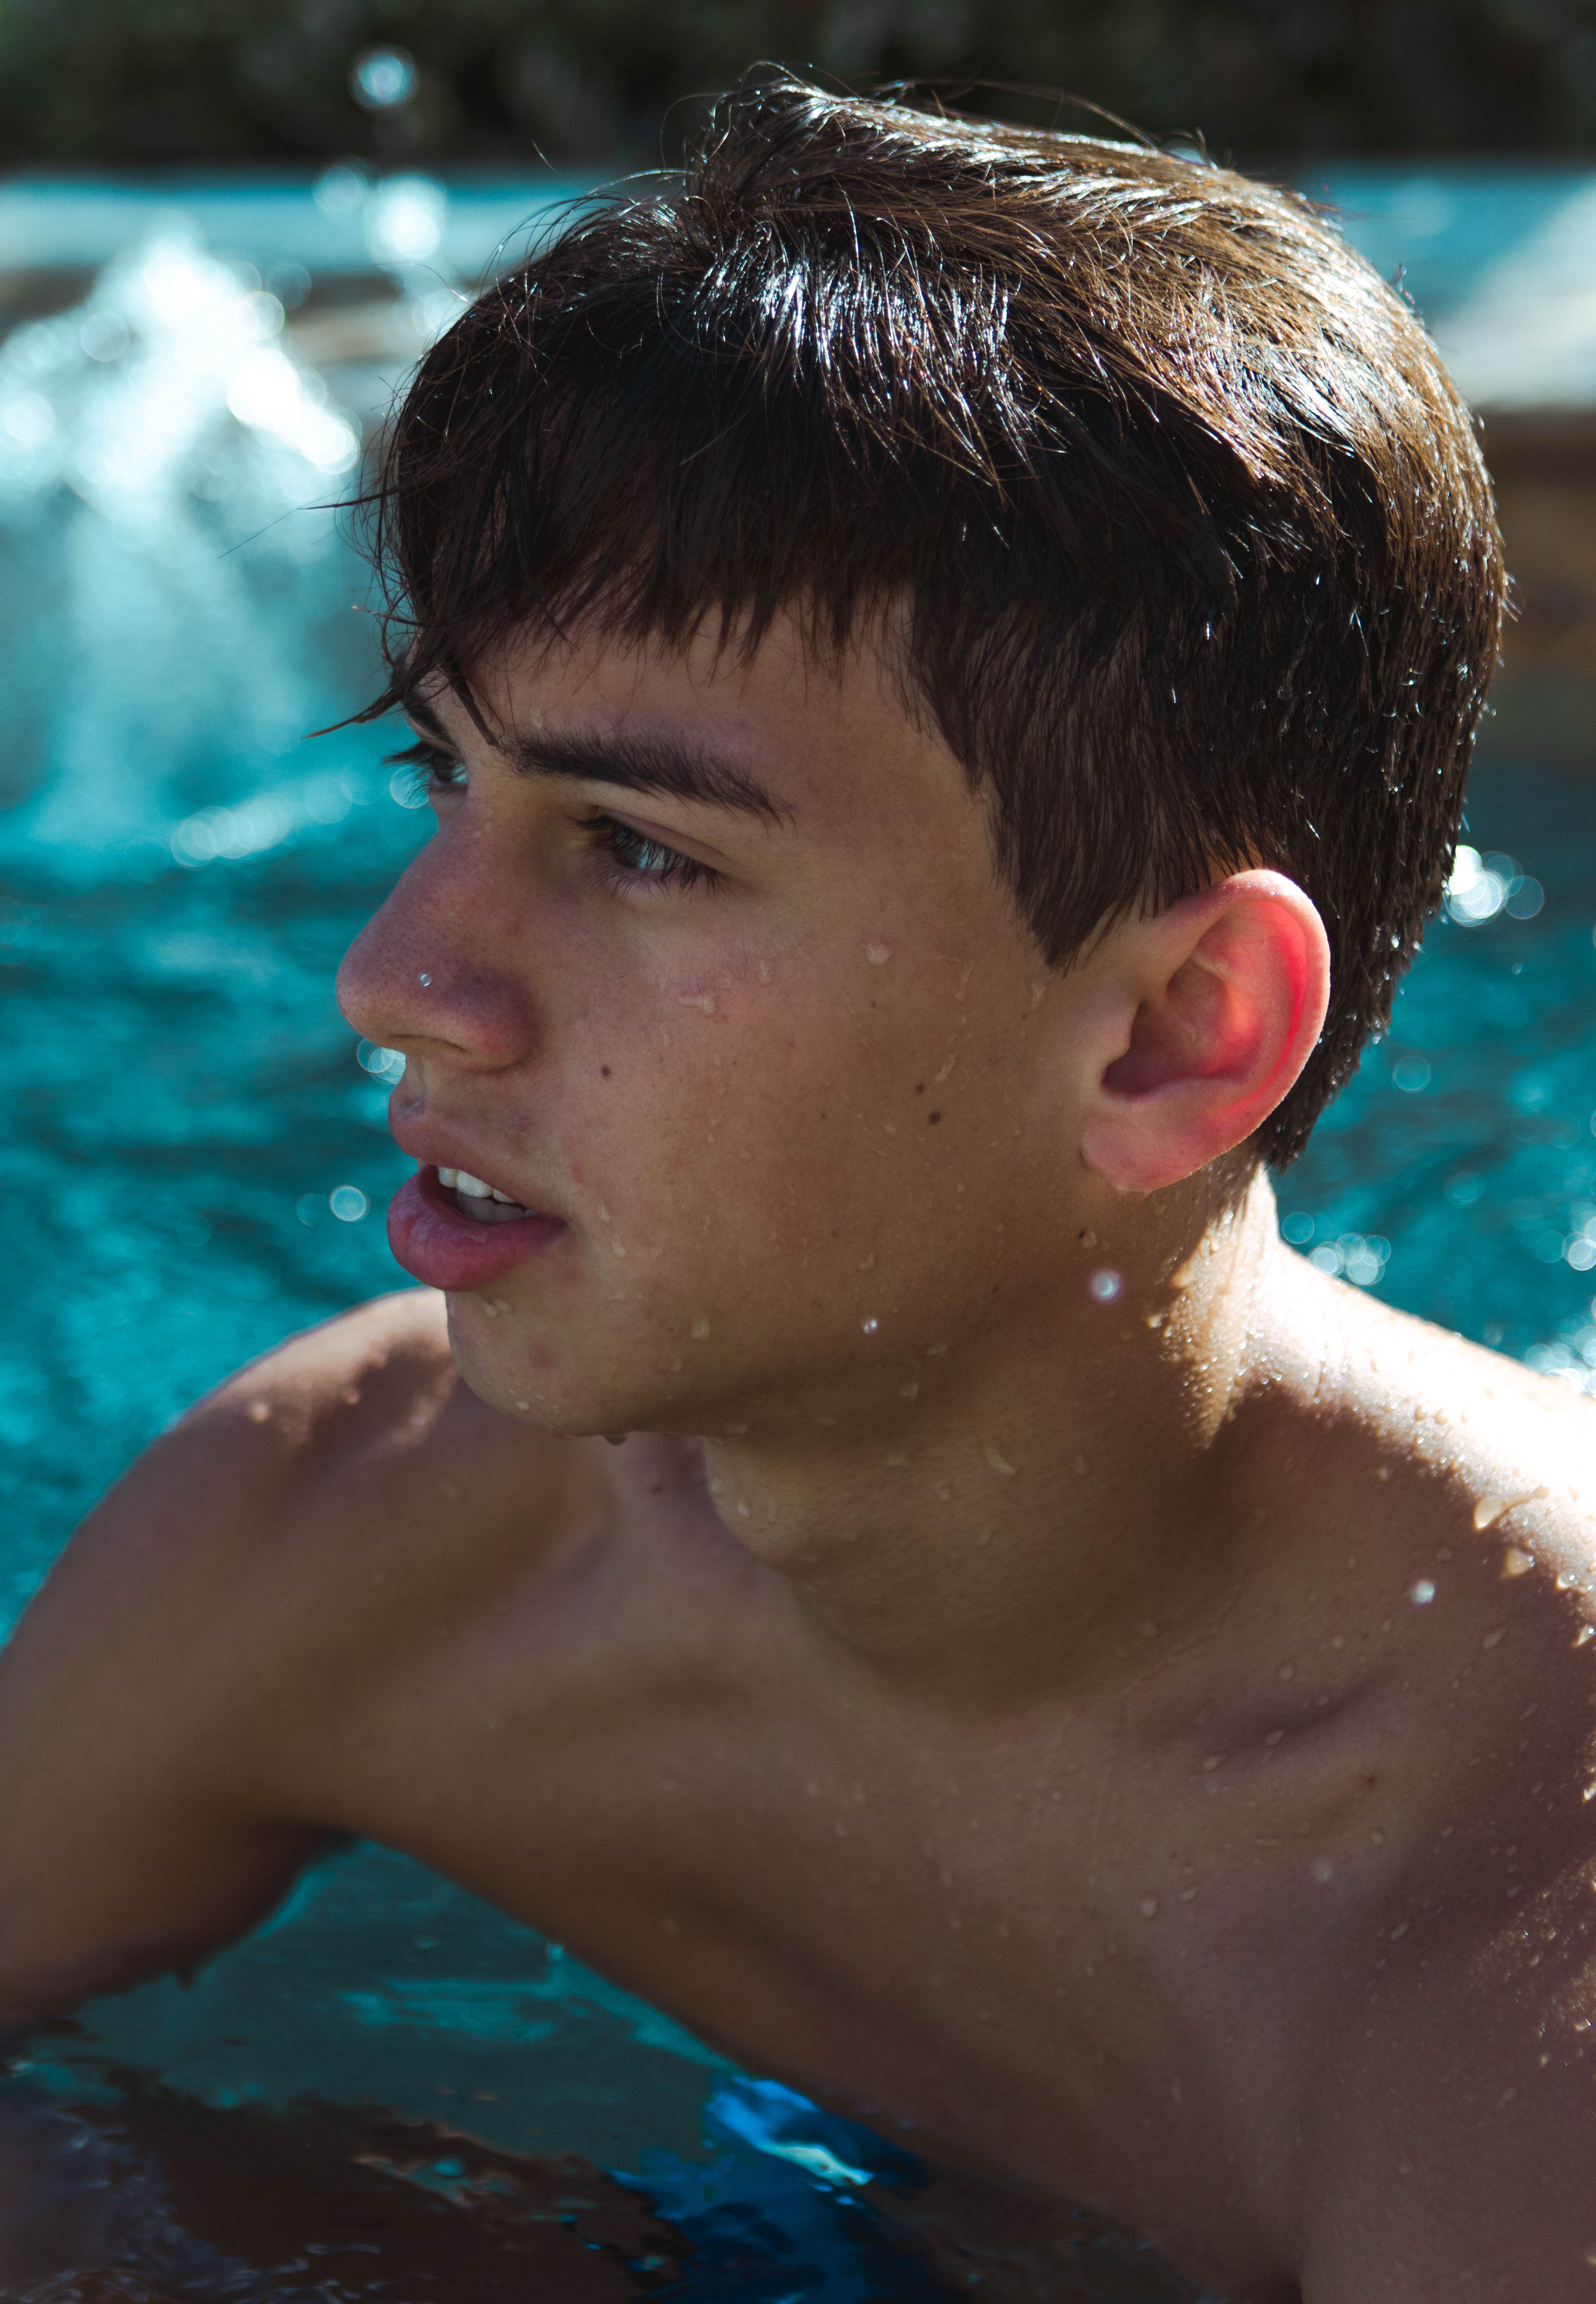
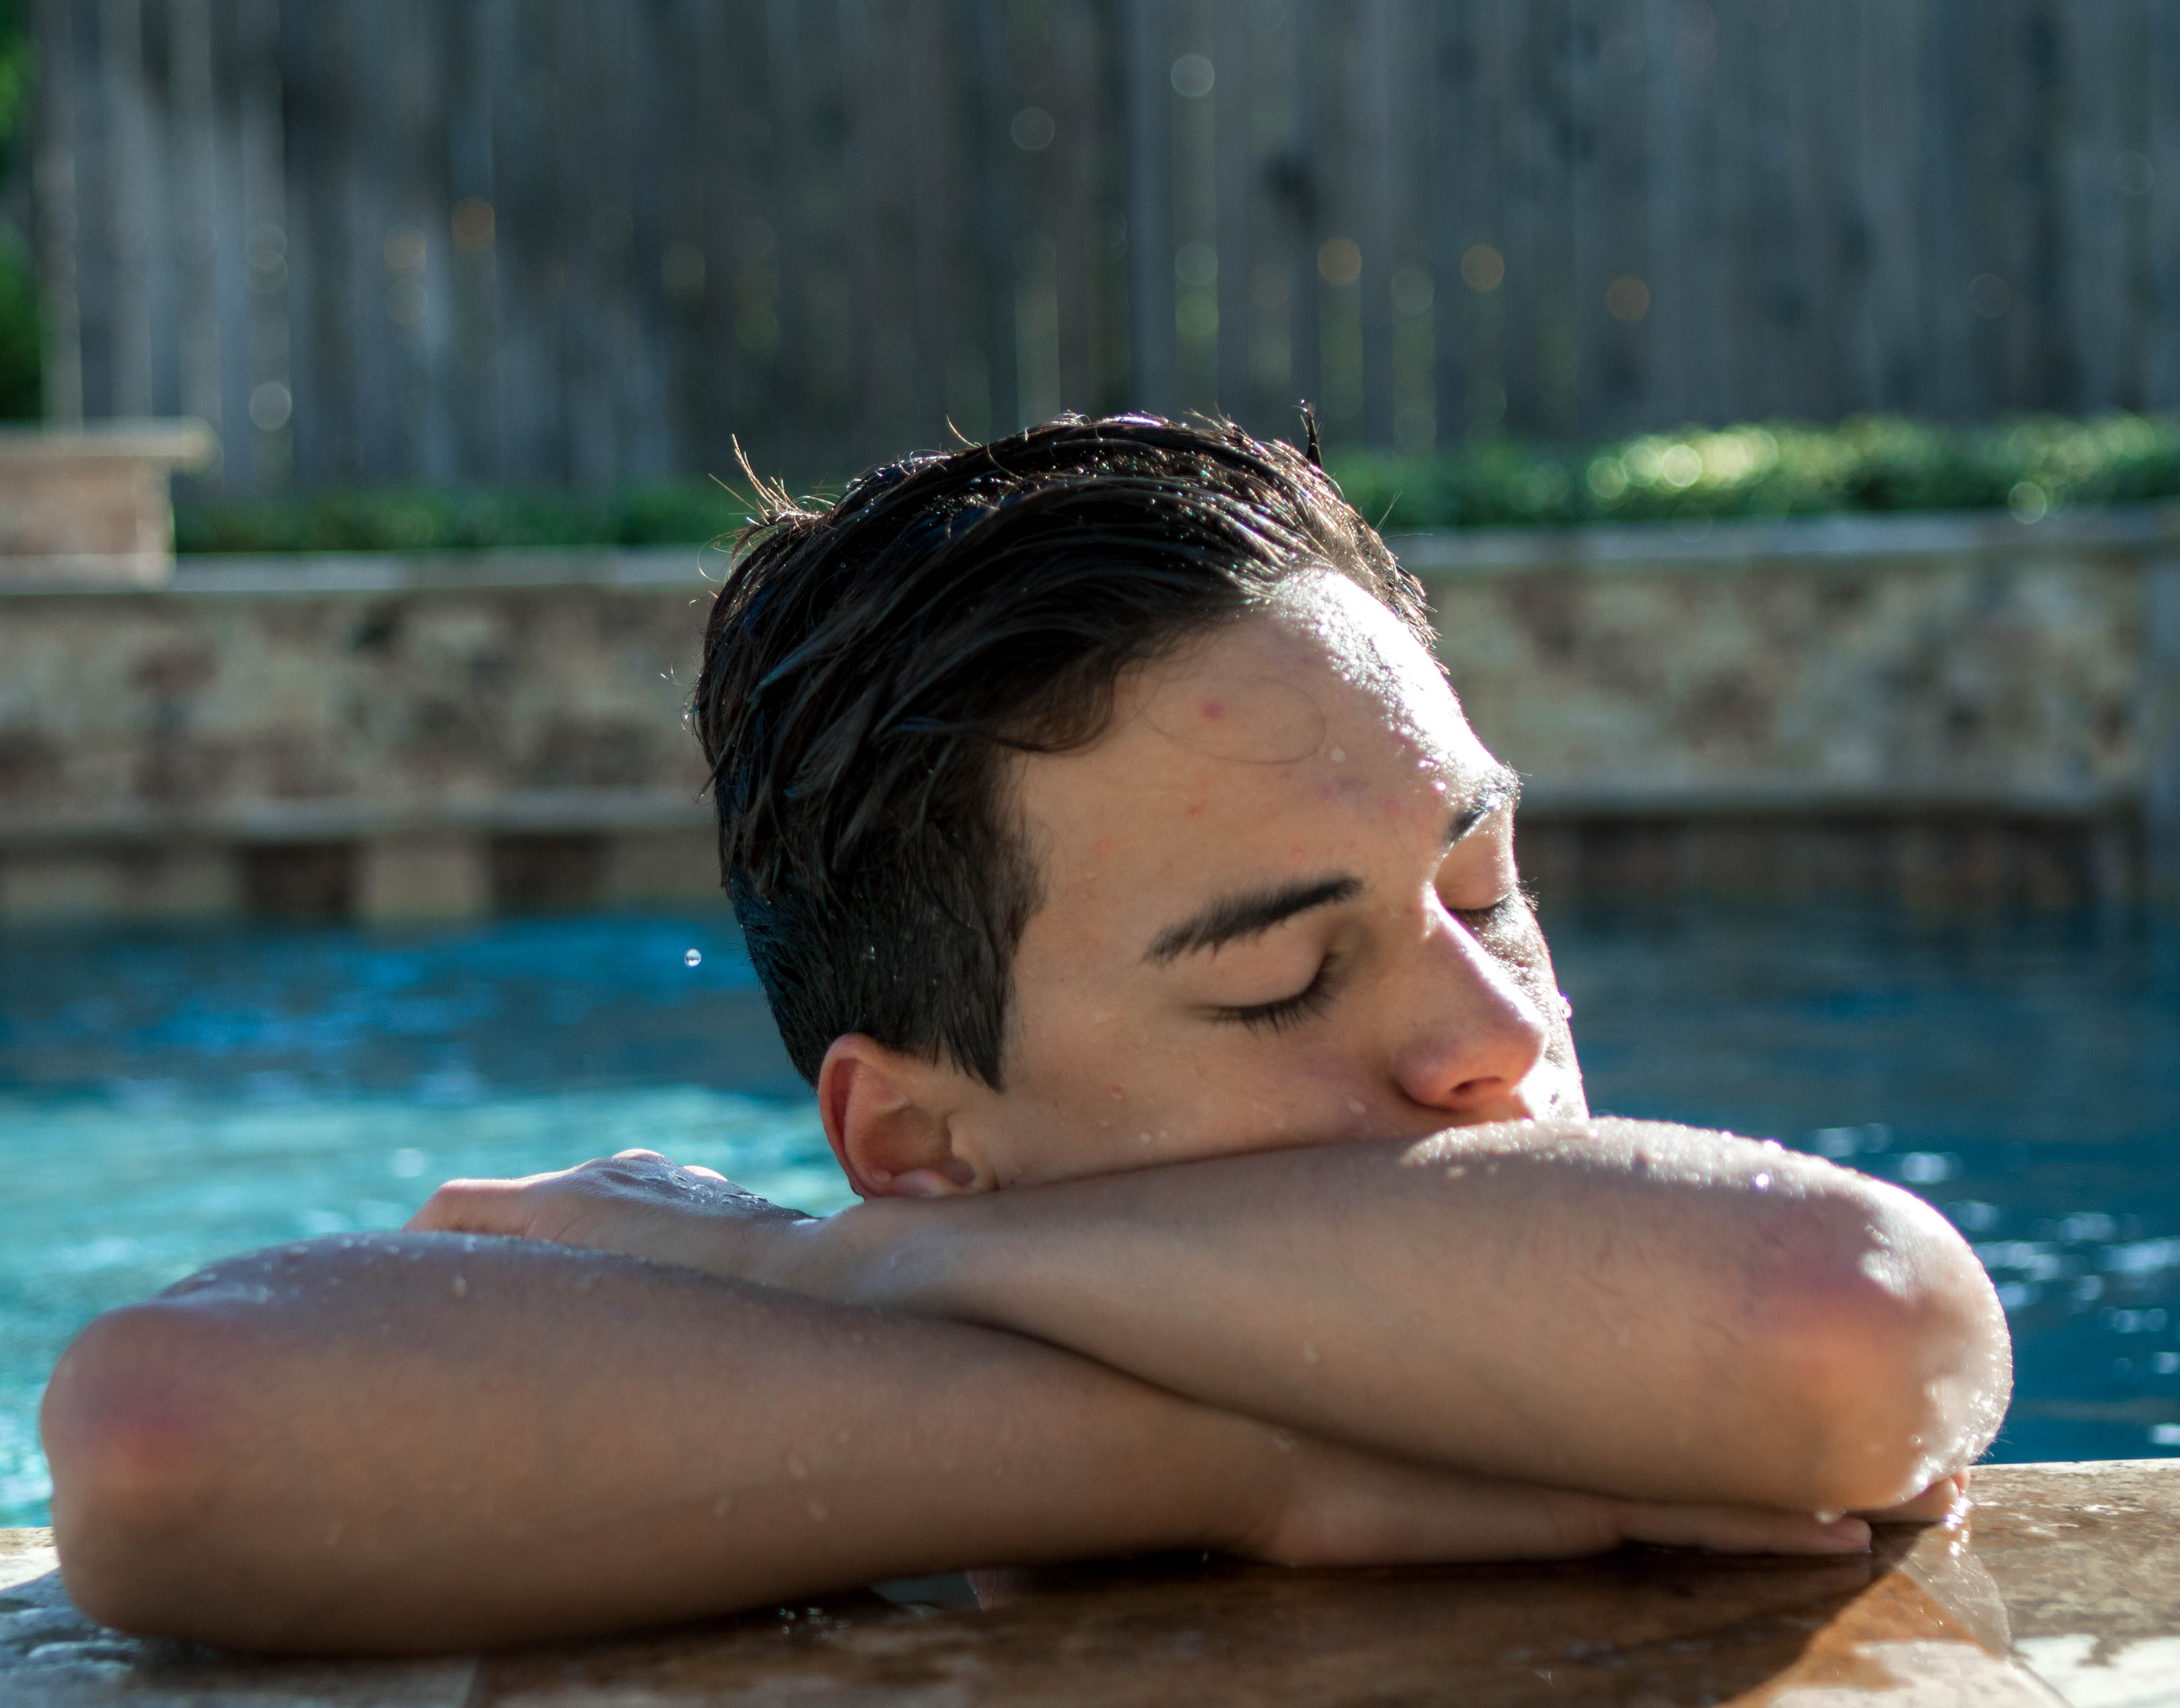
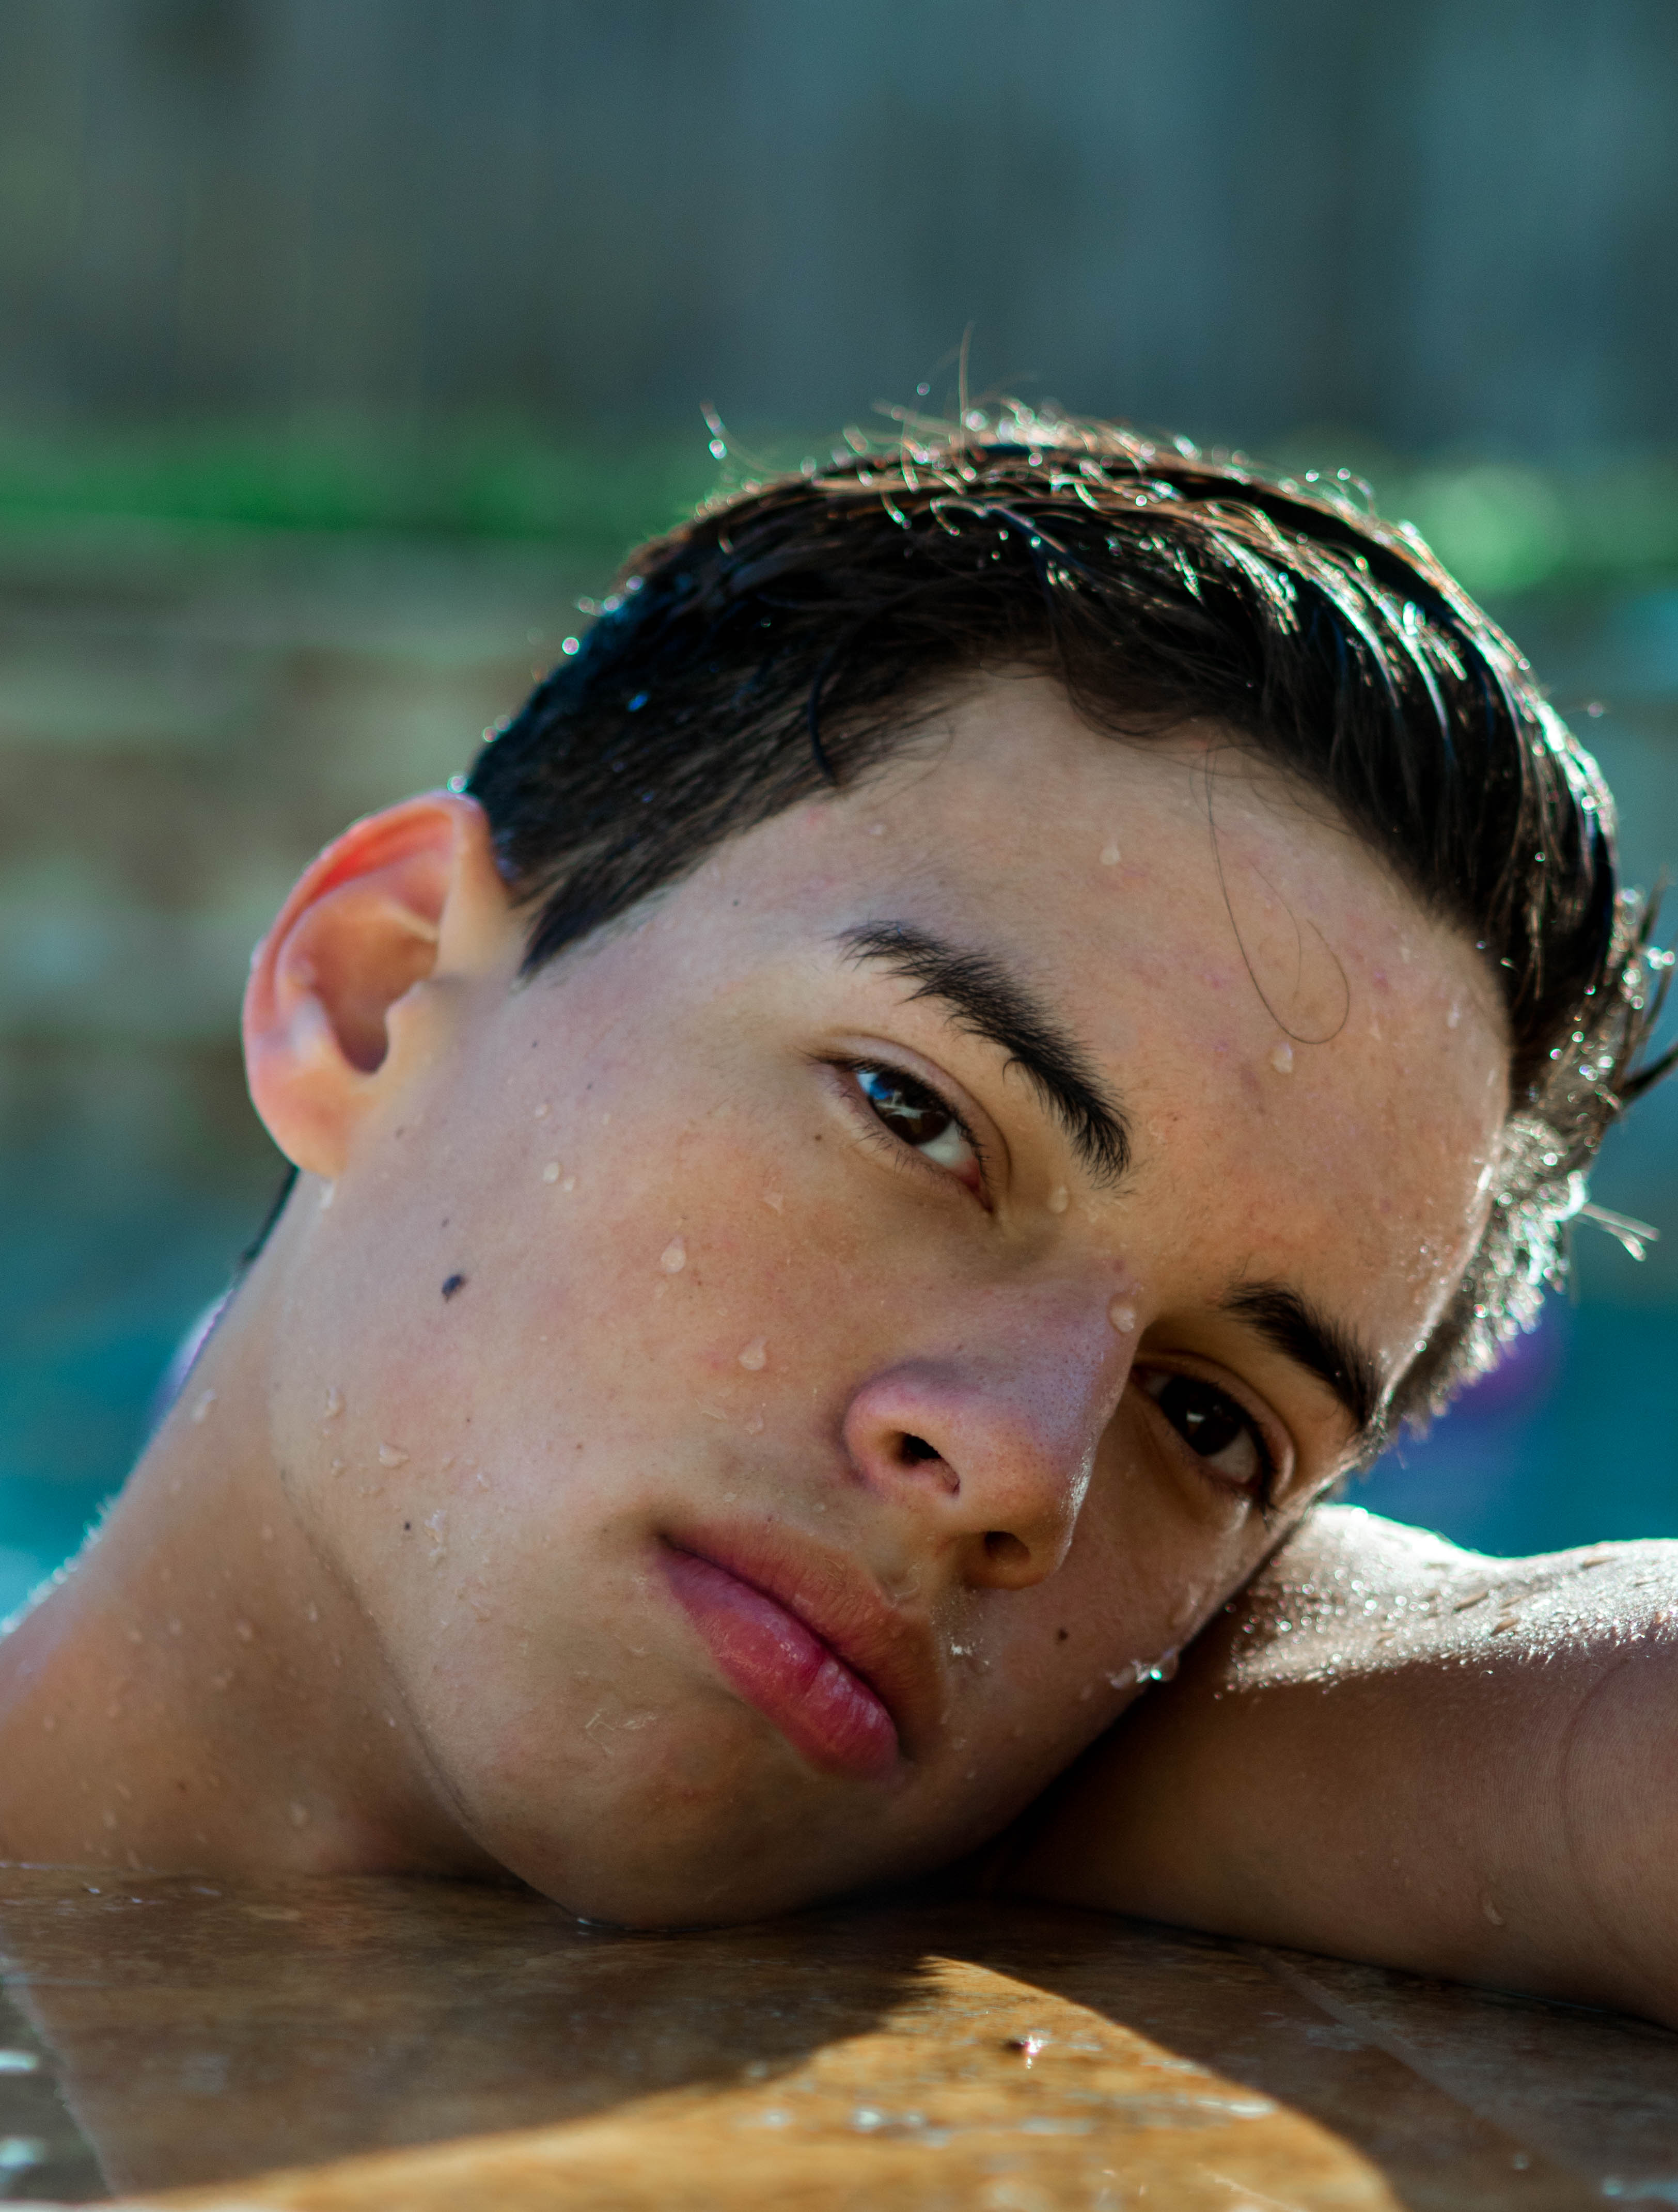
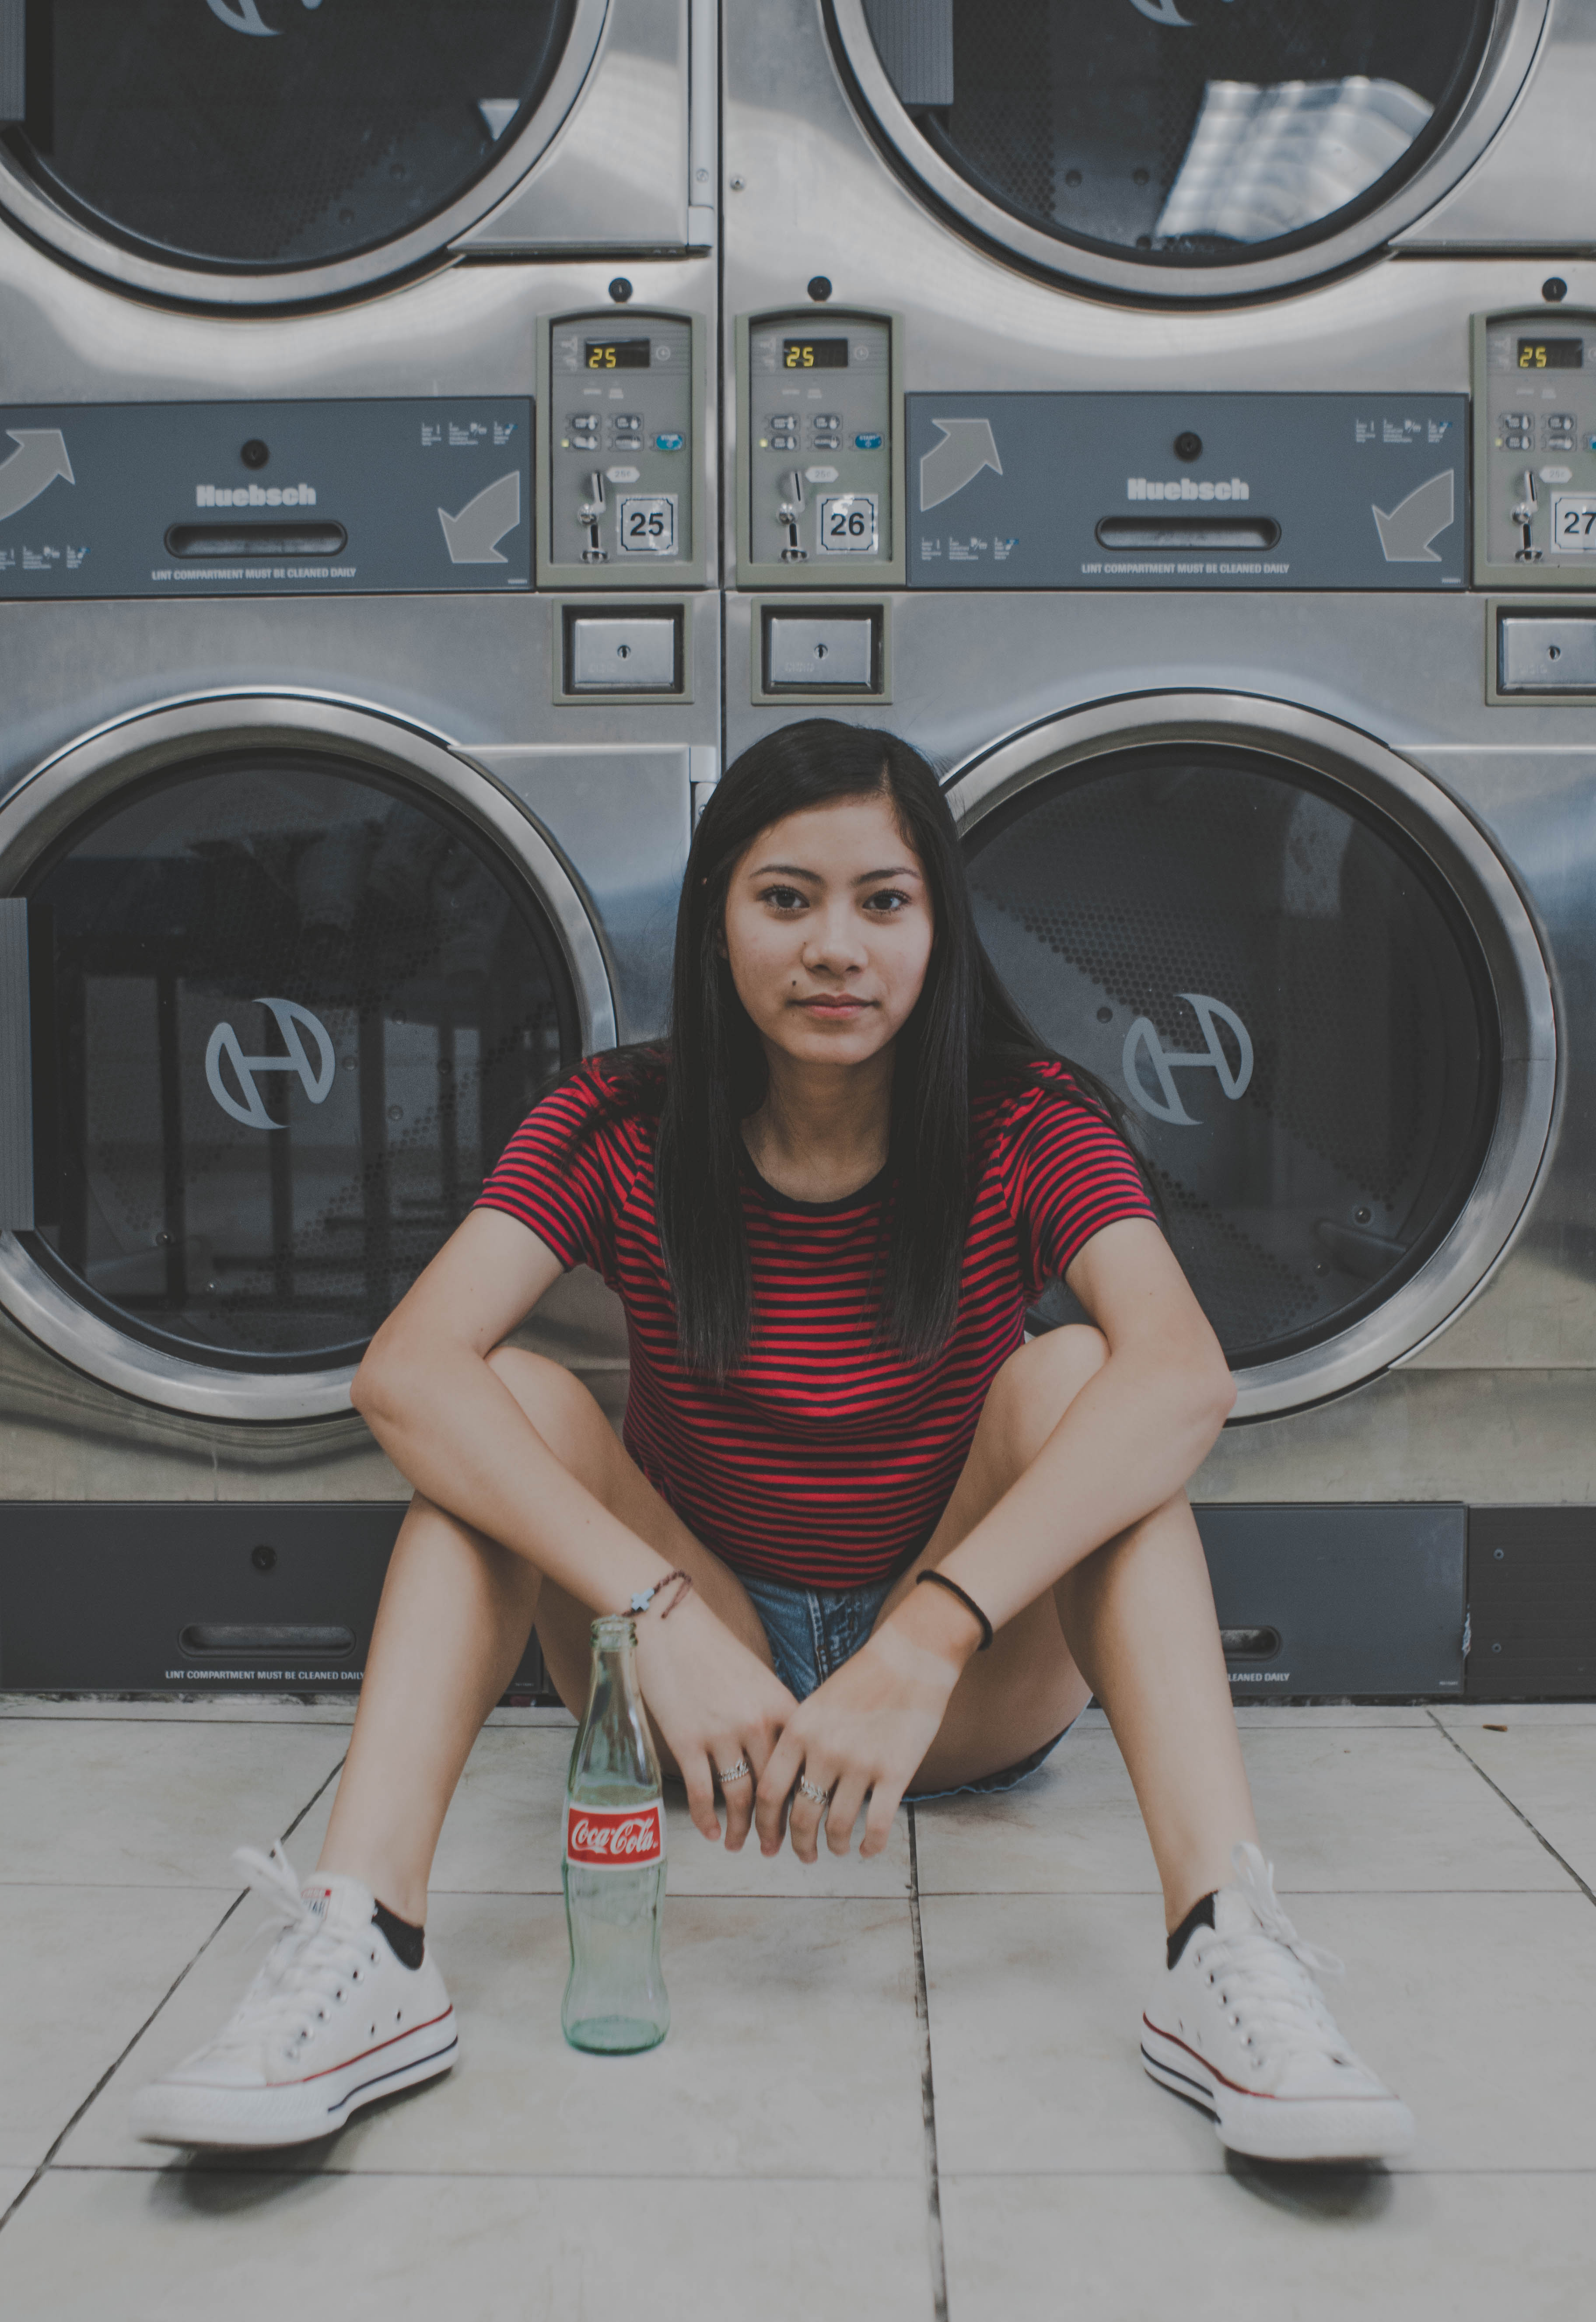
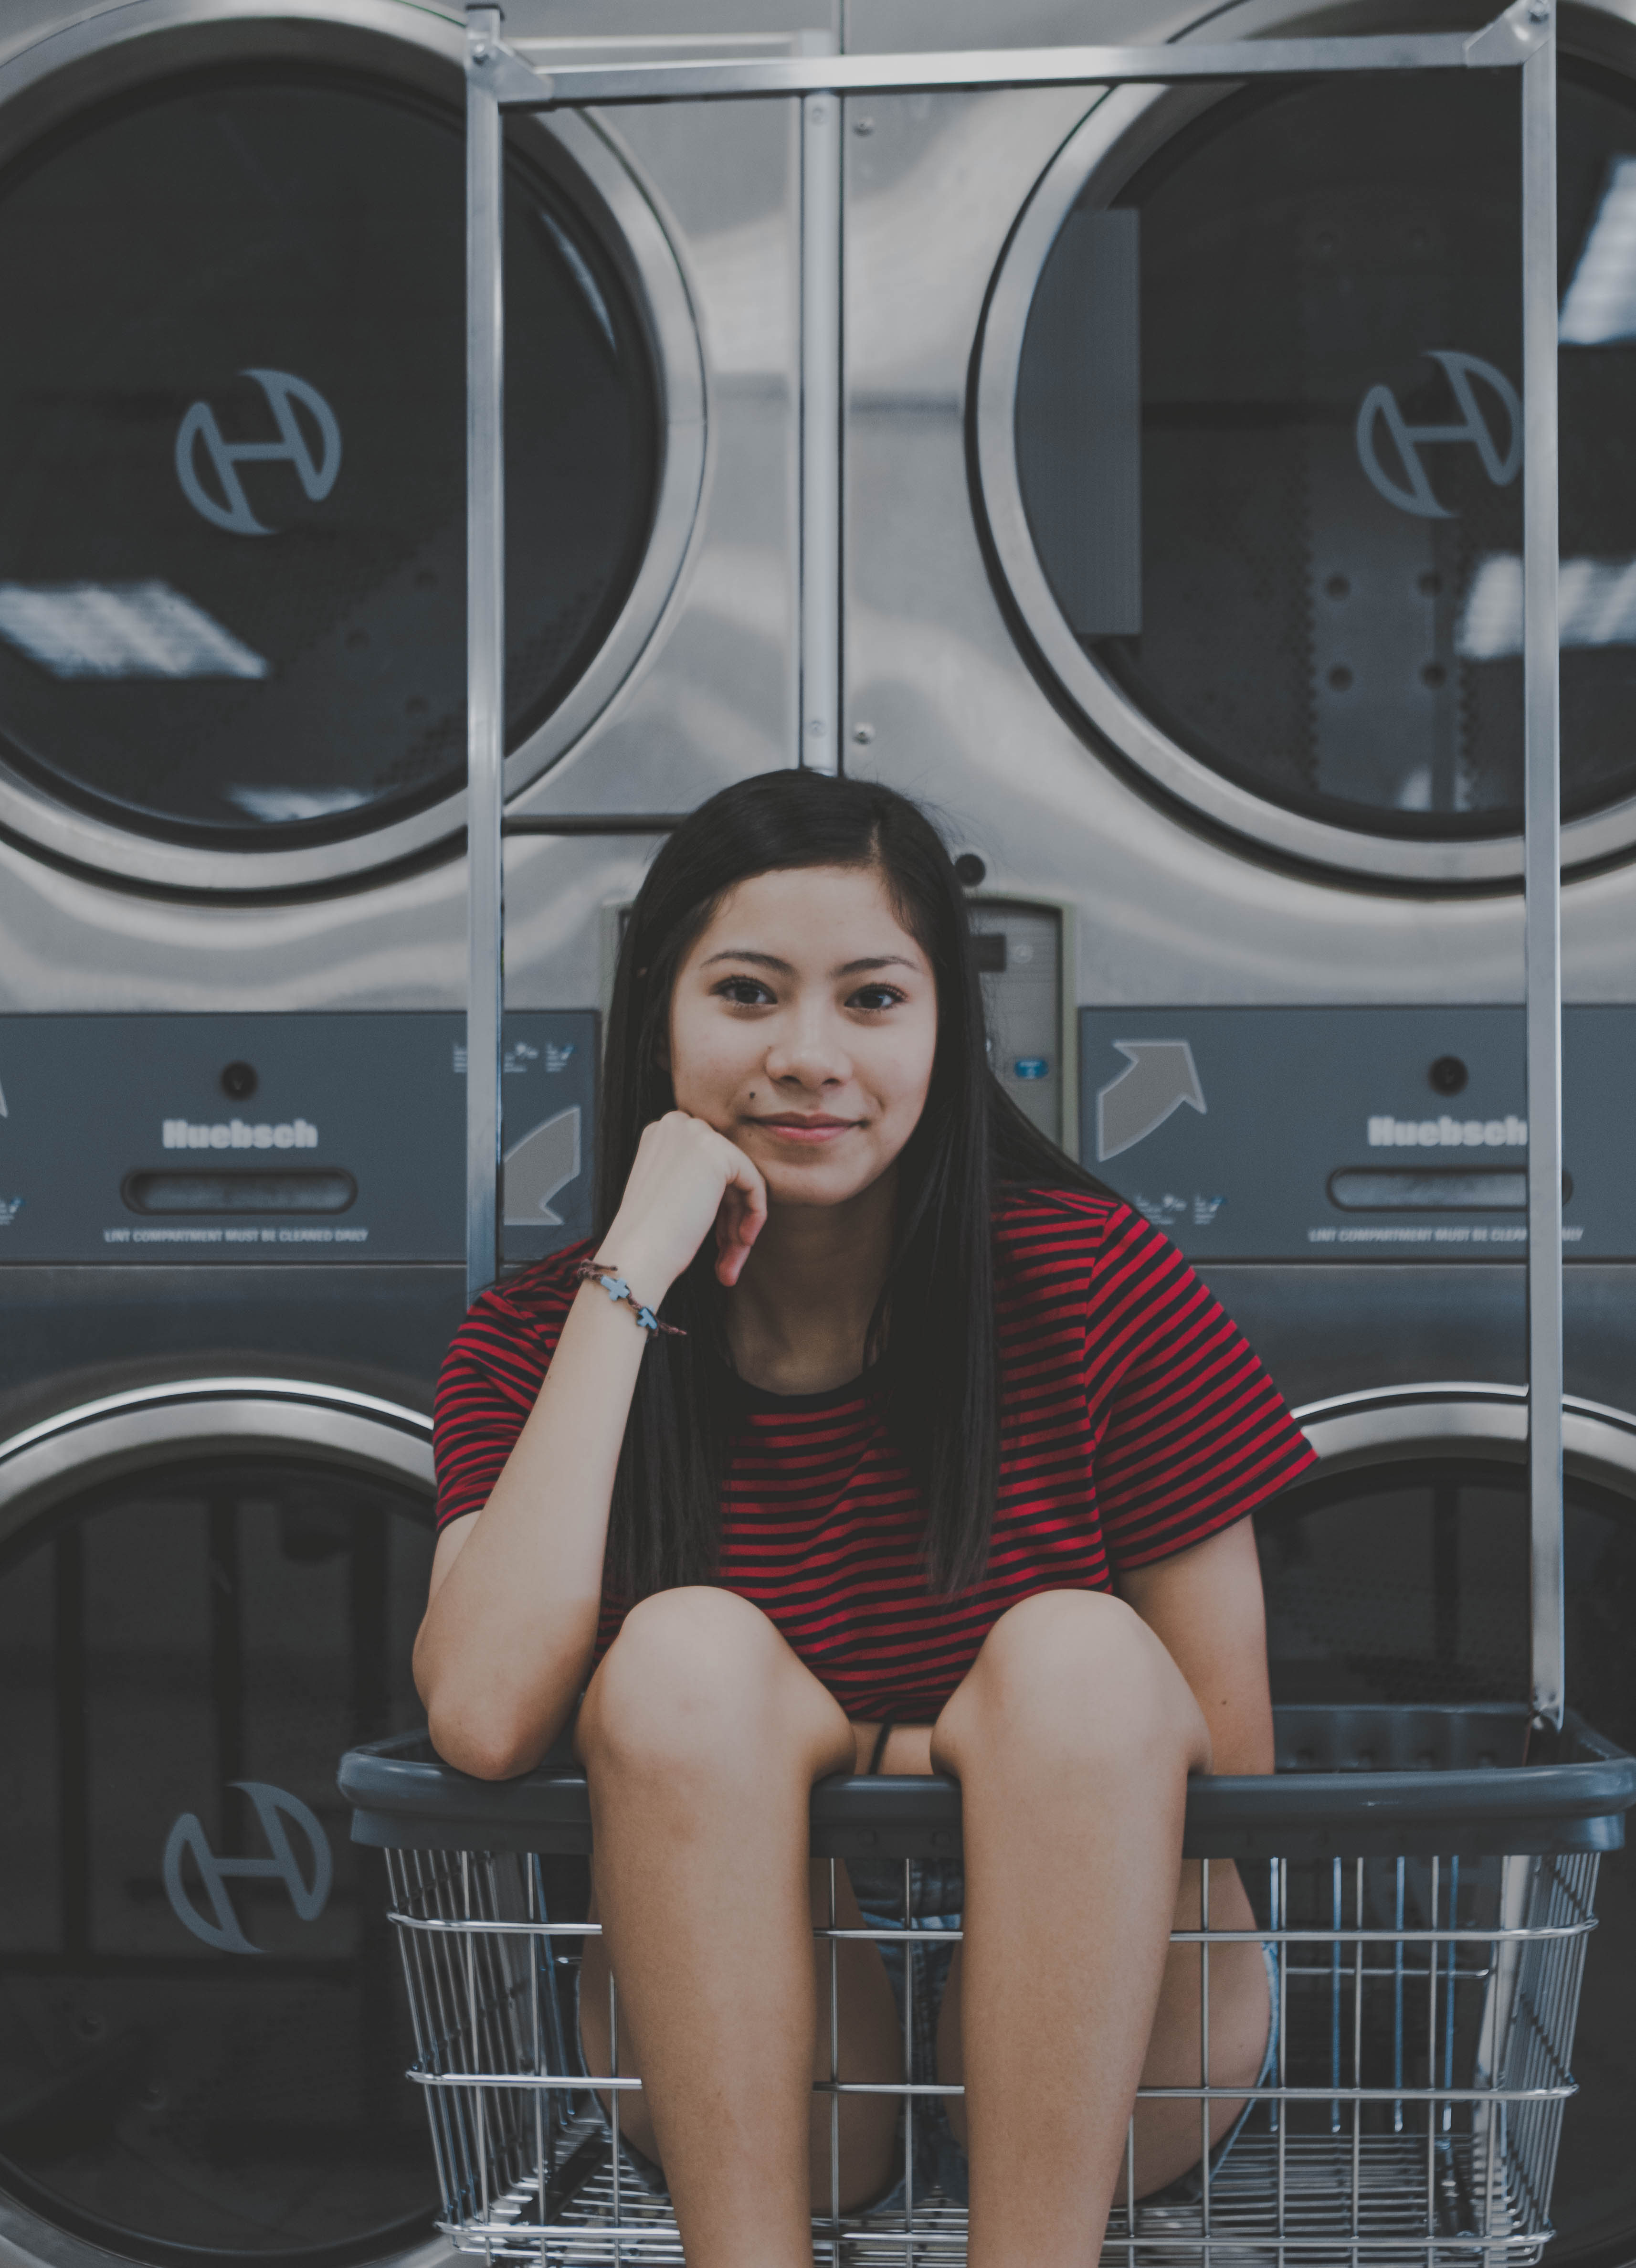
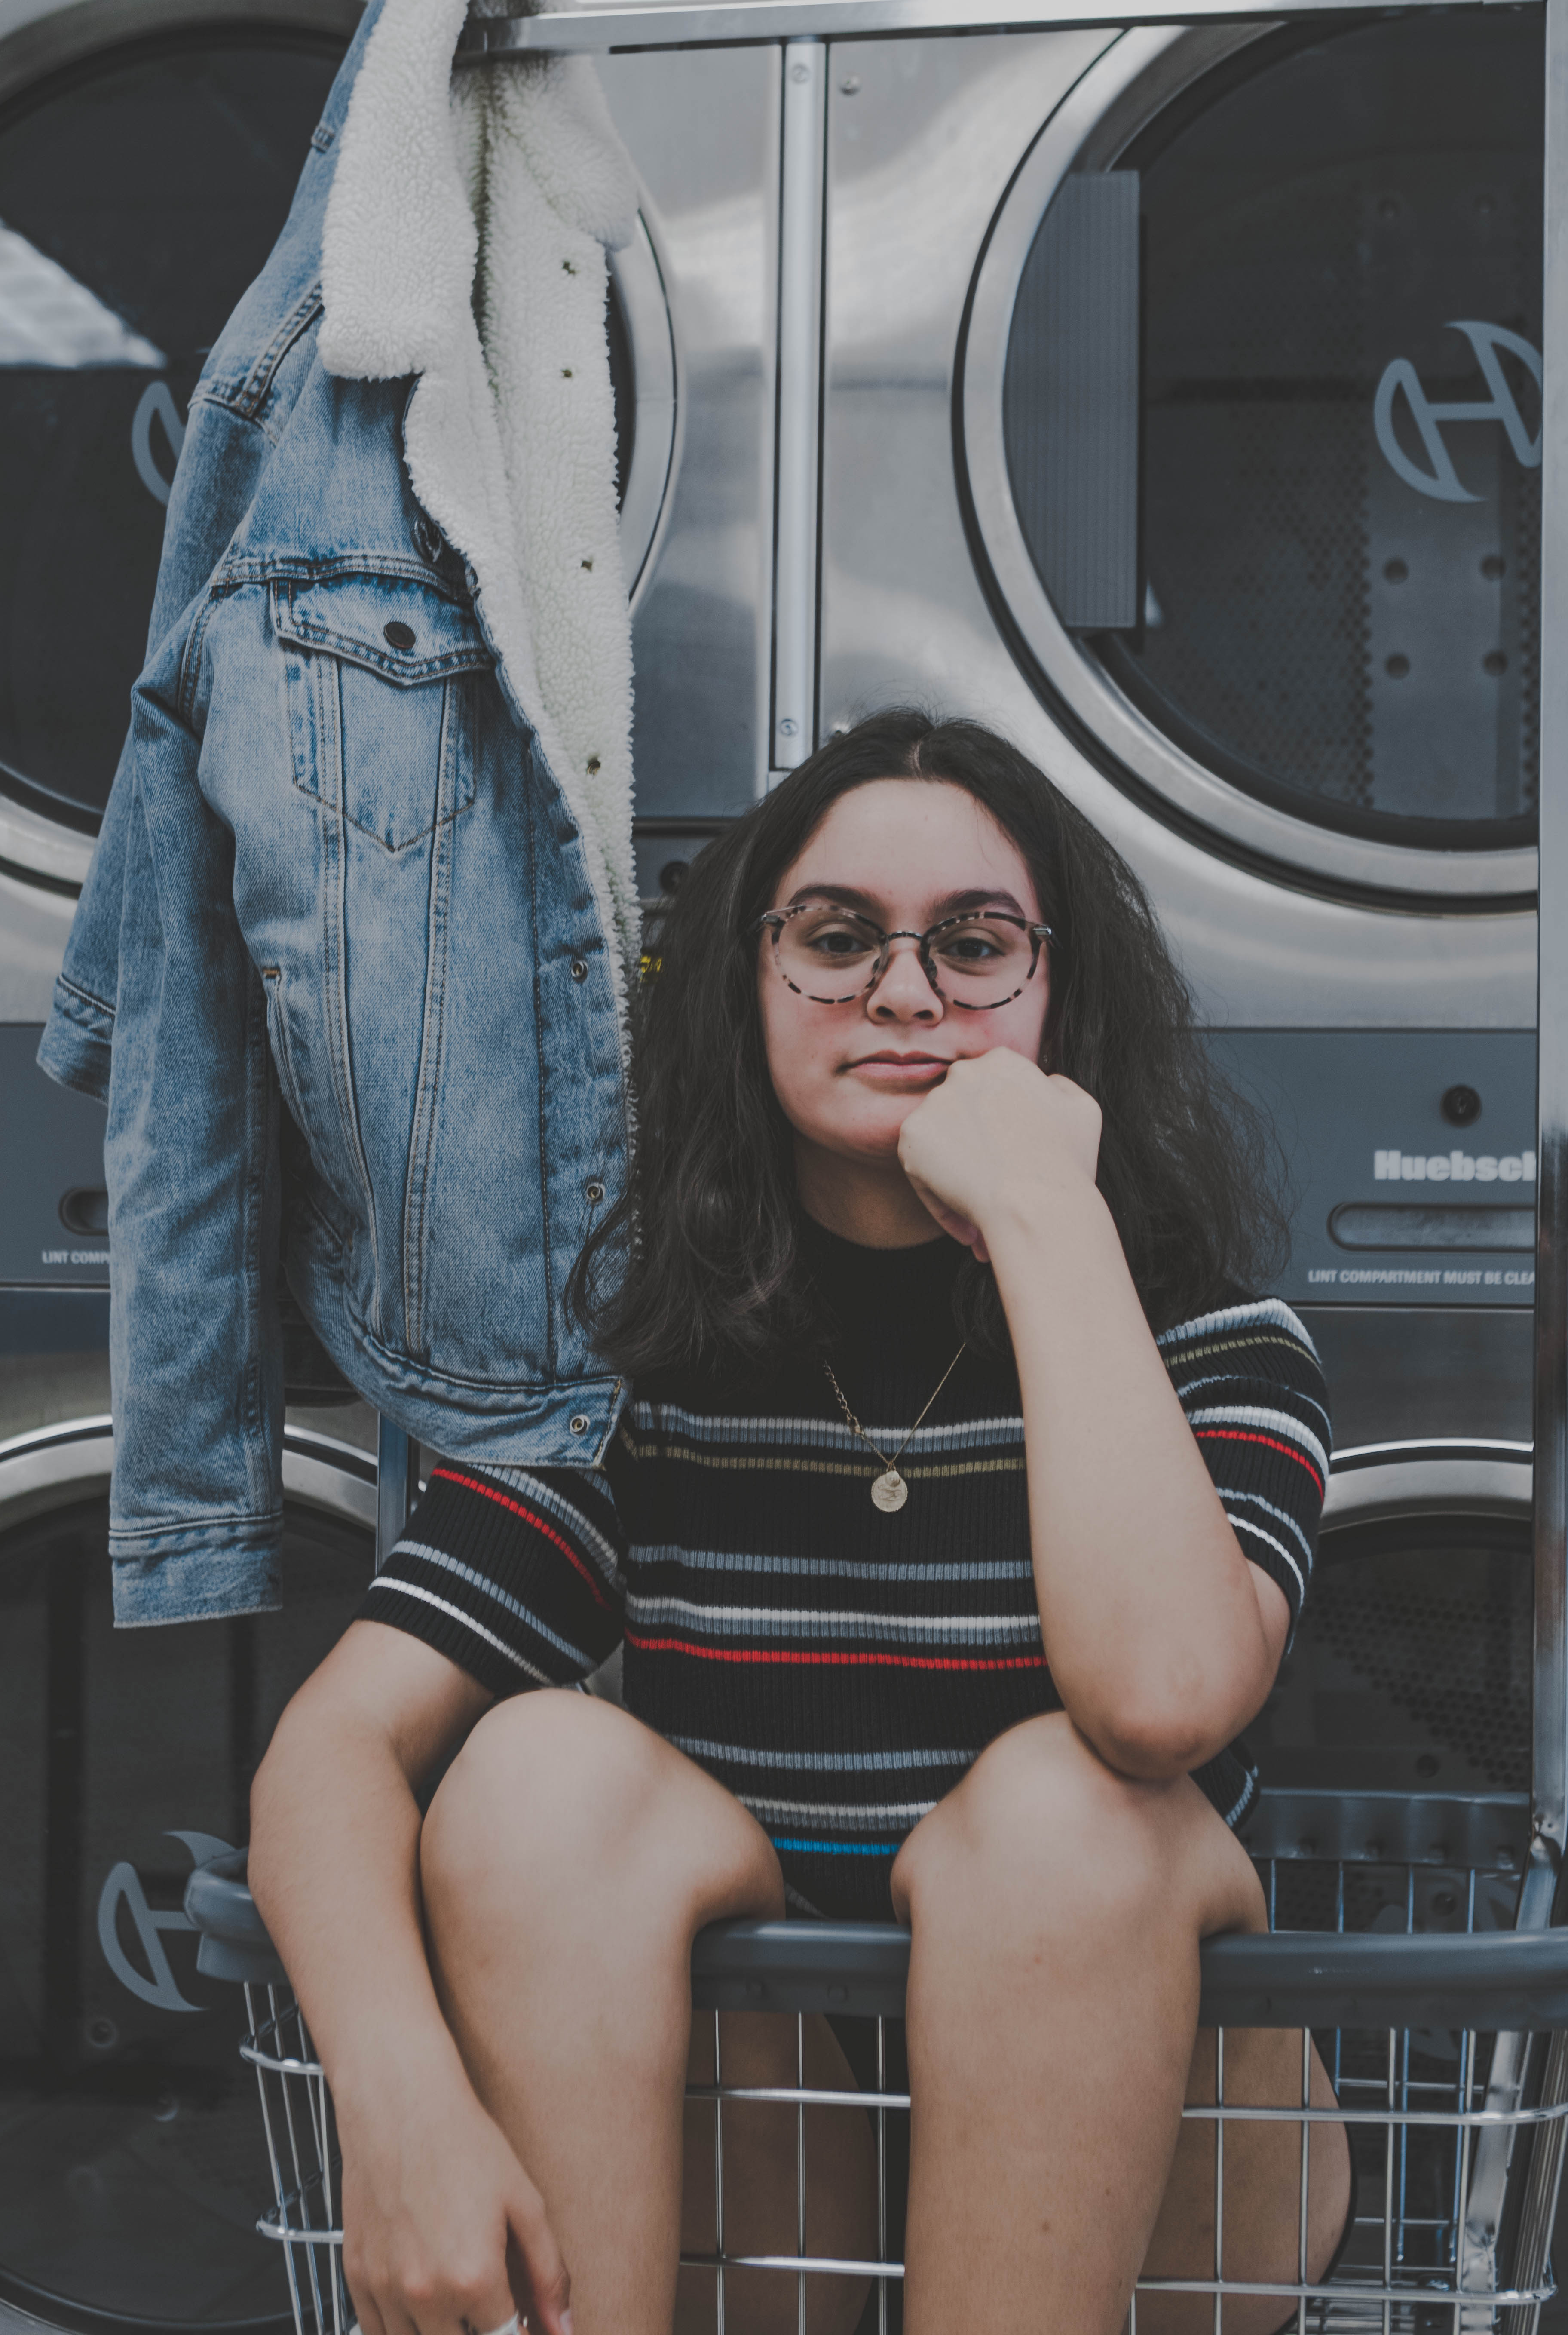
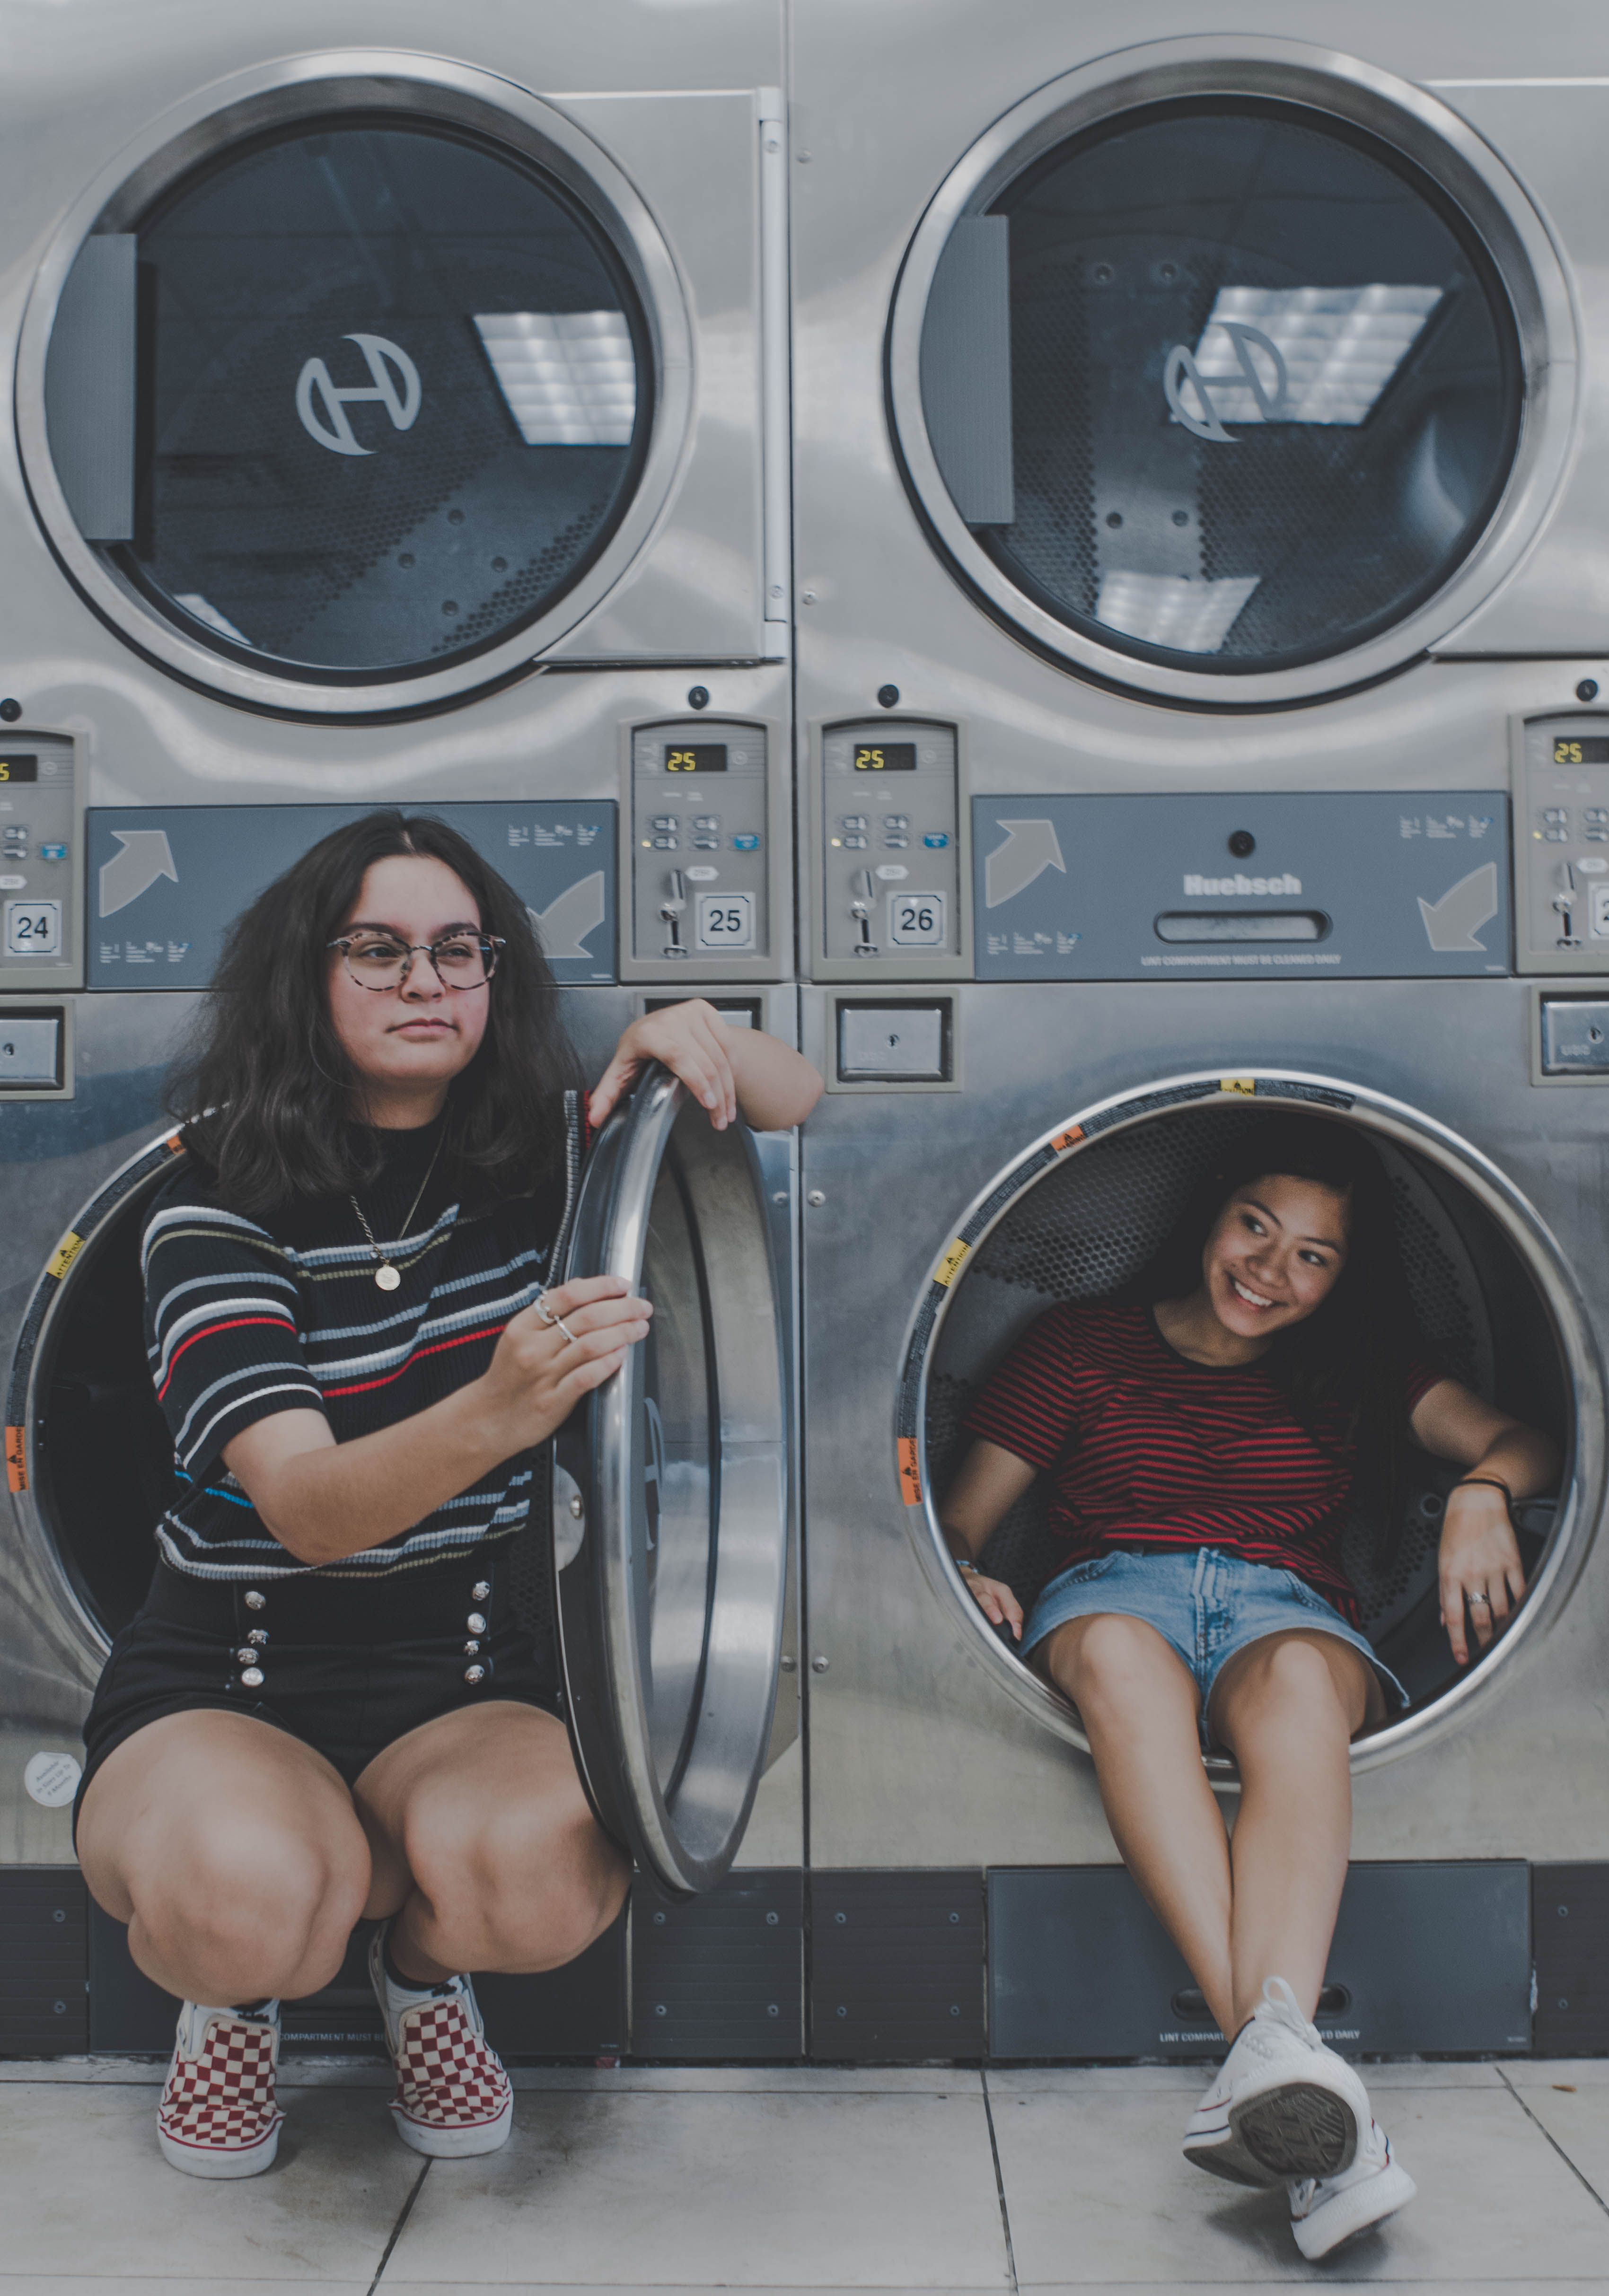
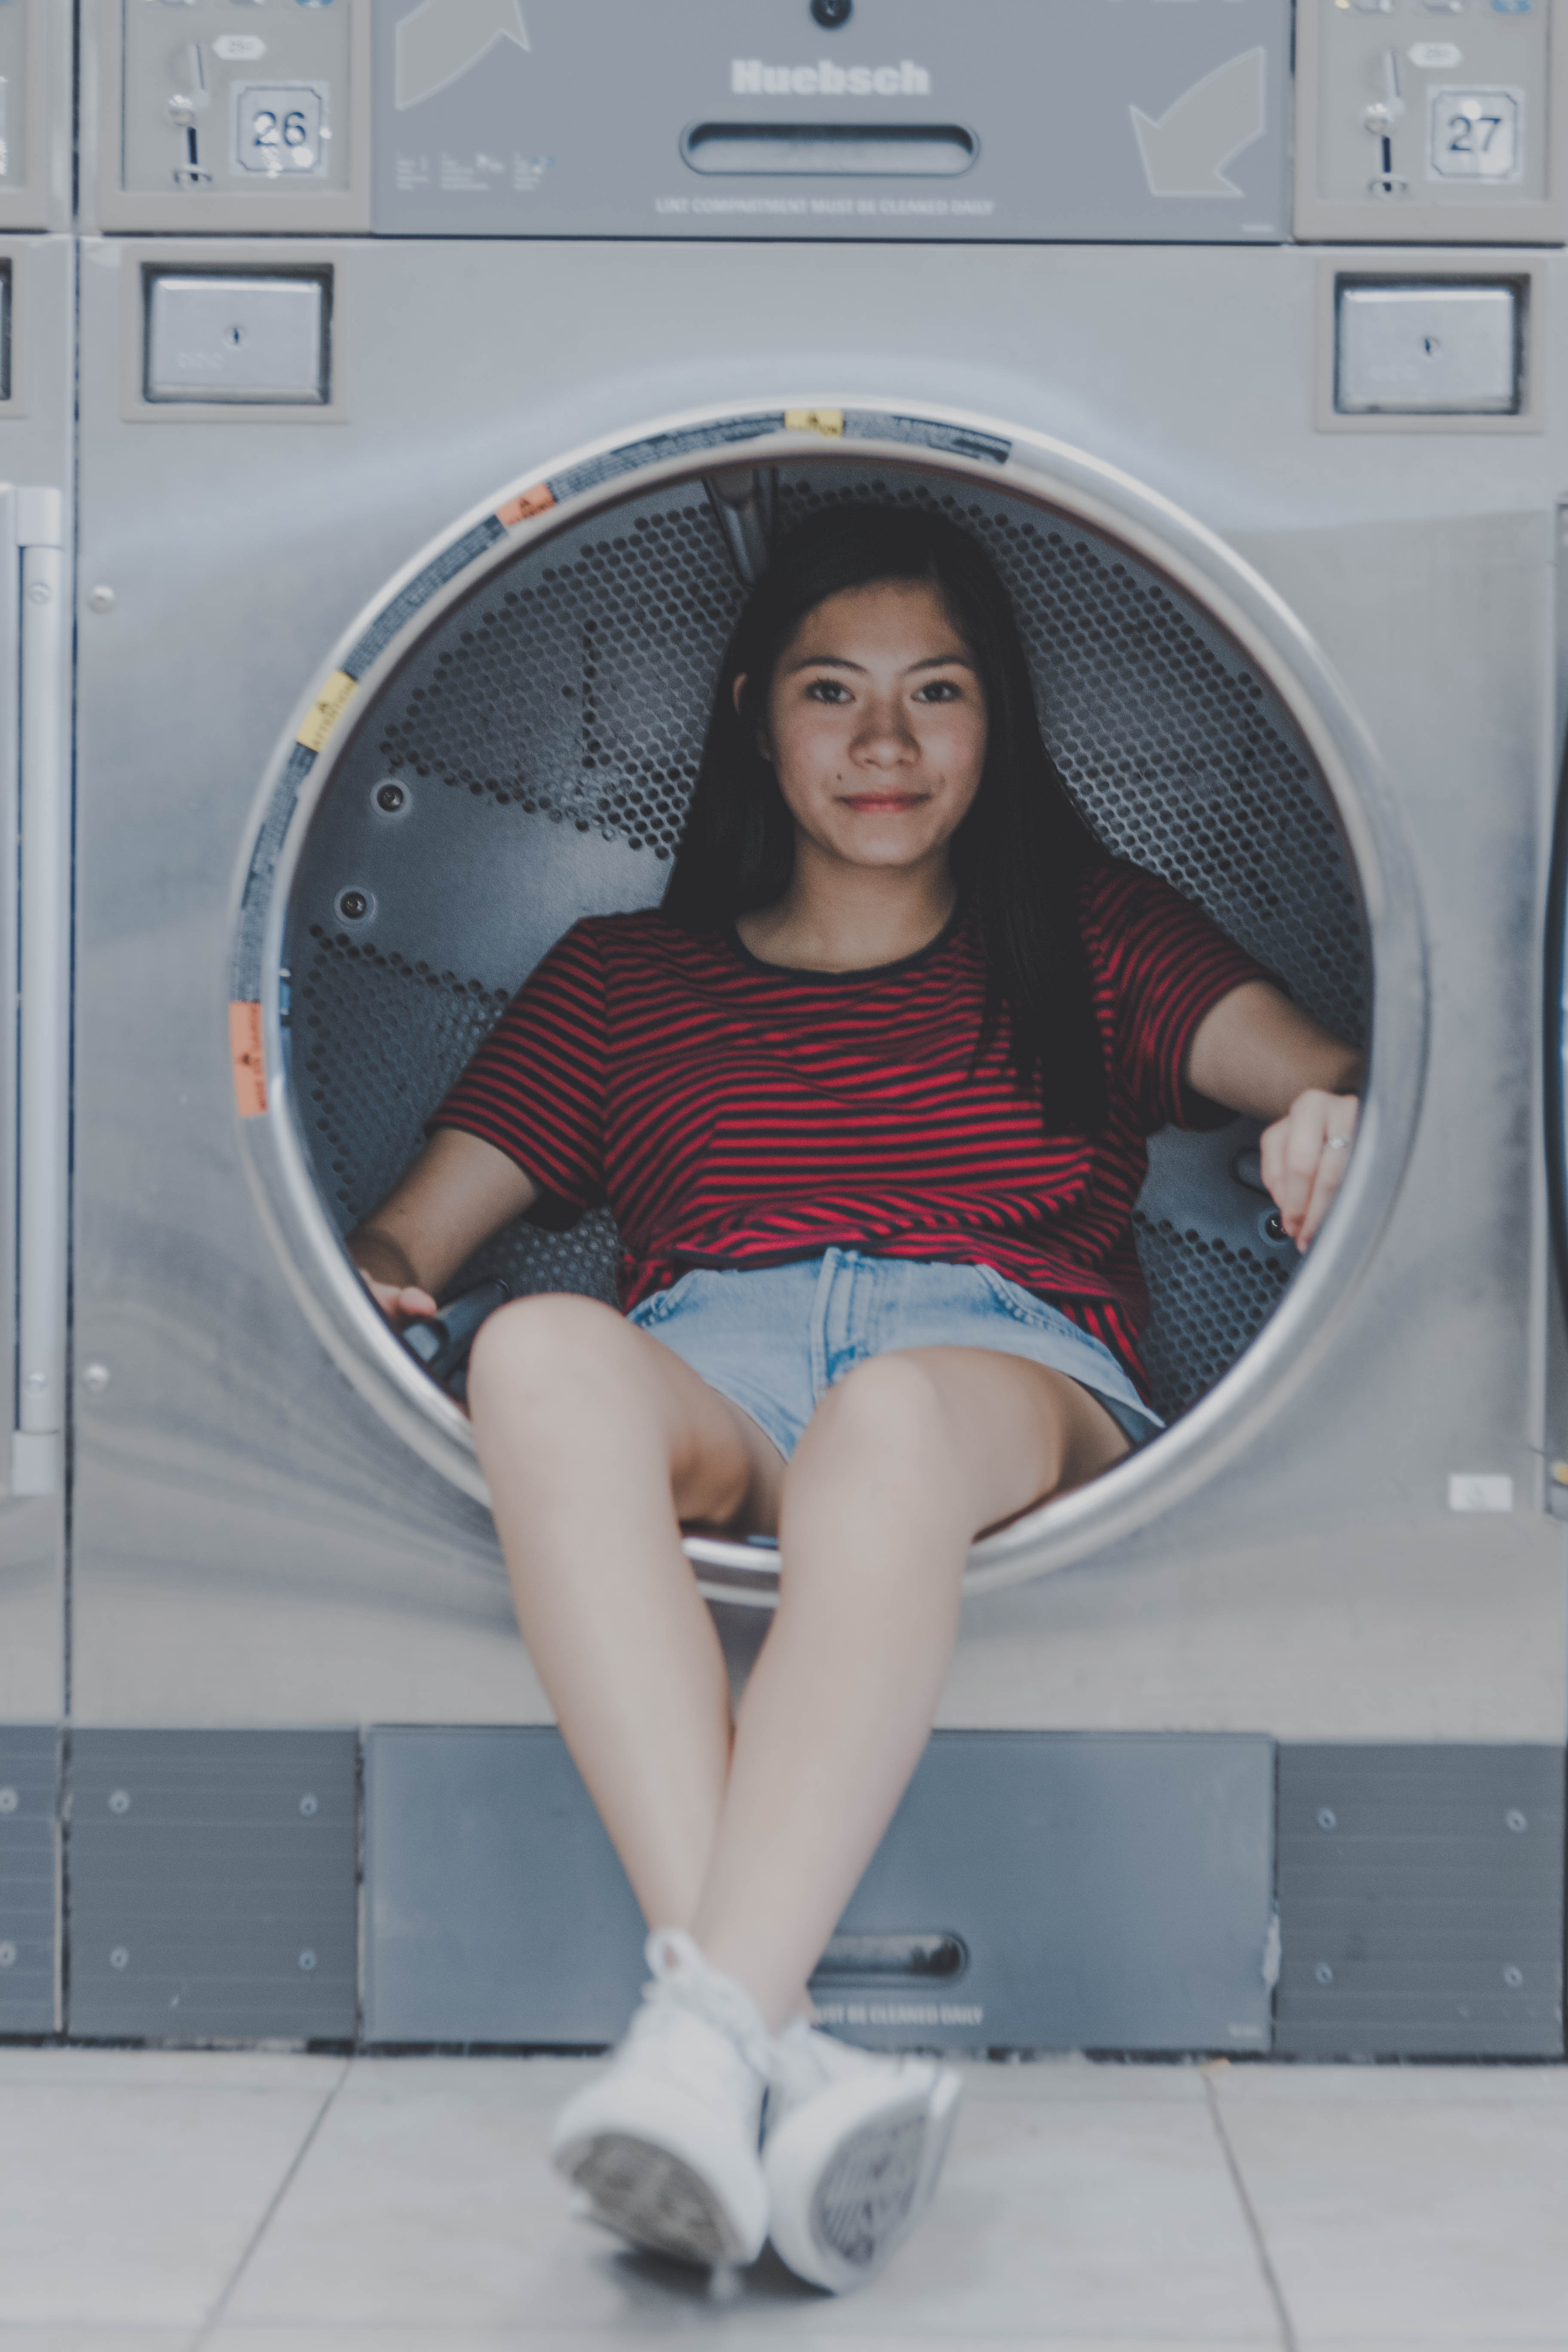
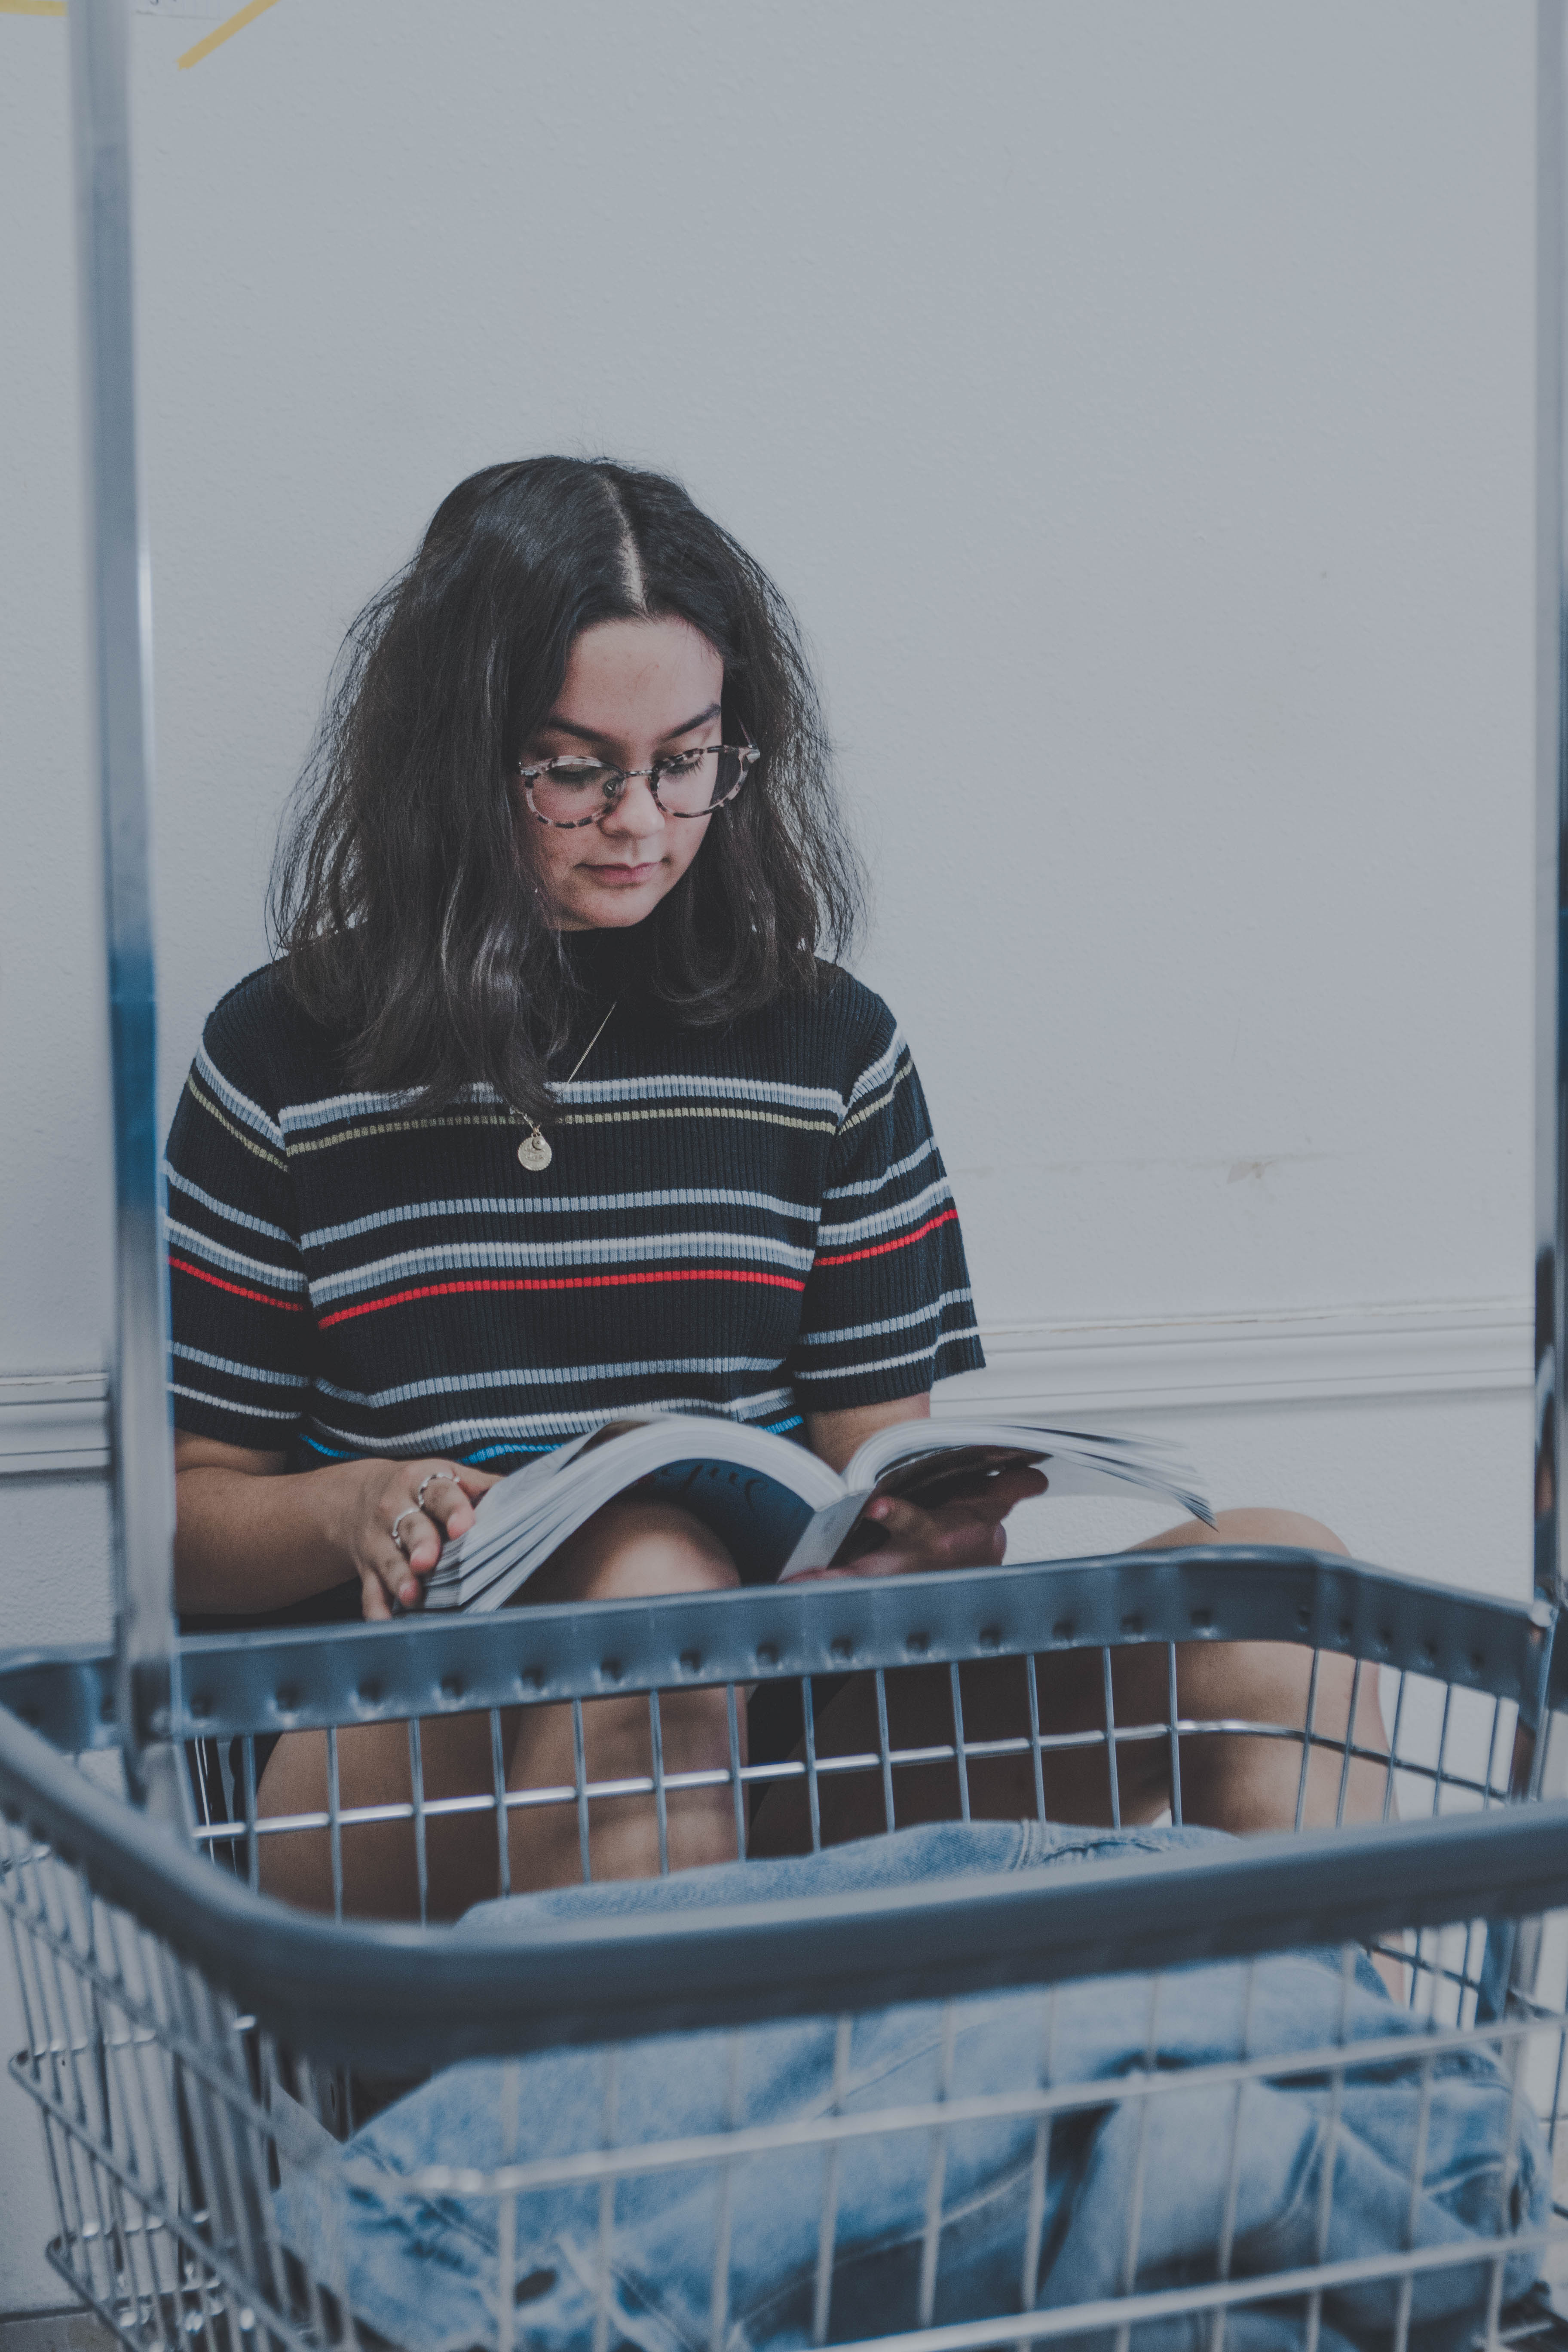
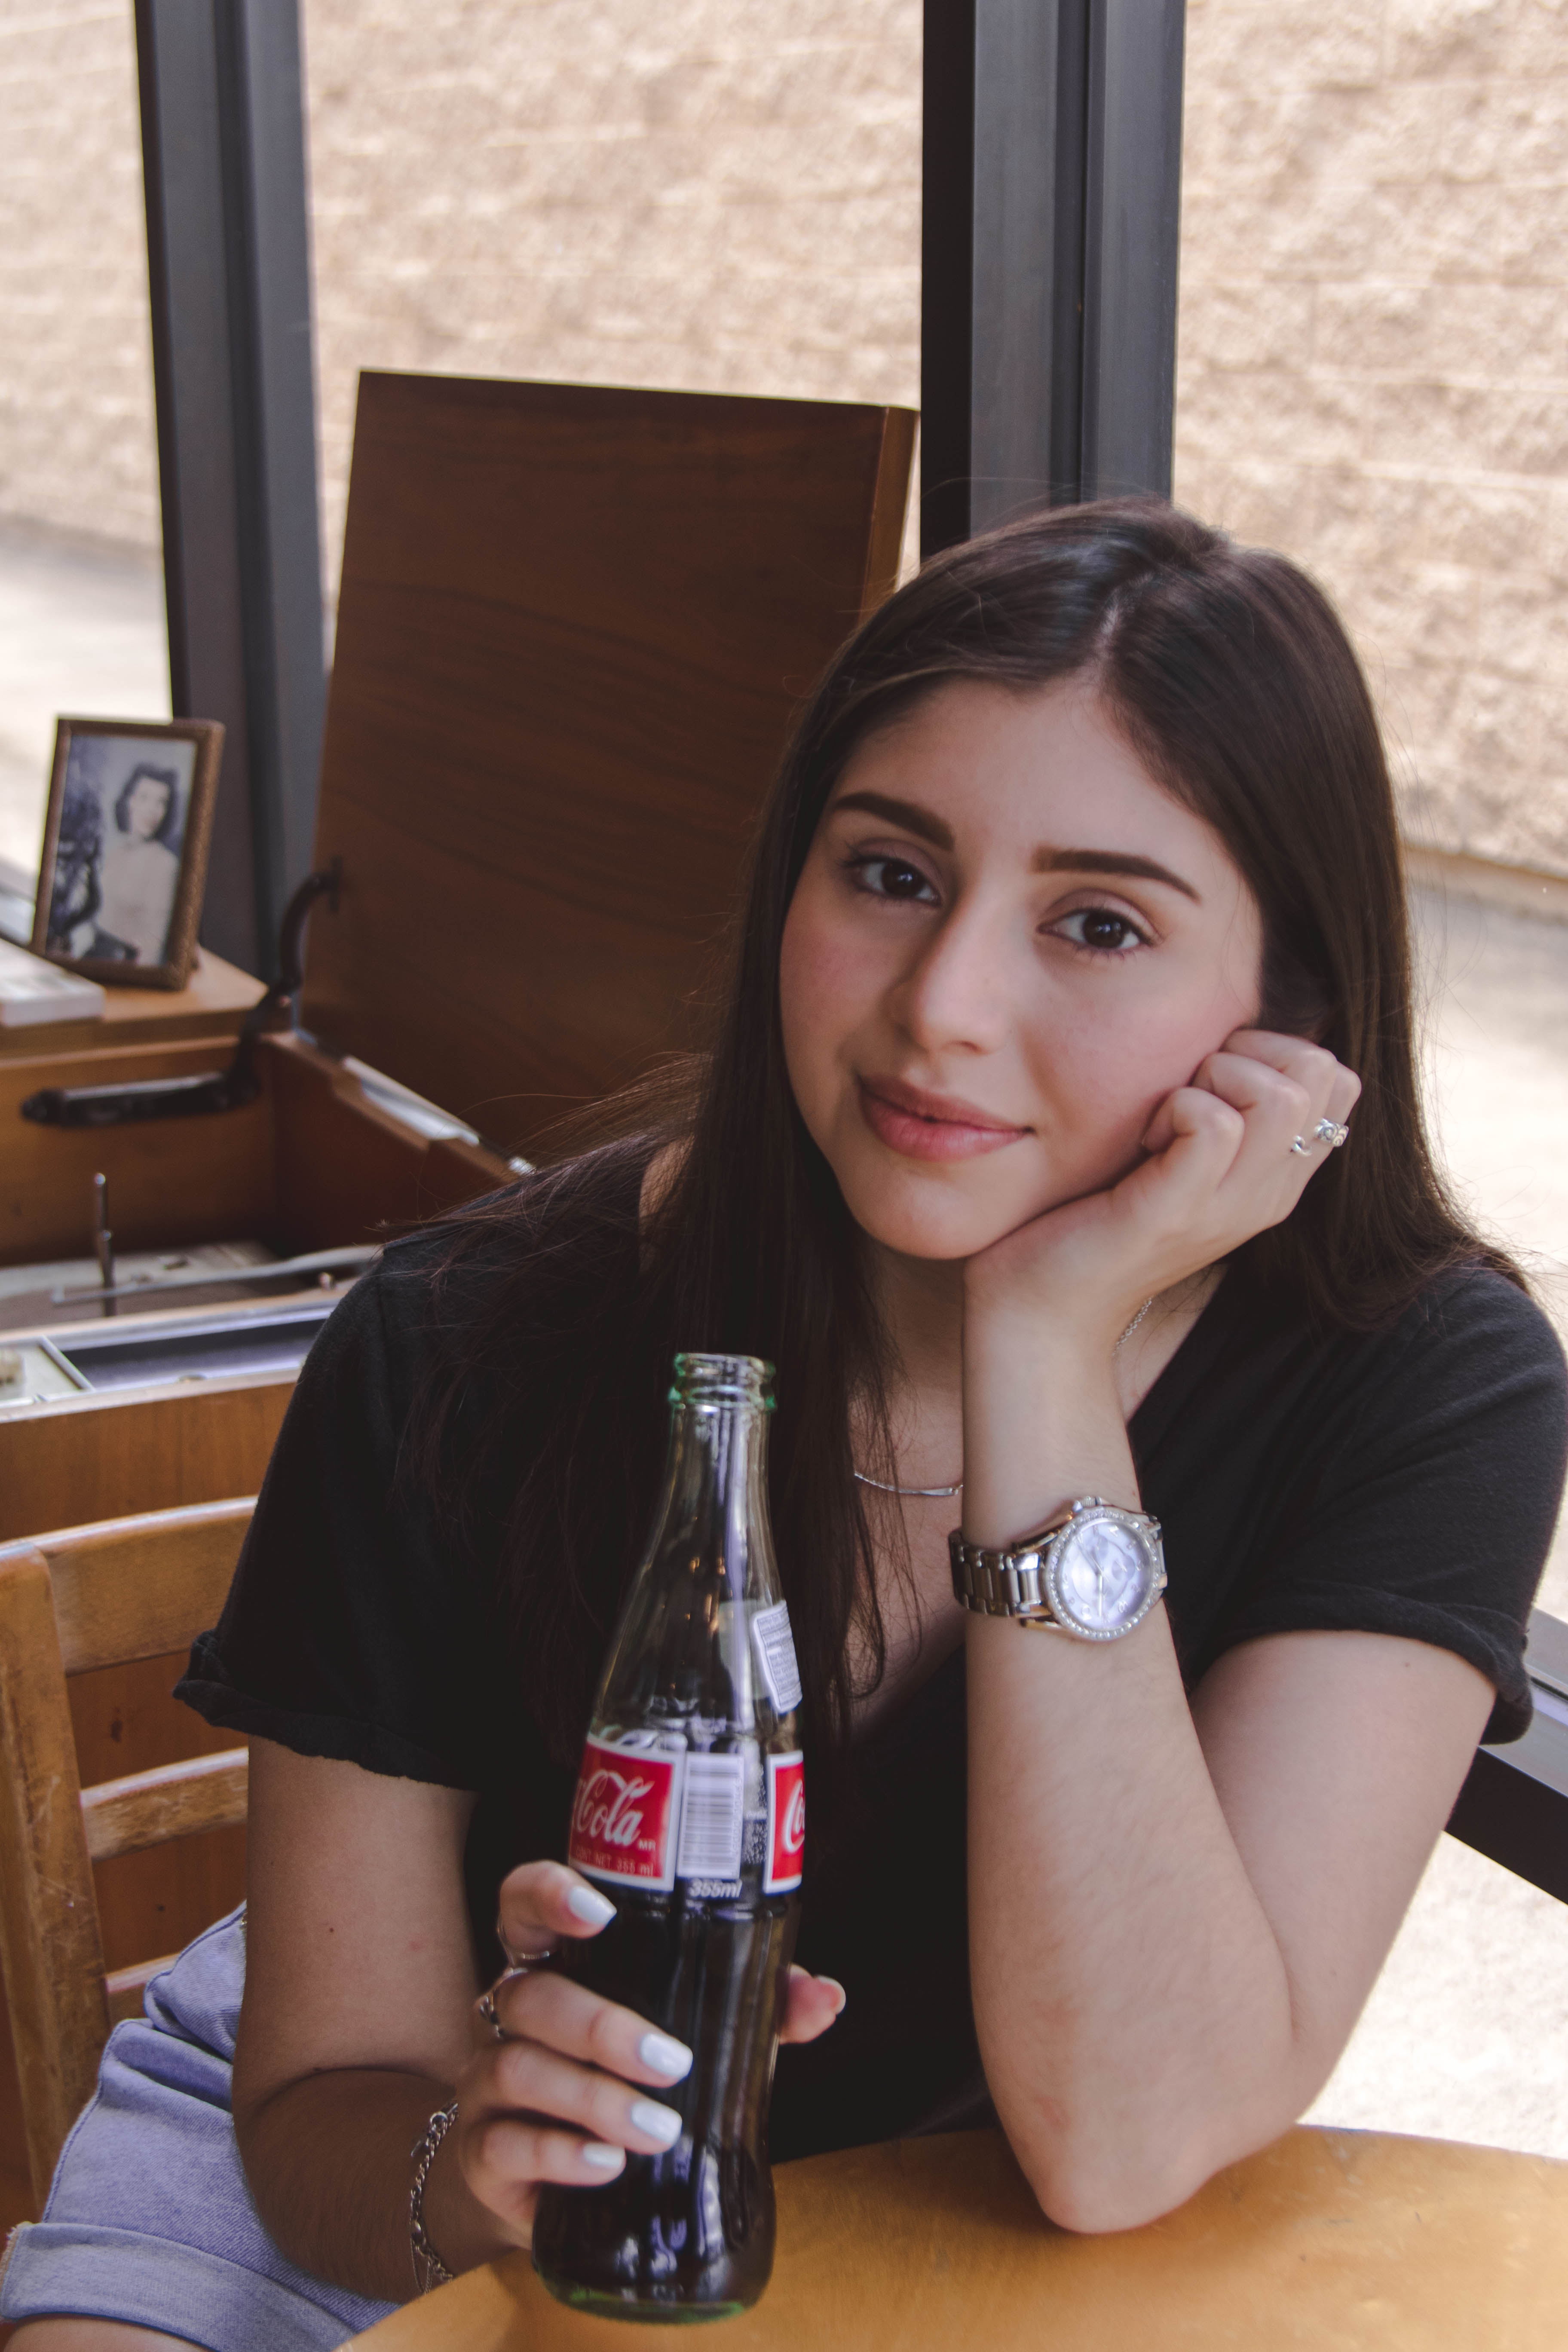
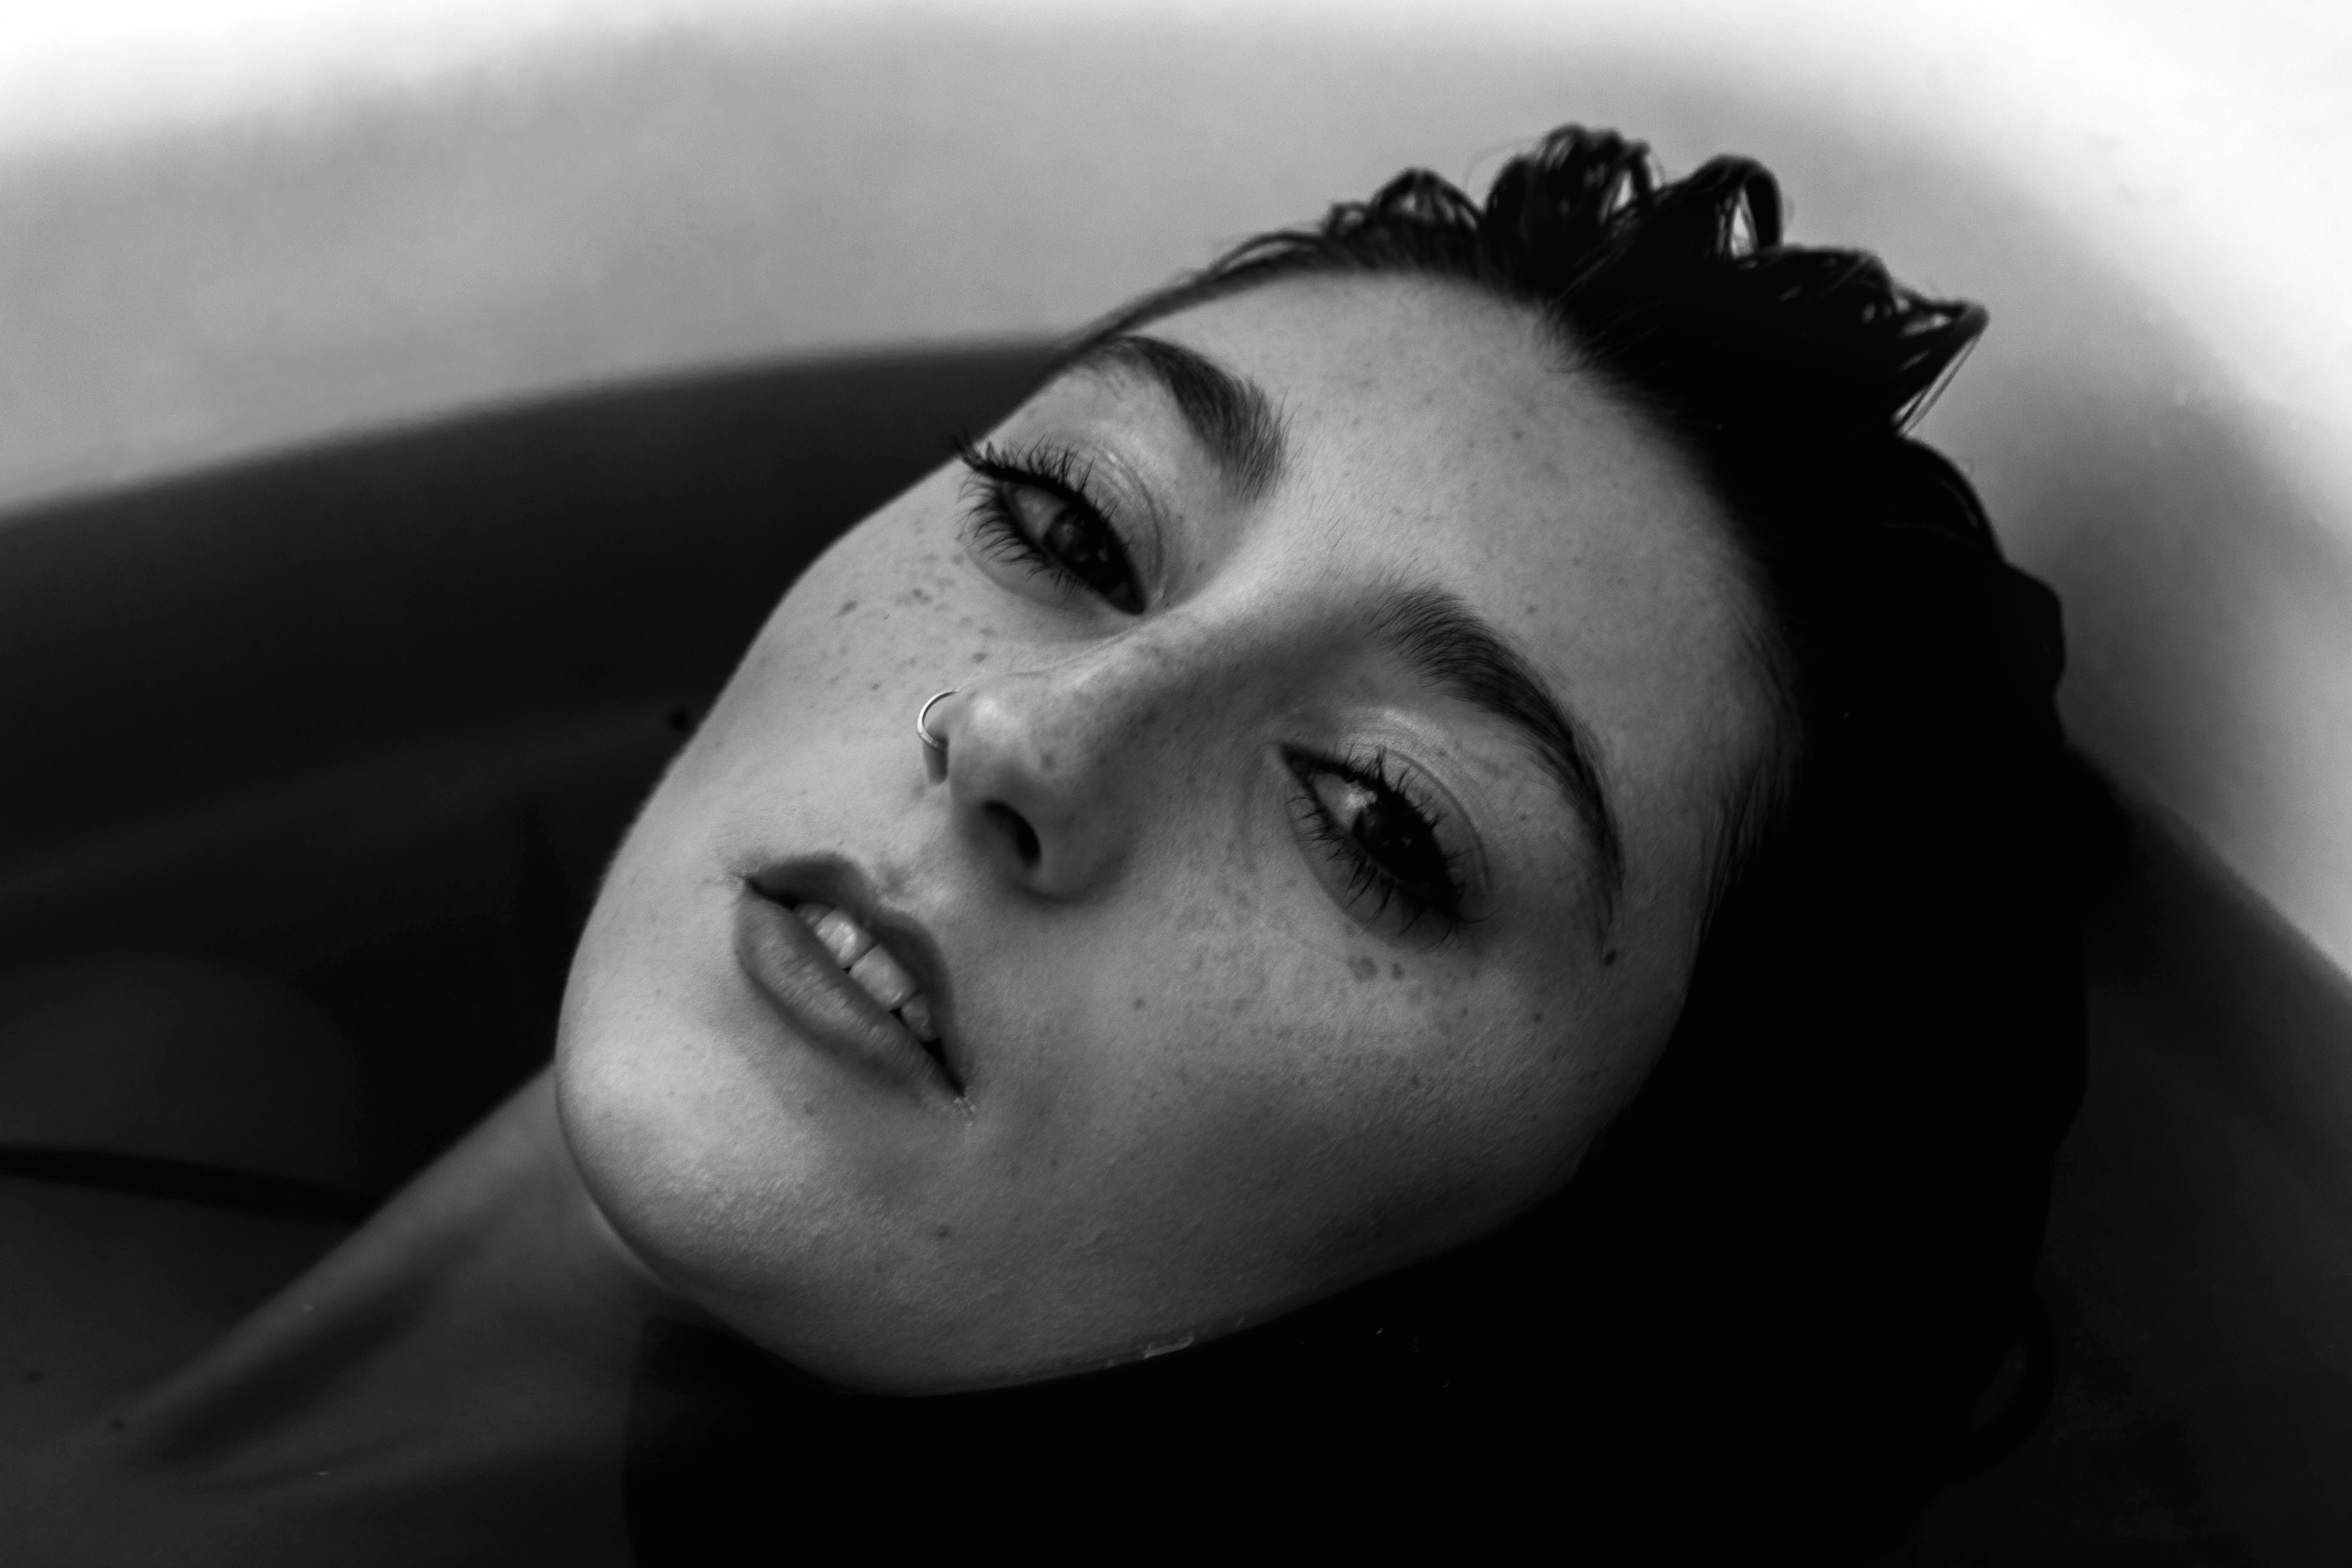
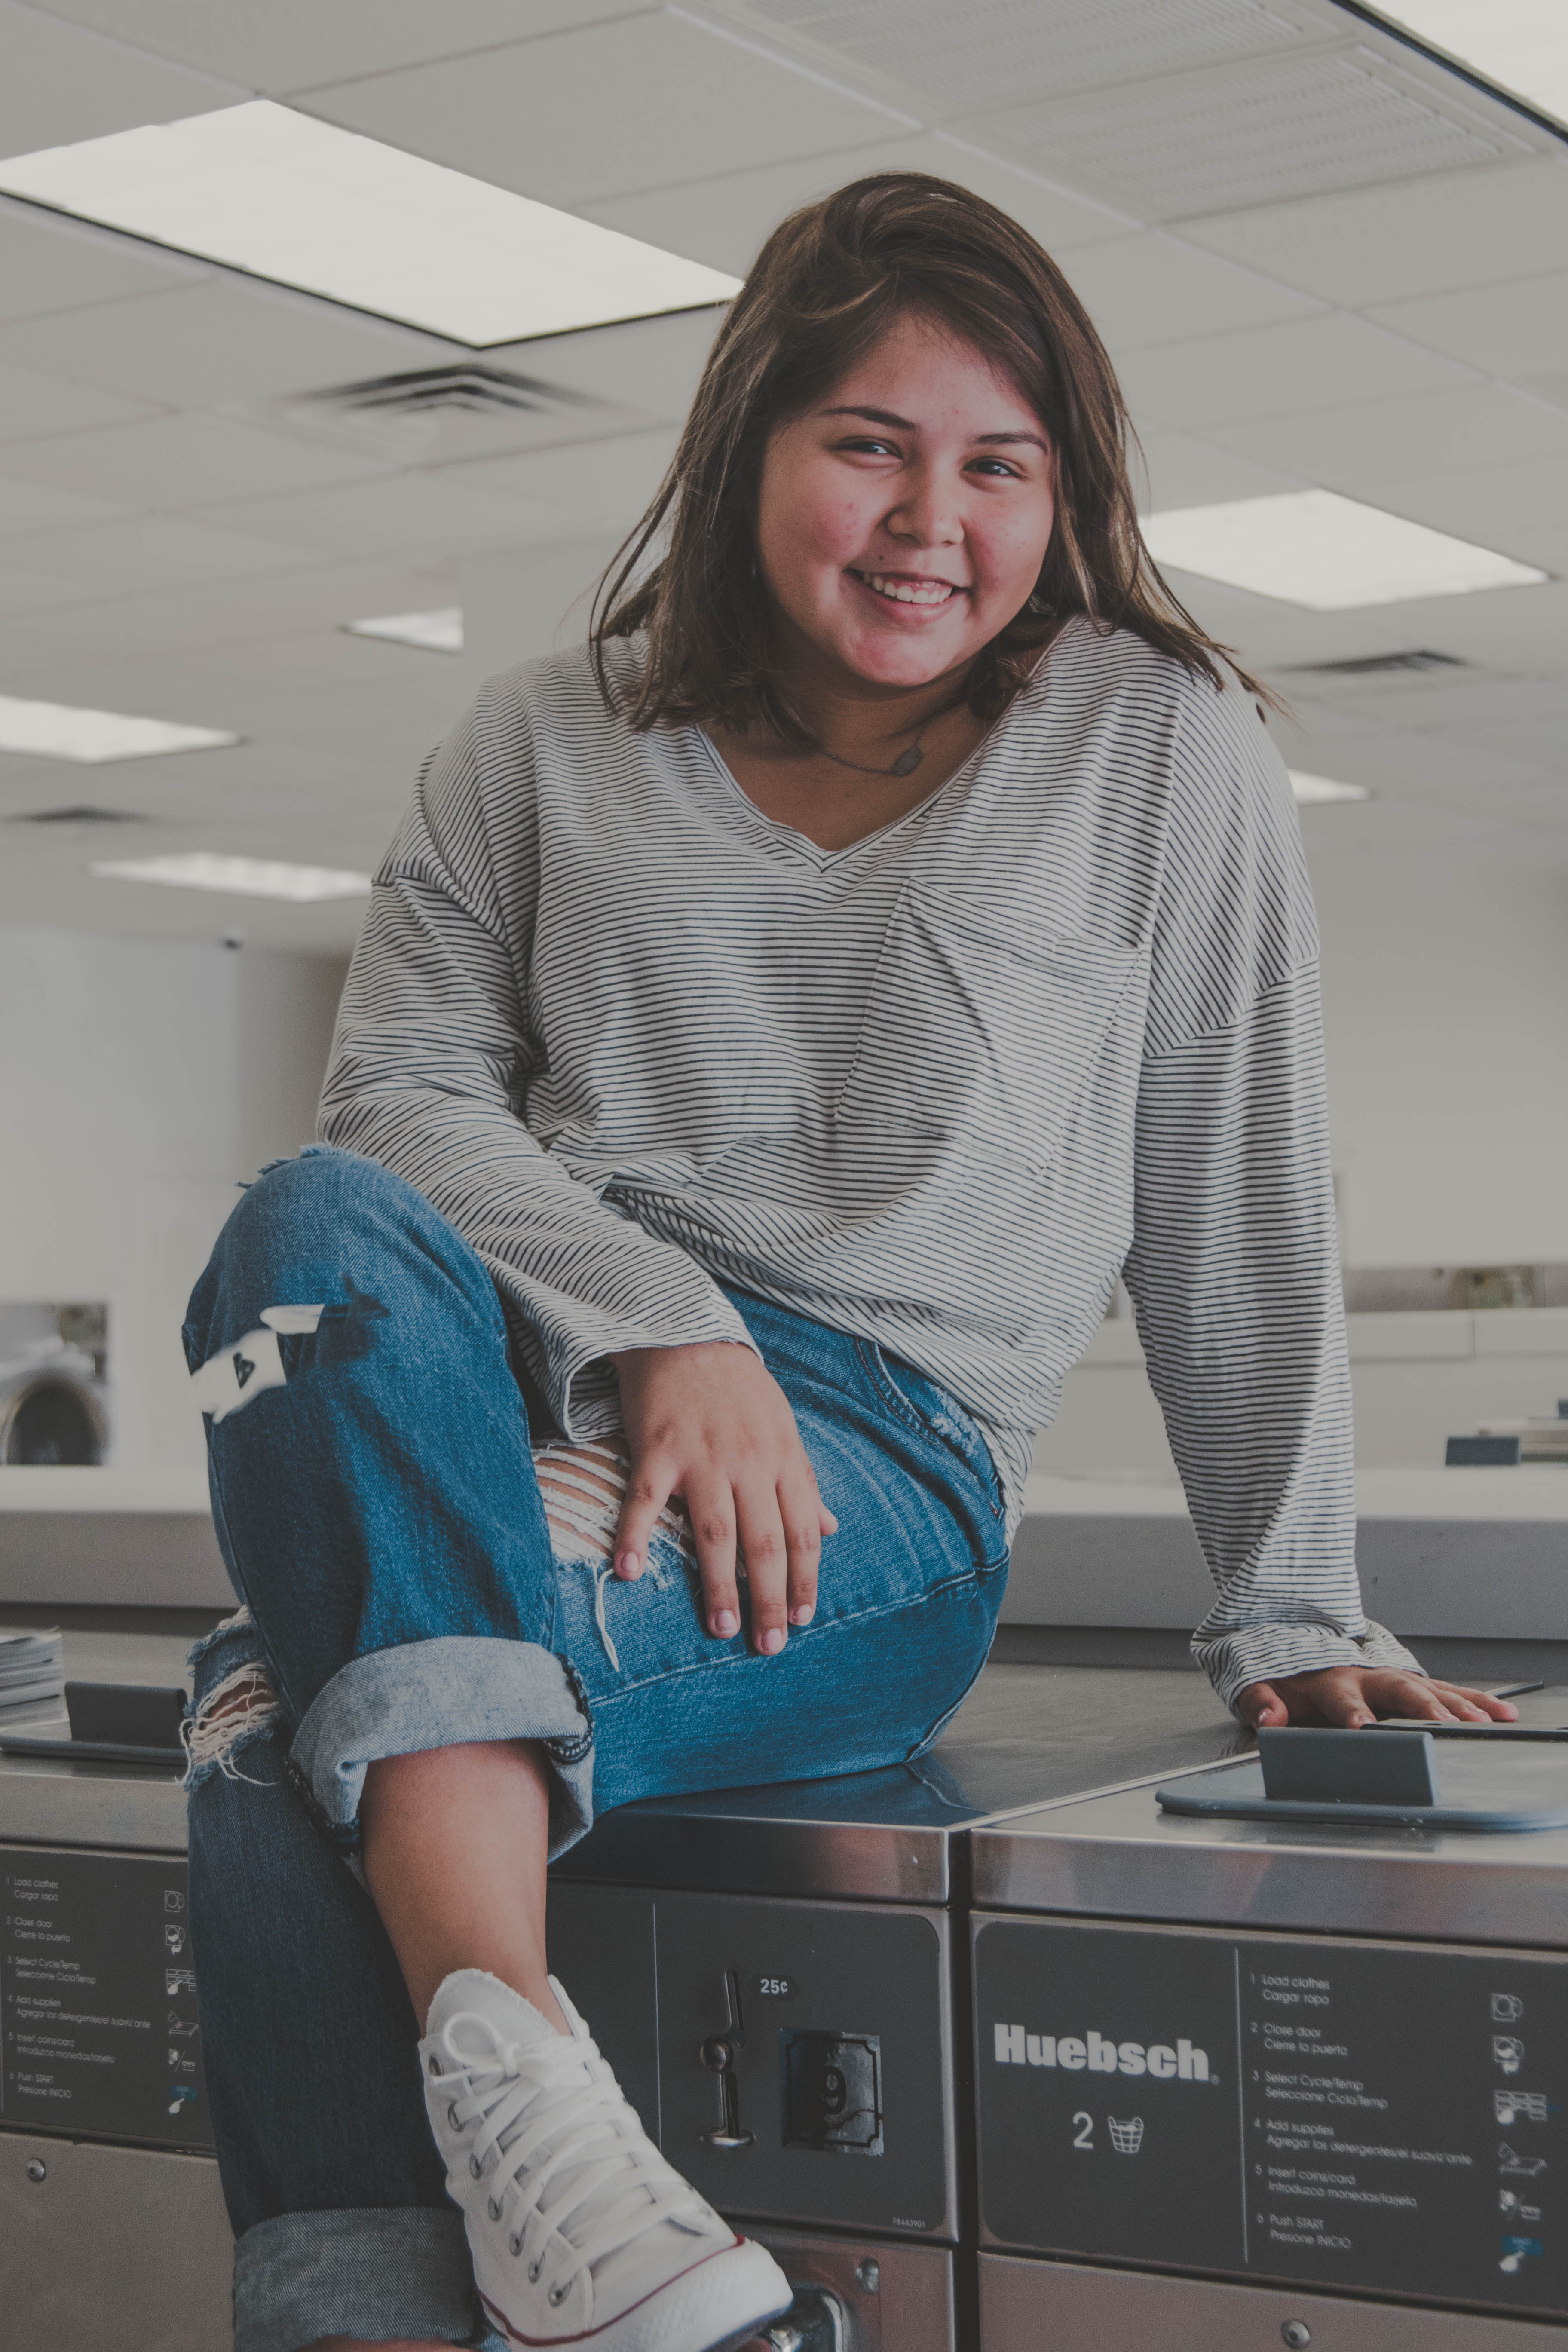
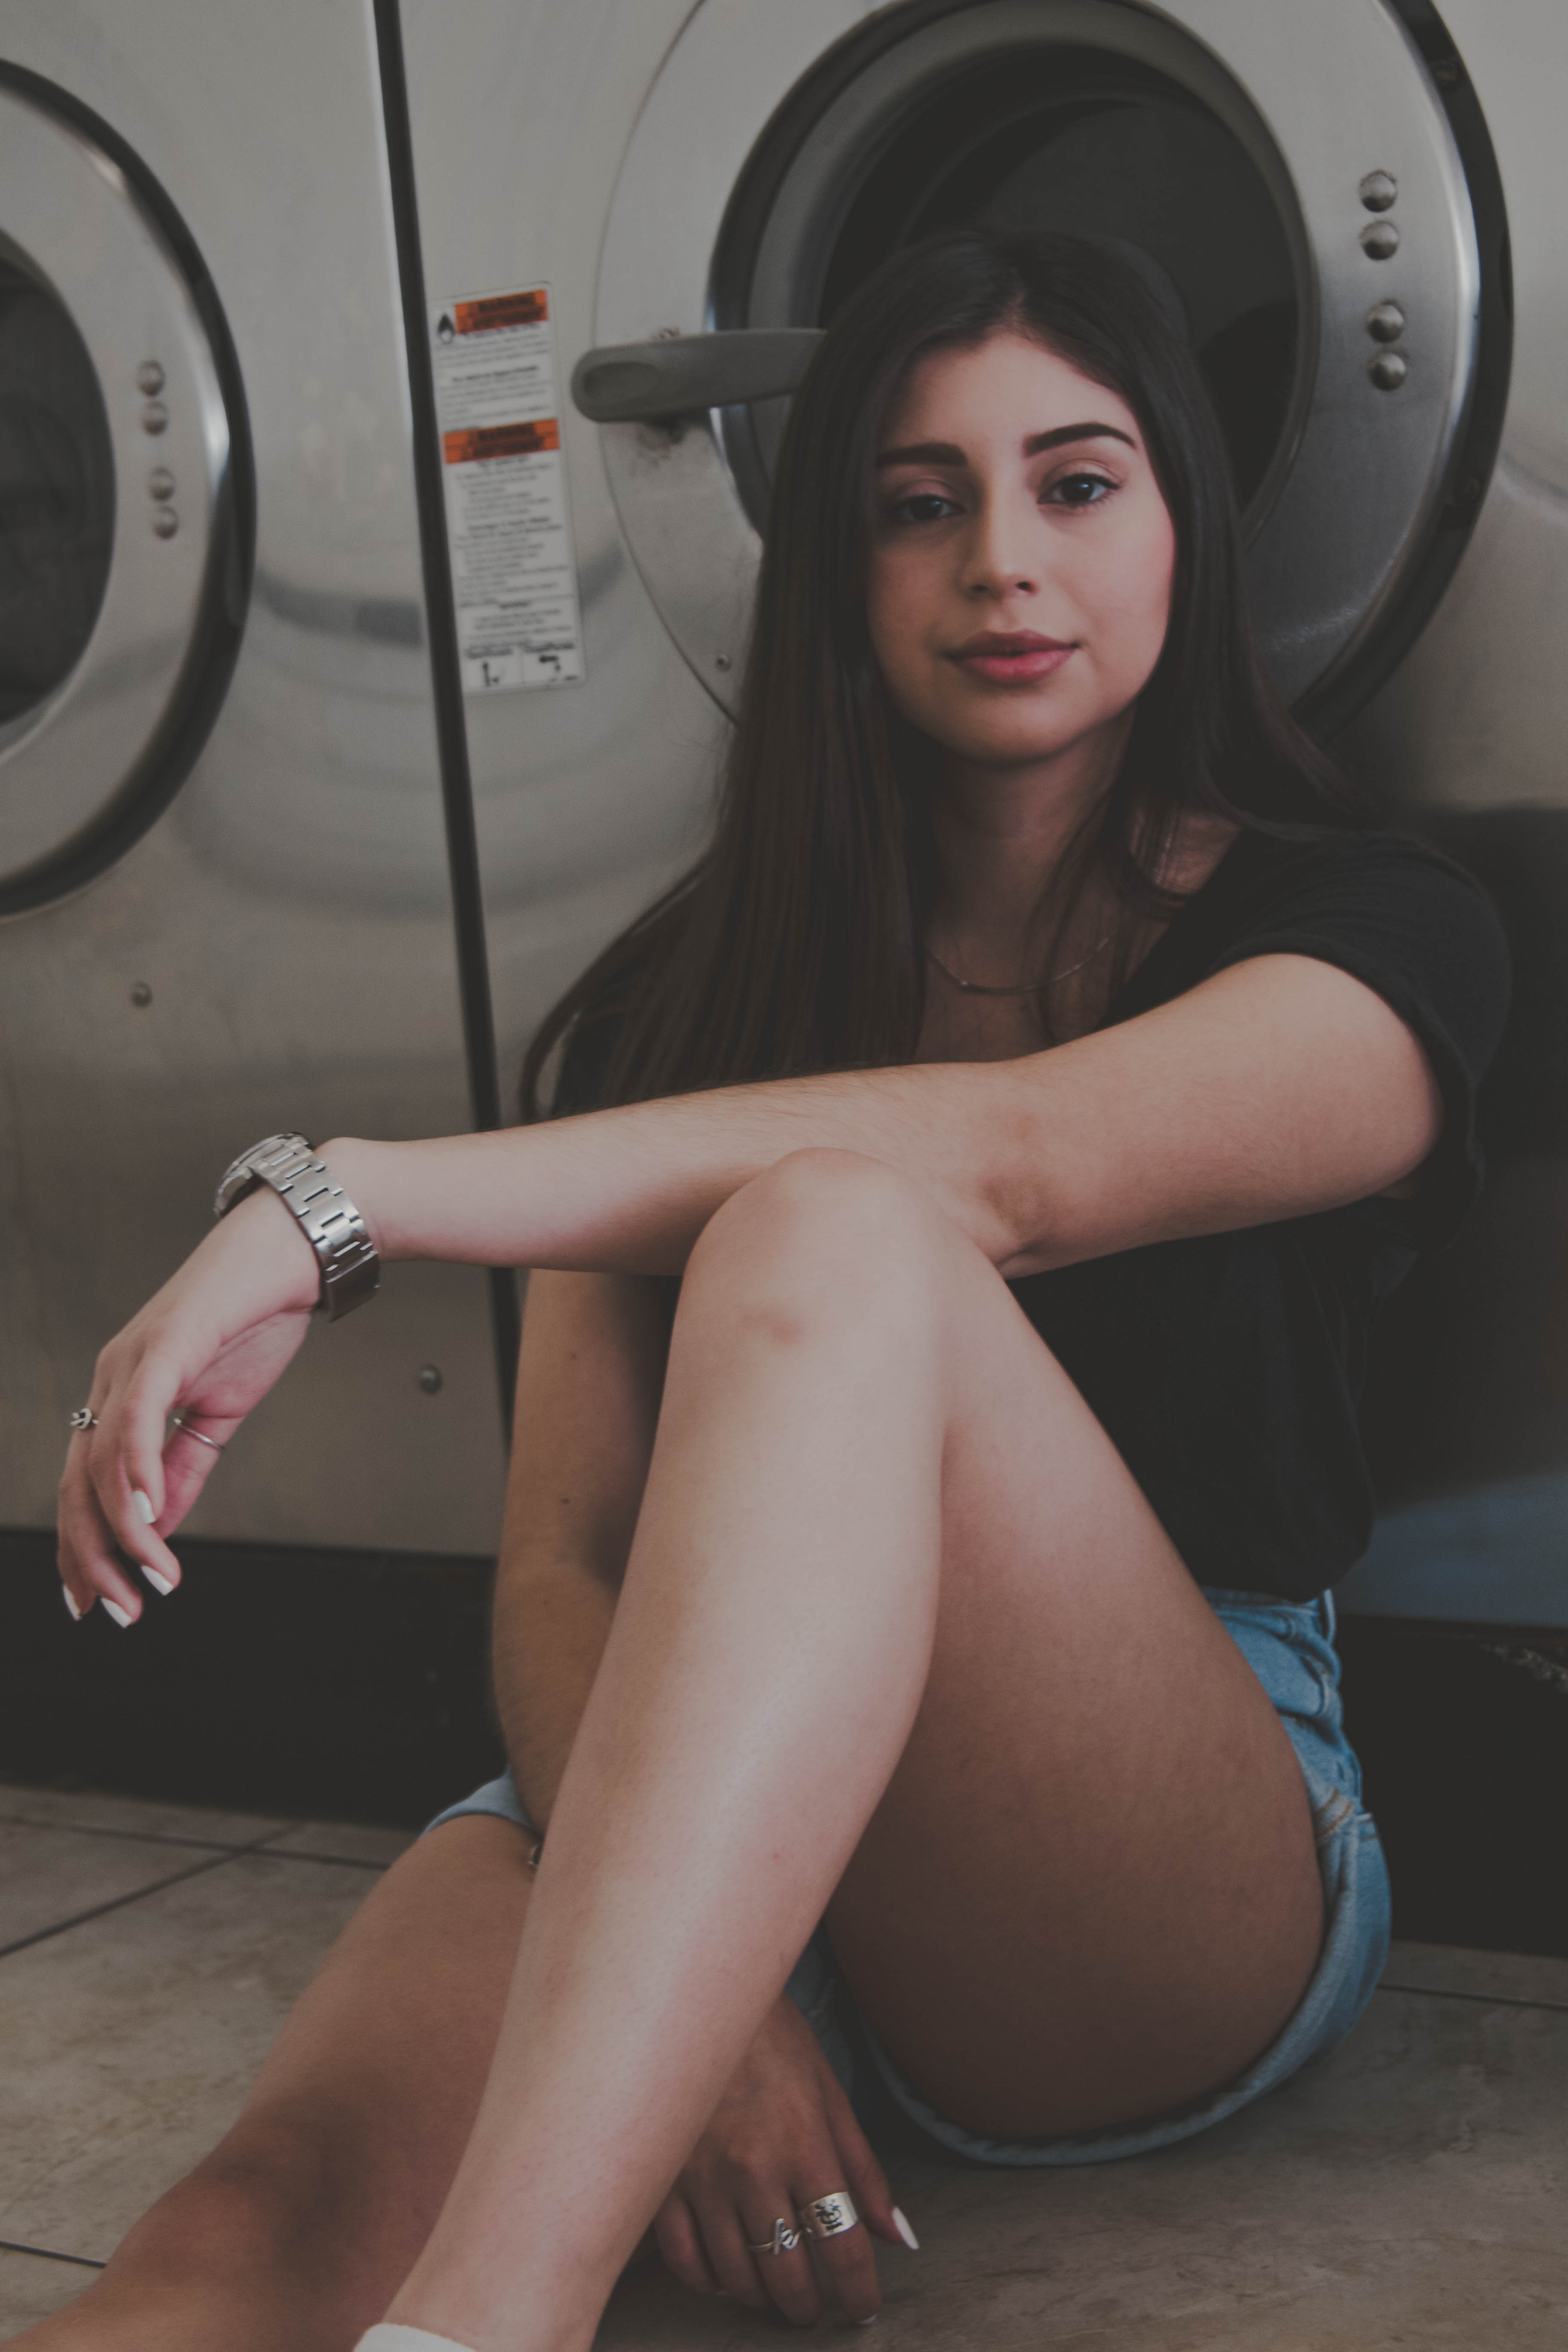
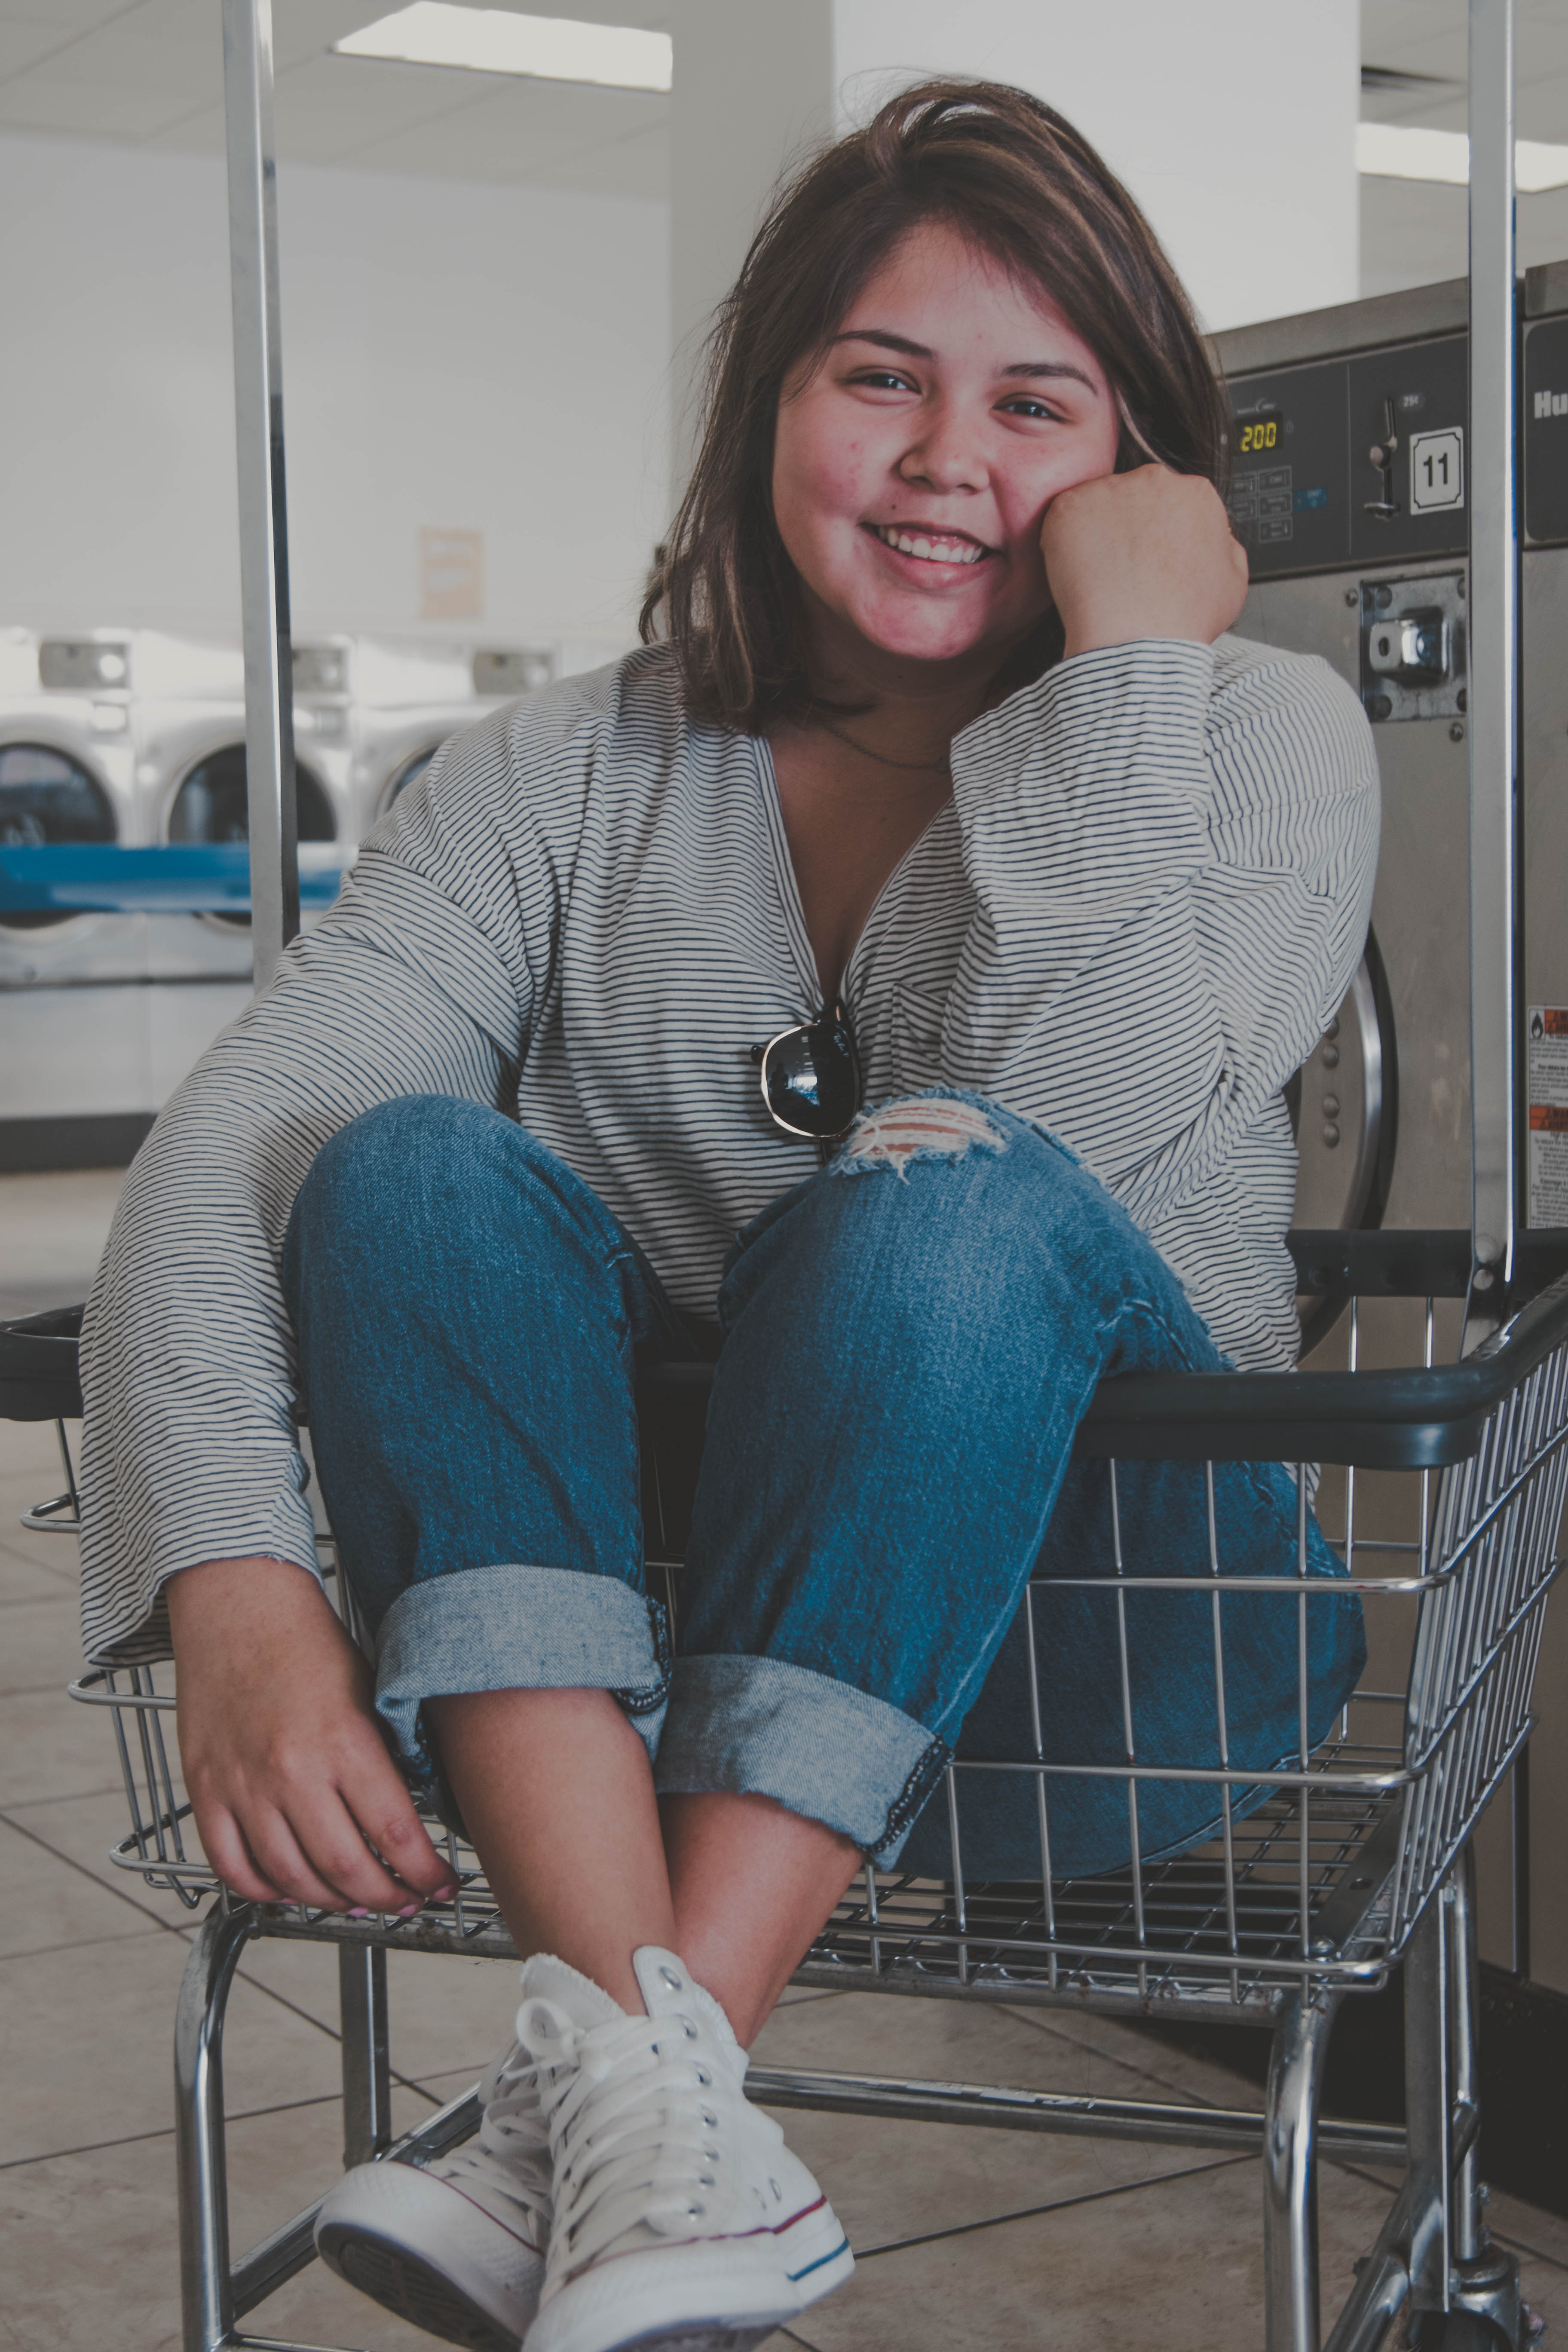
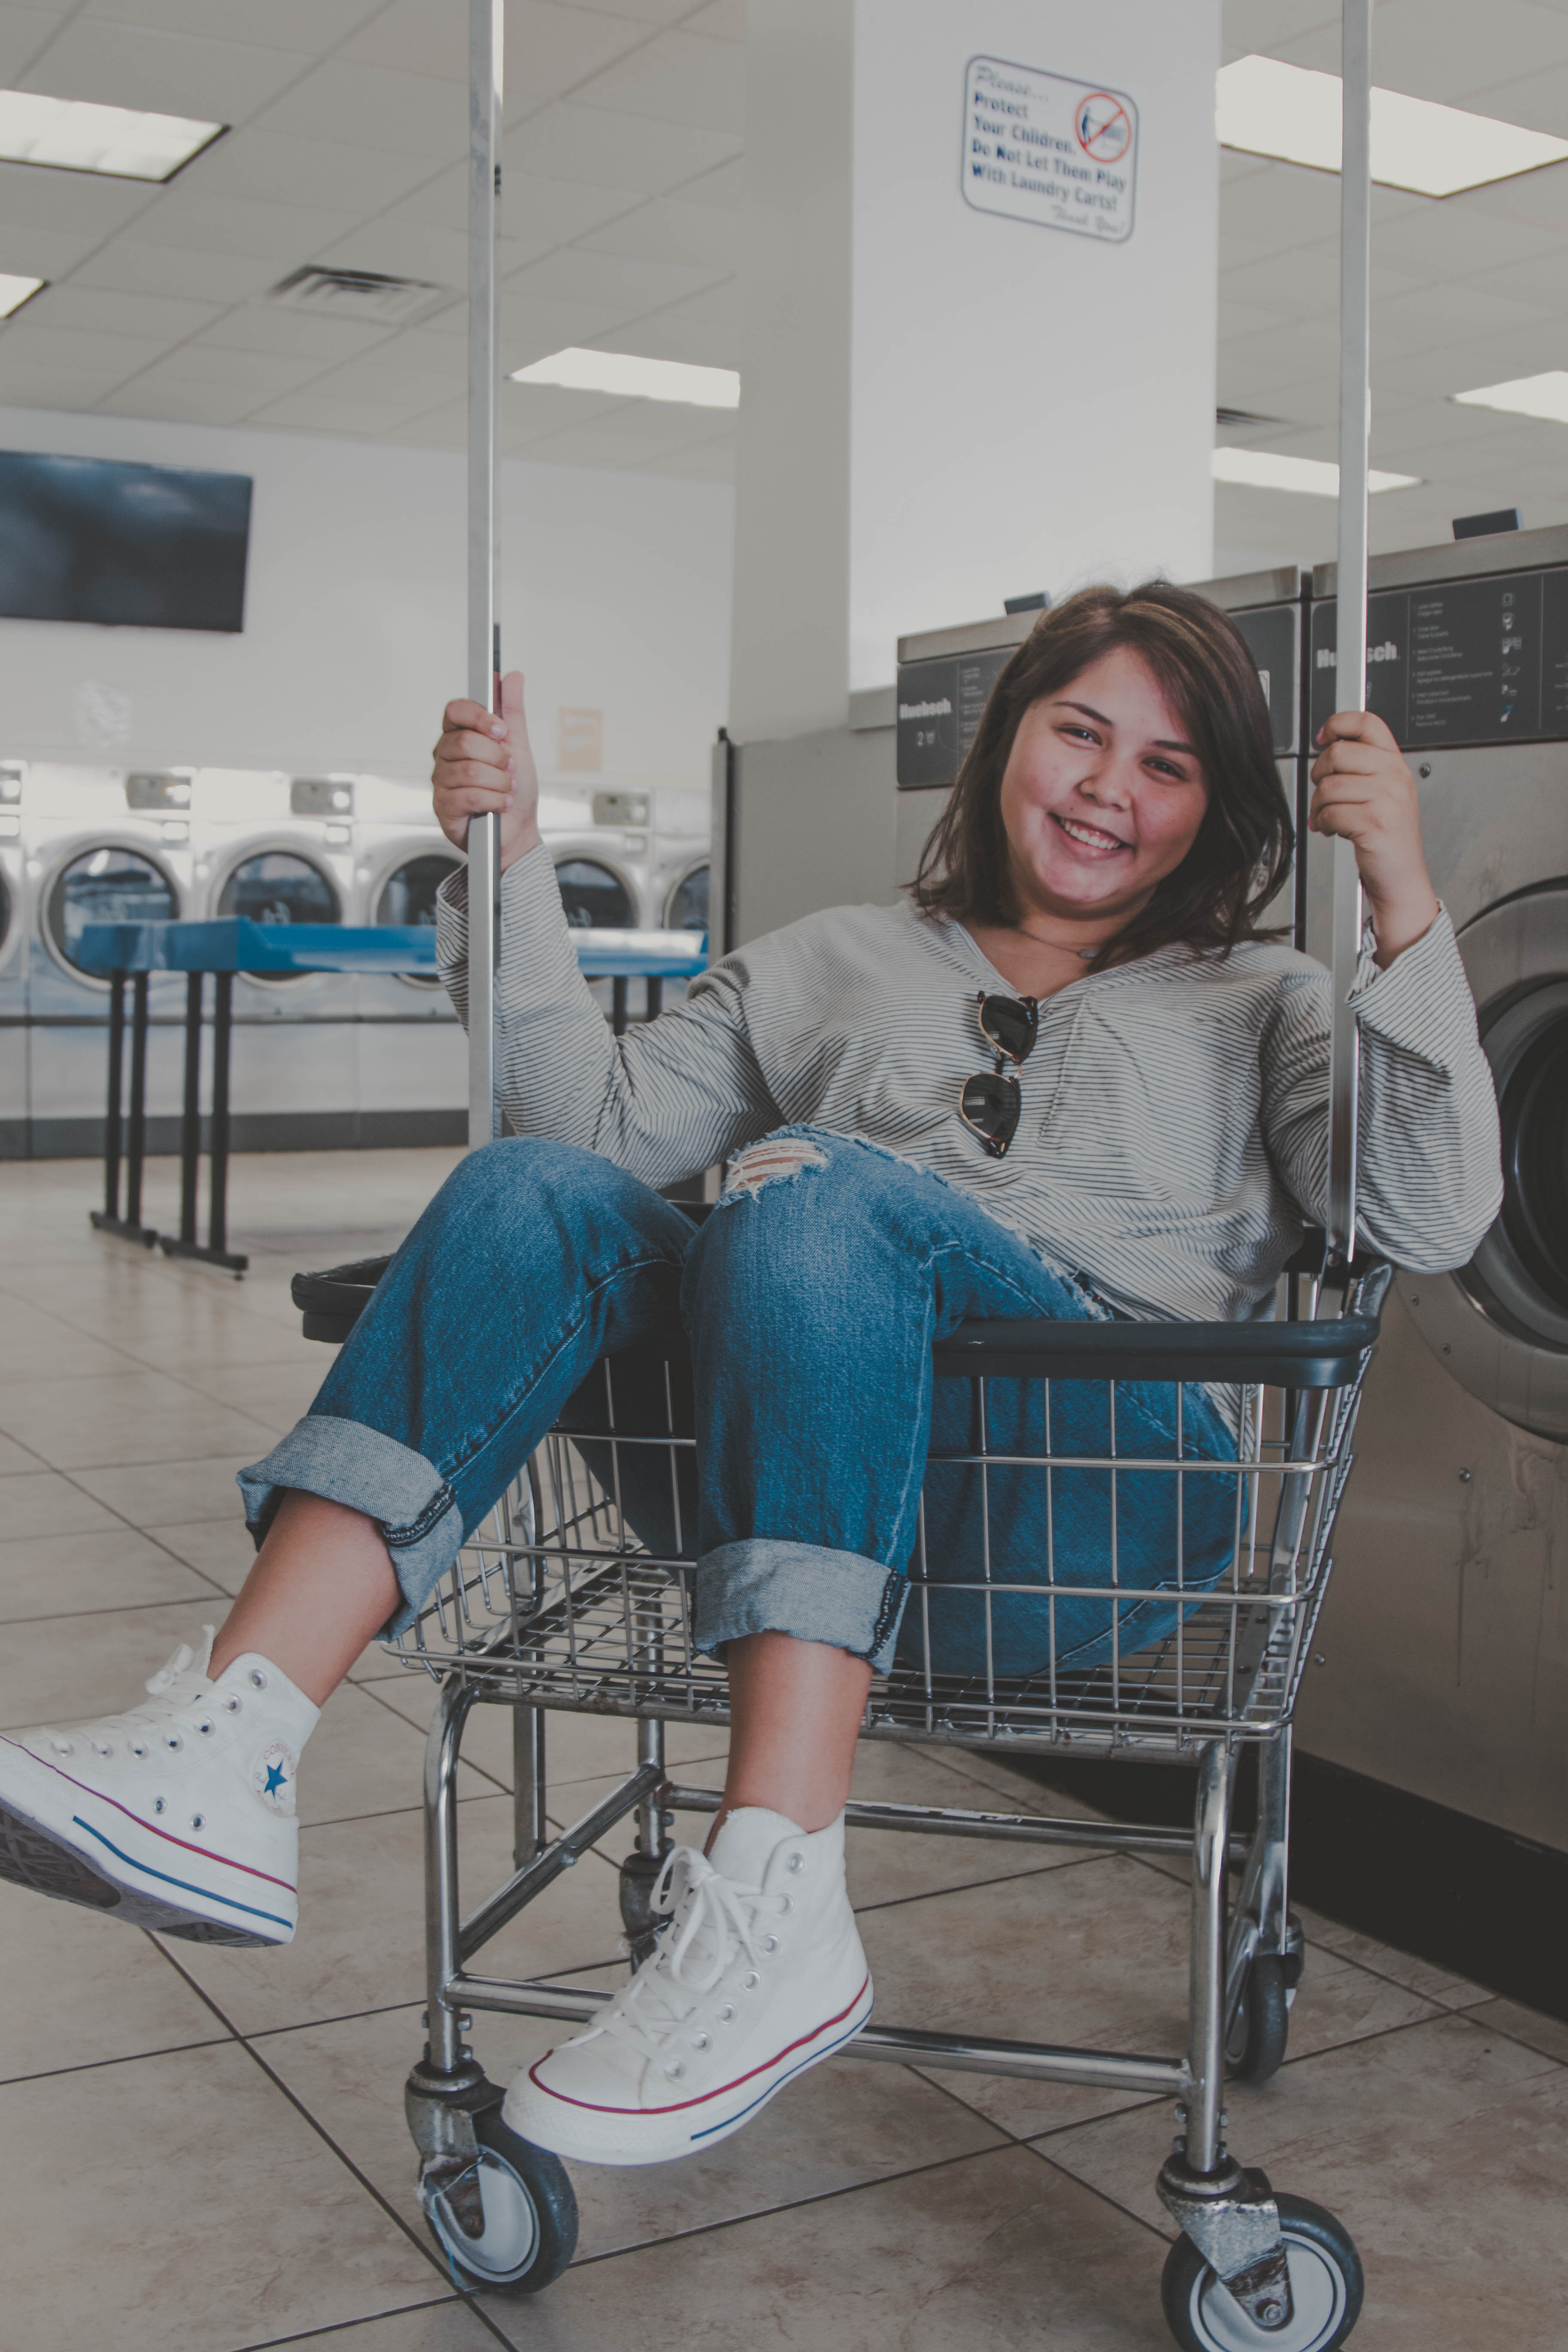
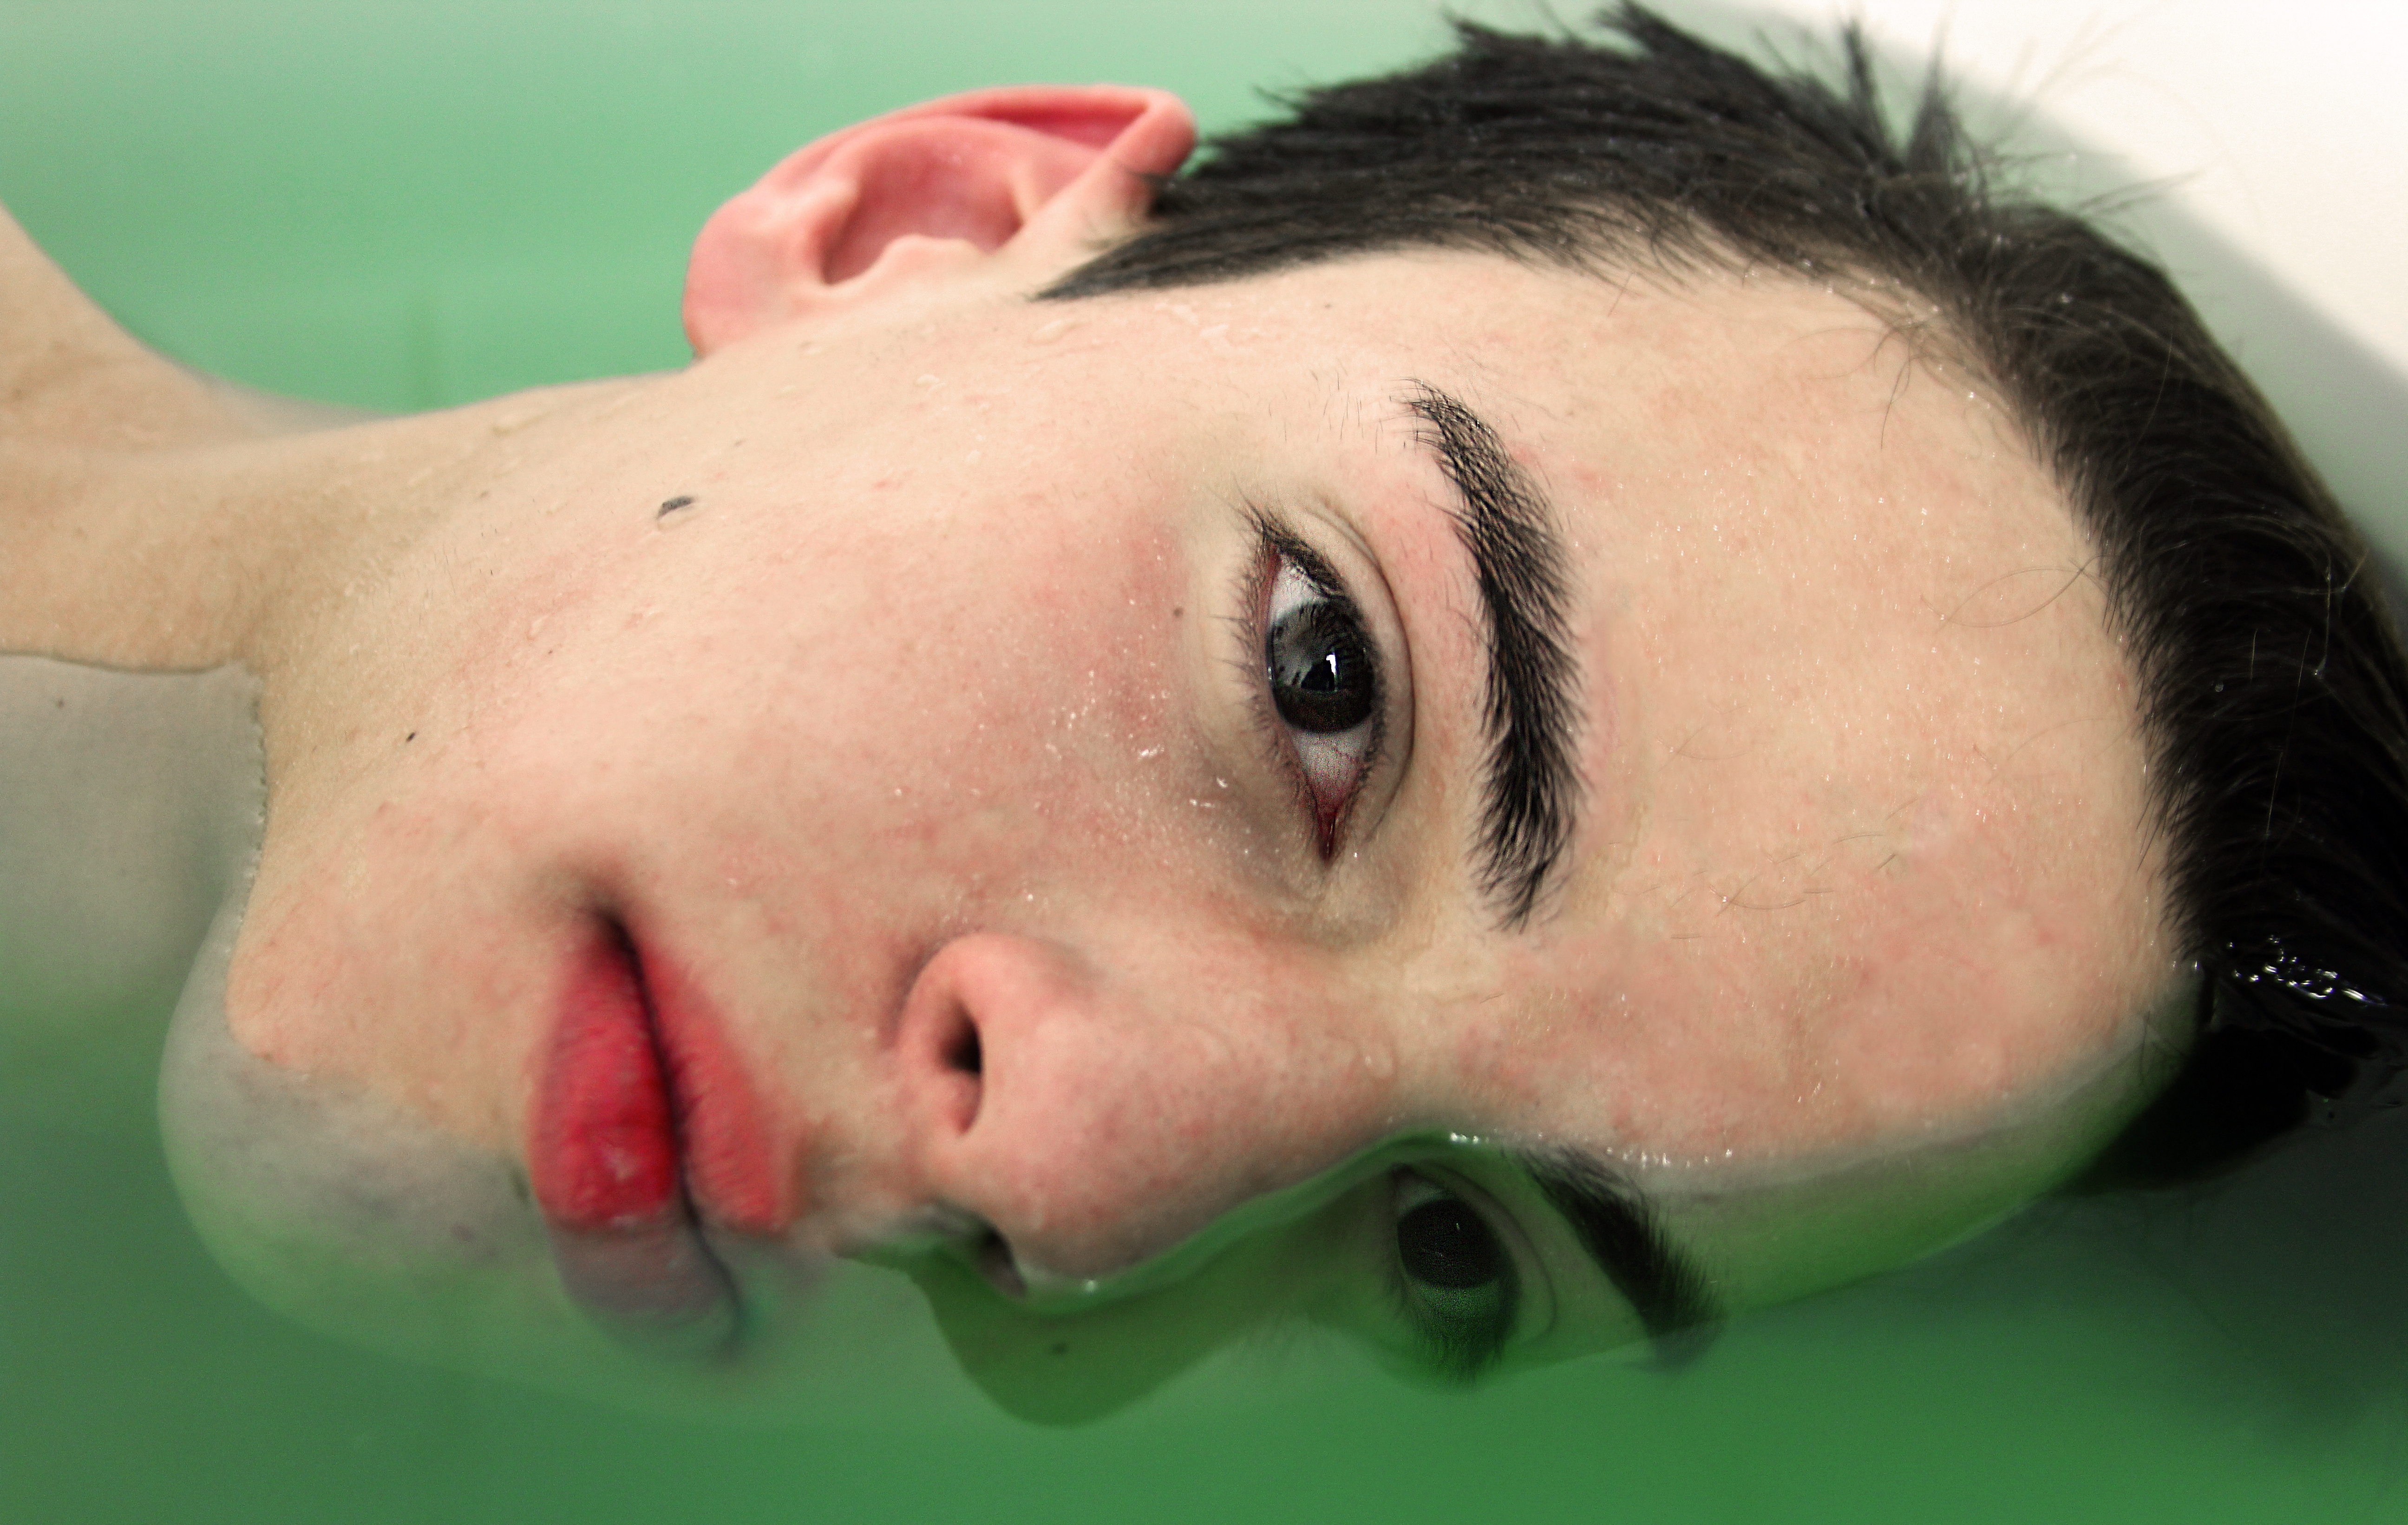
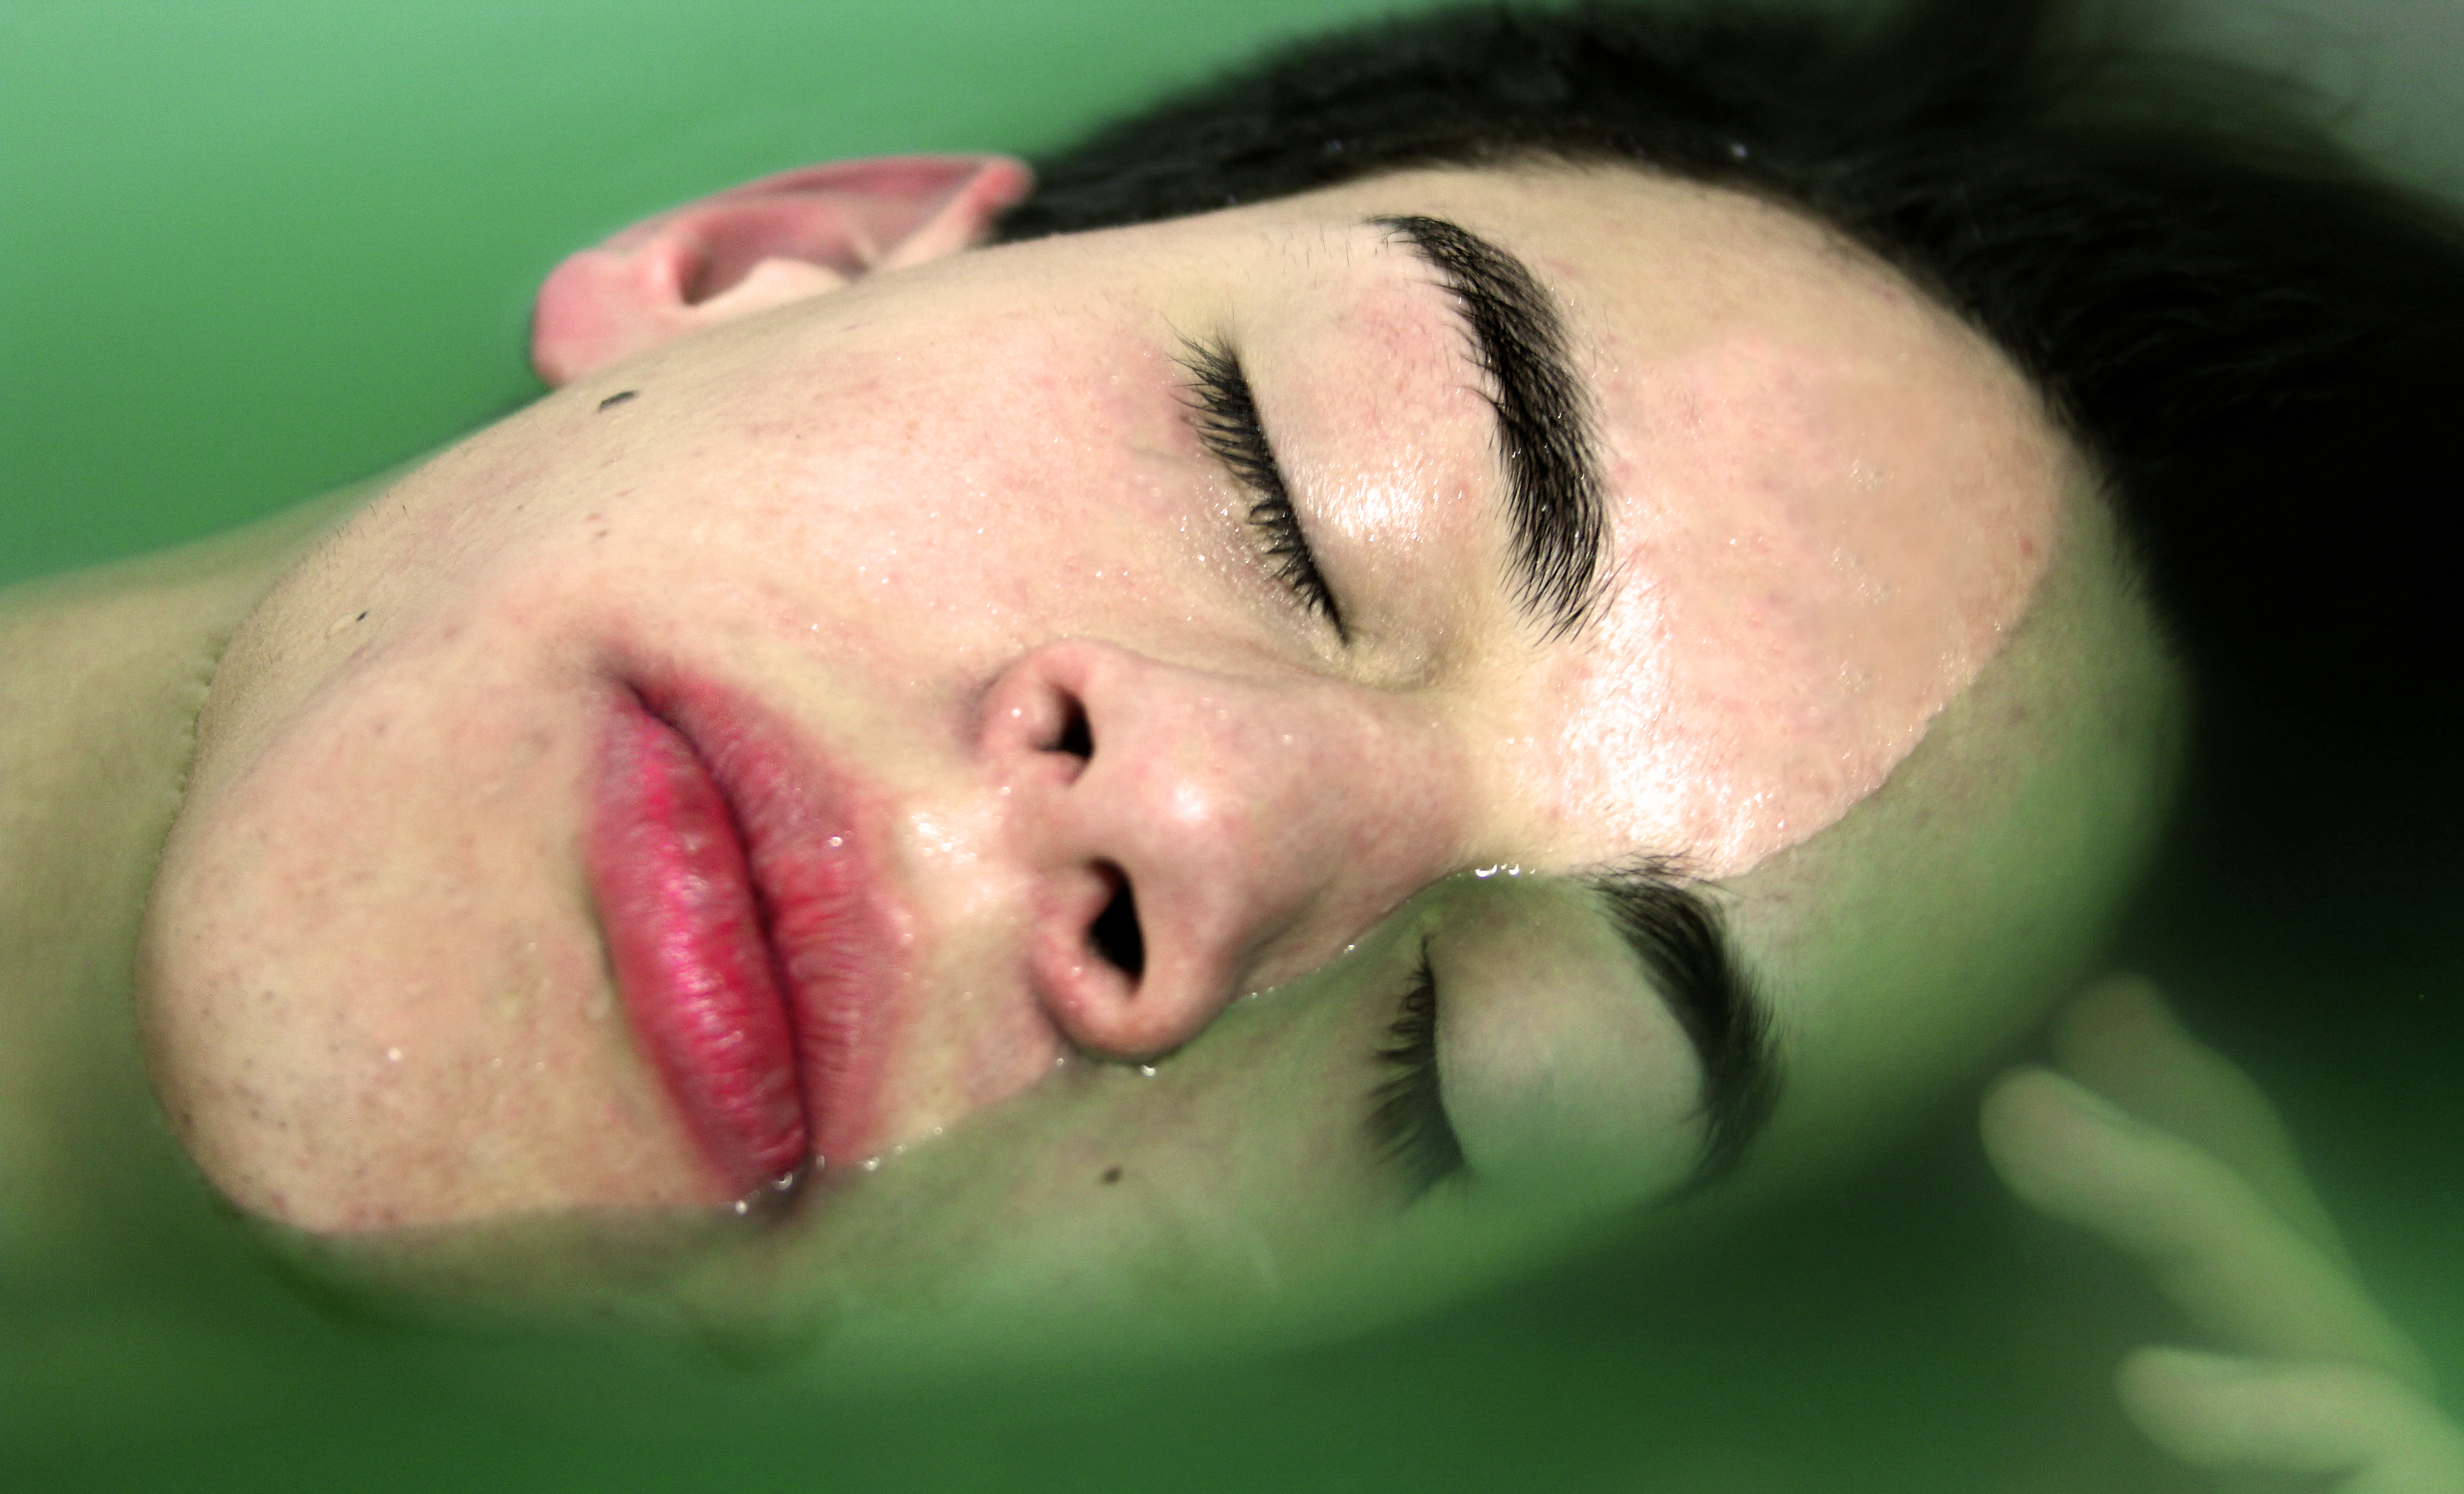
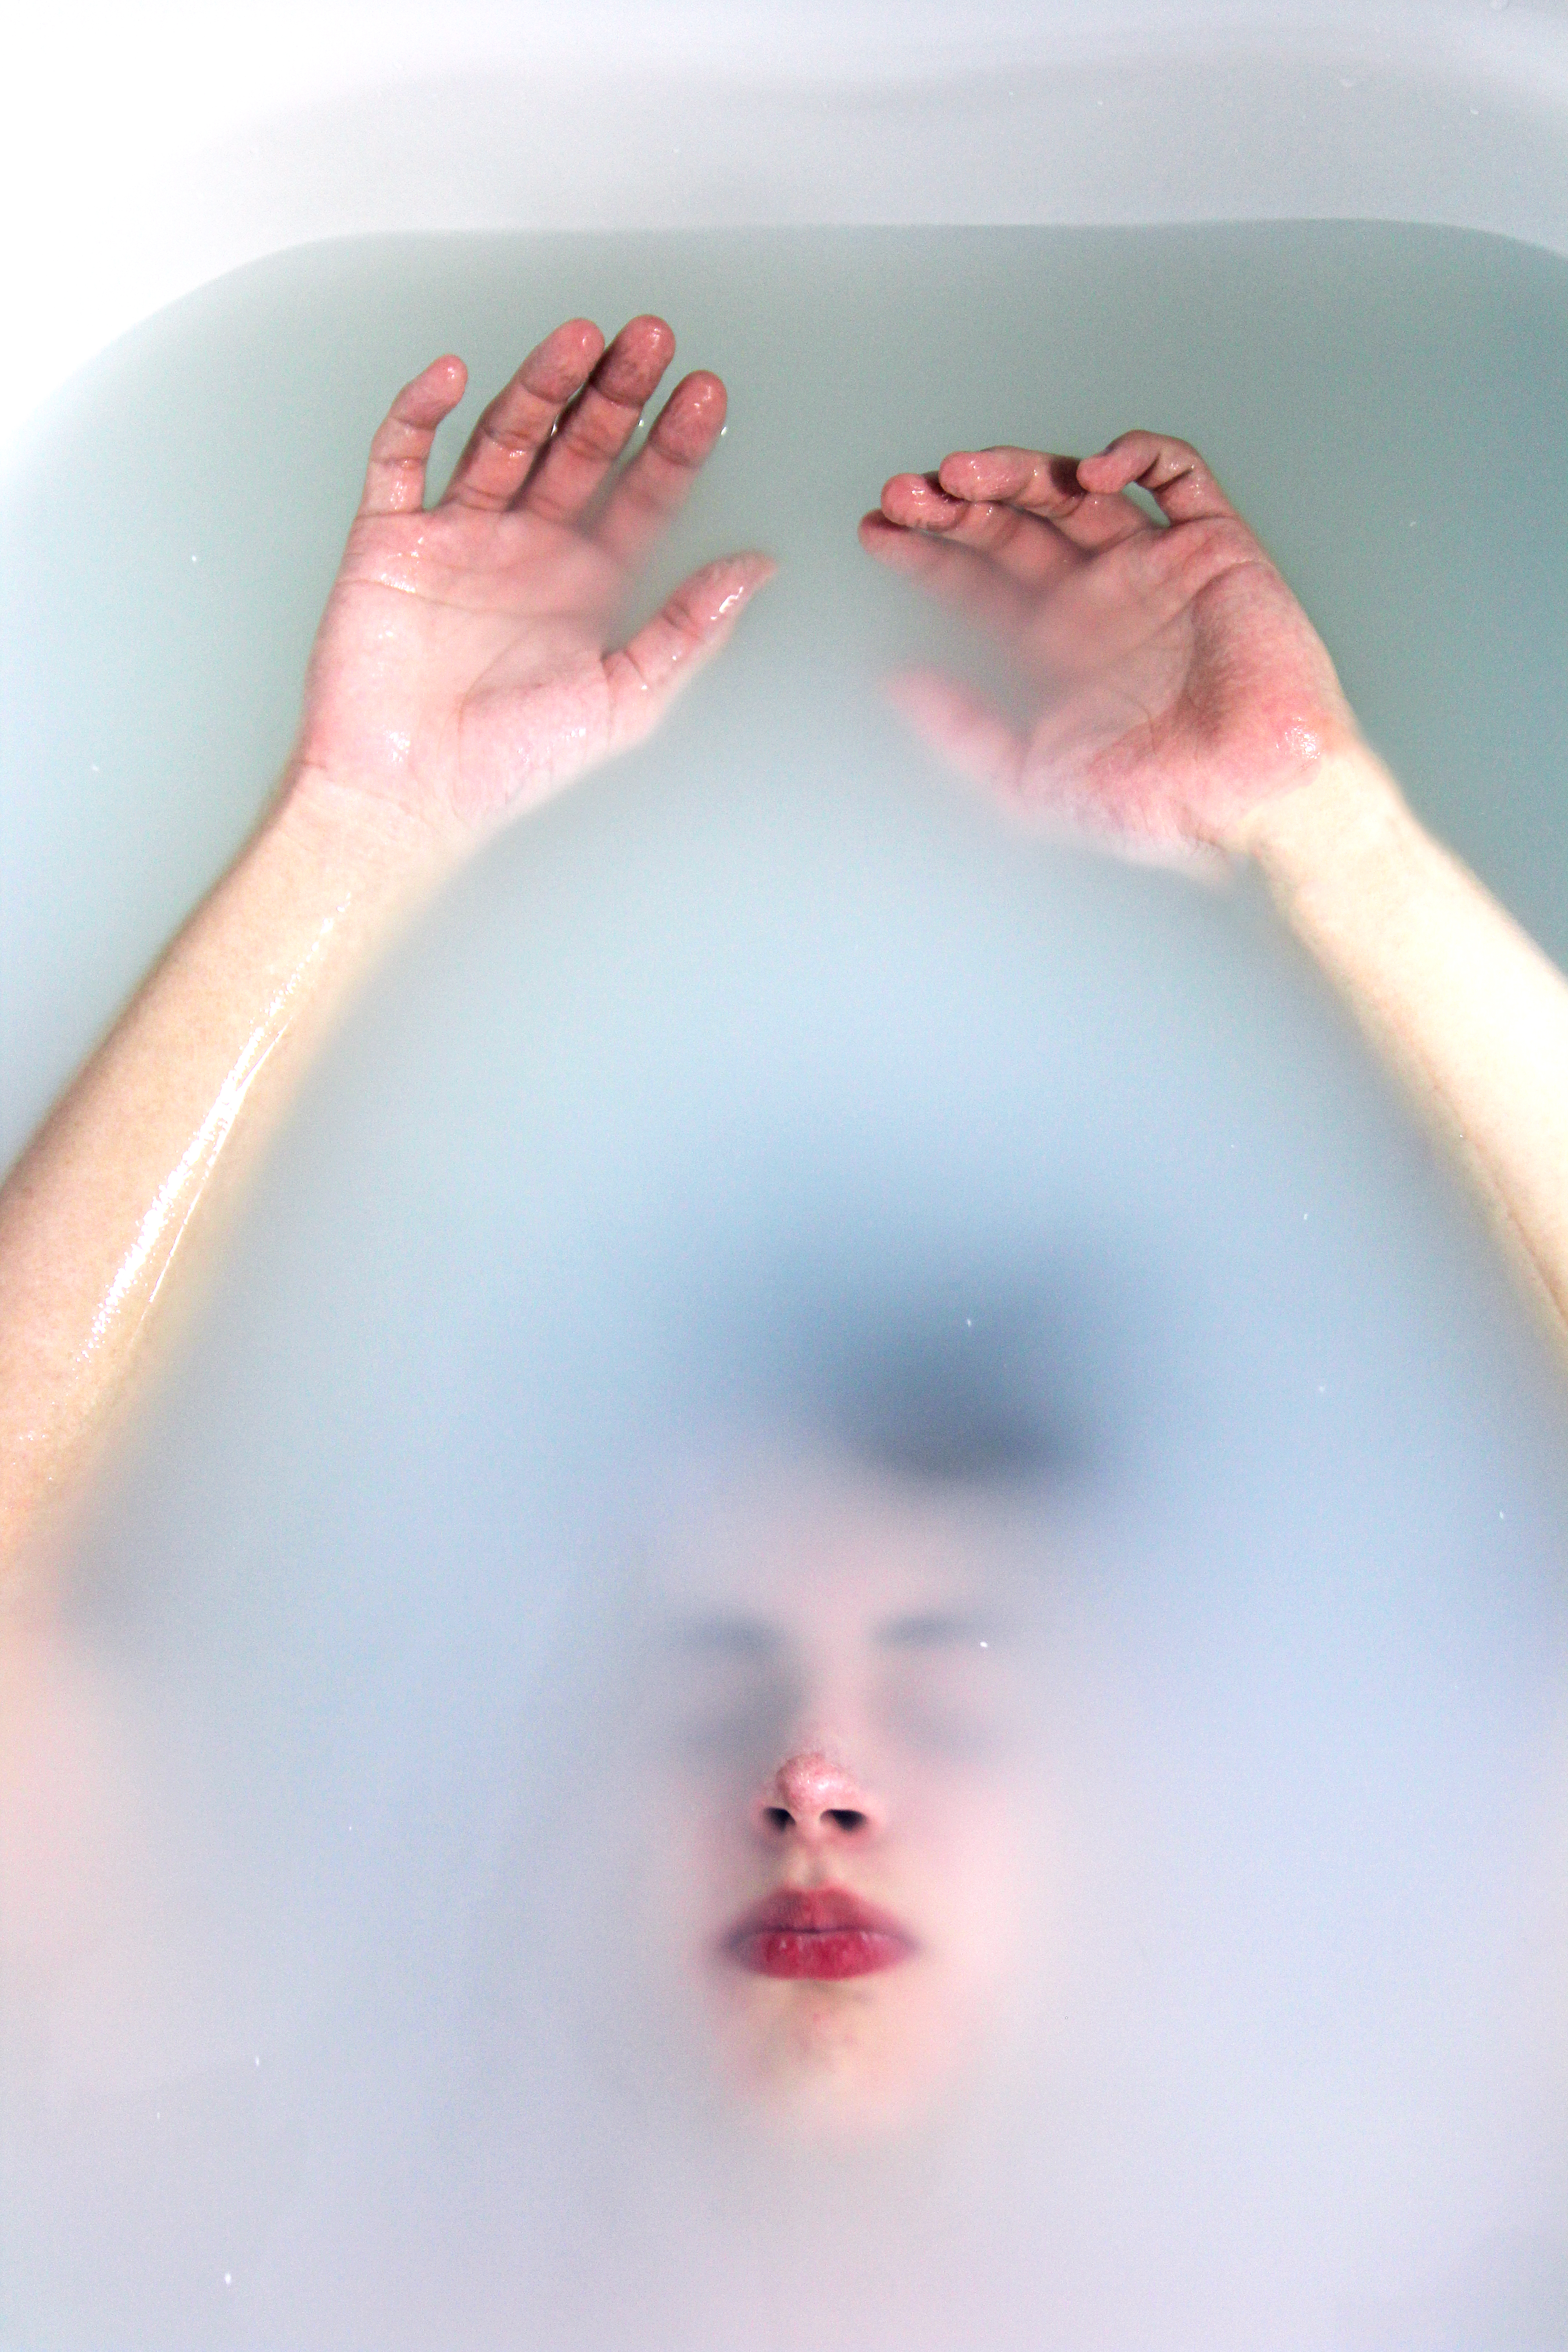
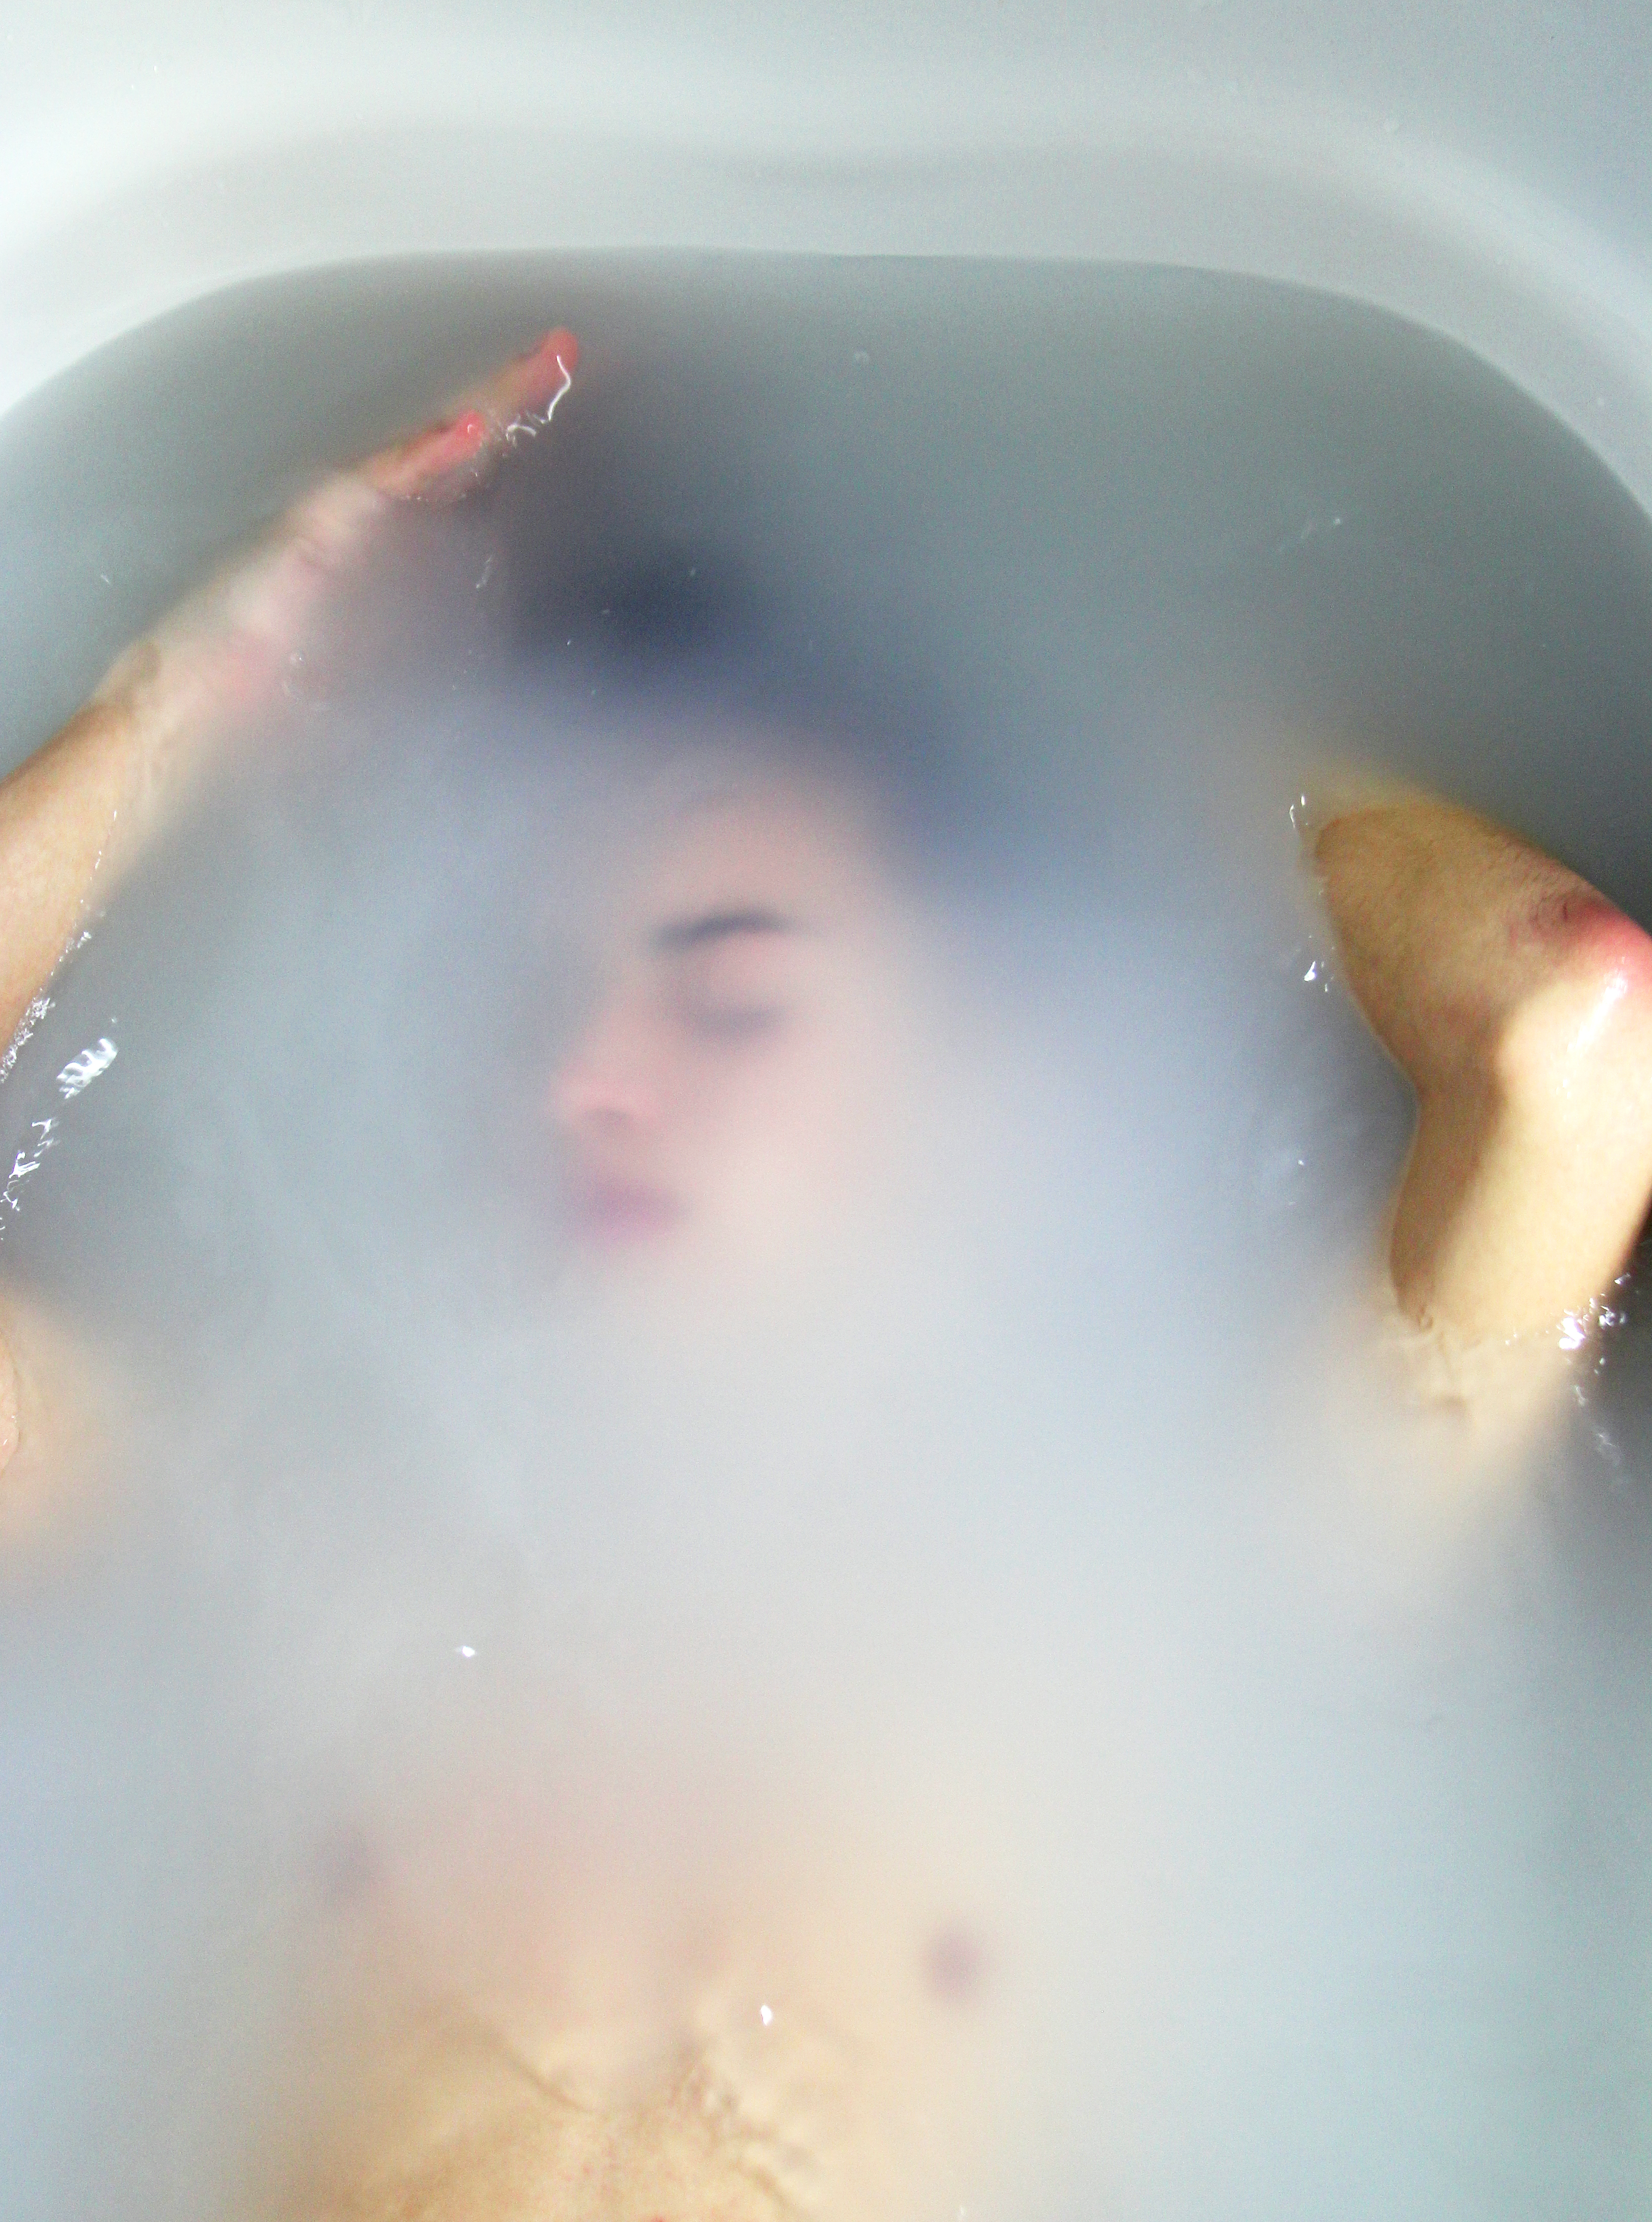
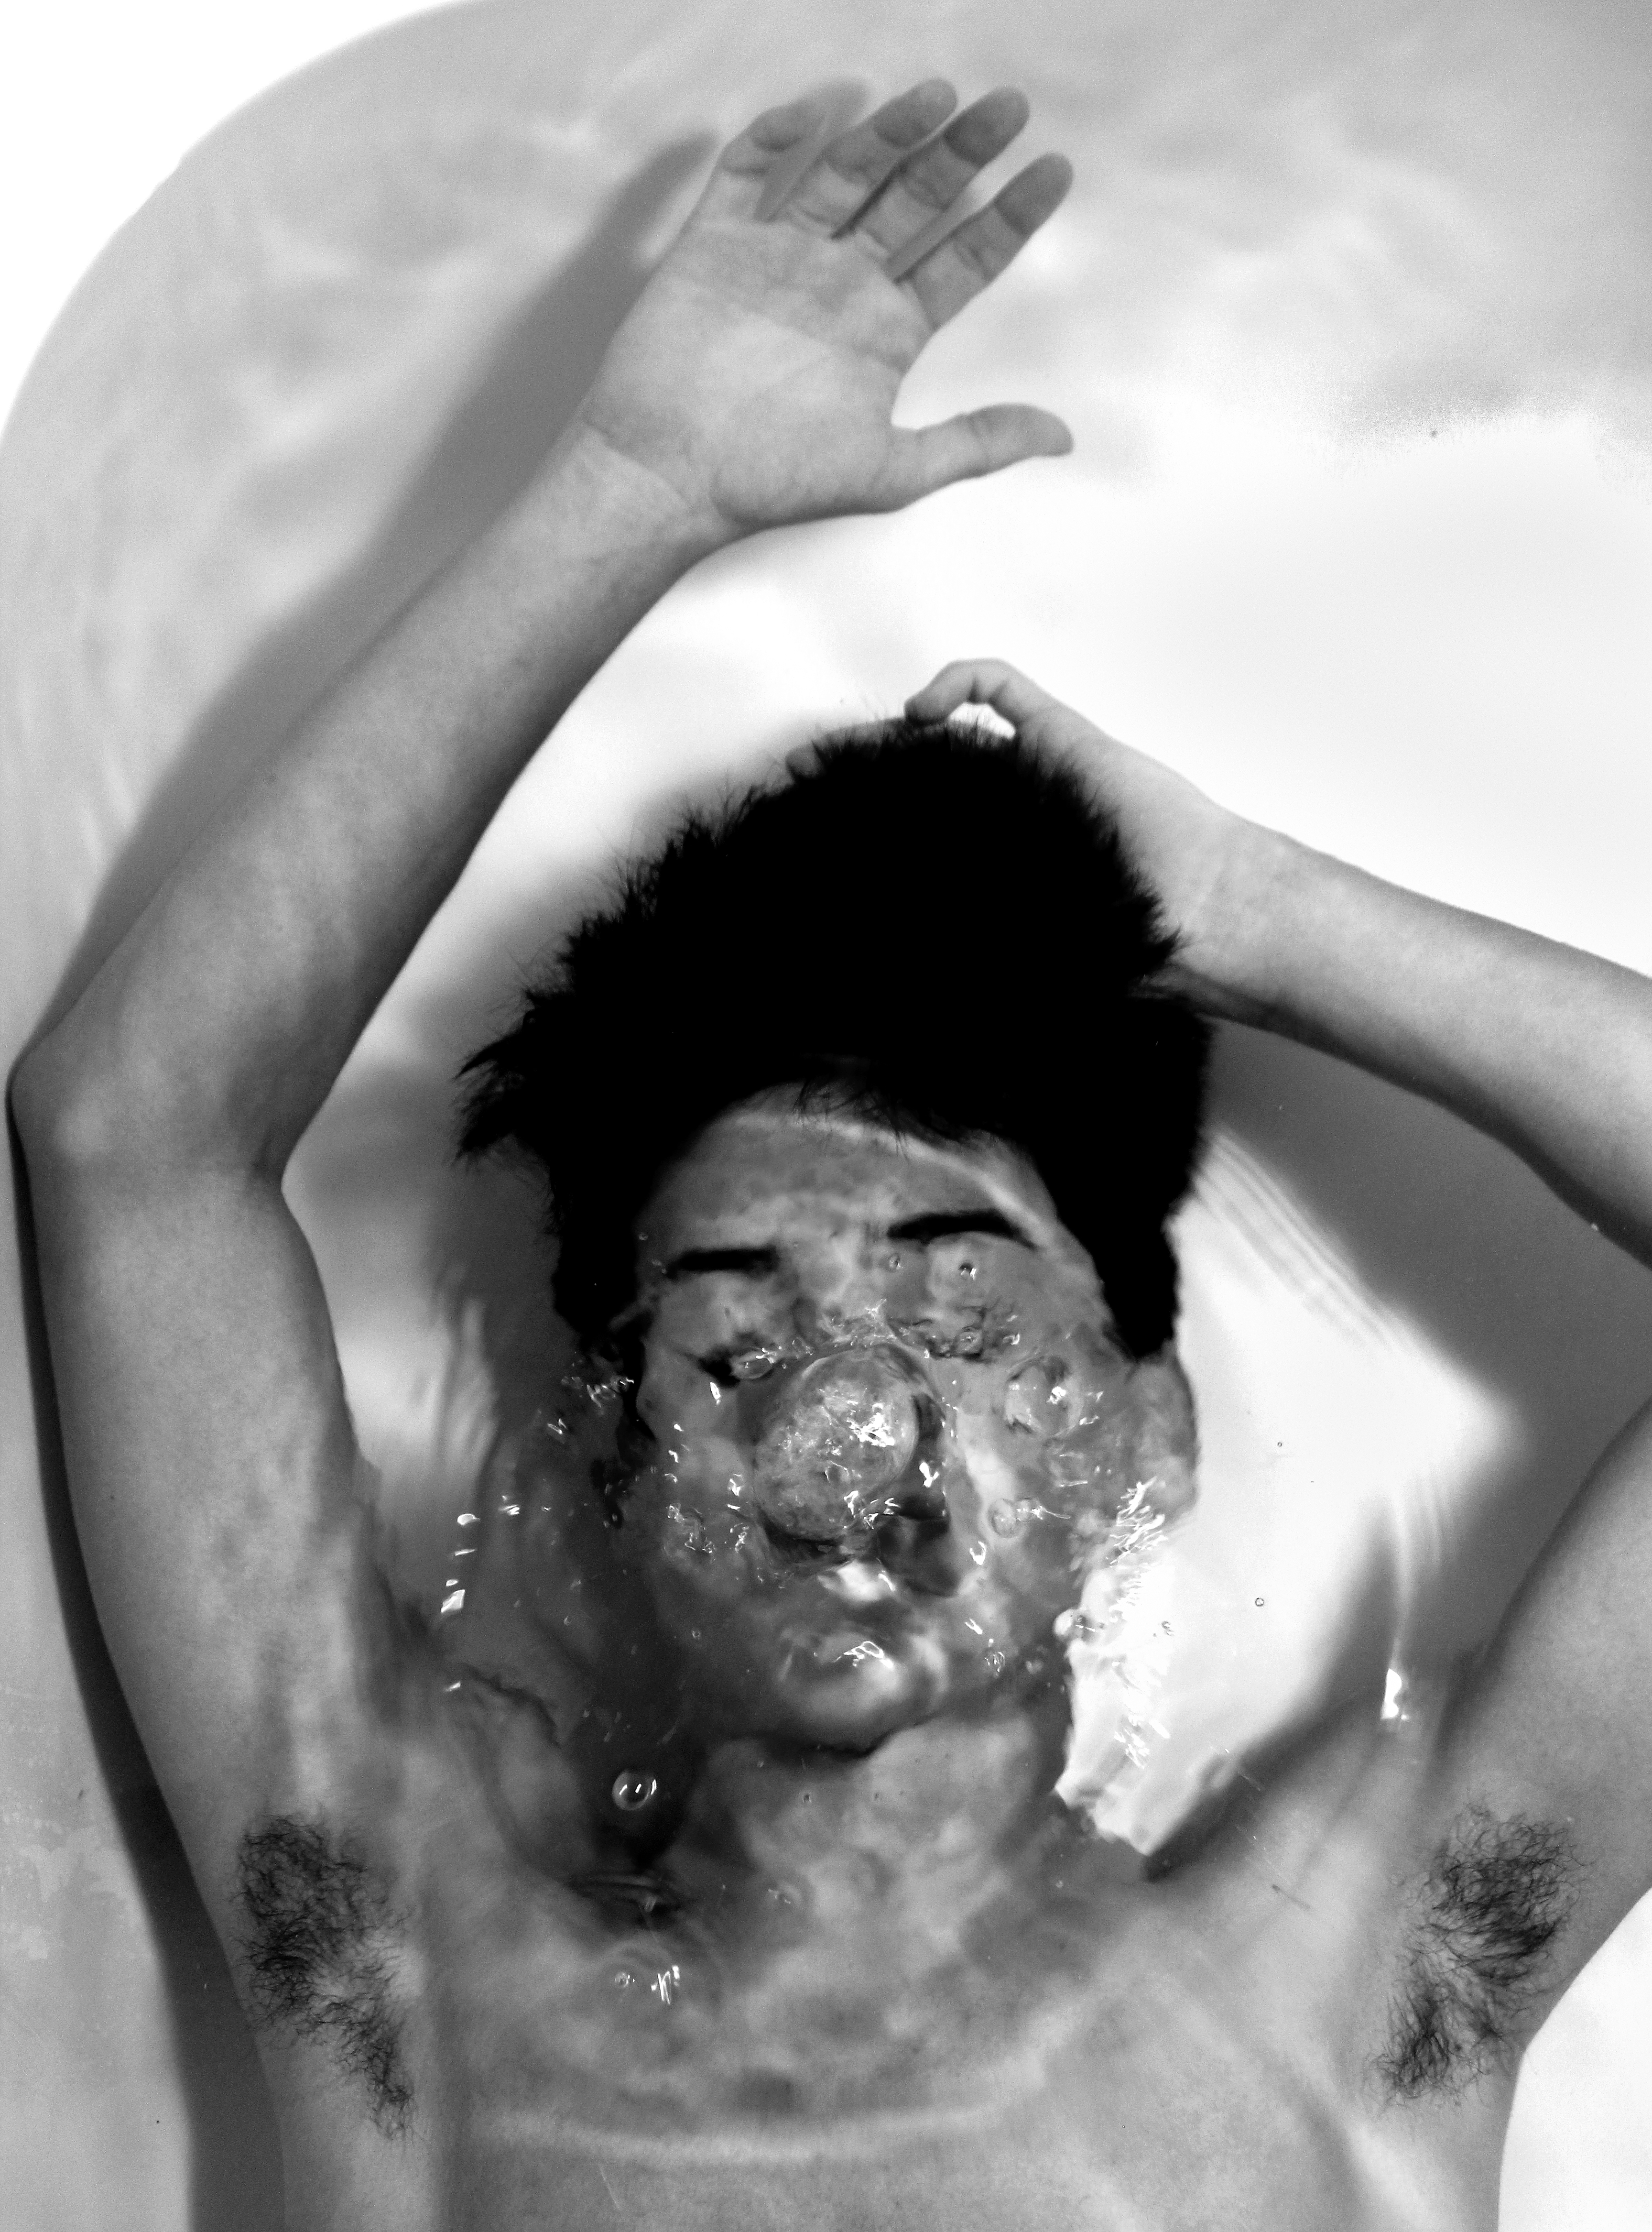
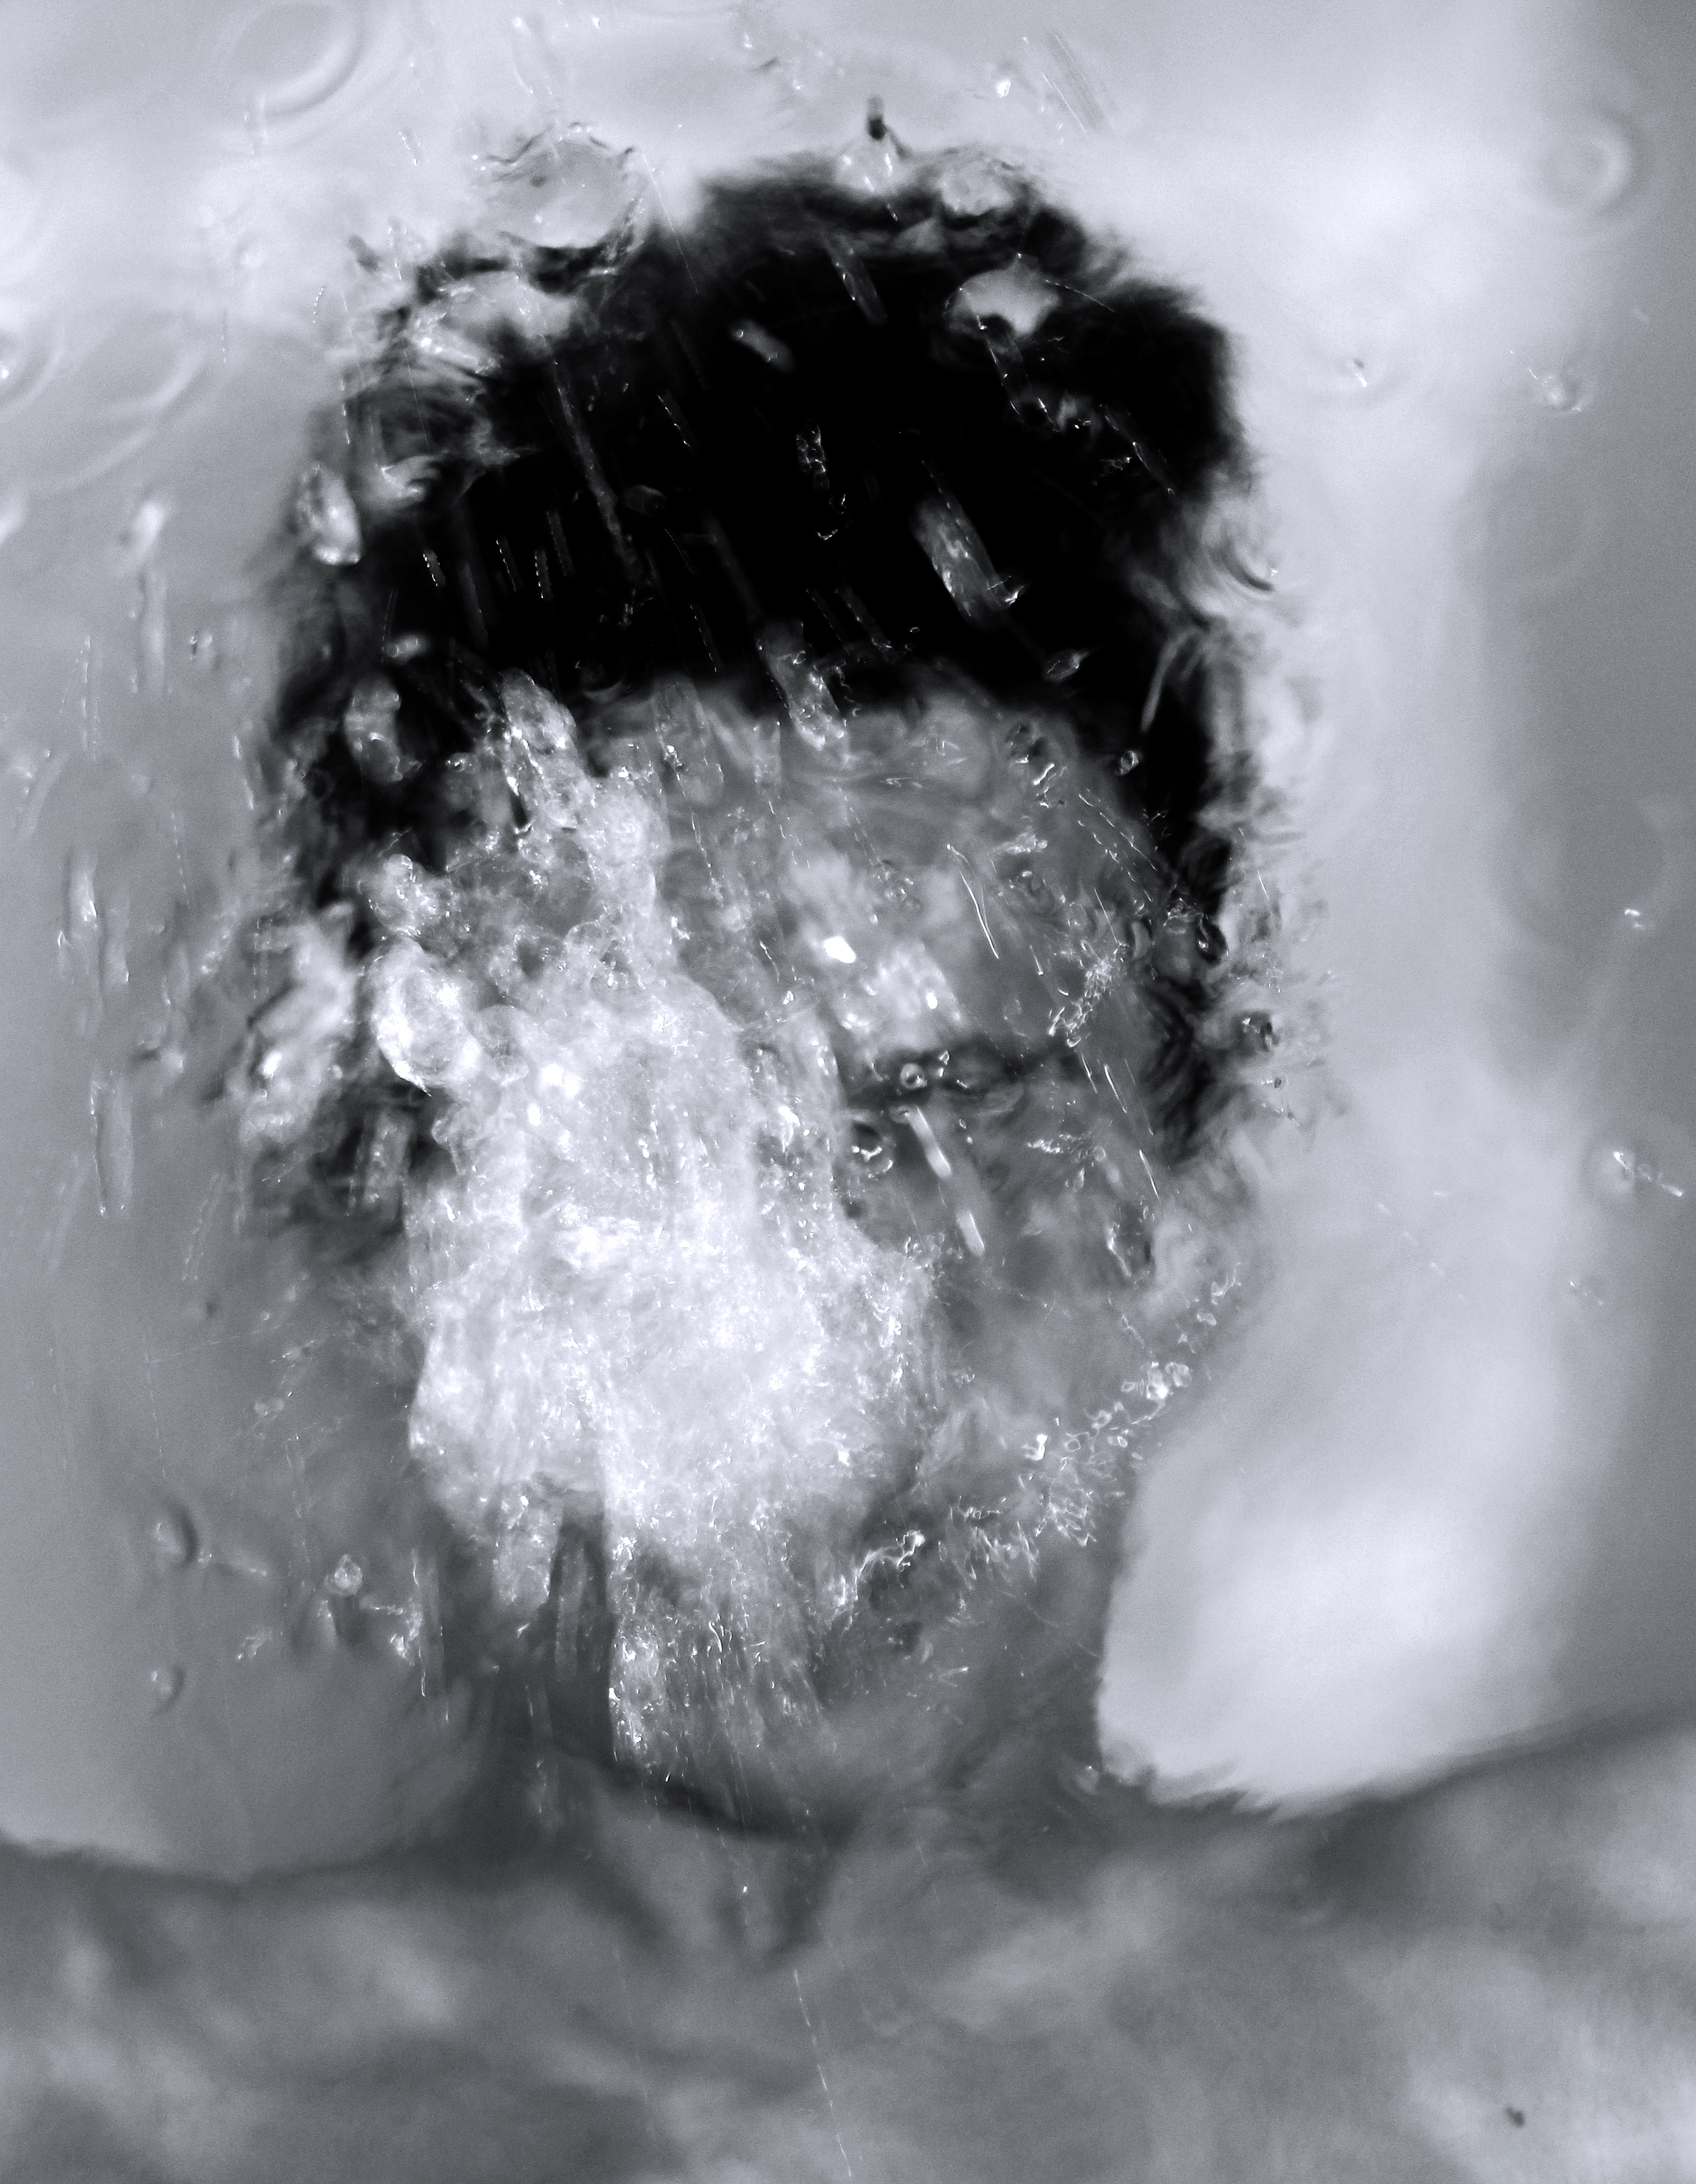
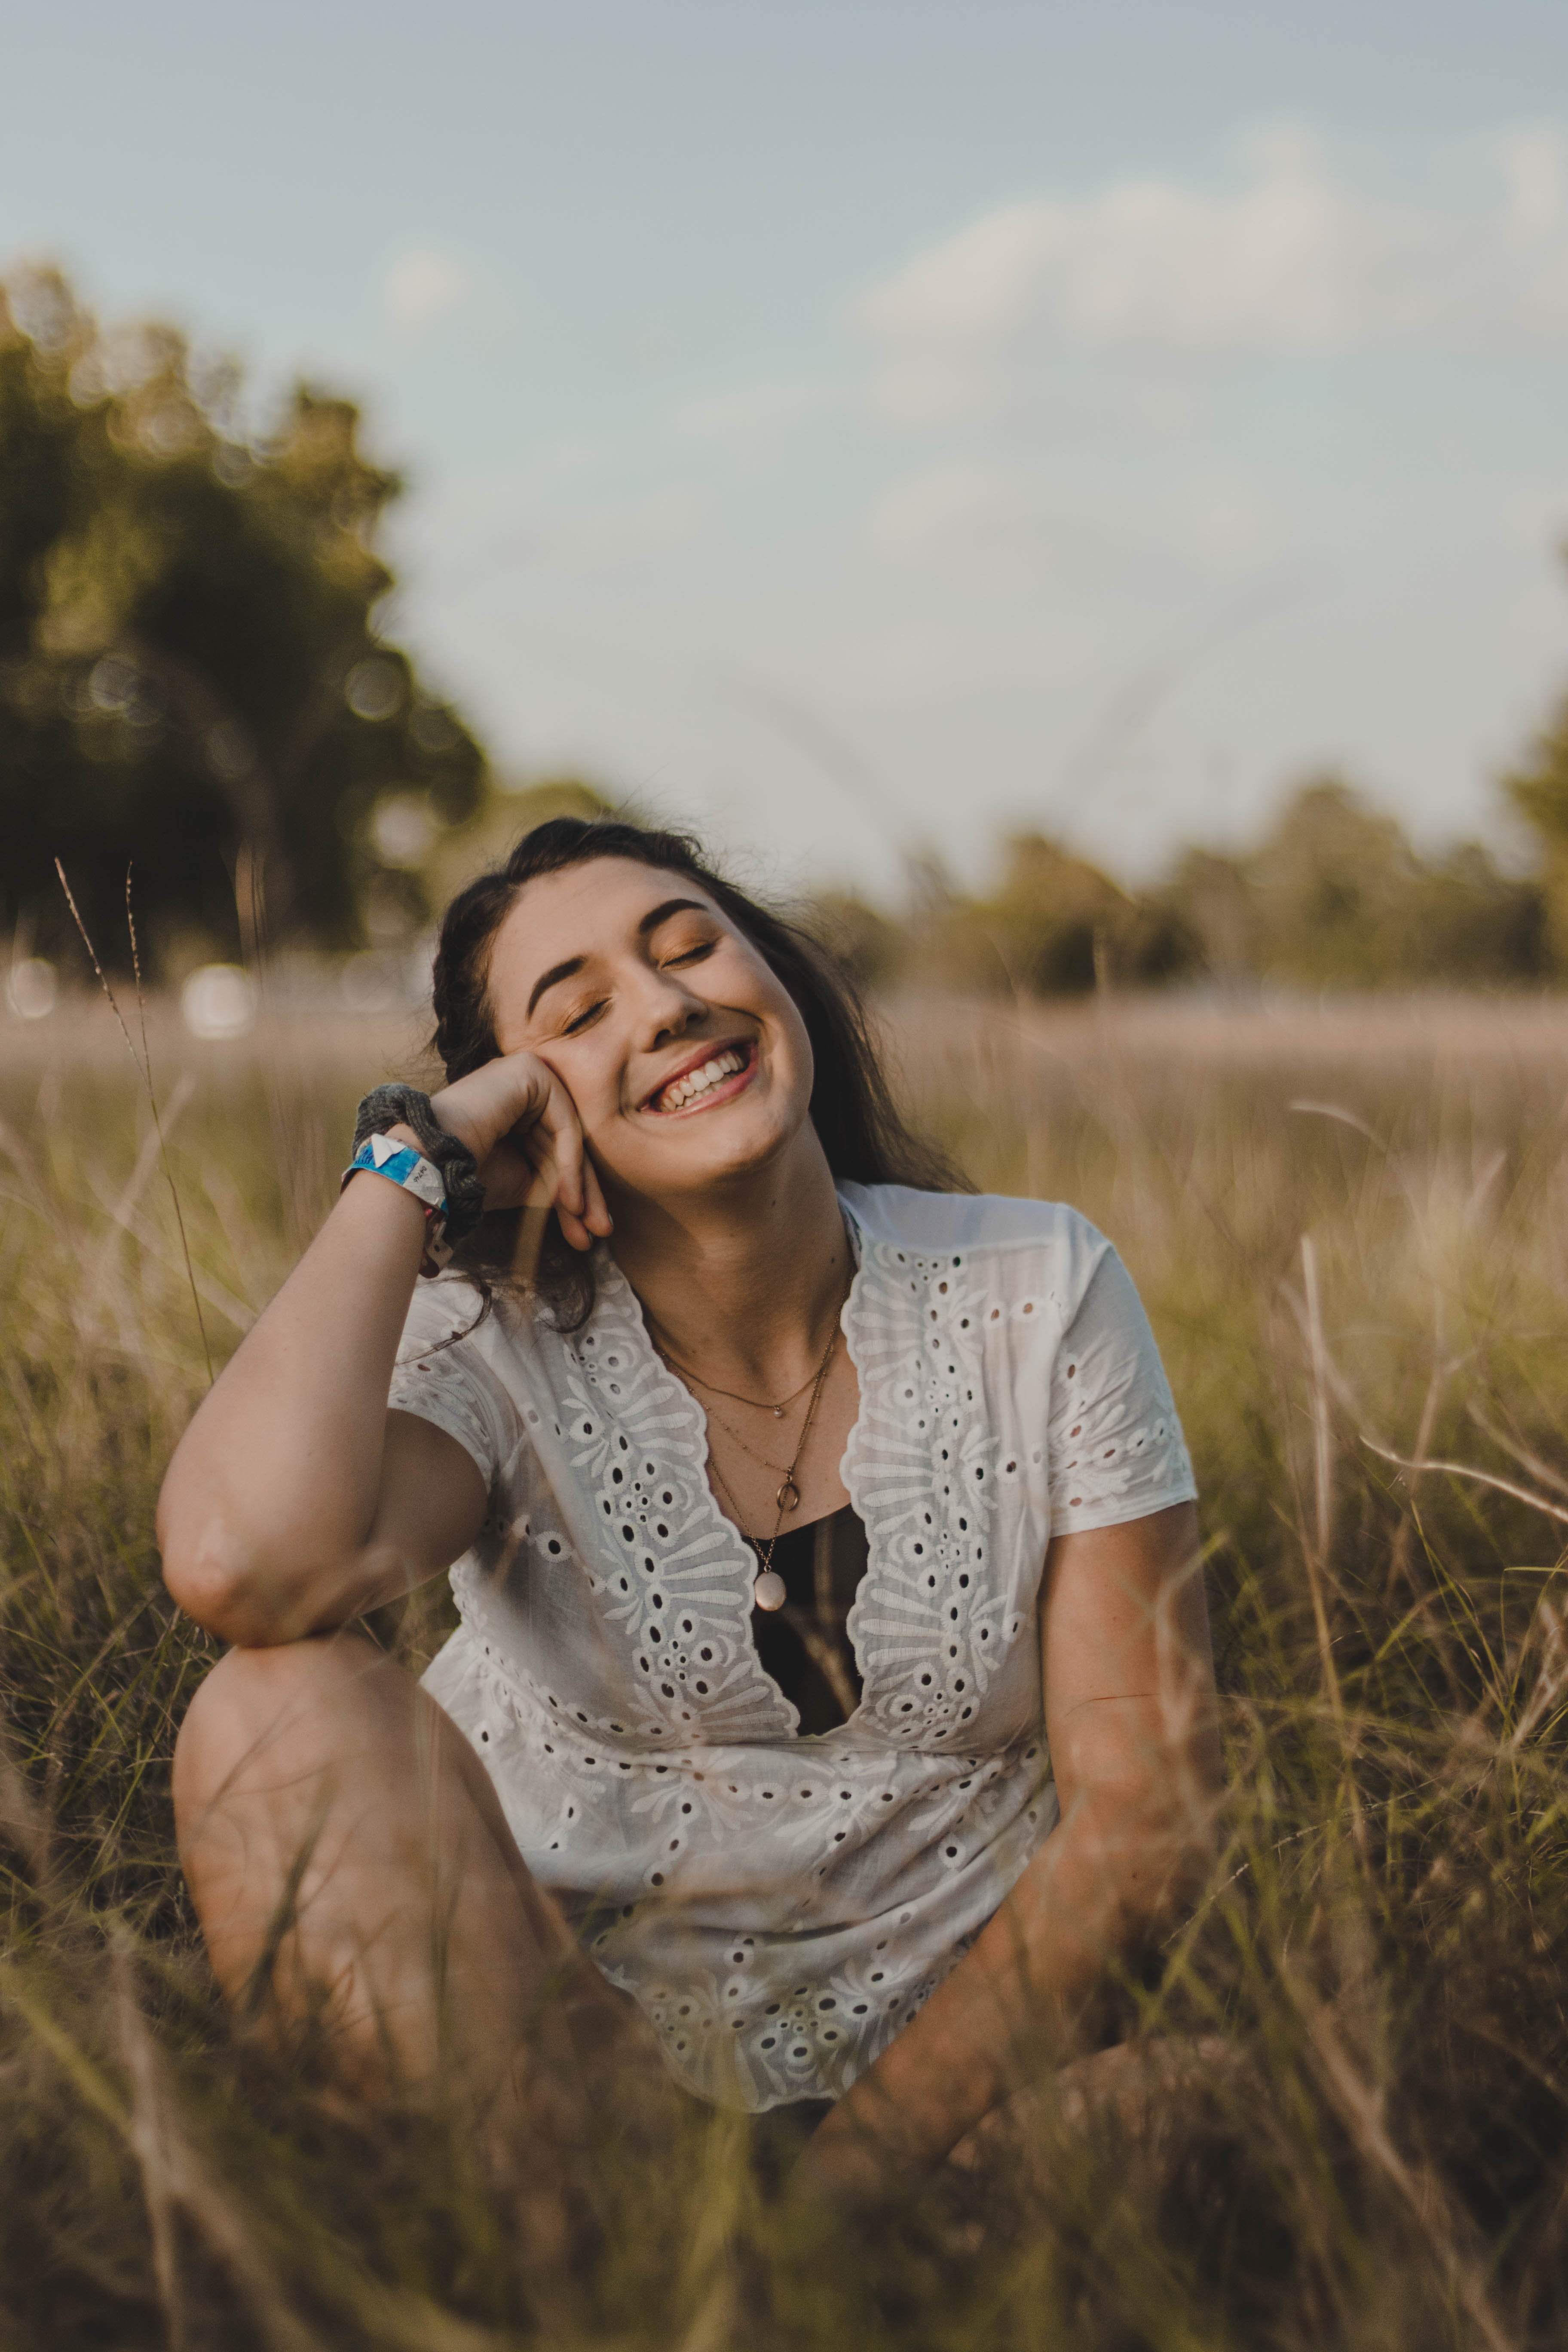
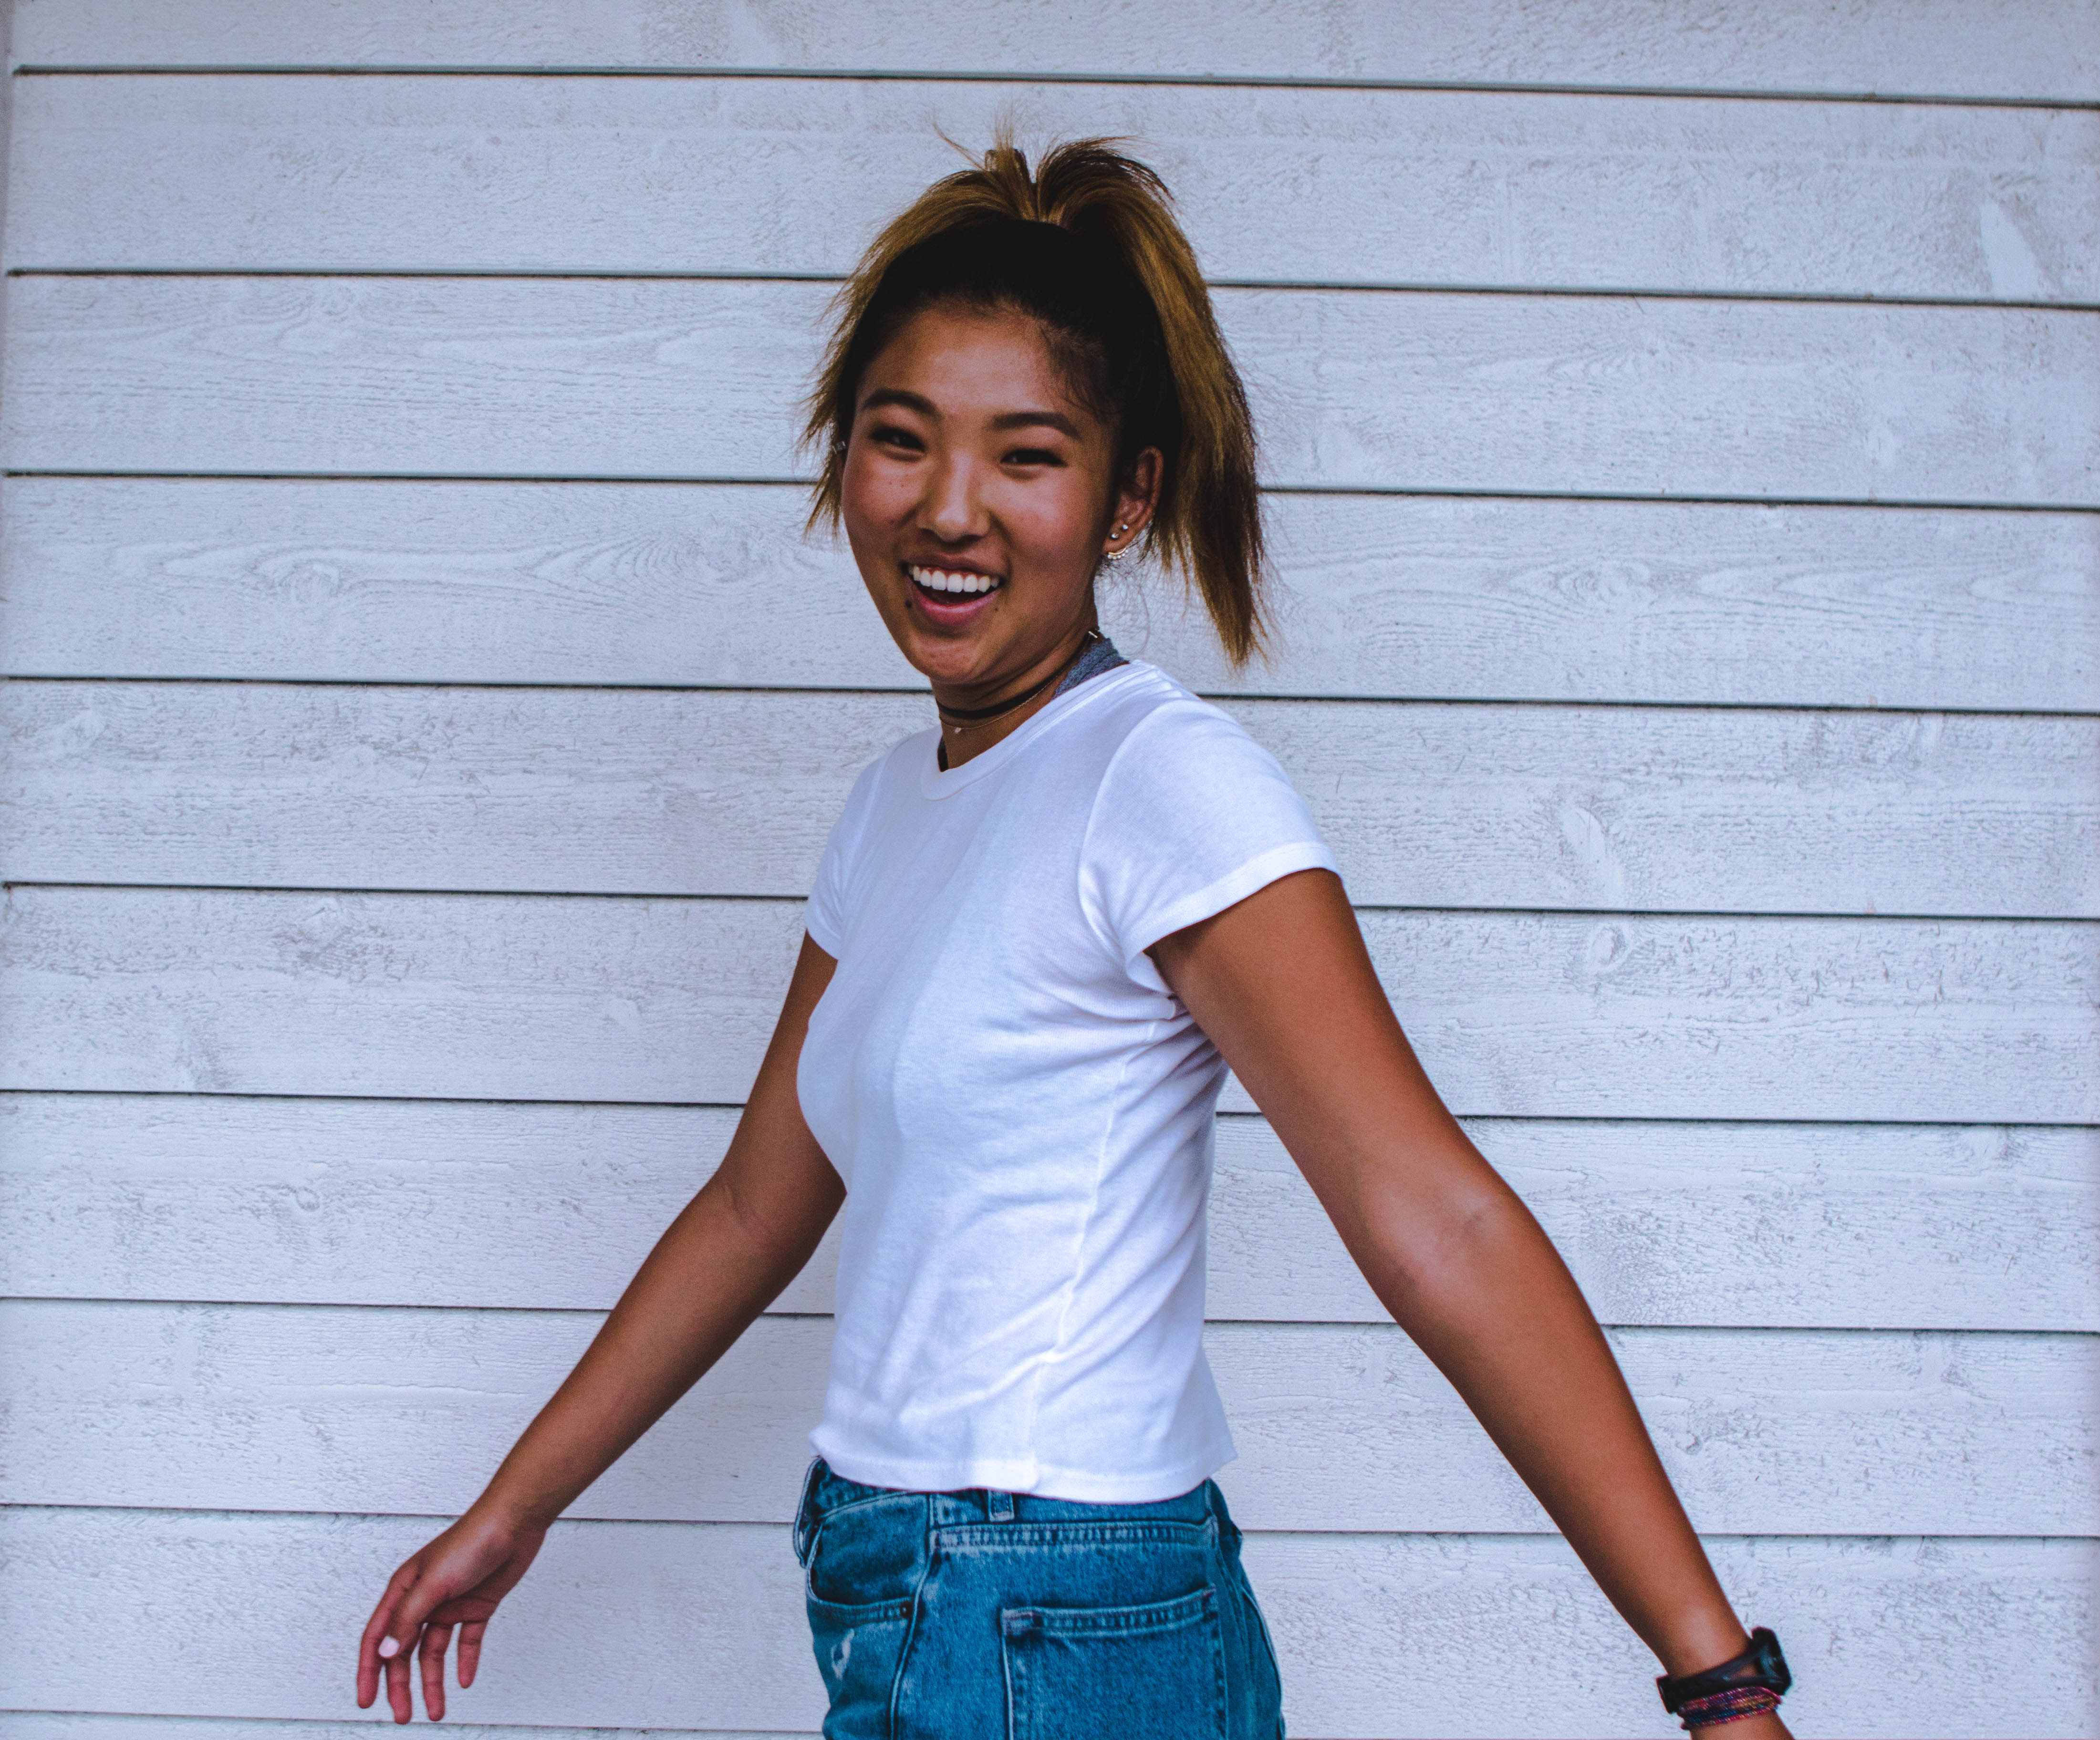
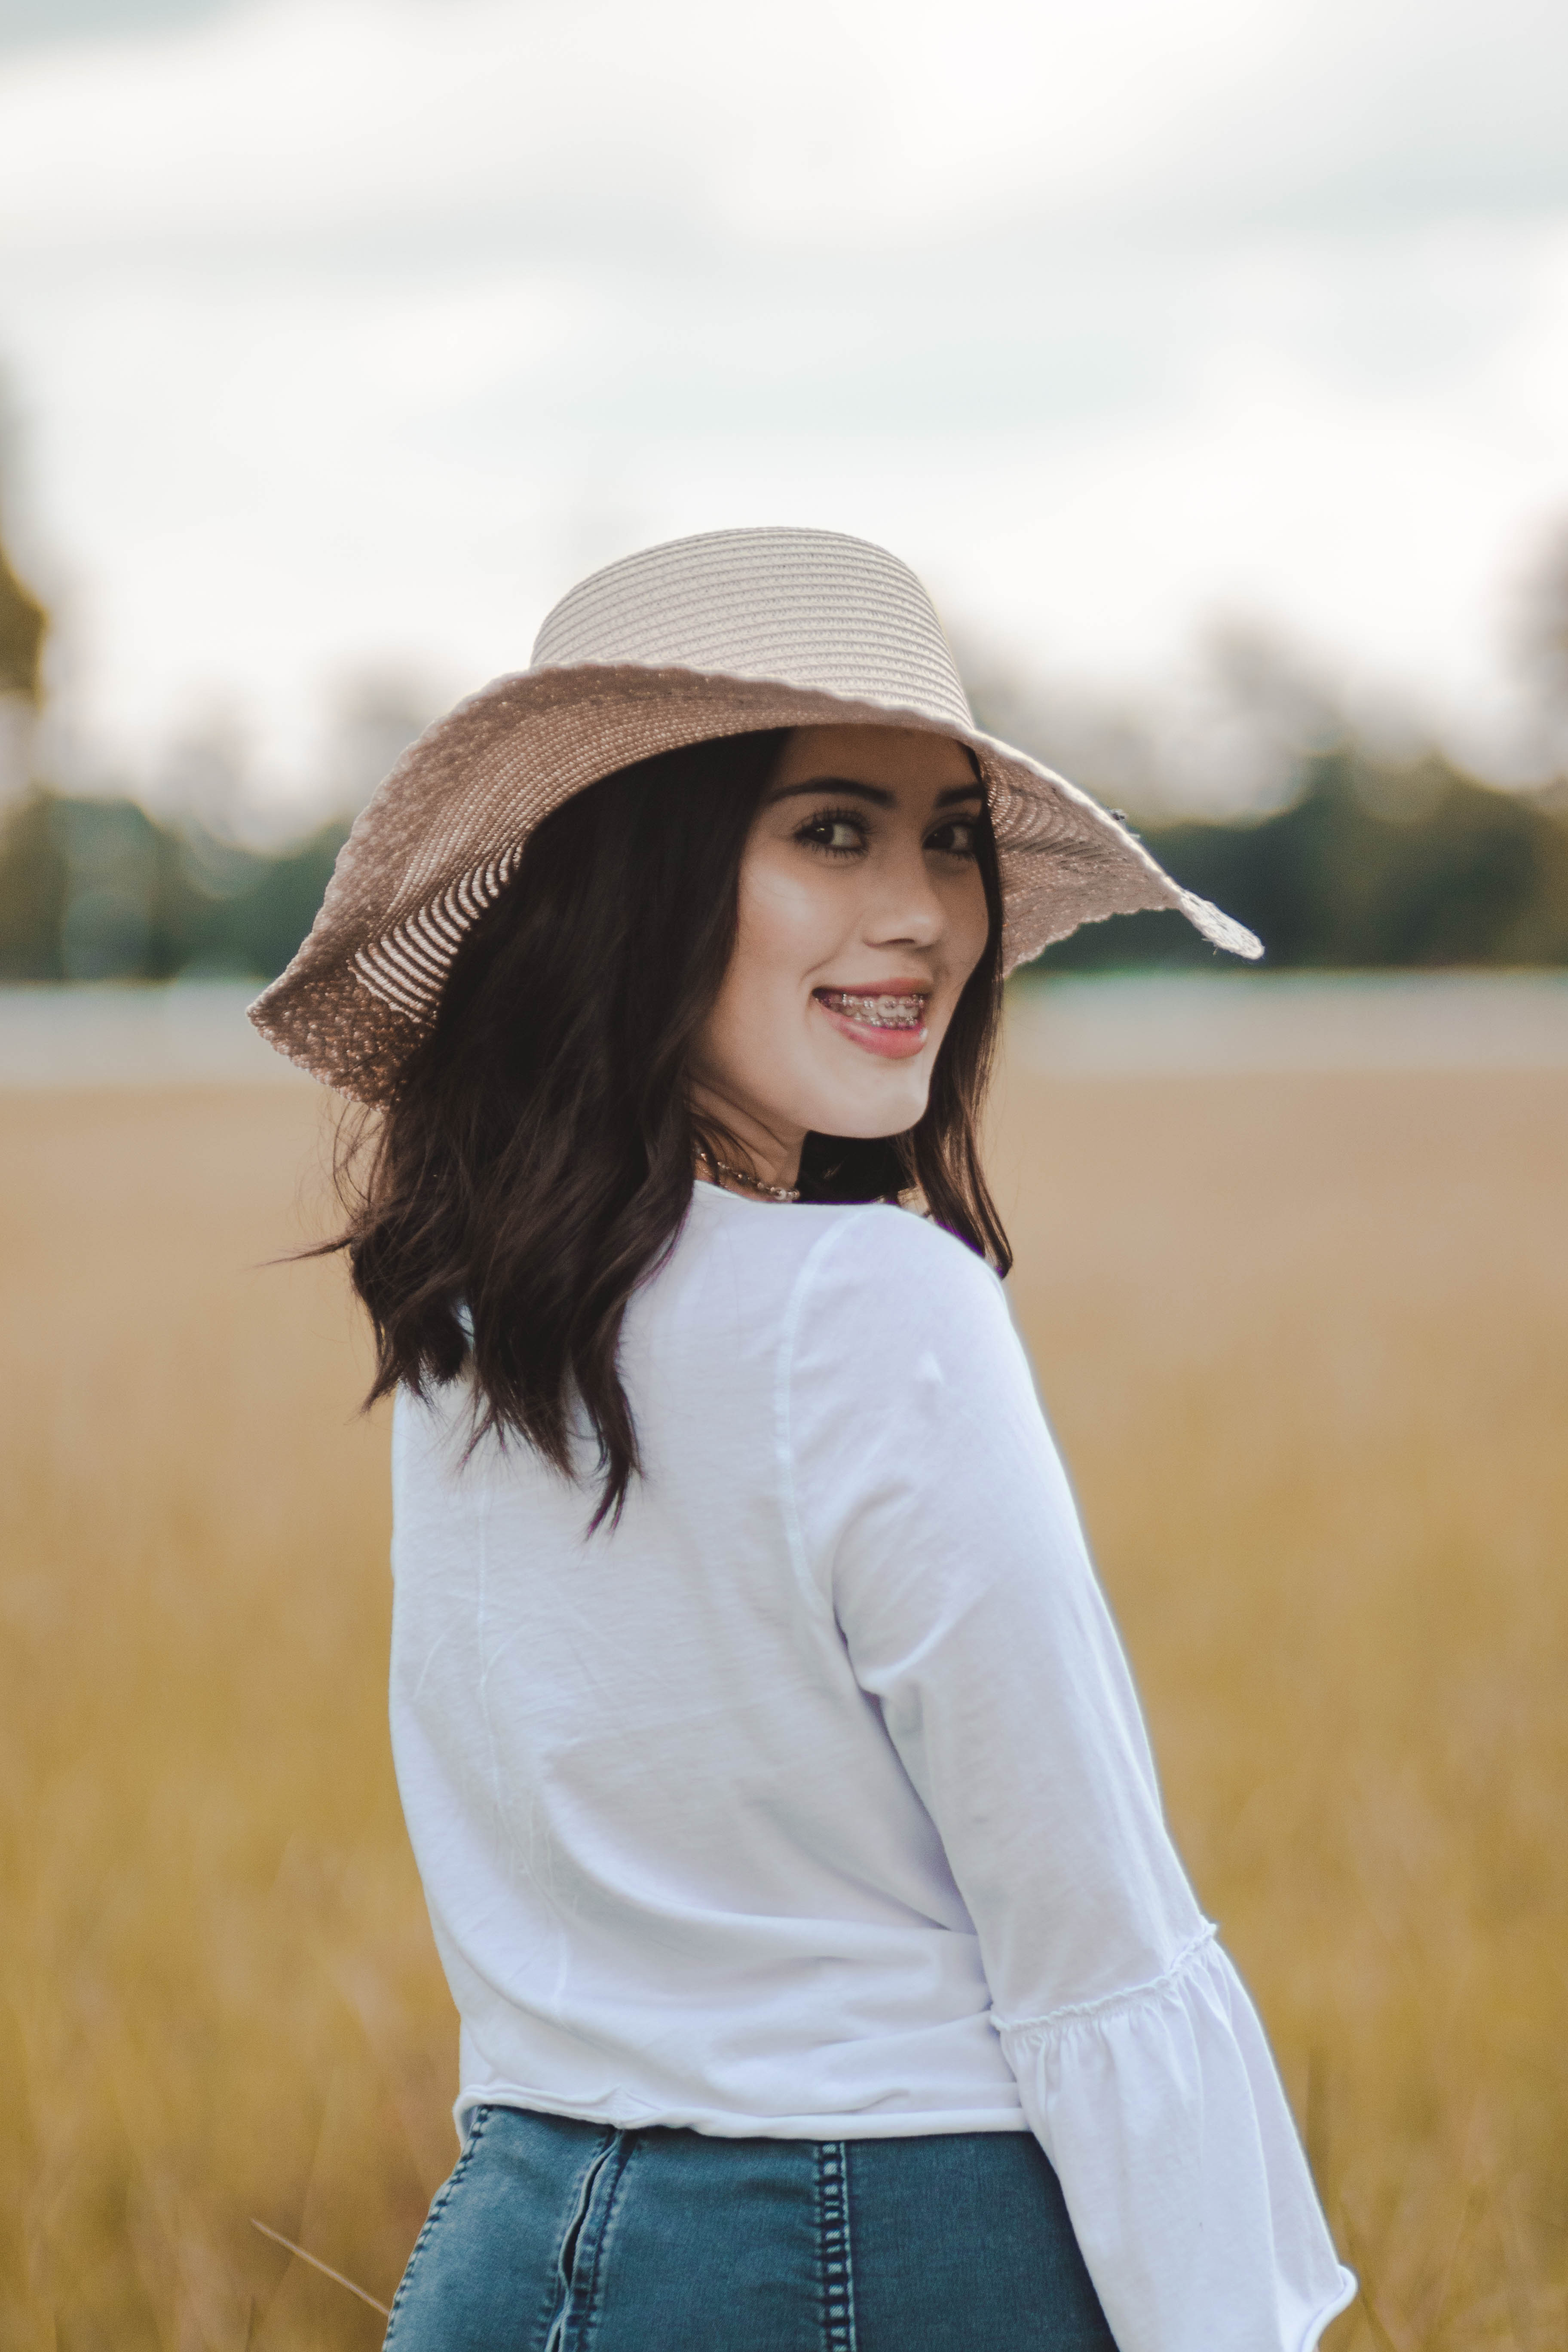
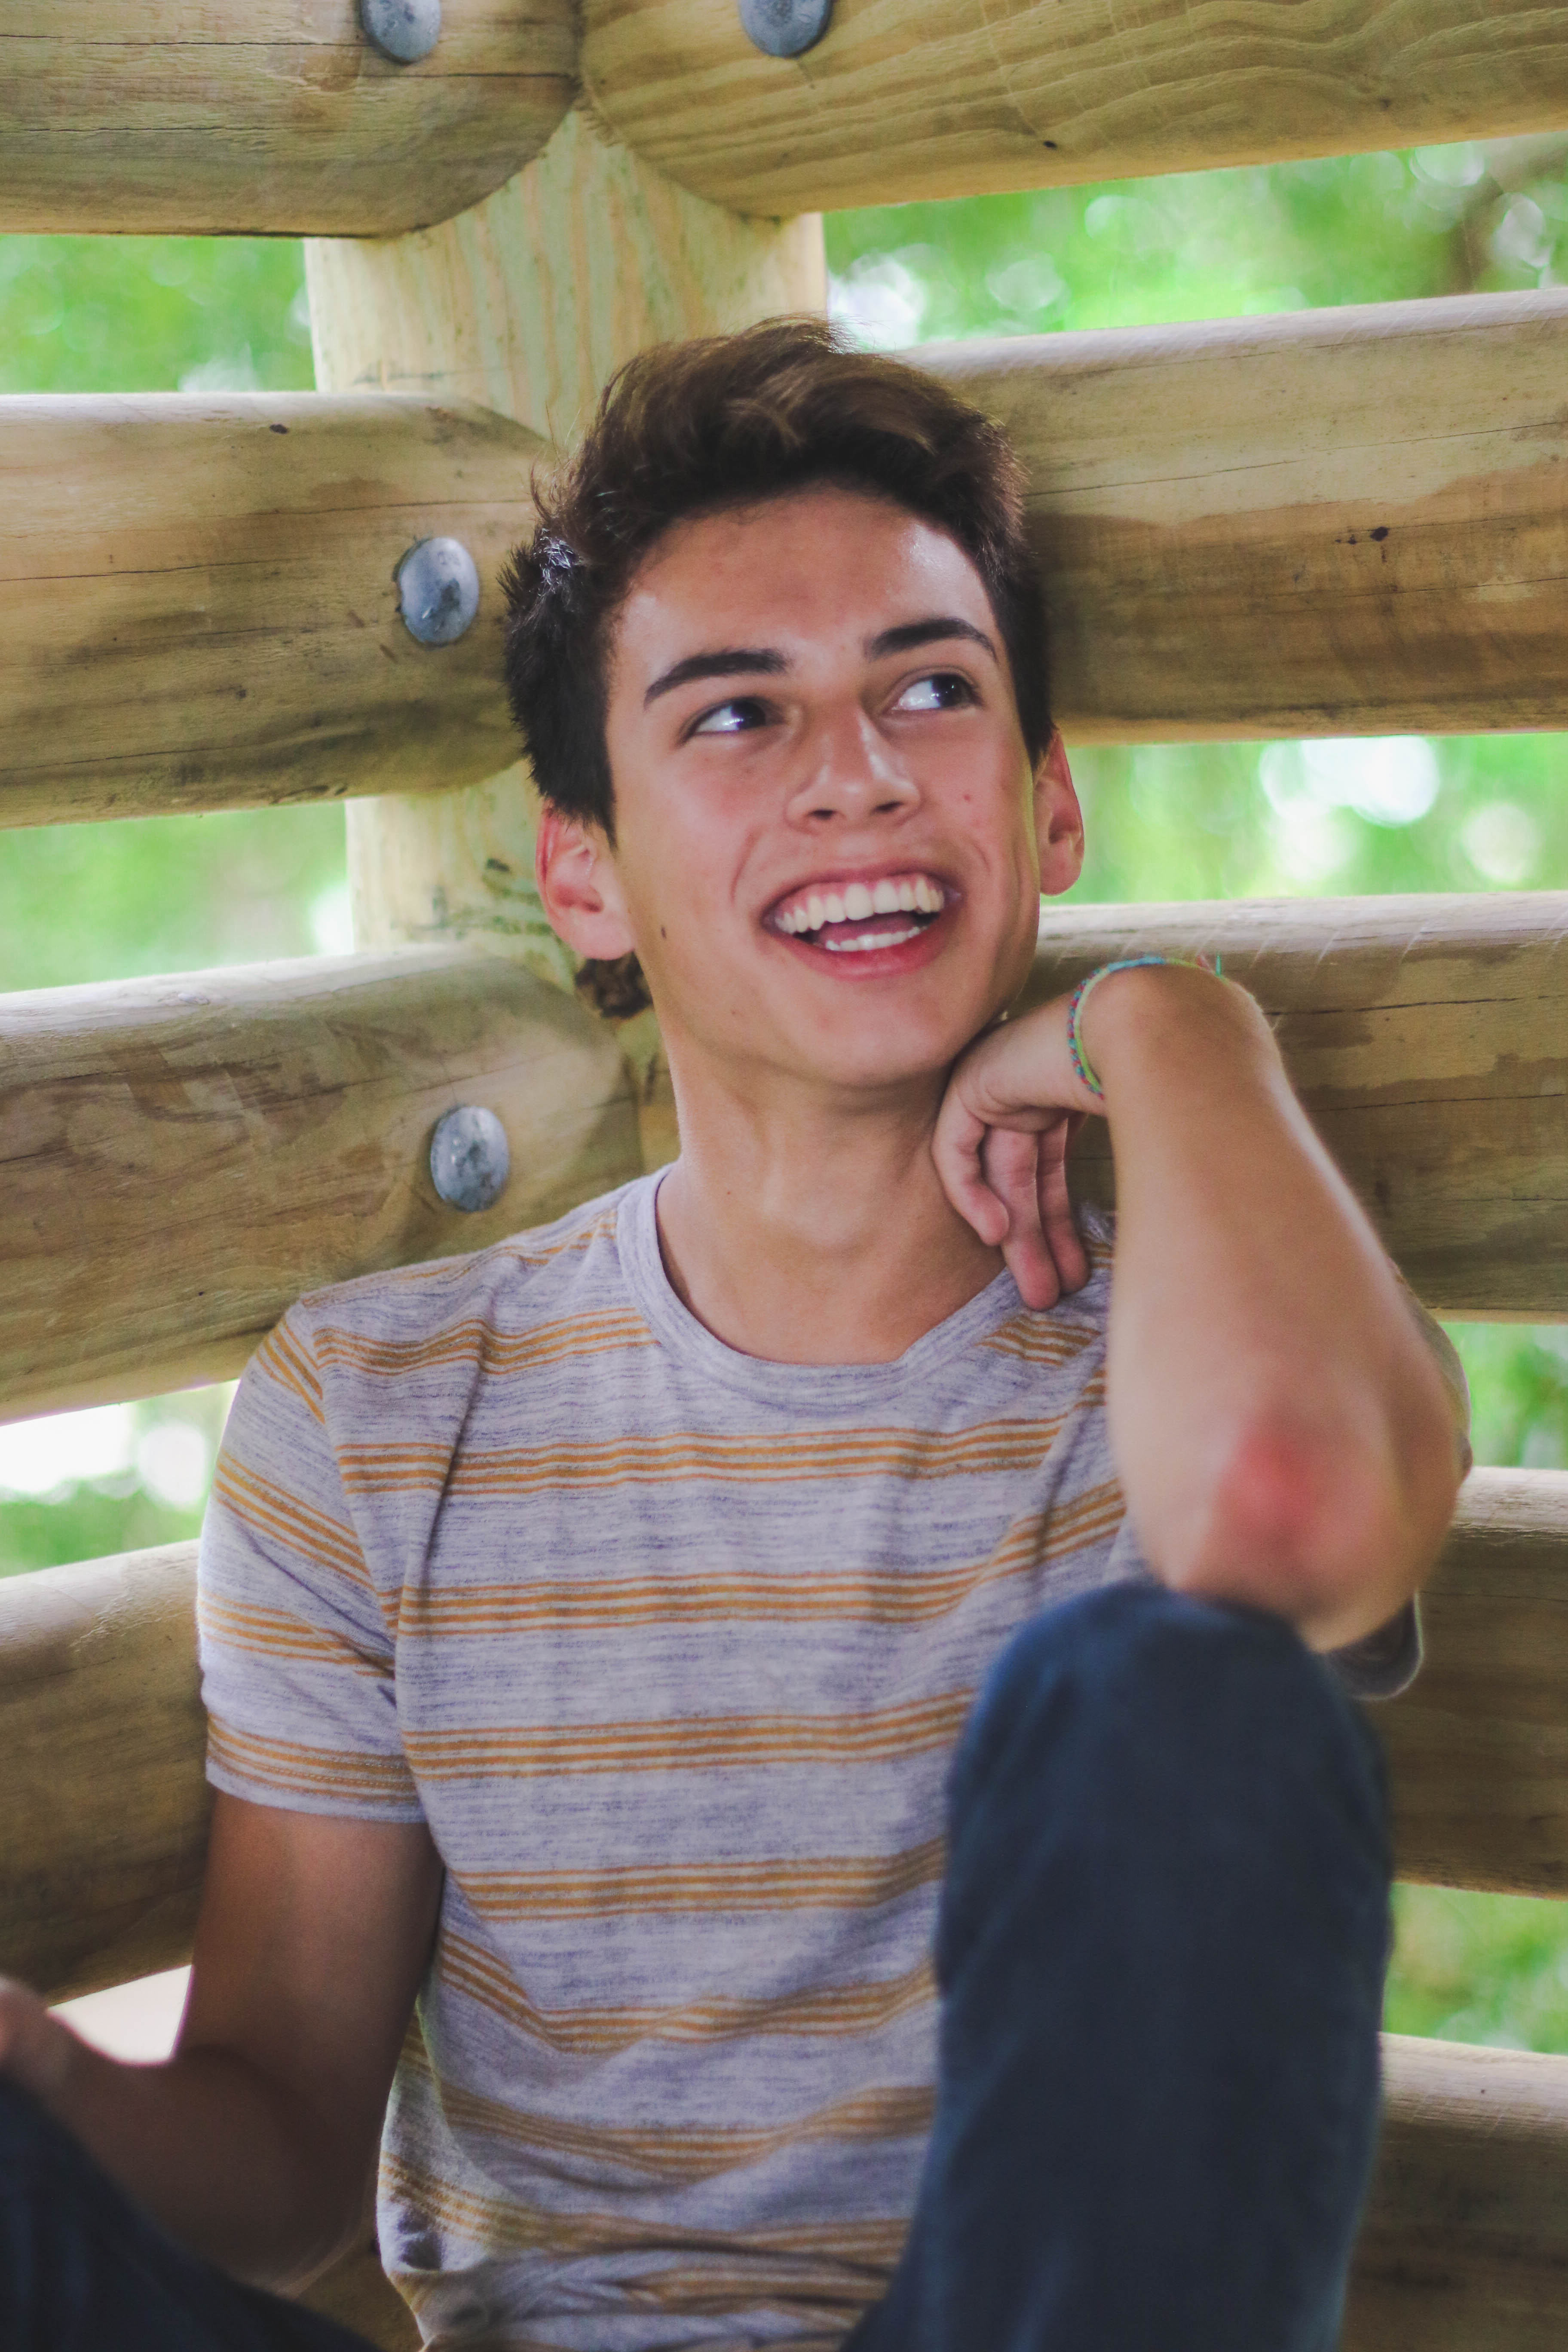
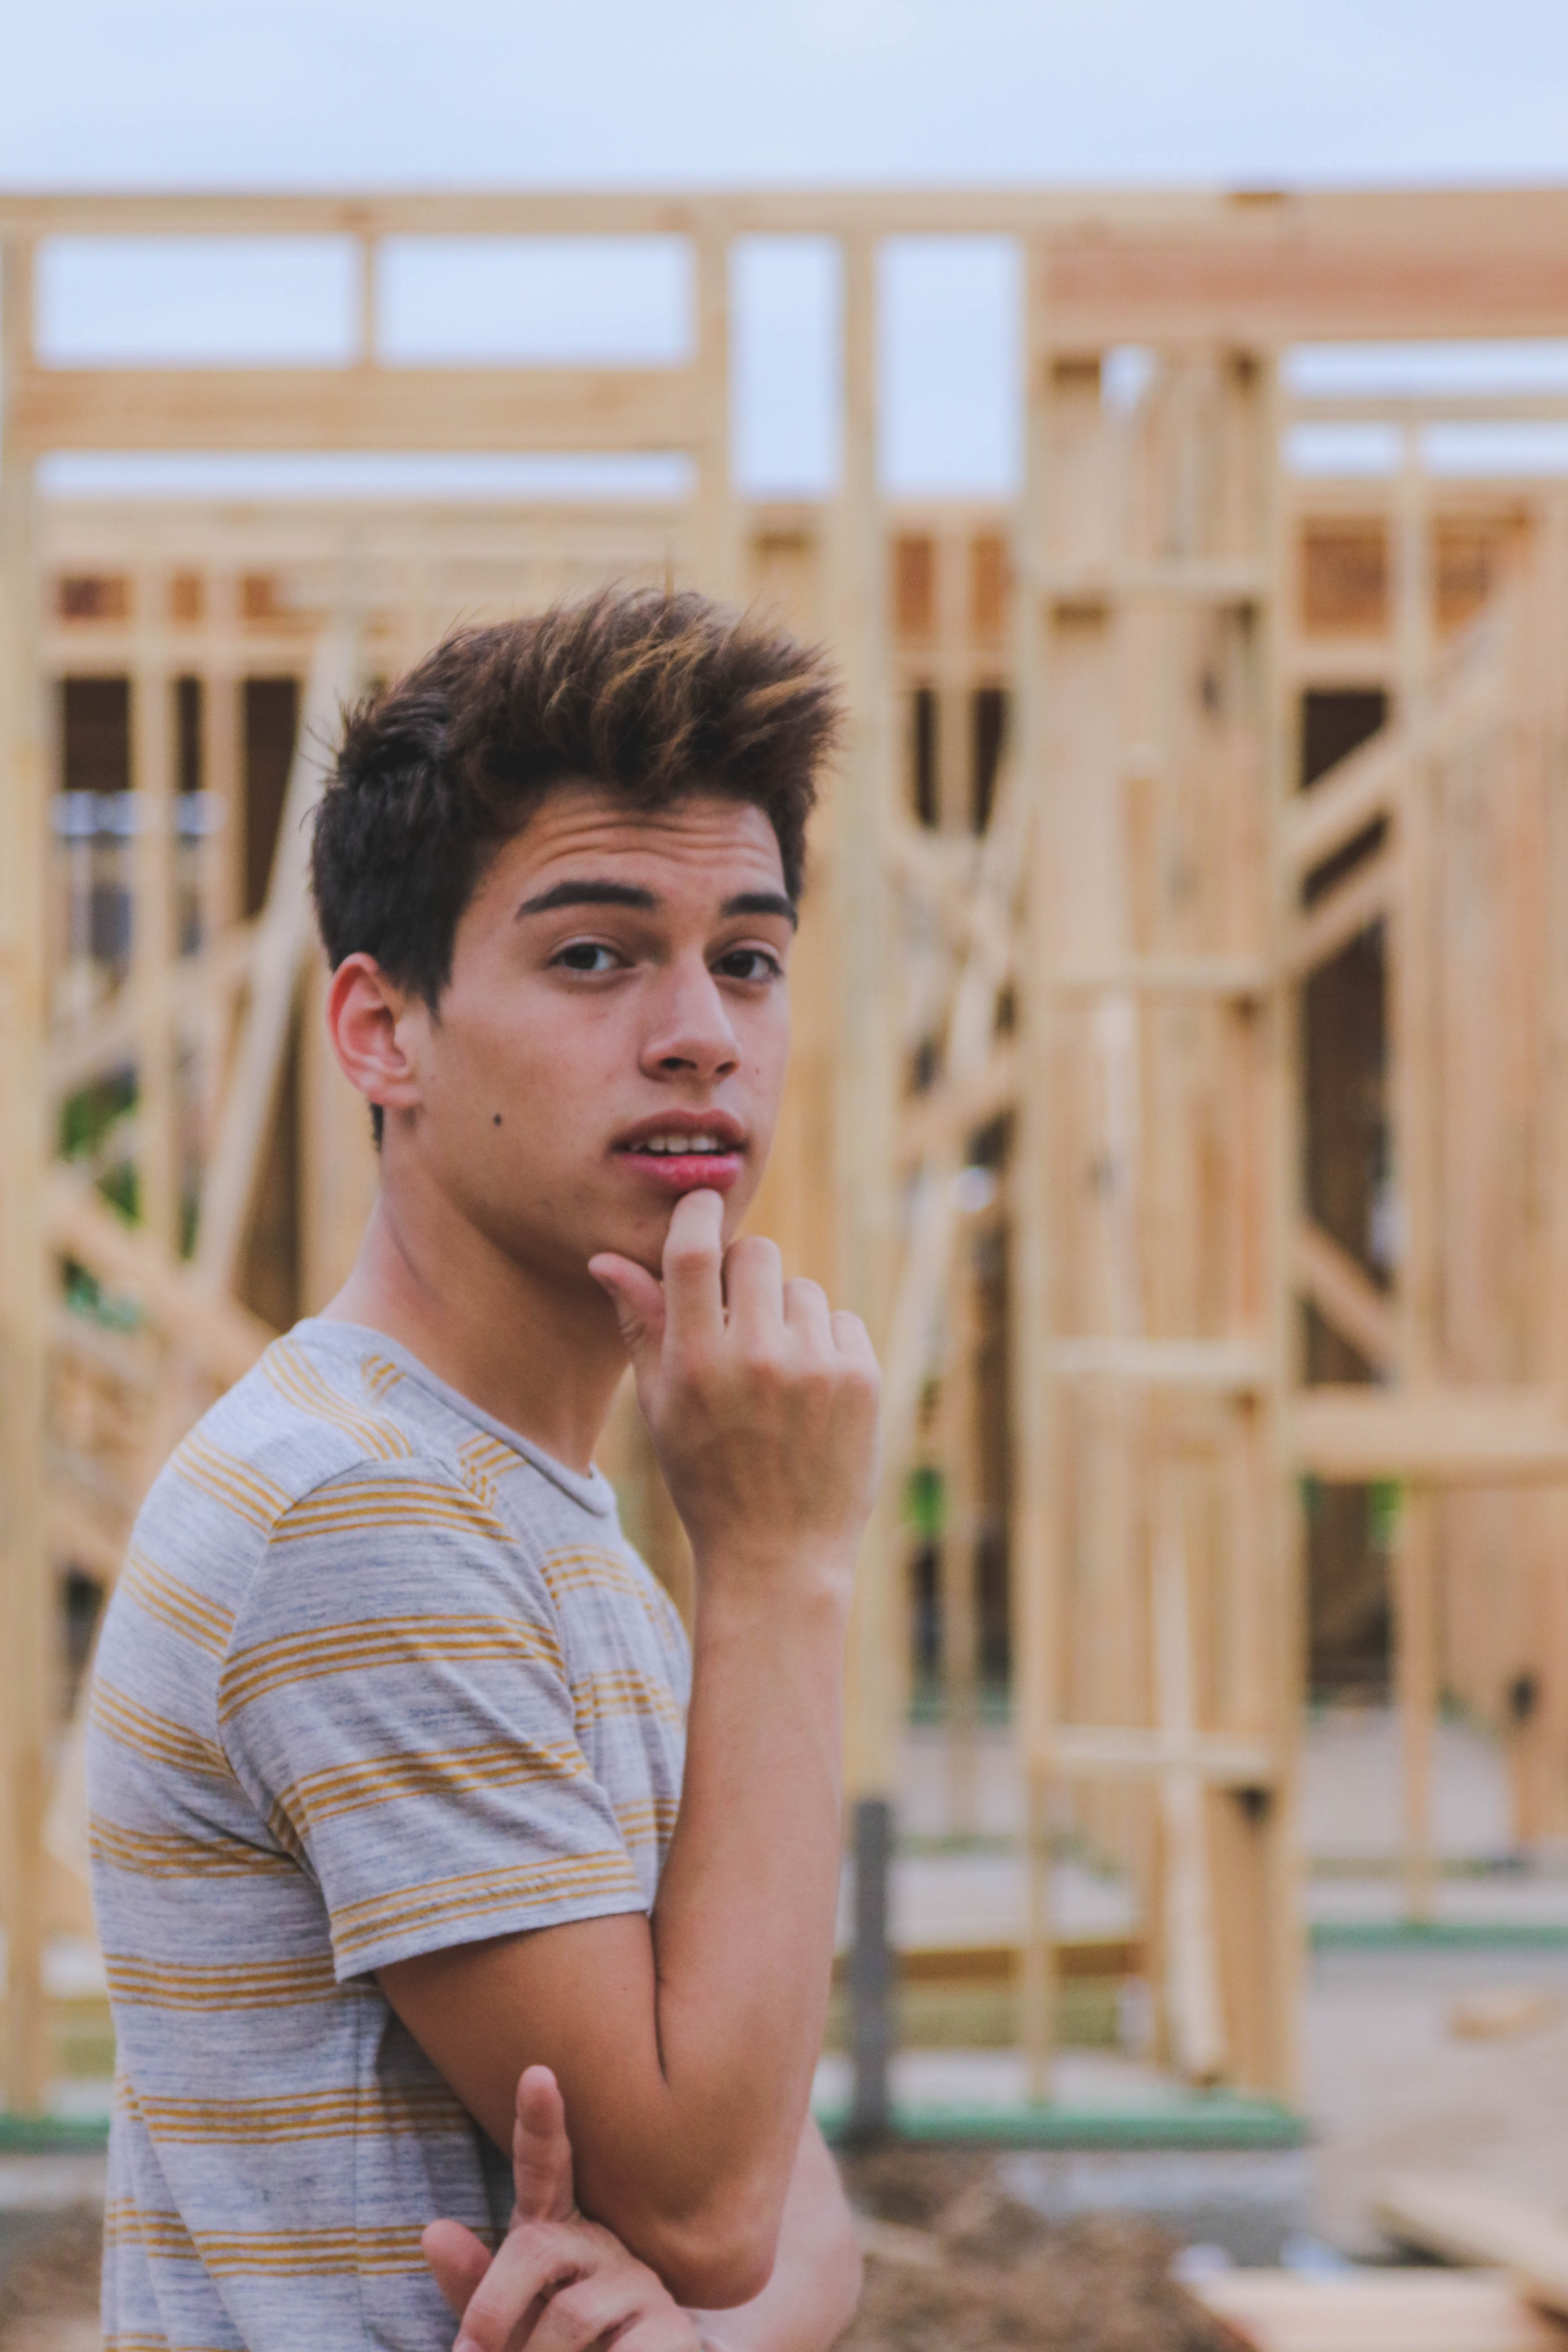
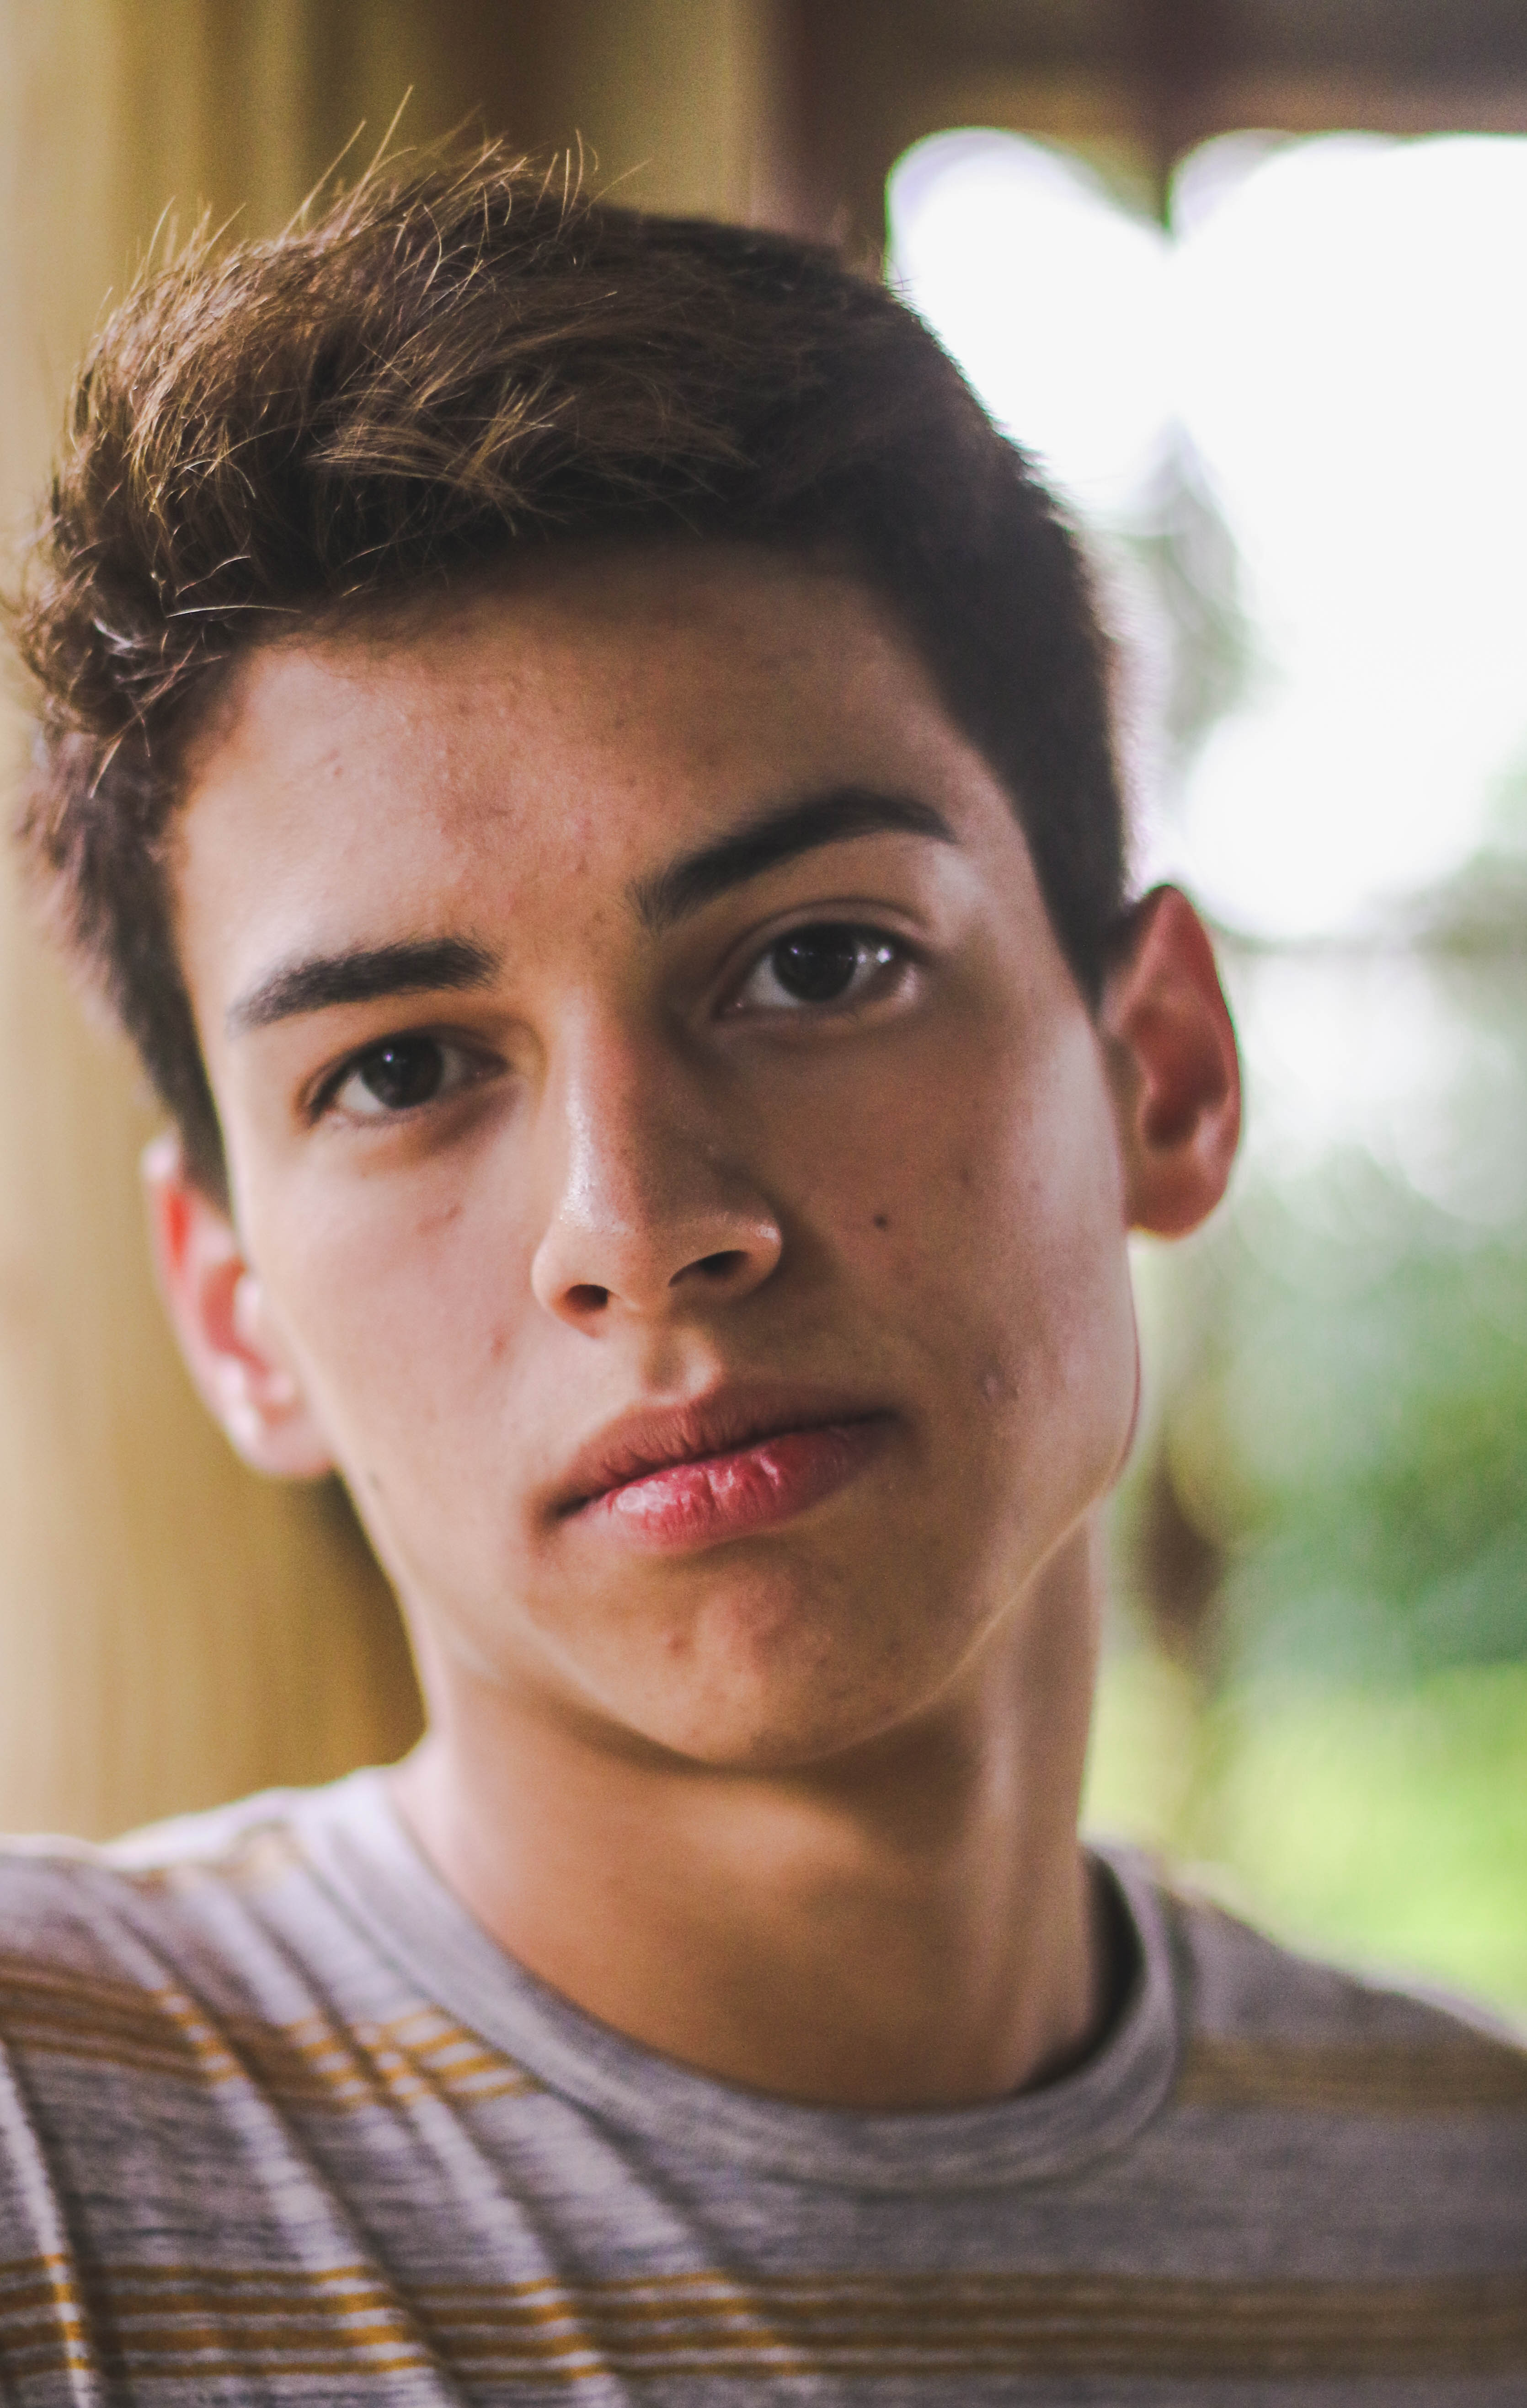
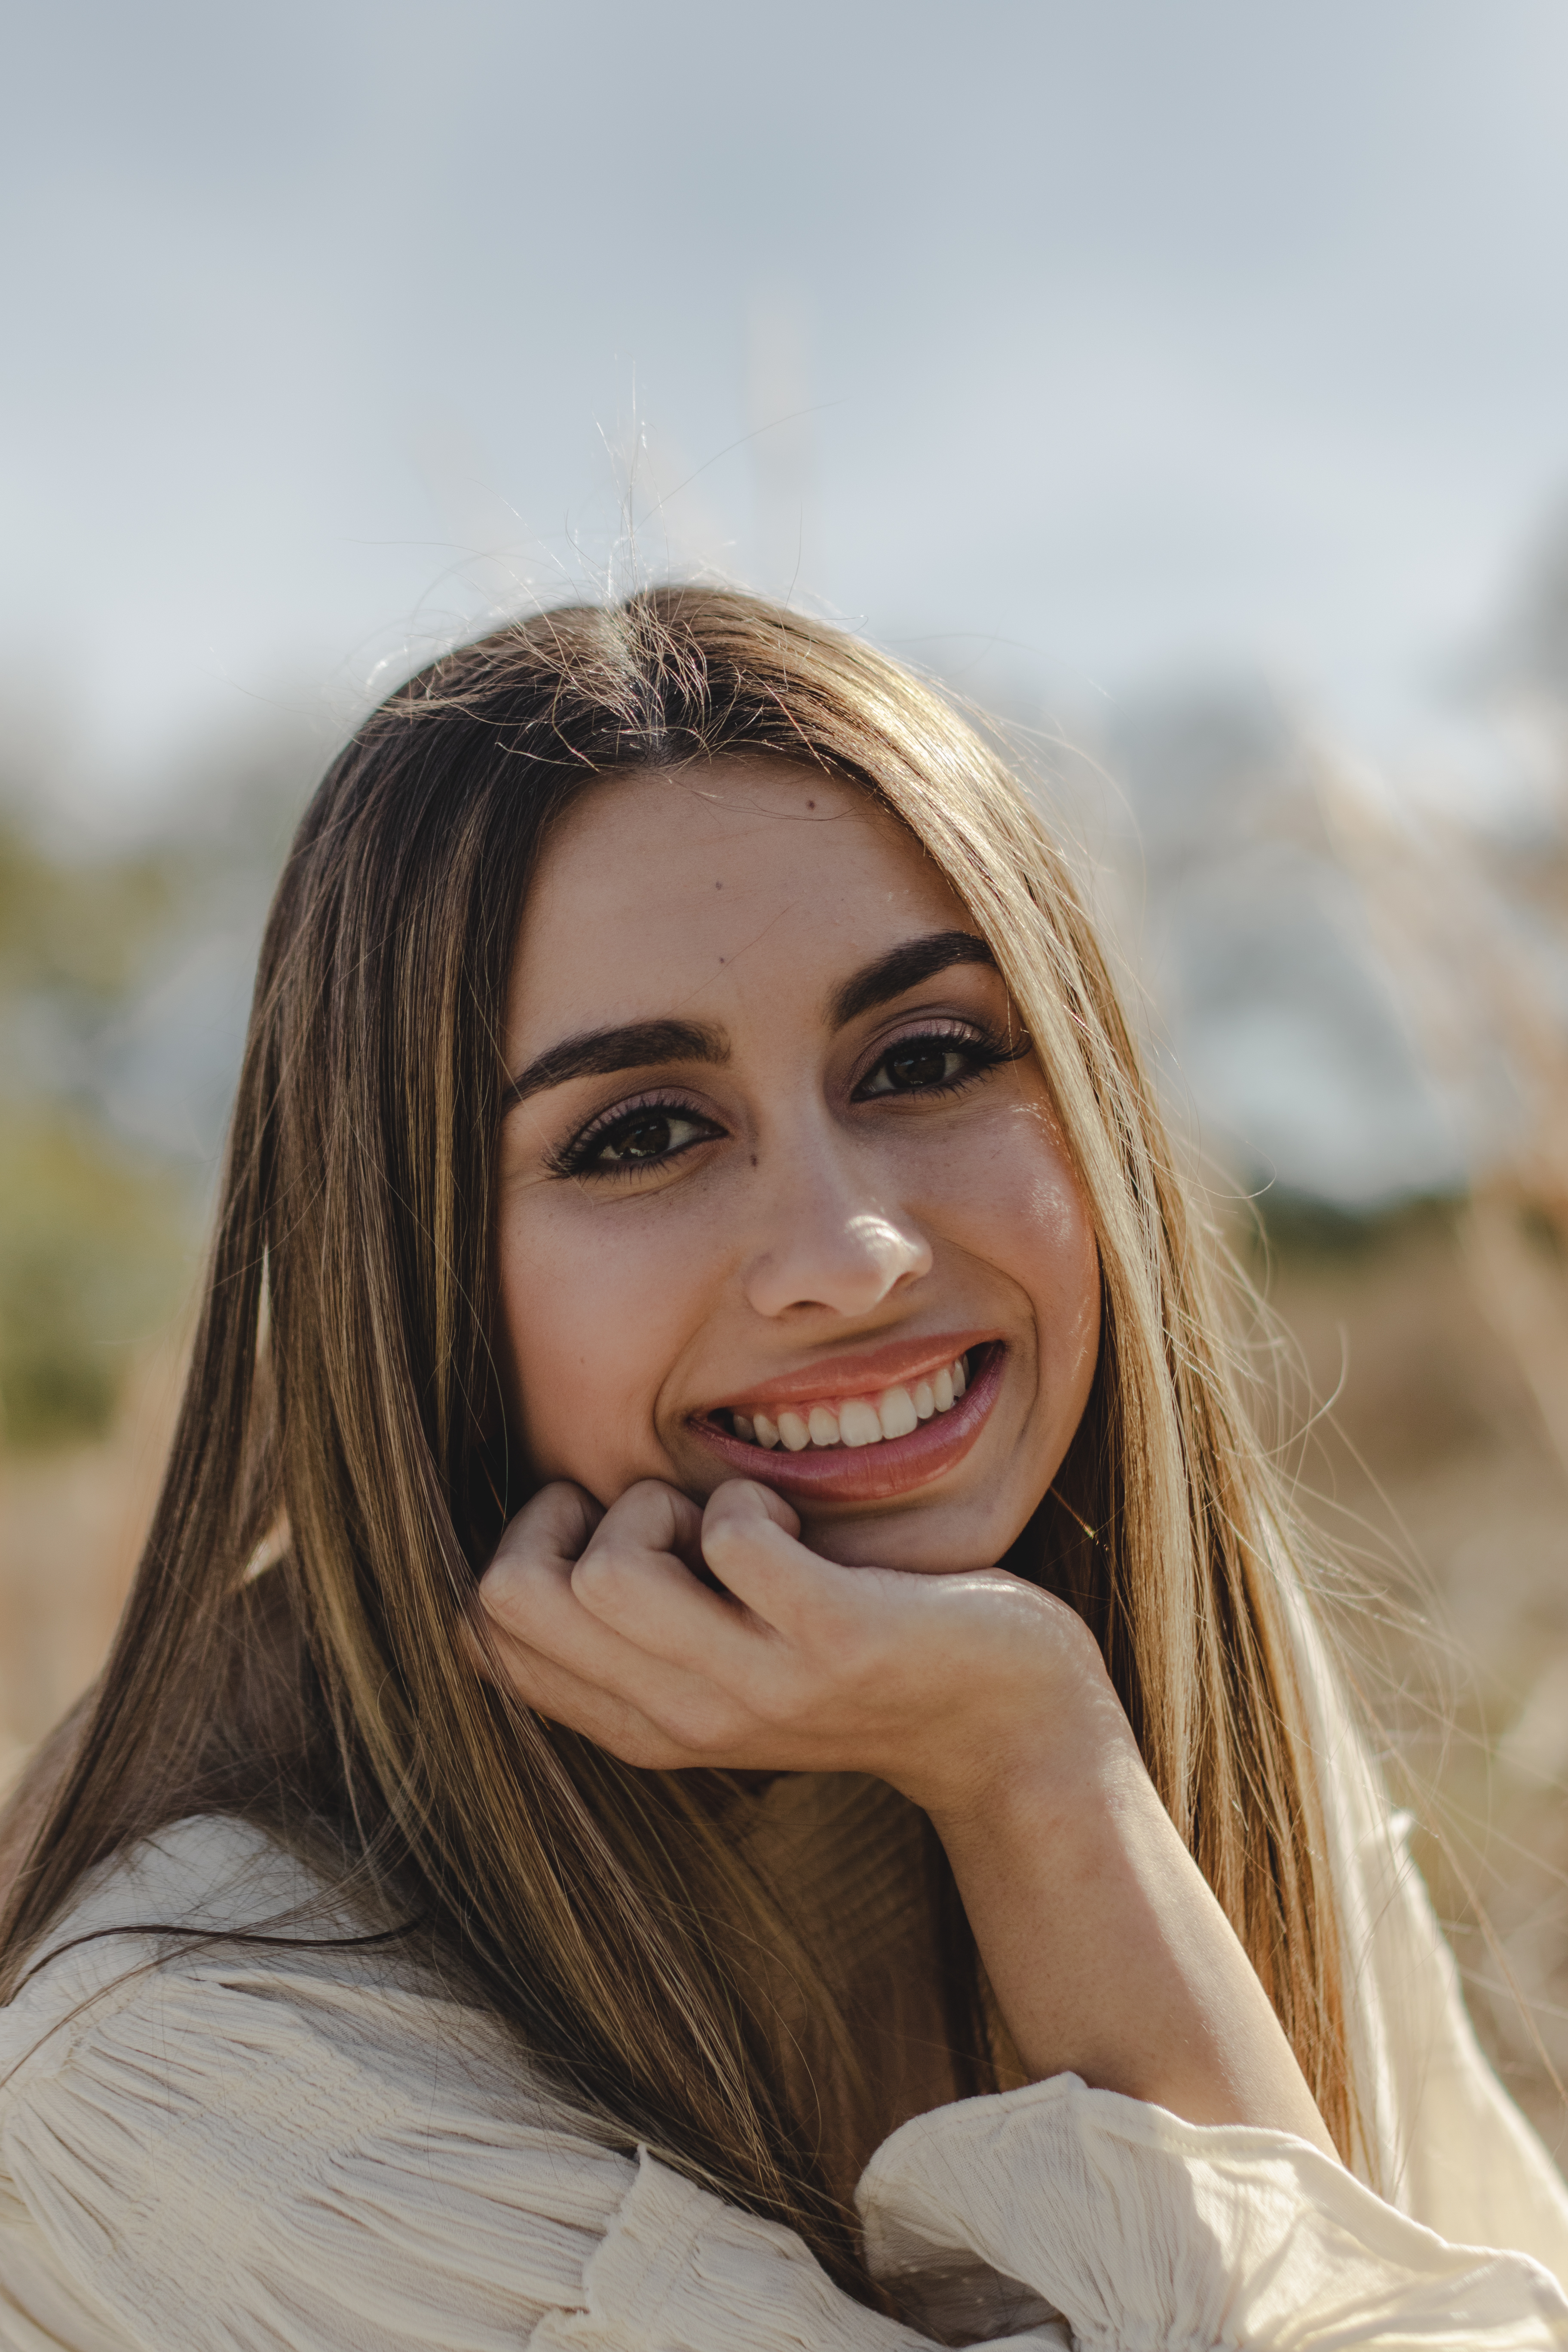
How do you describe your style?
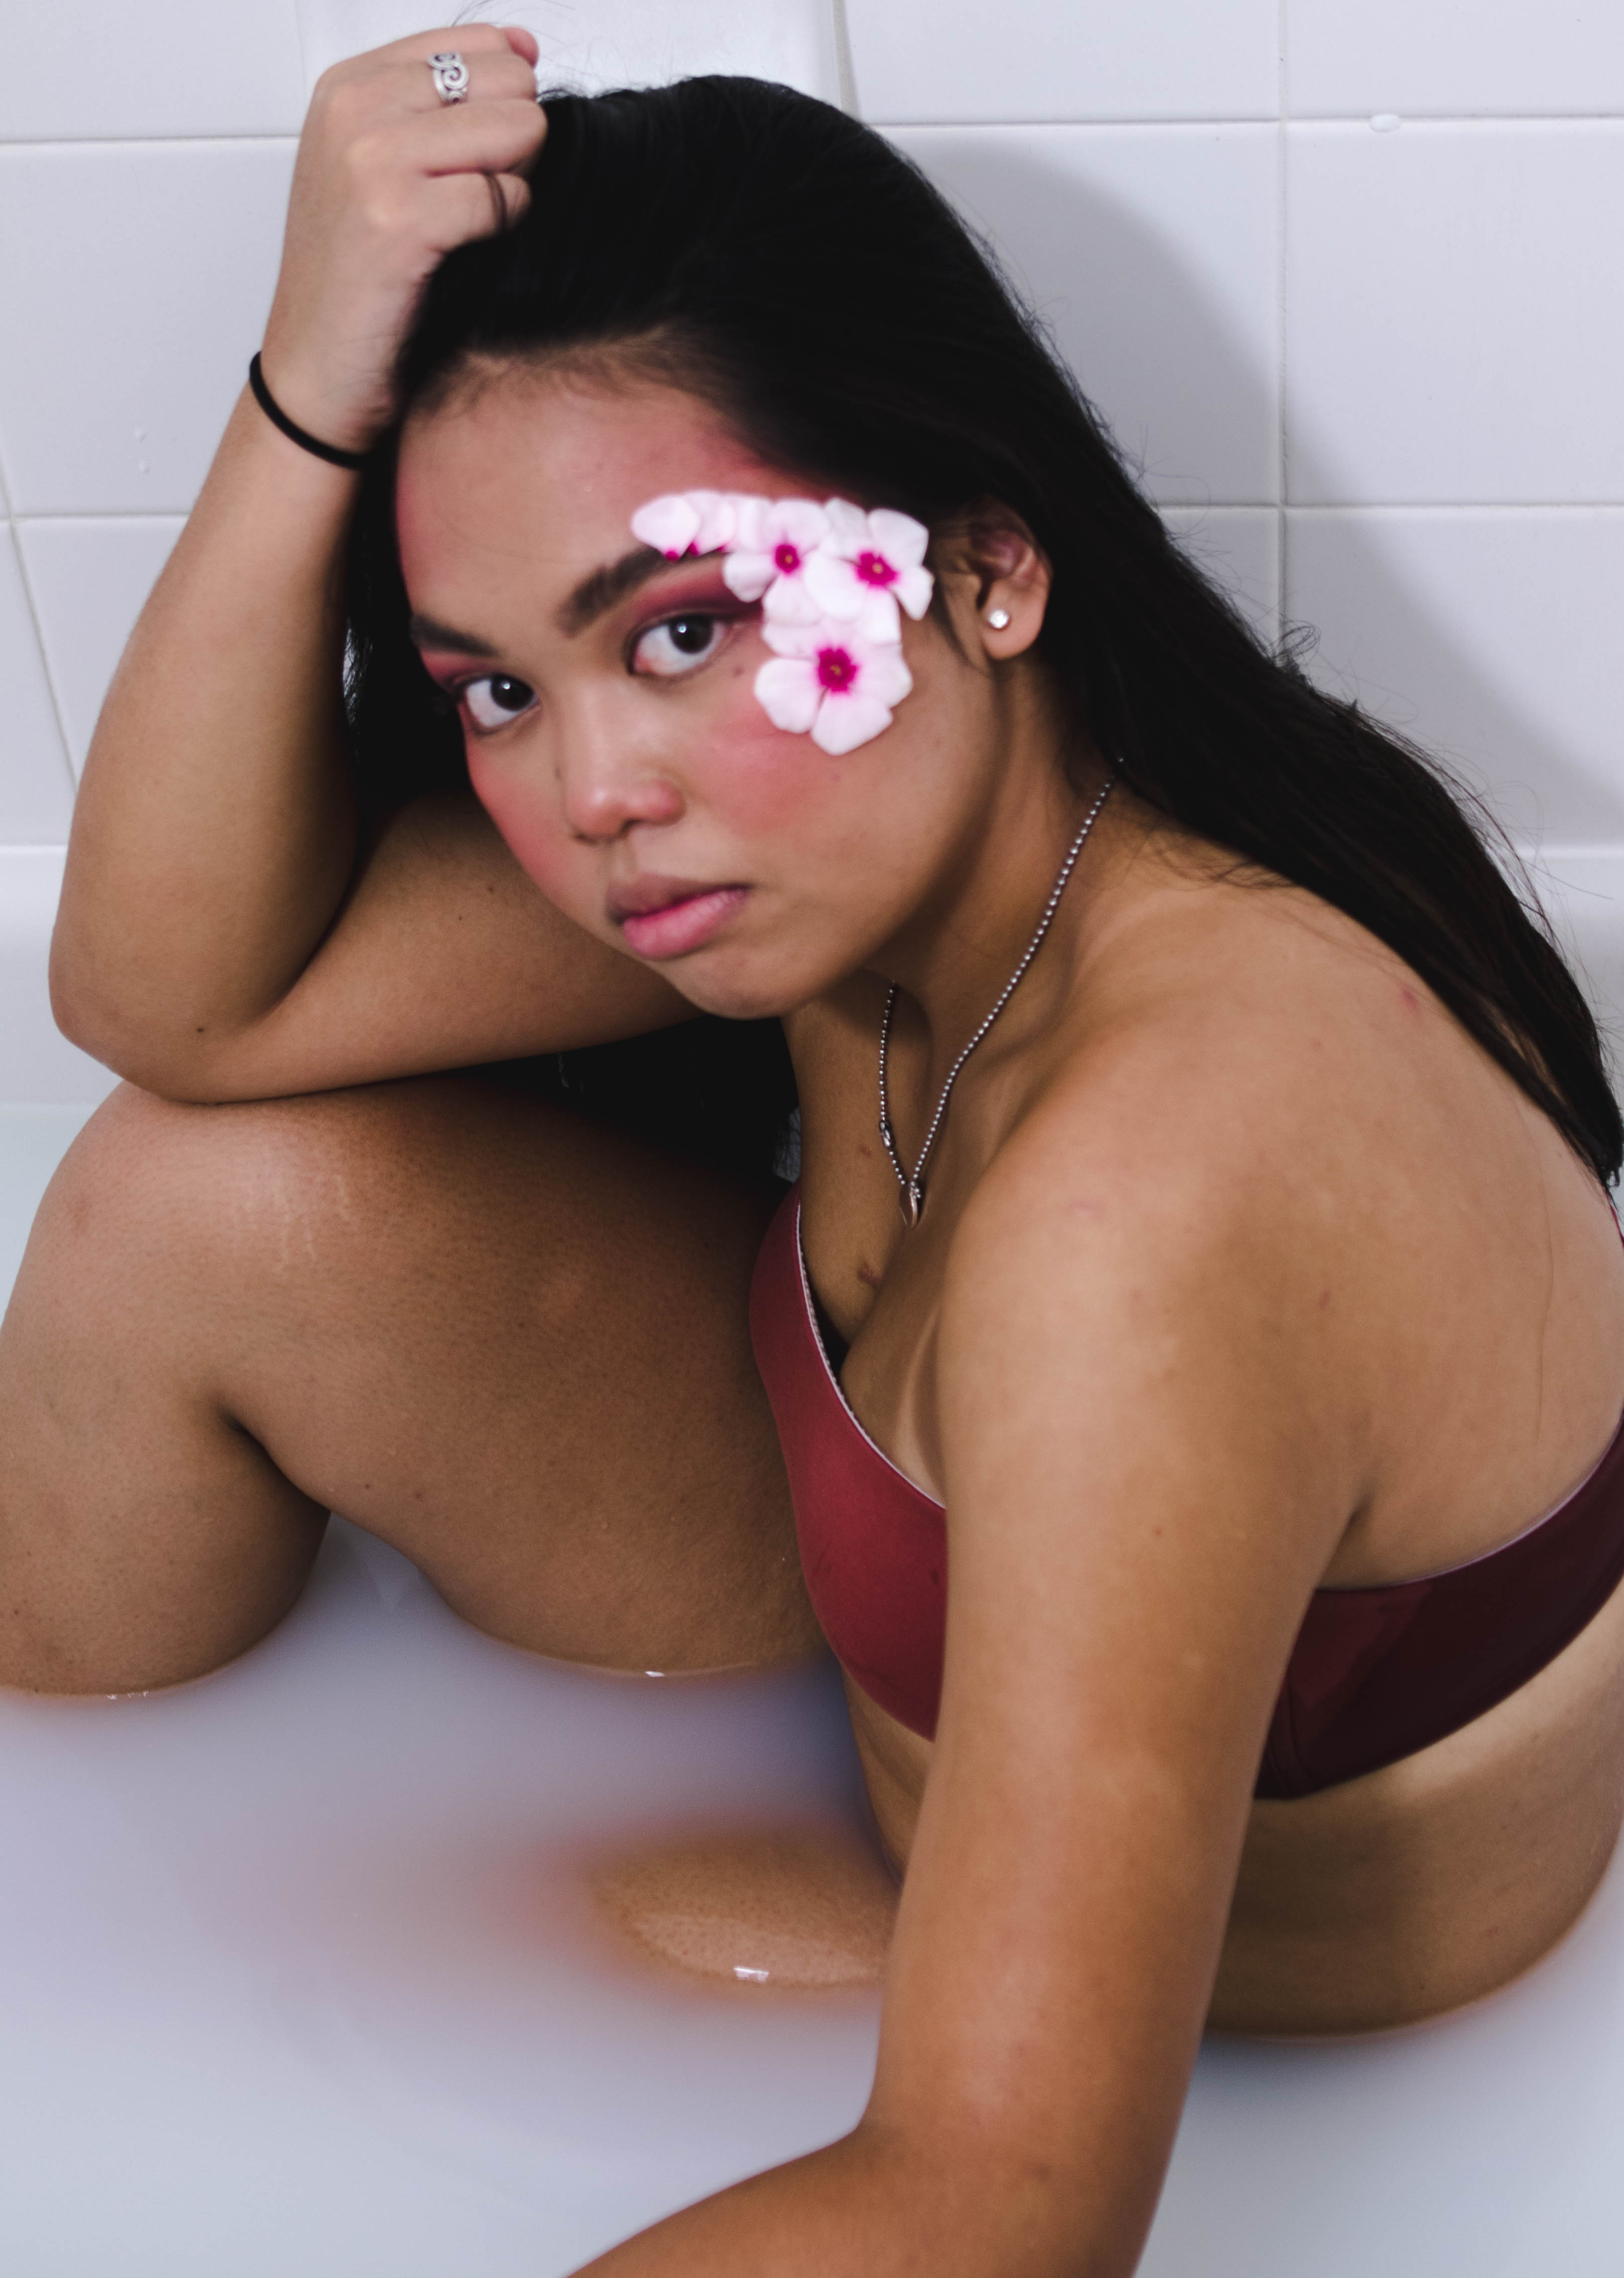
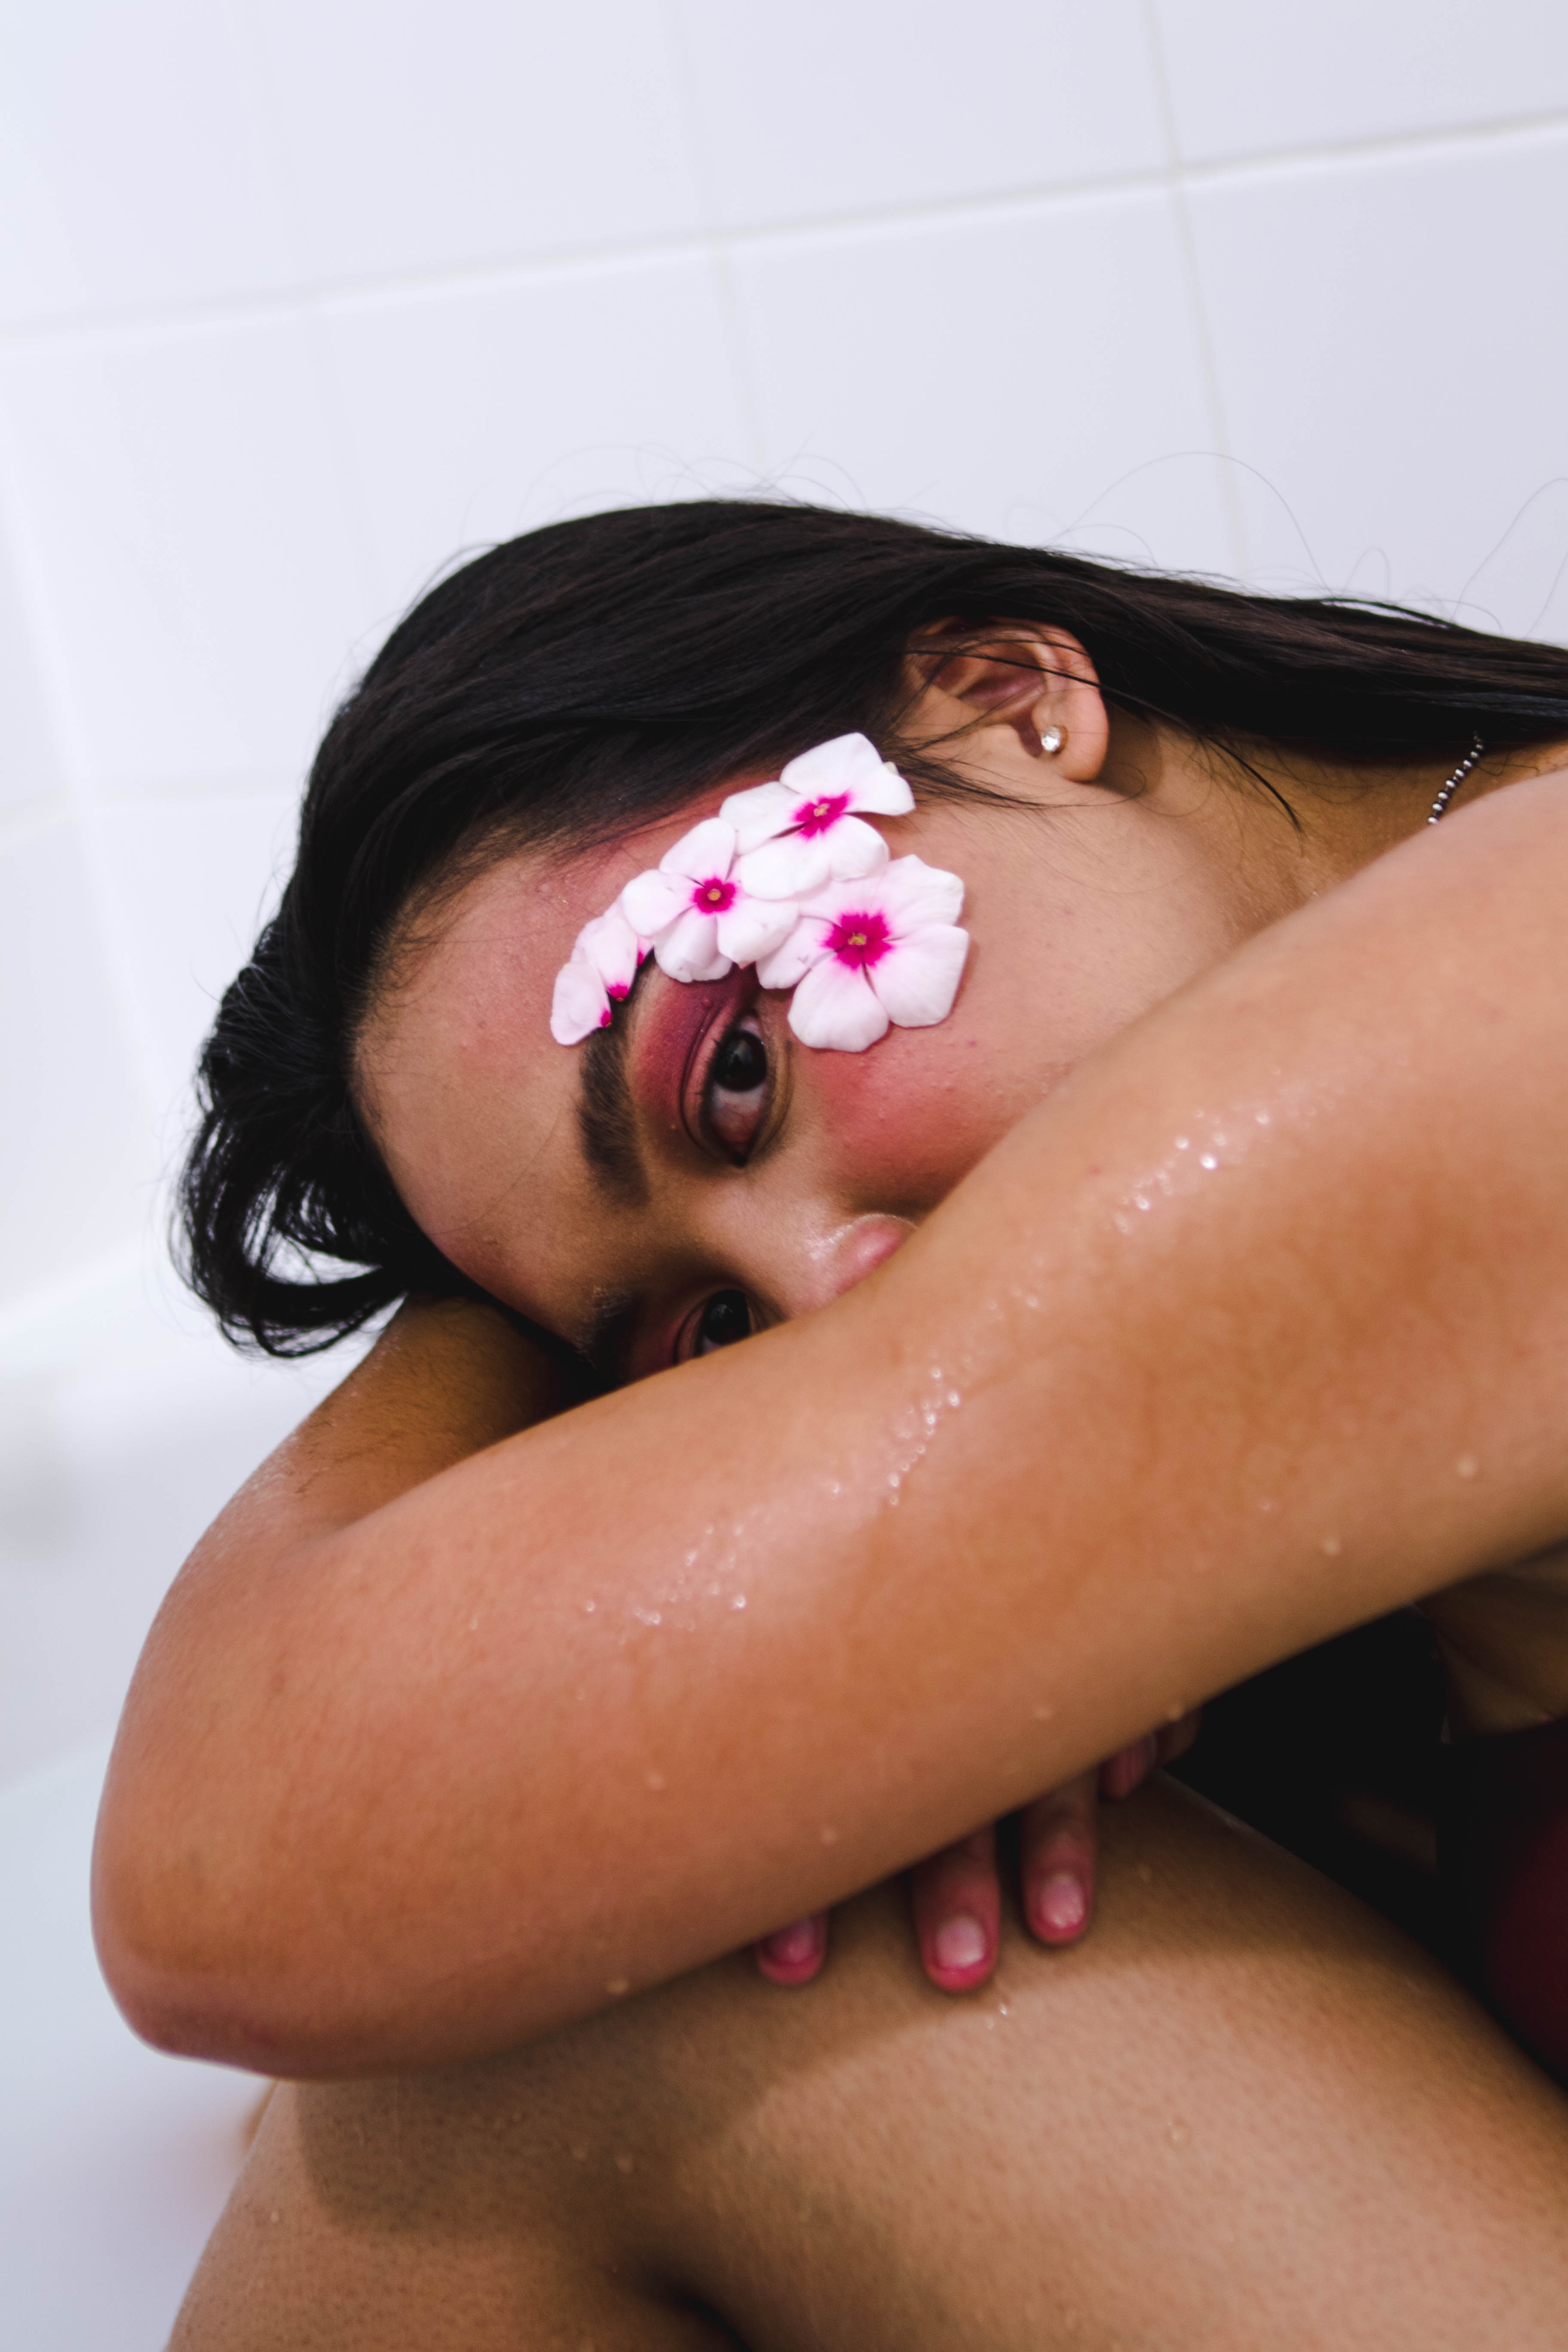
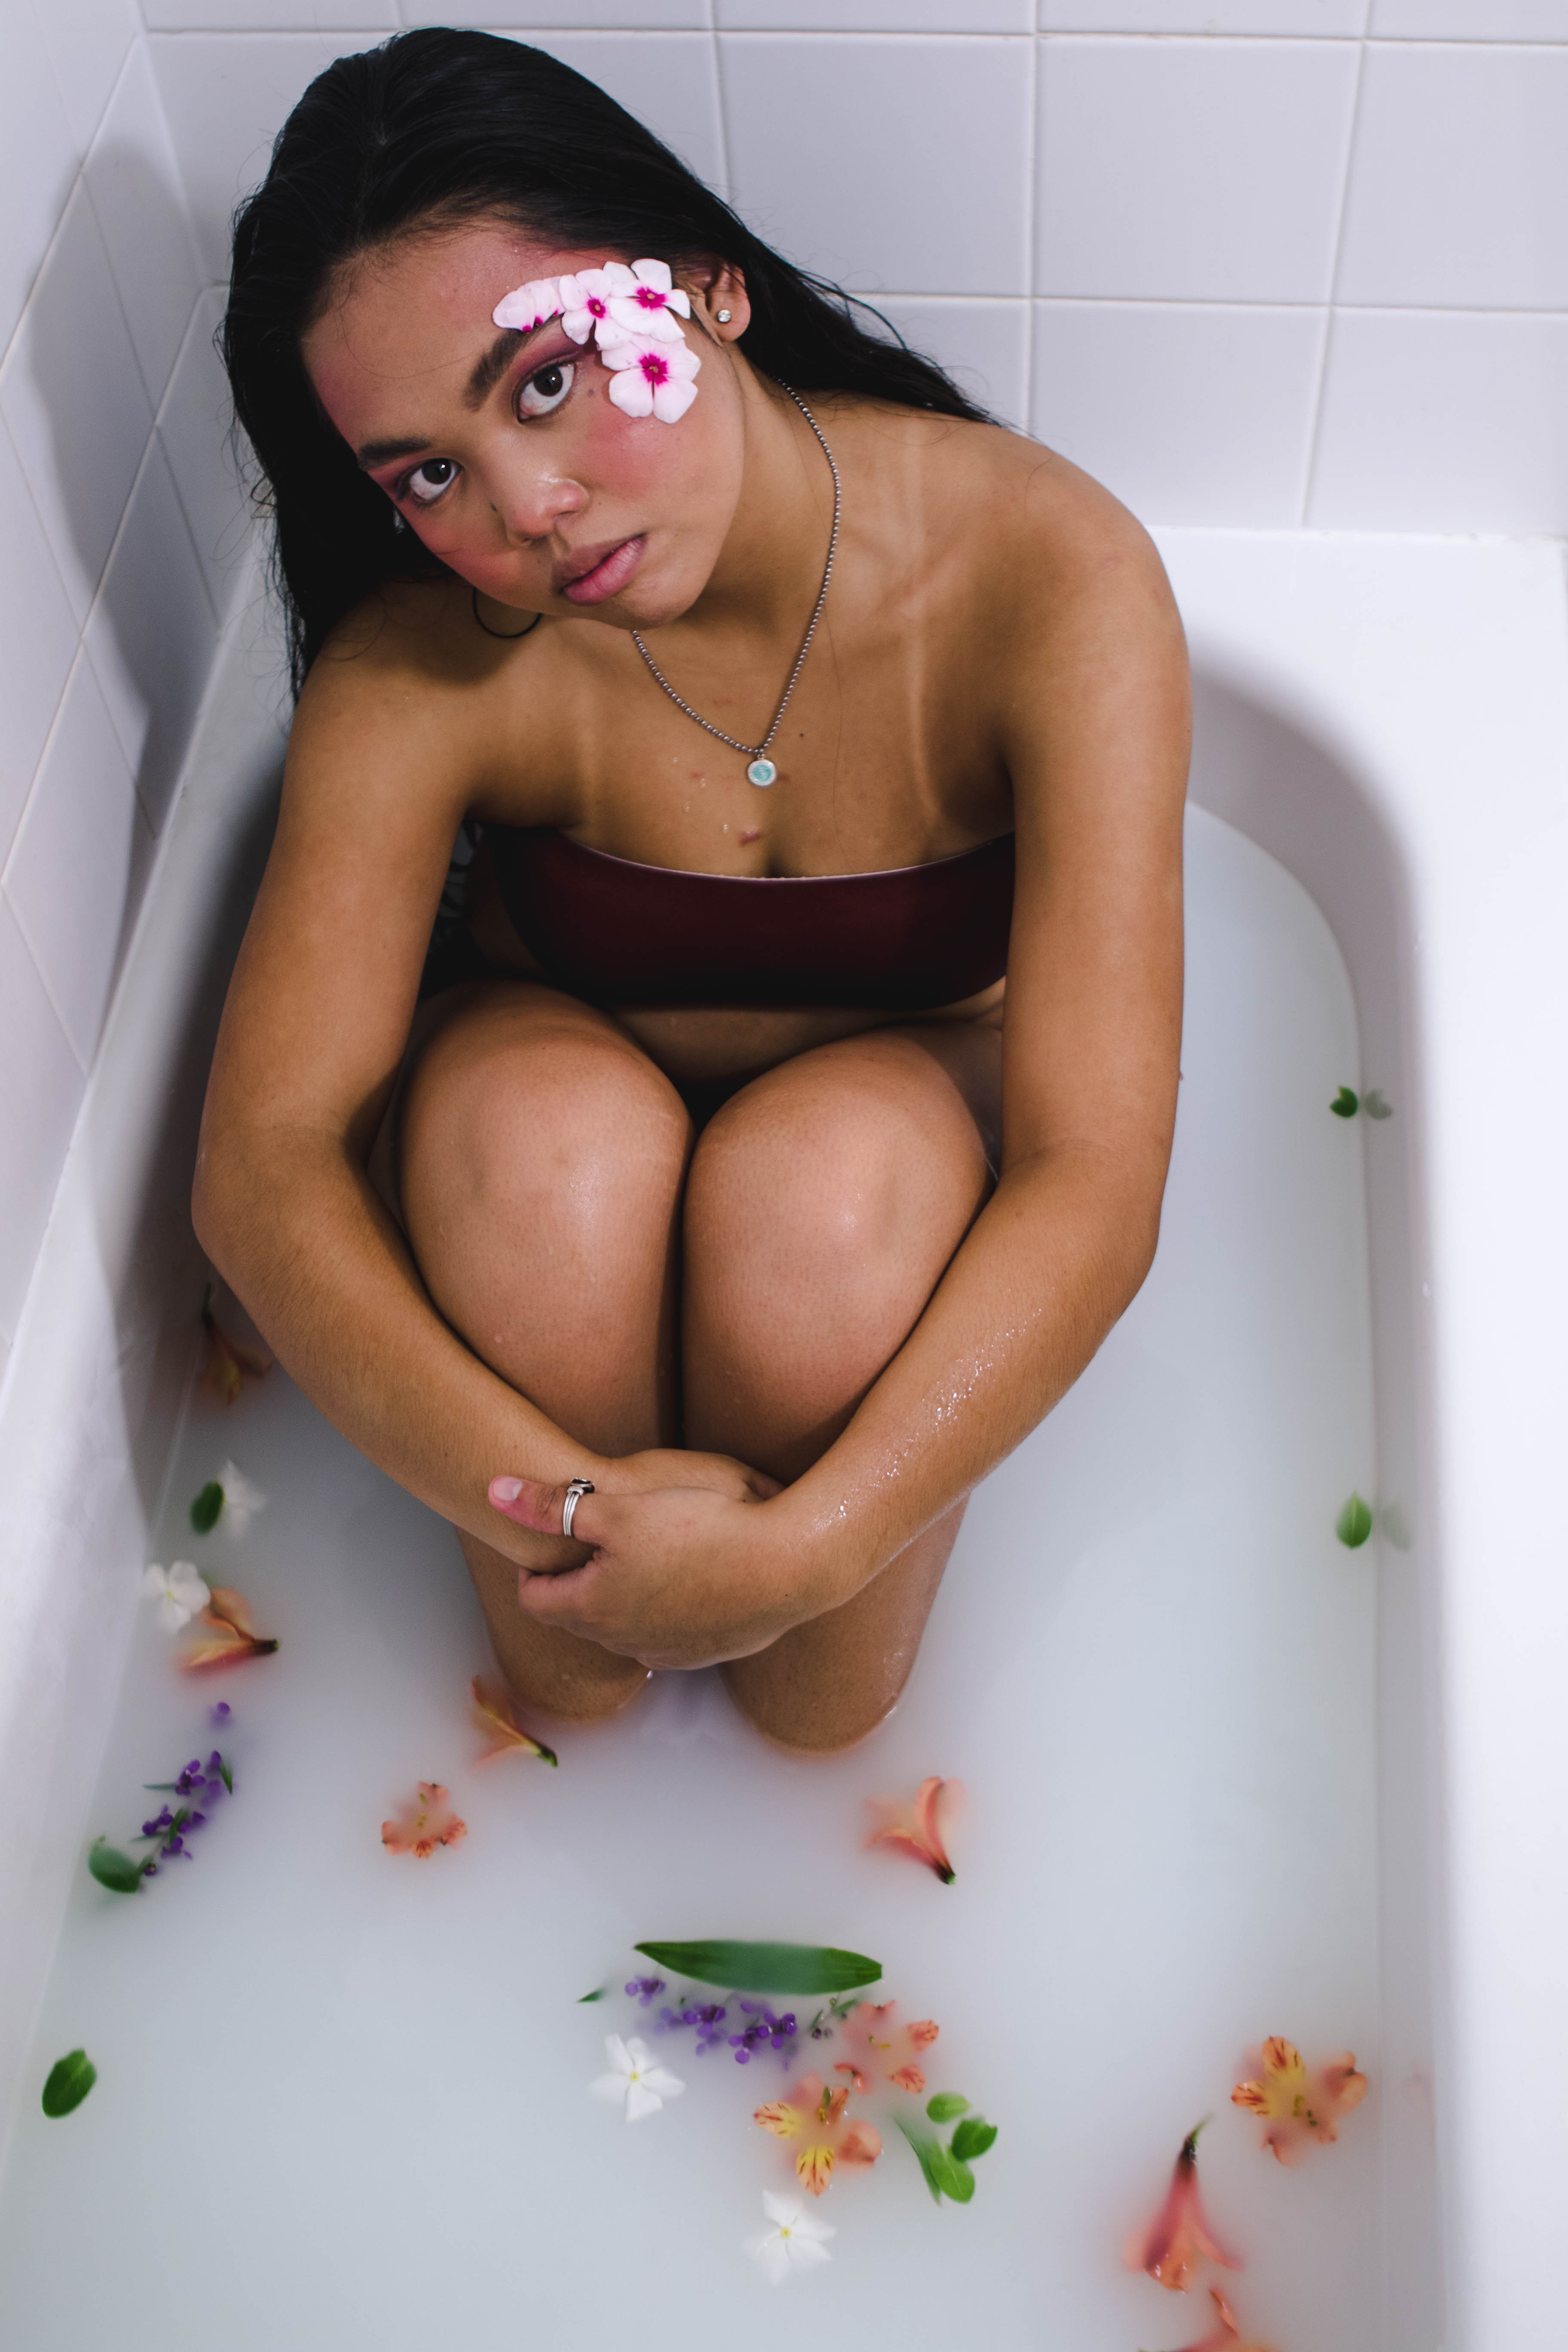
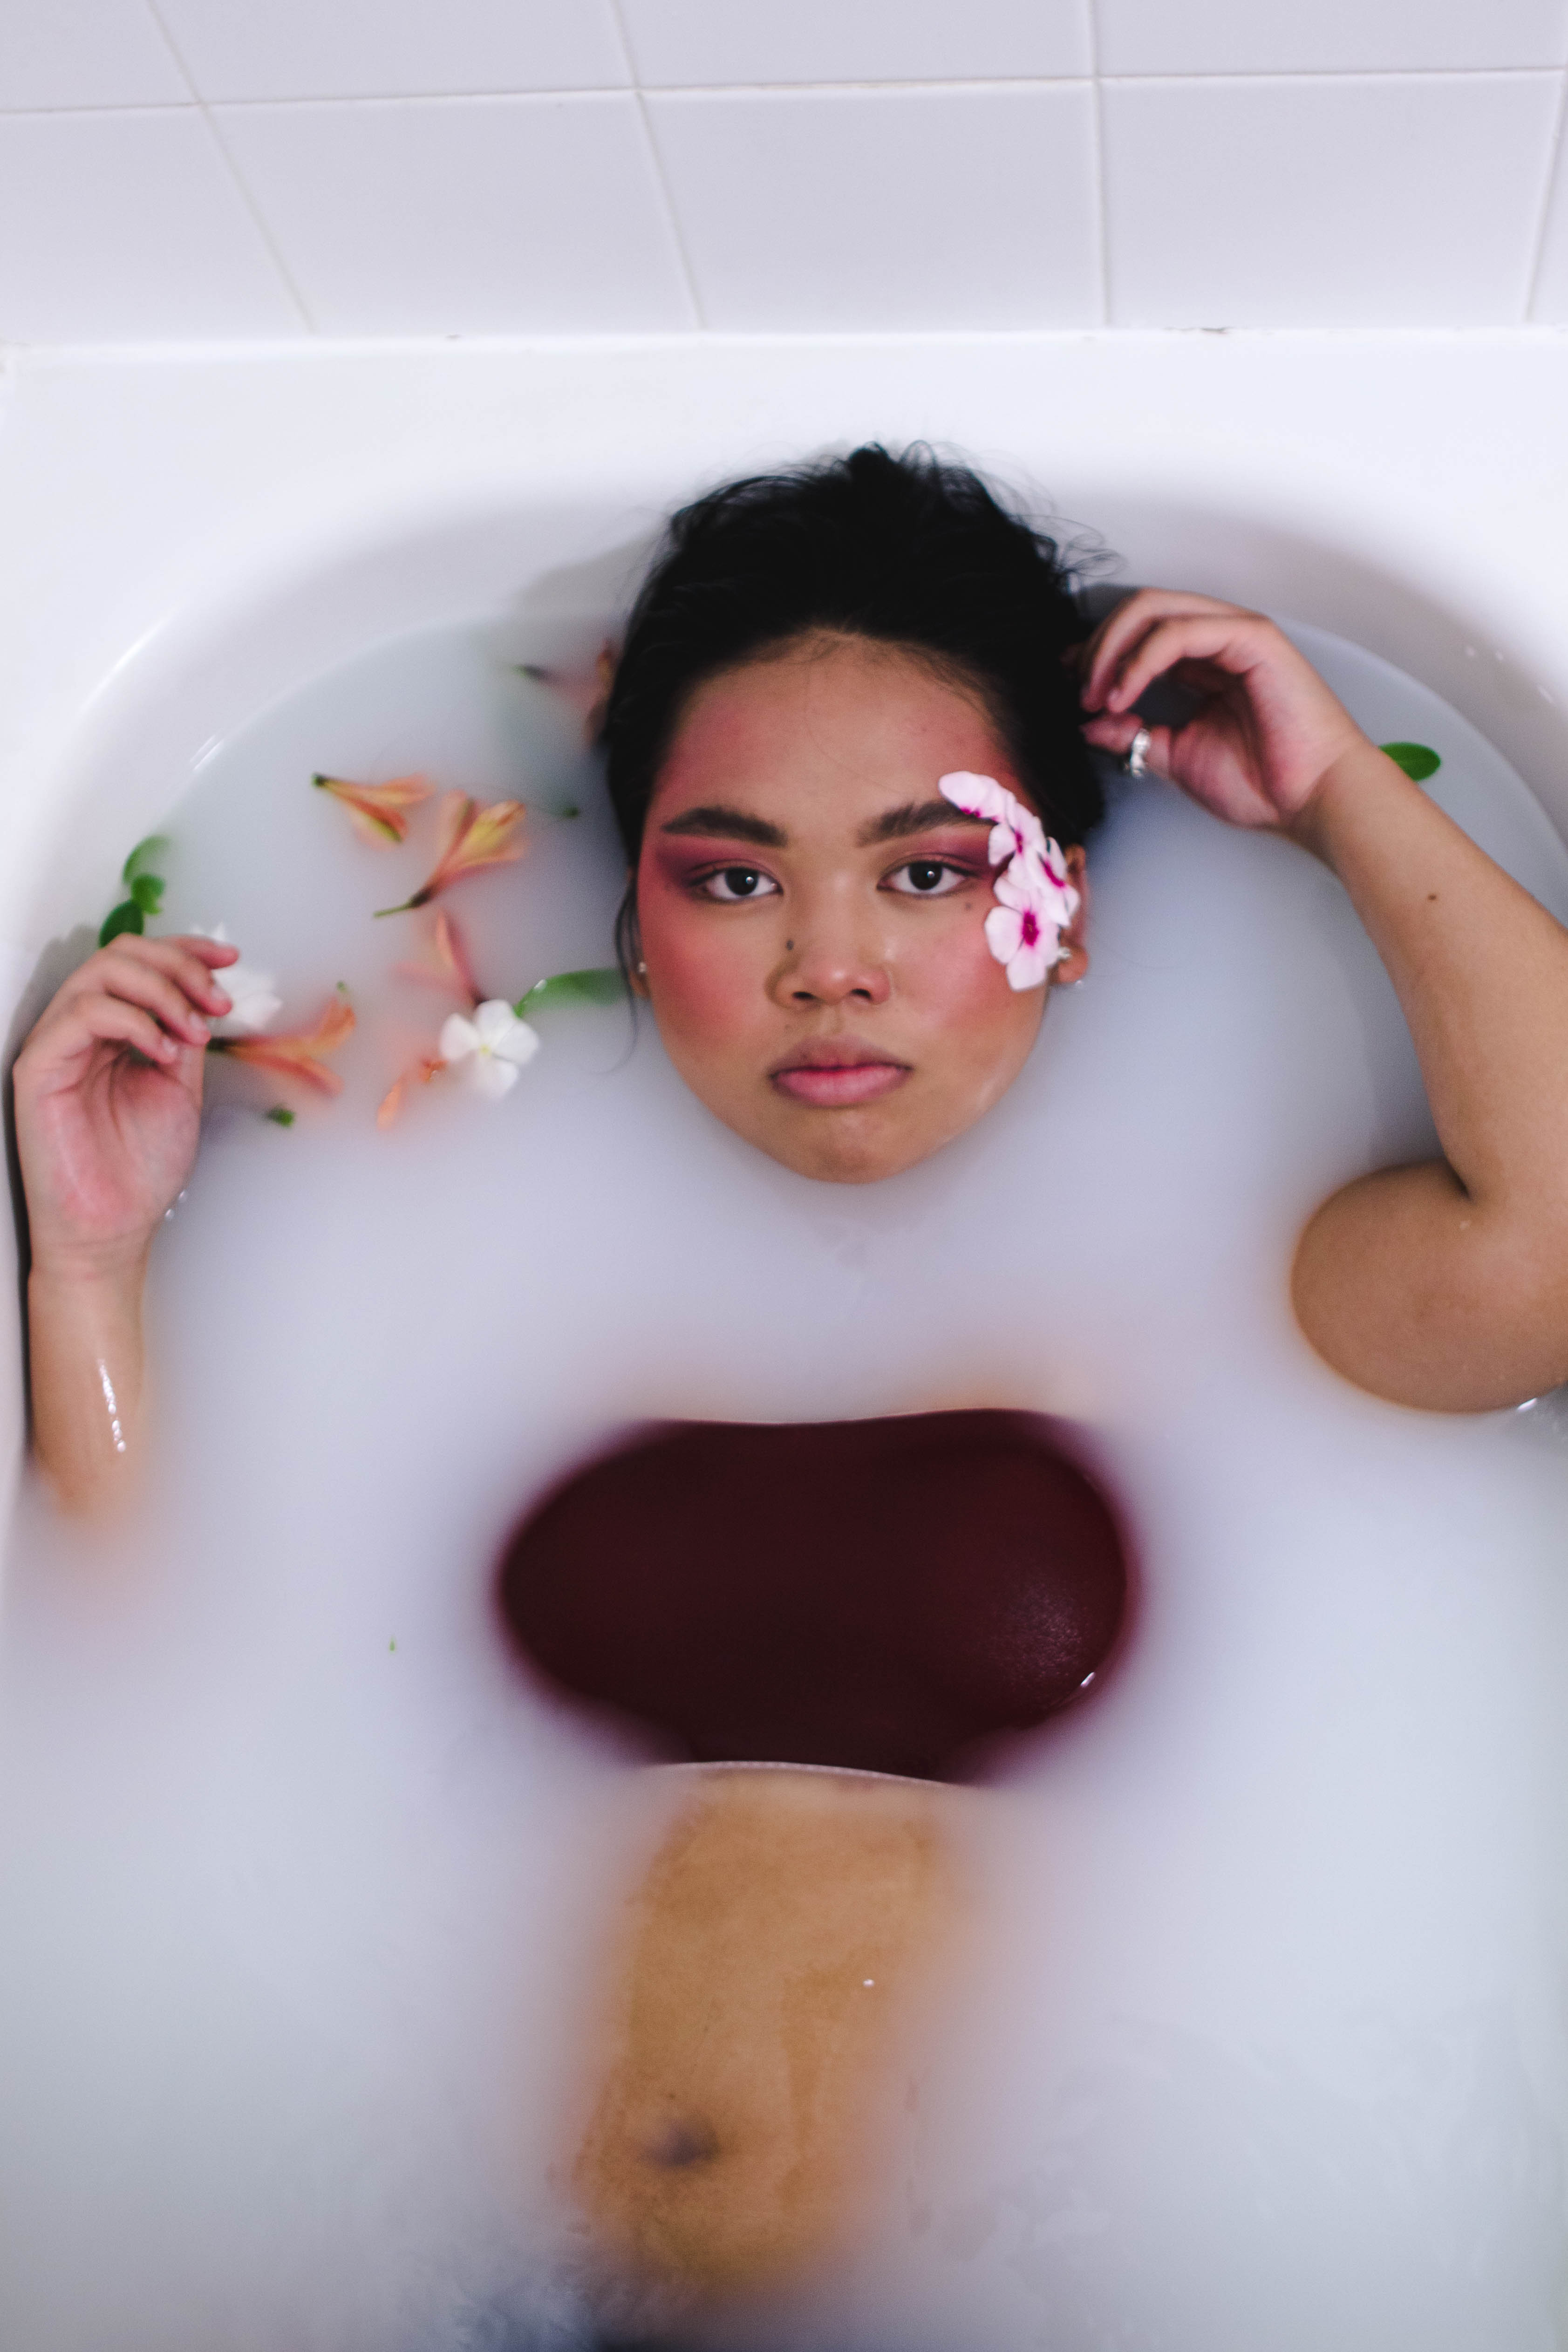
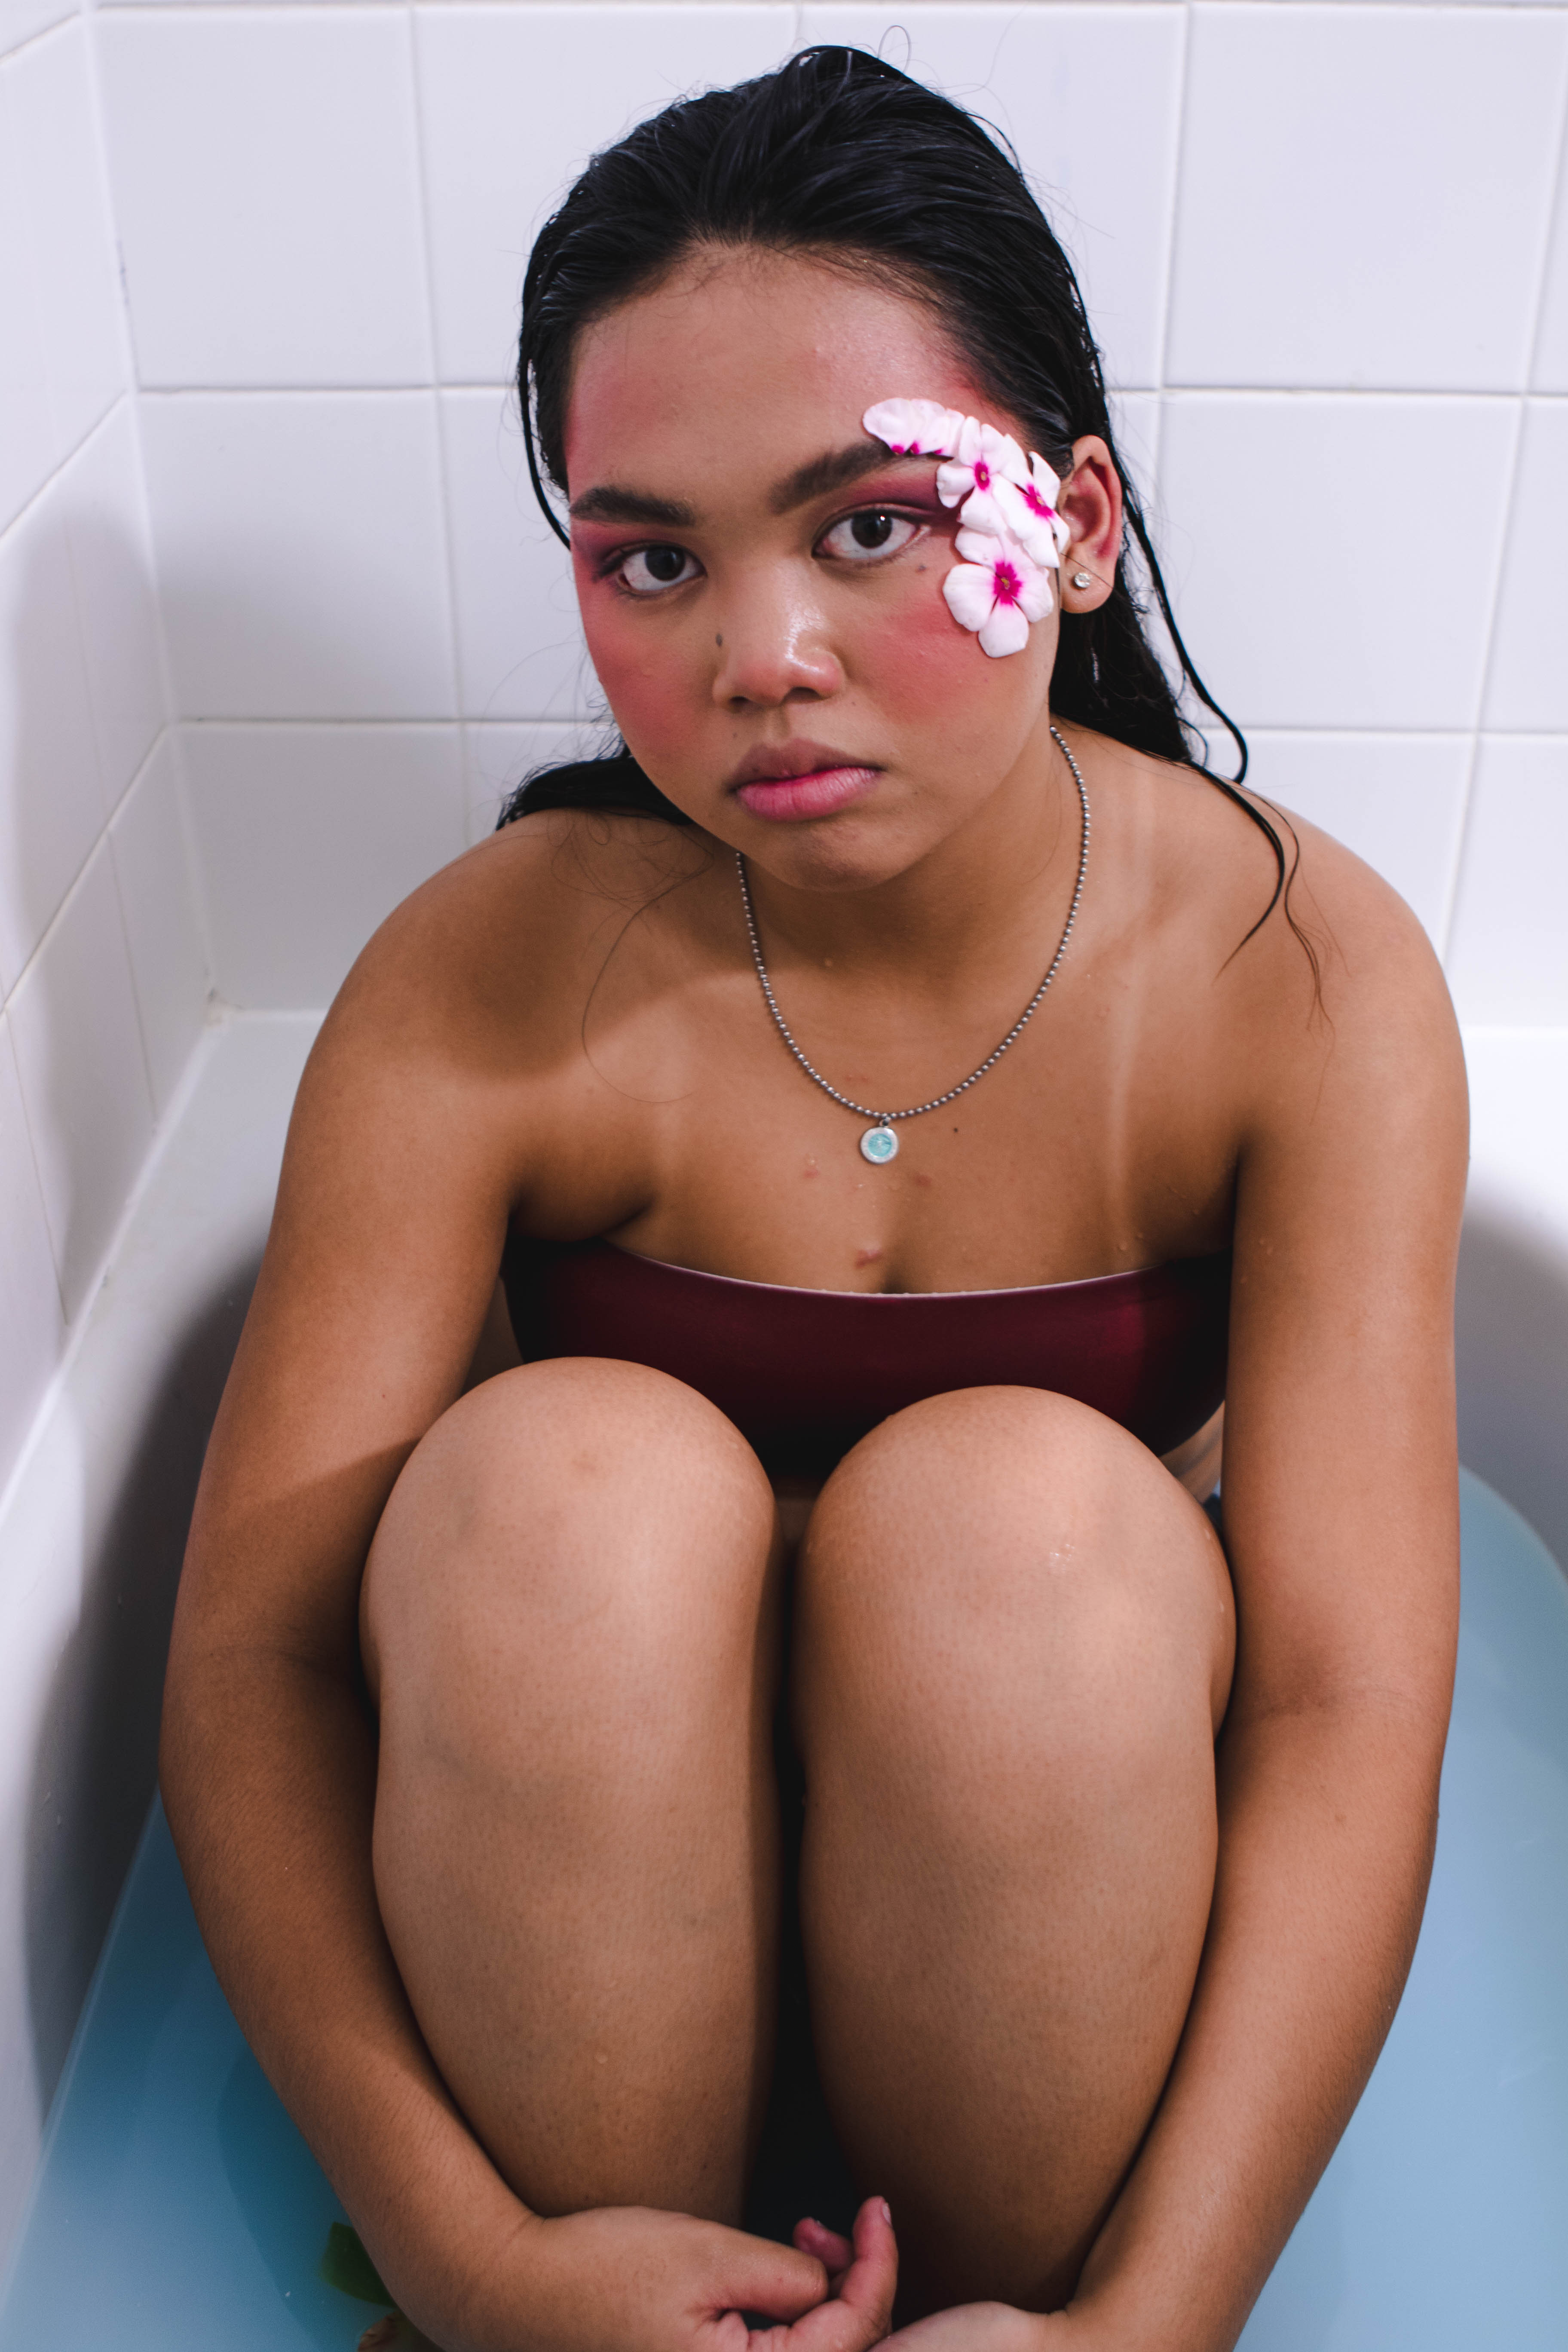
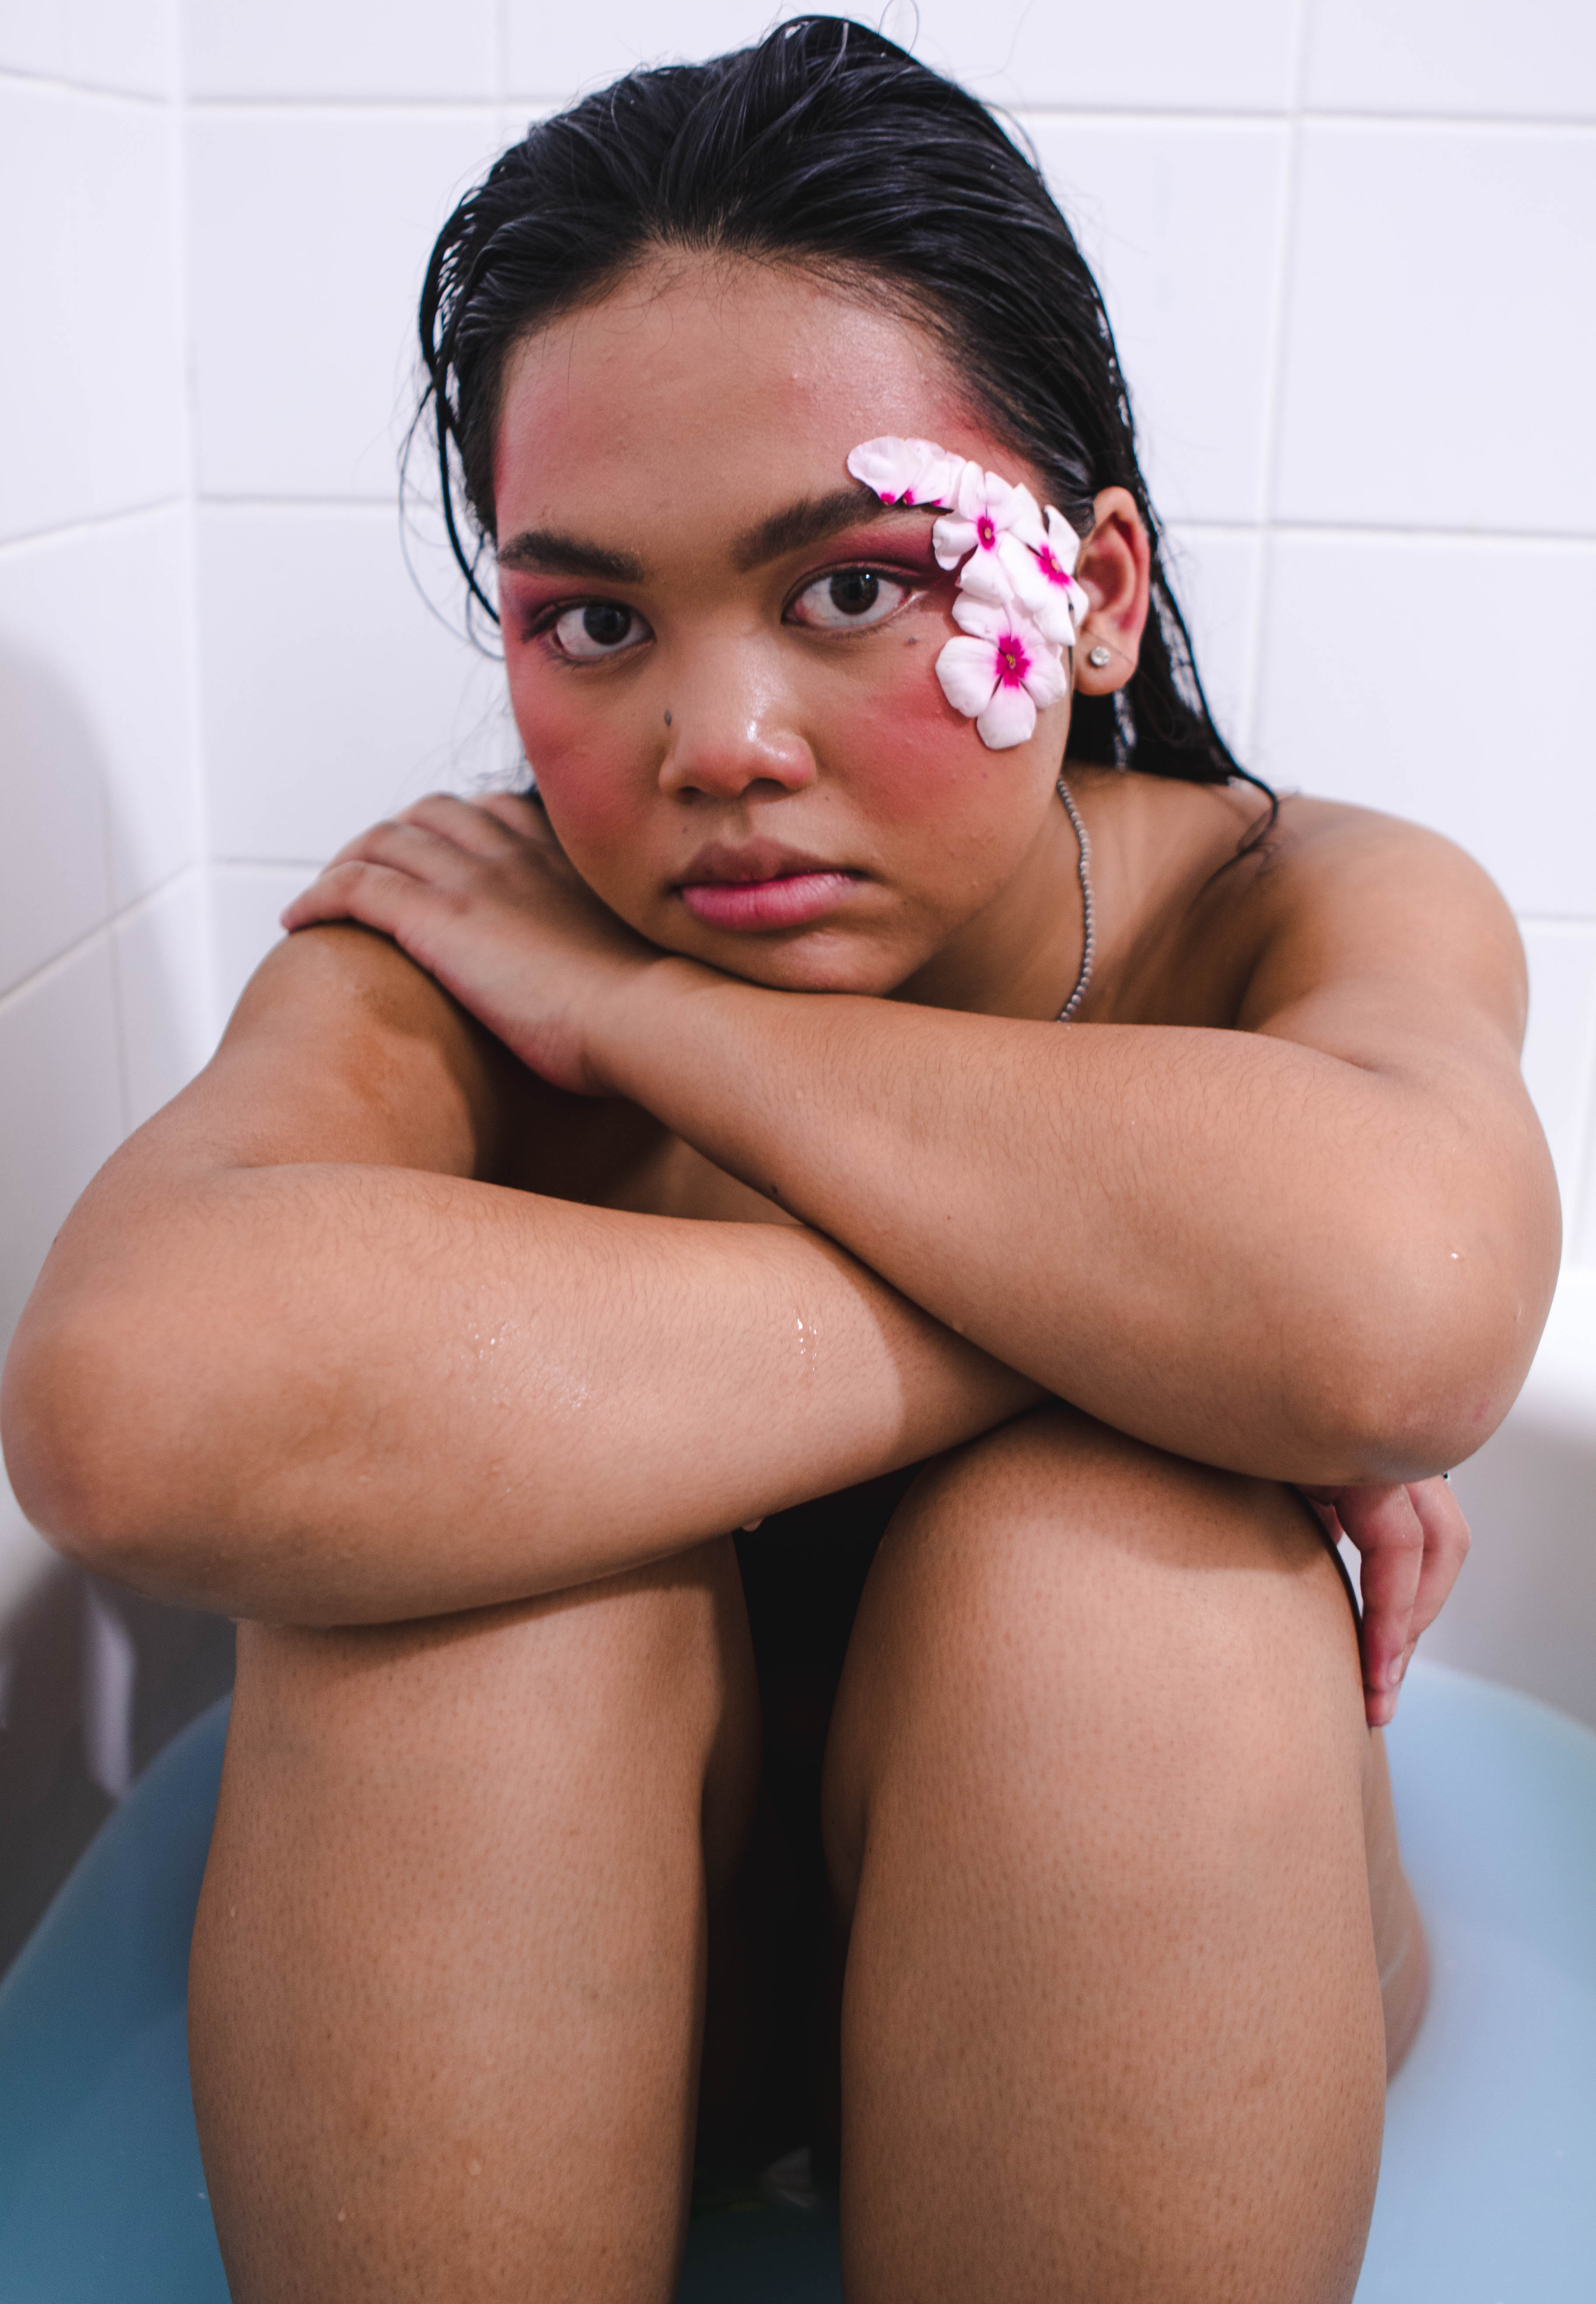
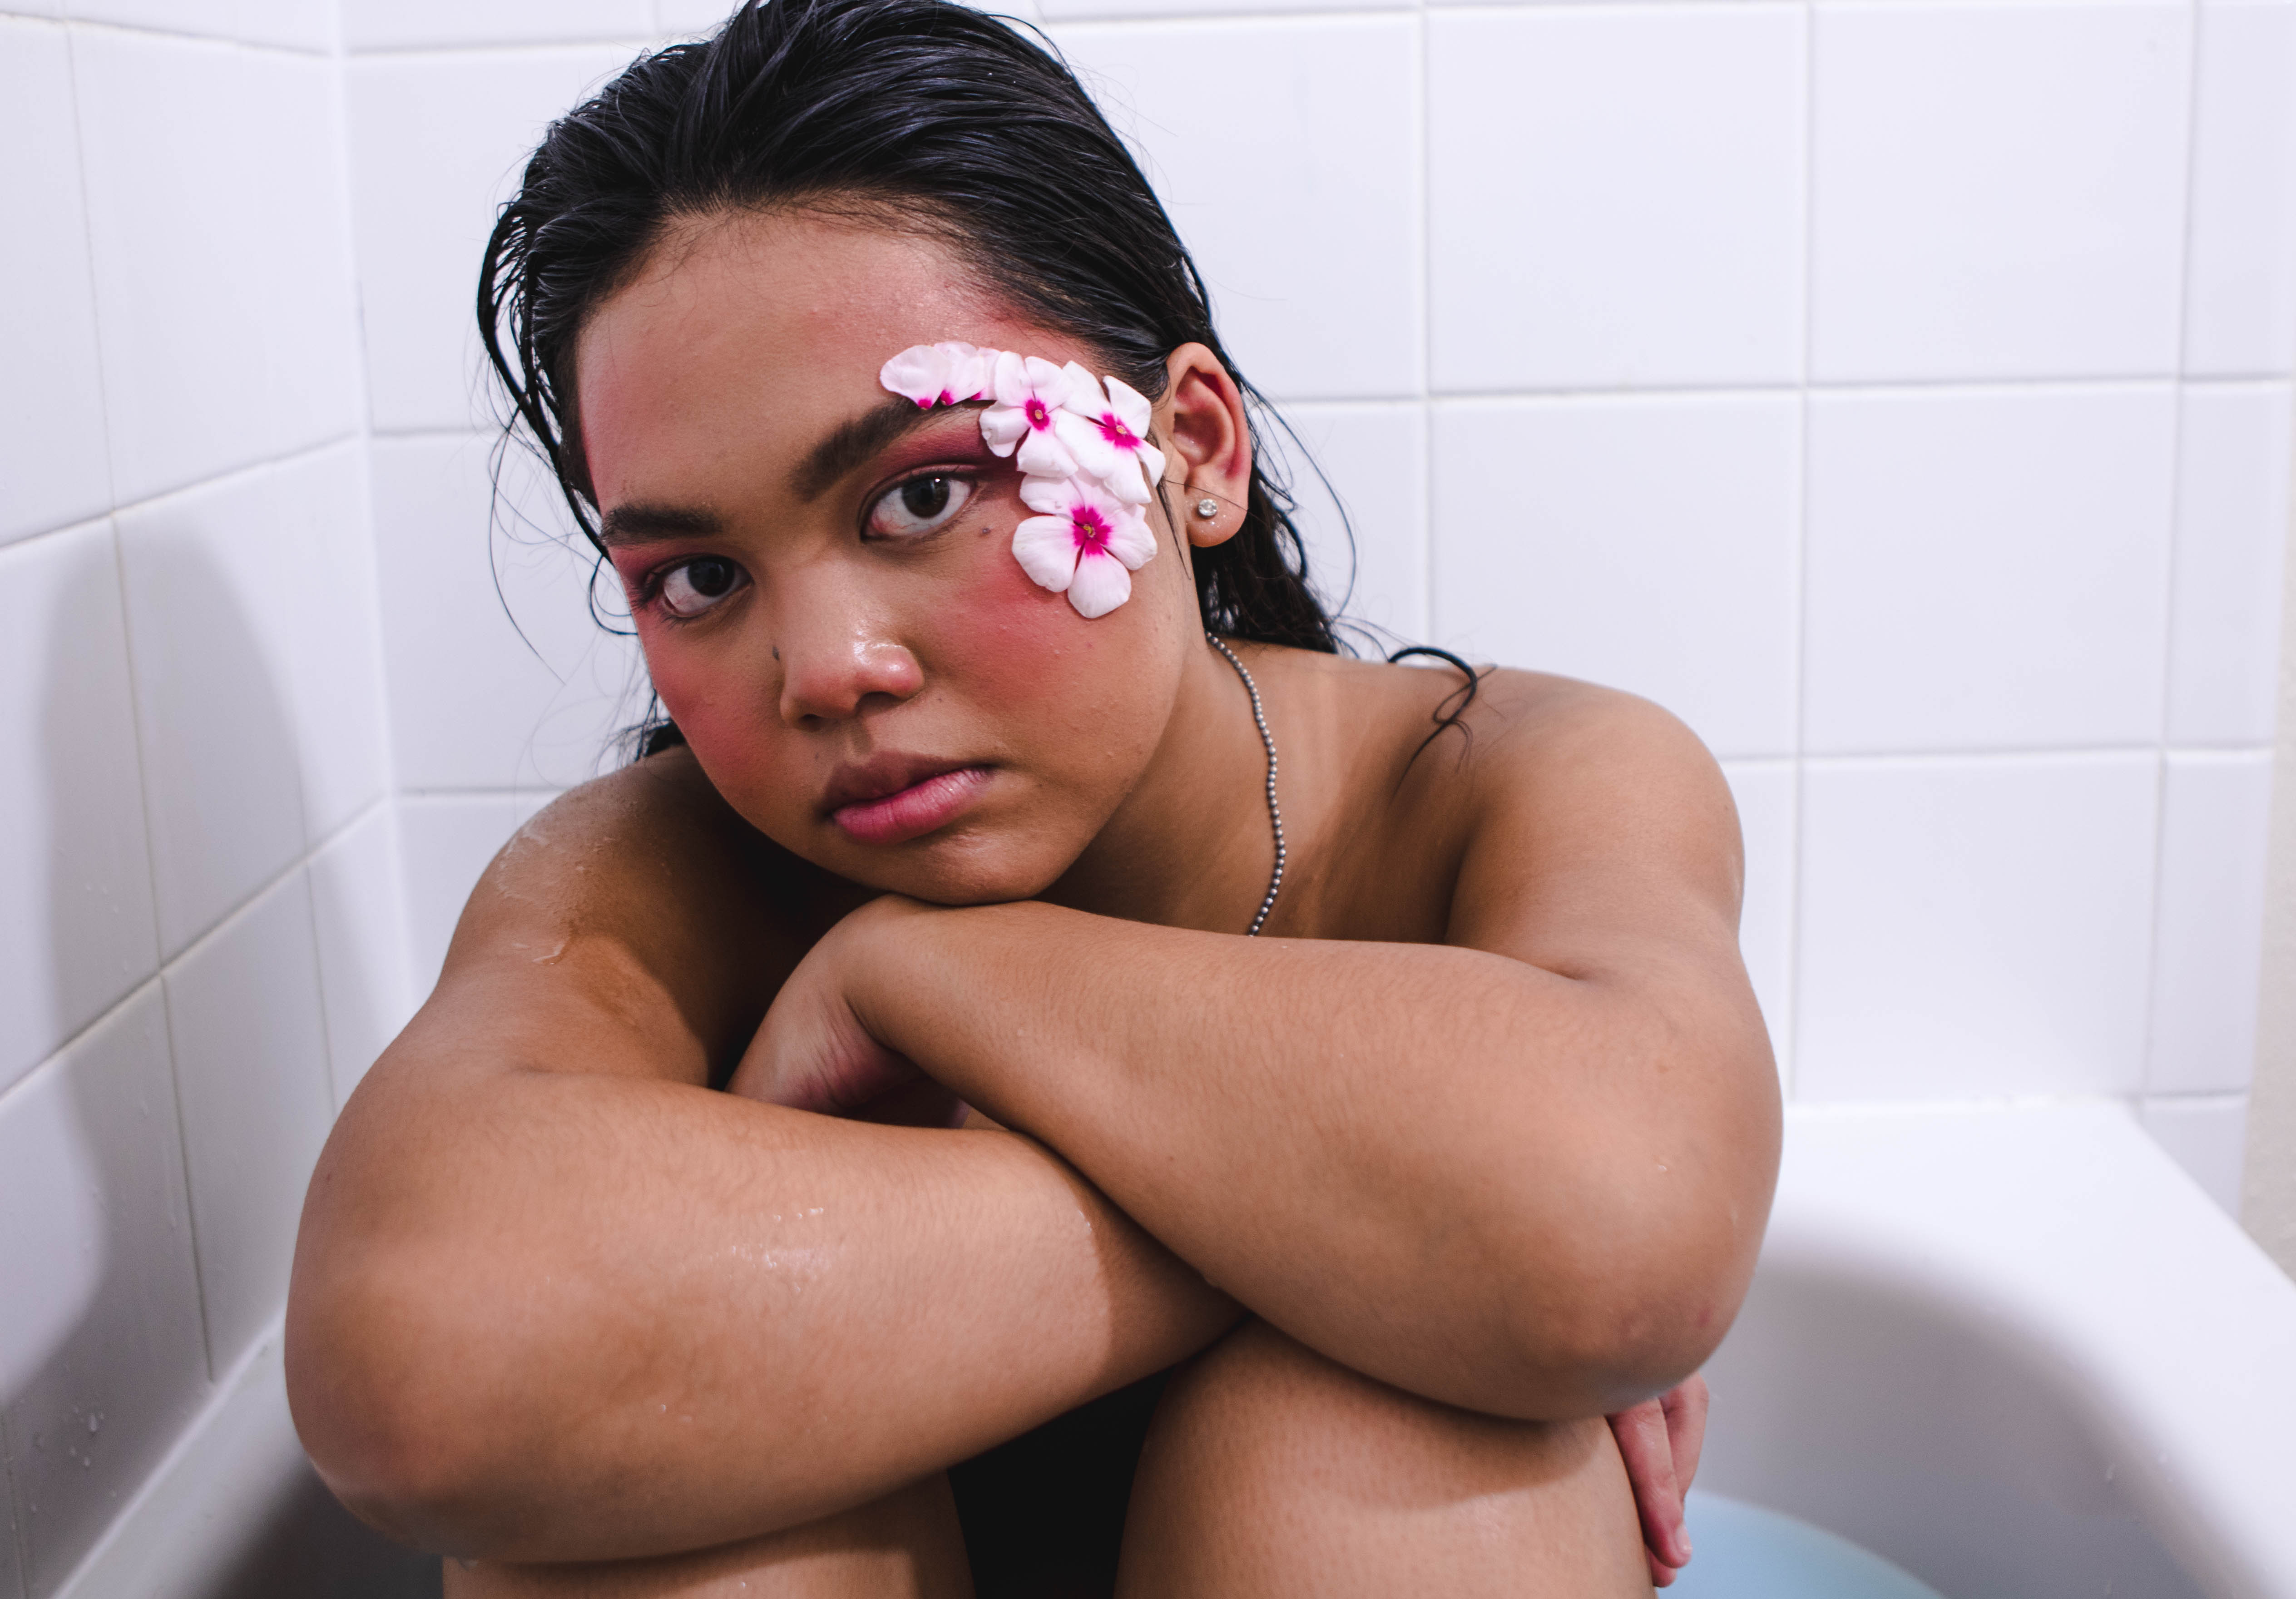
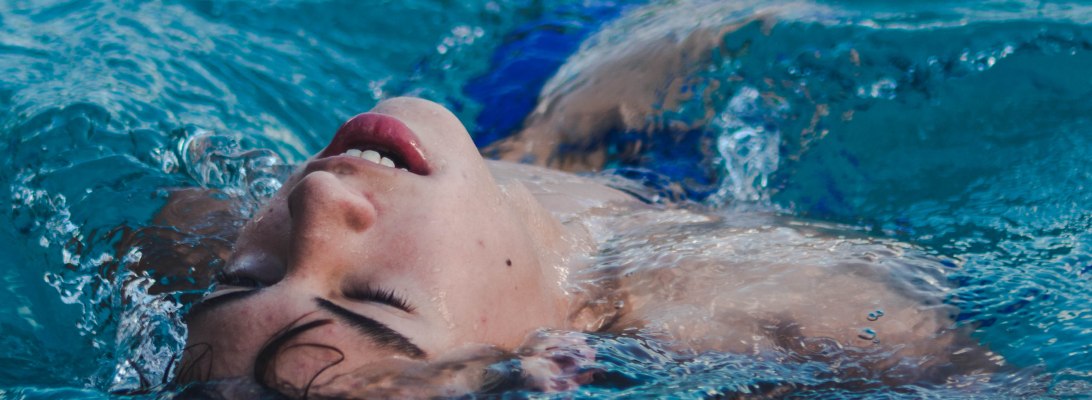
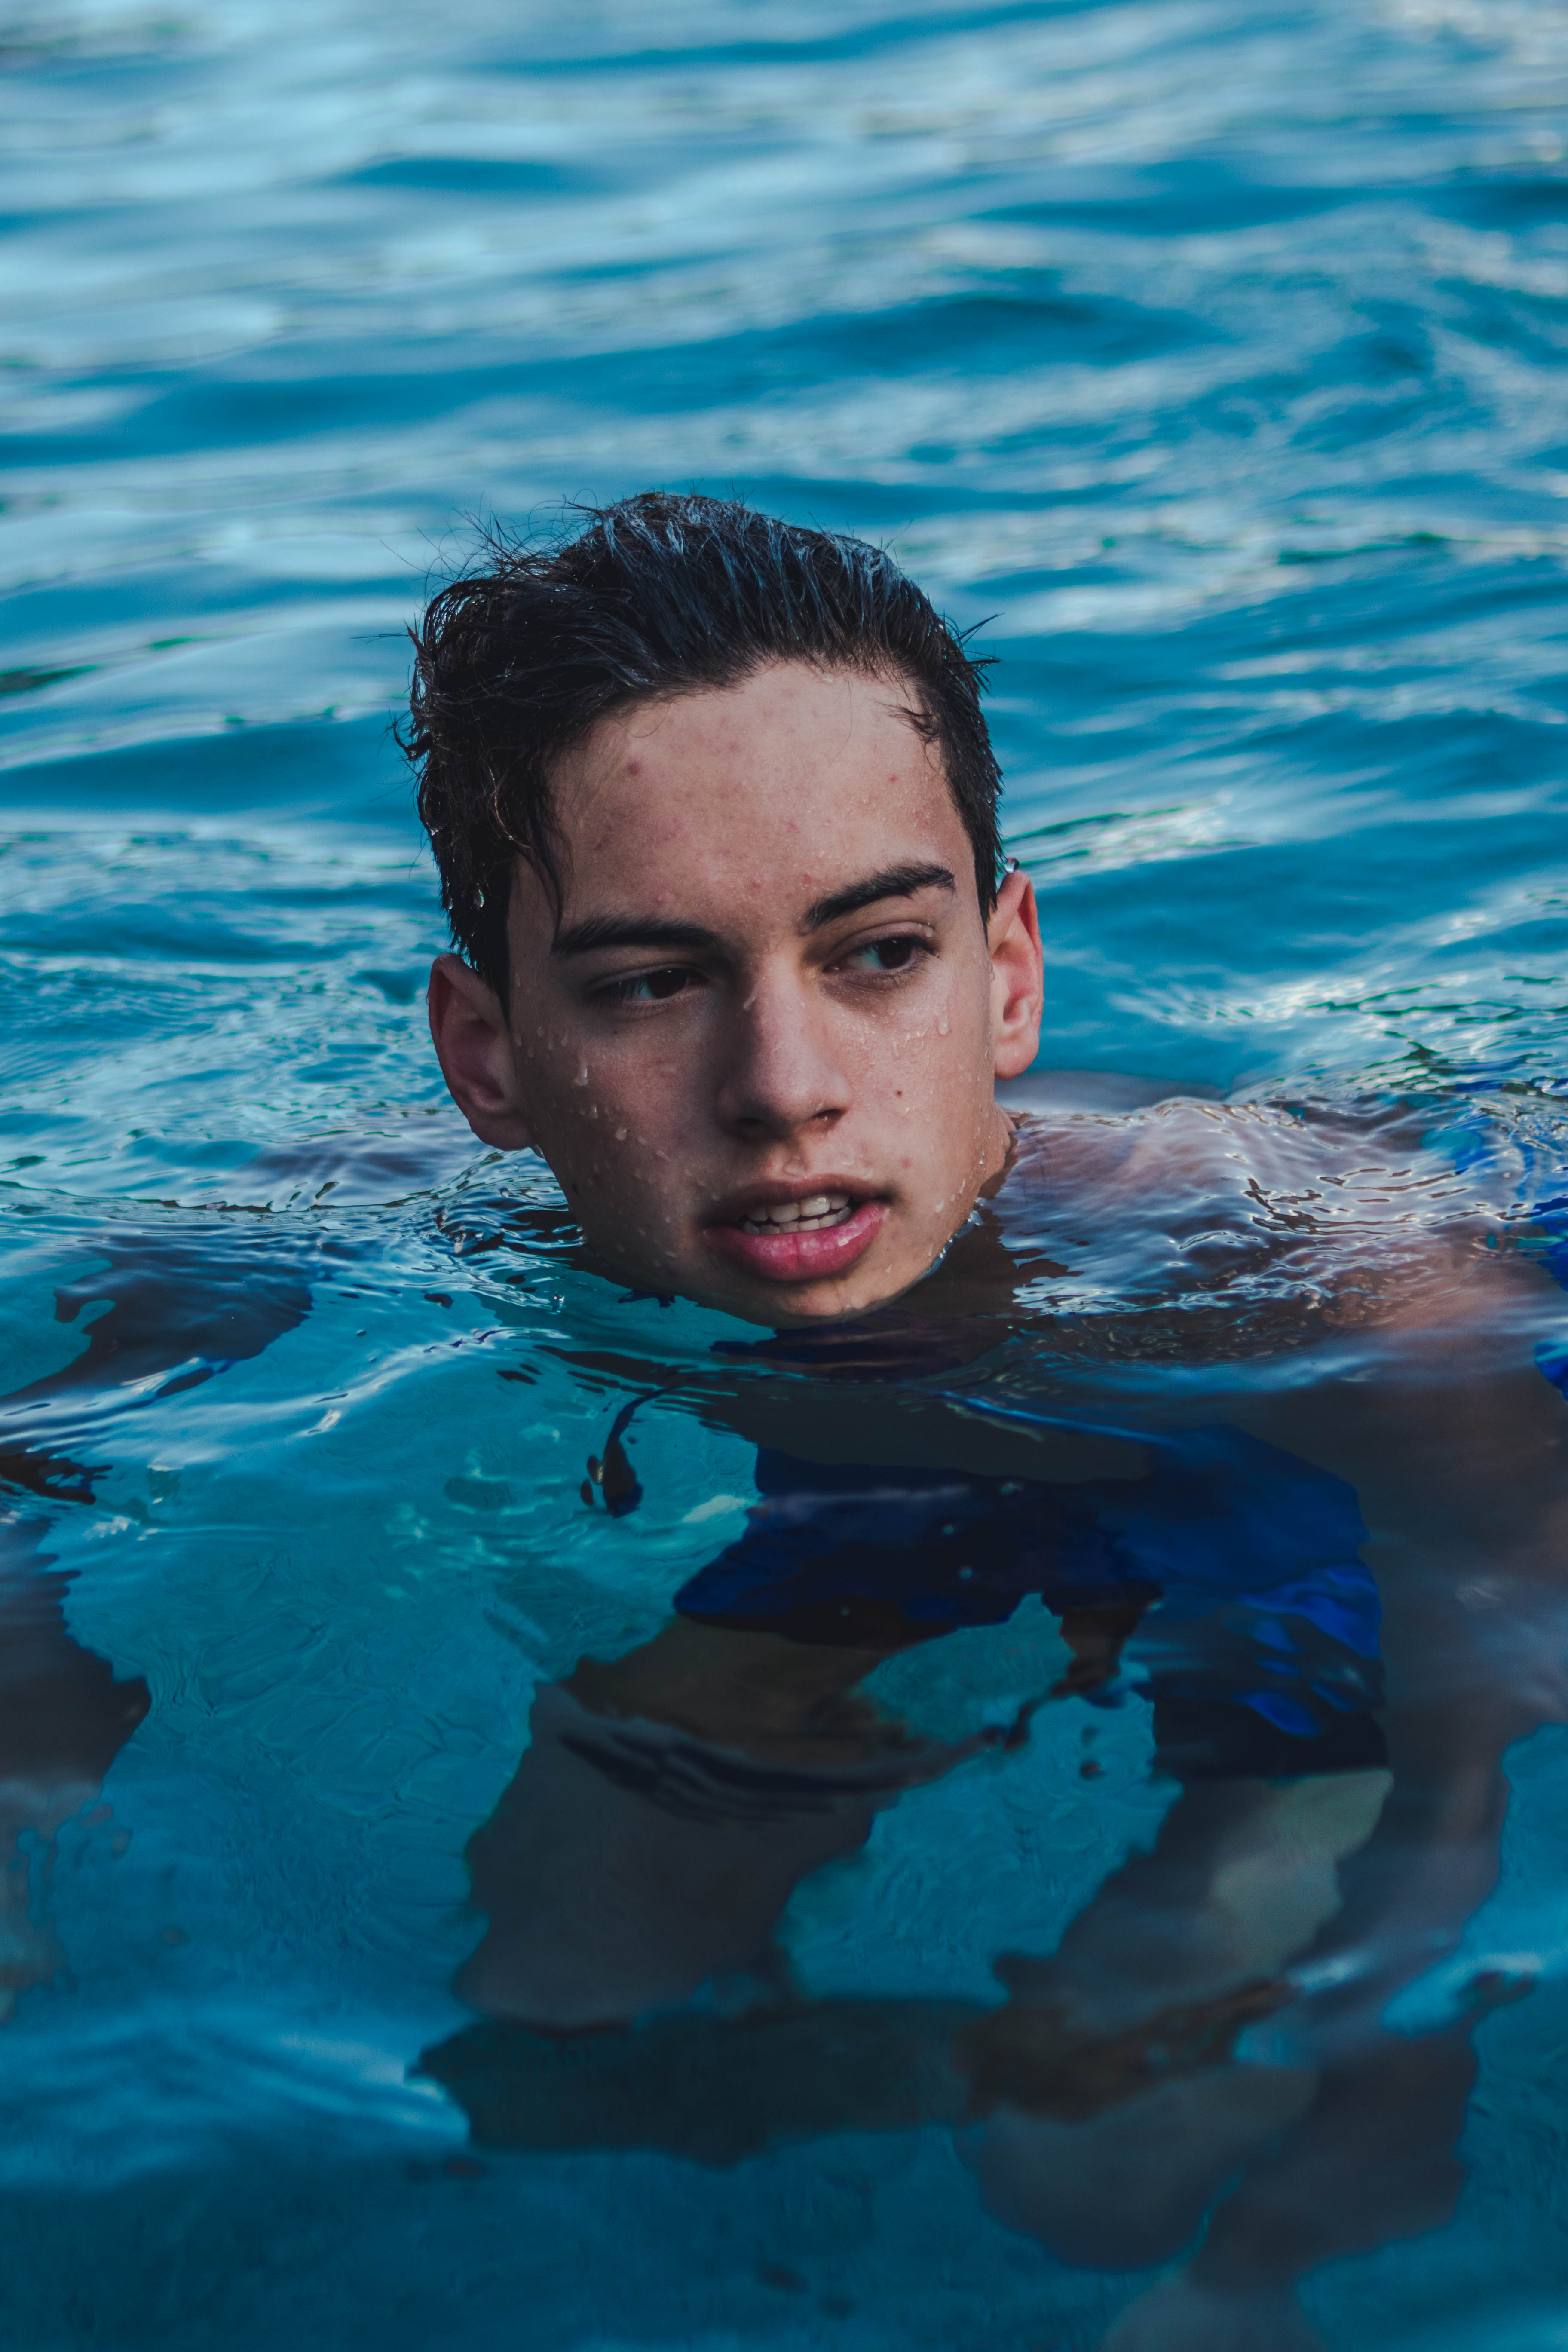
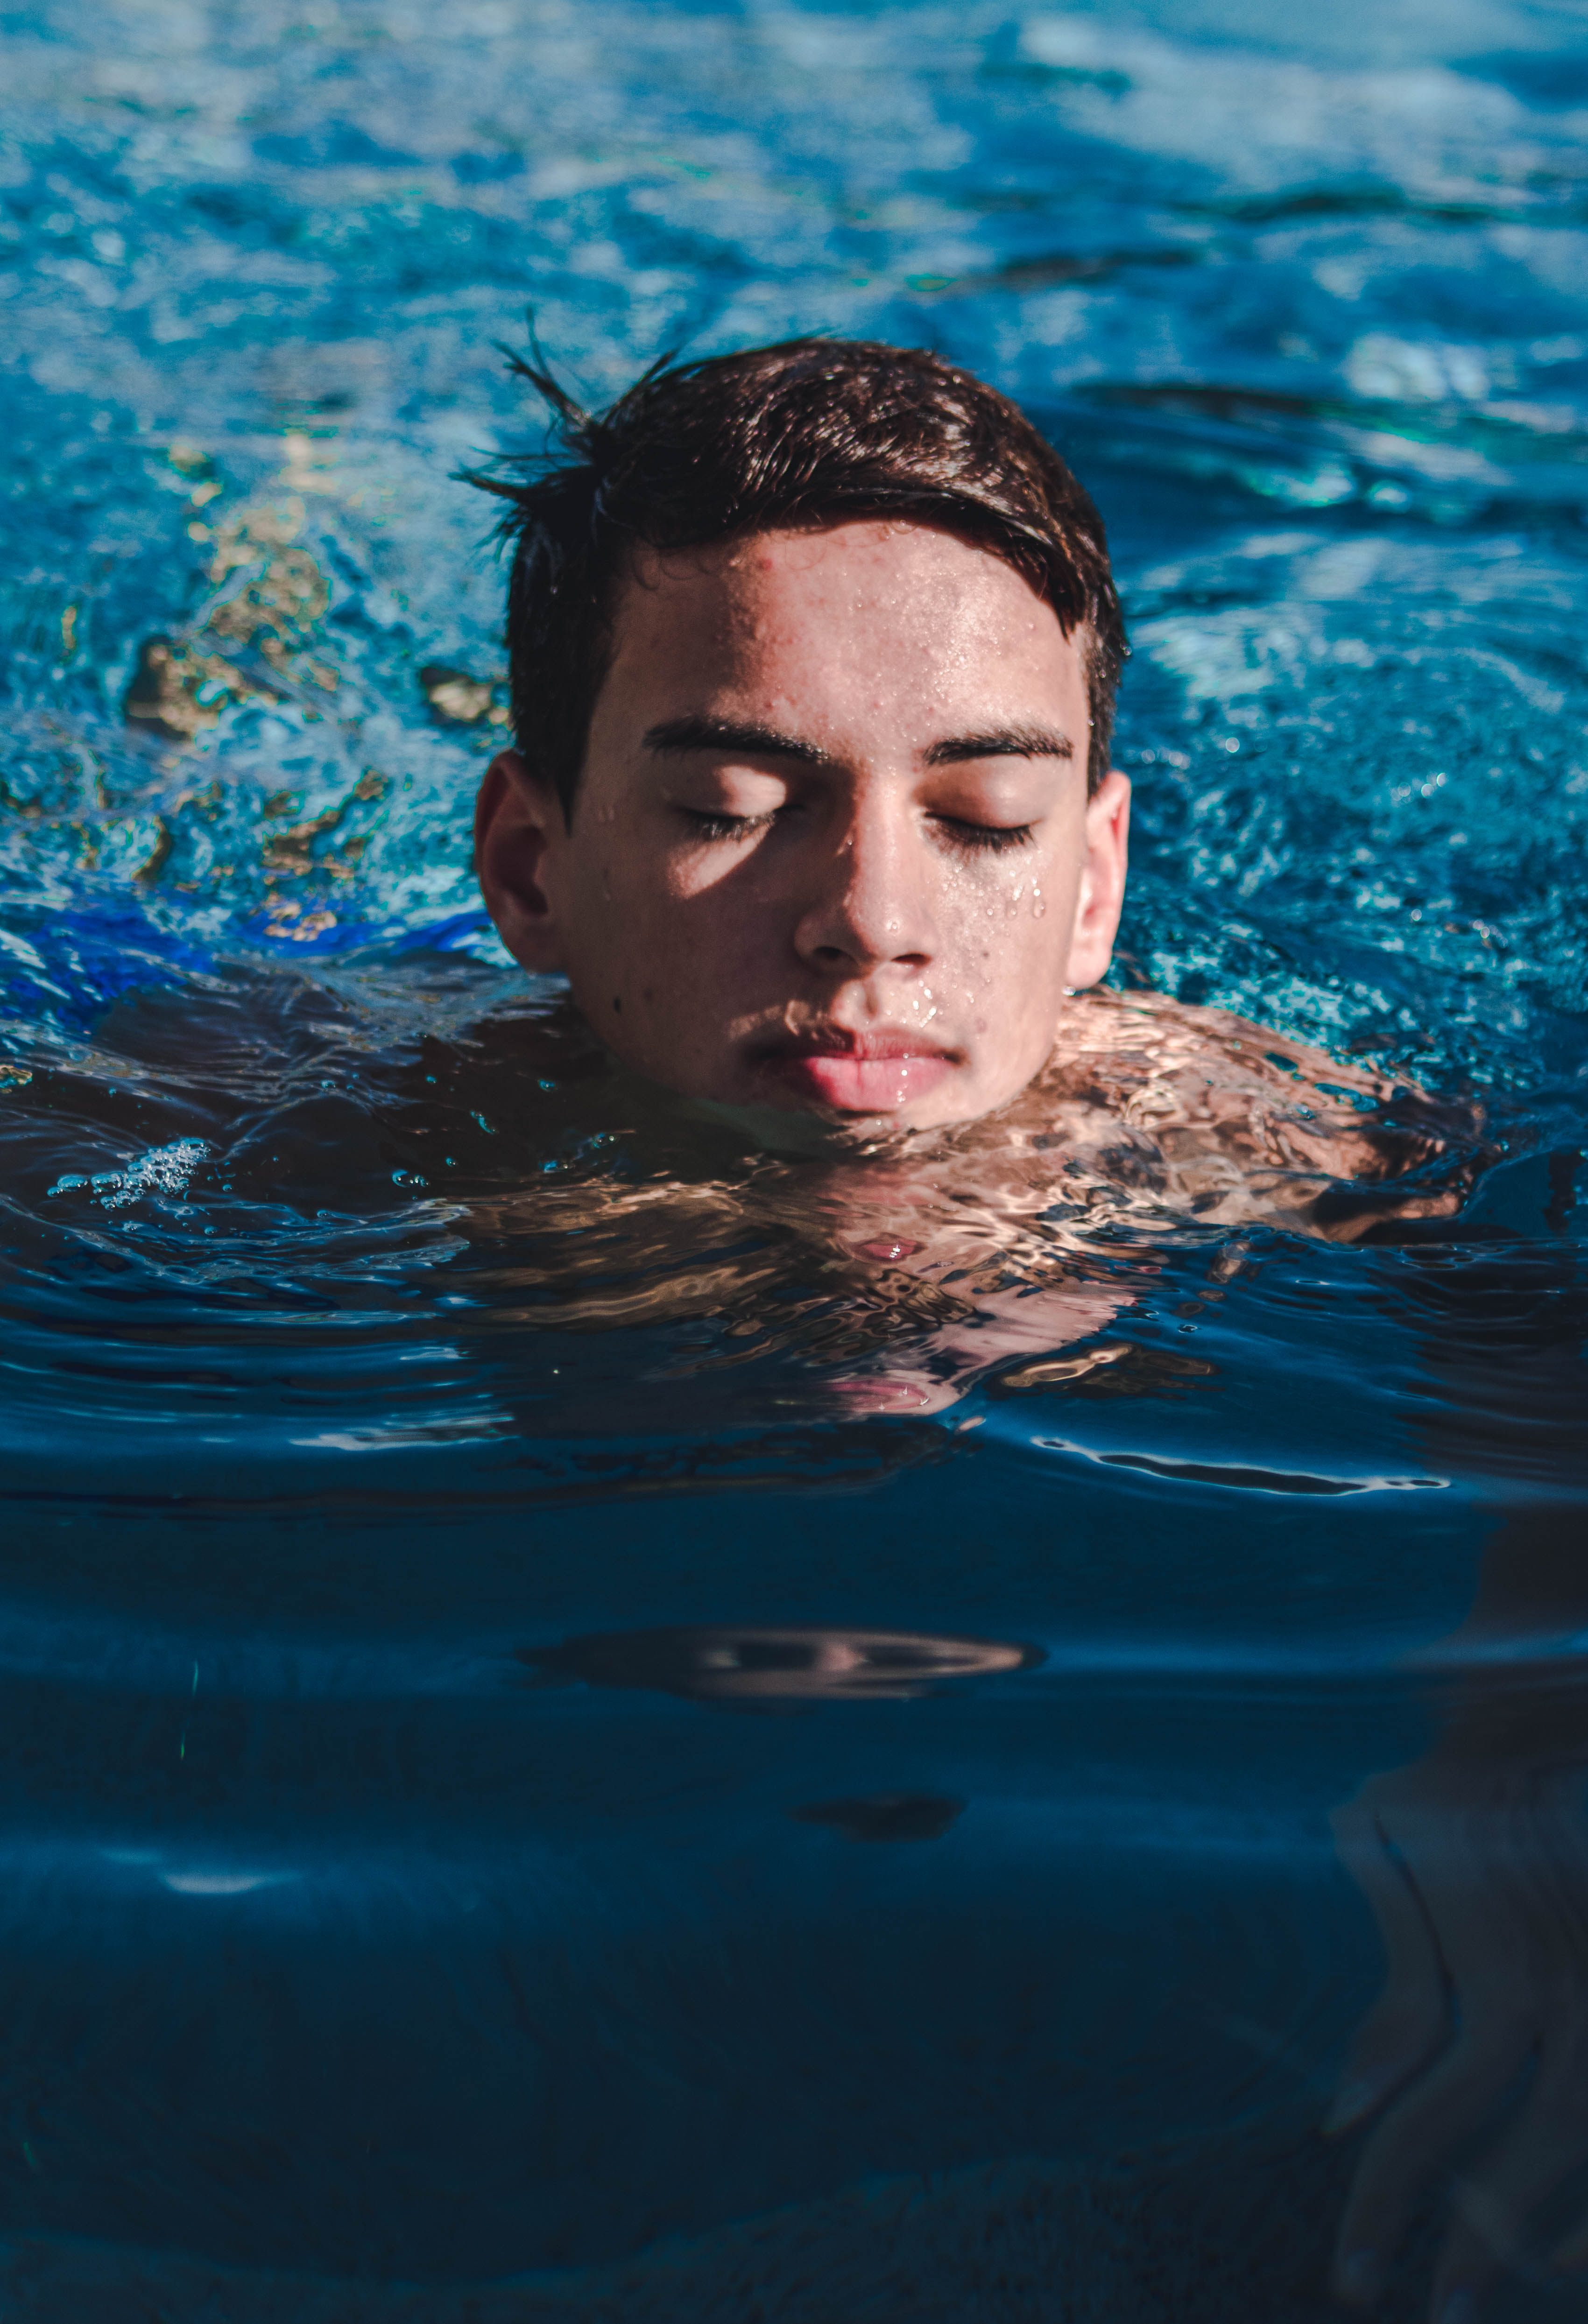
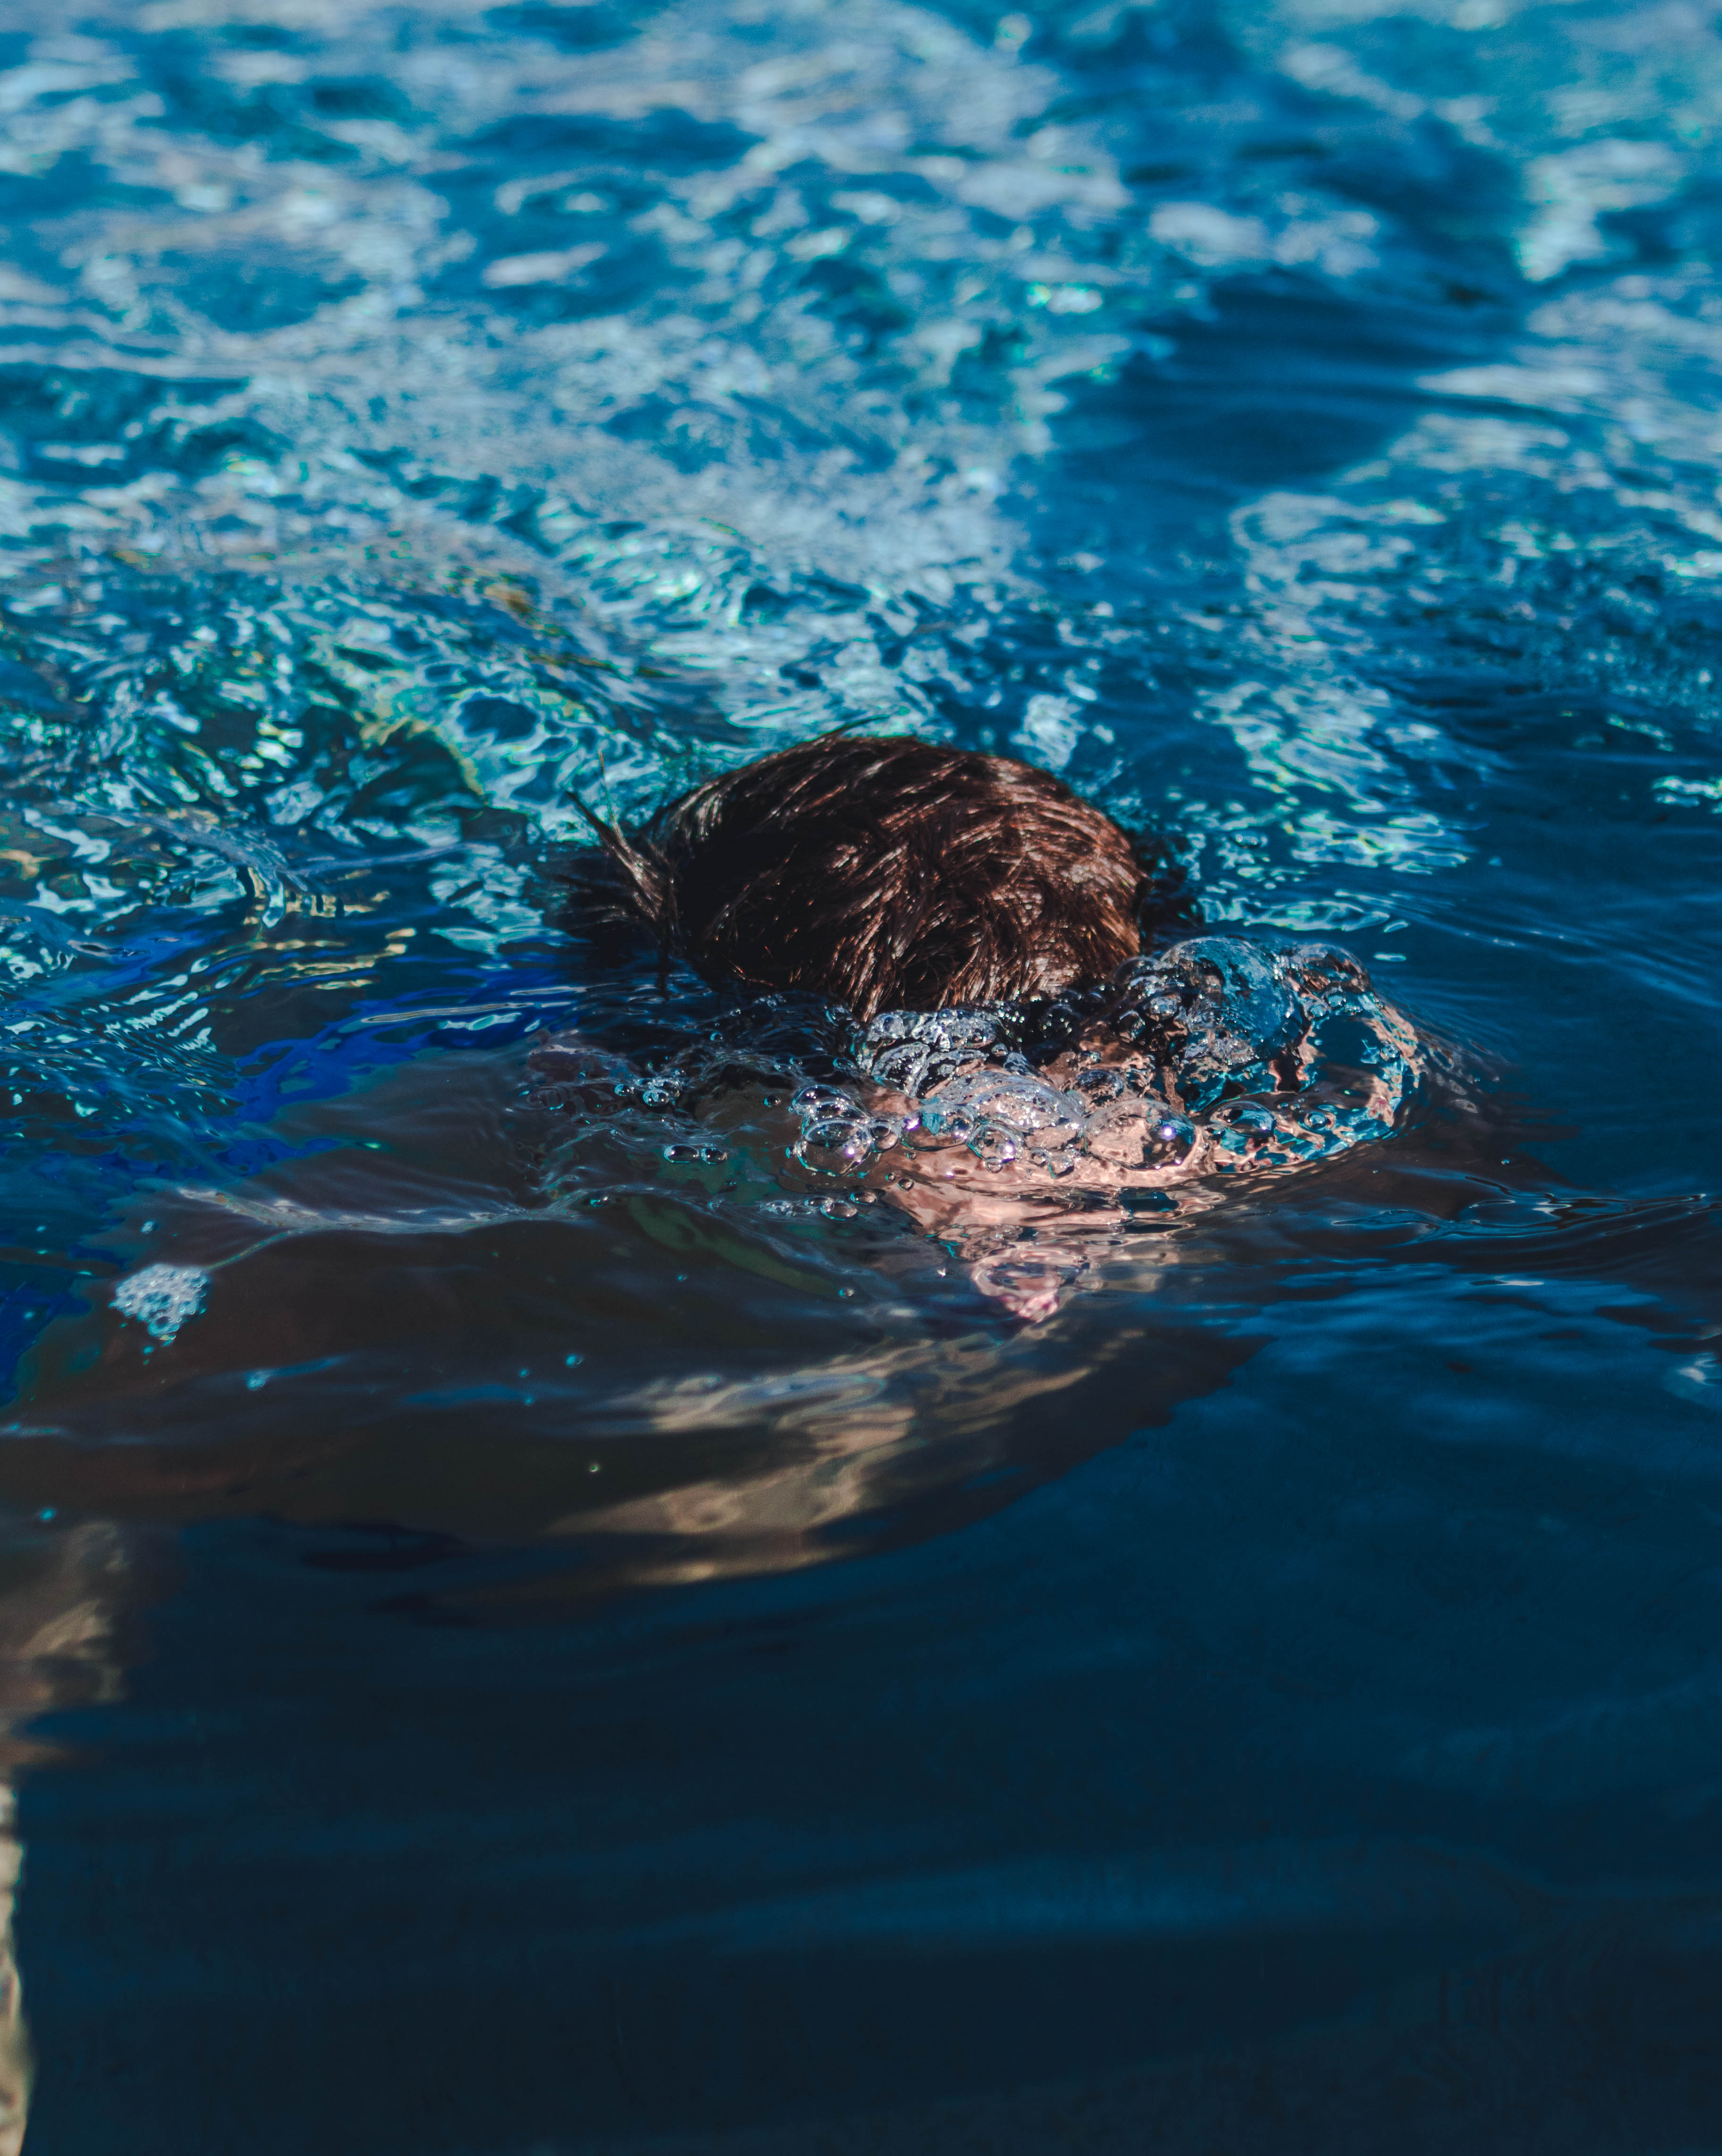
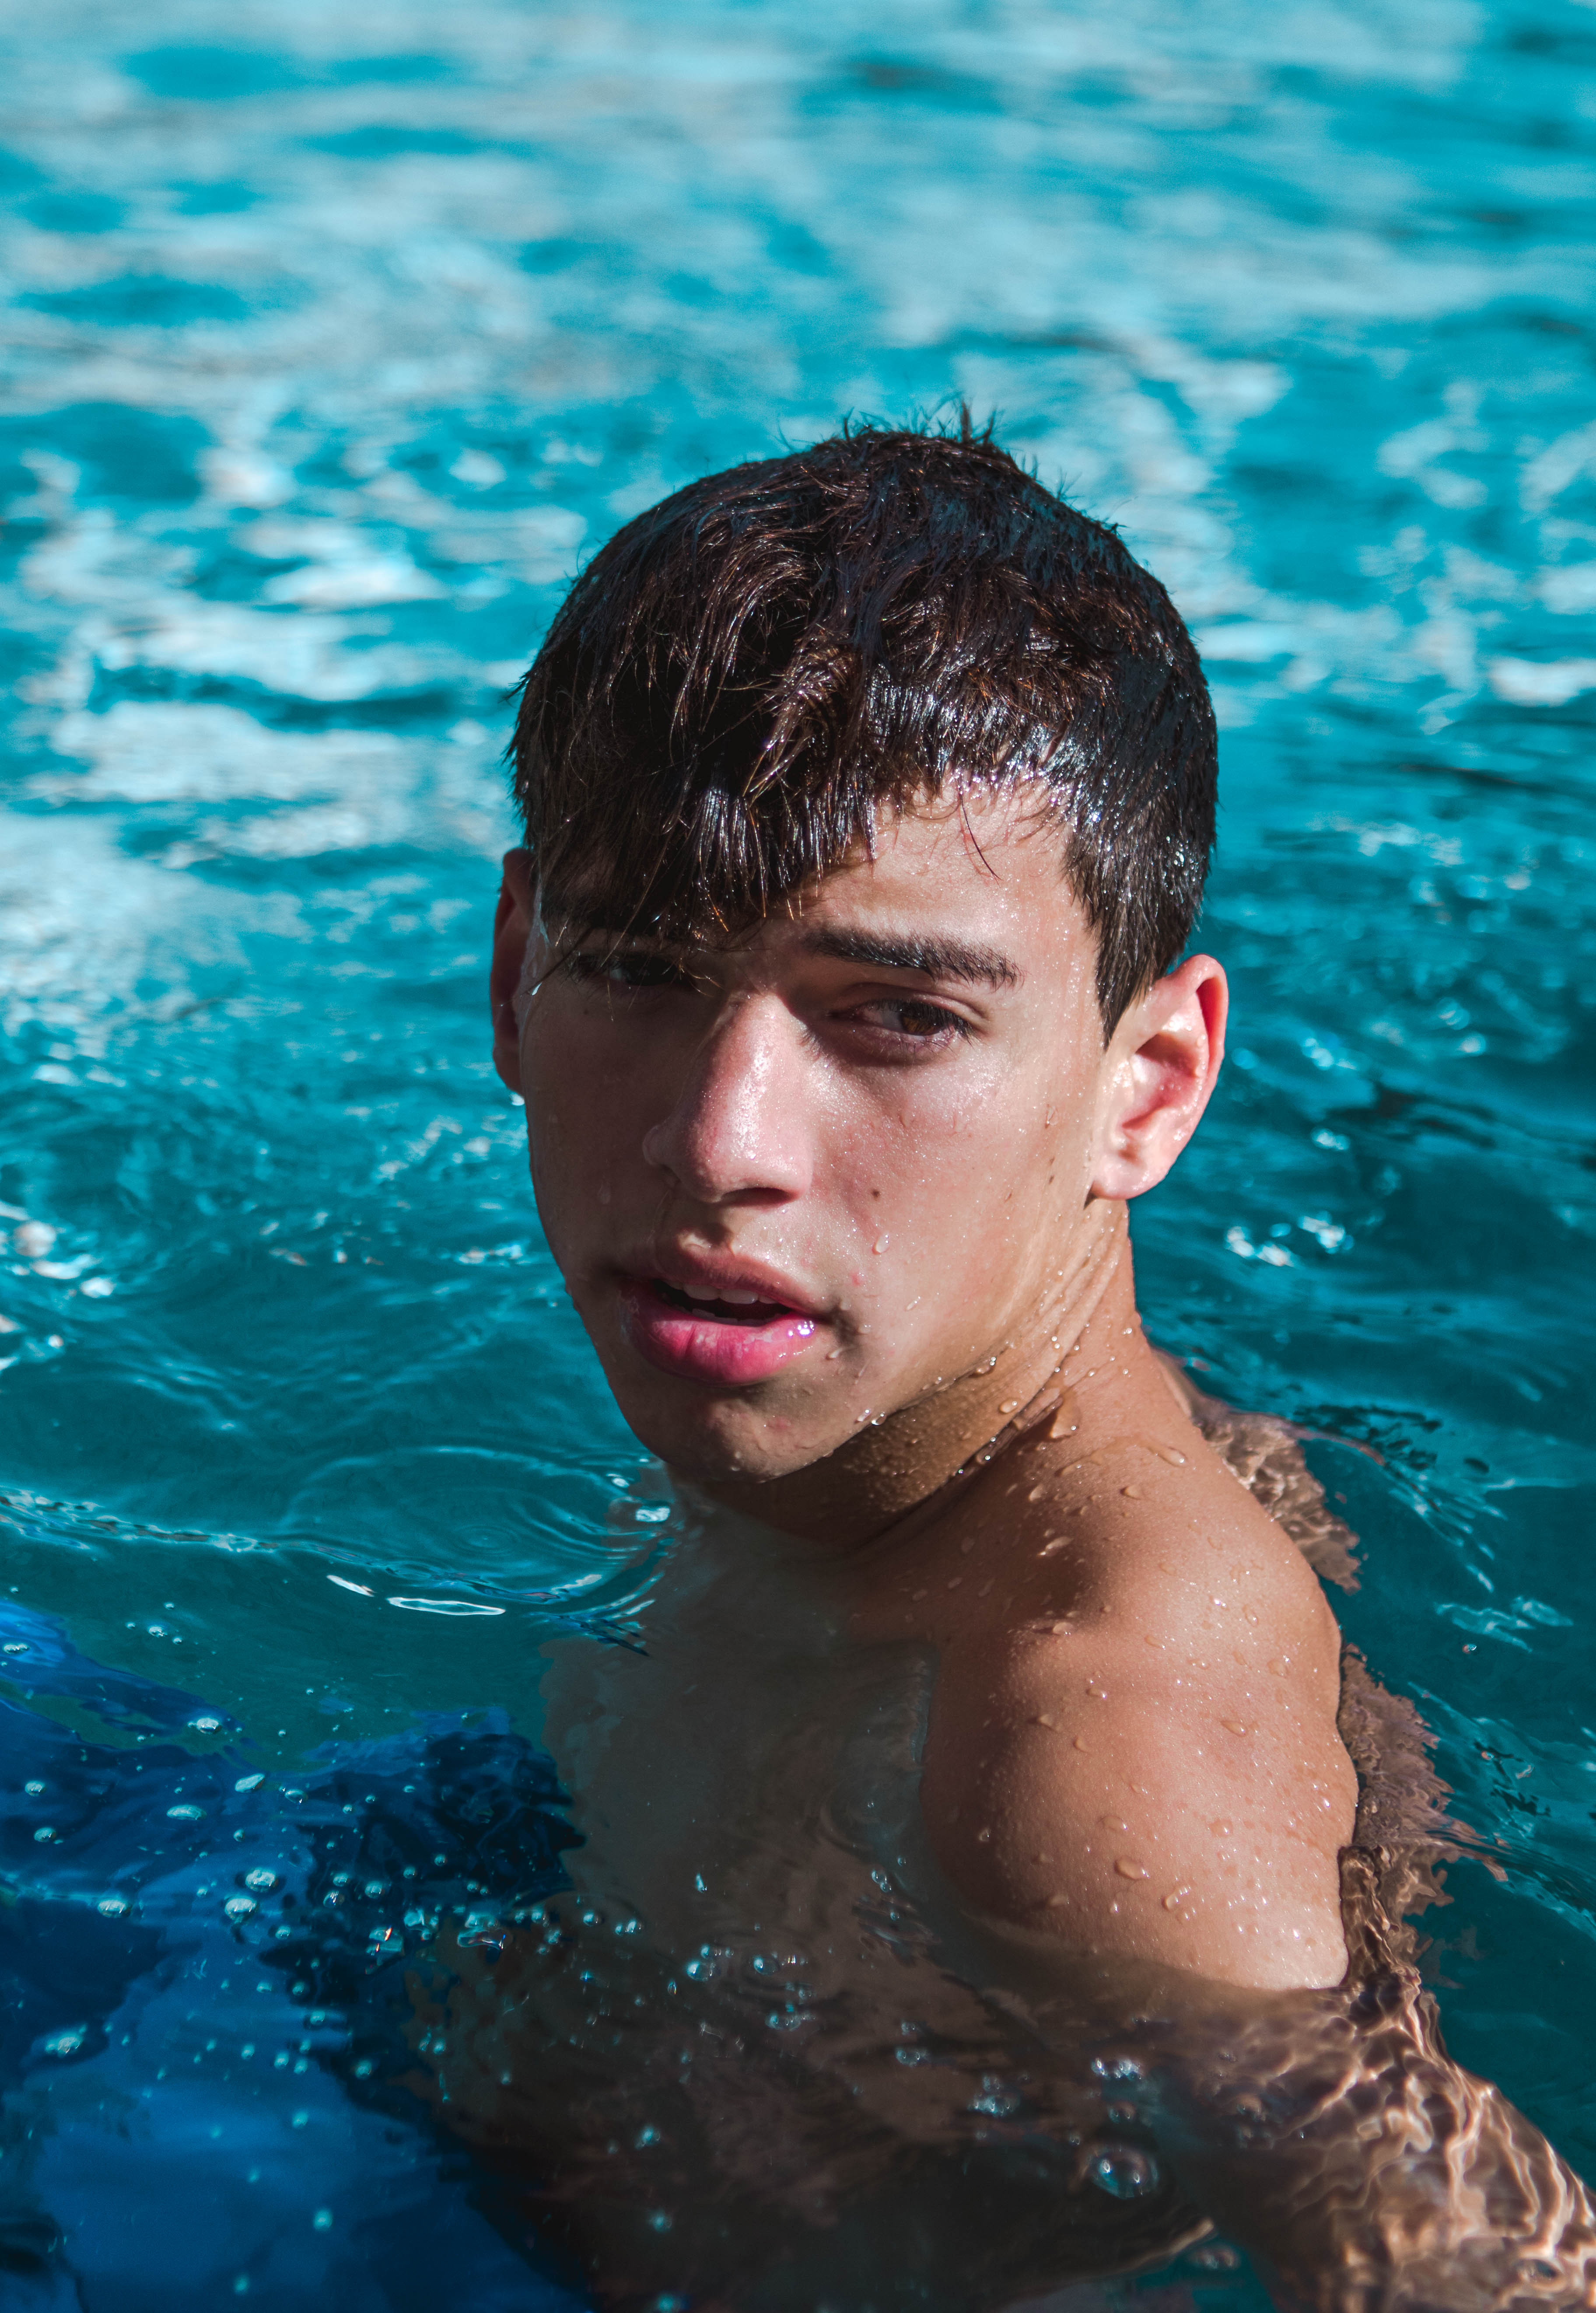
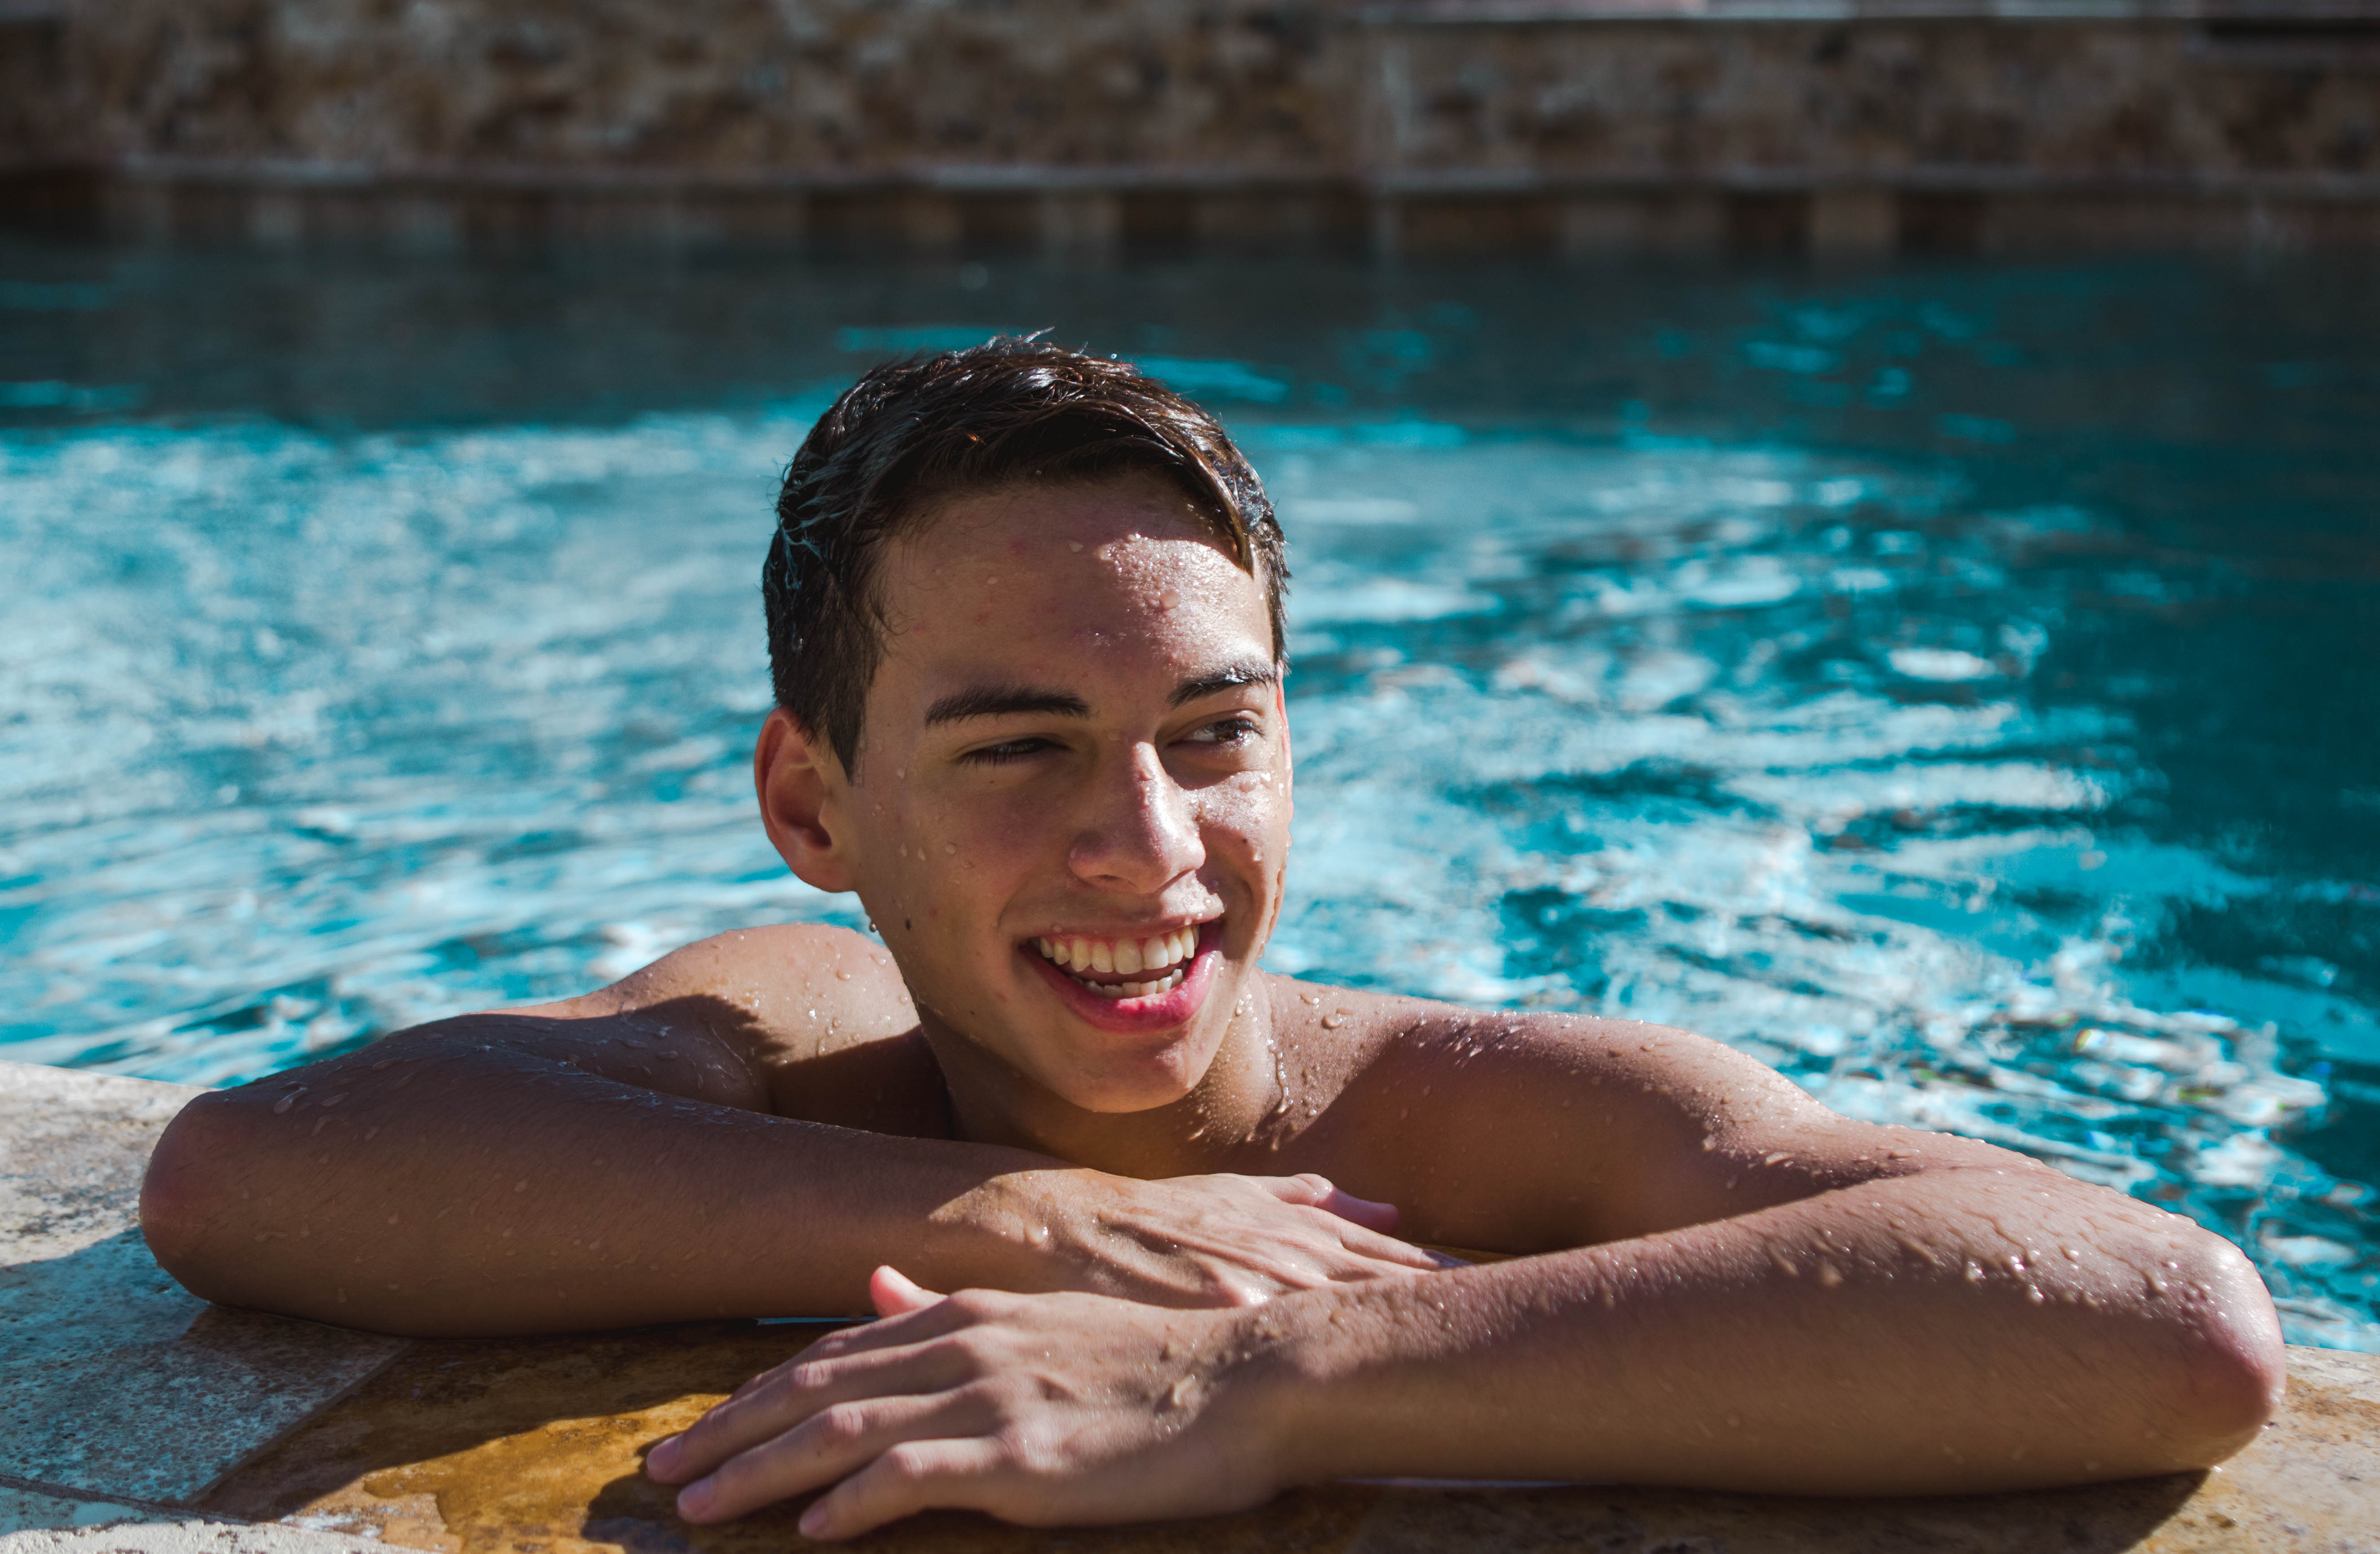
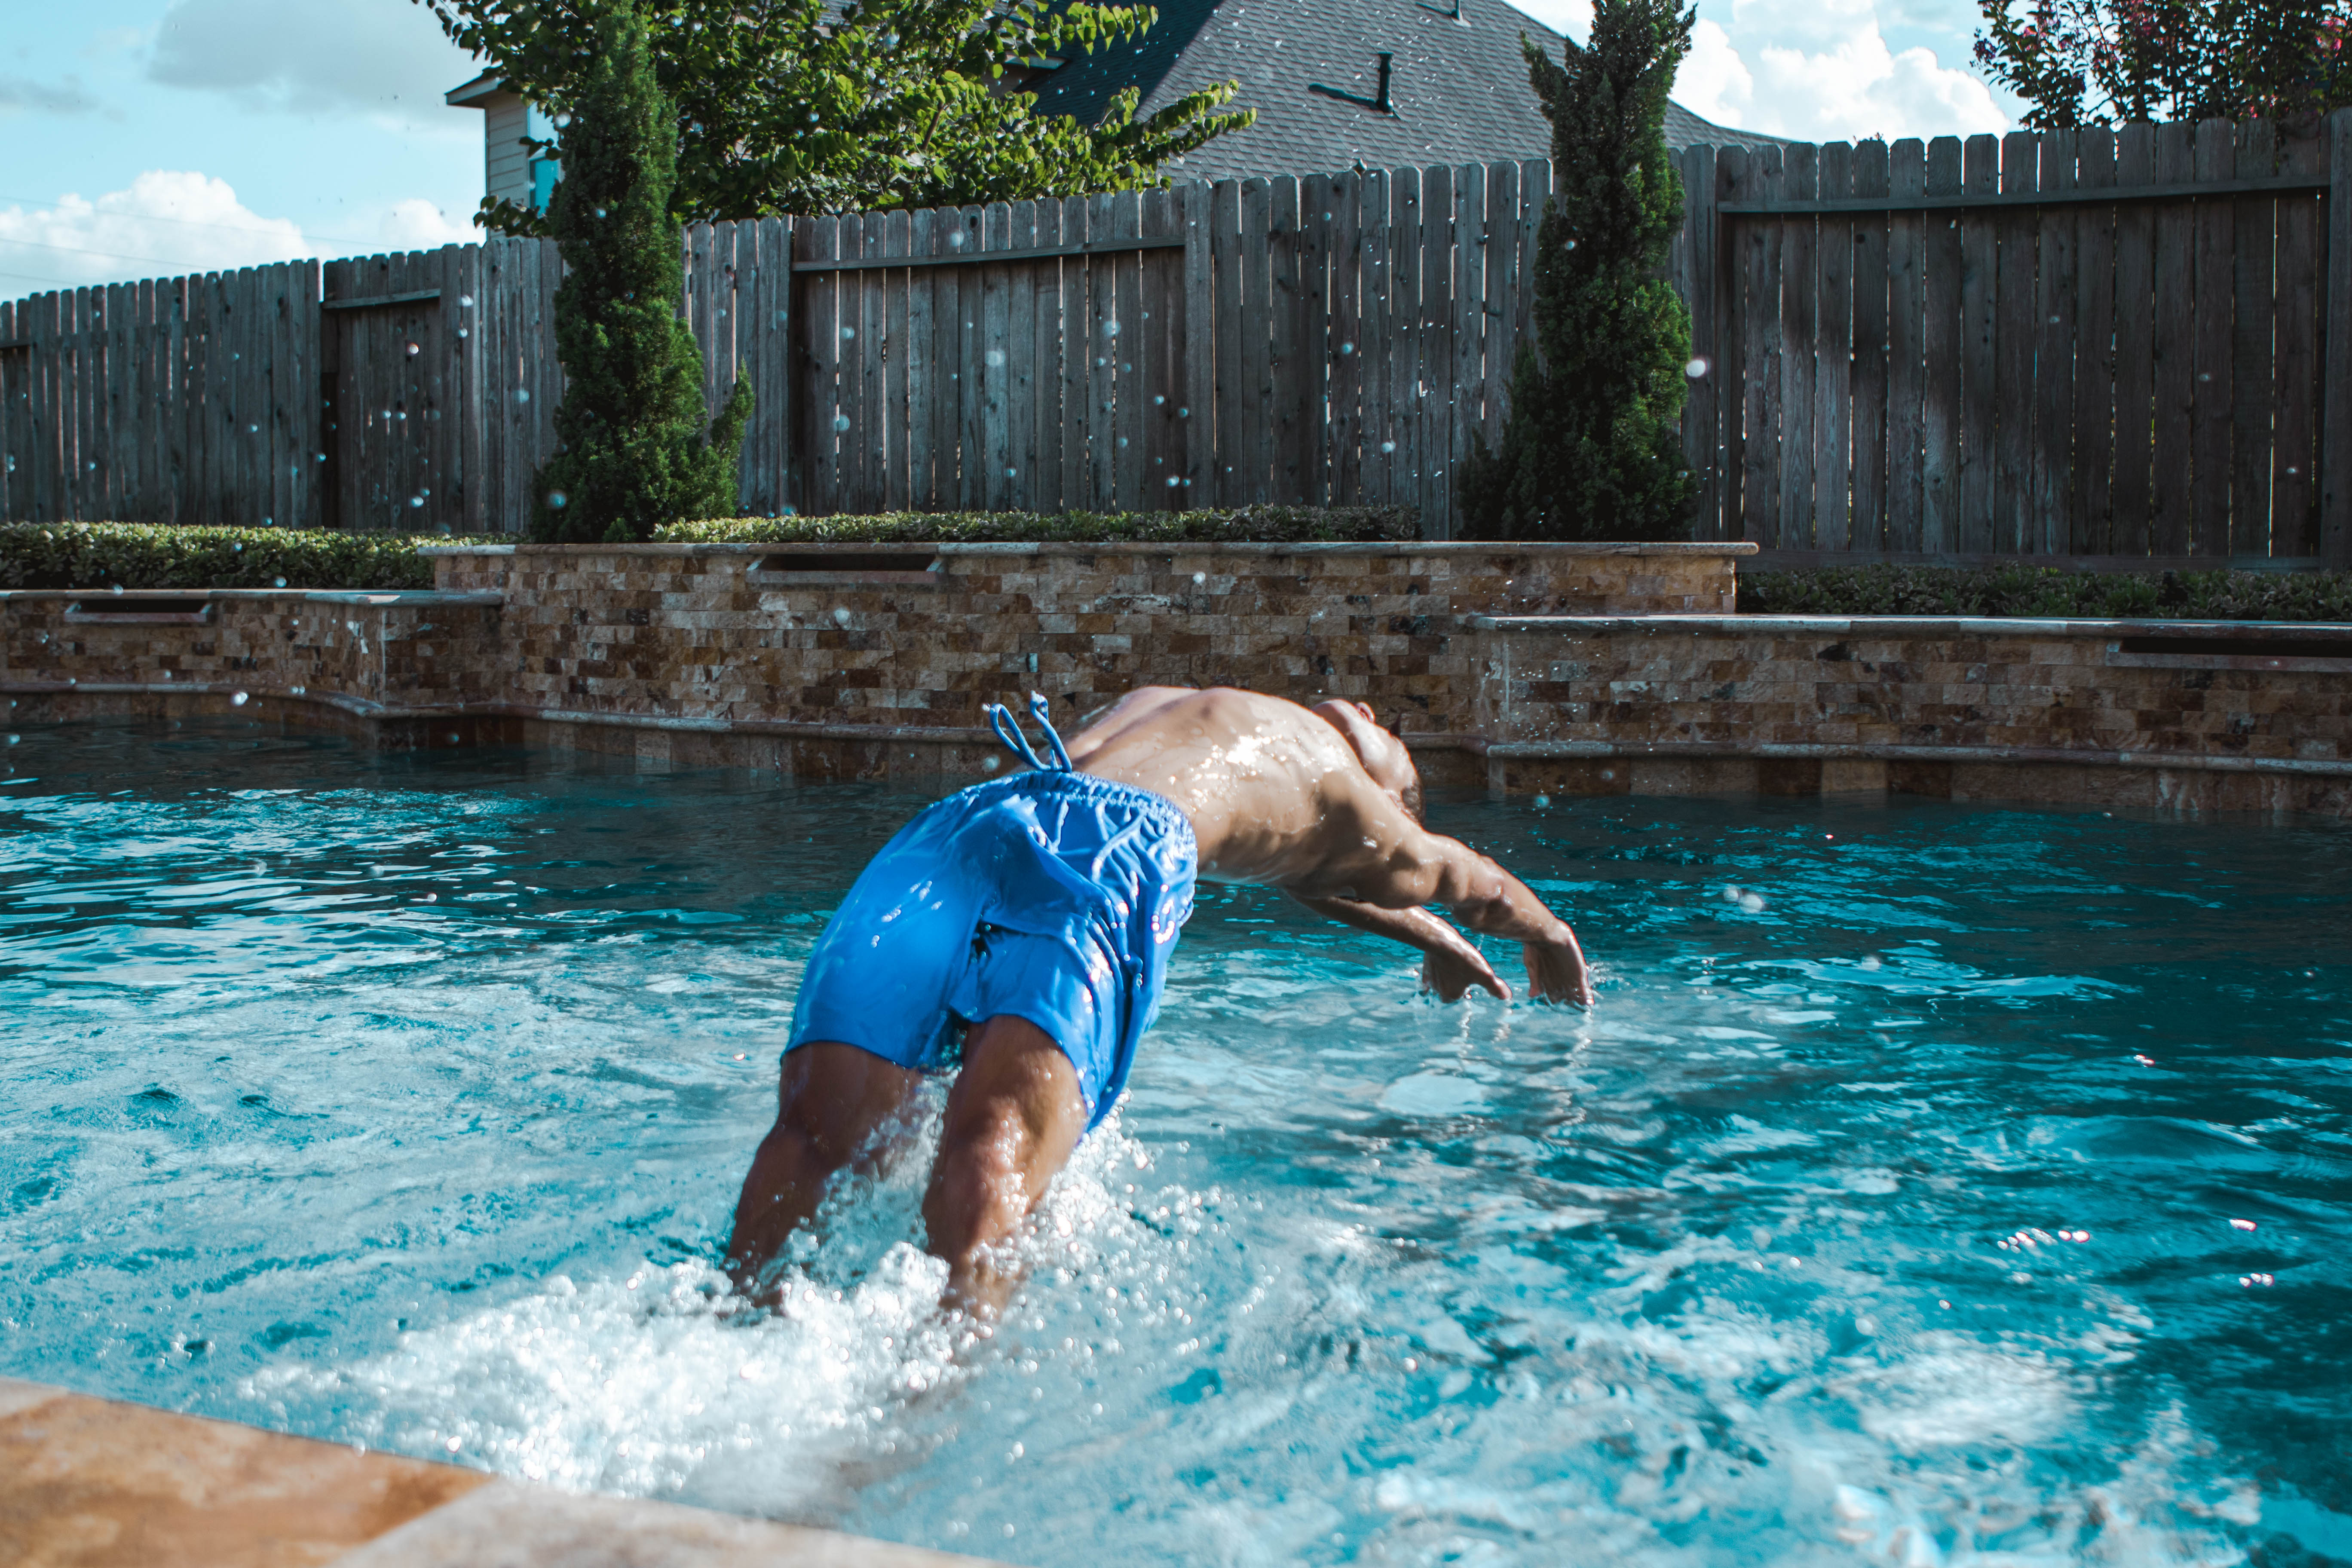
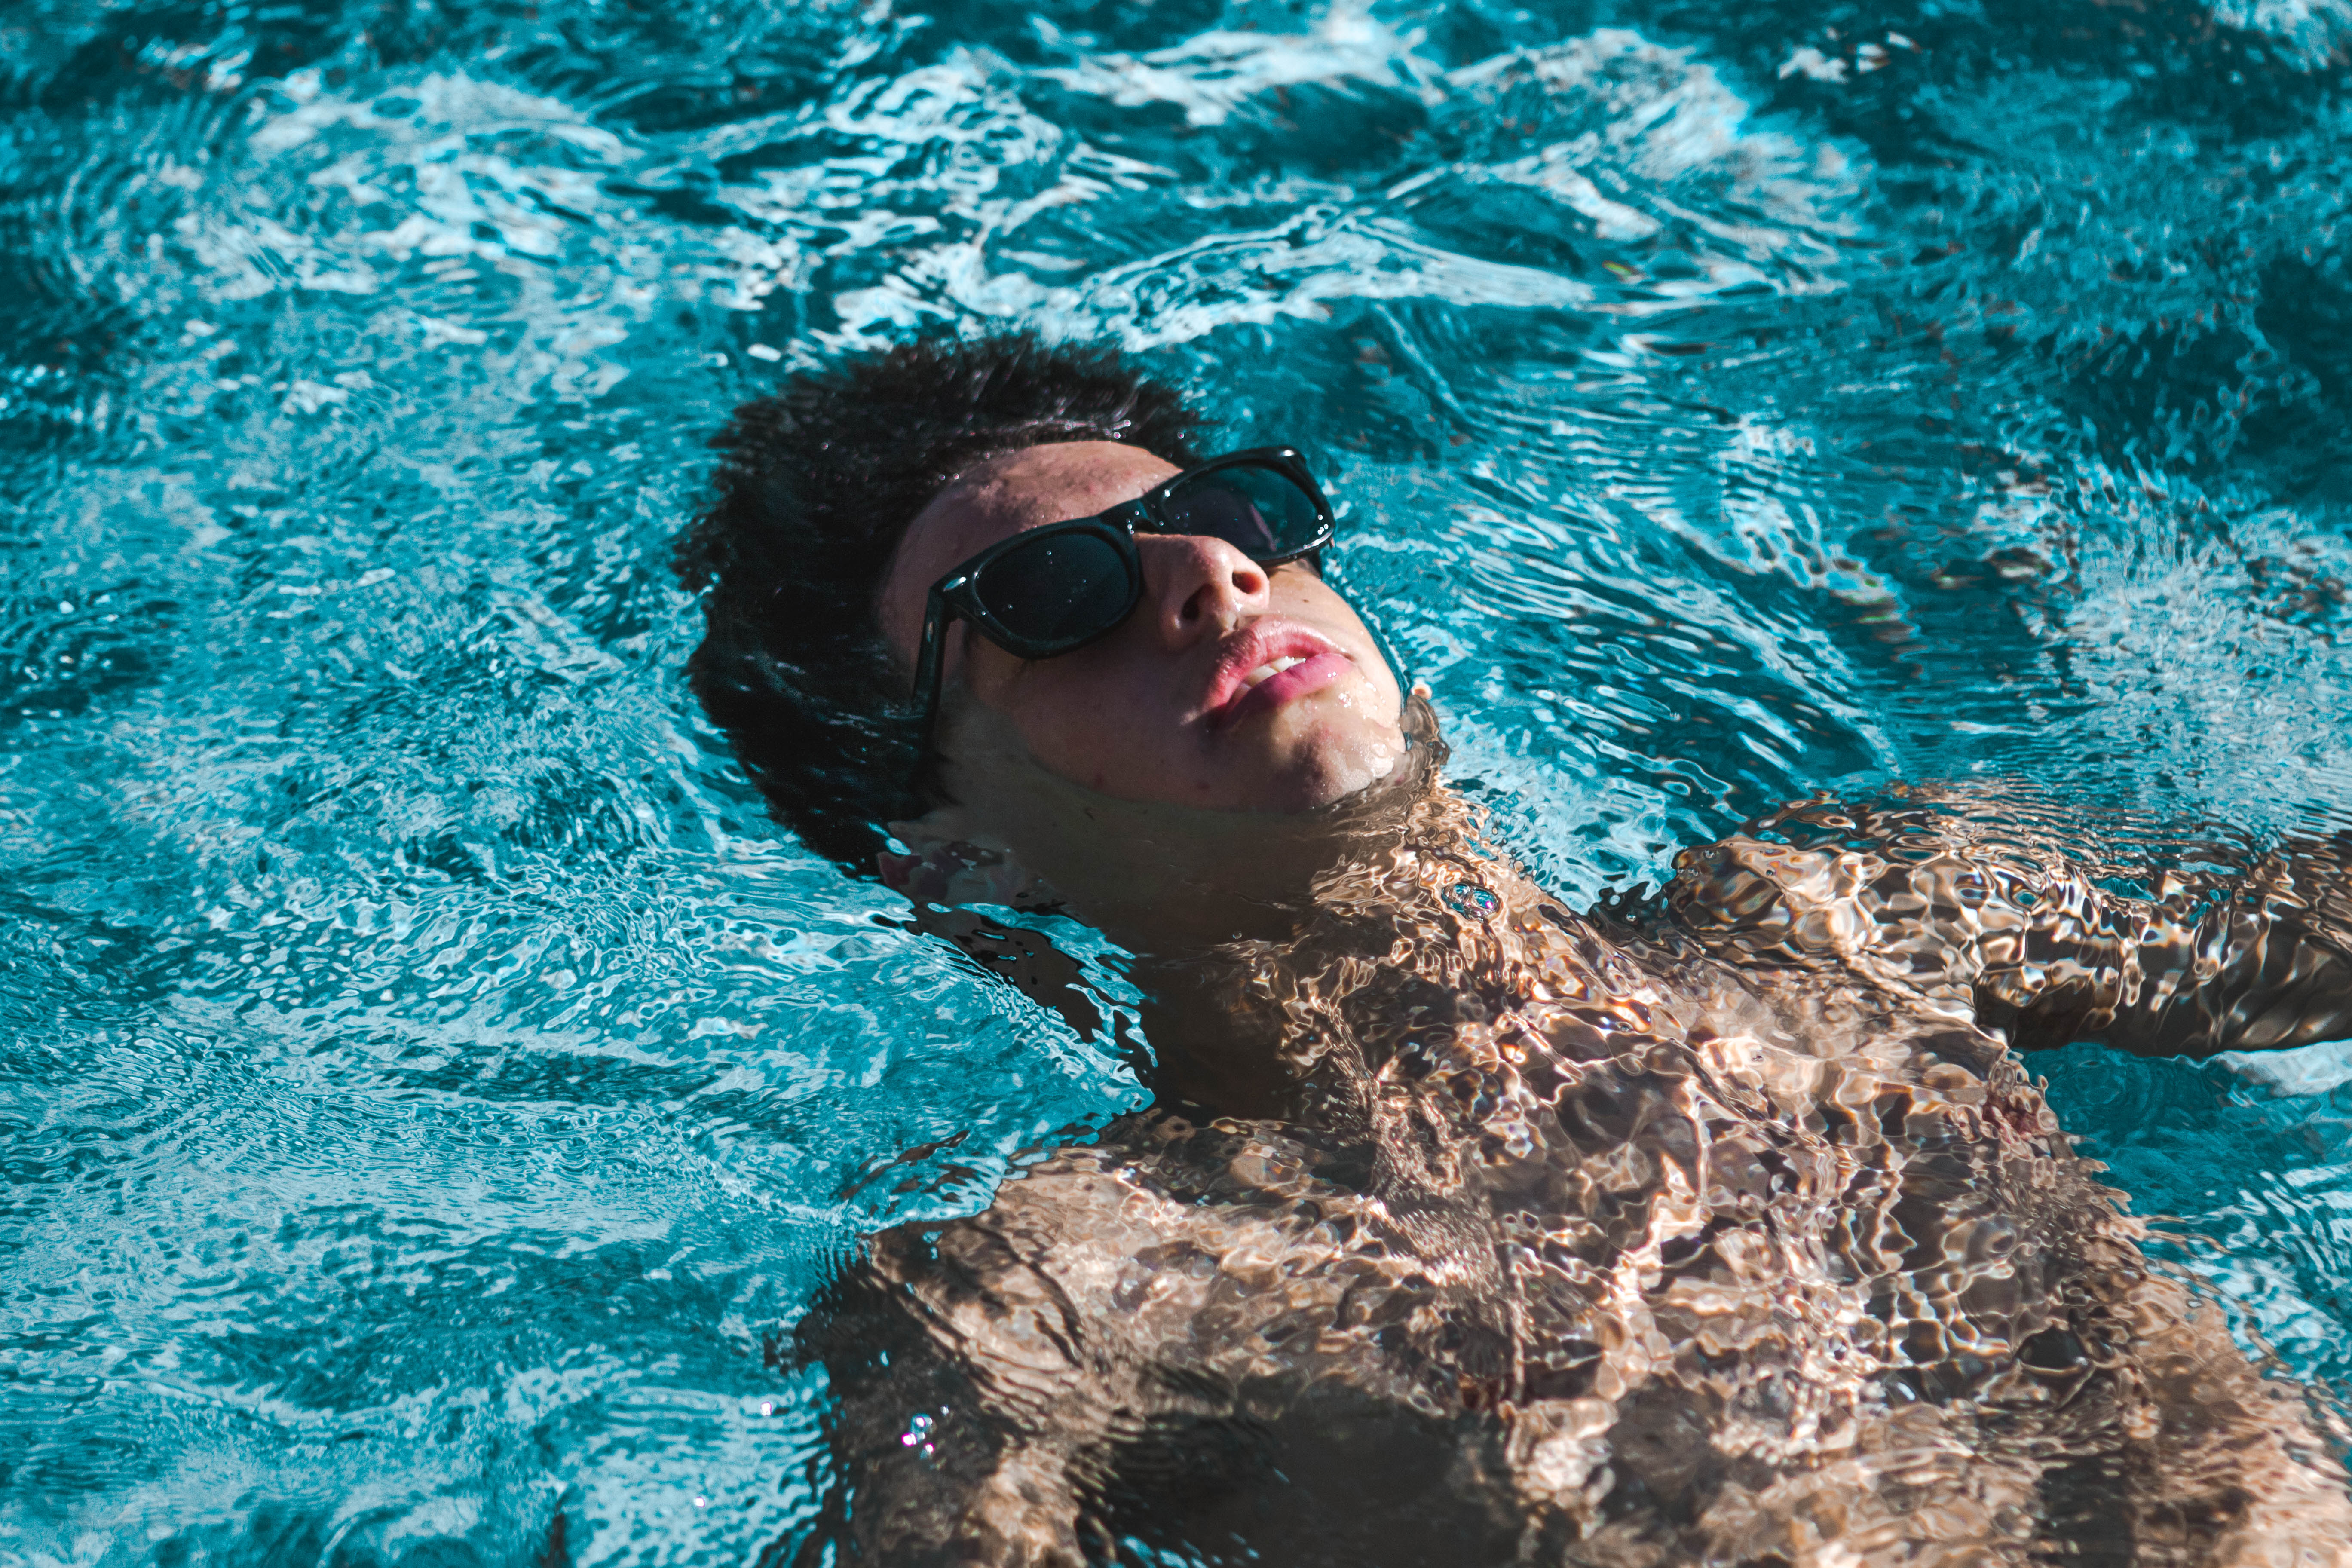
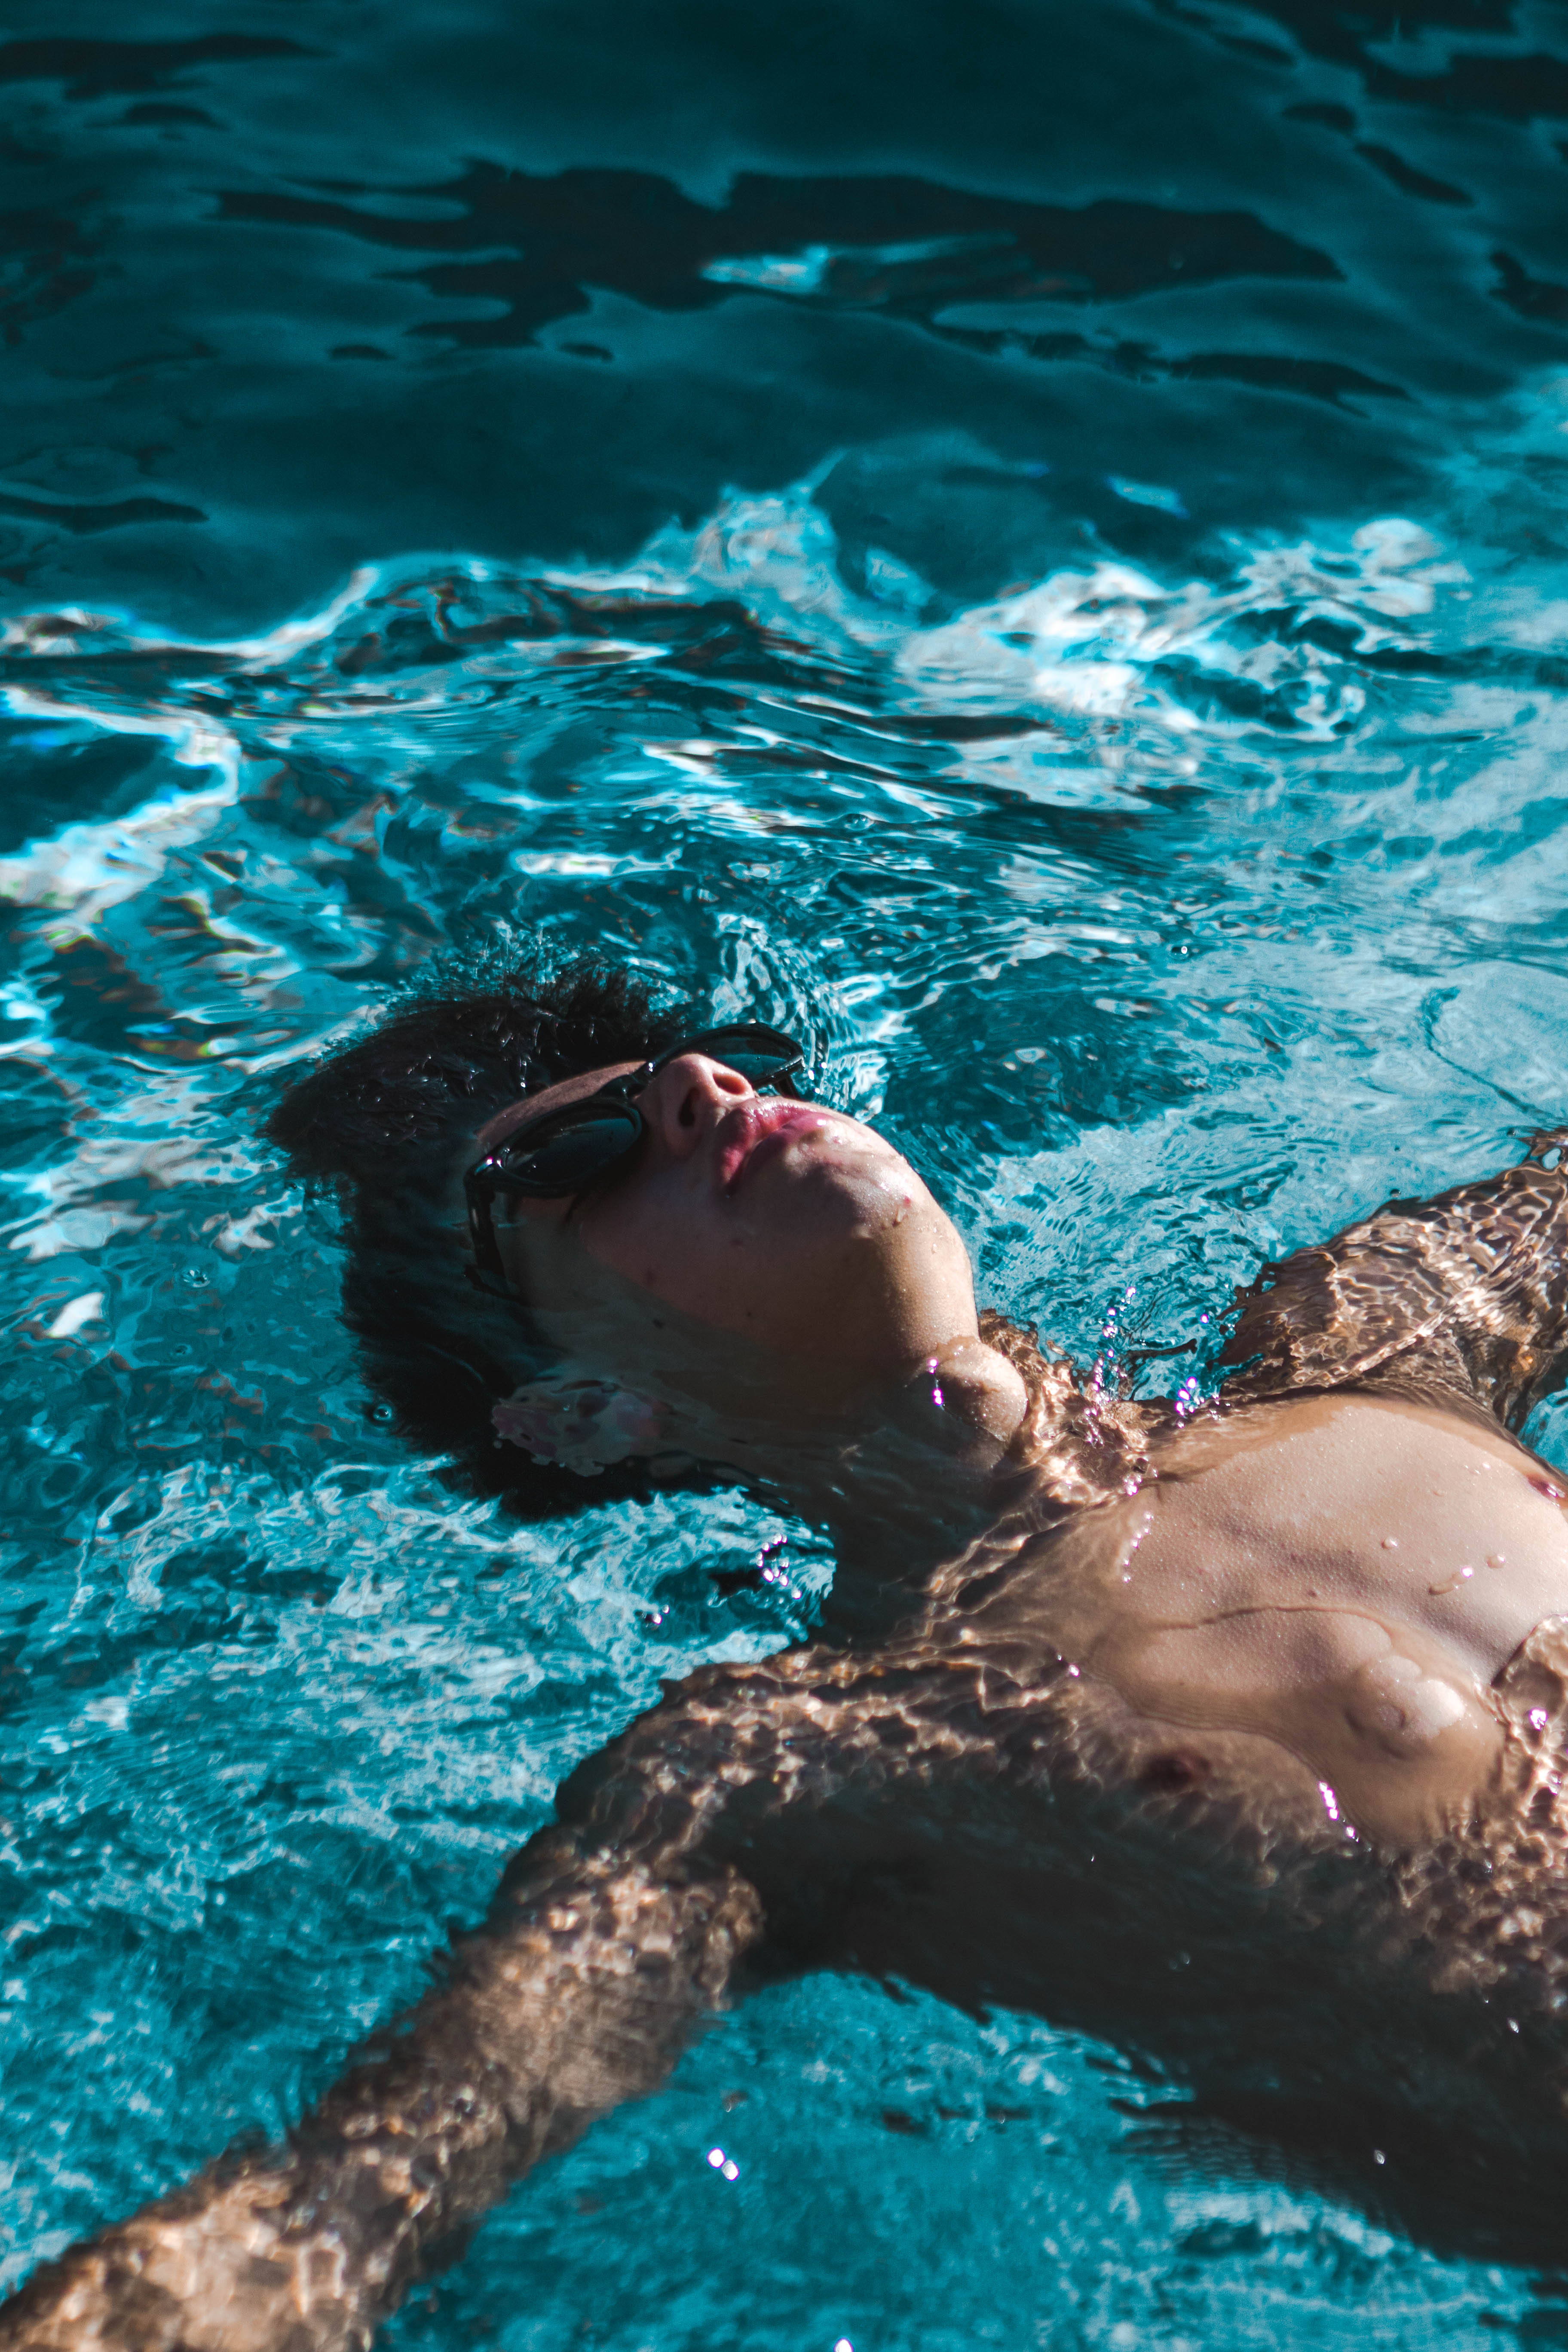
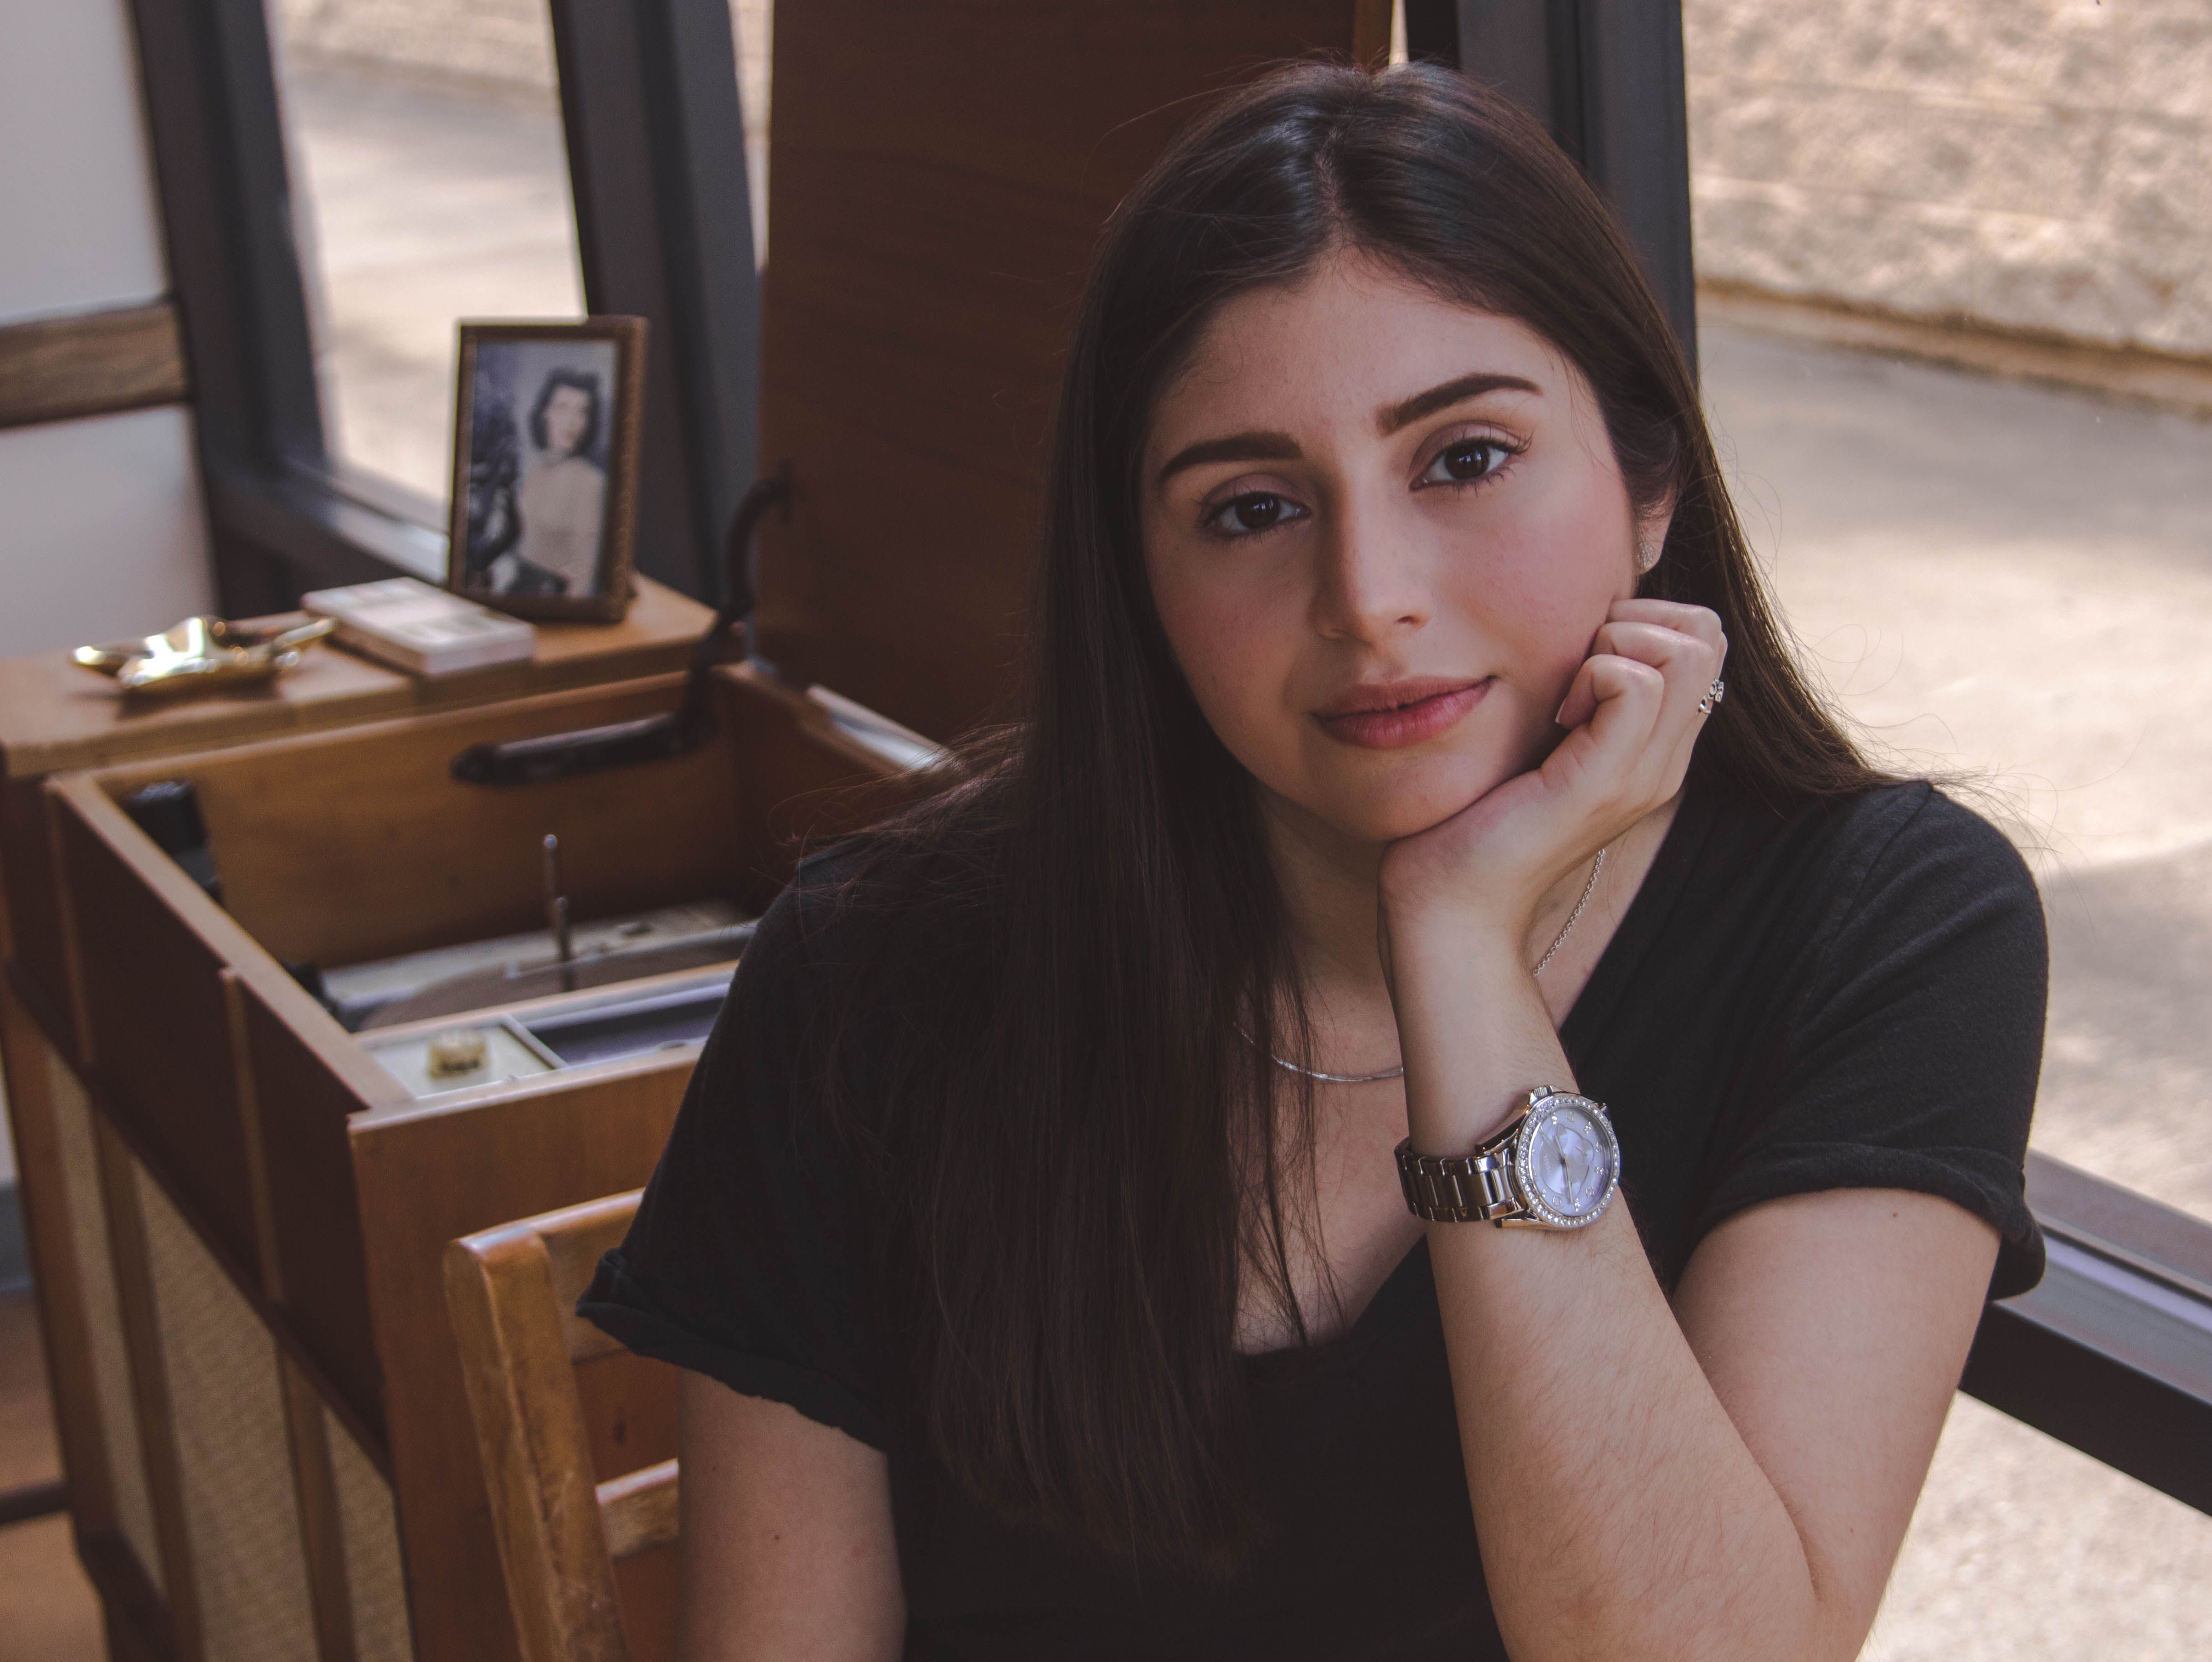
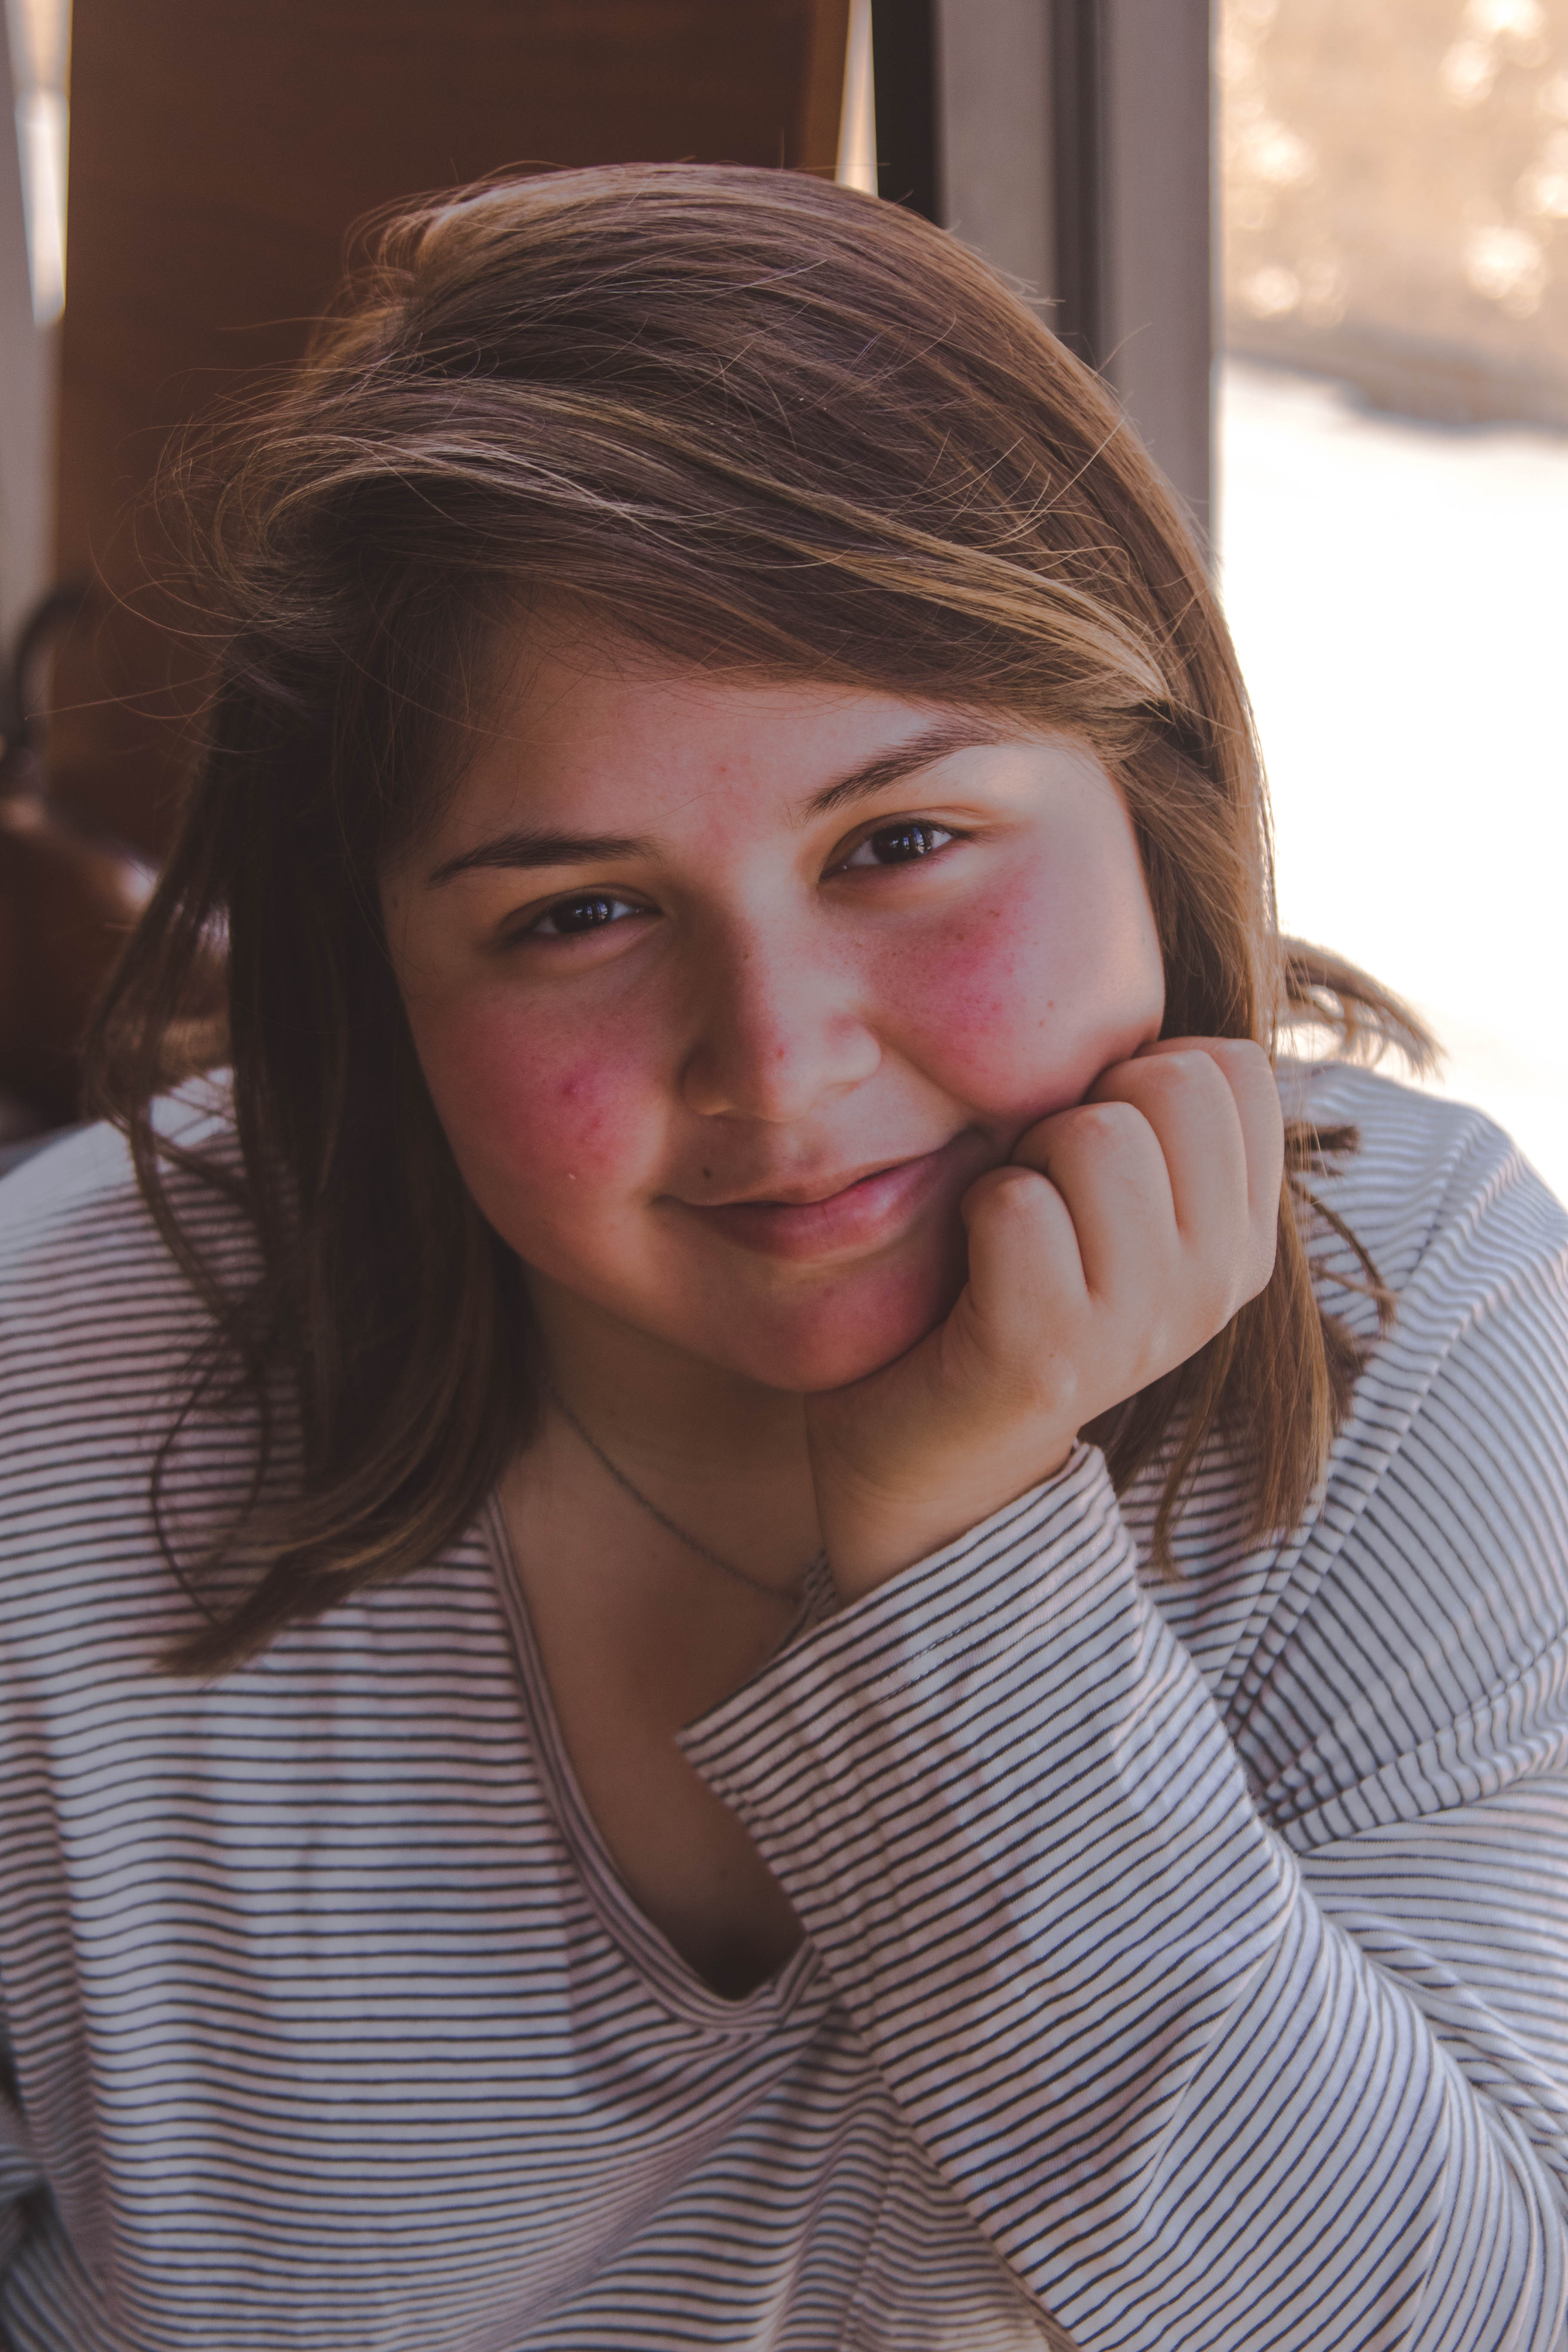
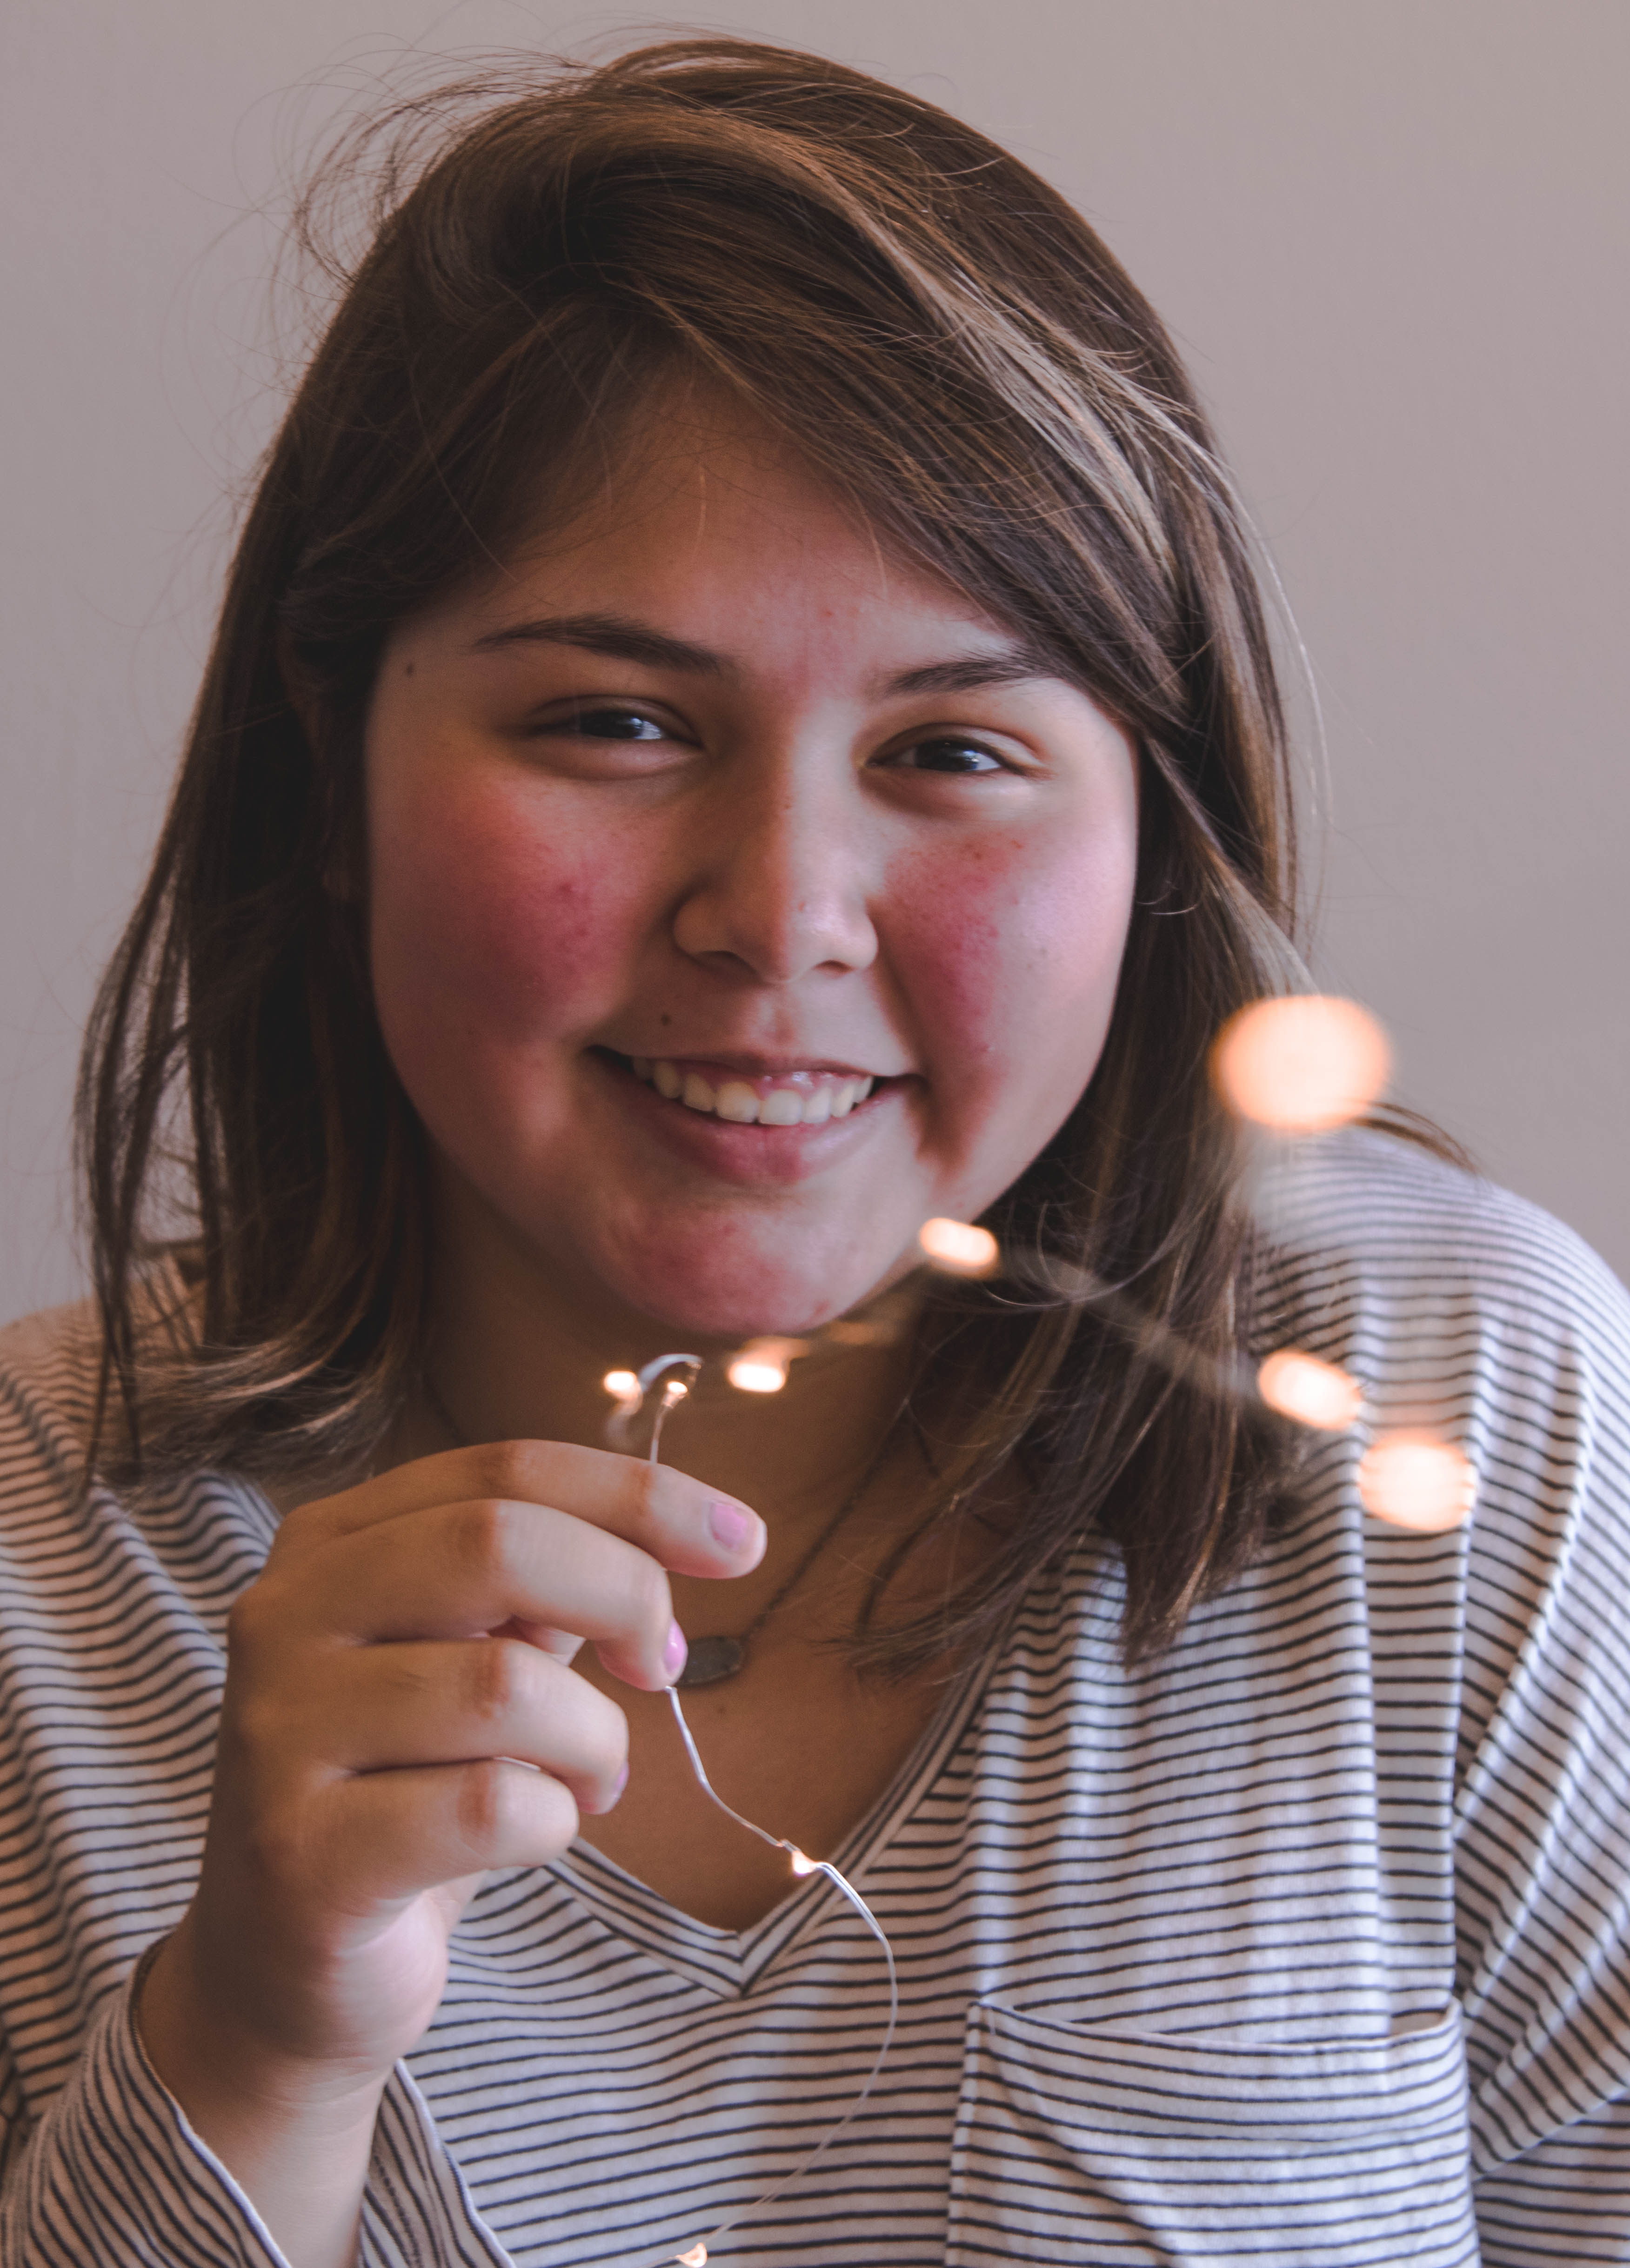
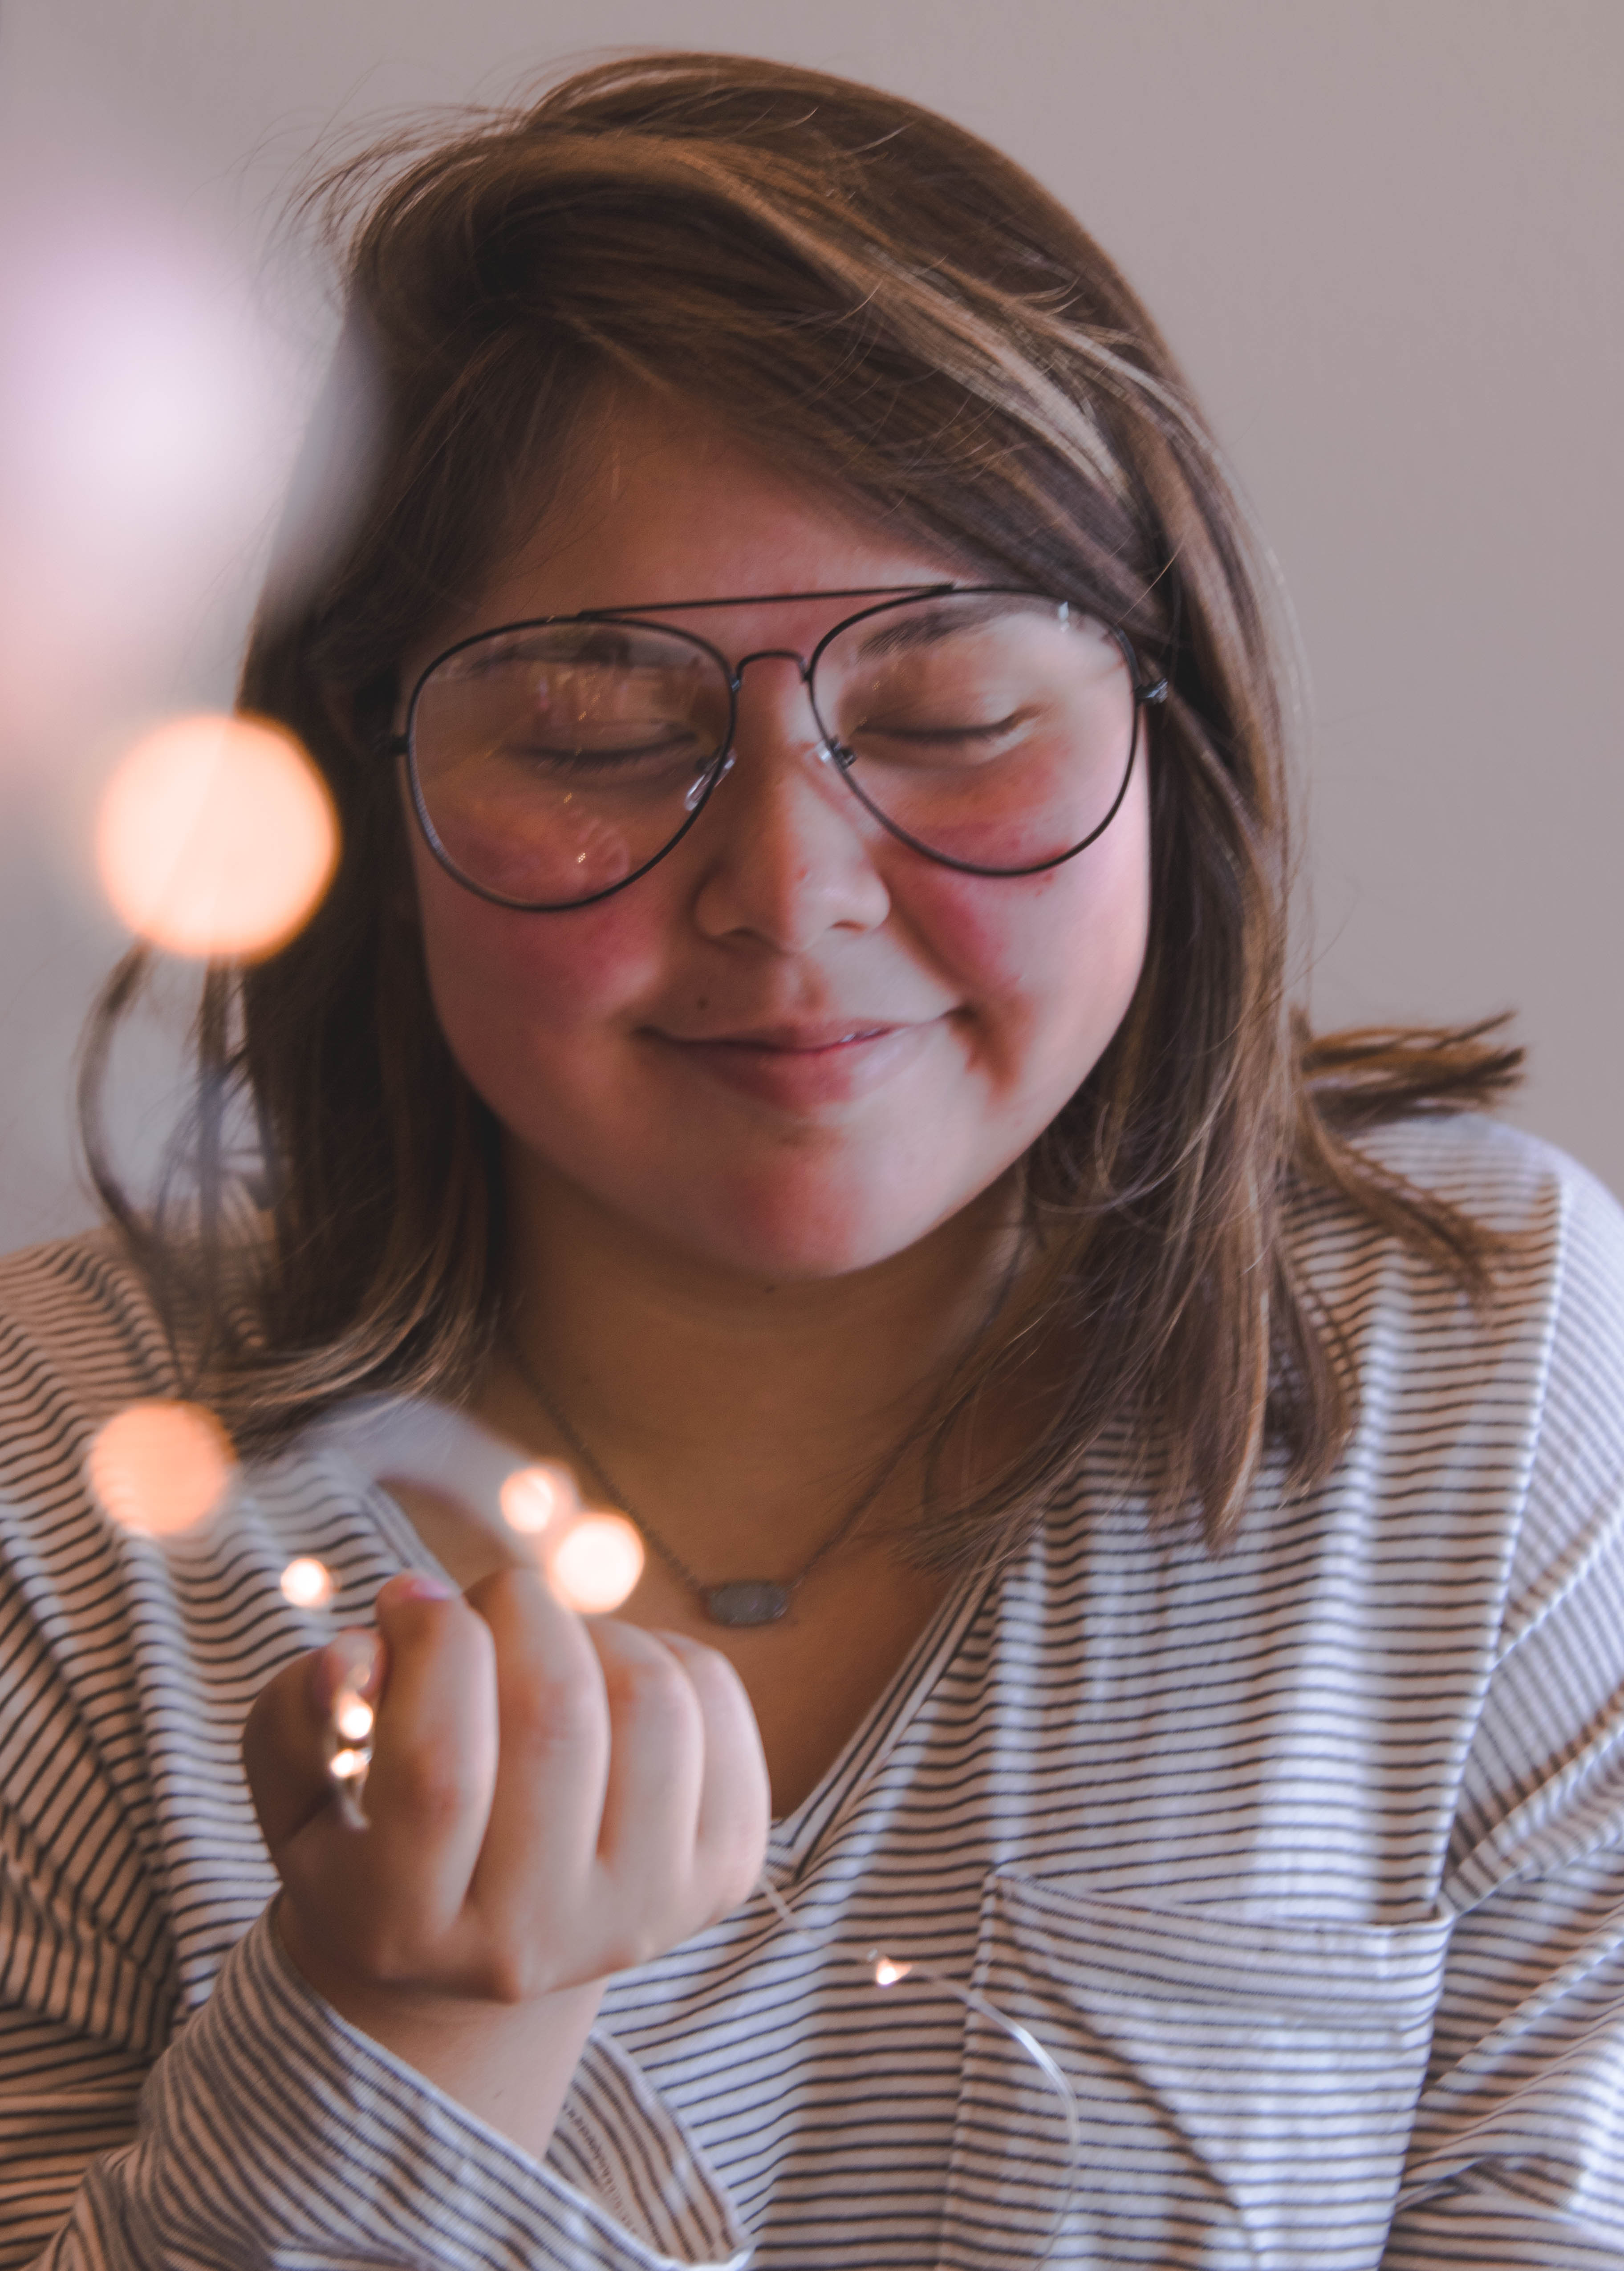
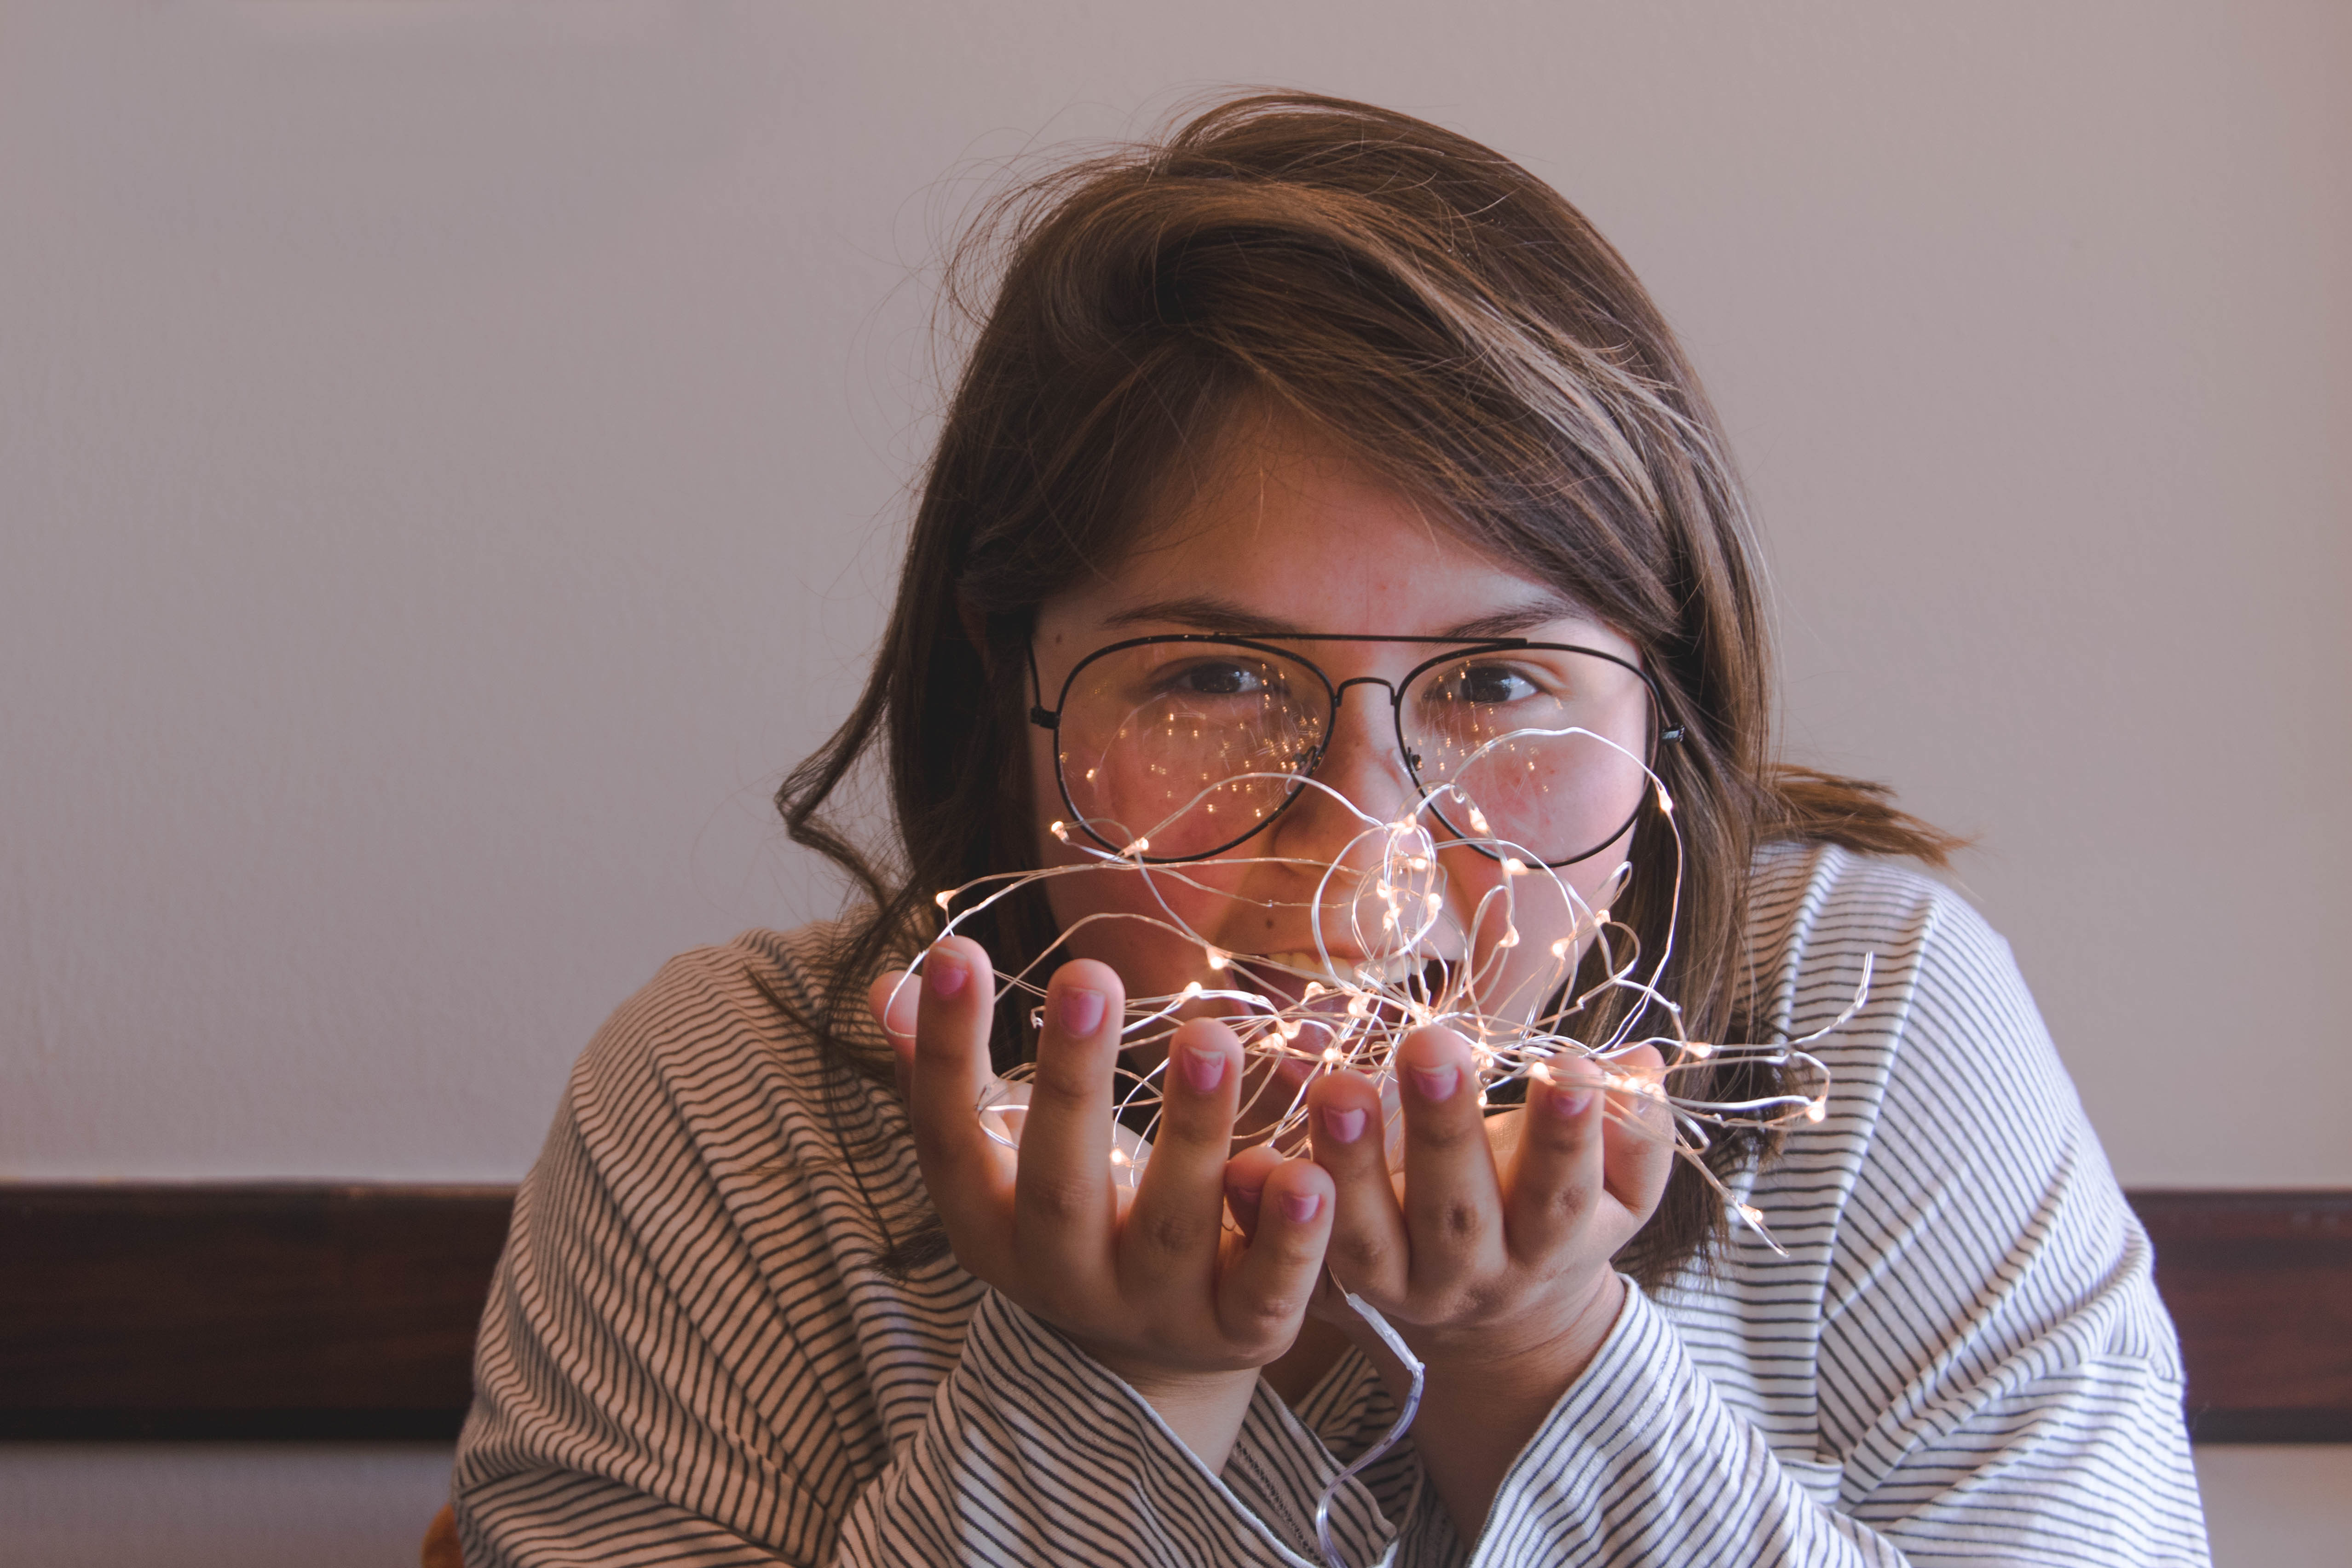
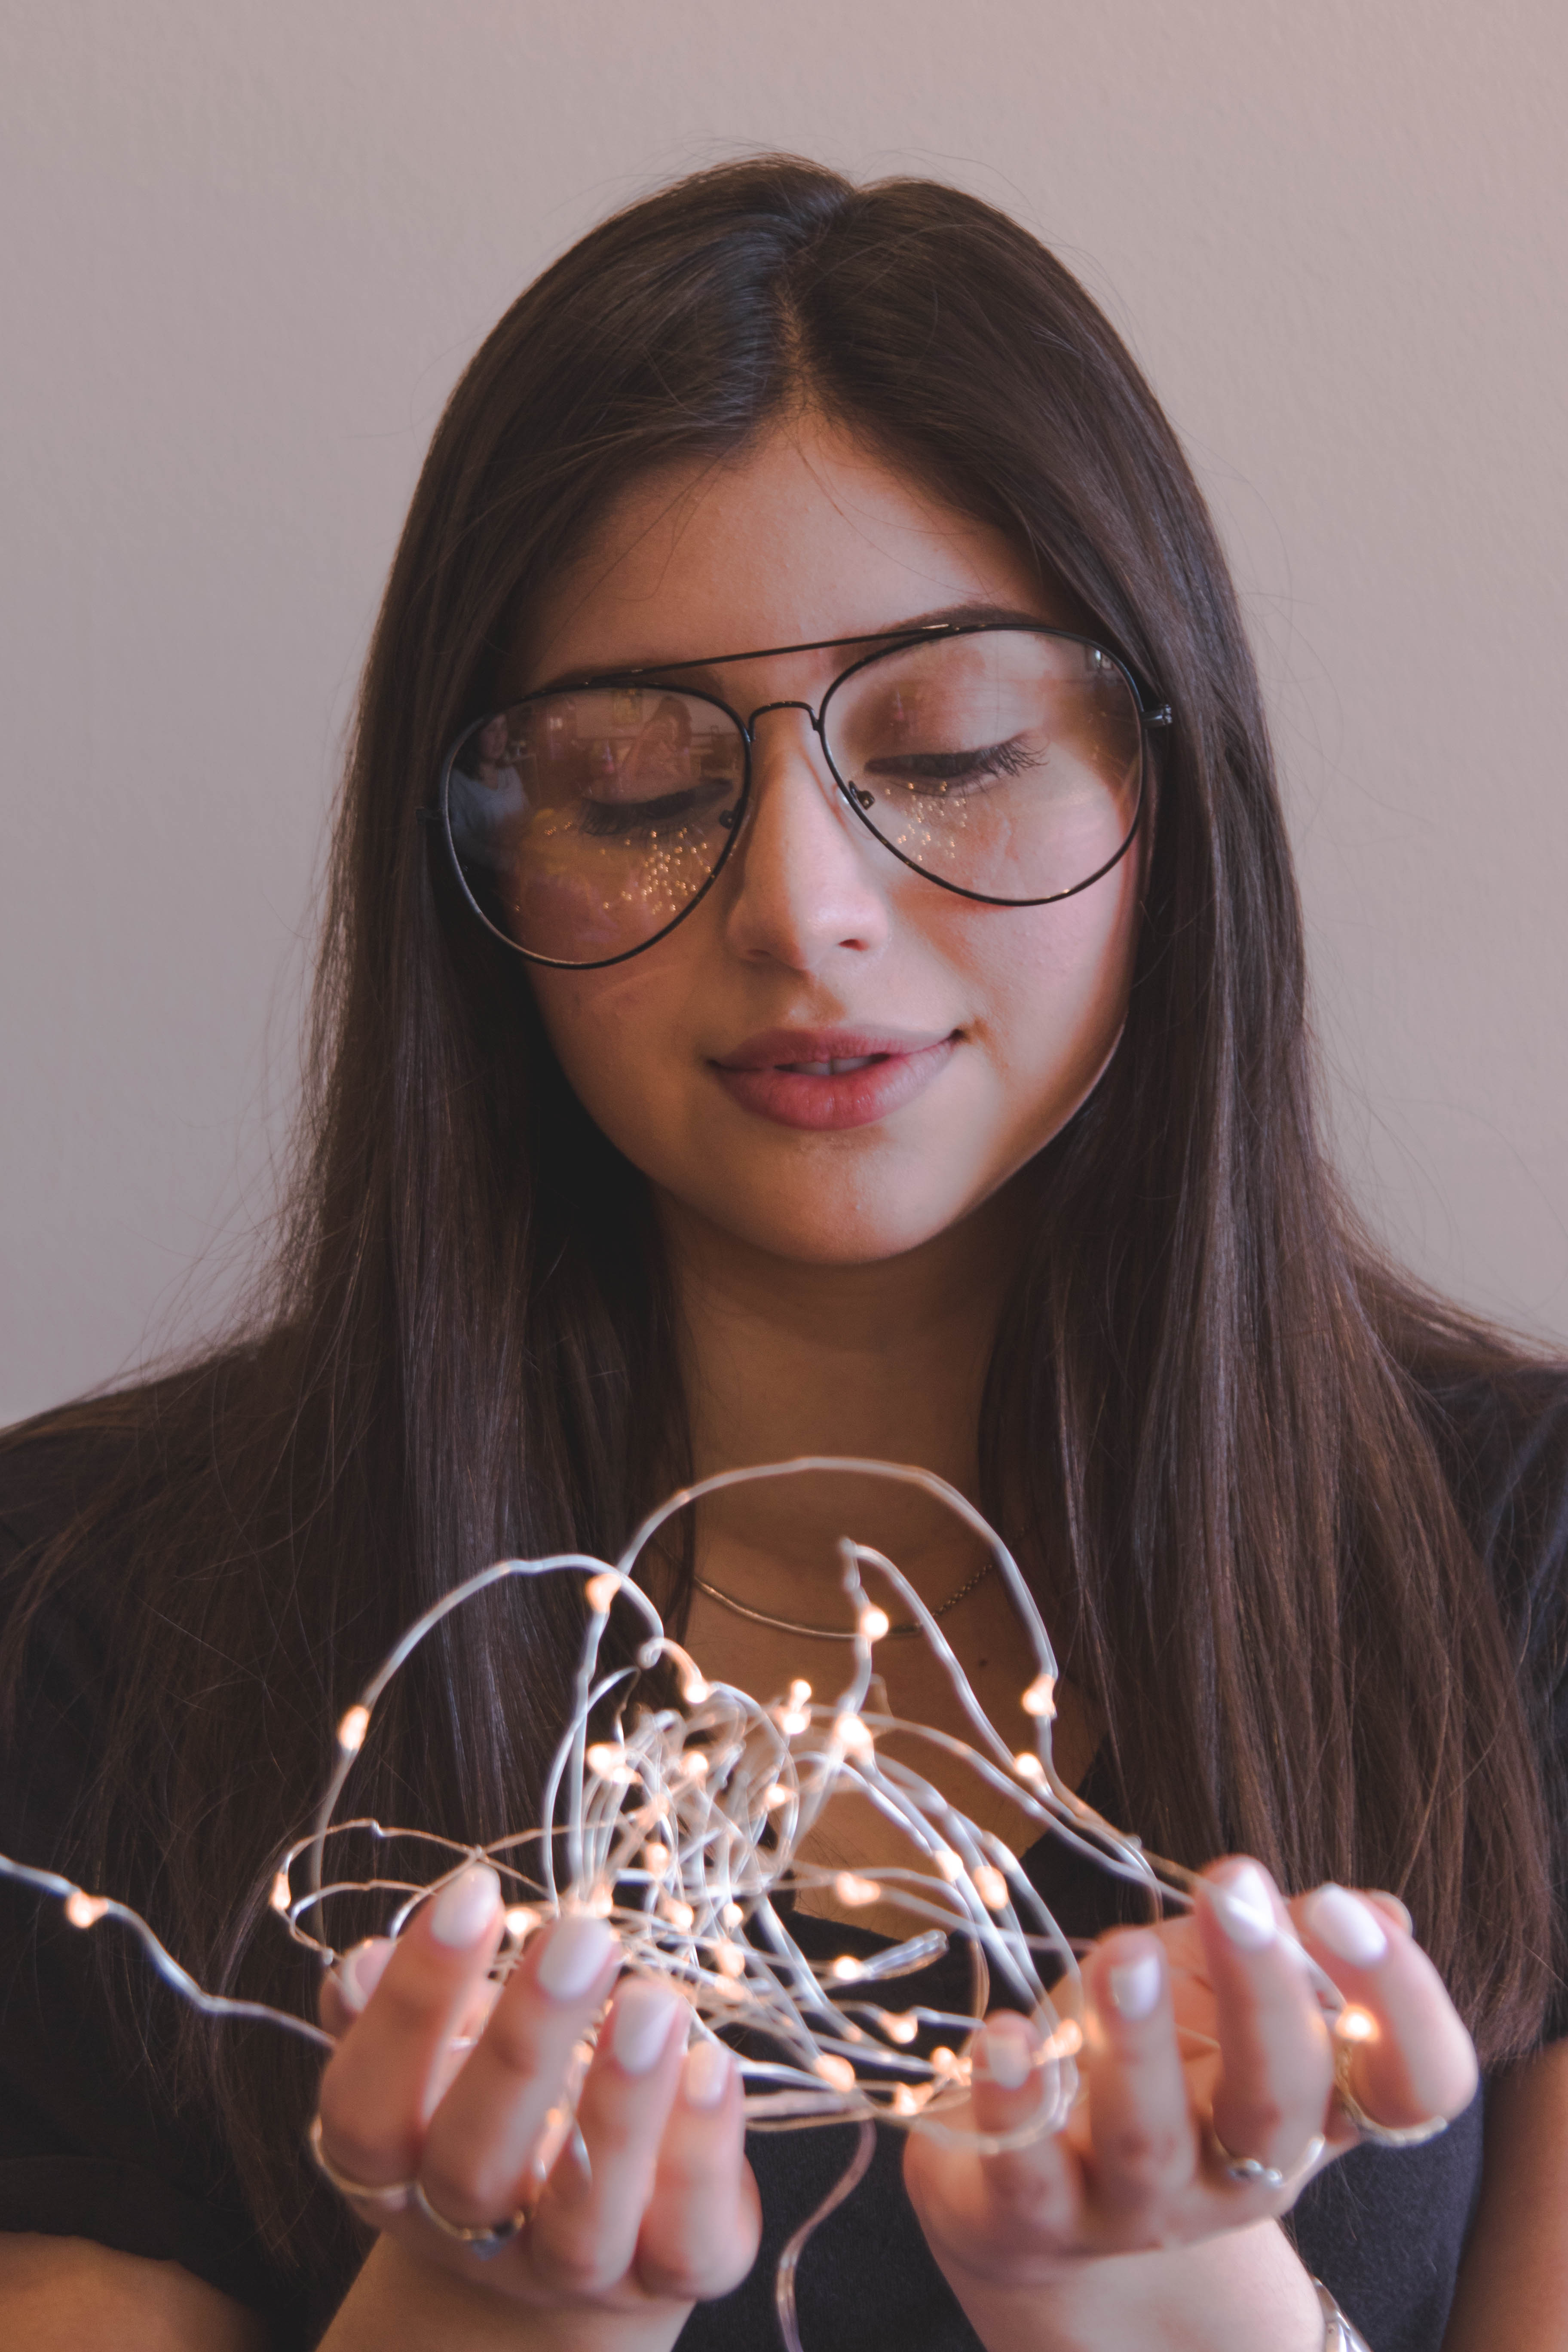
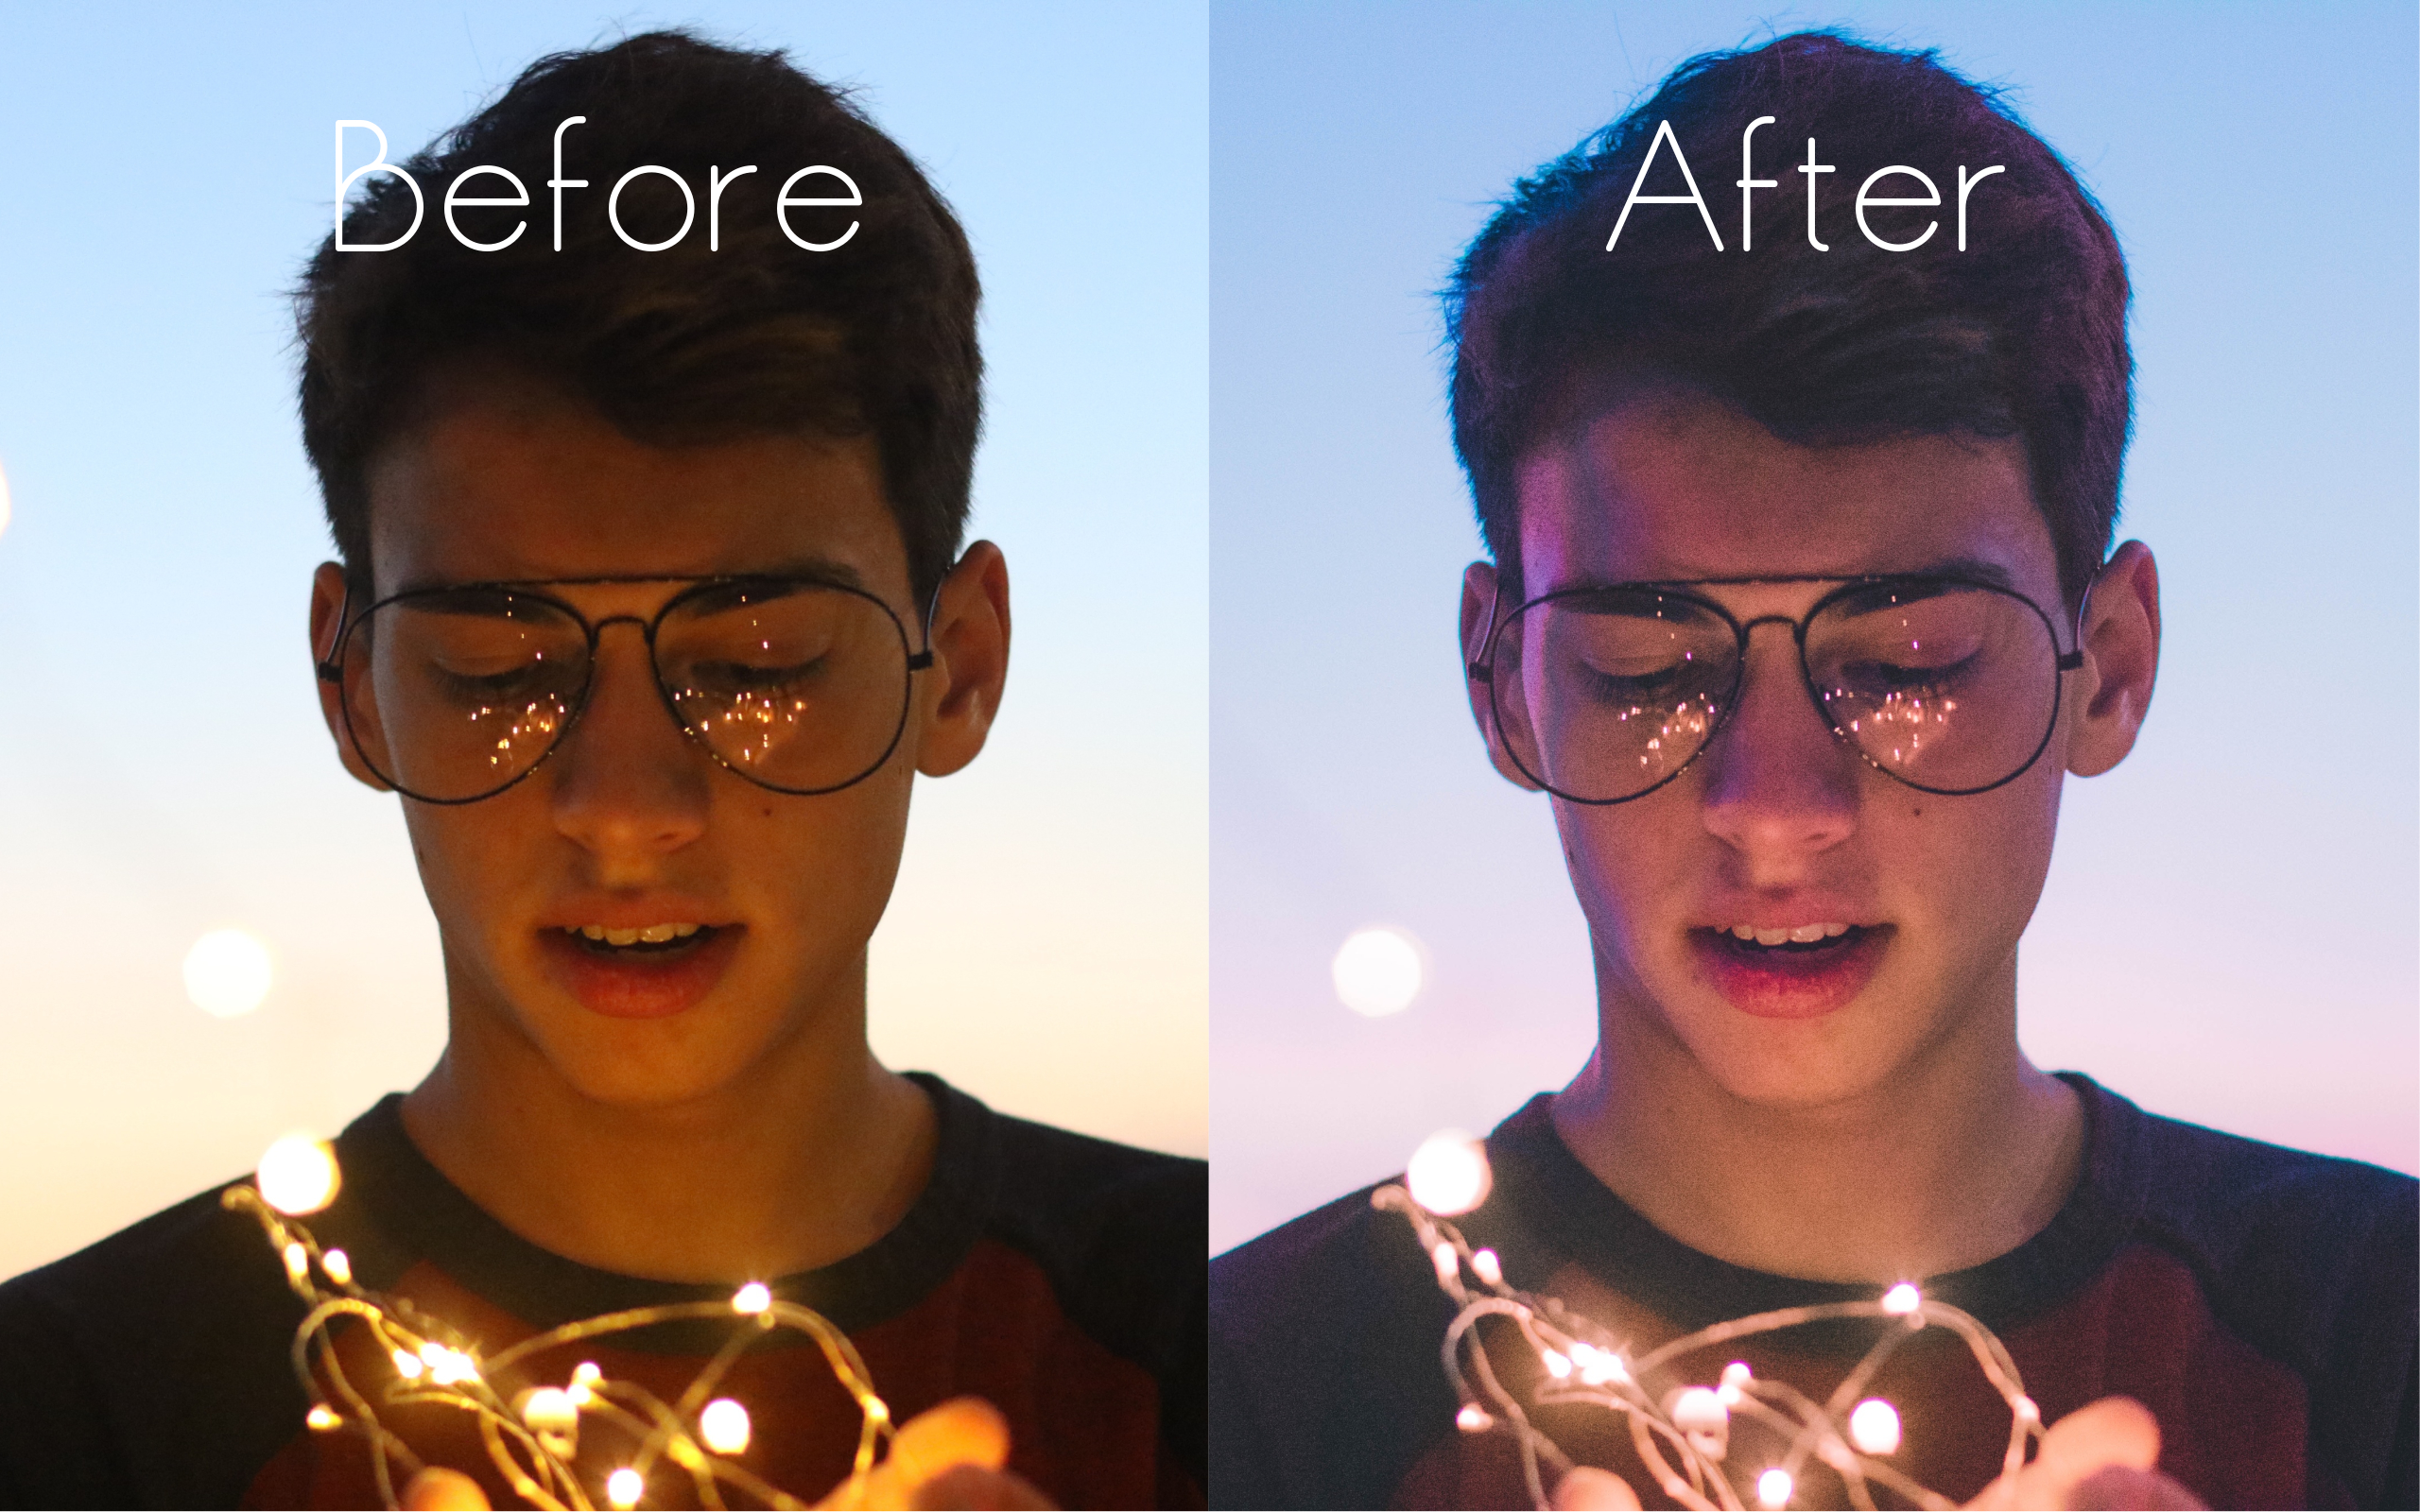
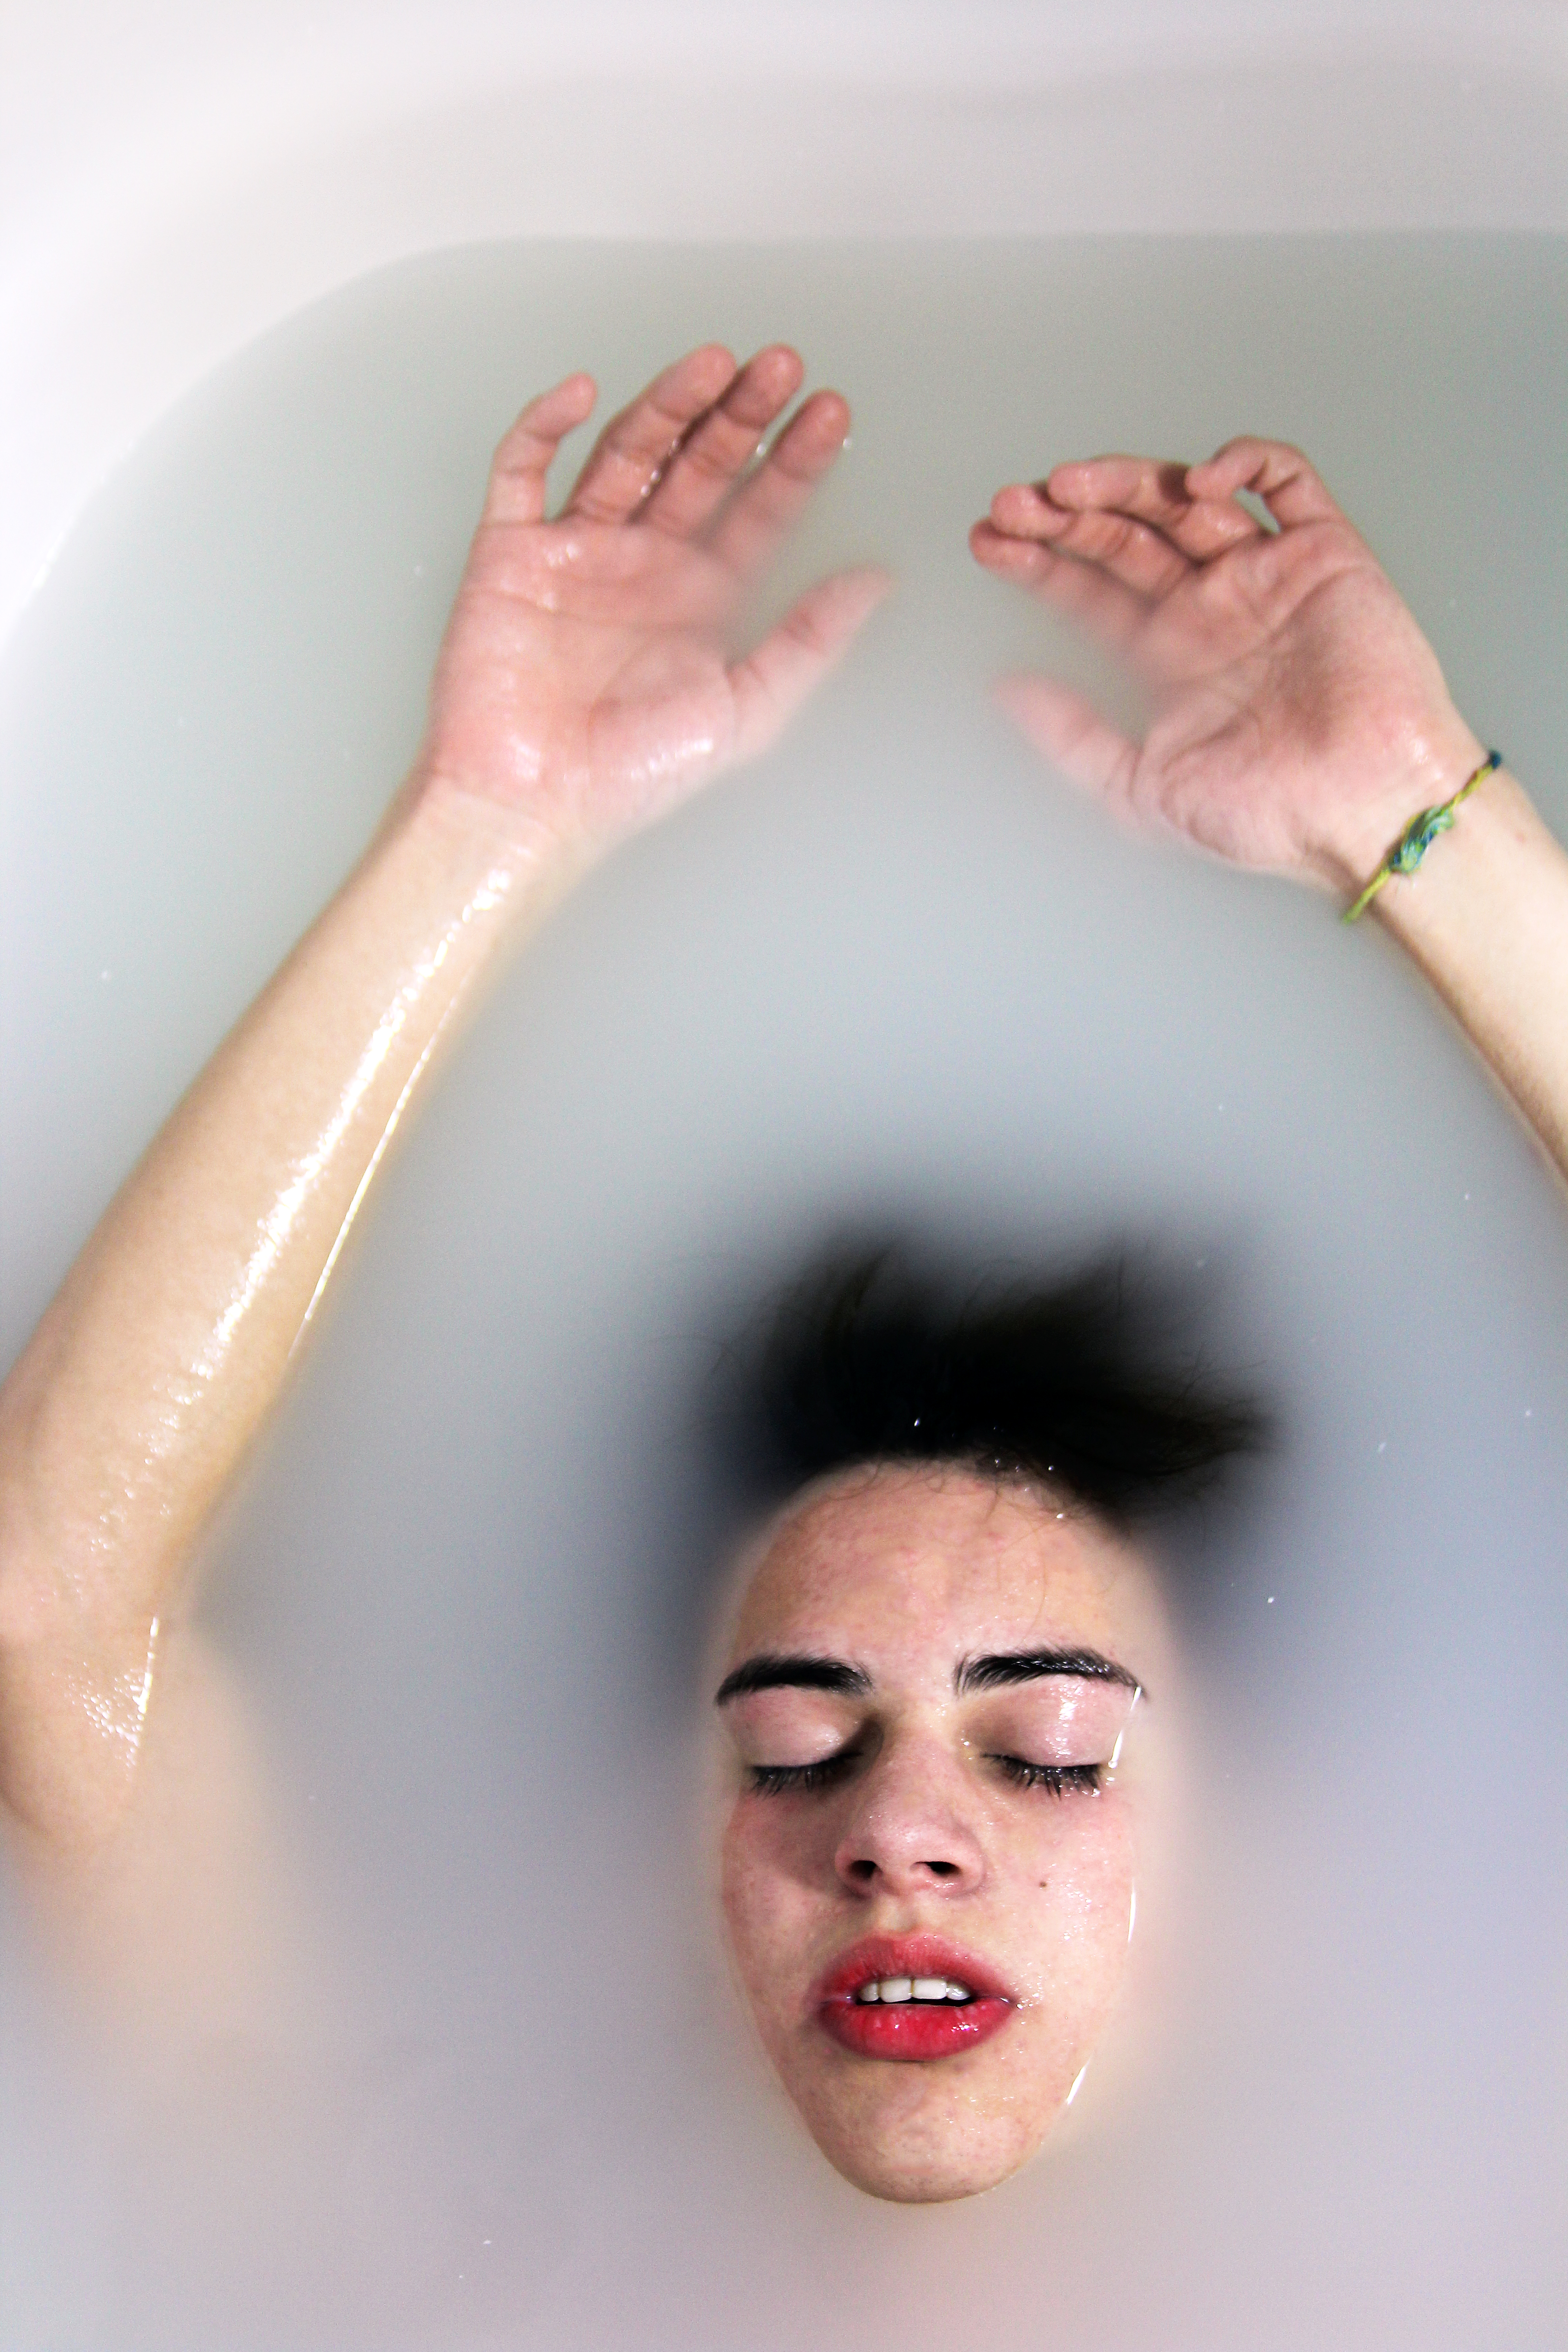
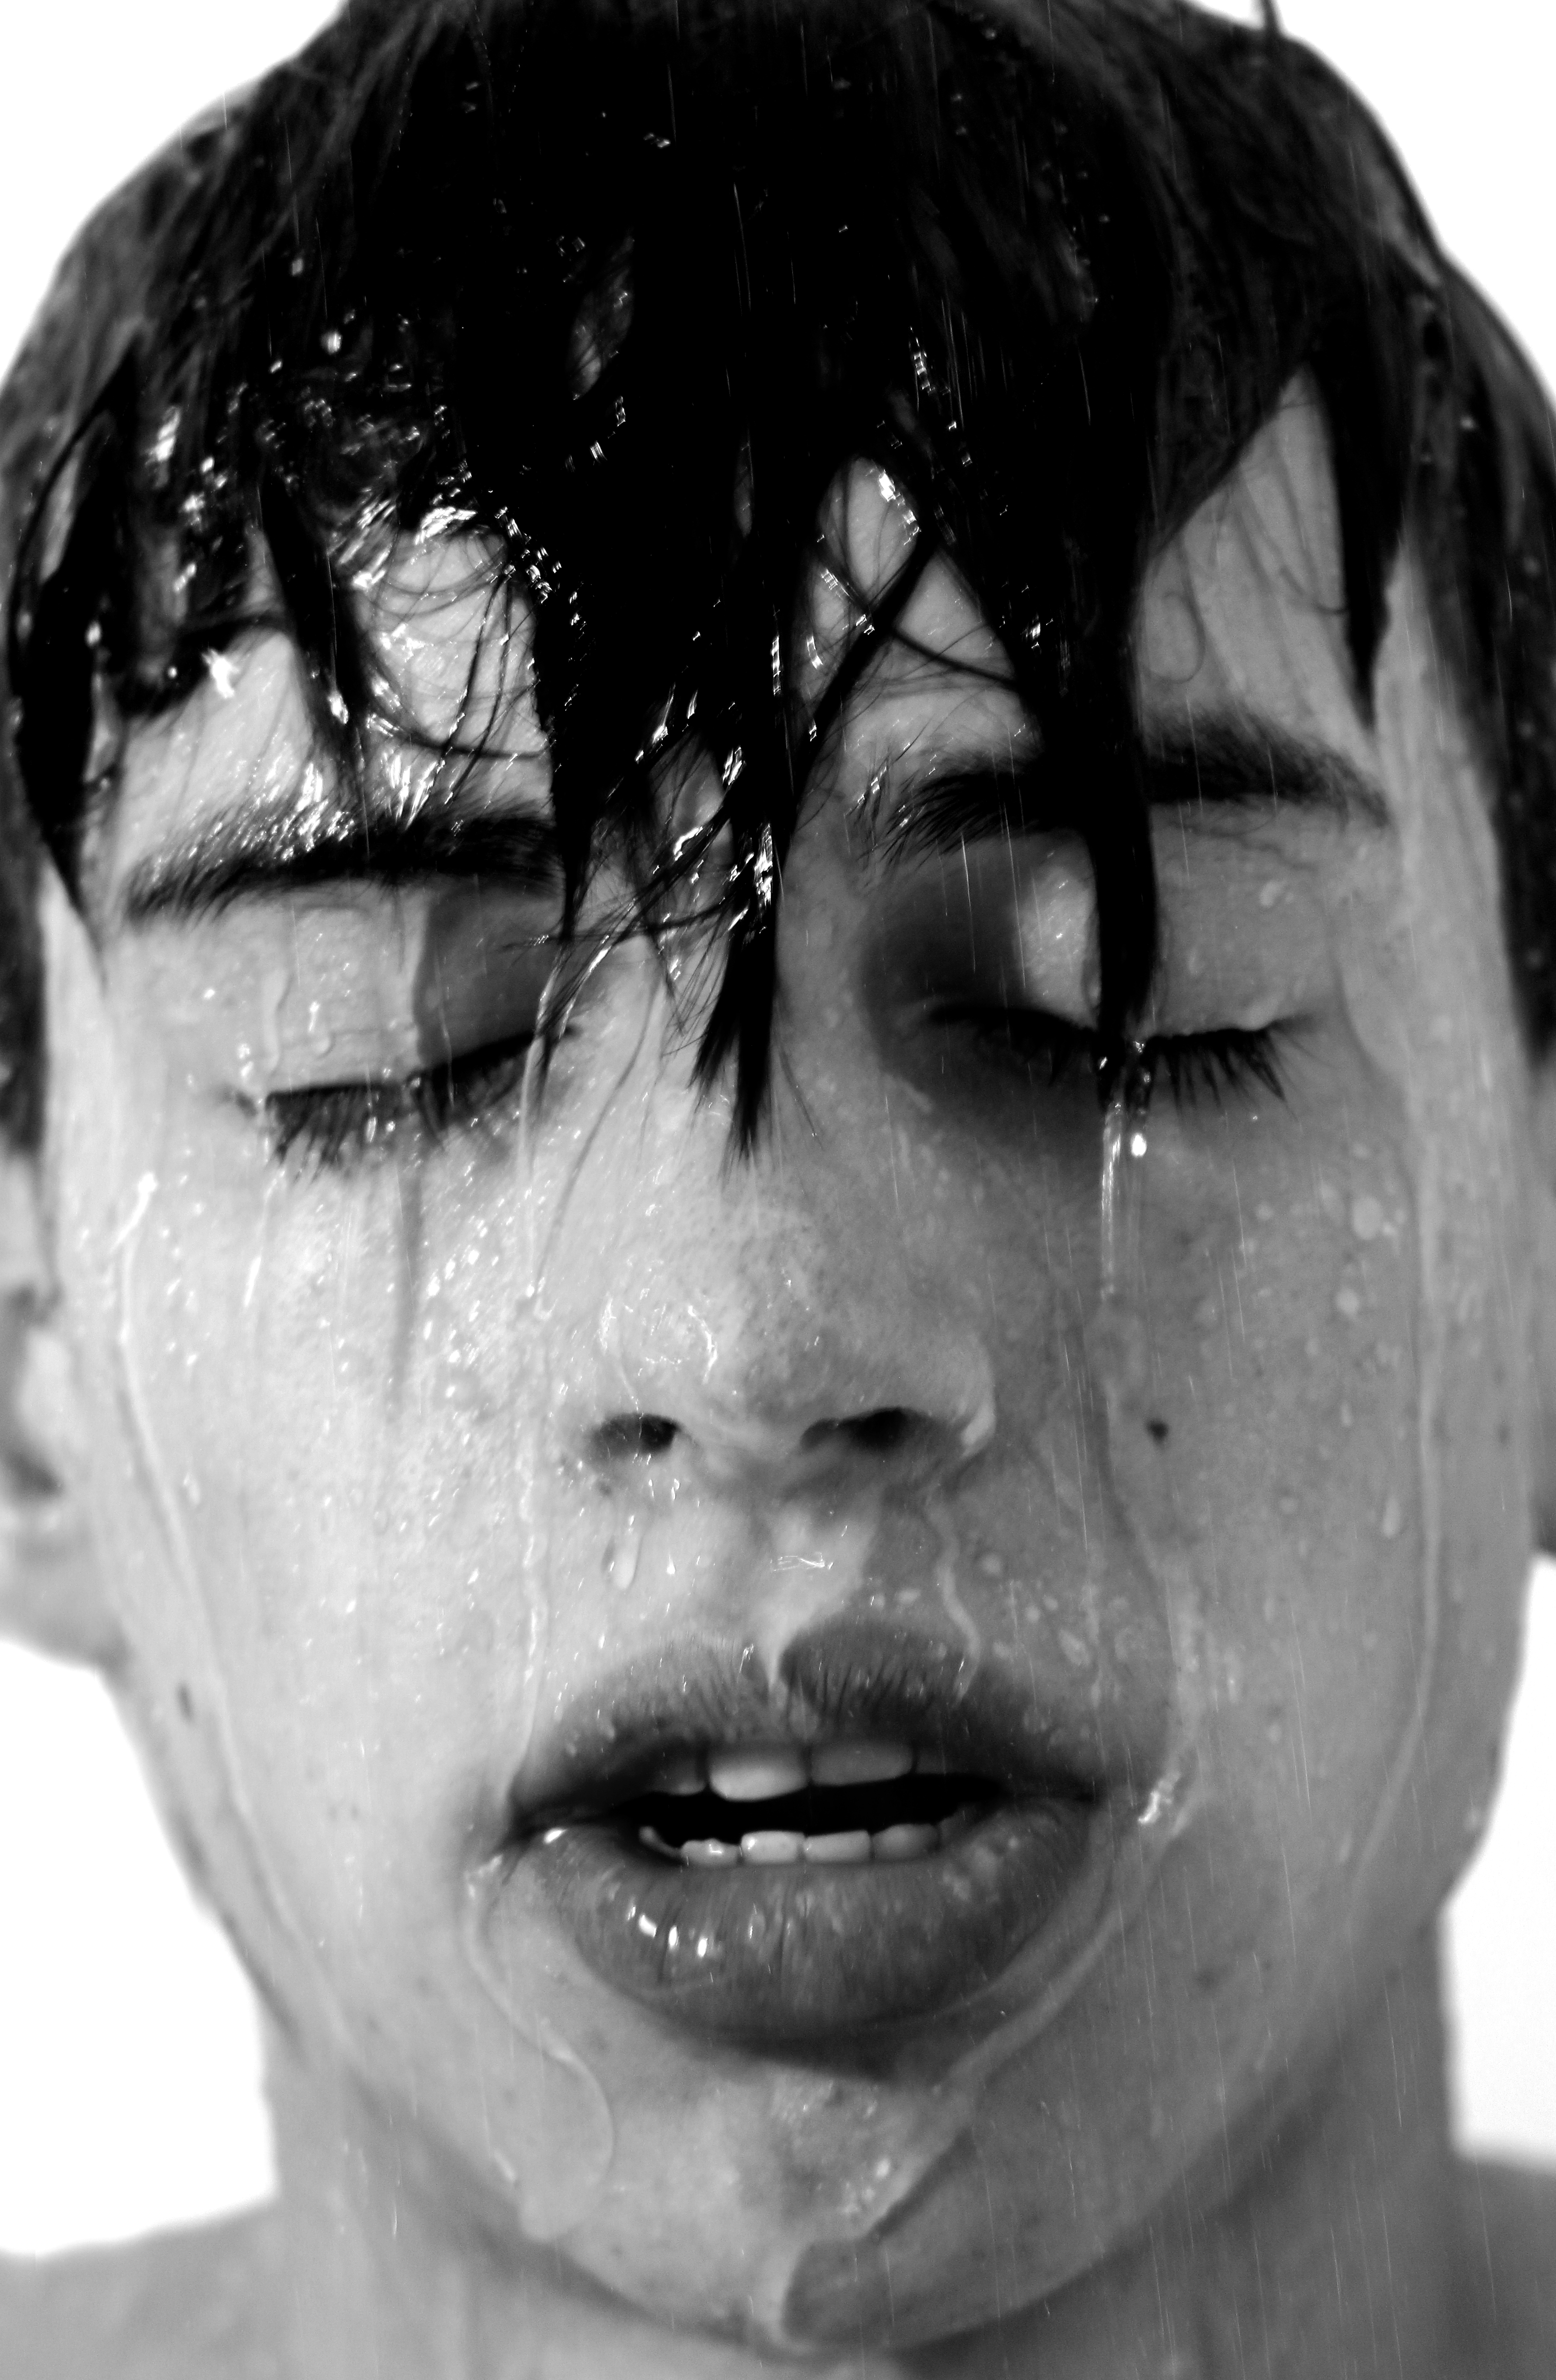
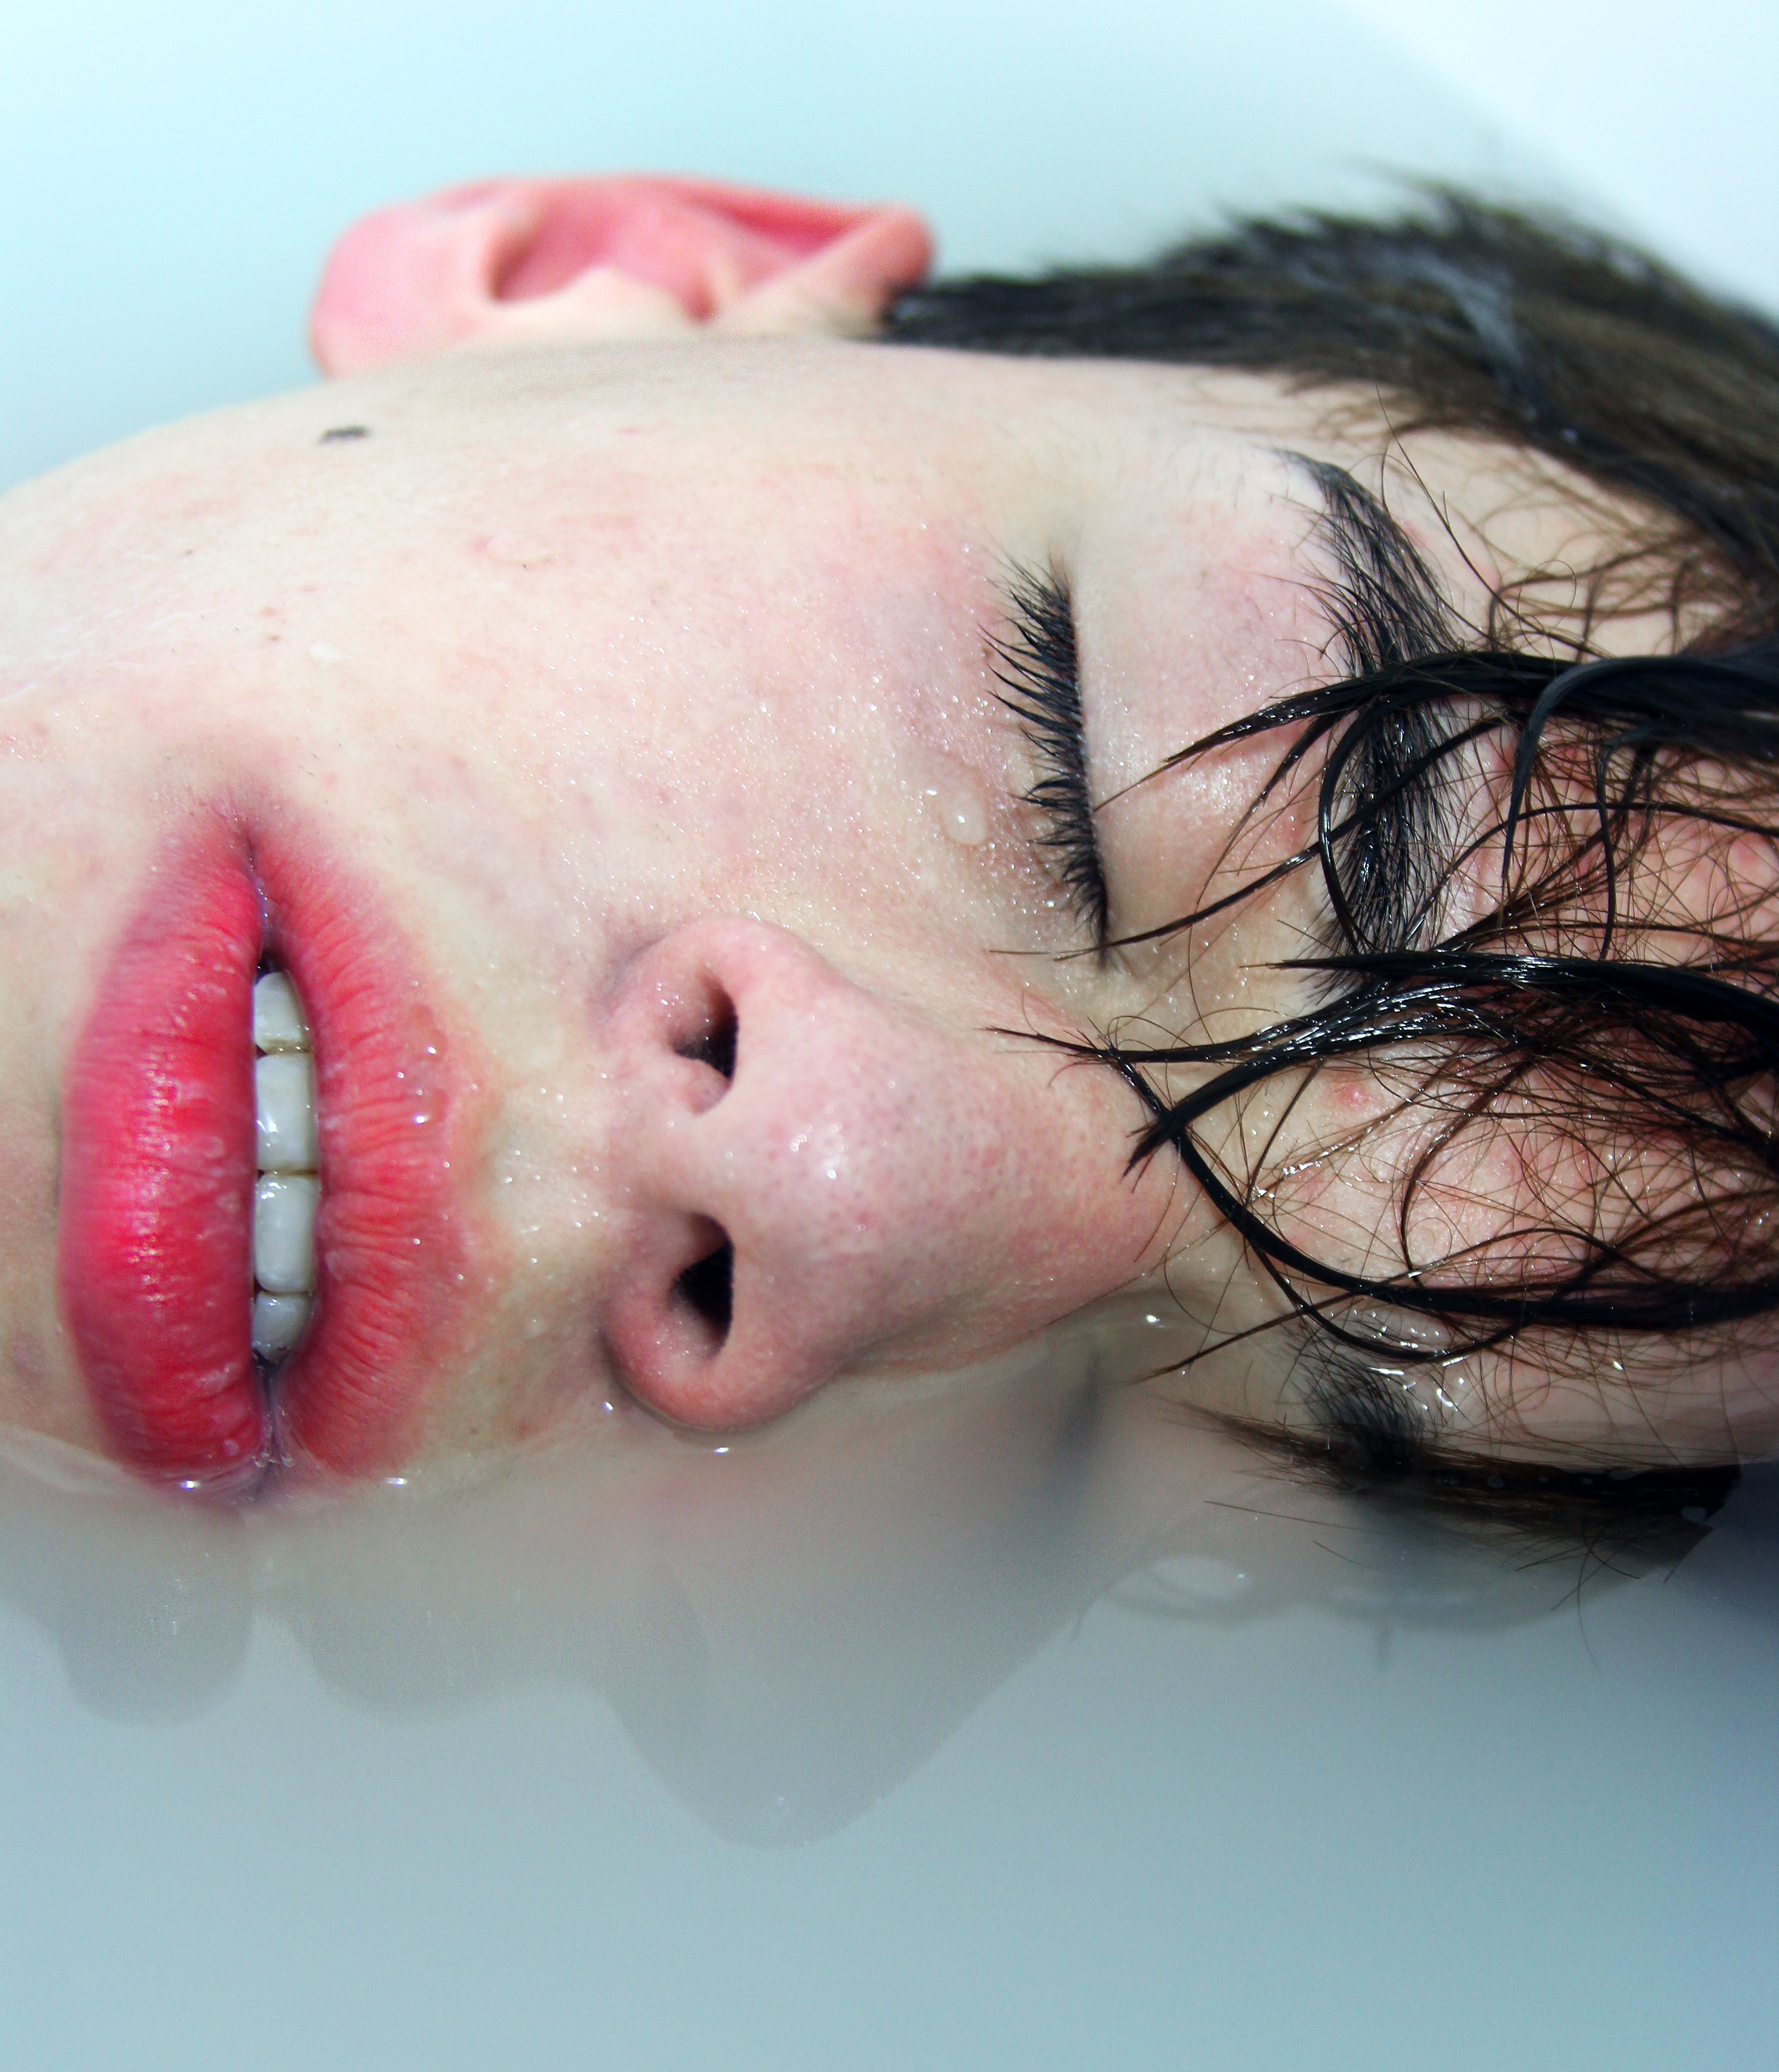
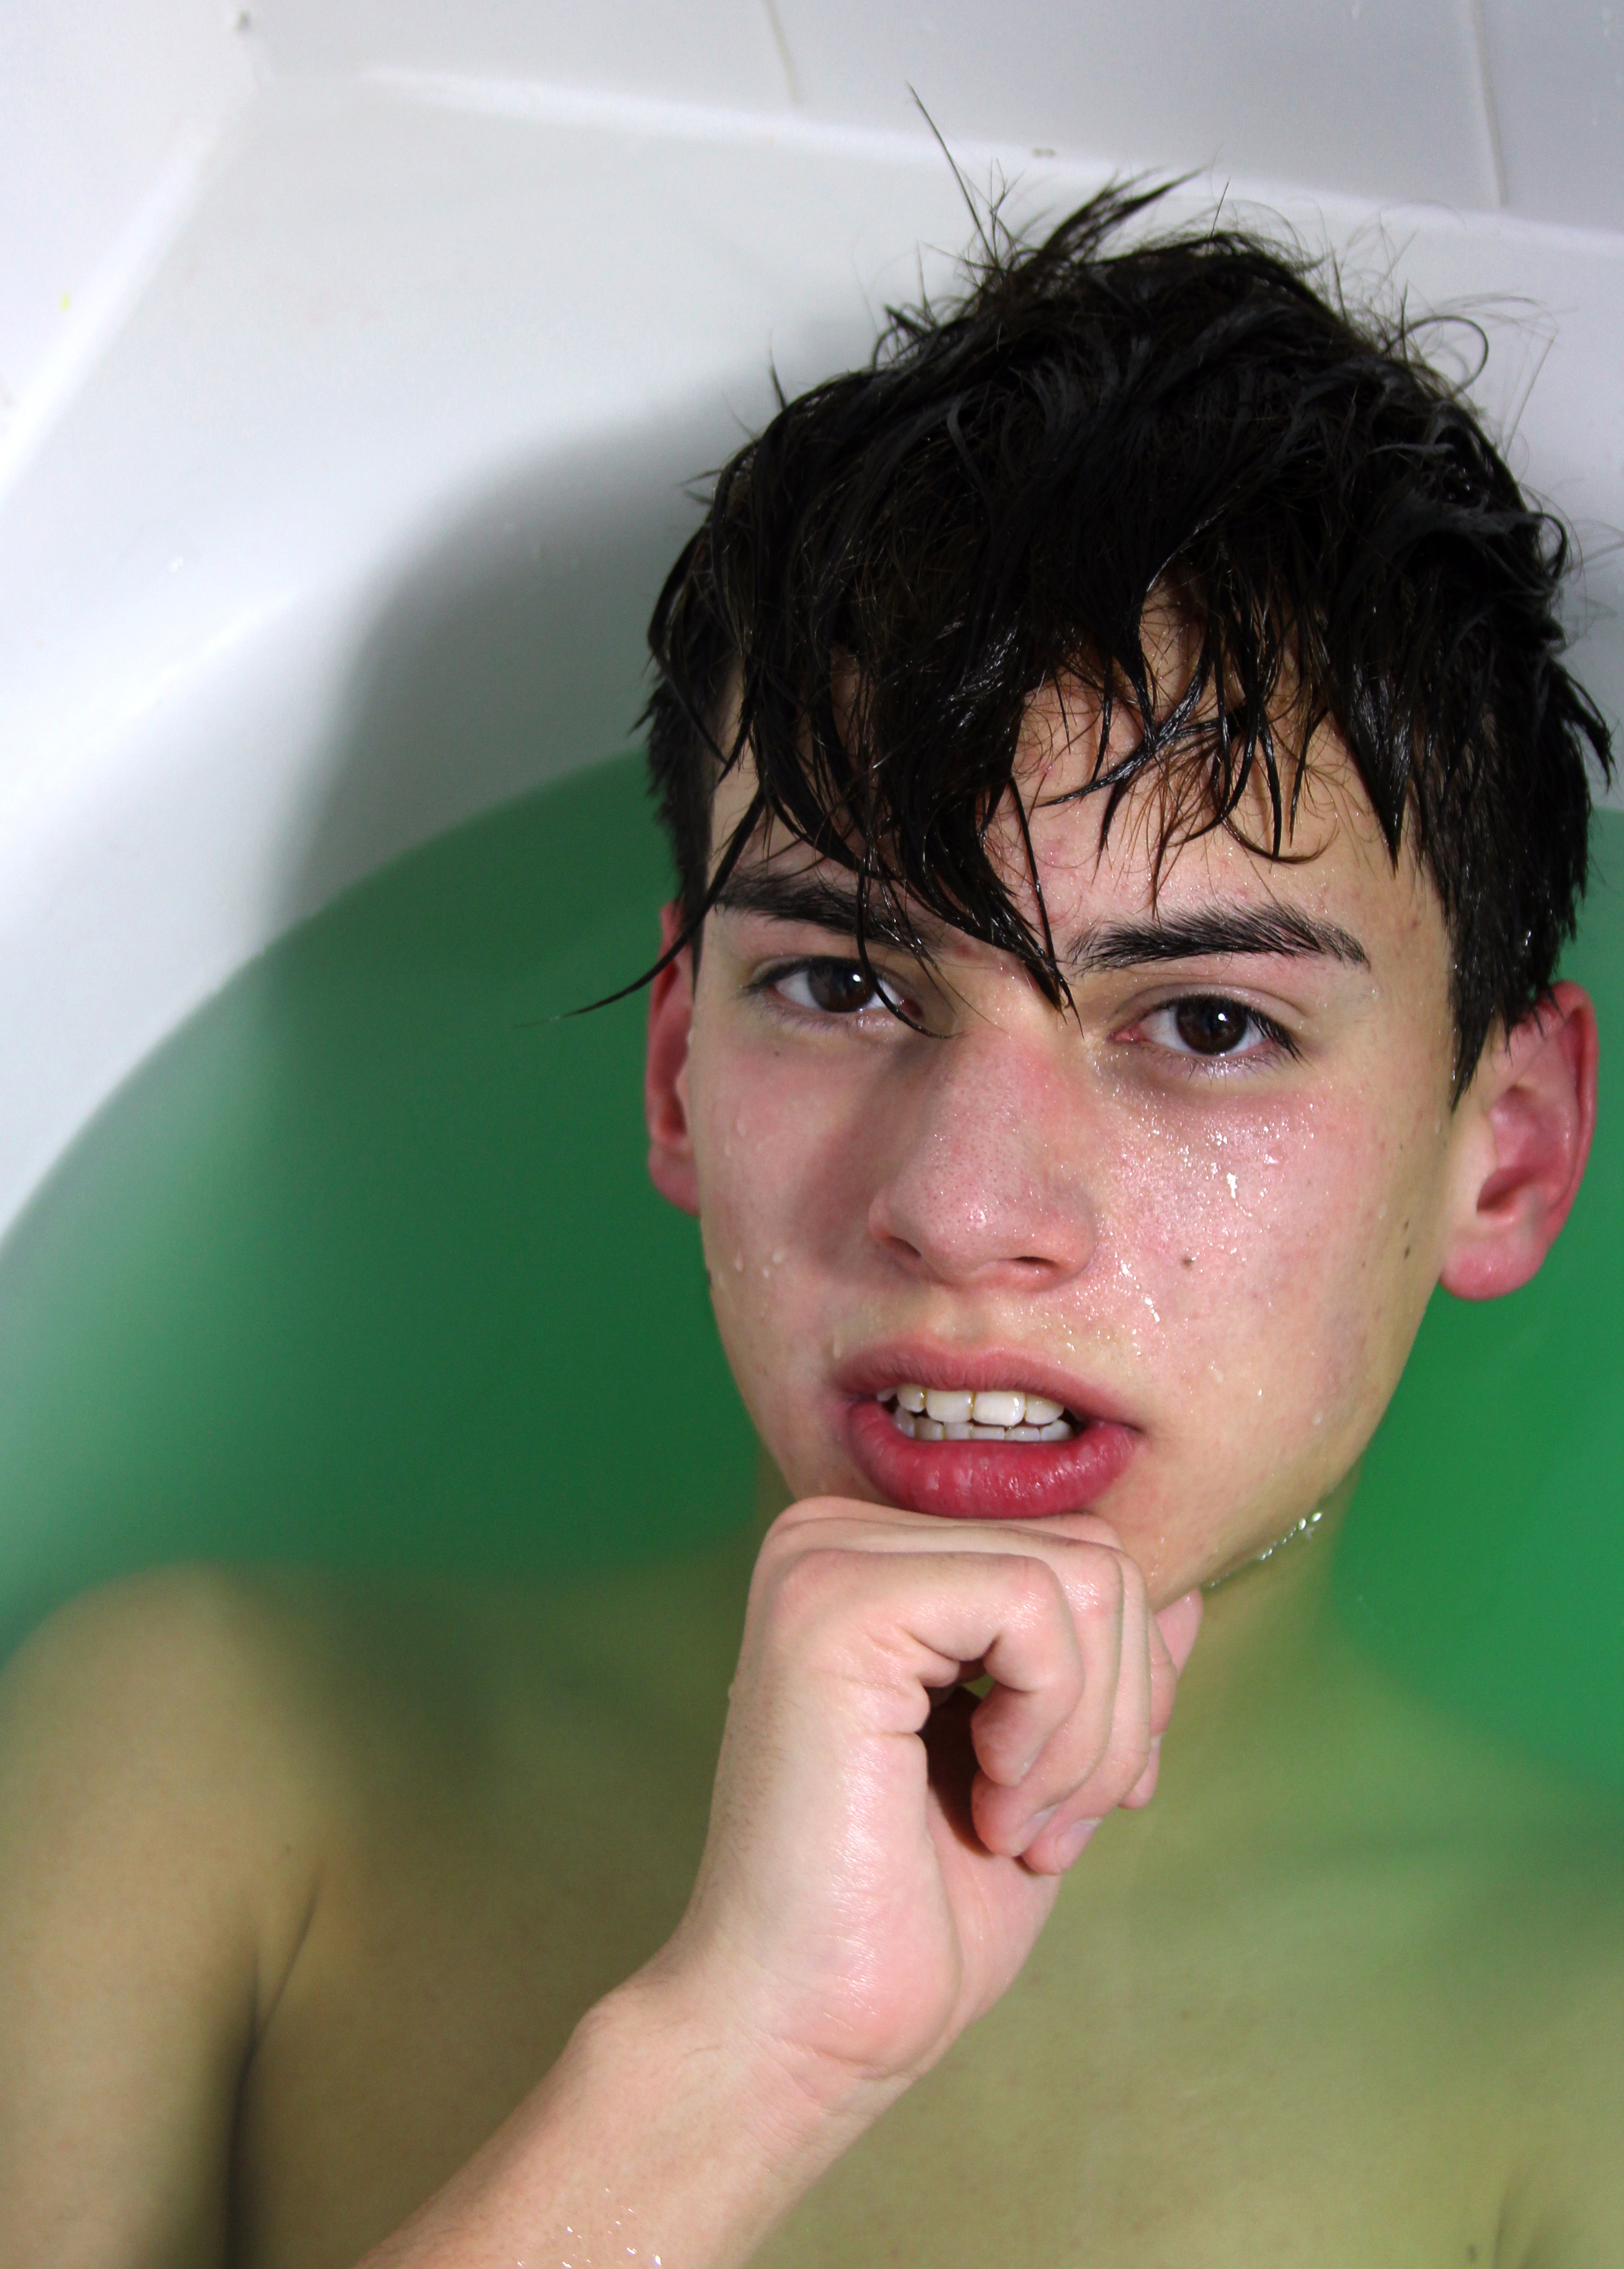
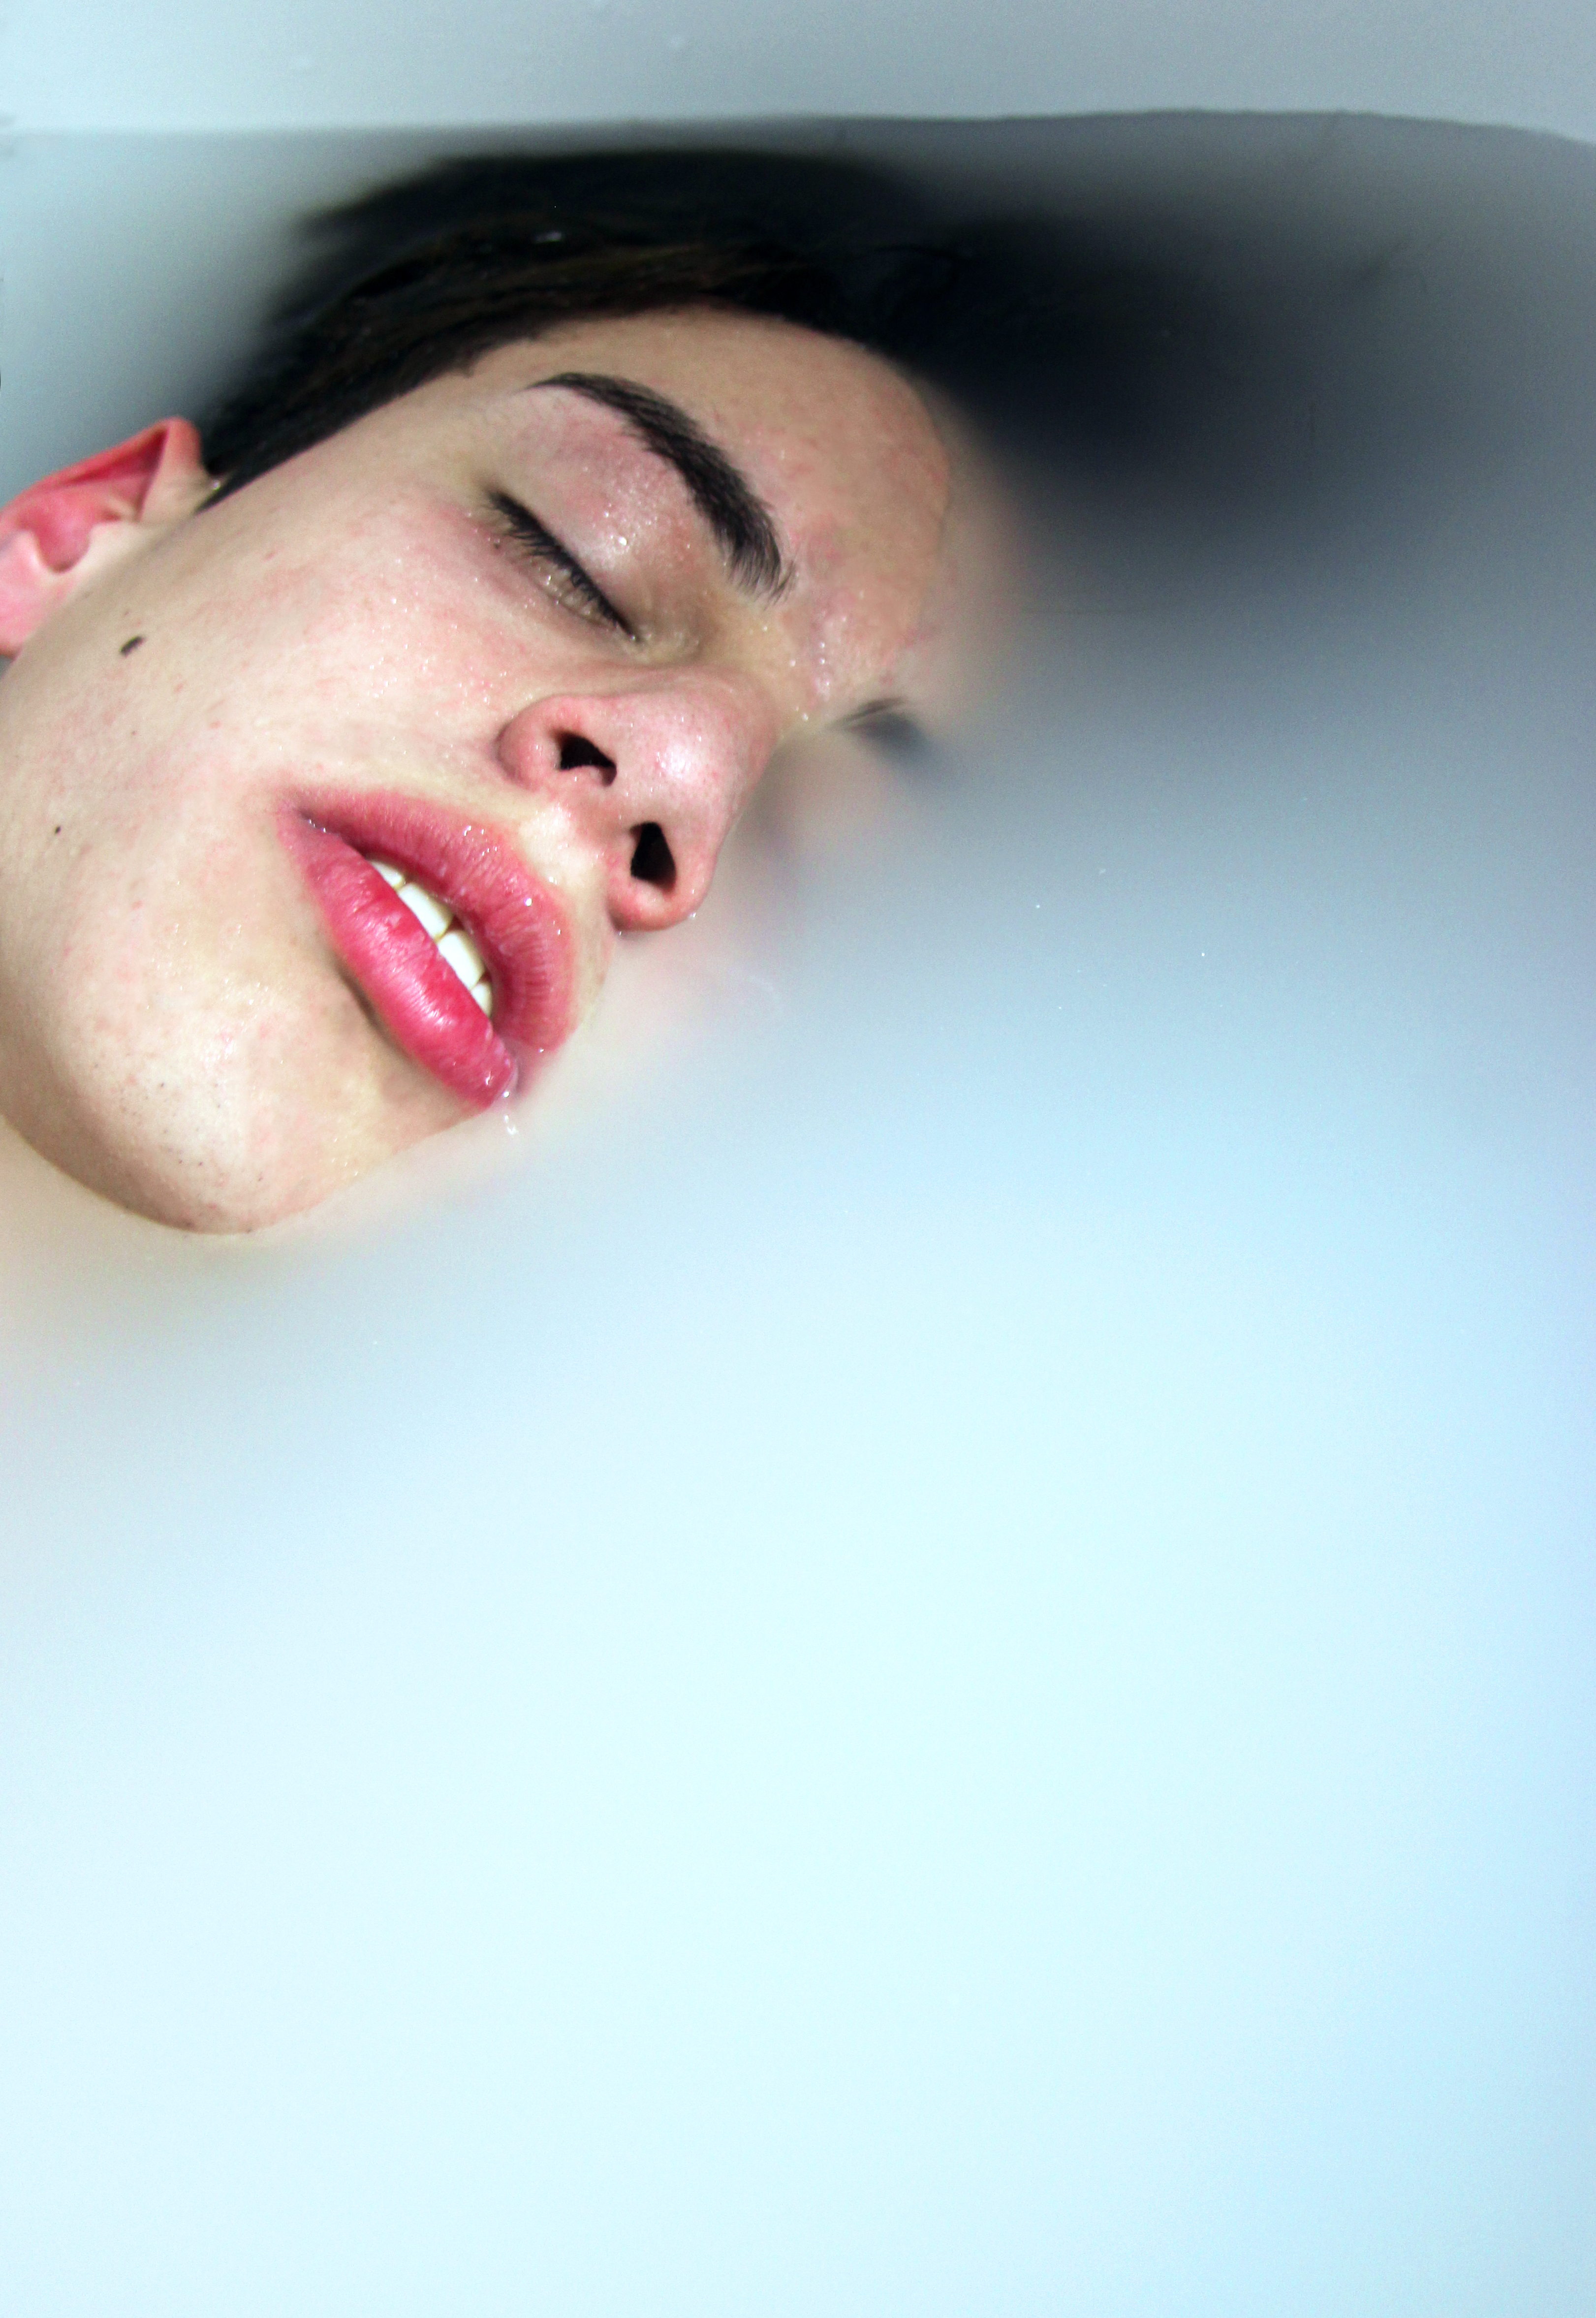
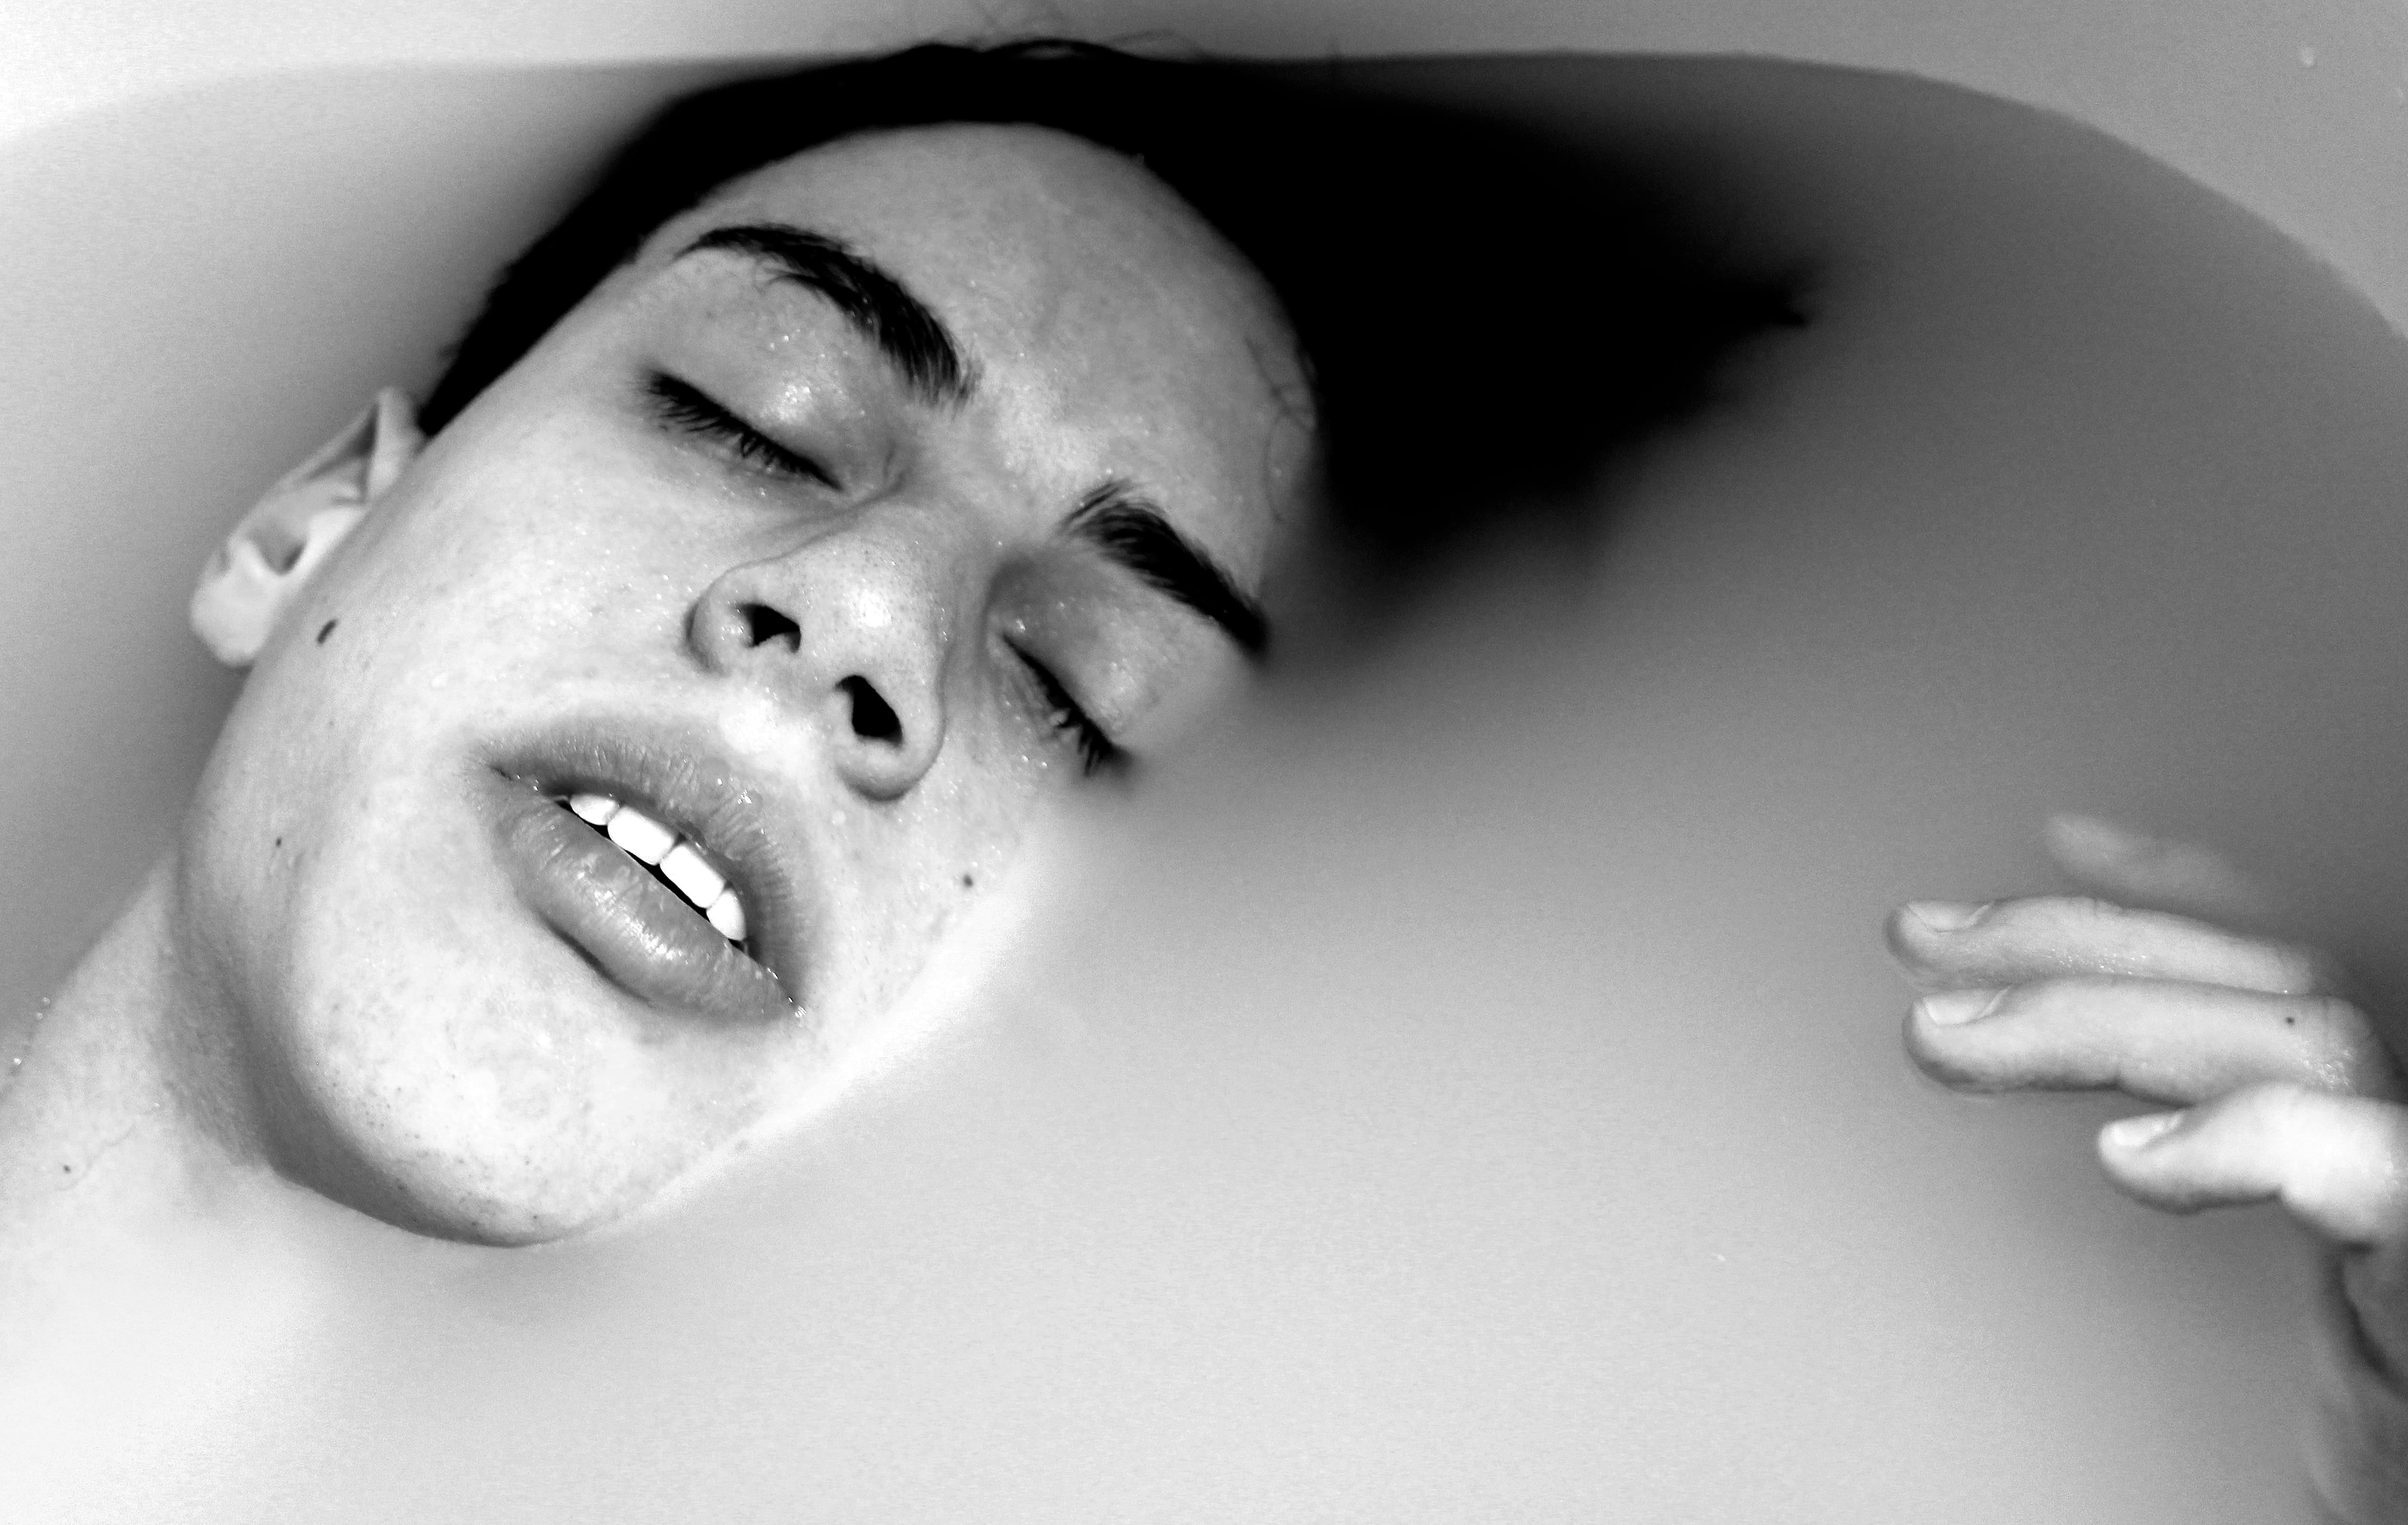
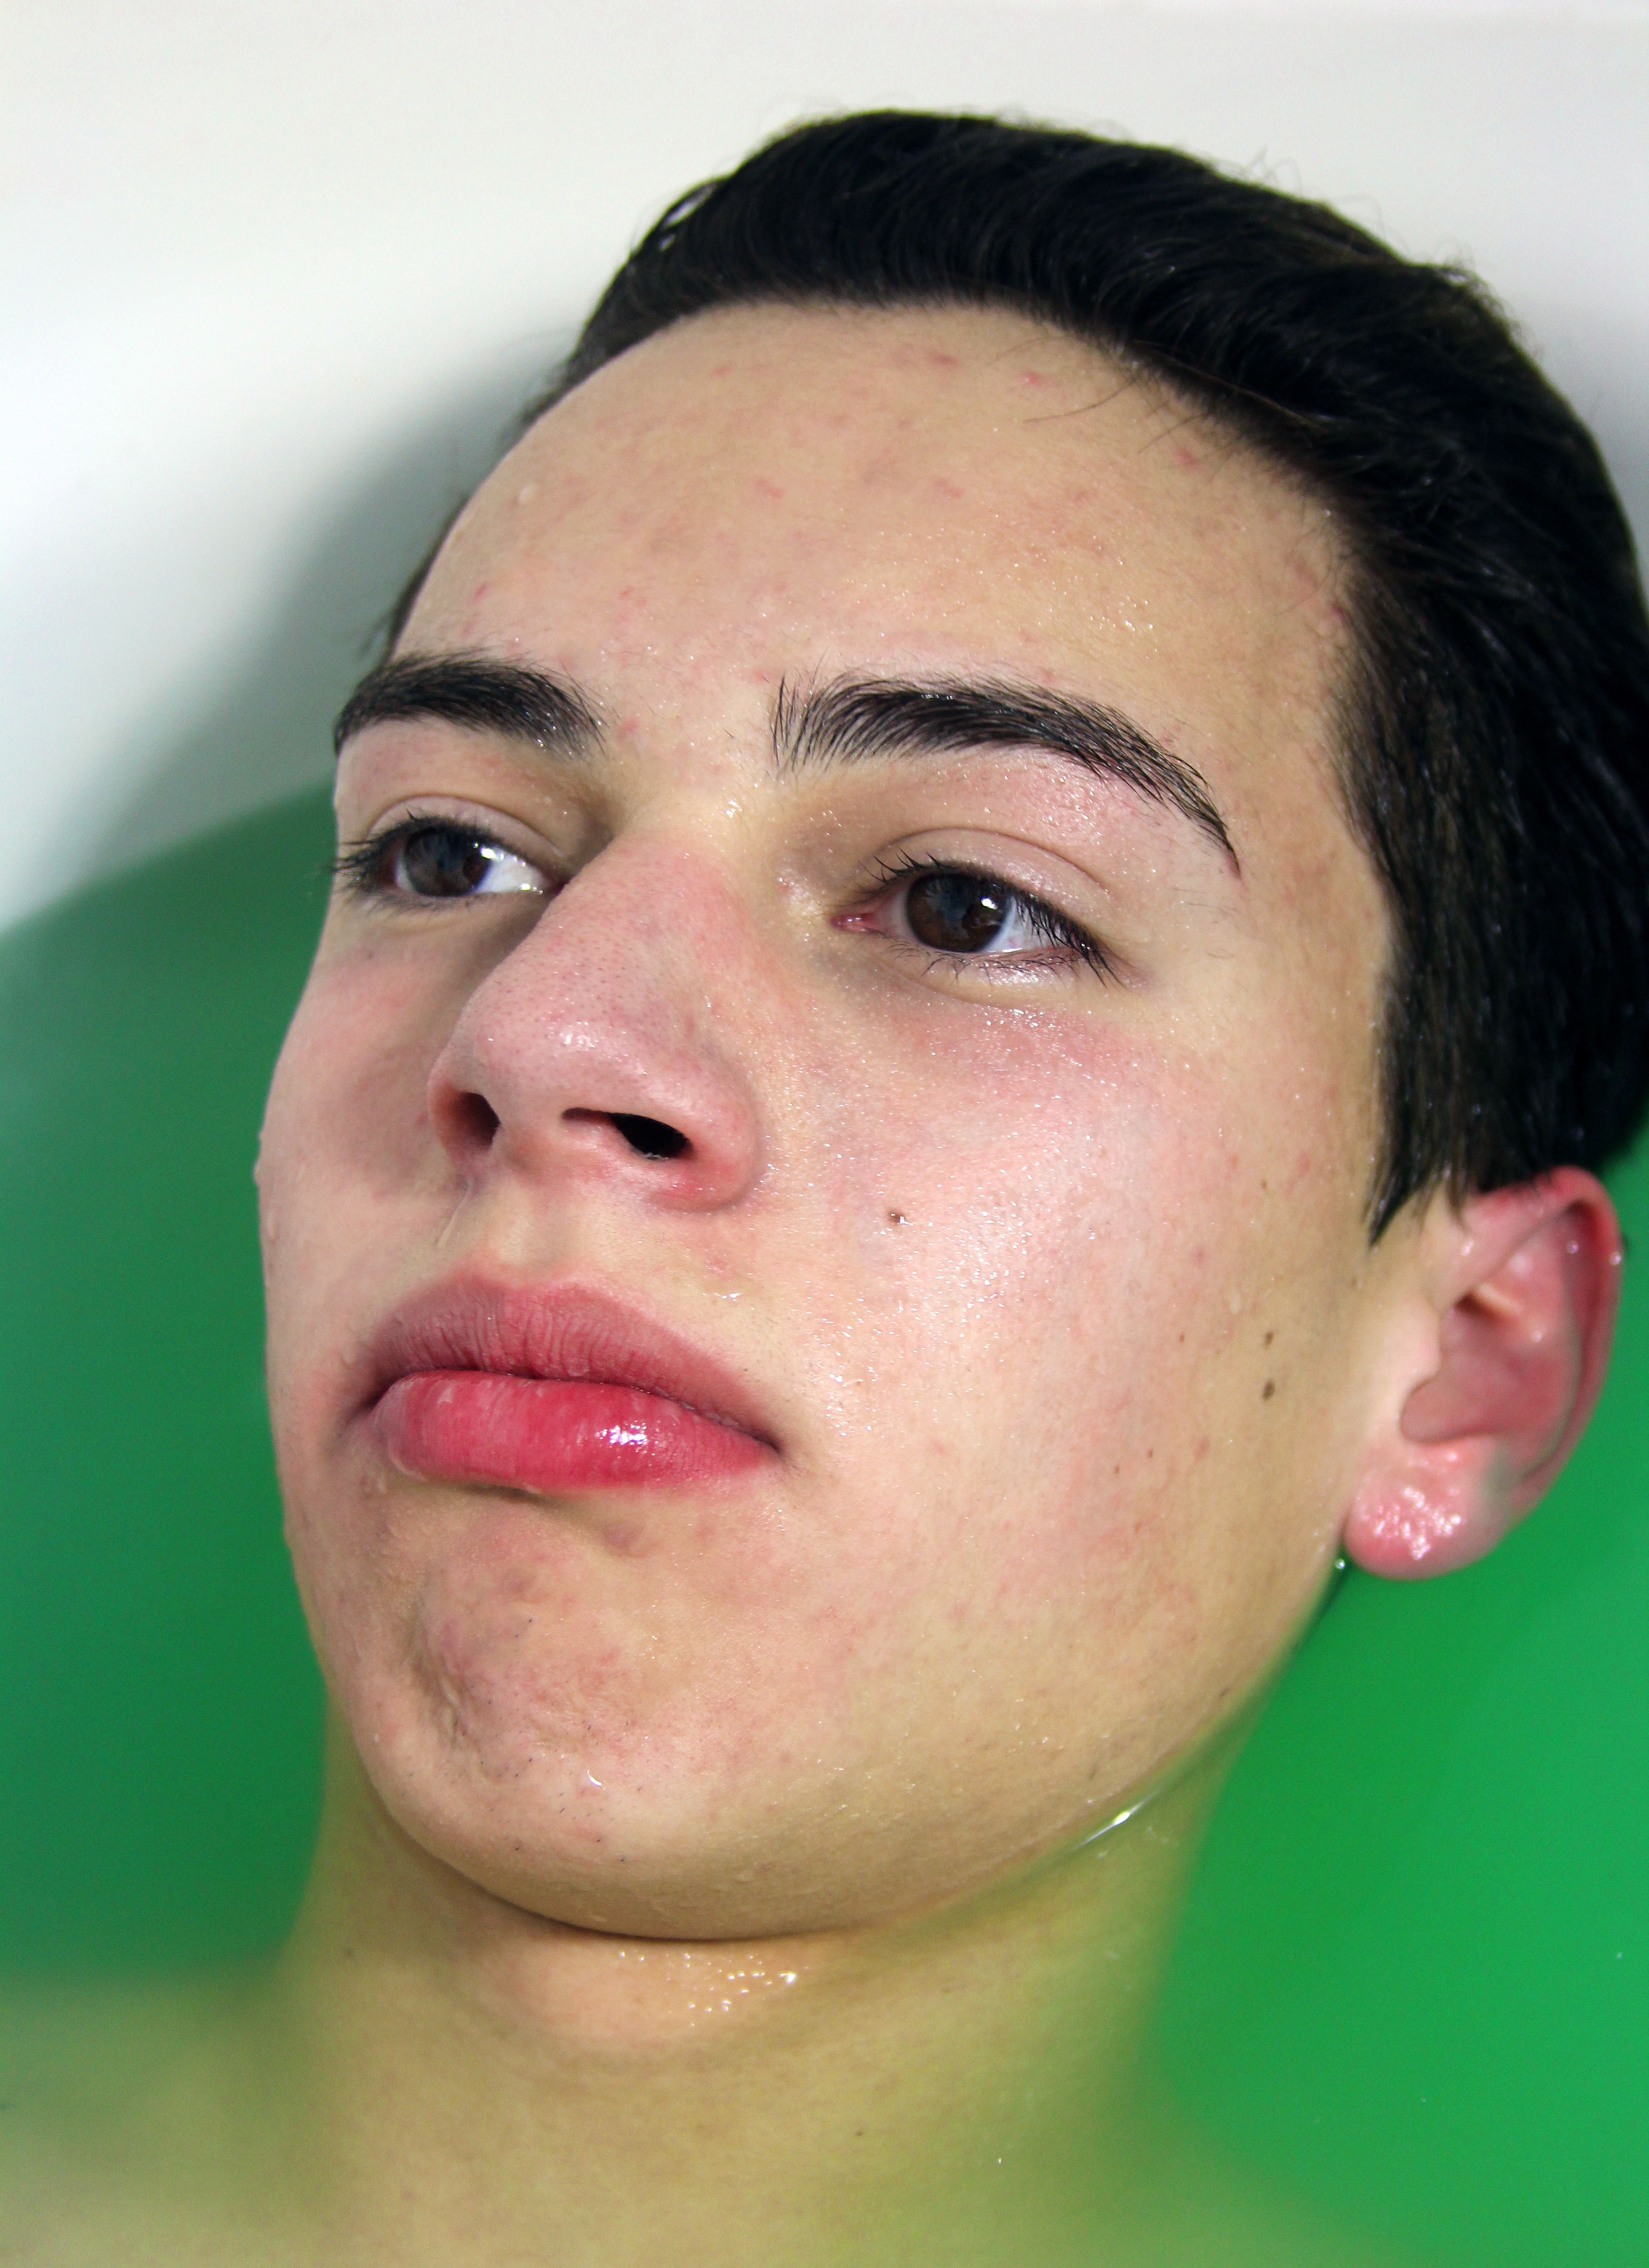
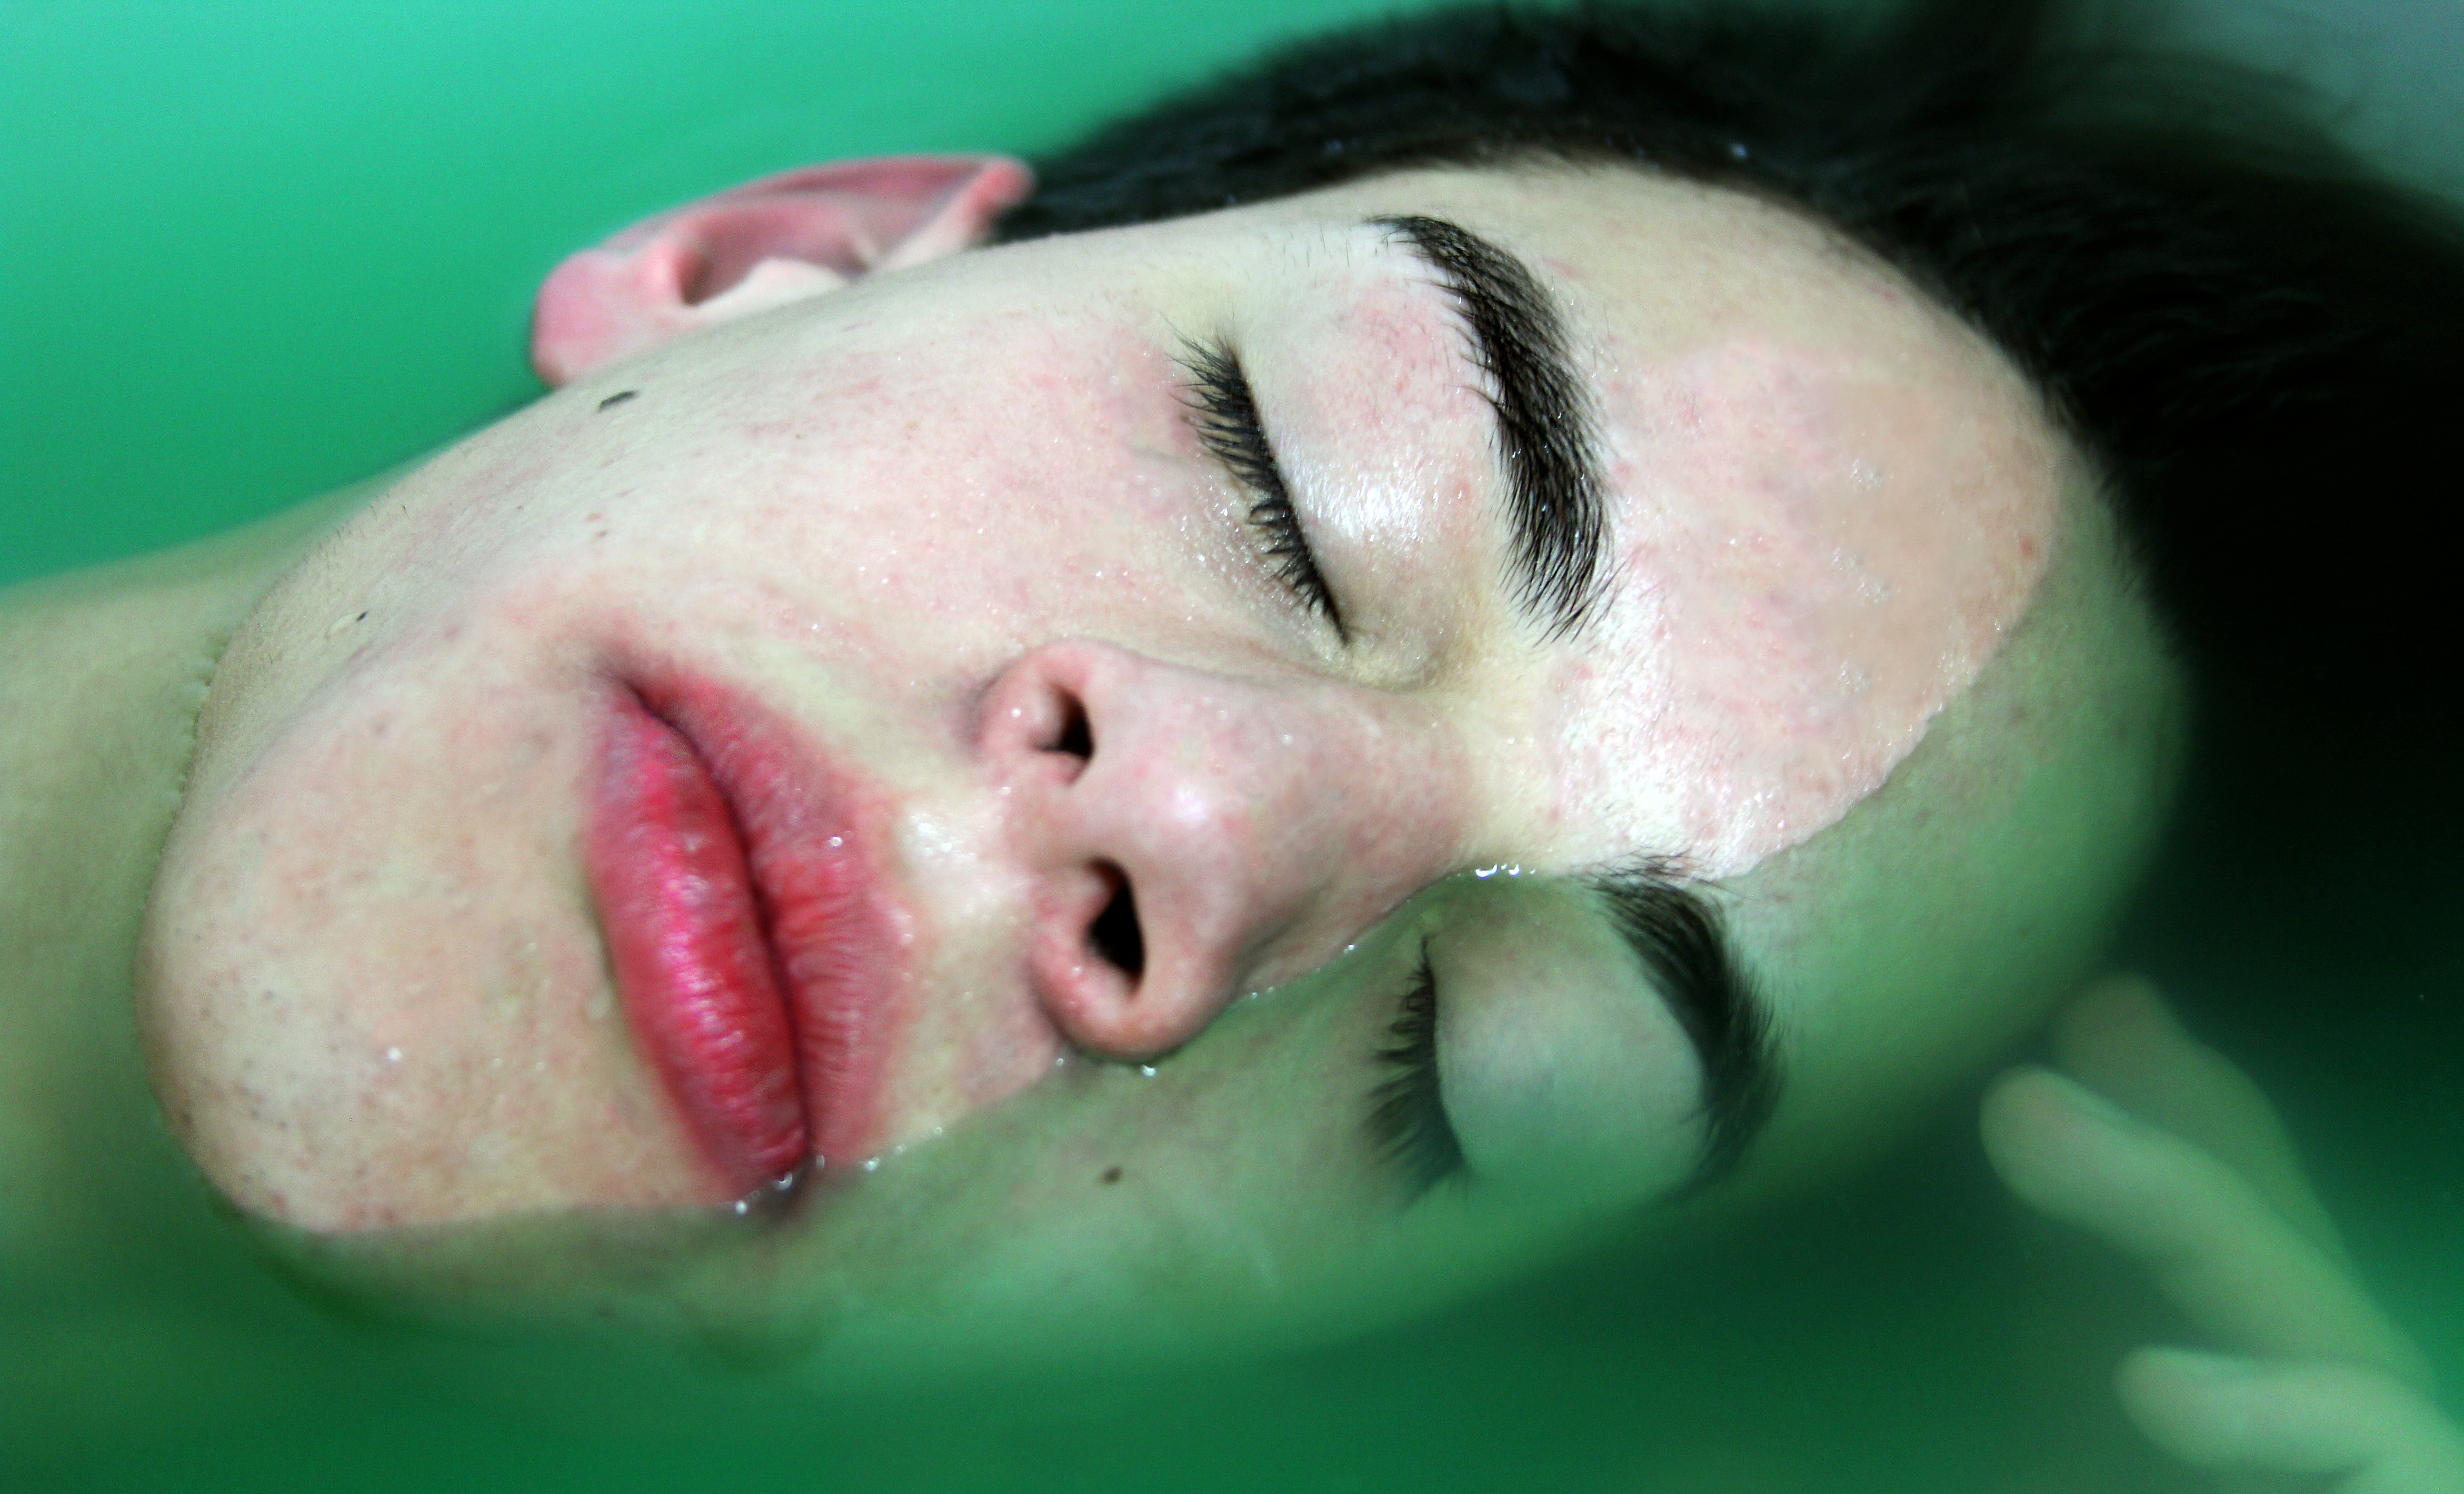
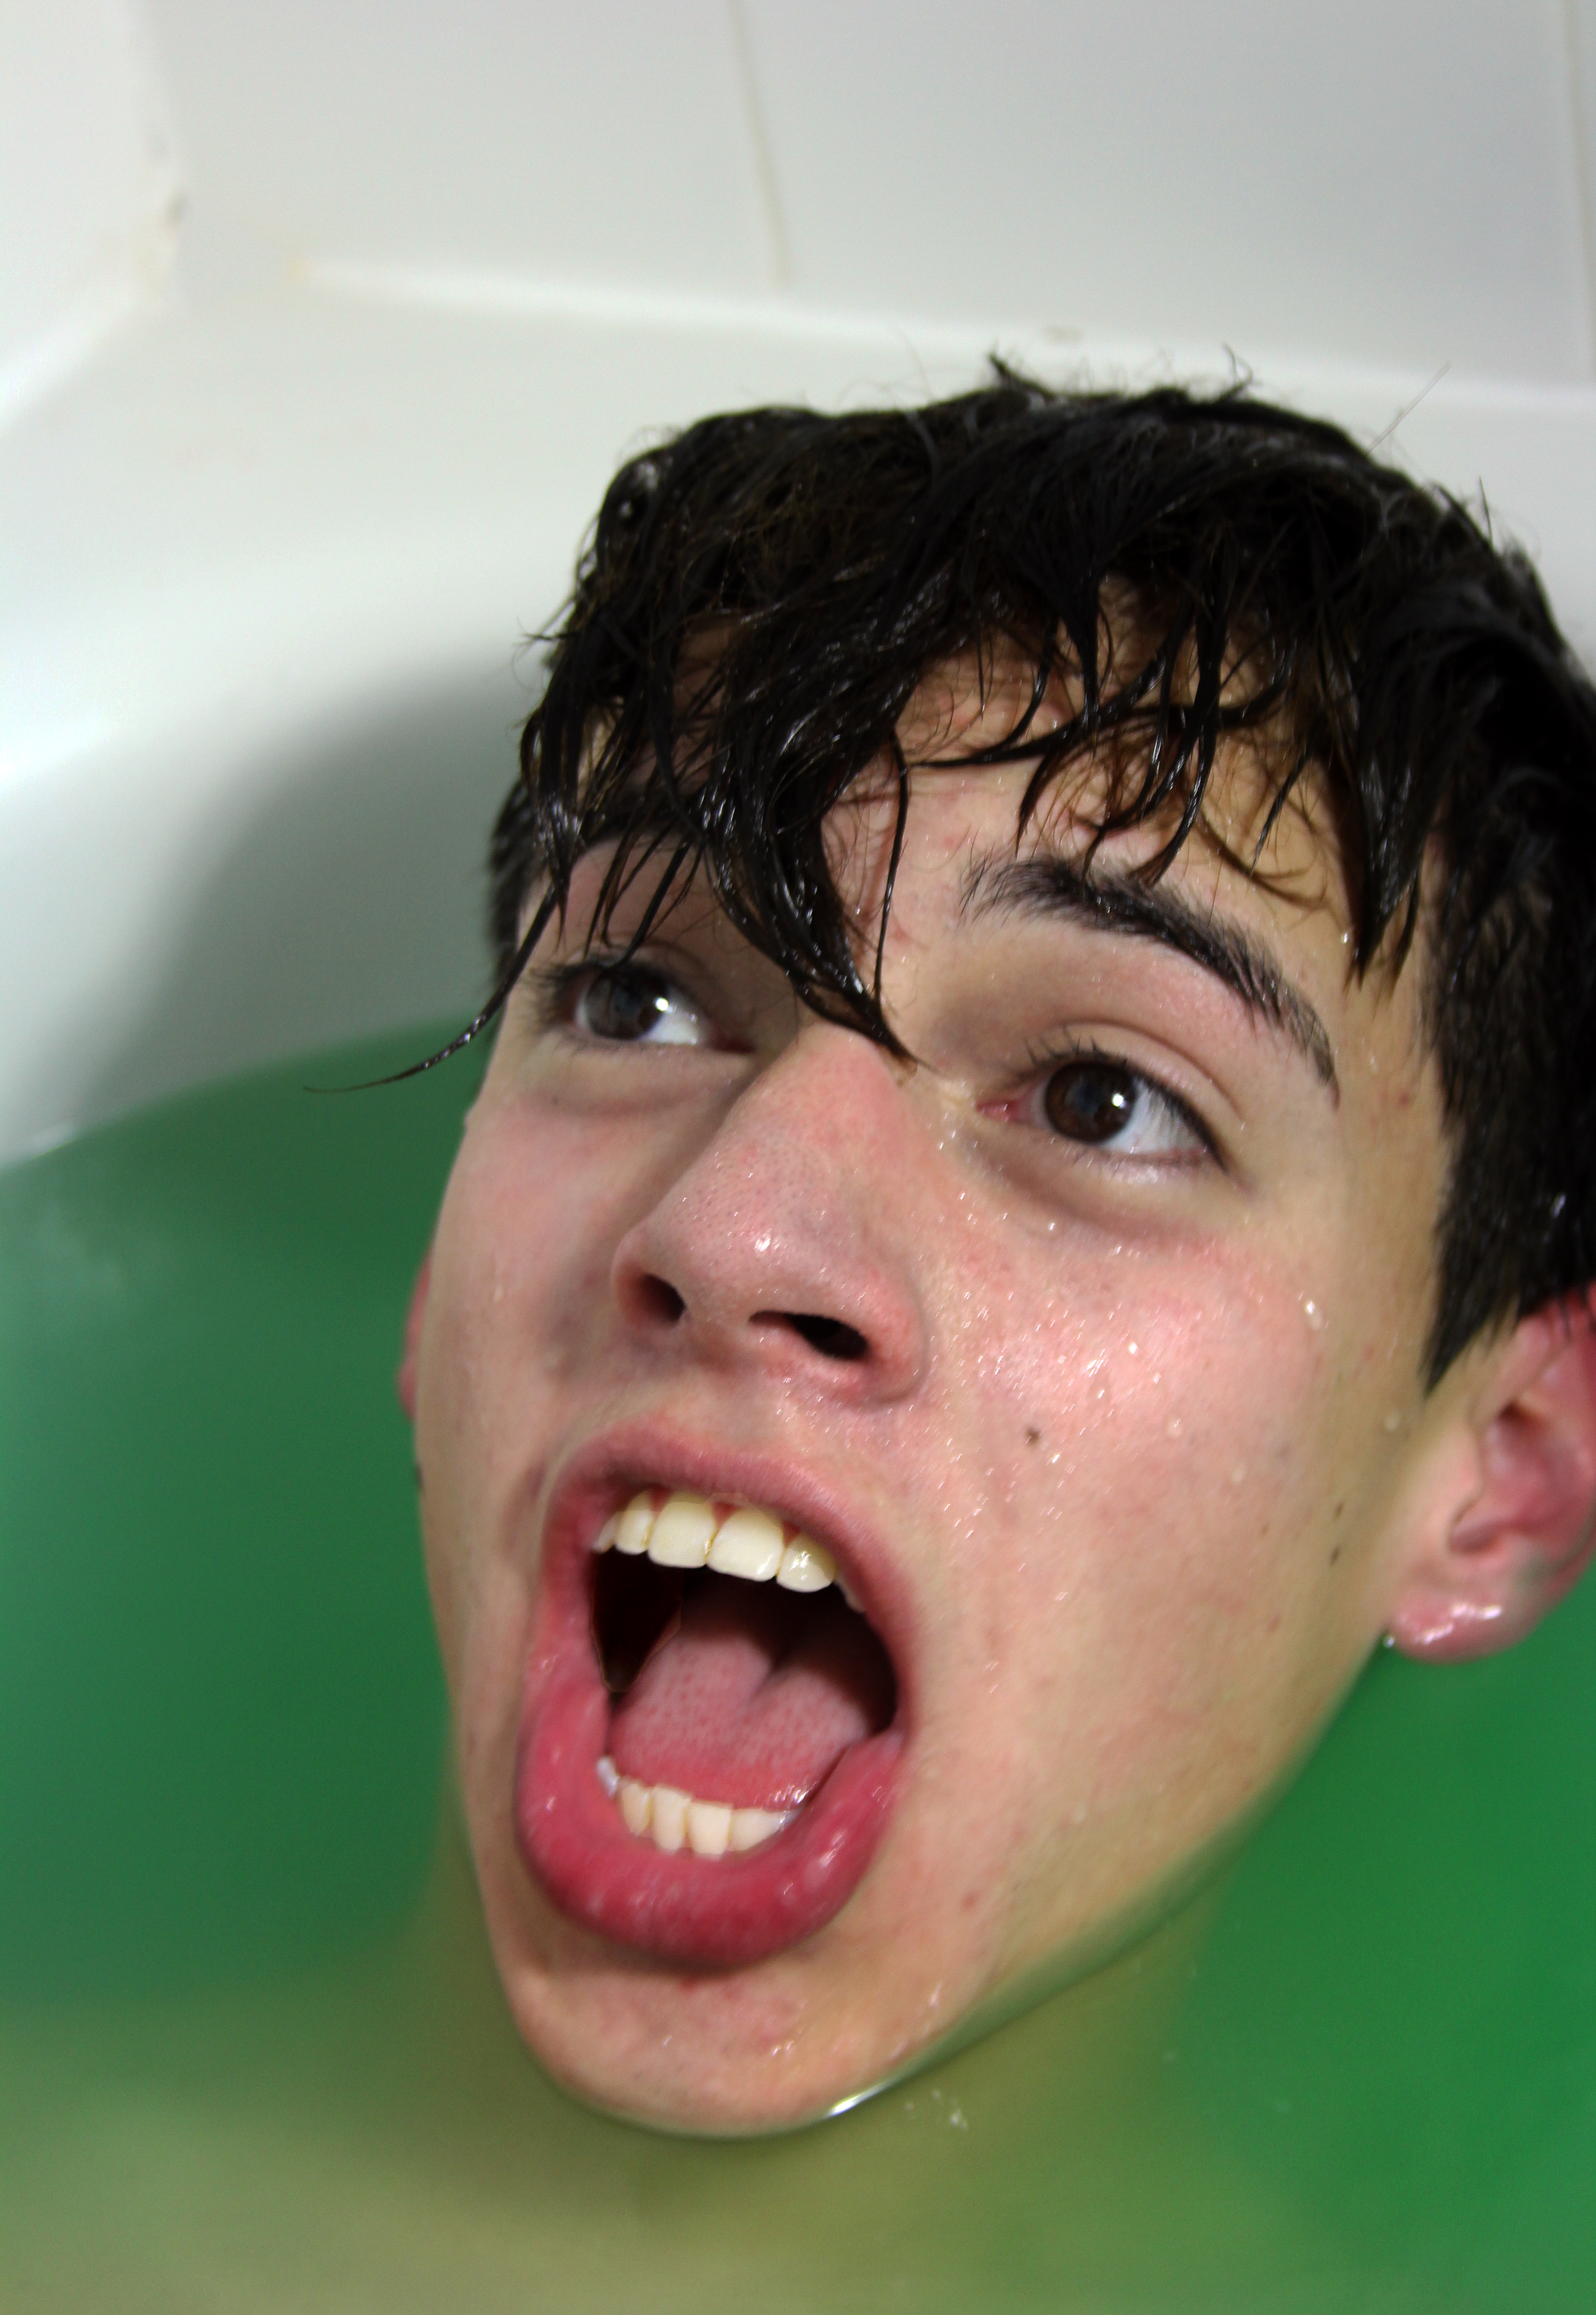
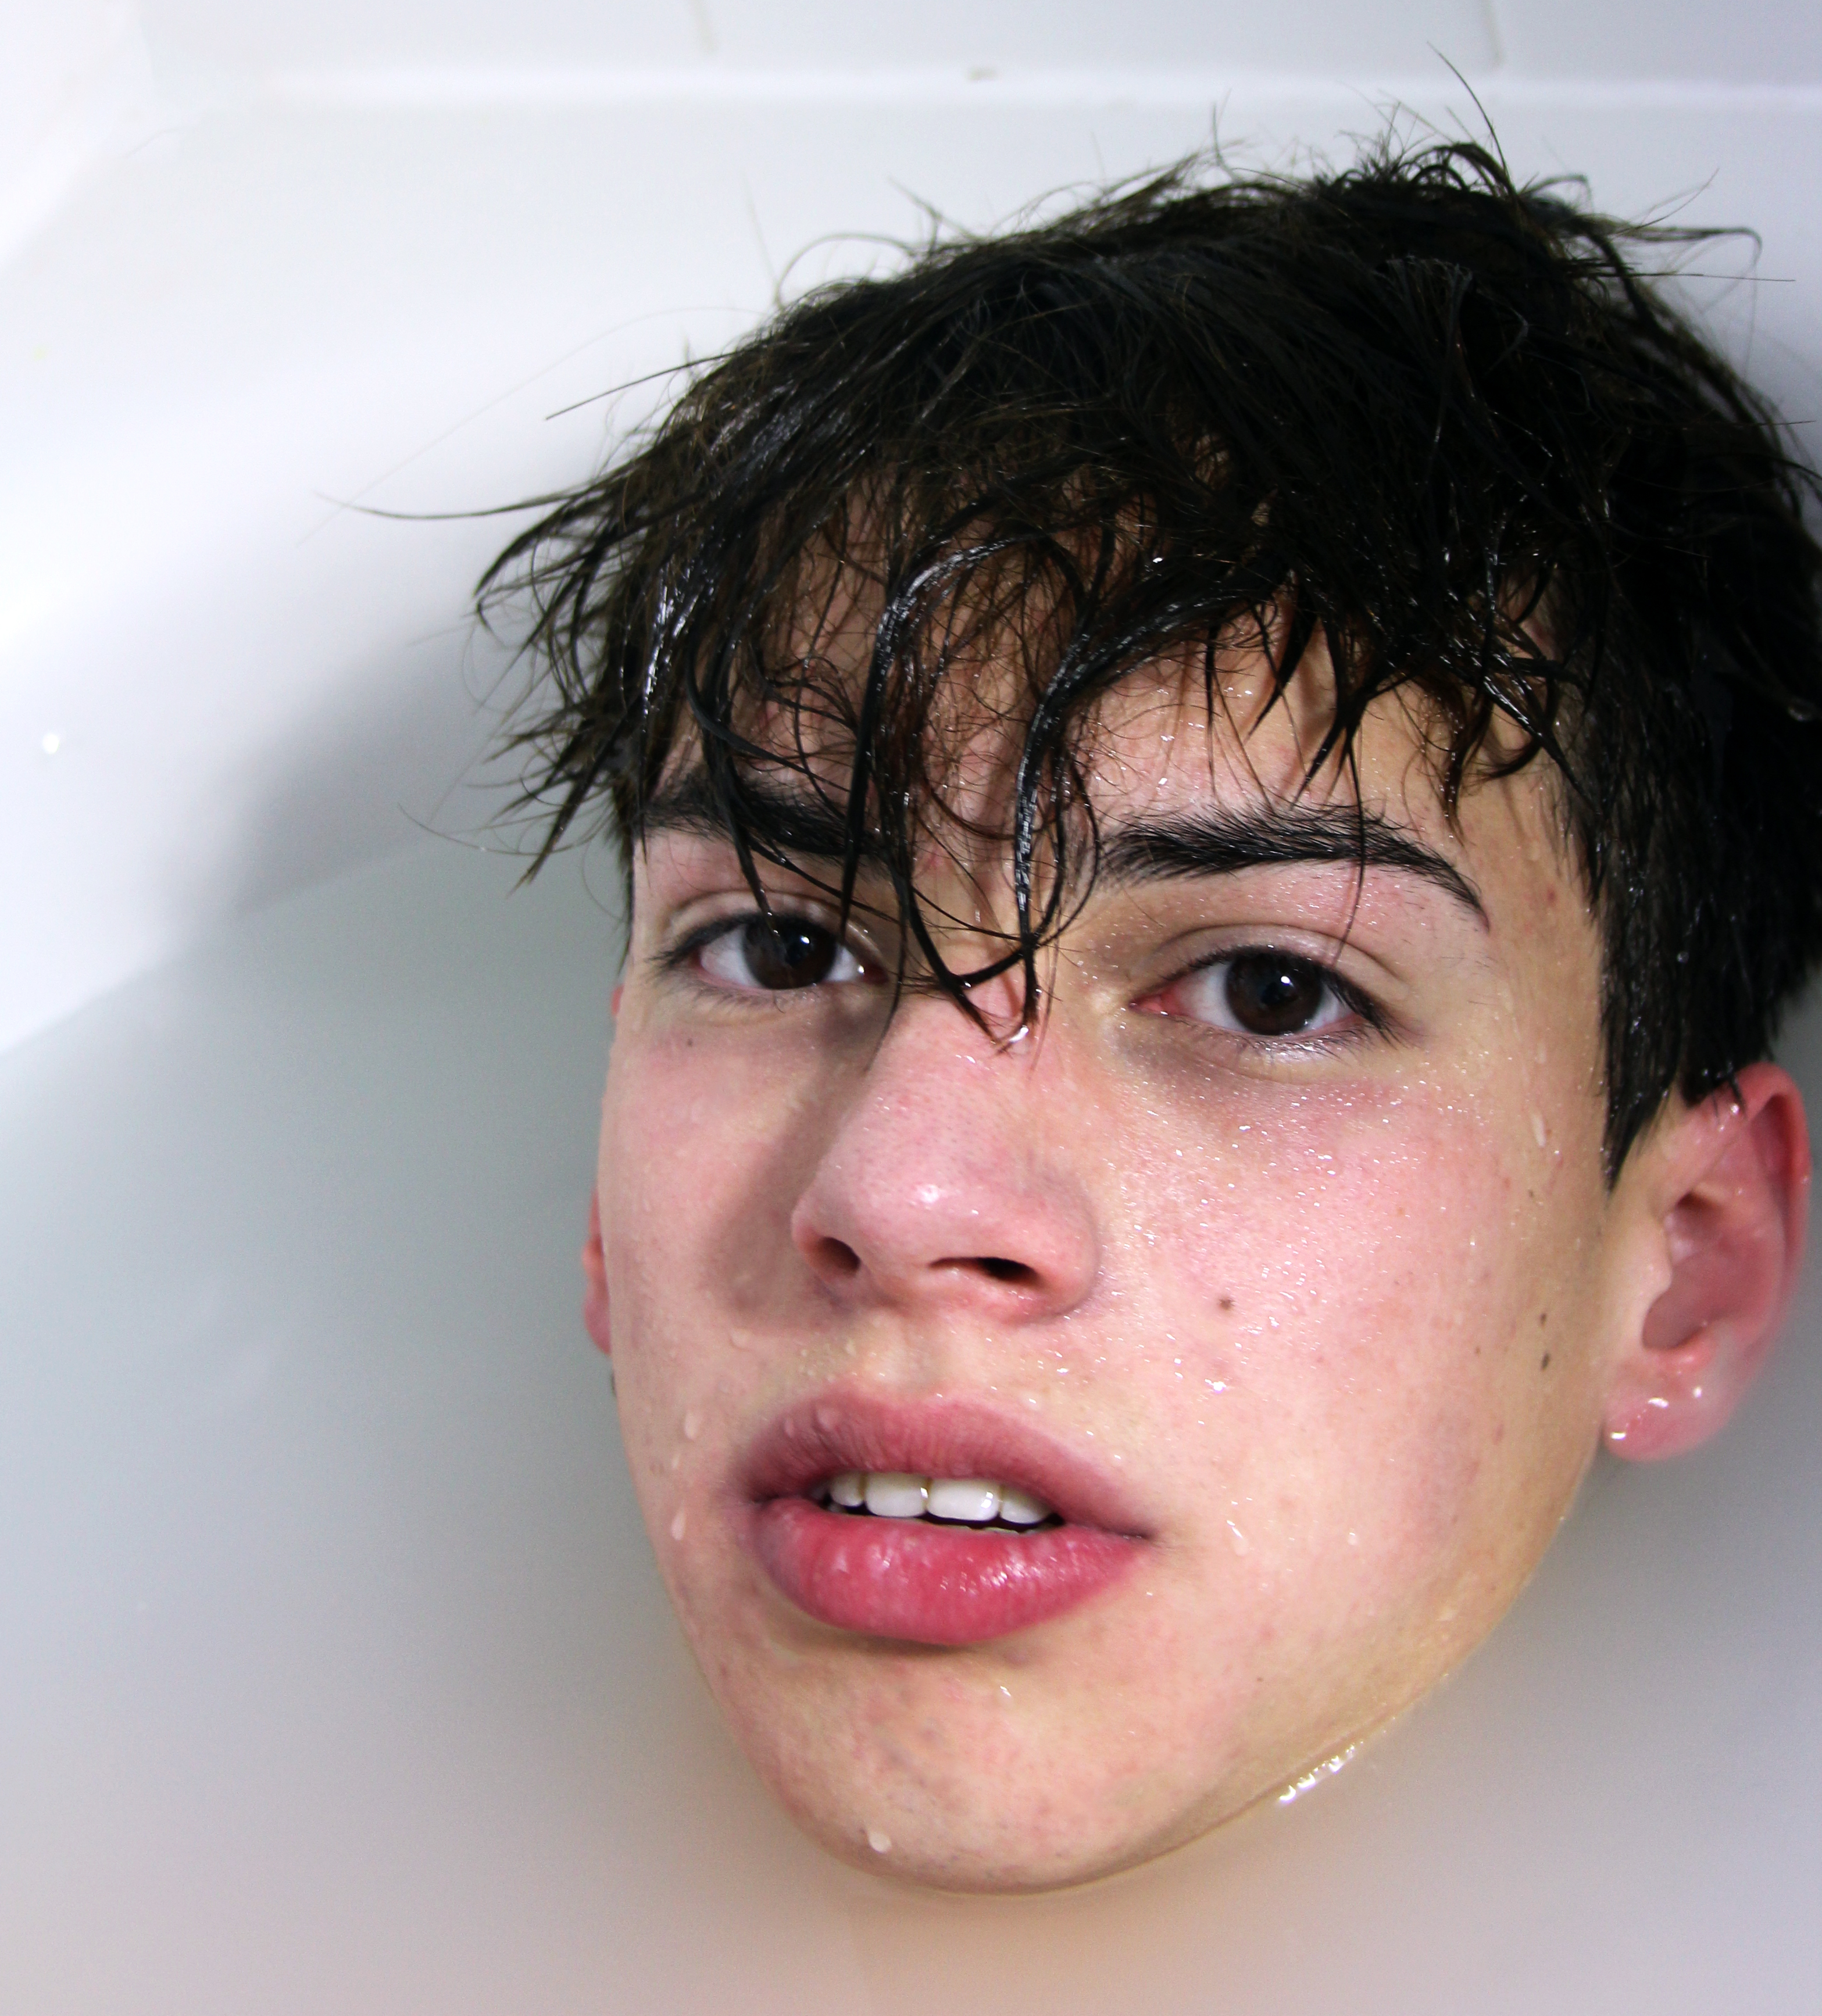
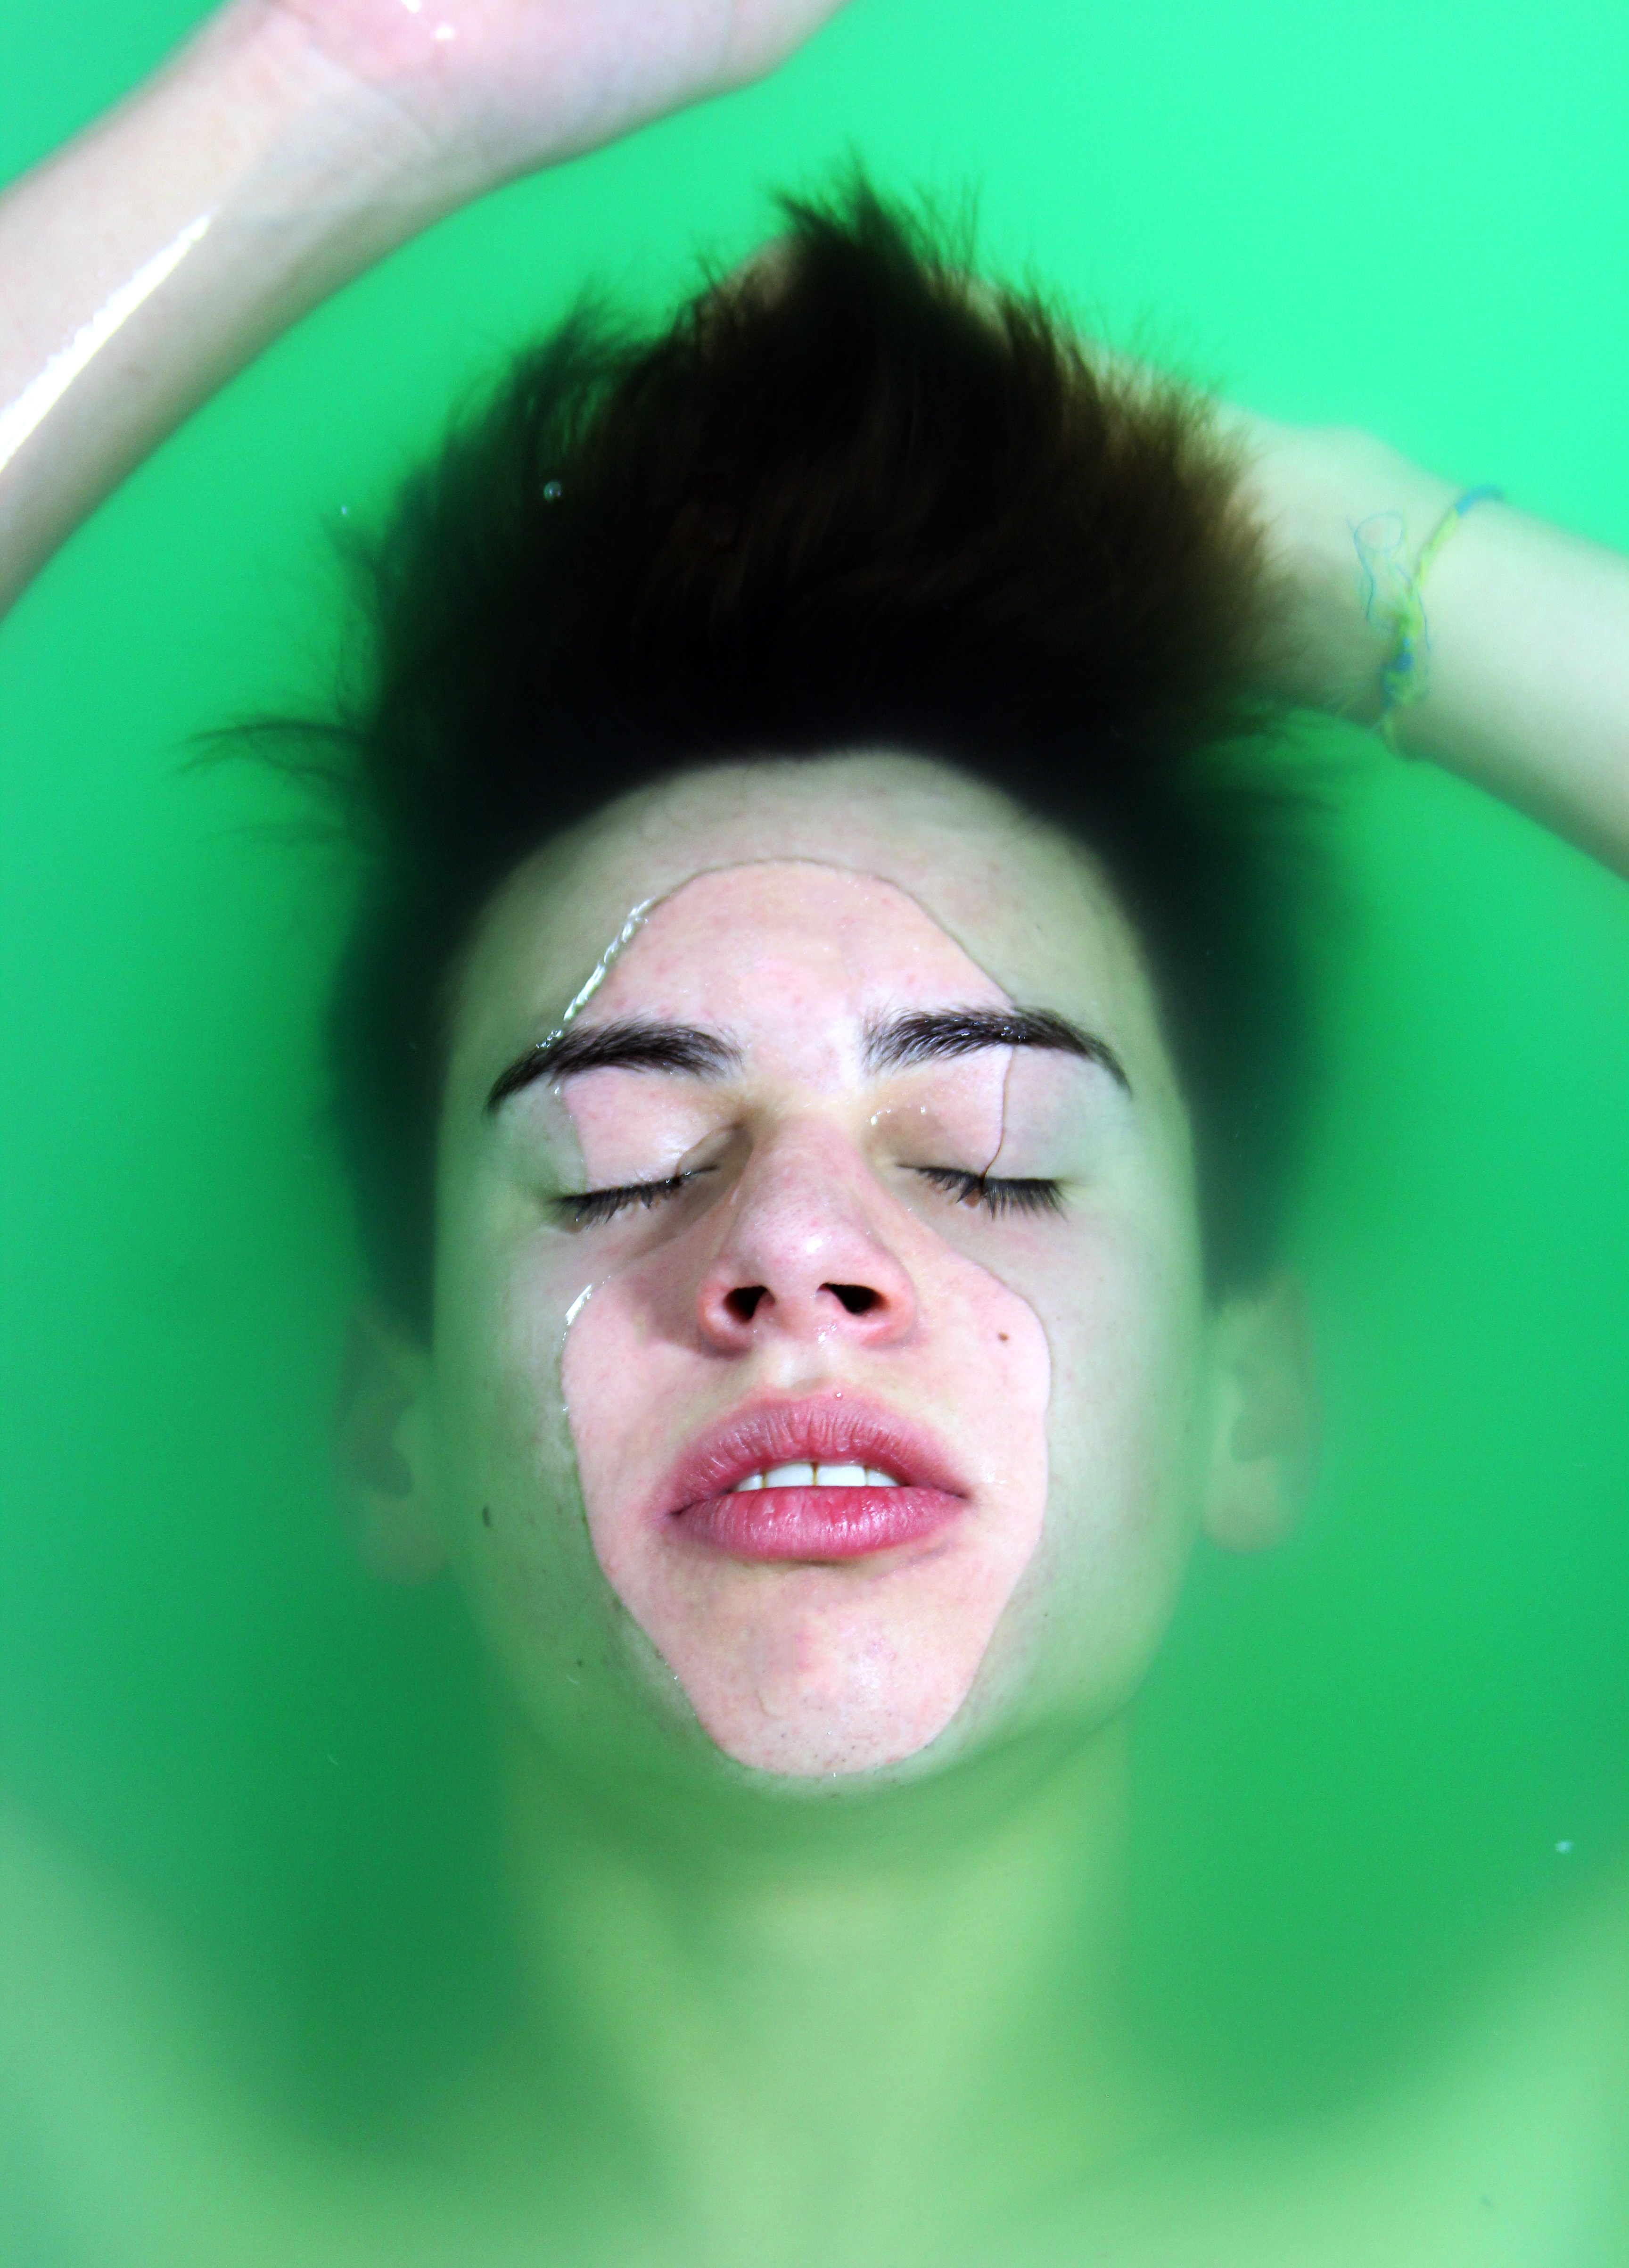
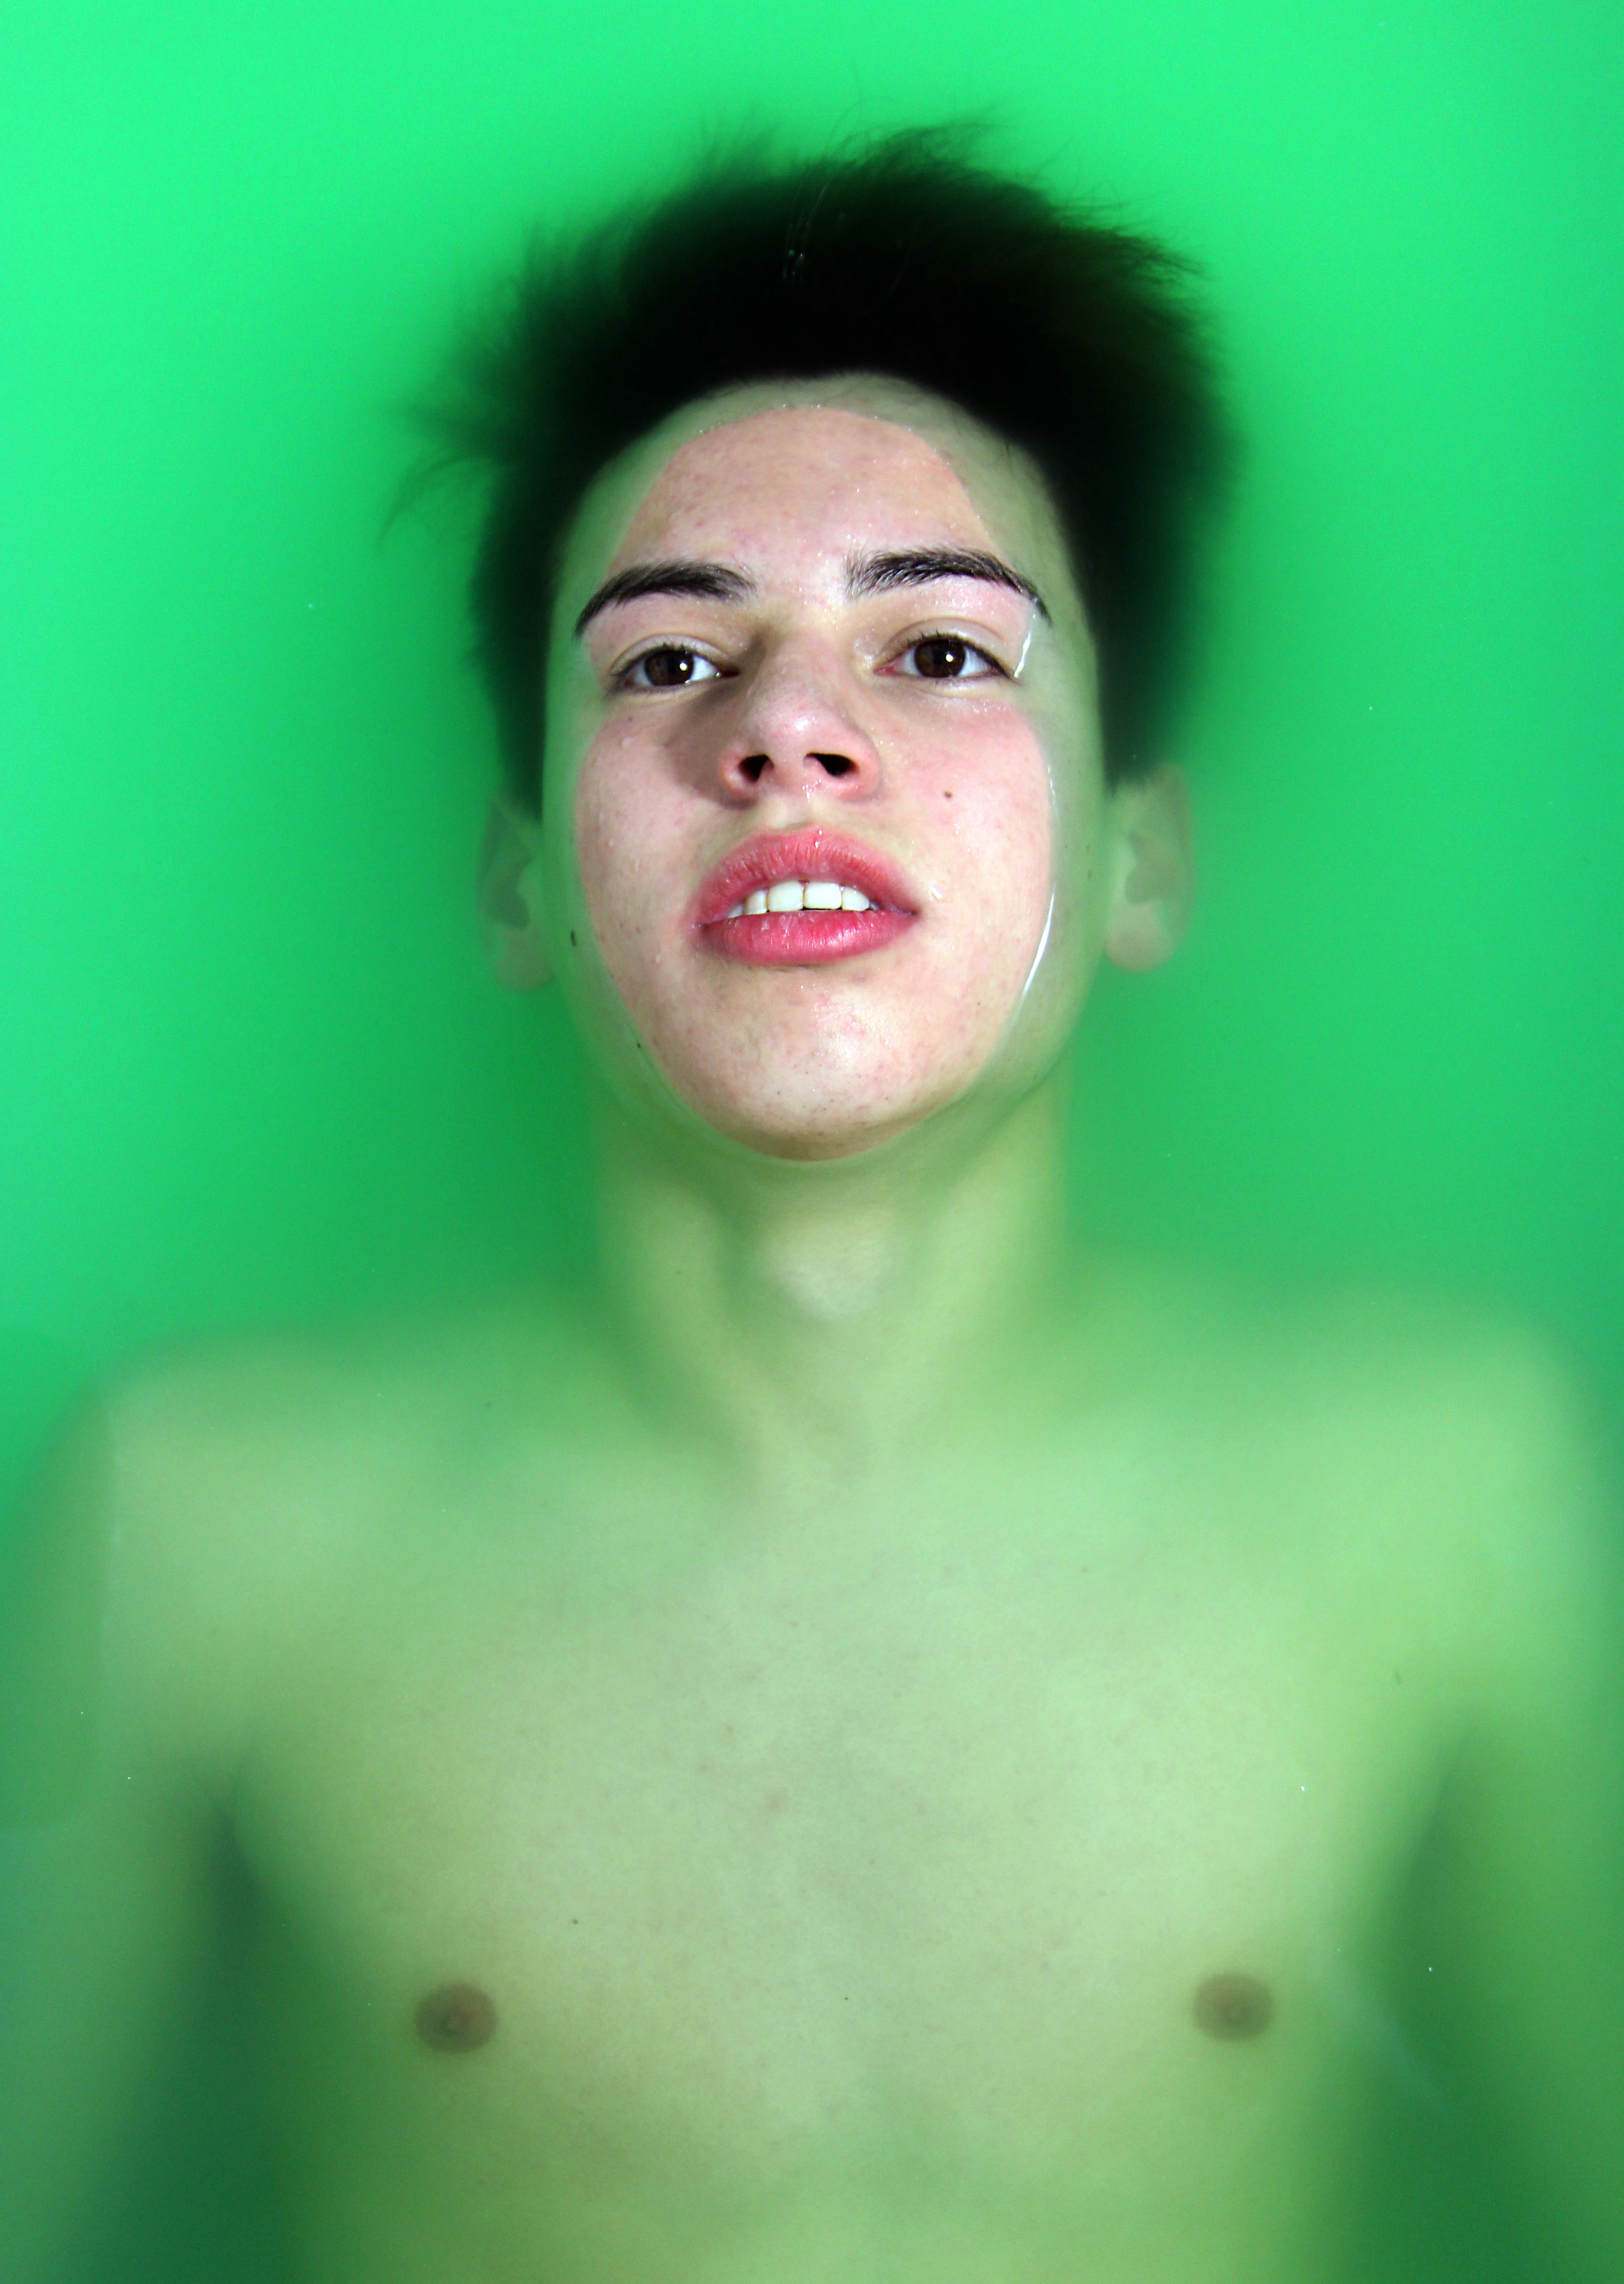
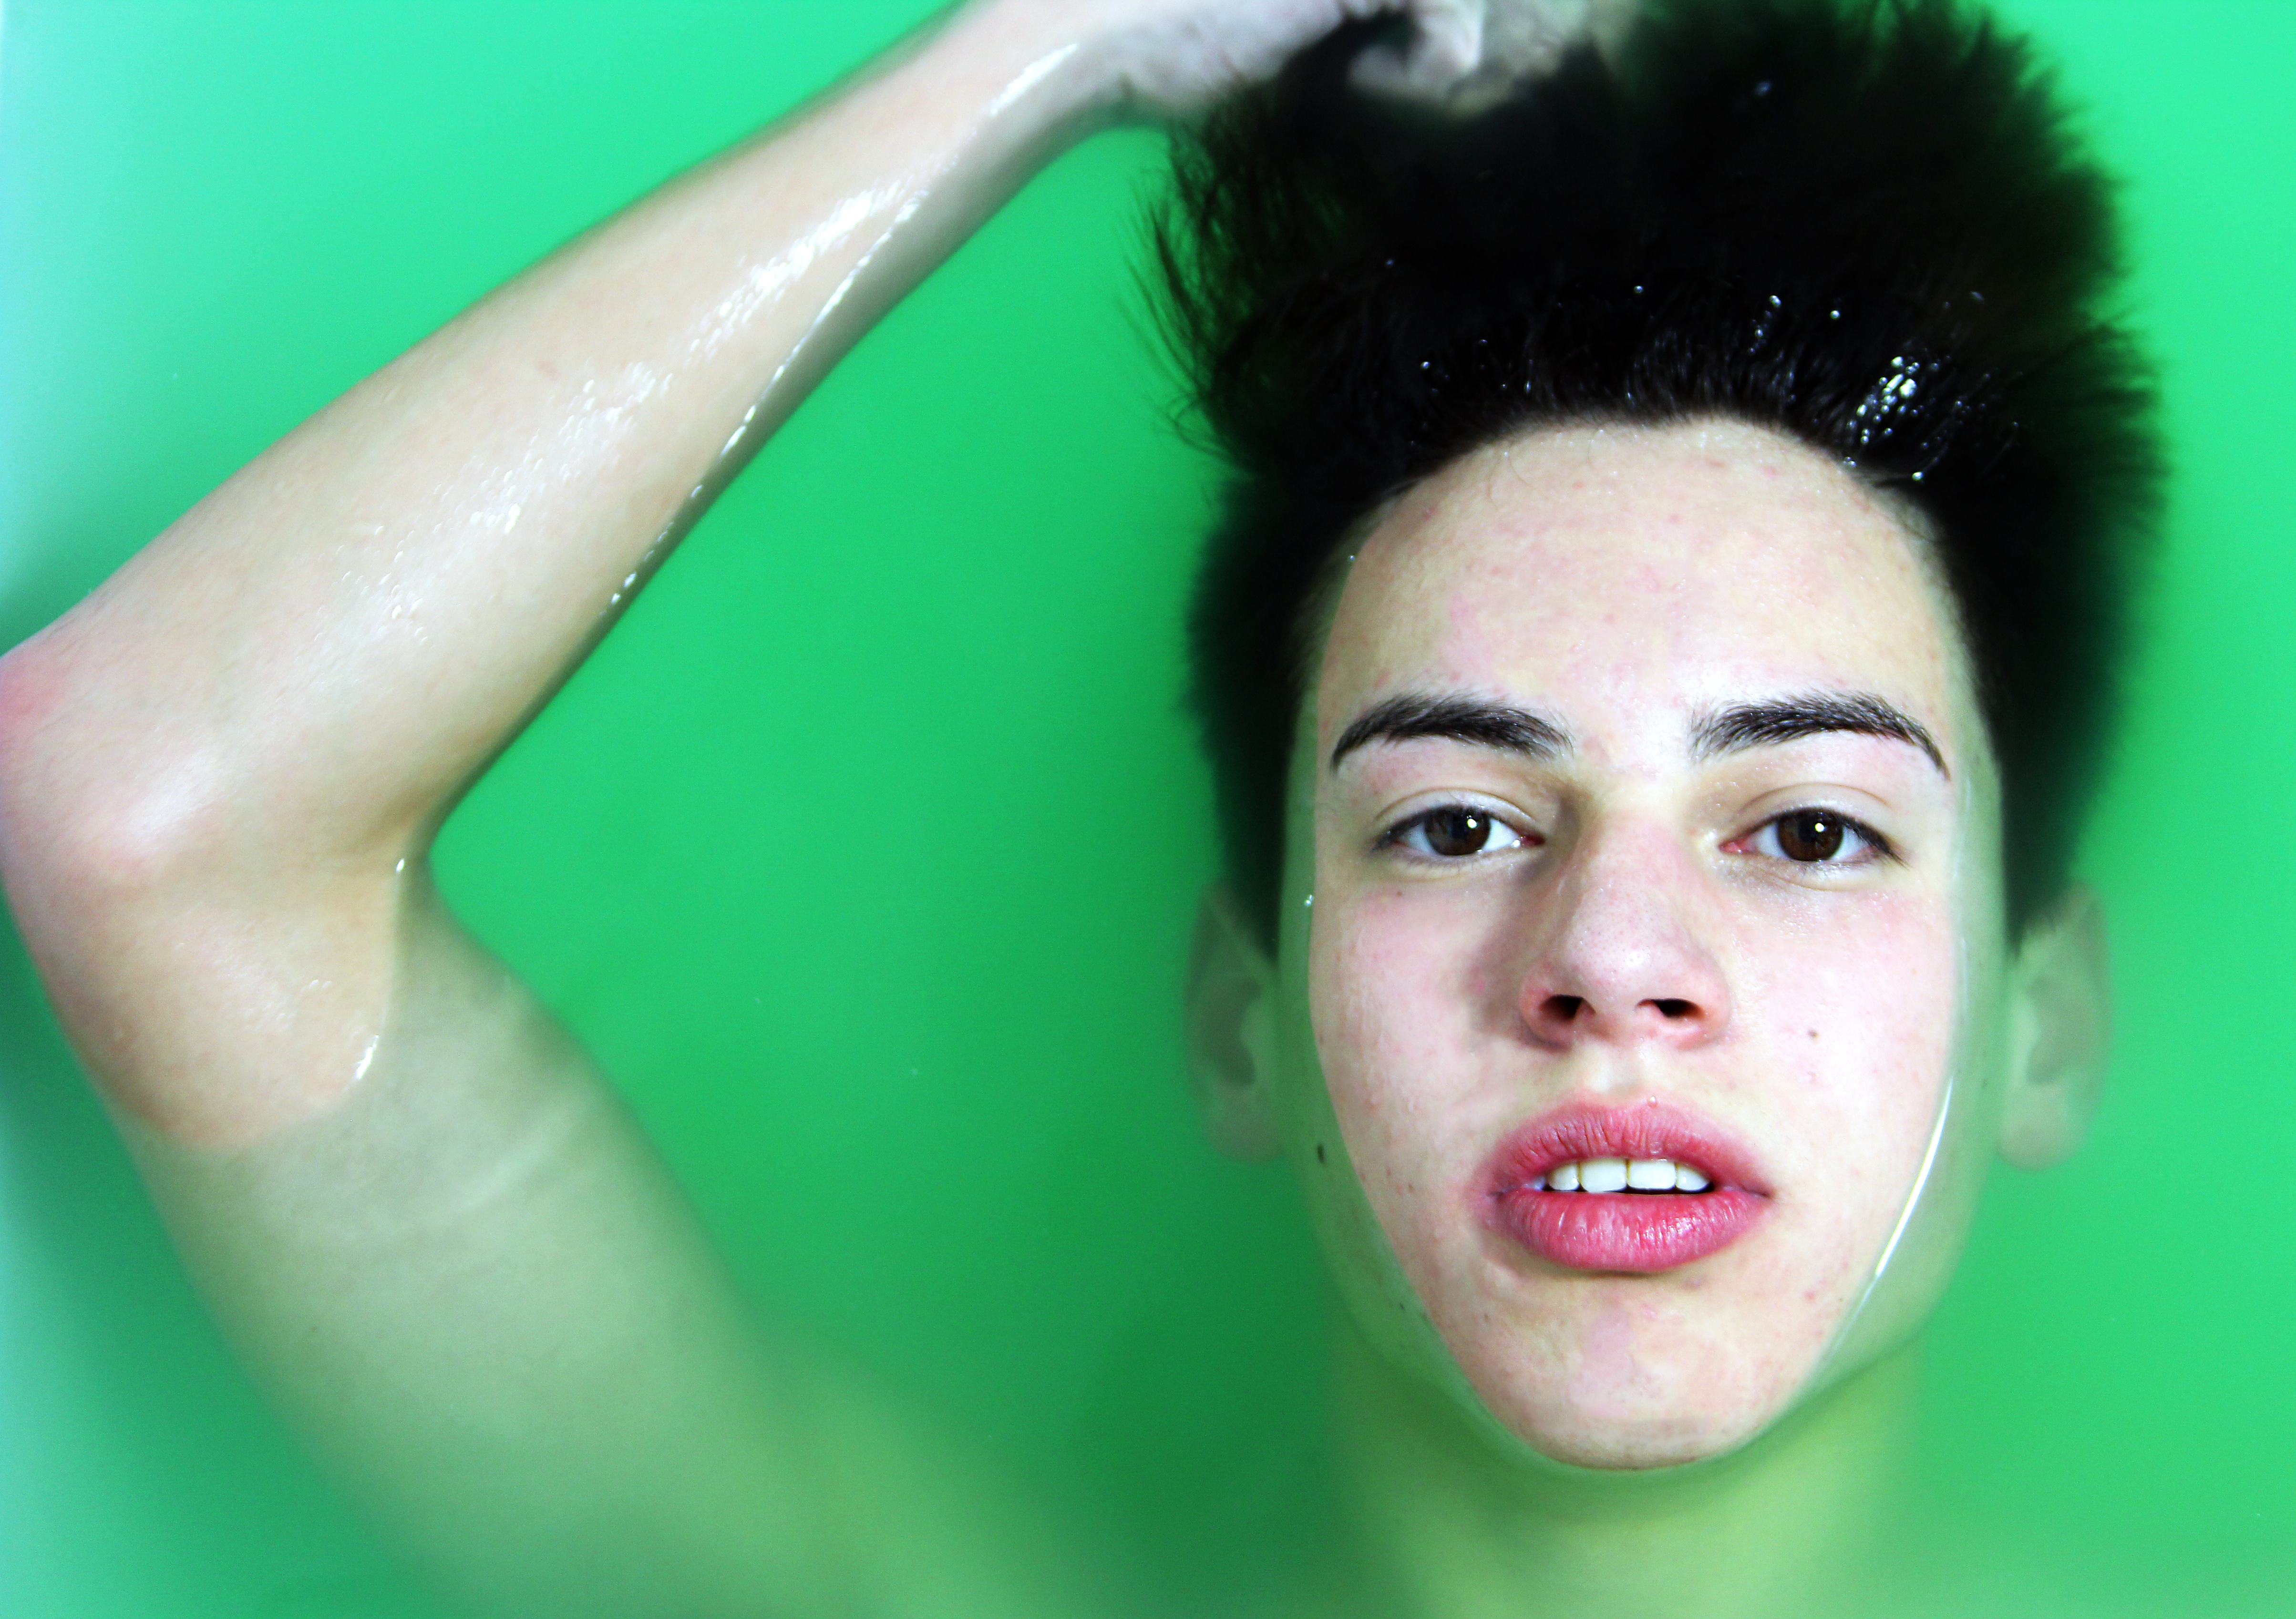
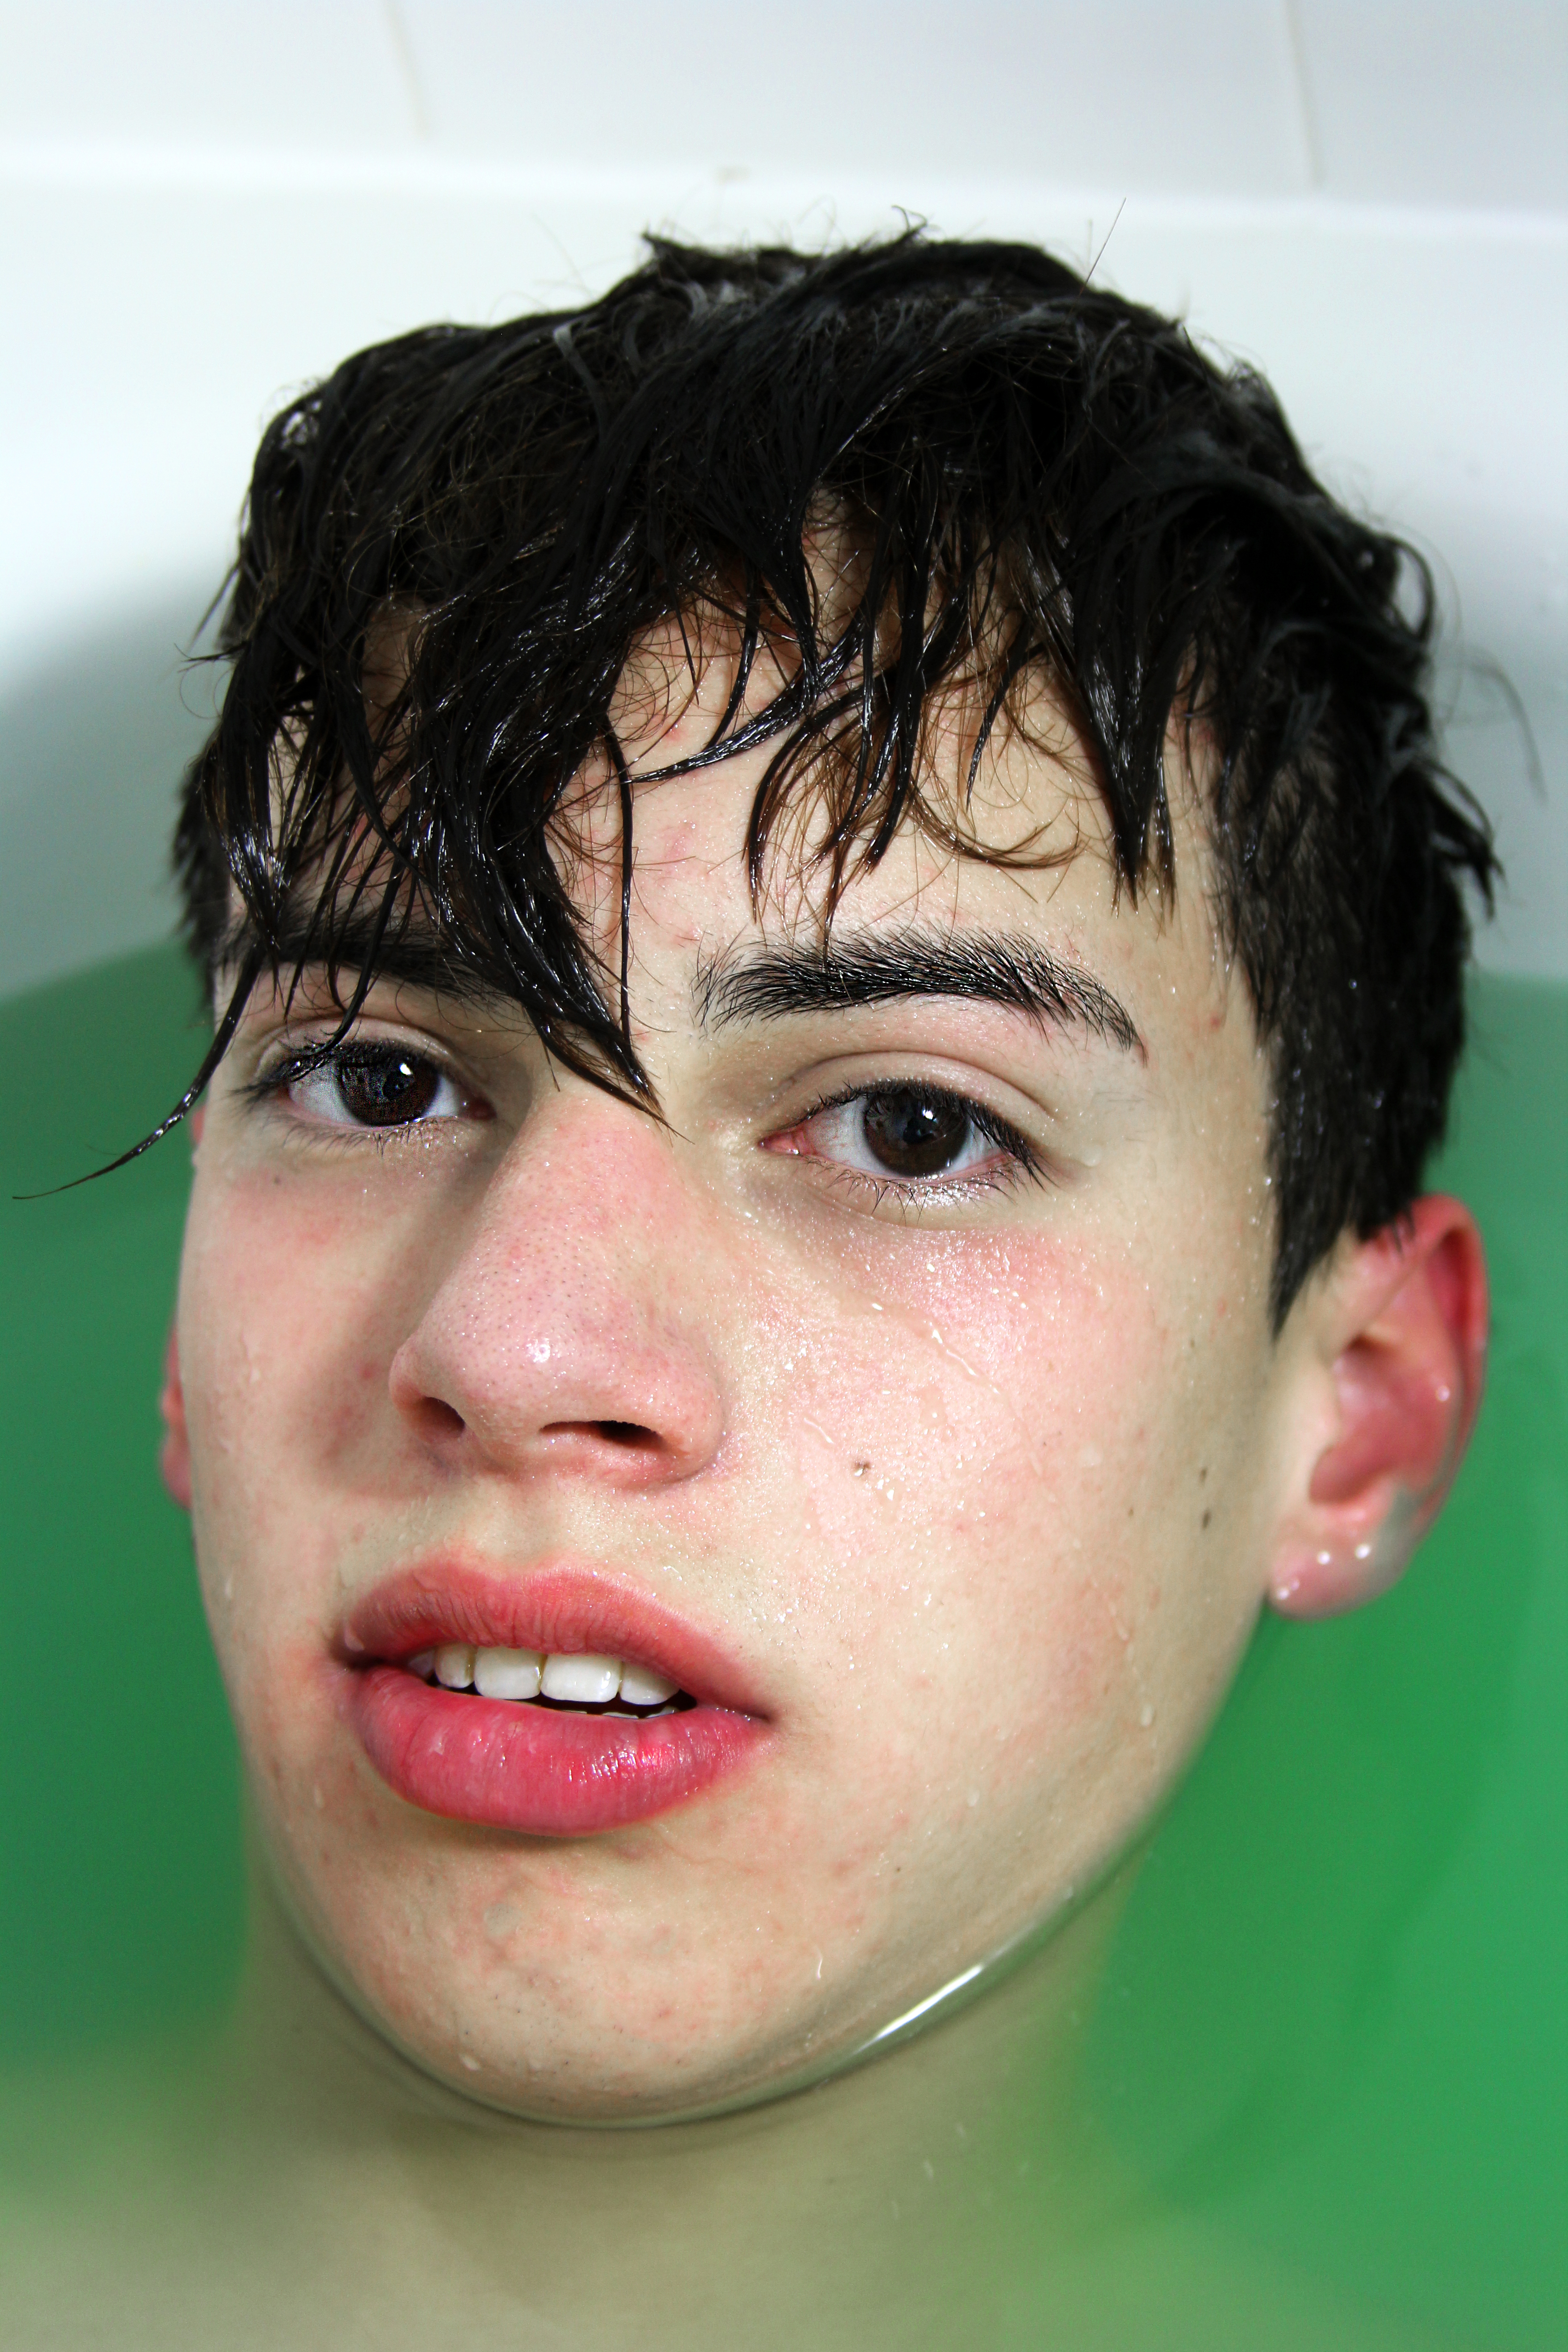
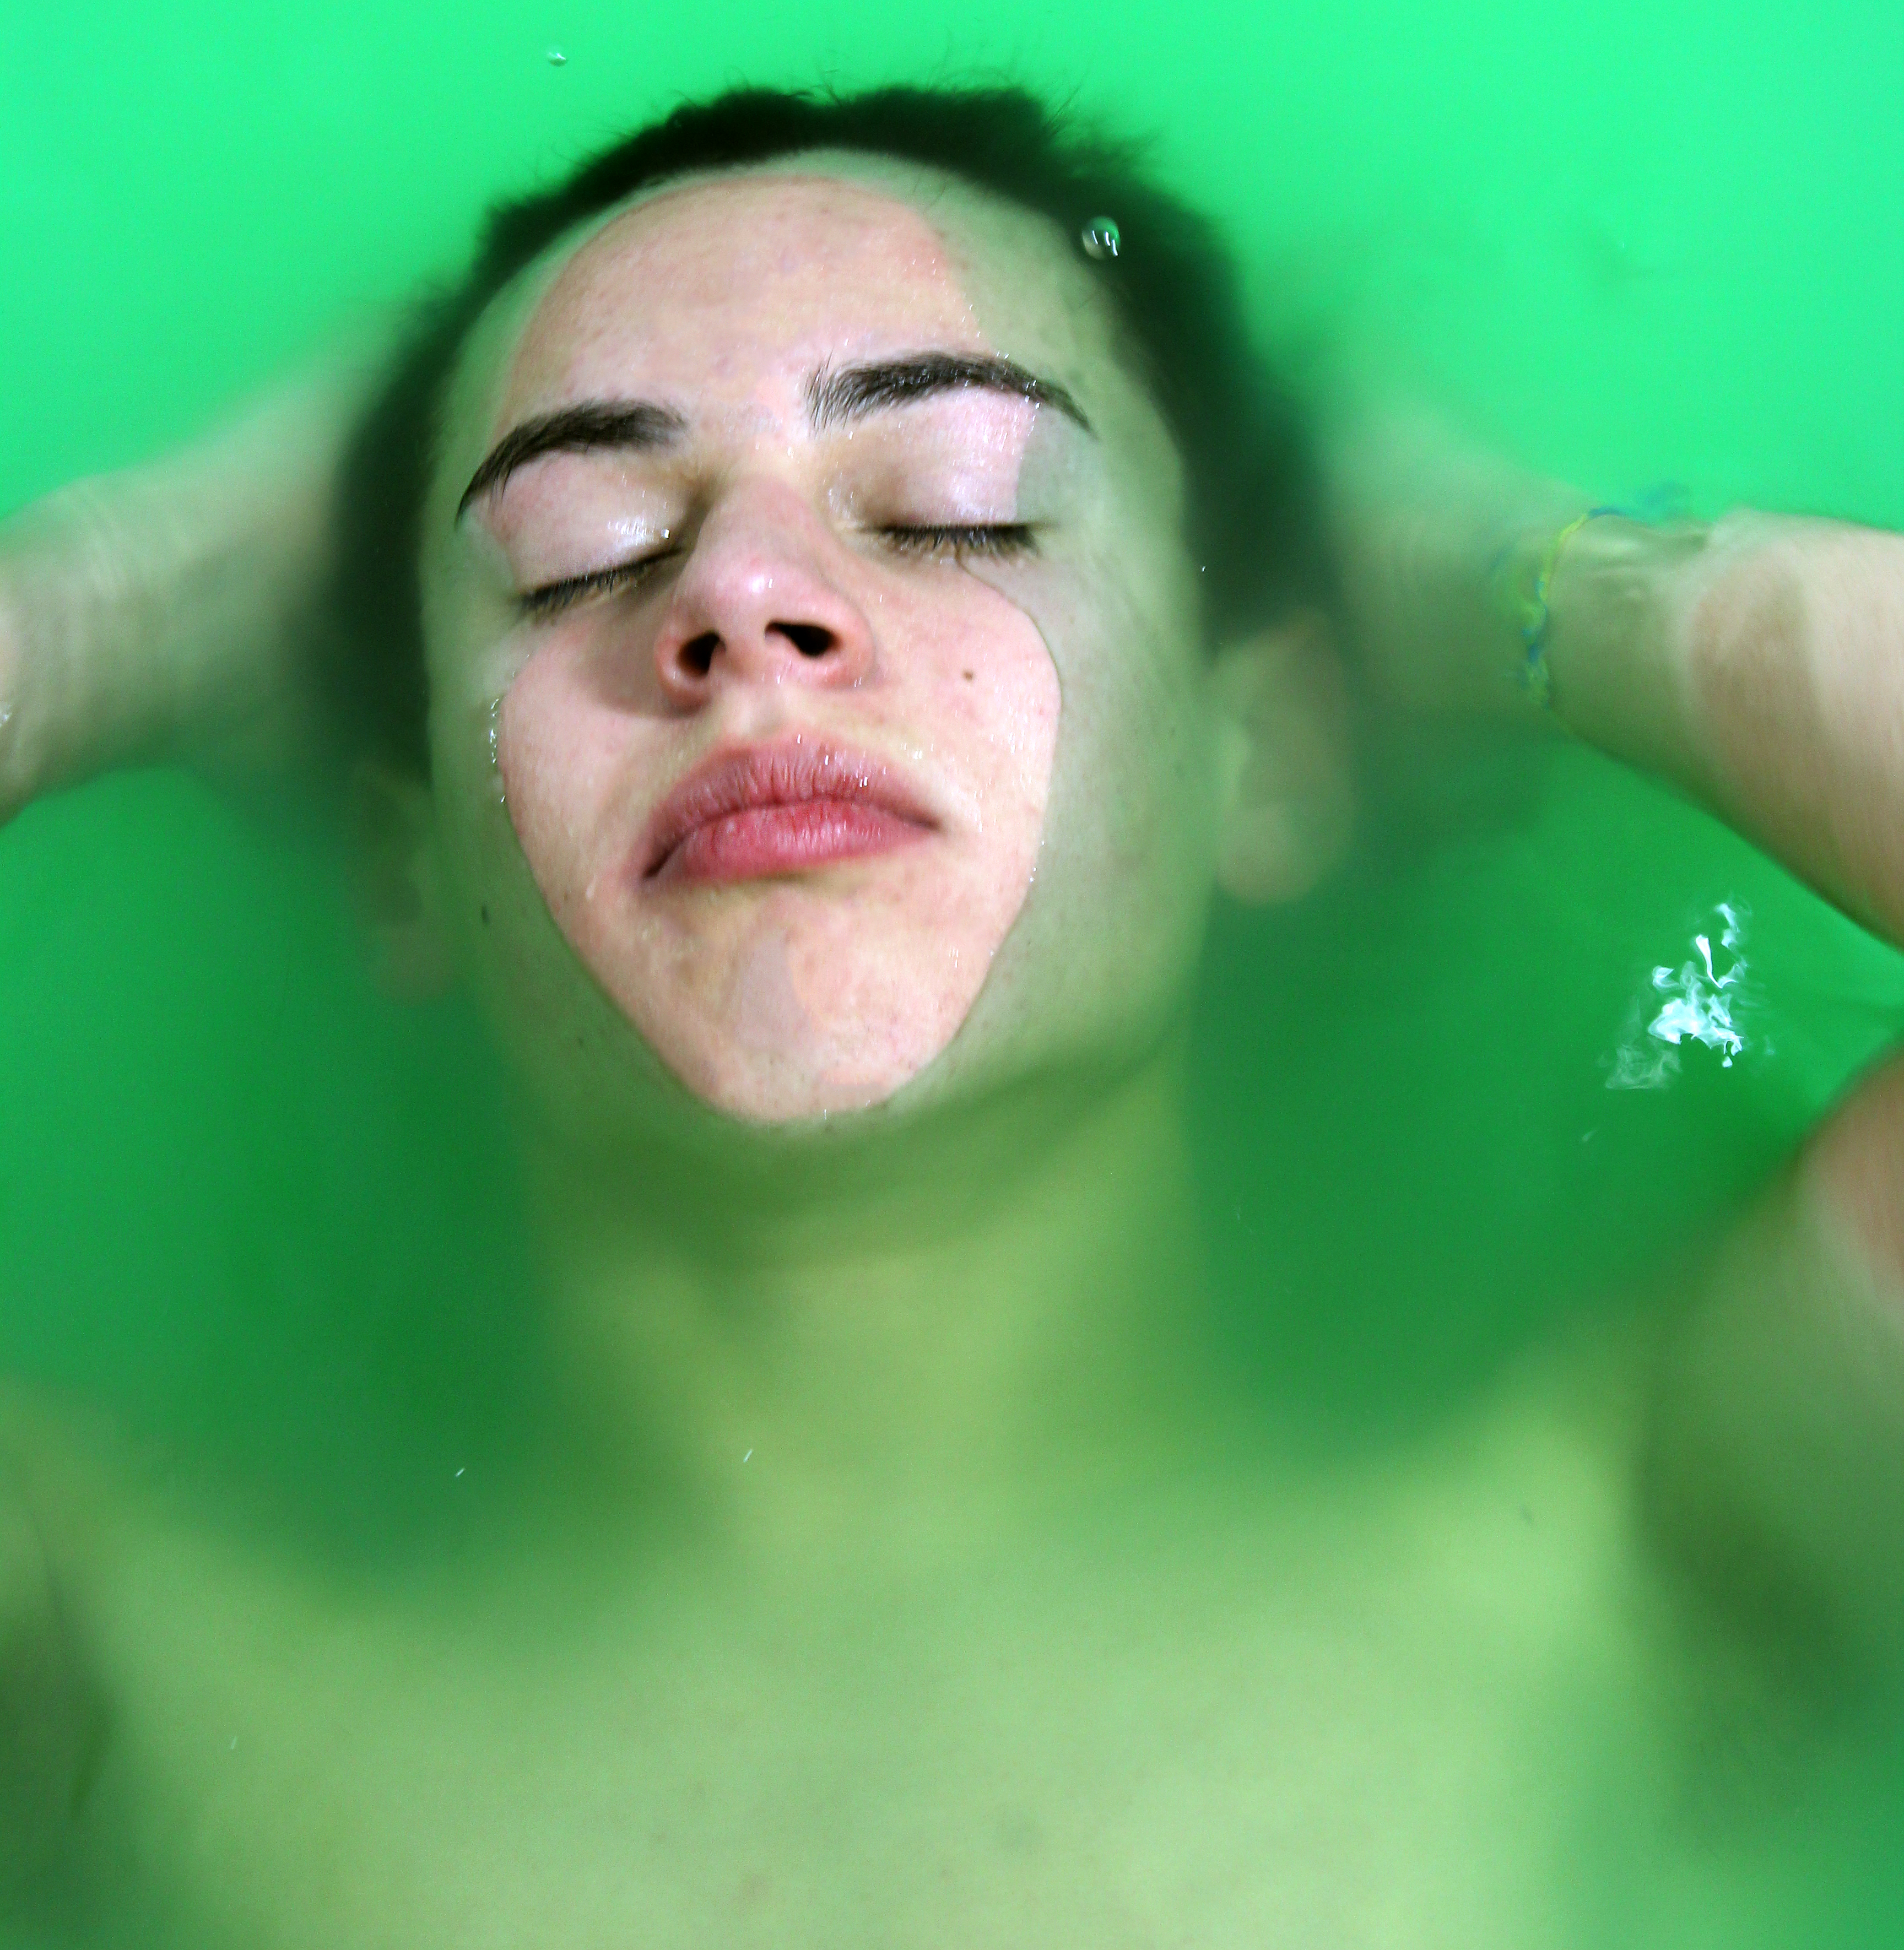
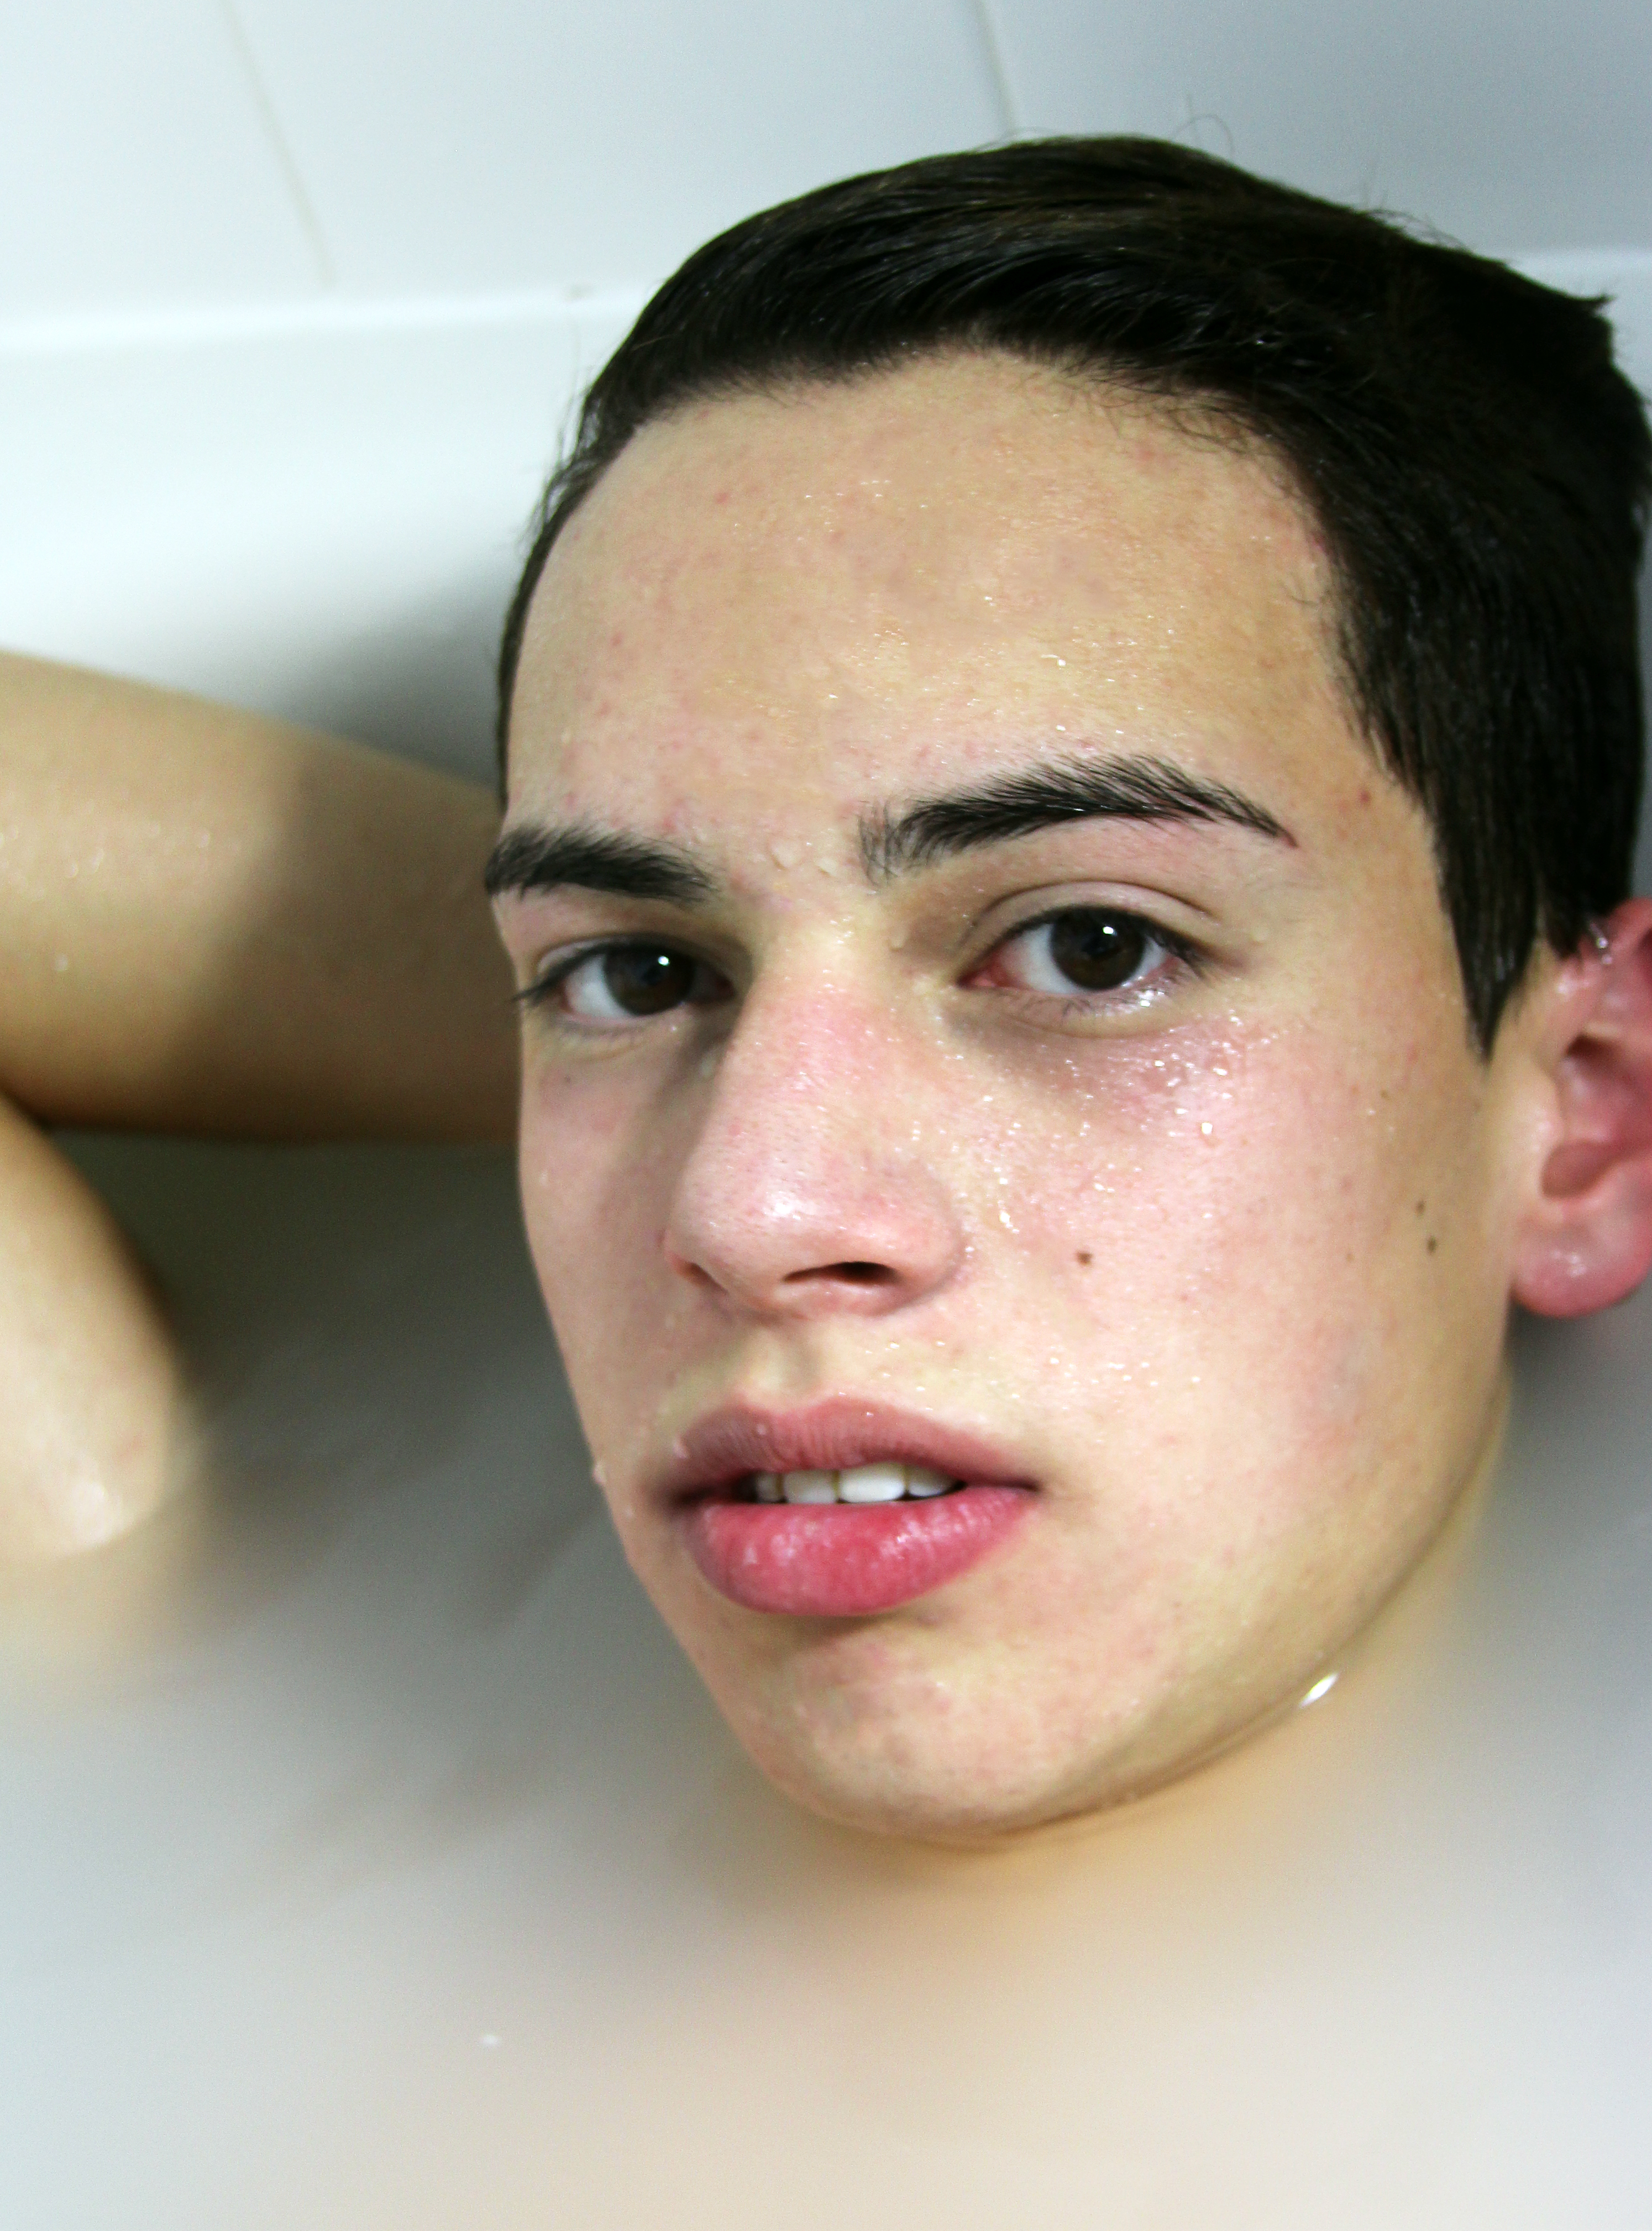
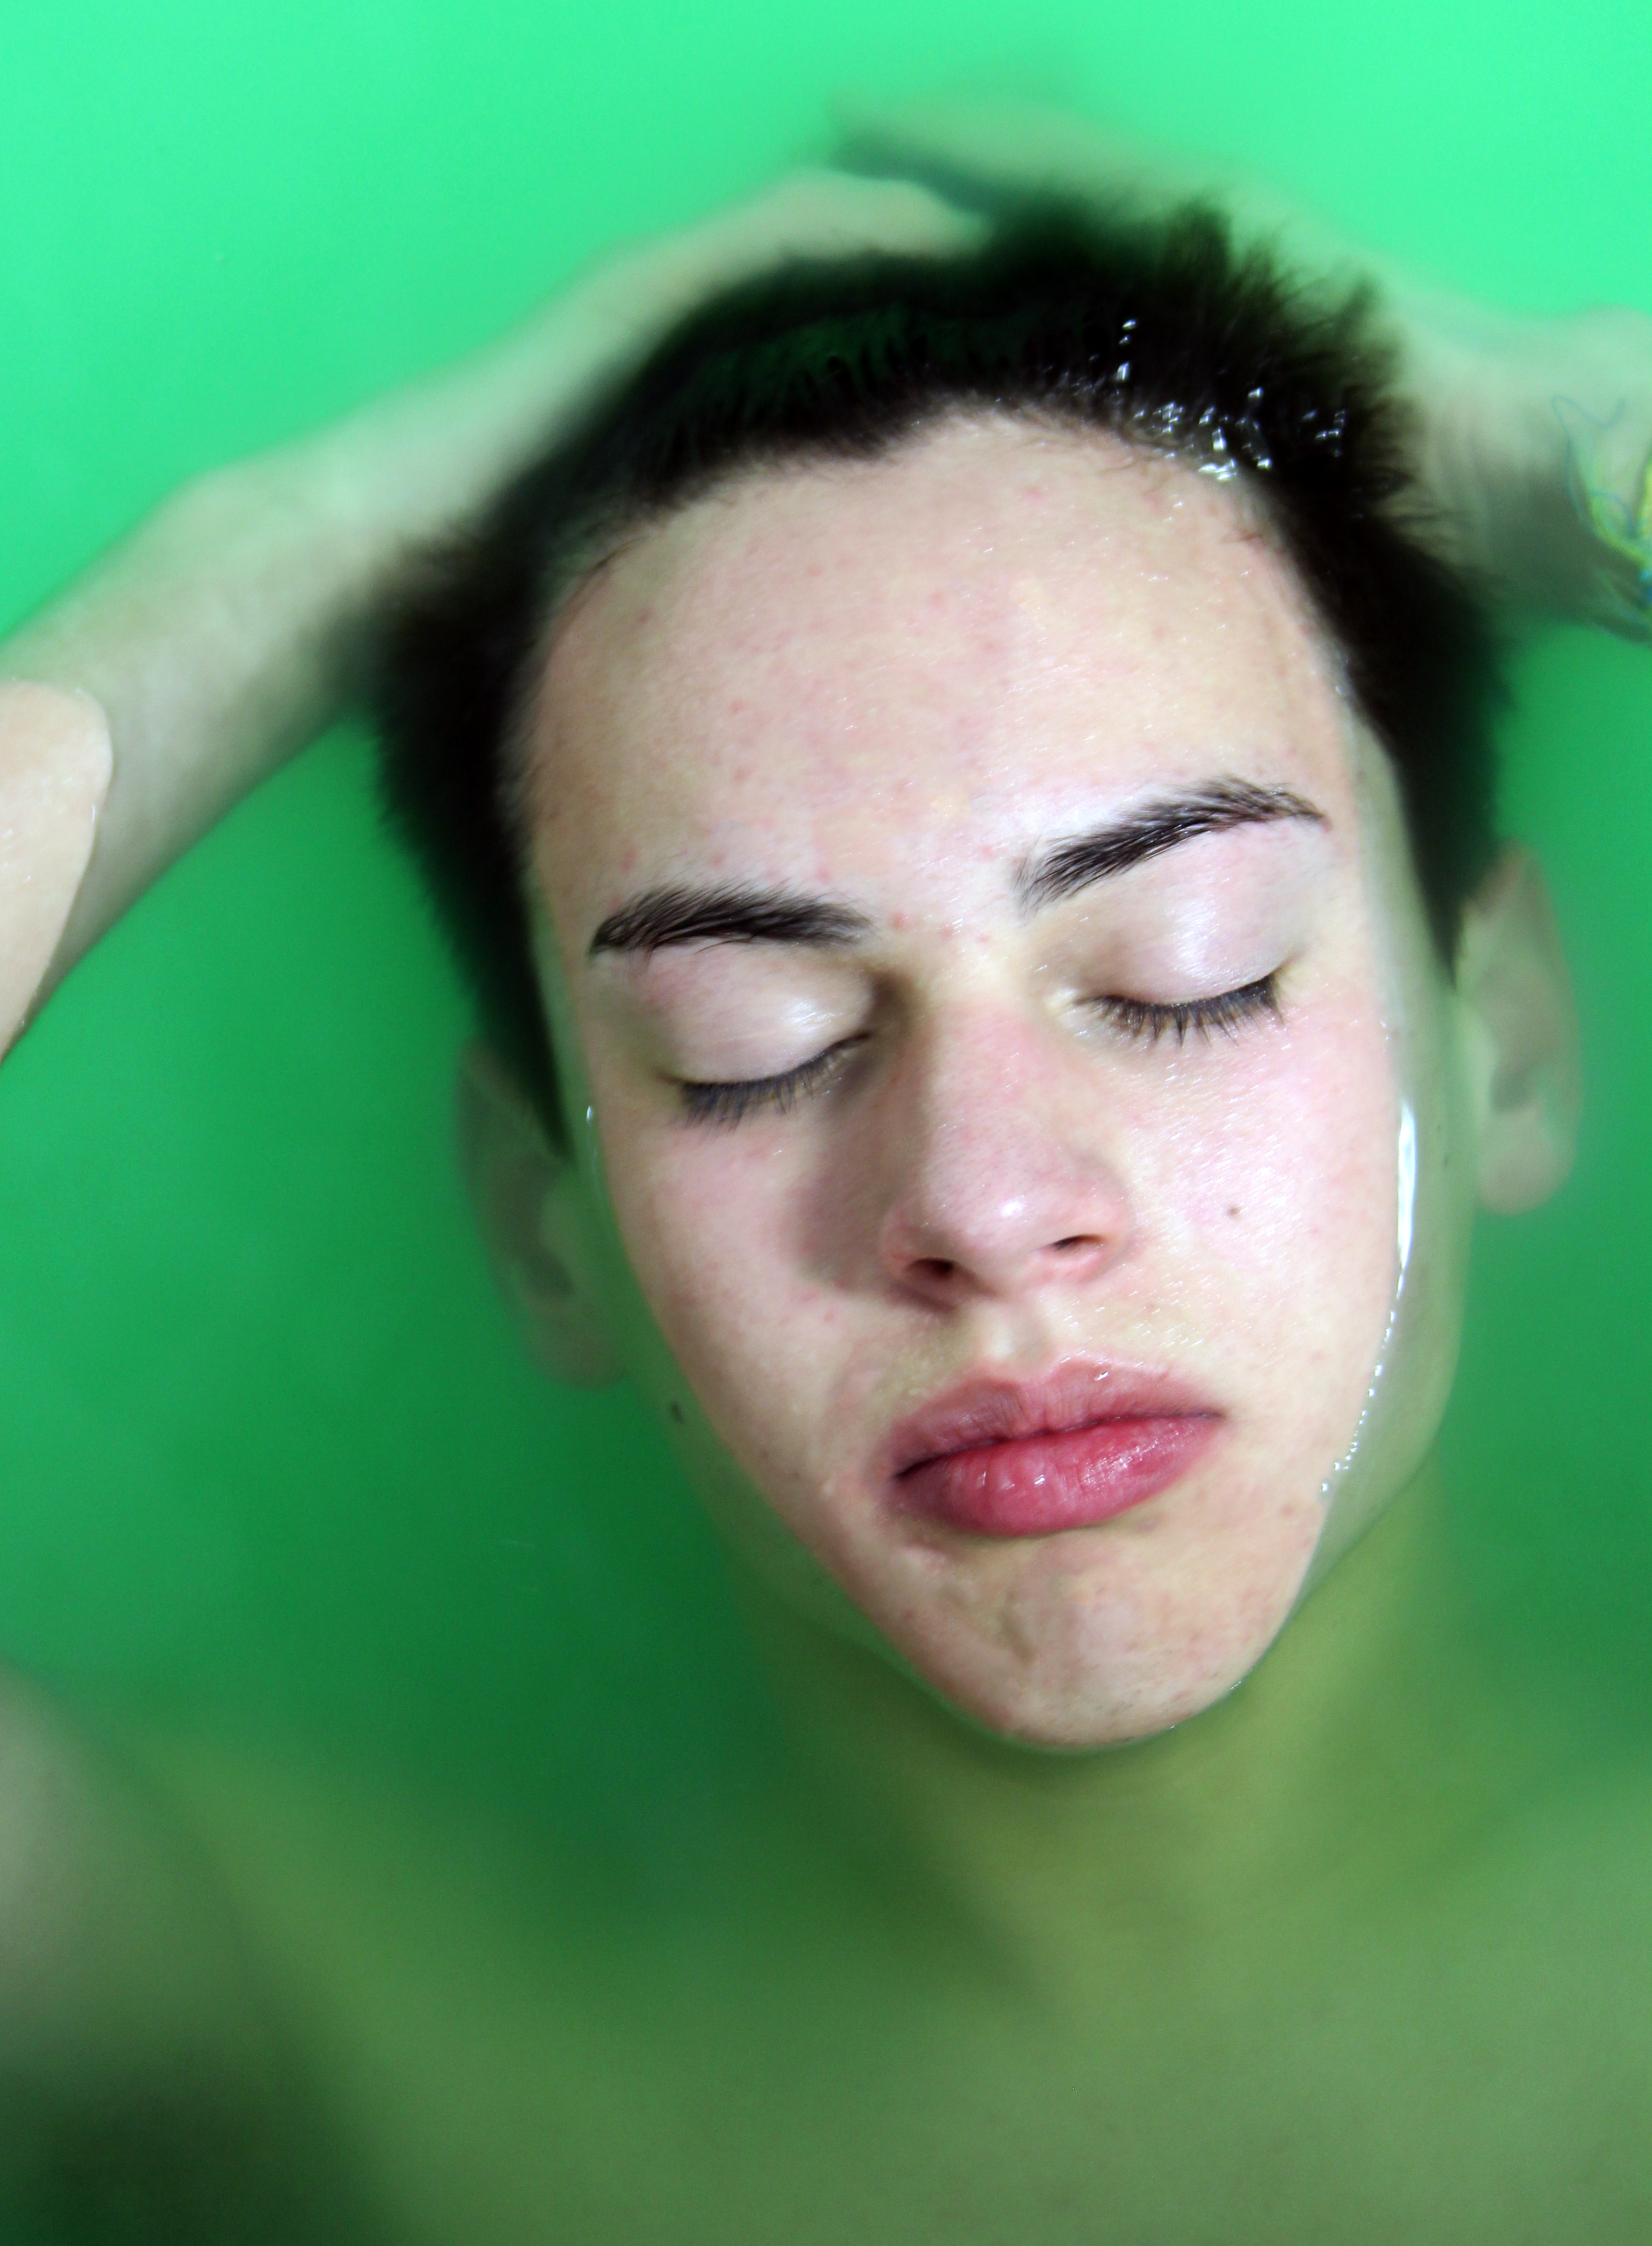
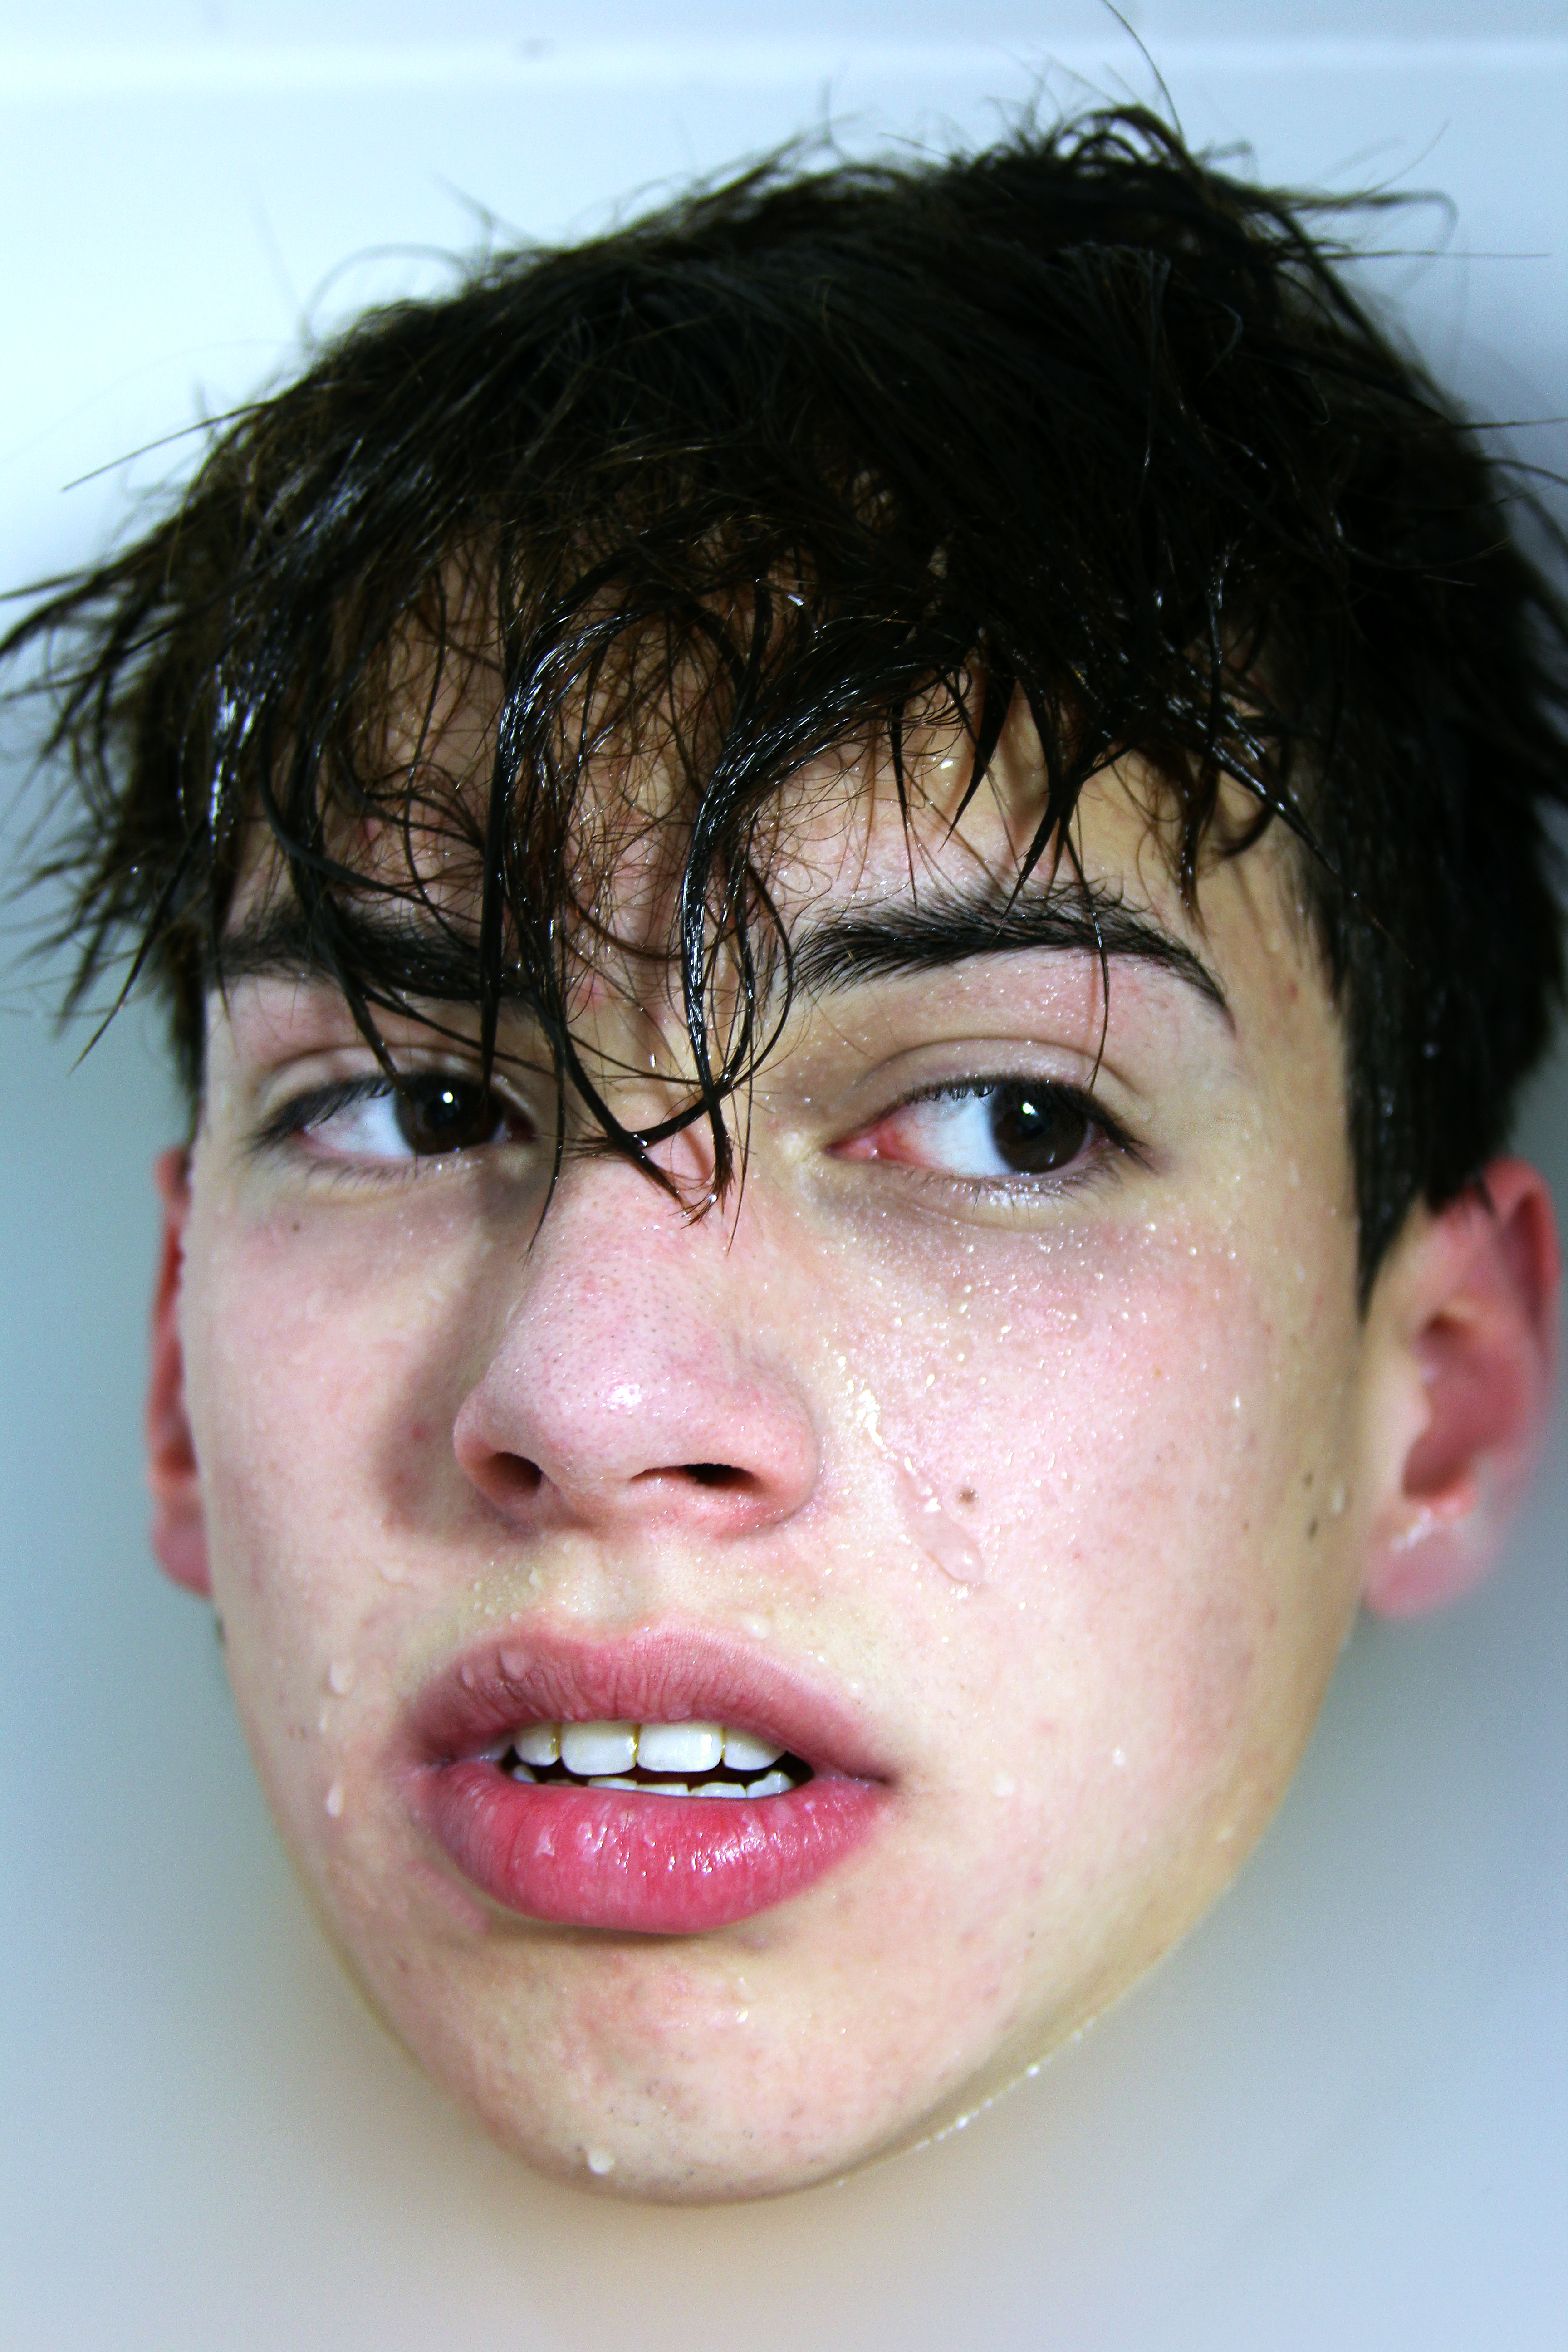
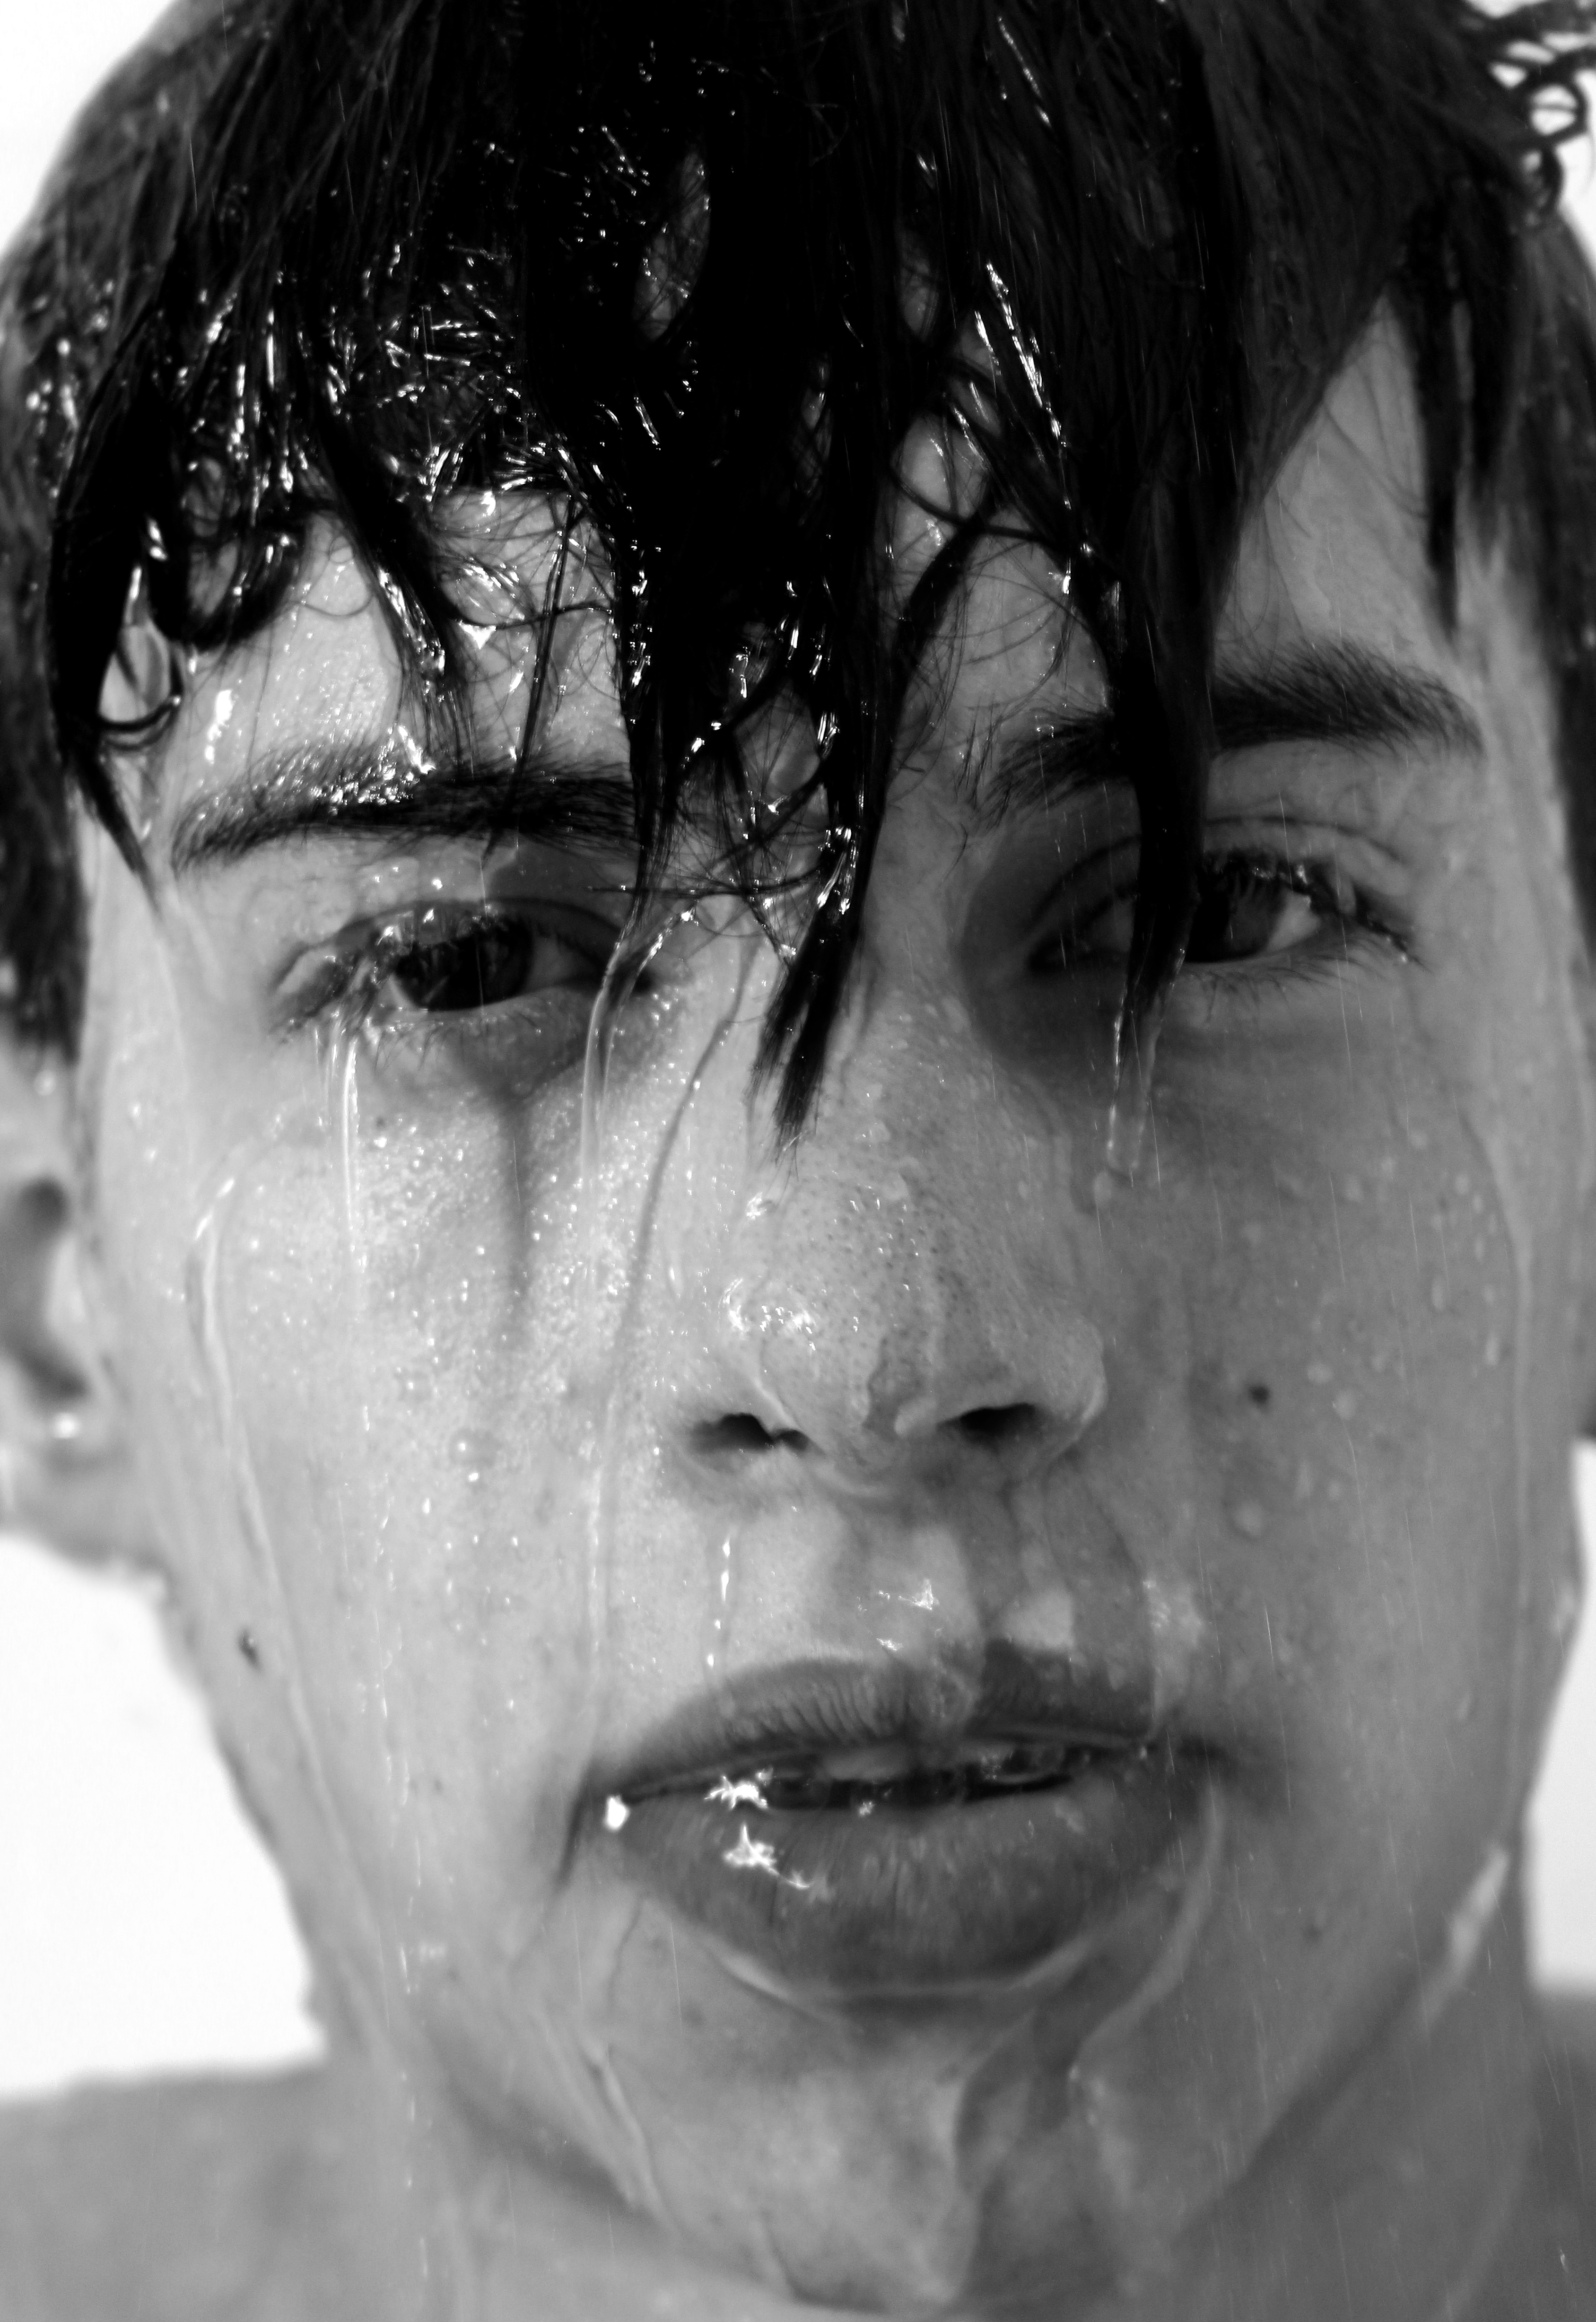
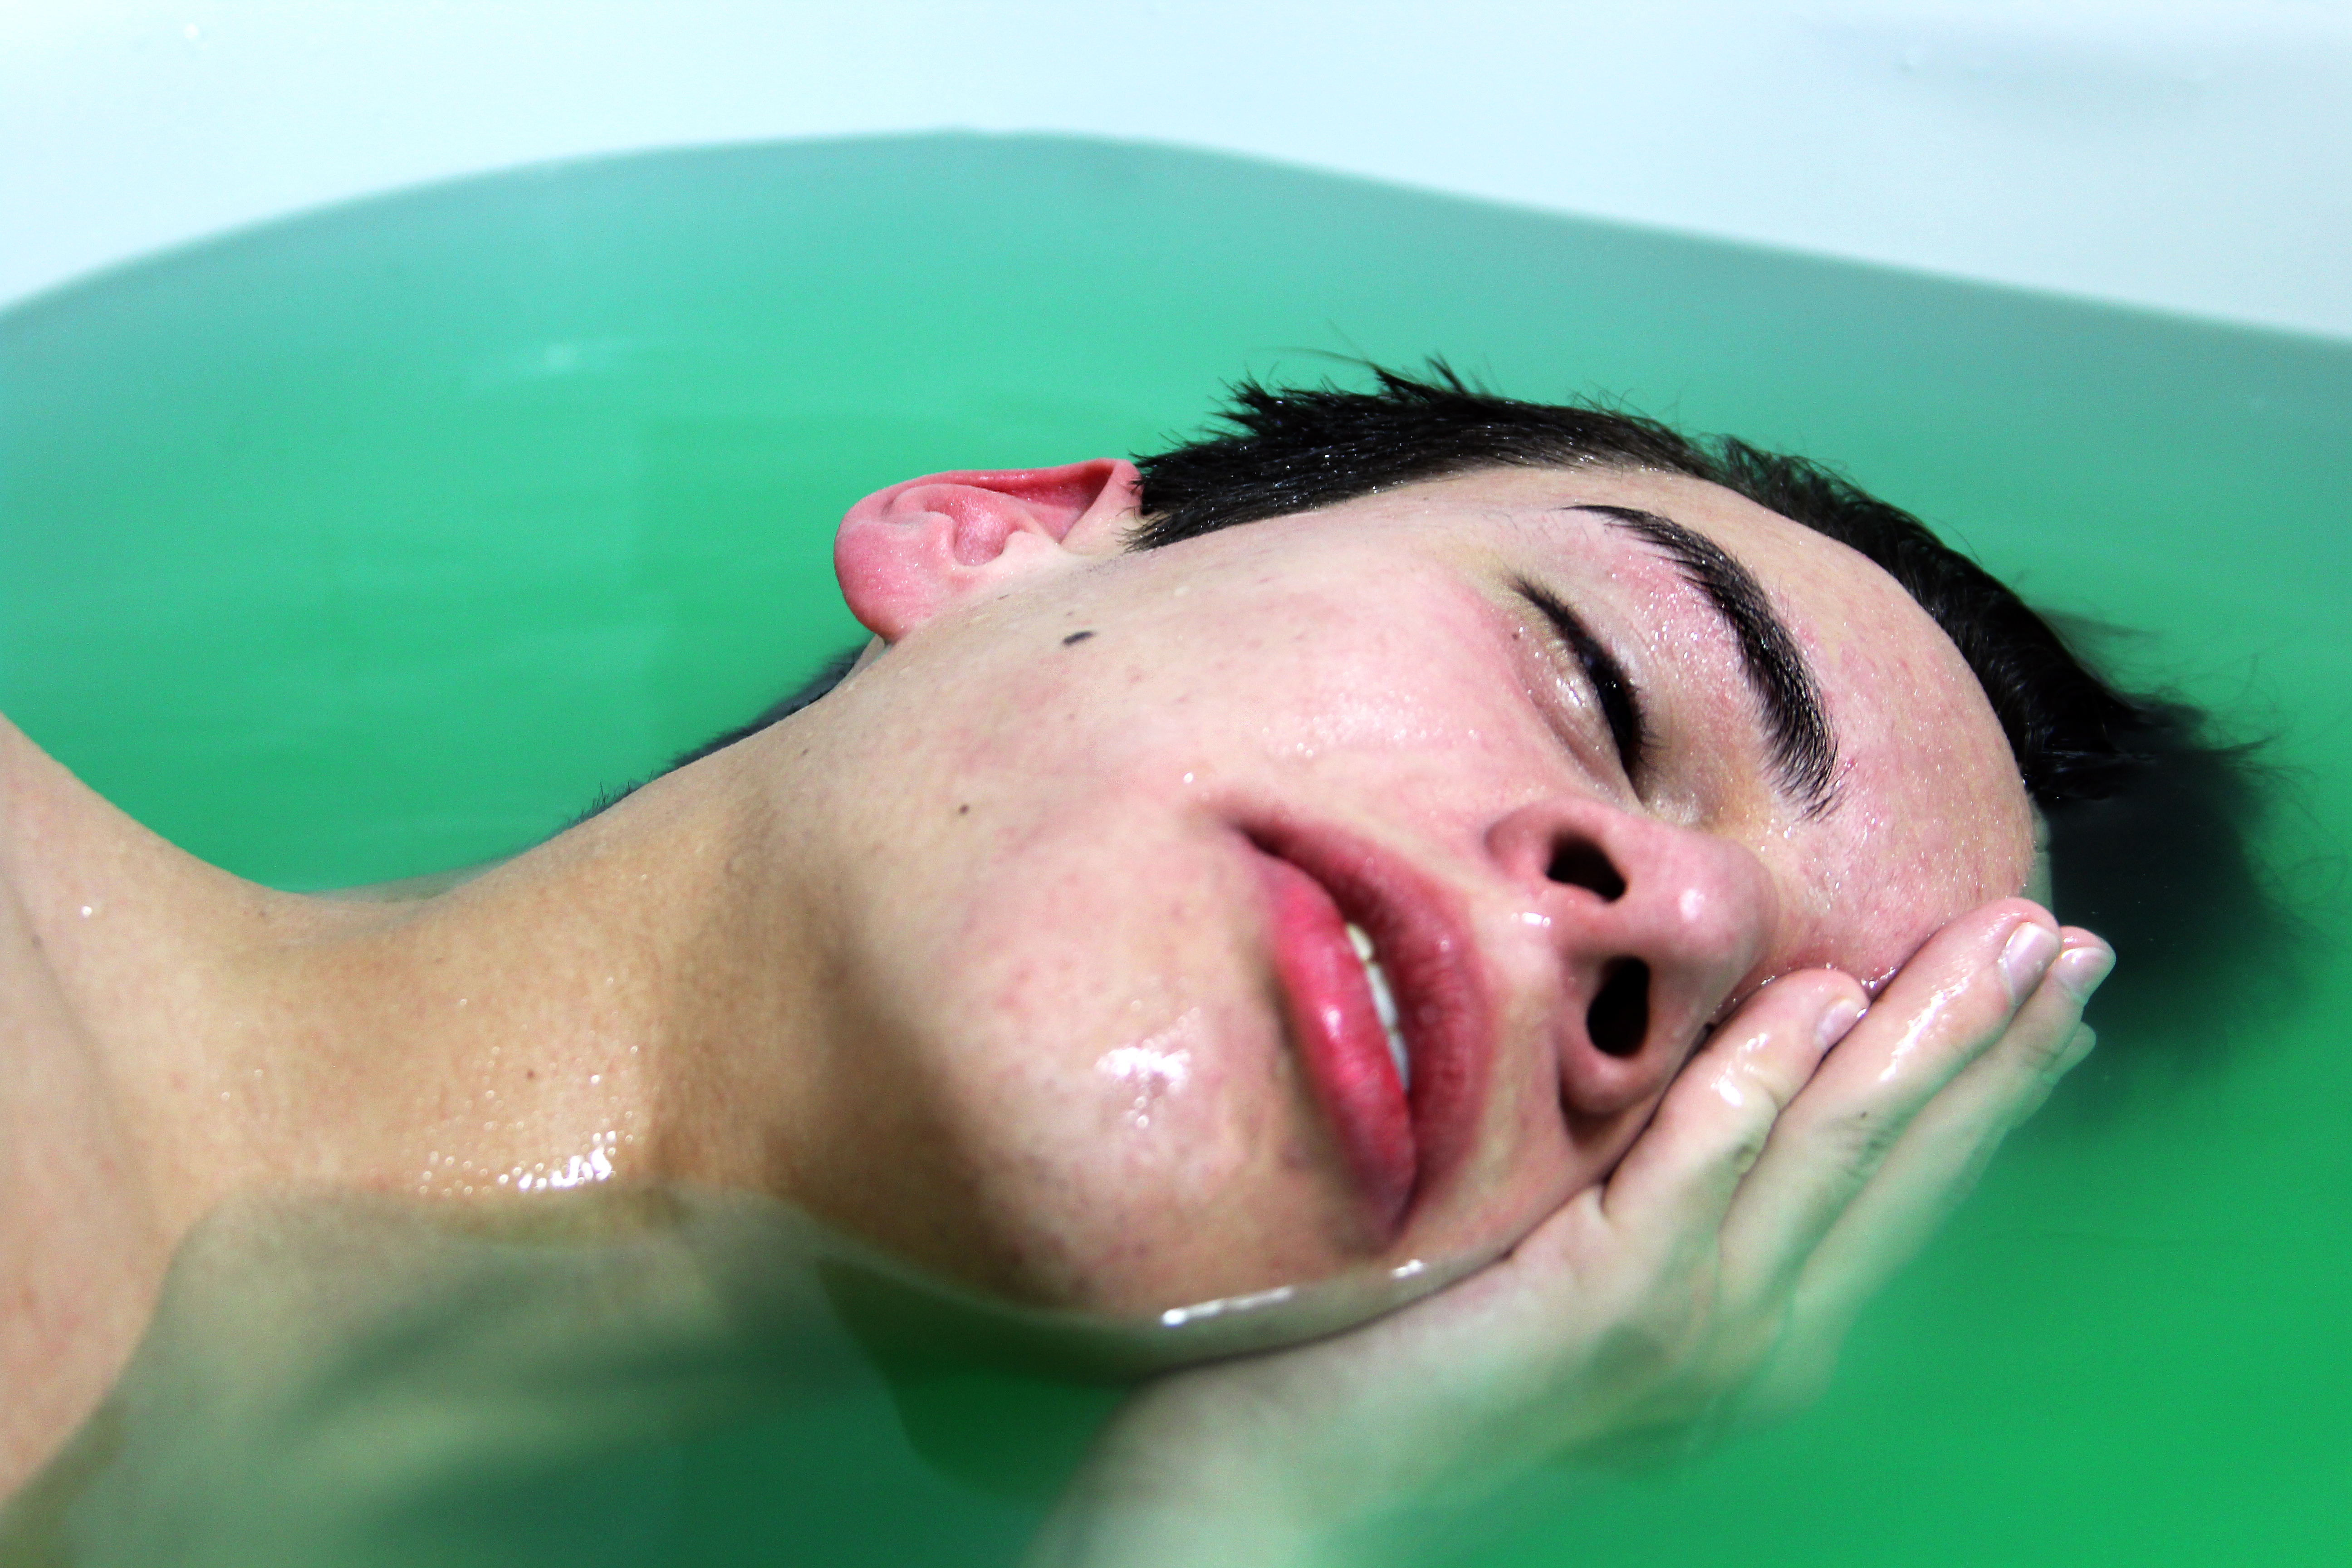
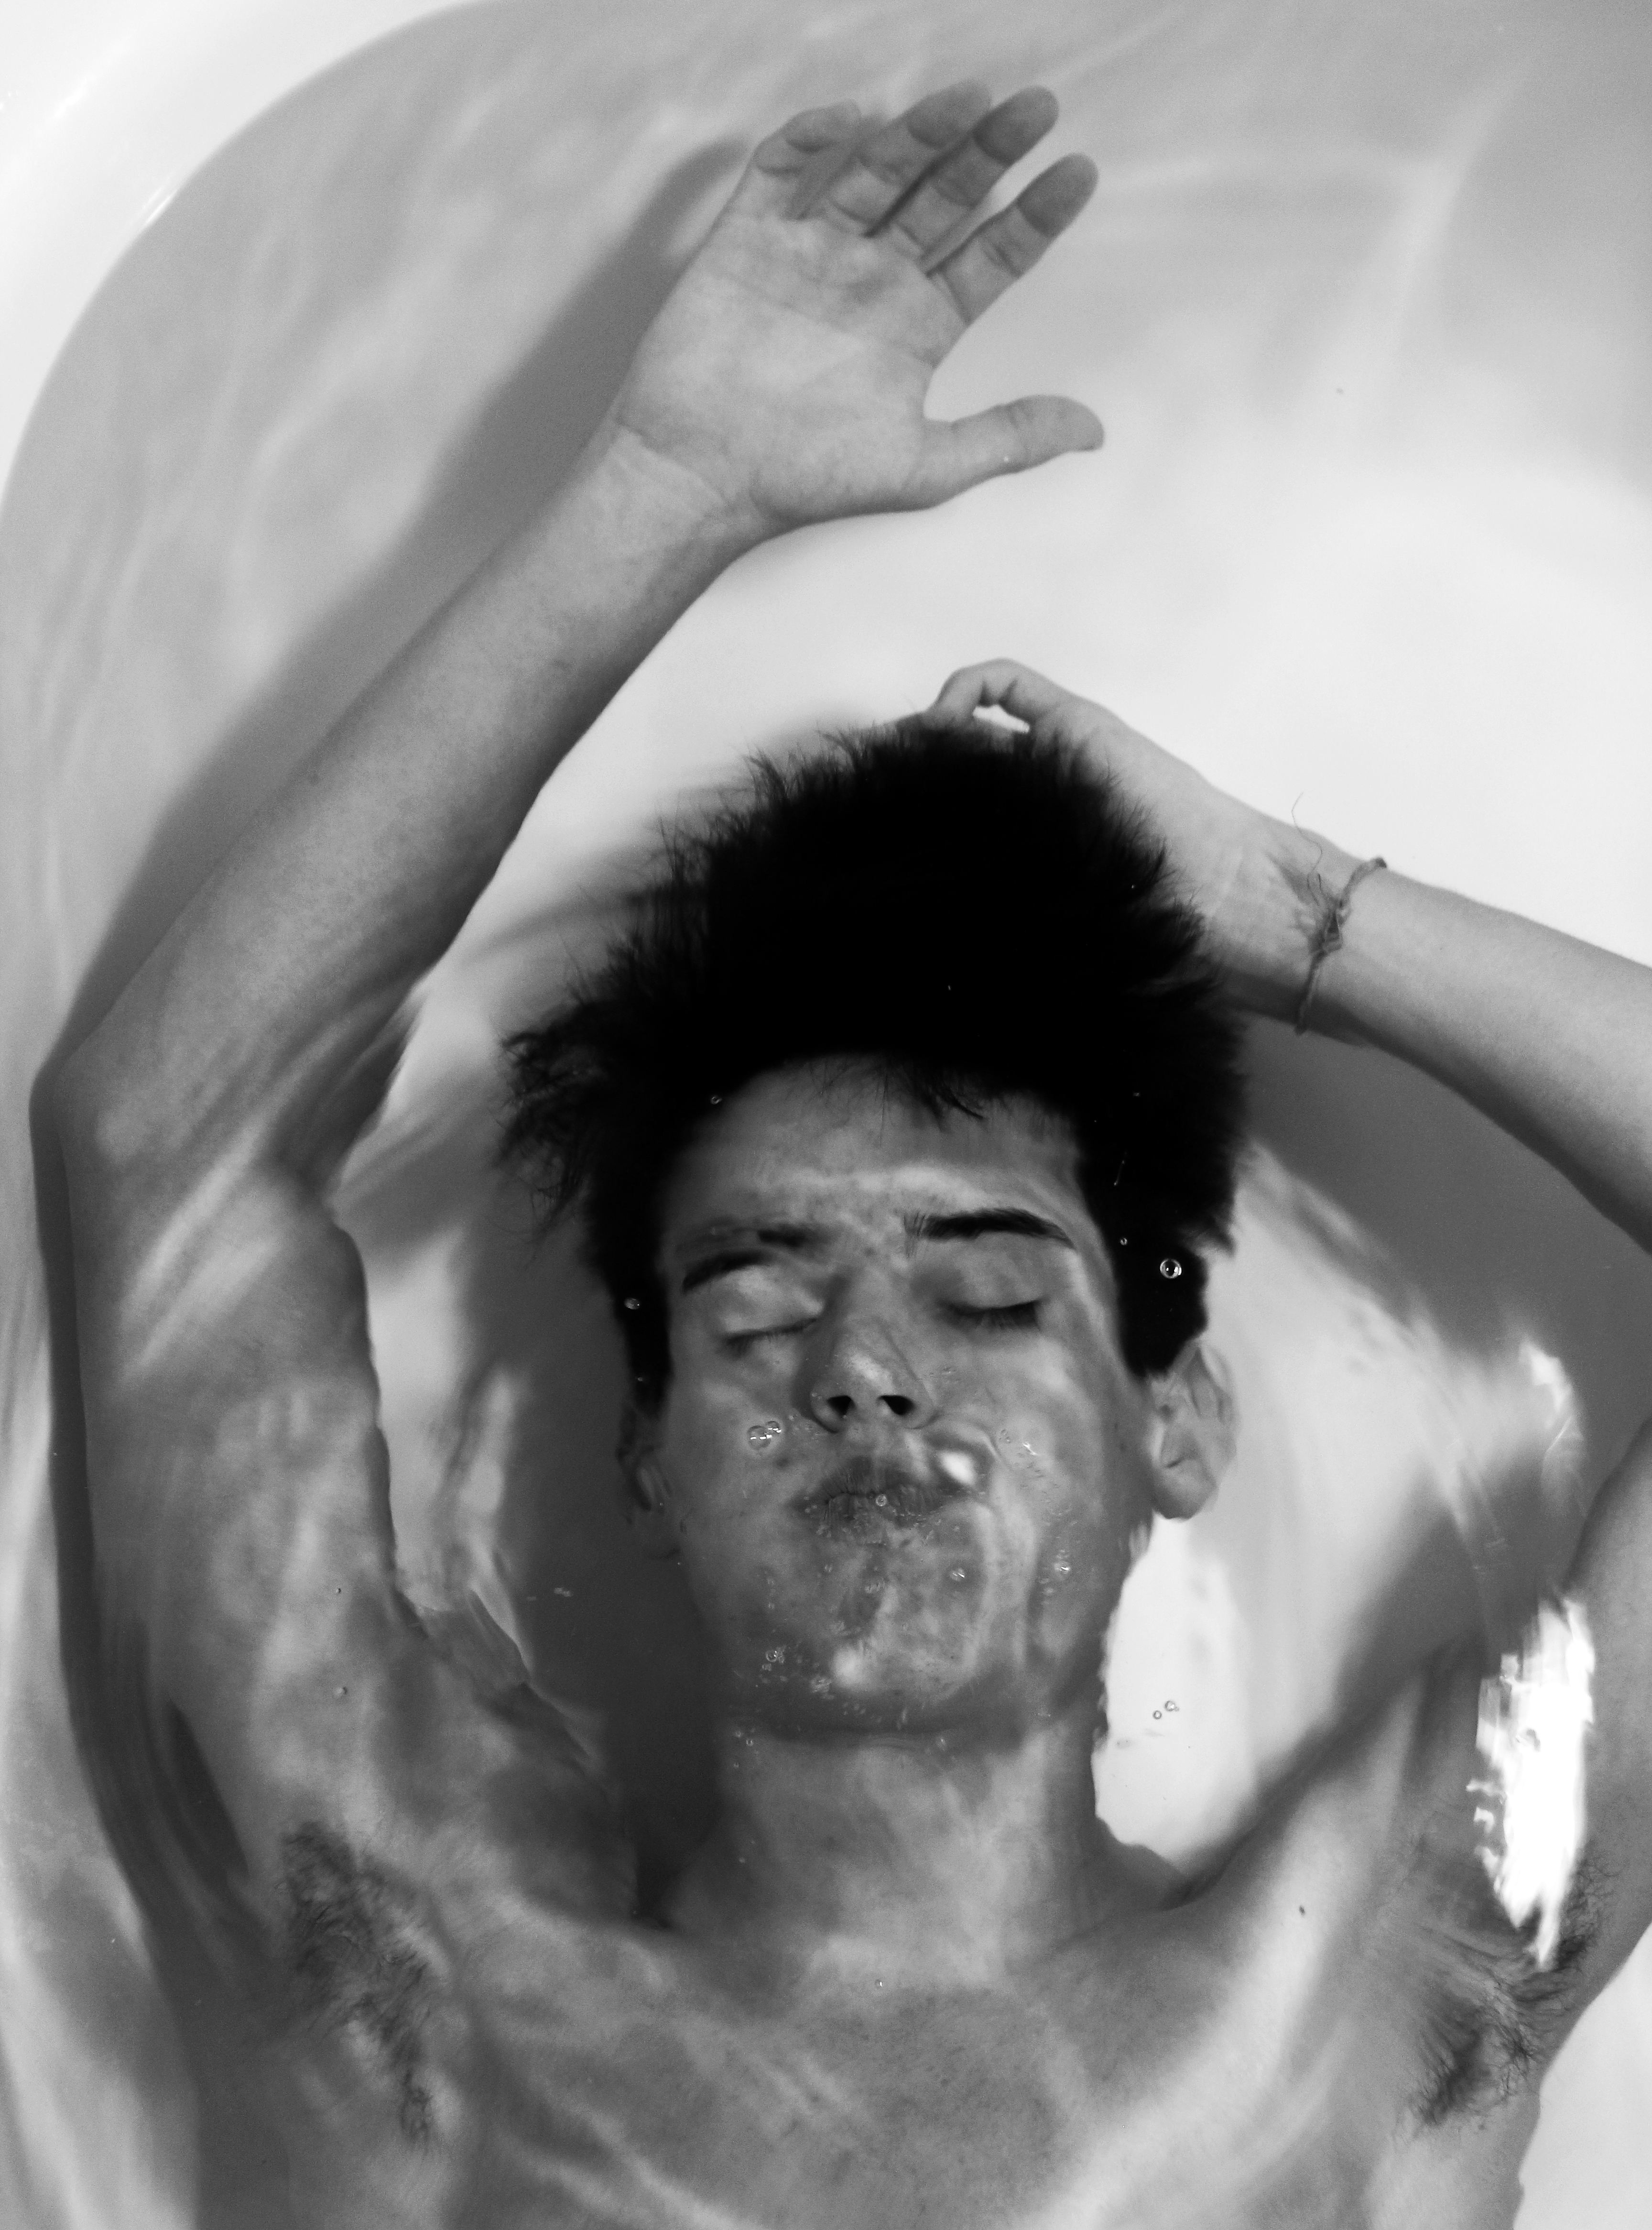
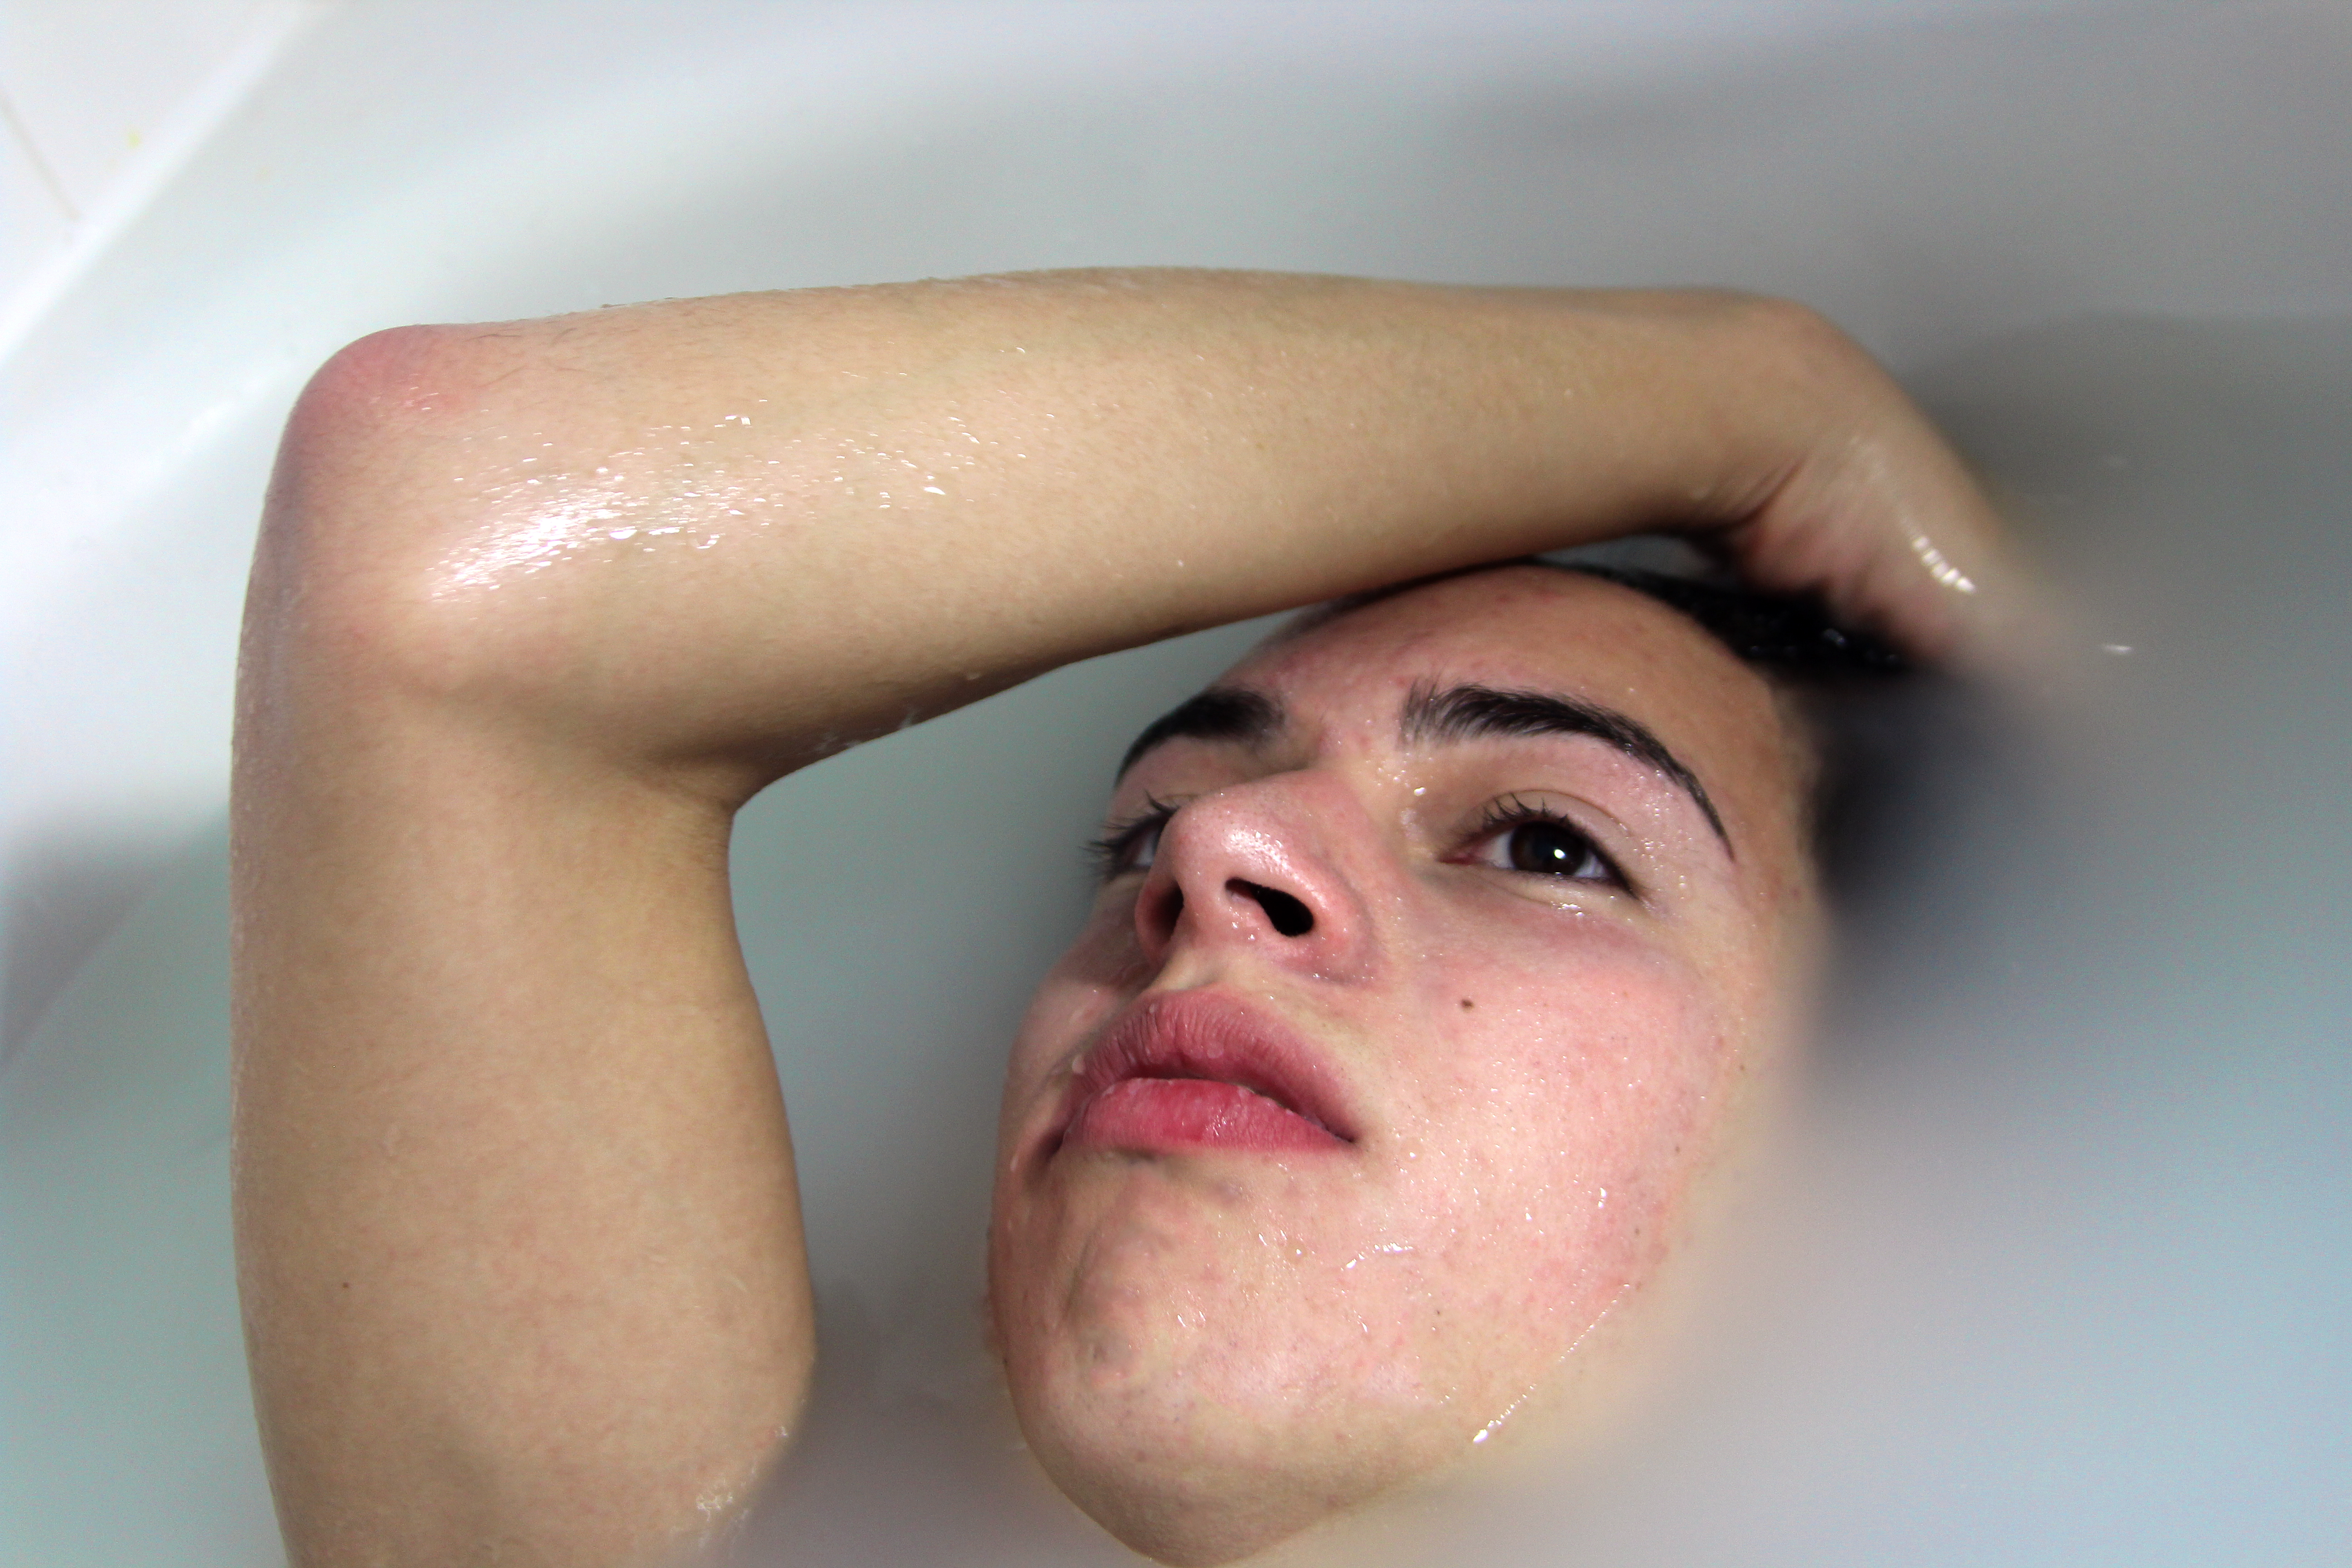
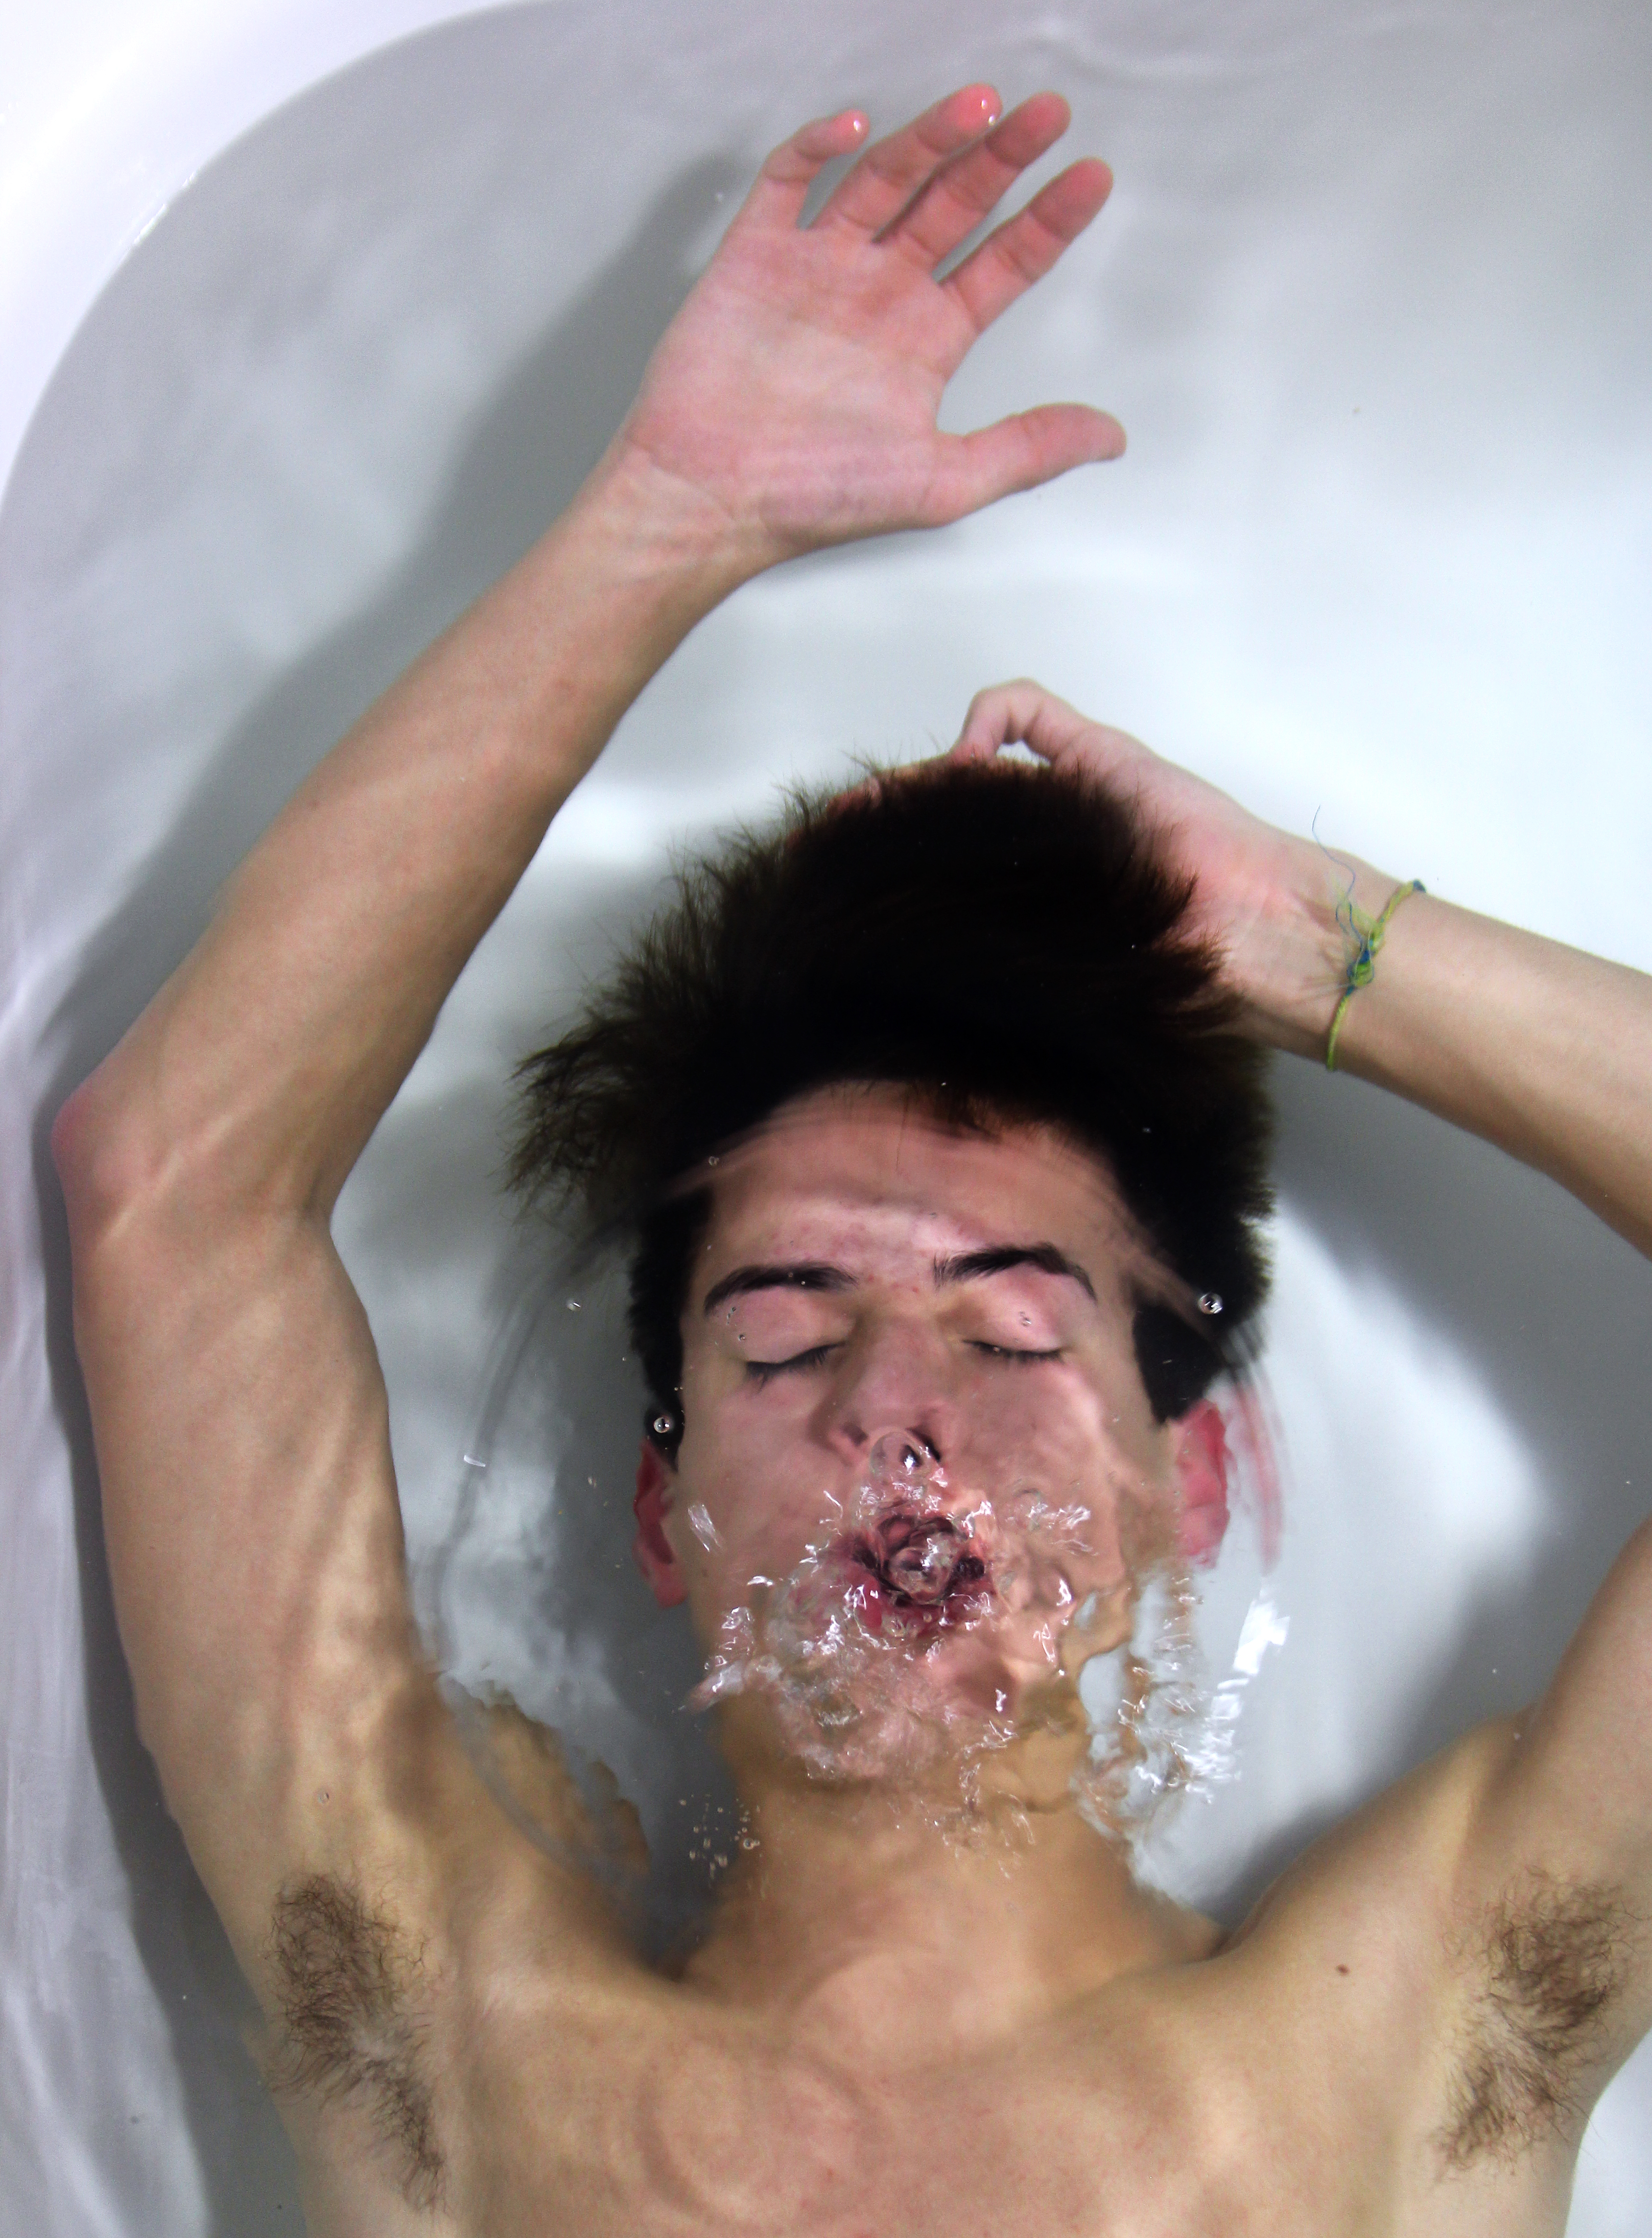
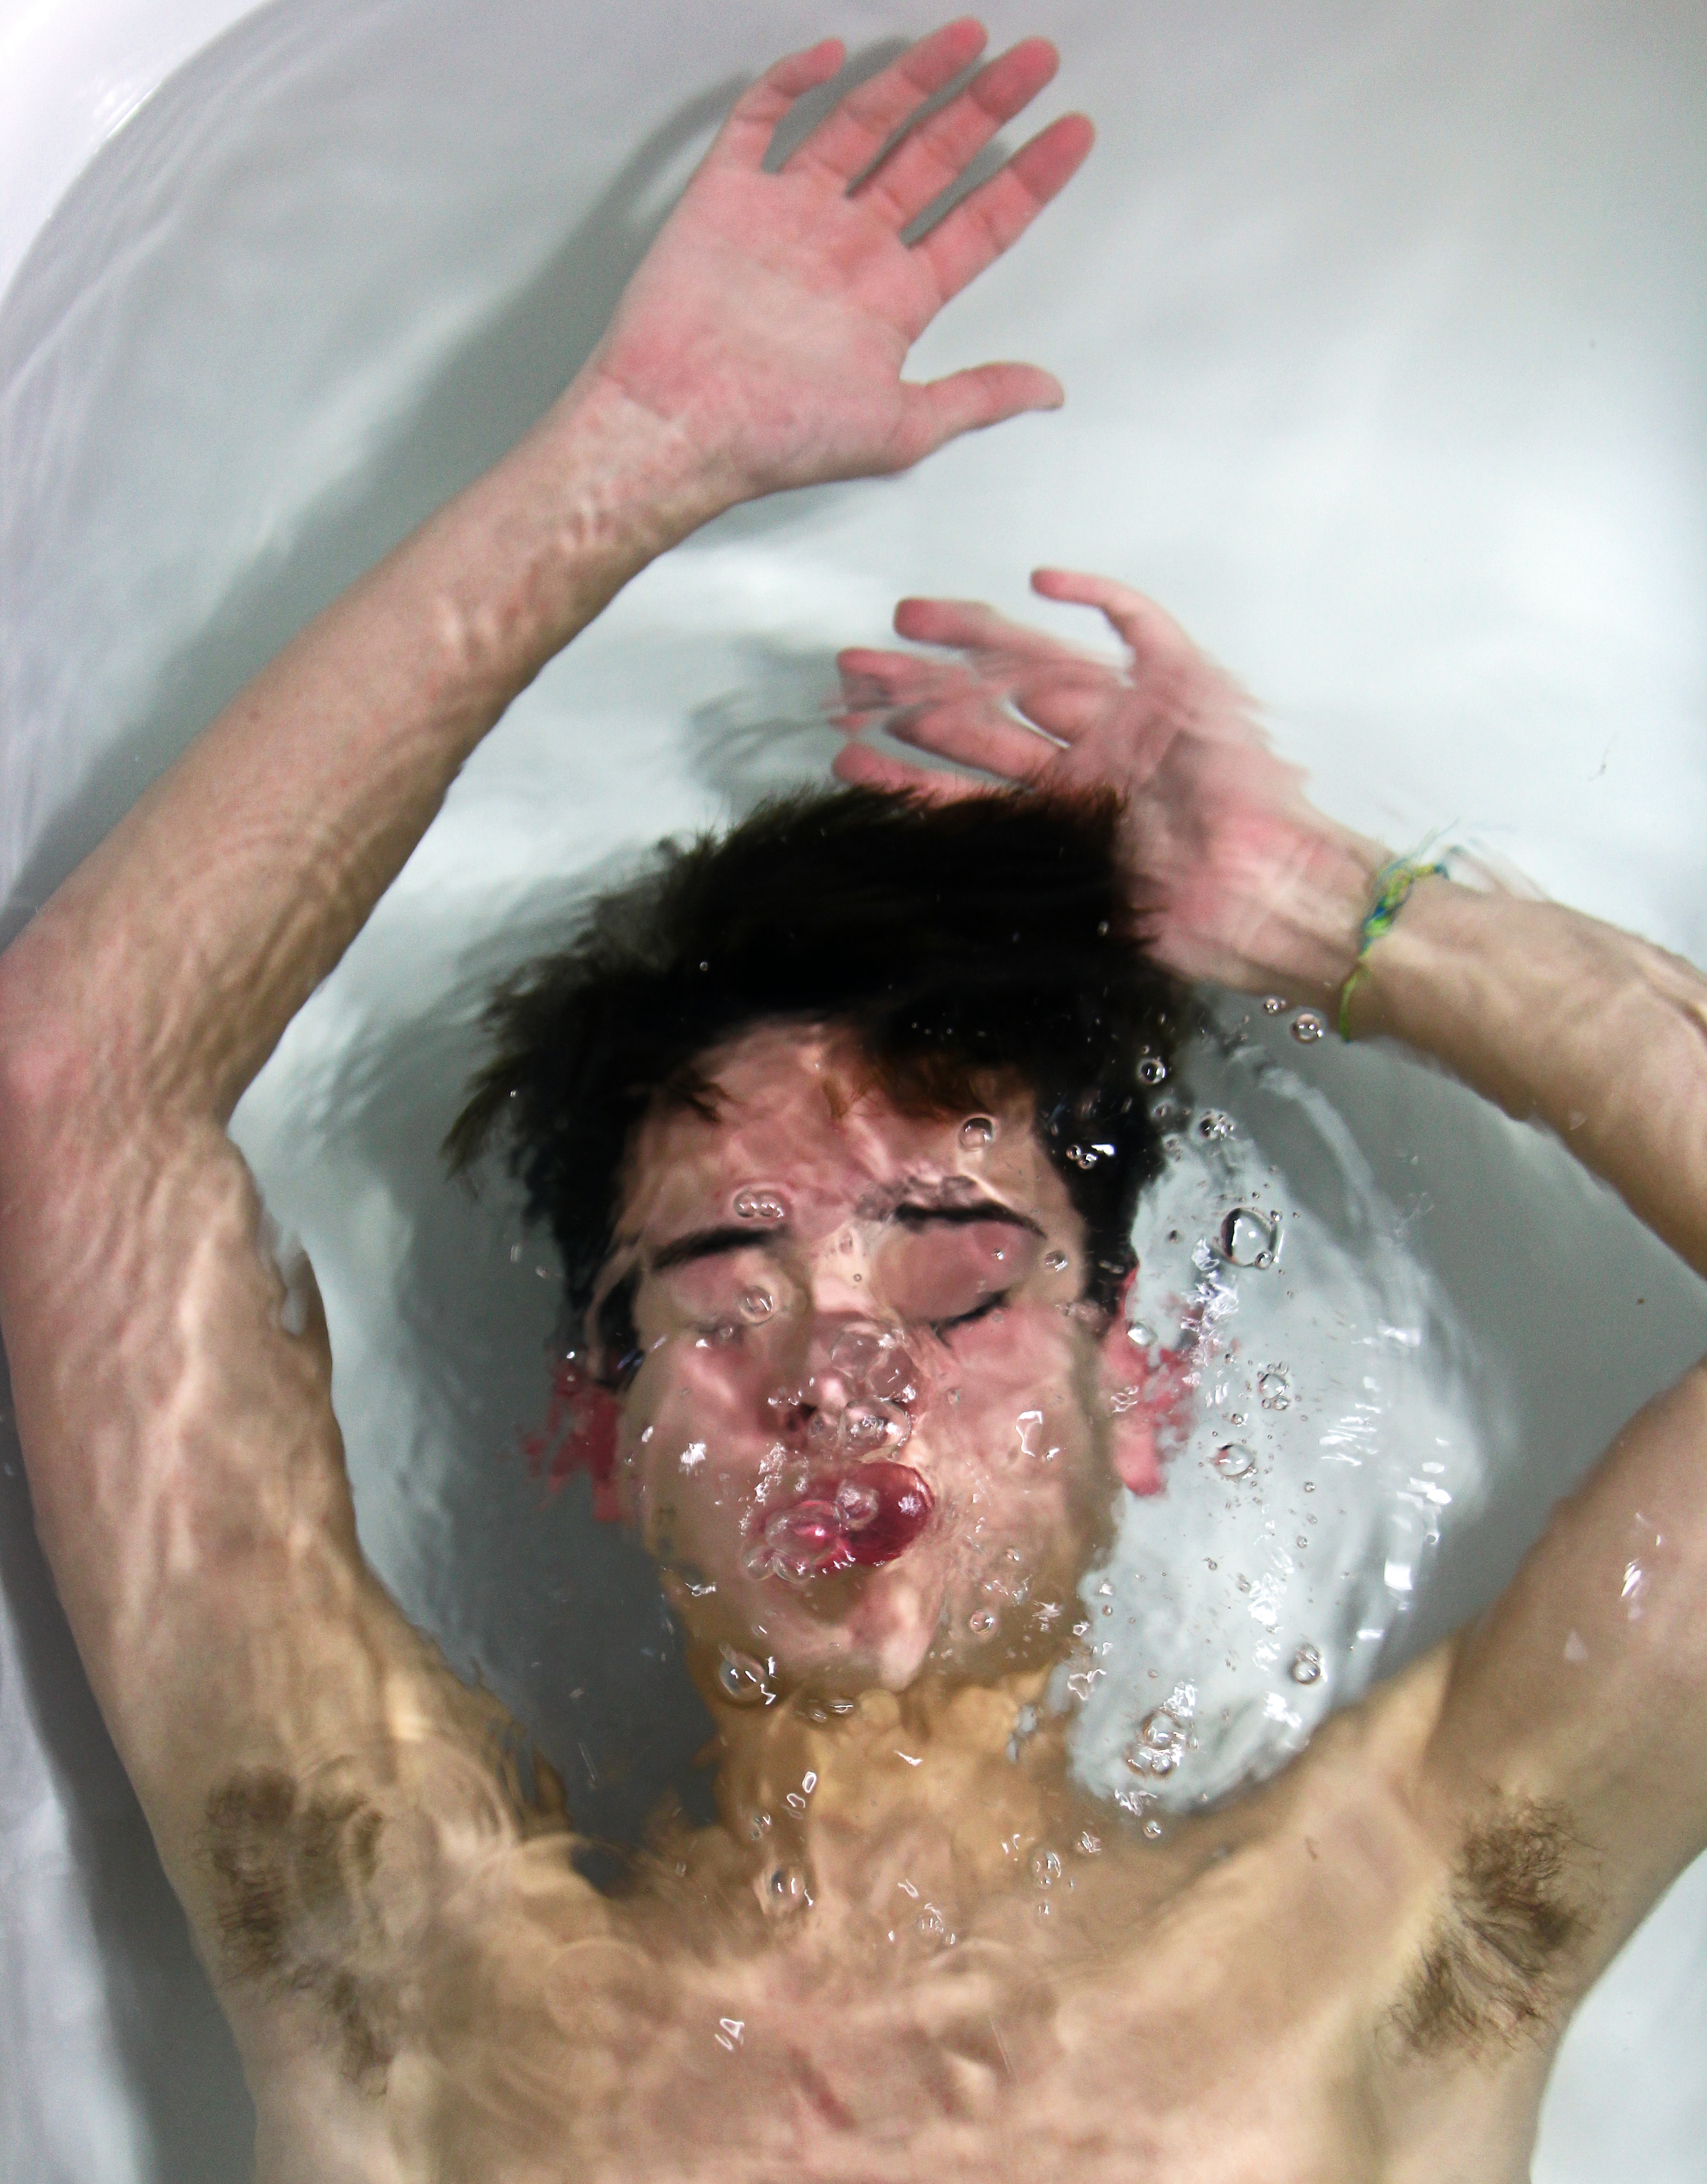
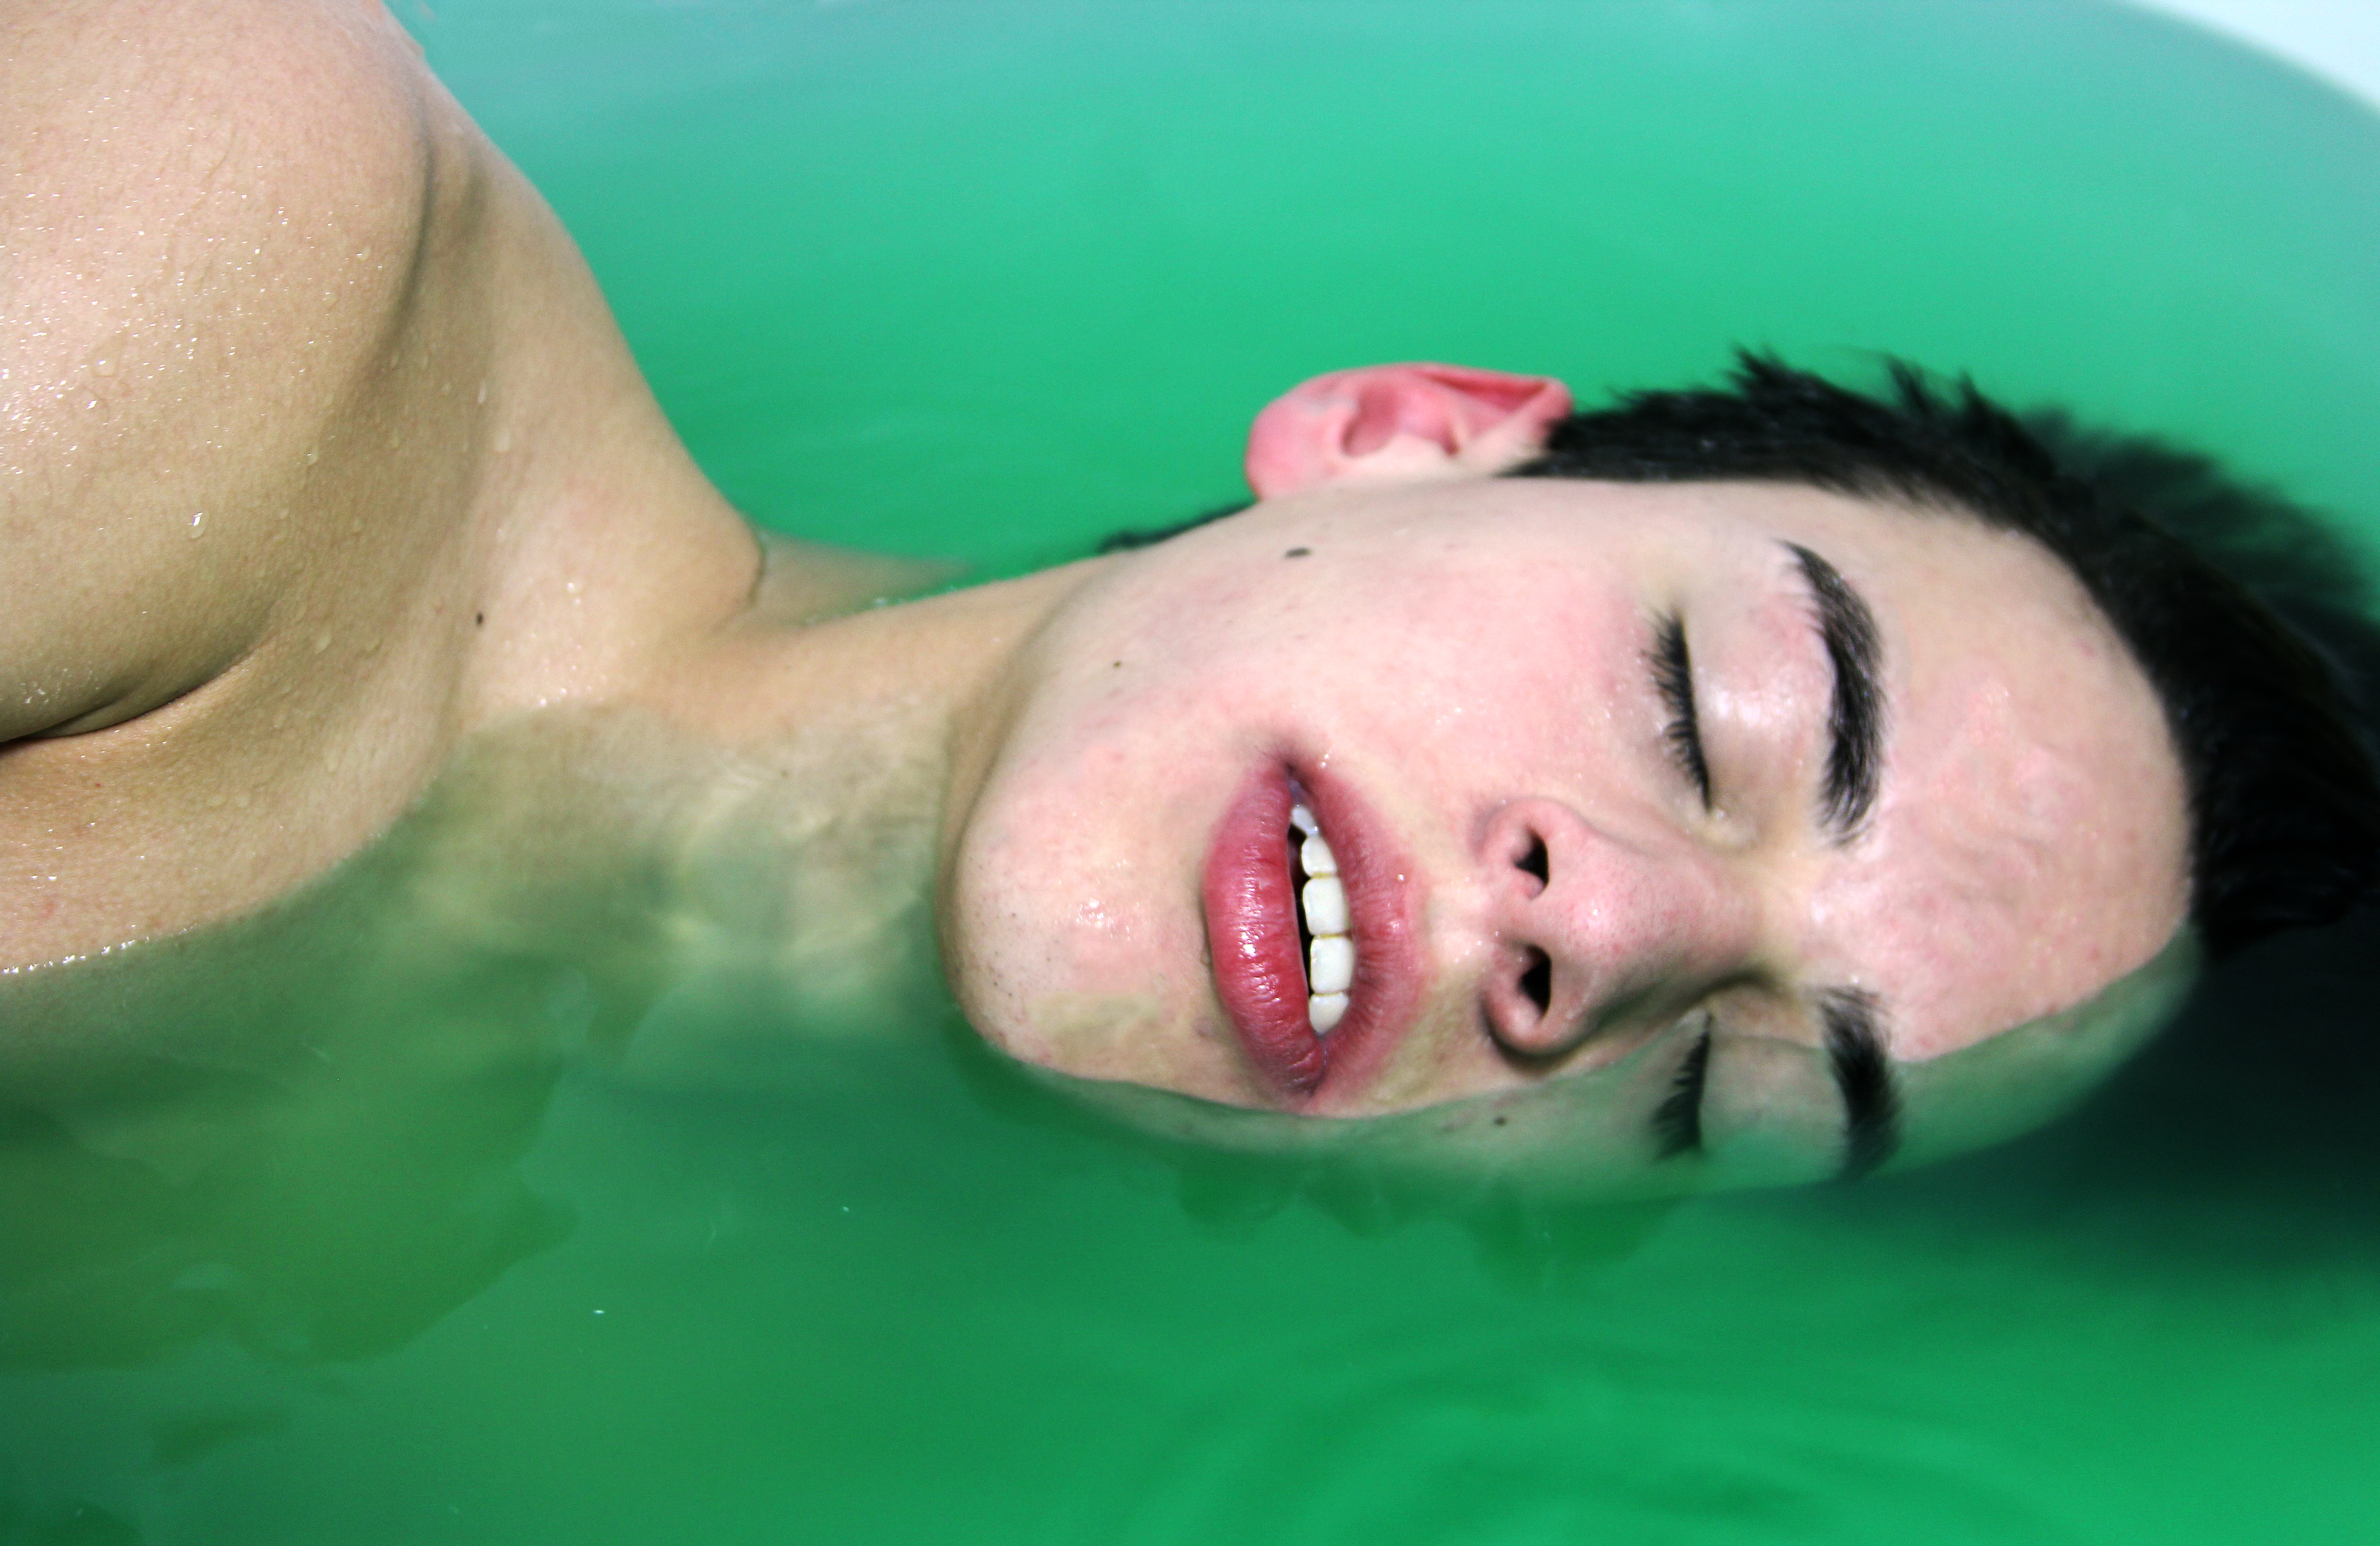
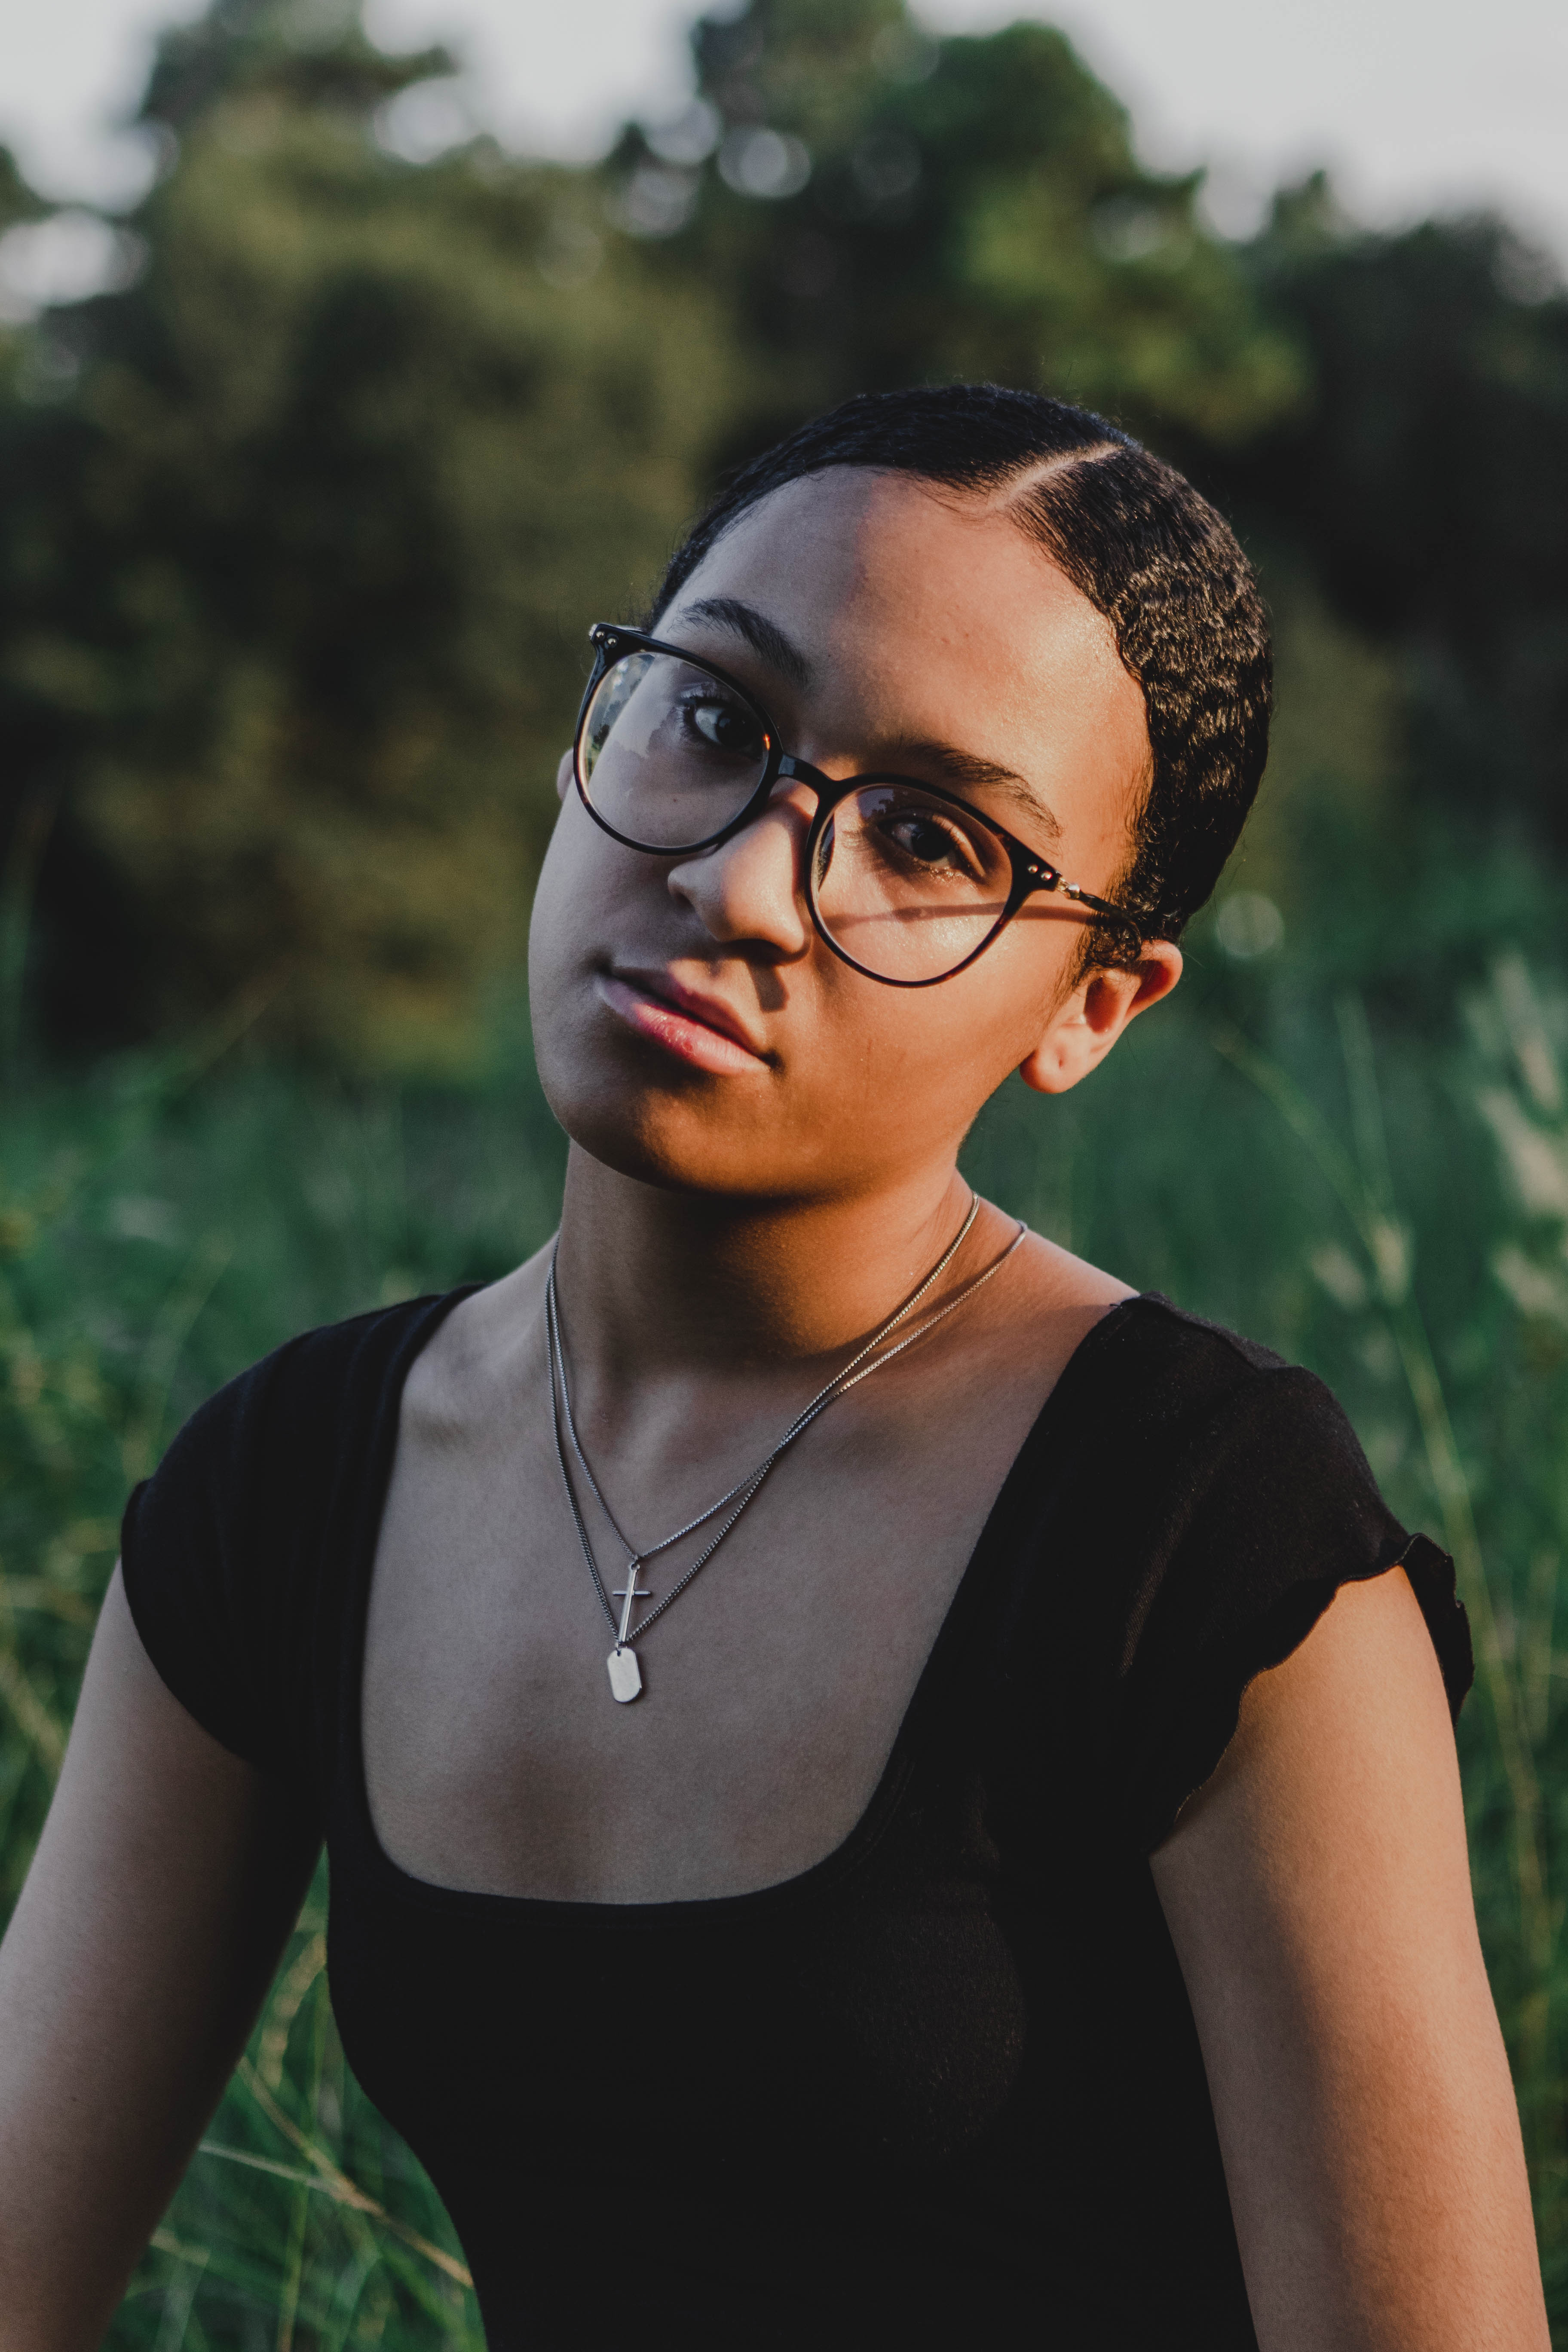
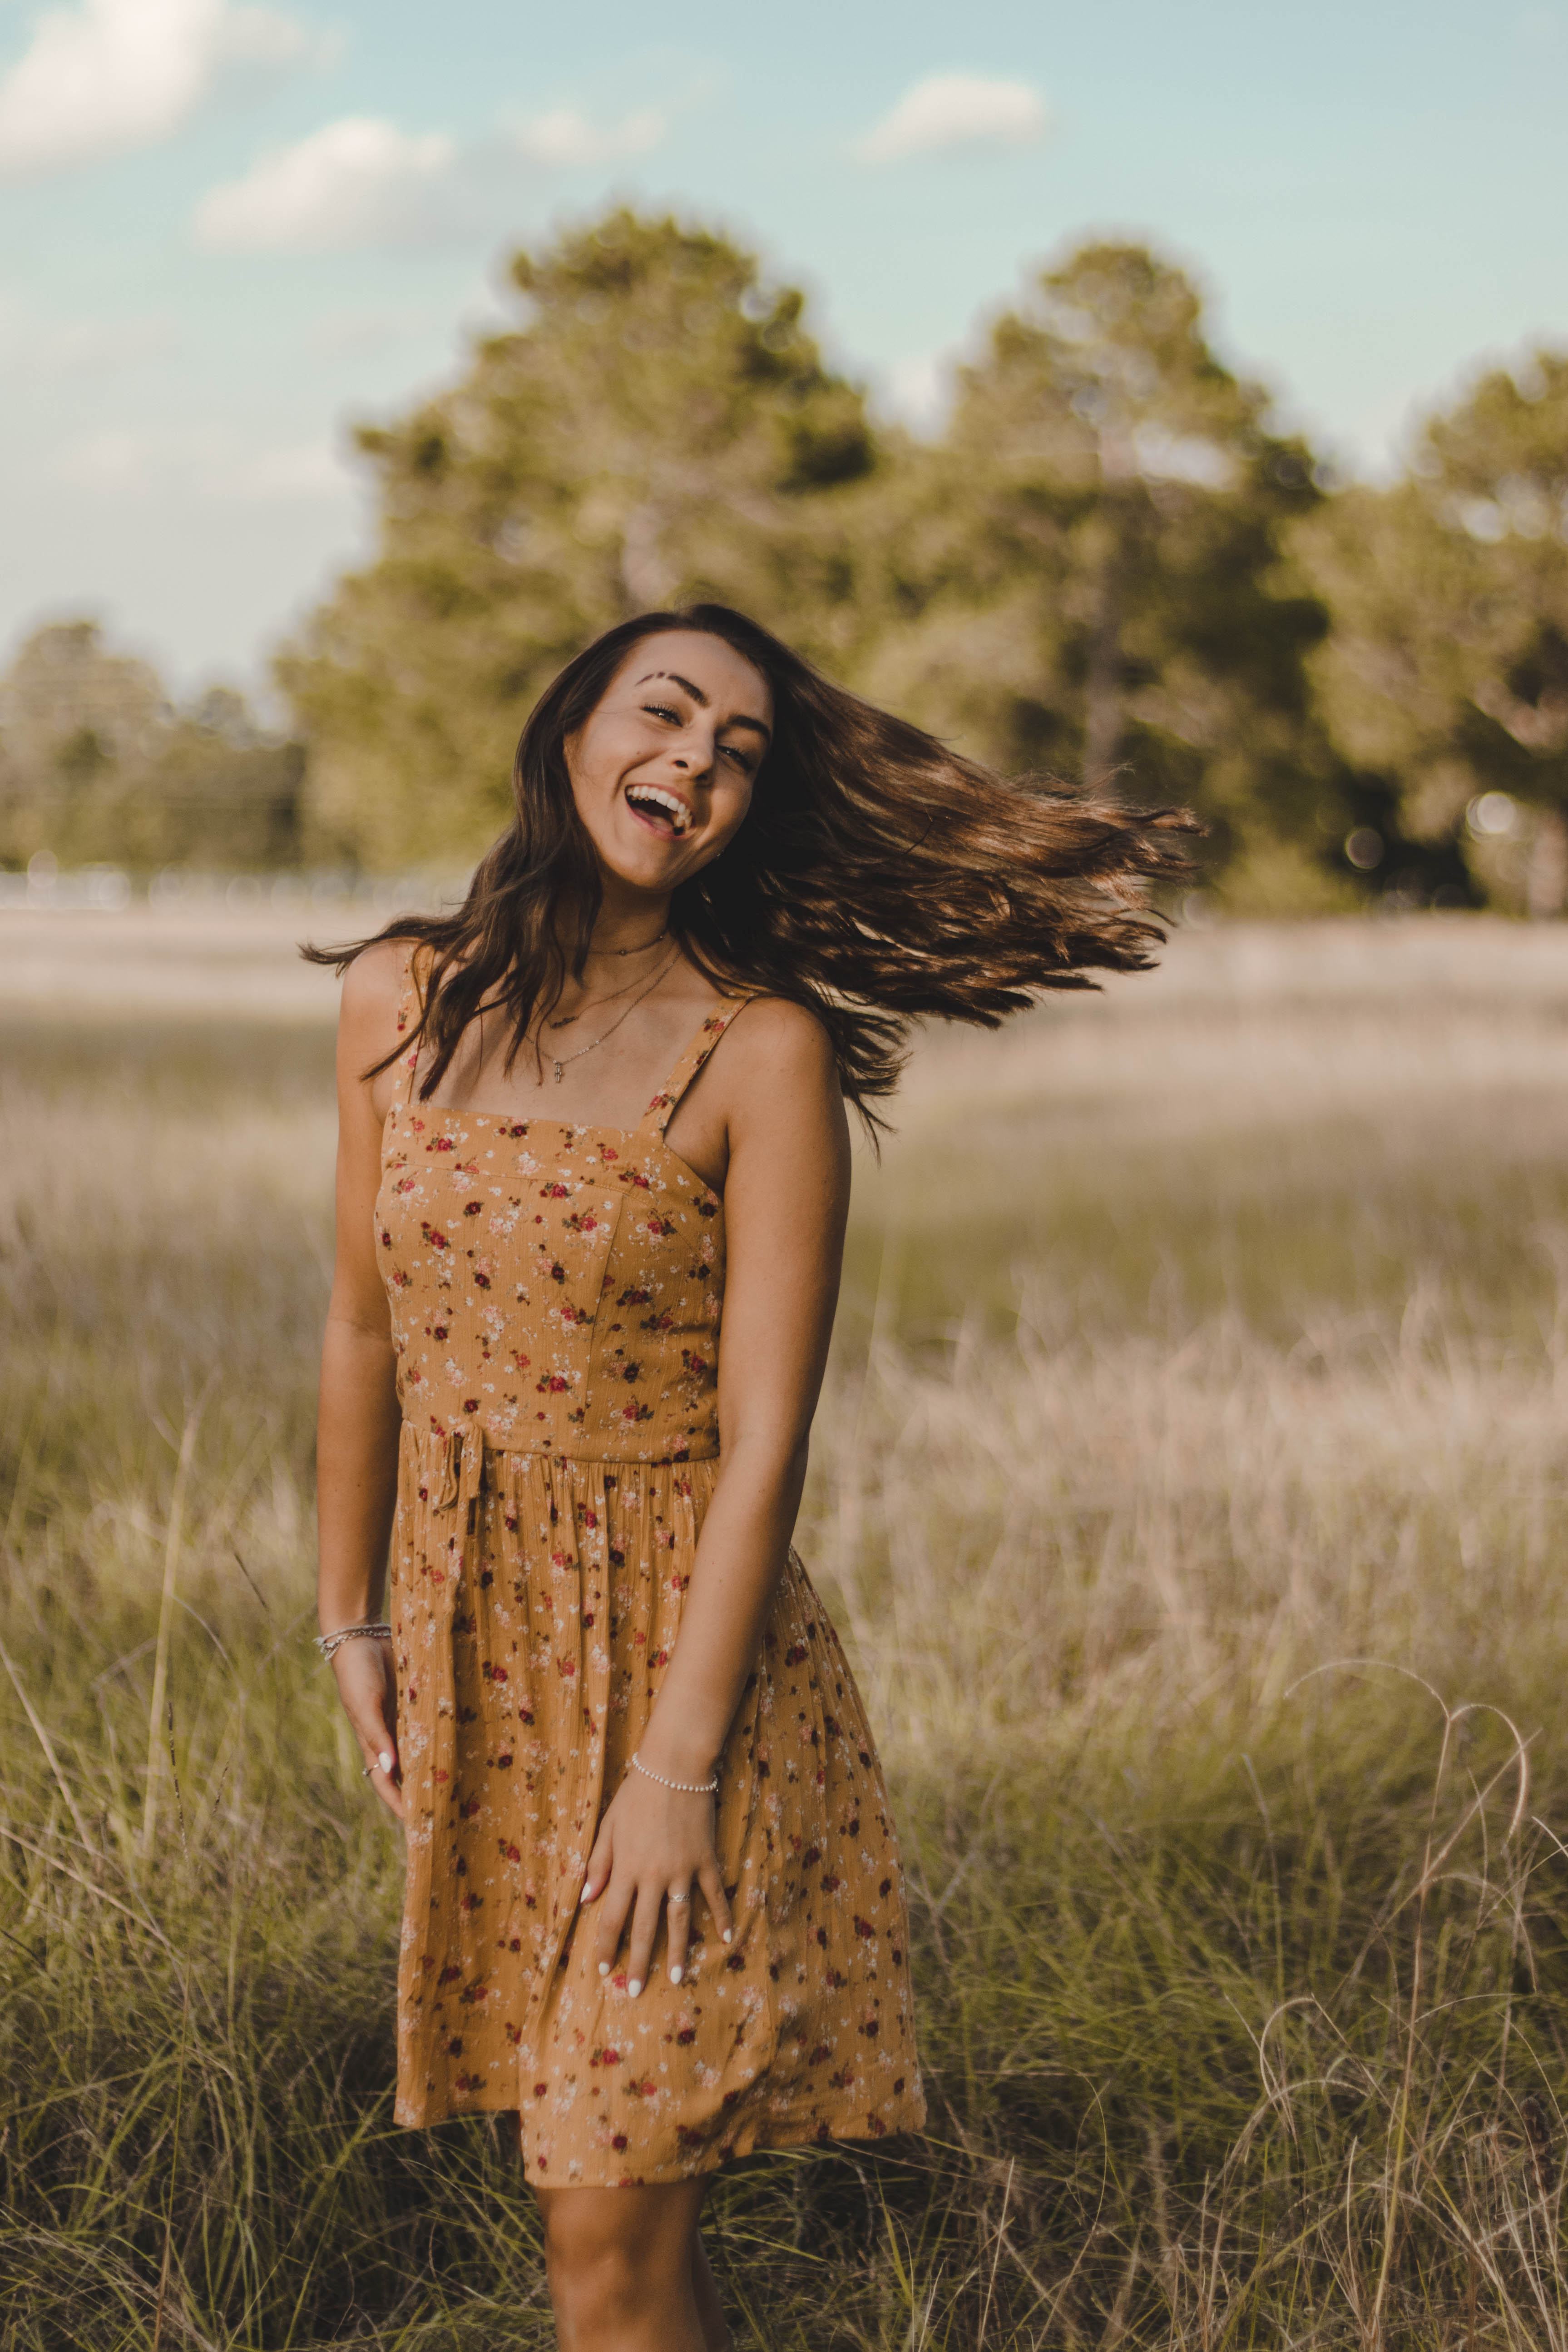
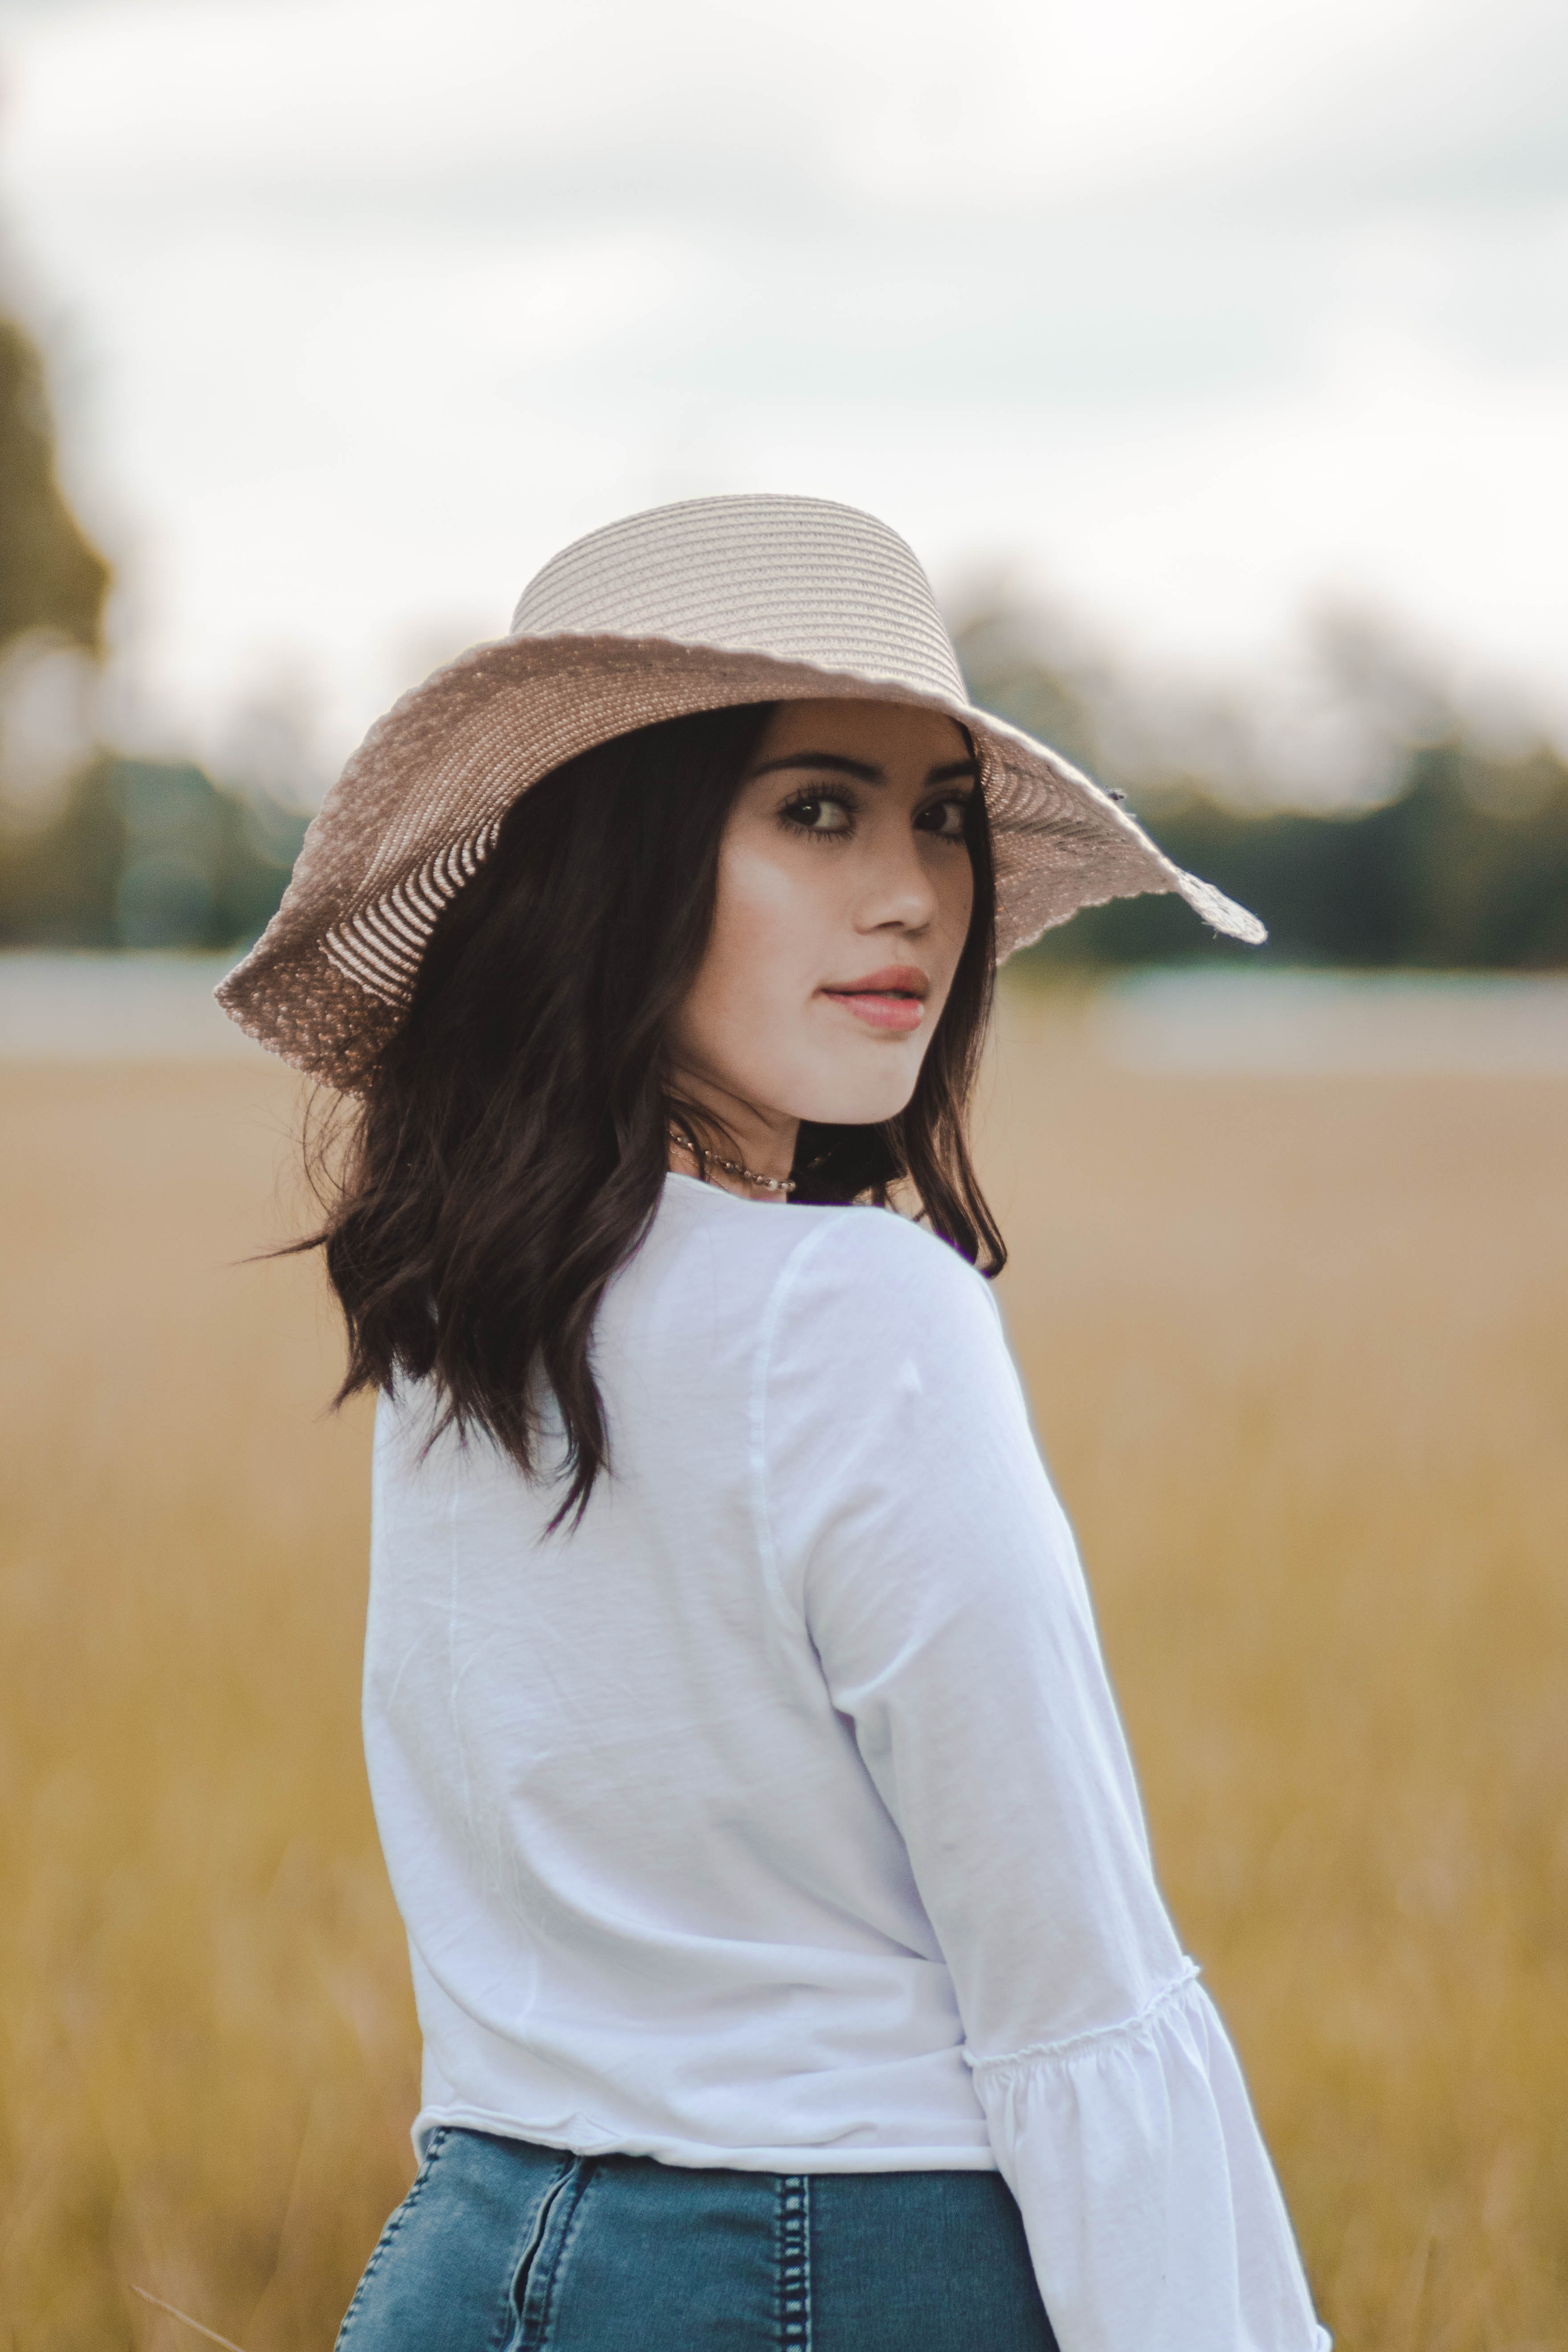
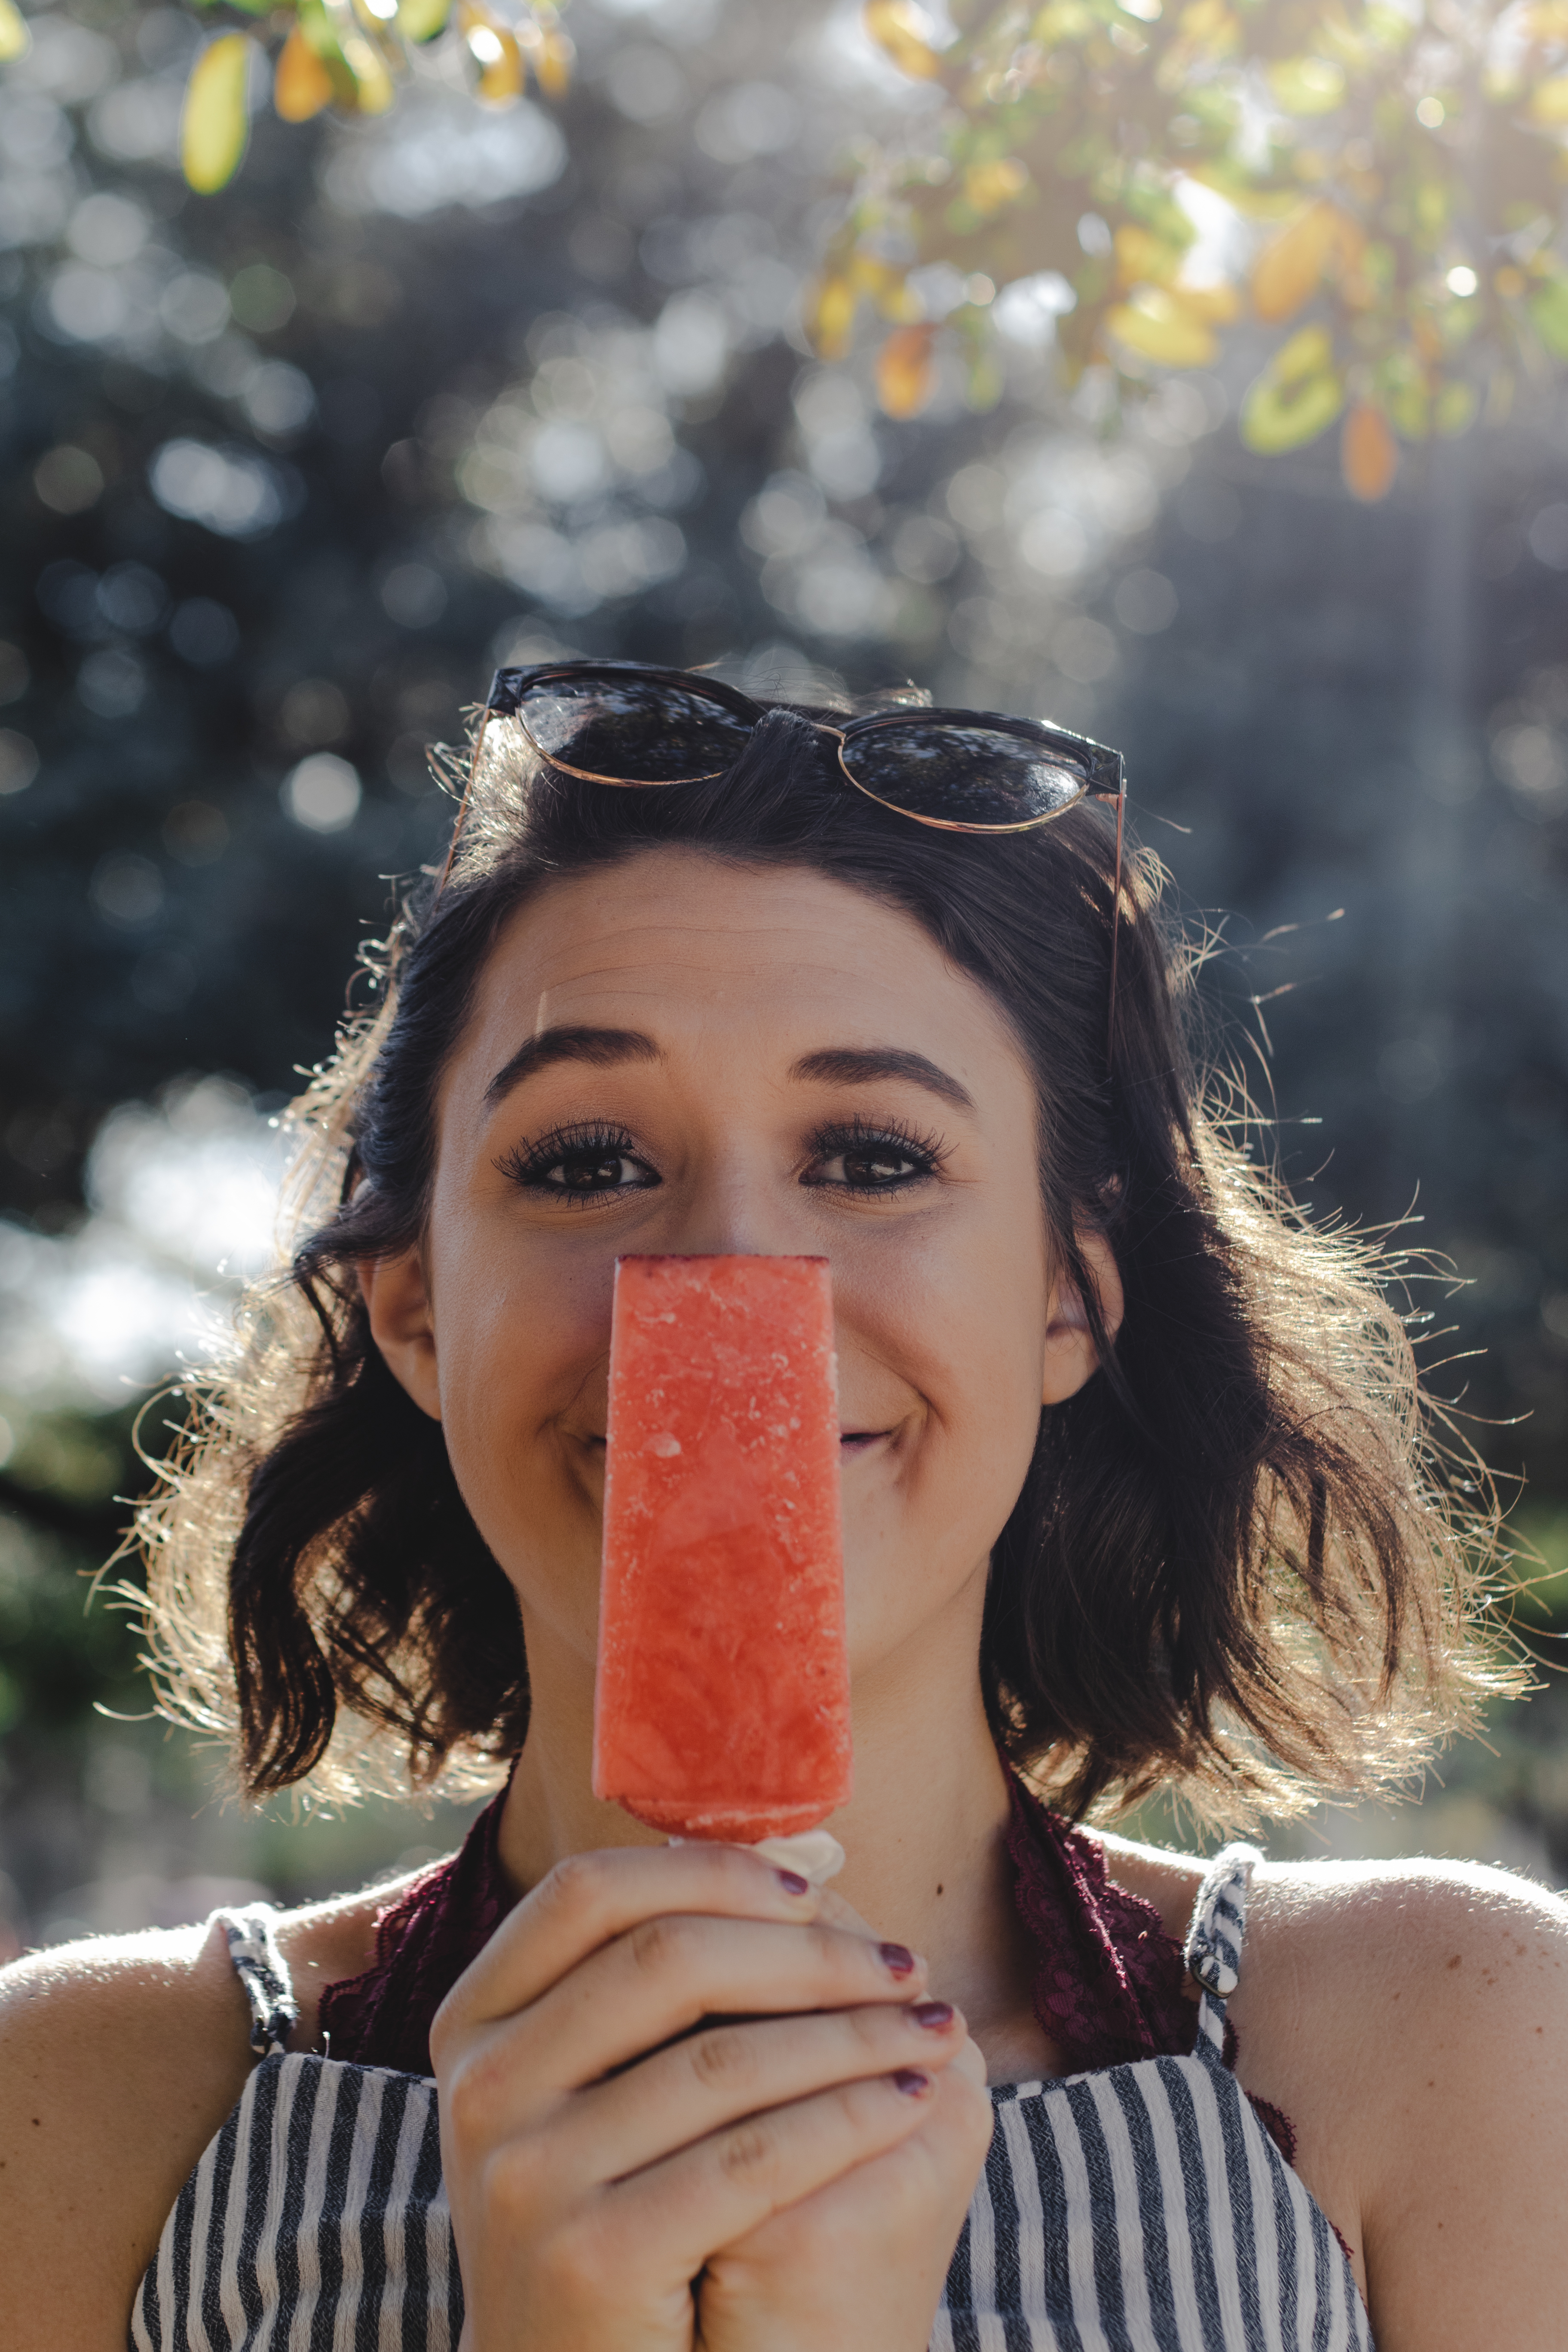
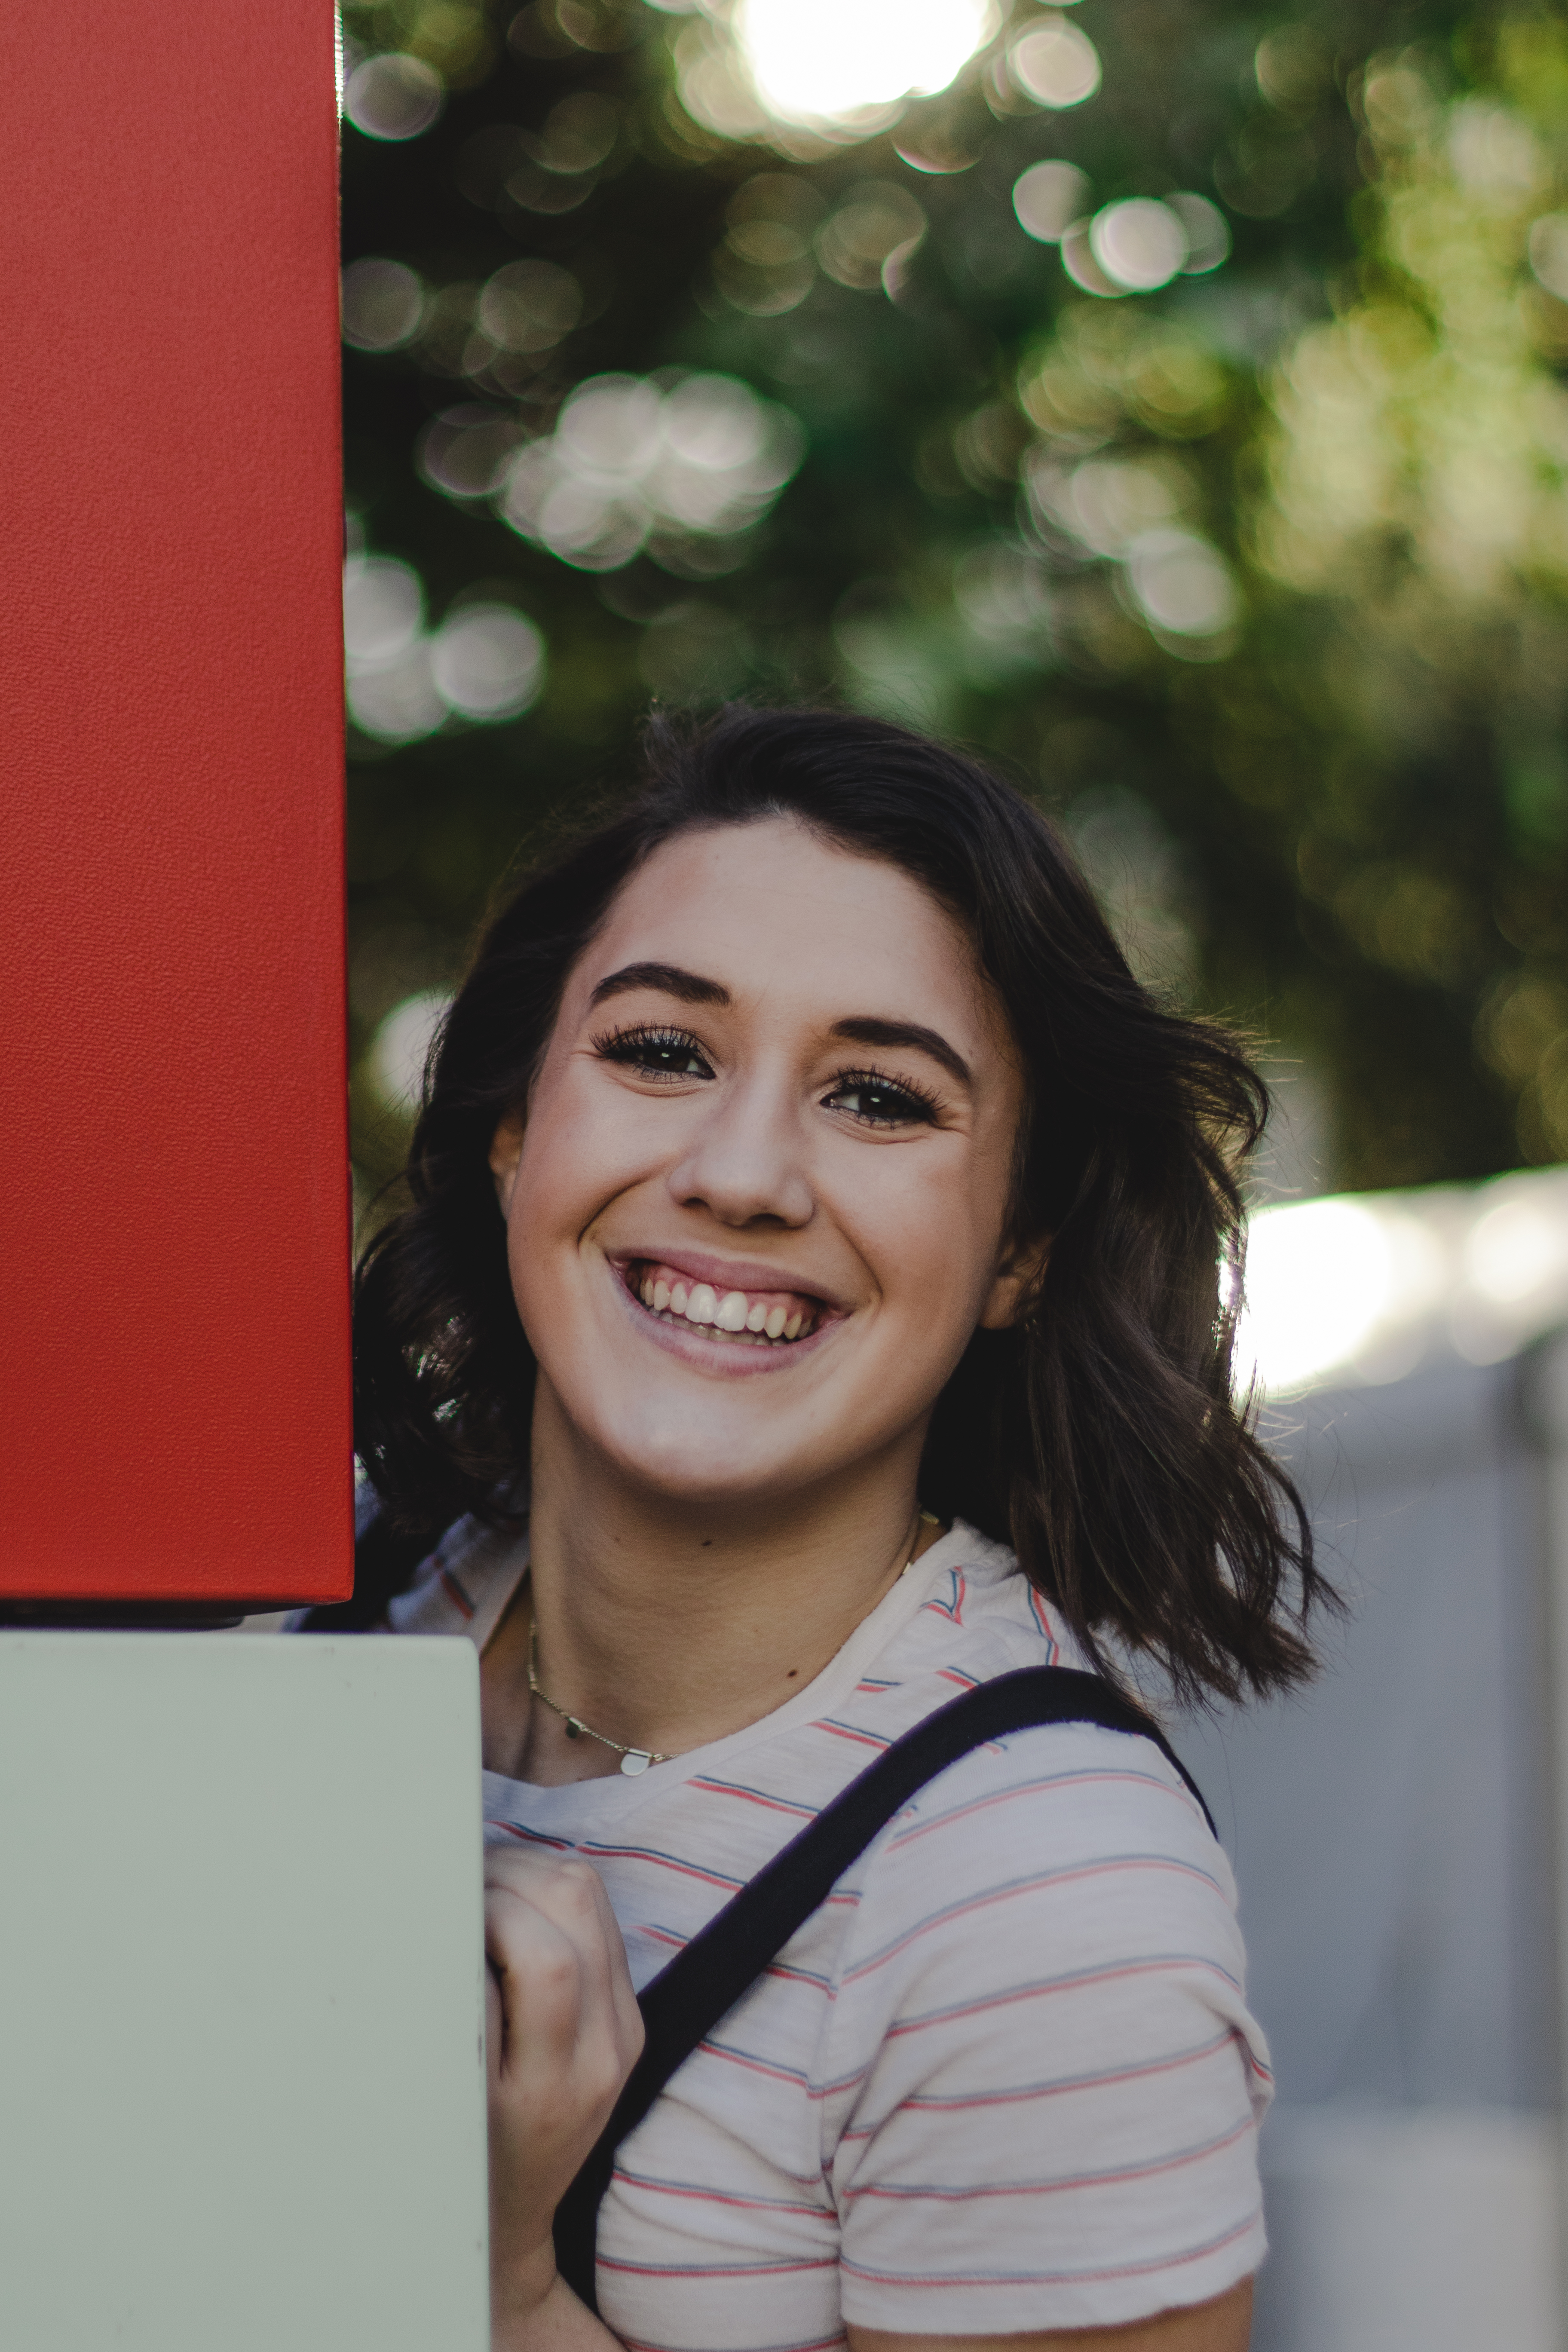
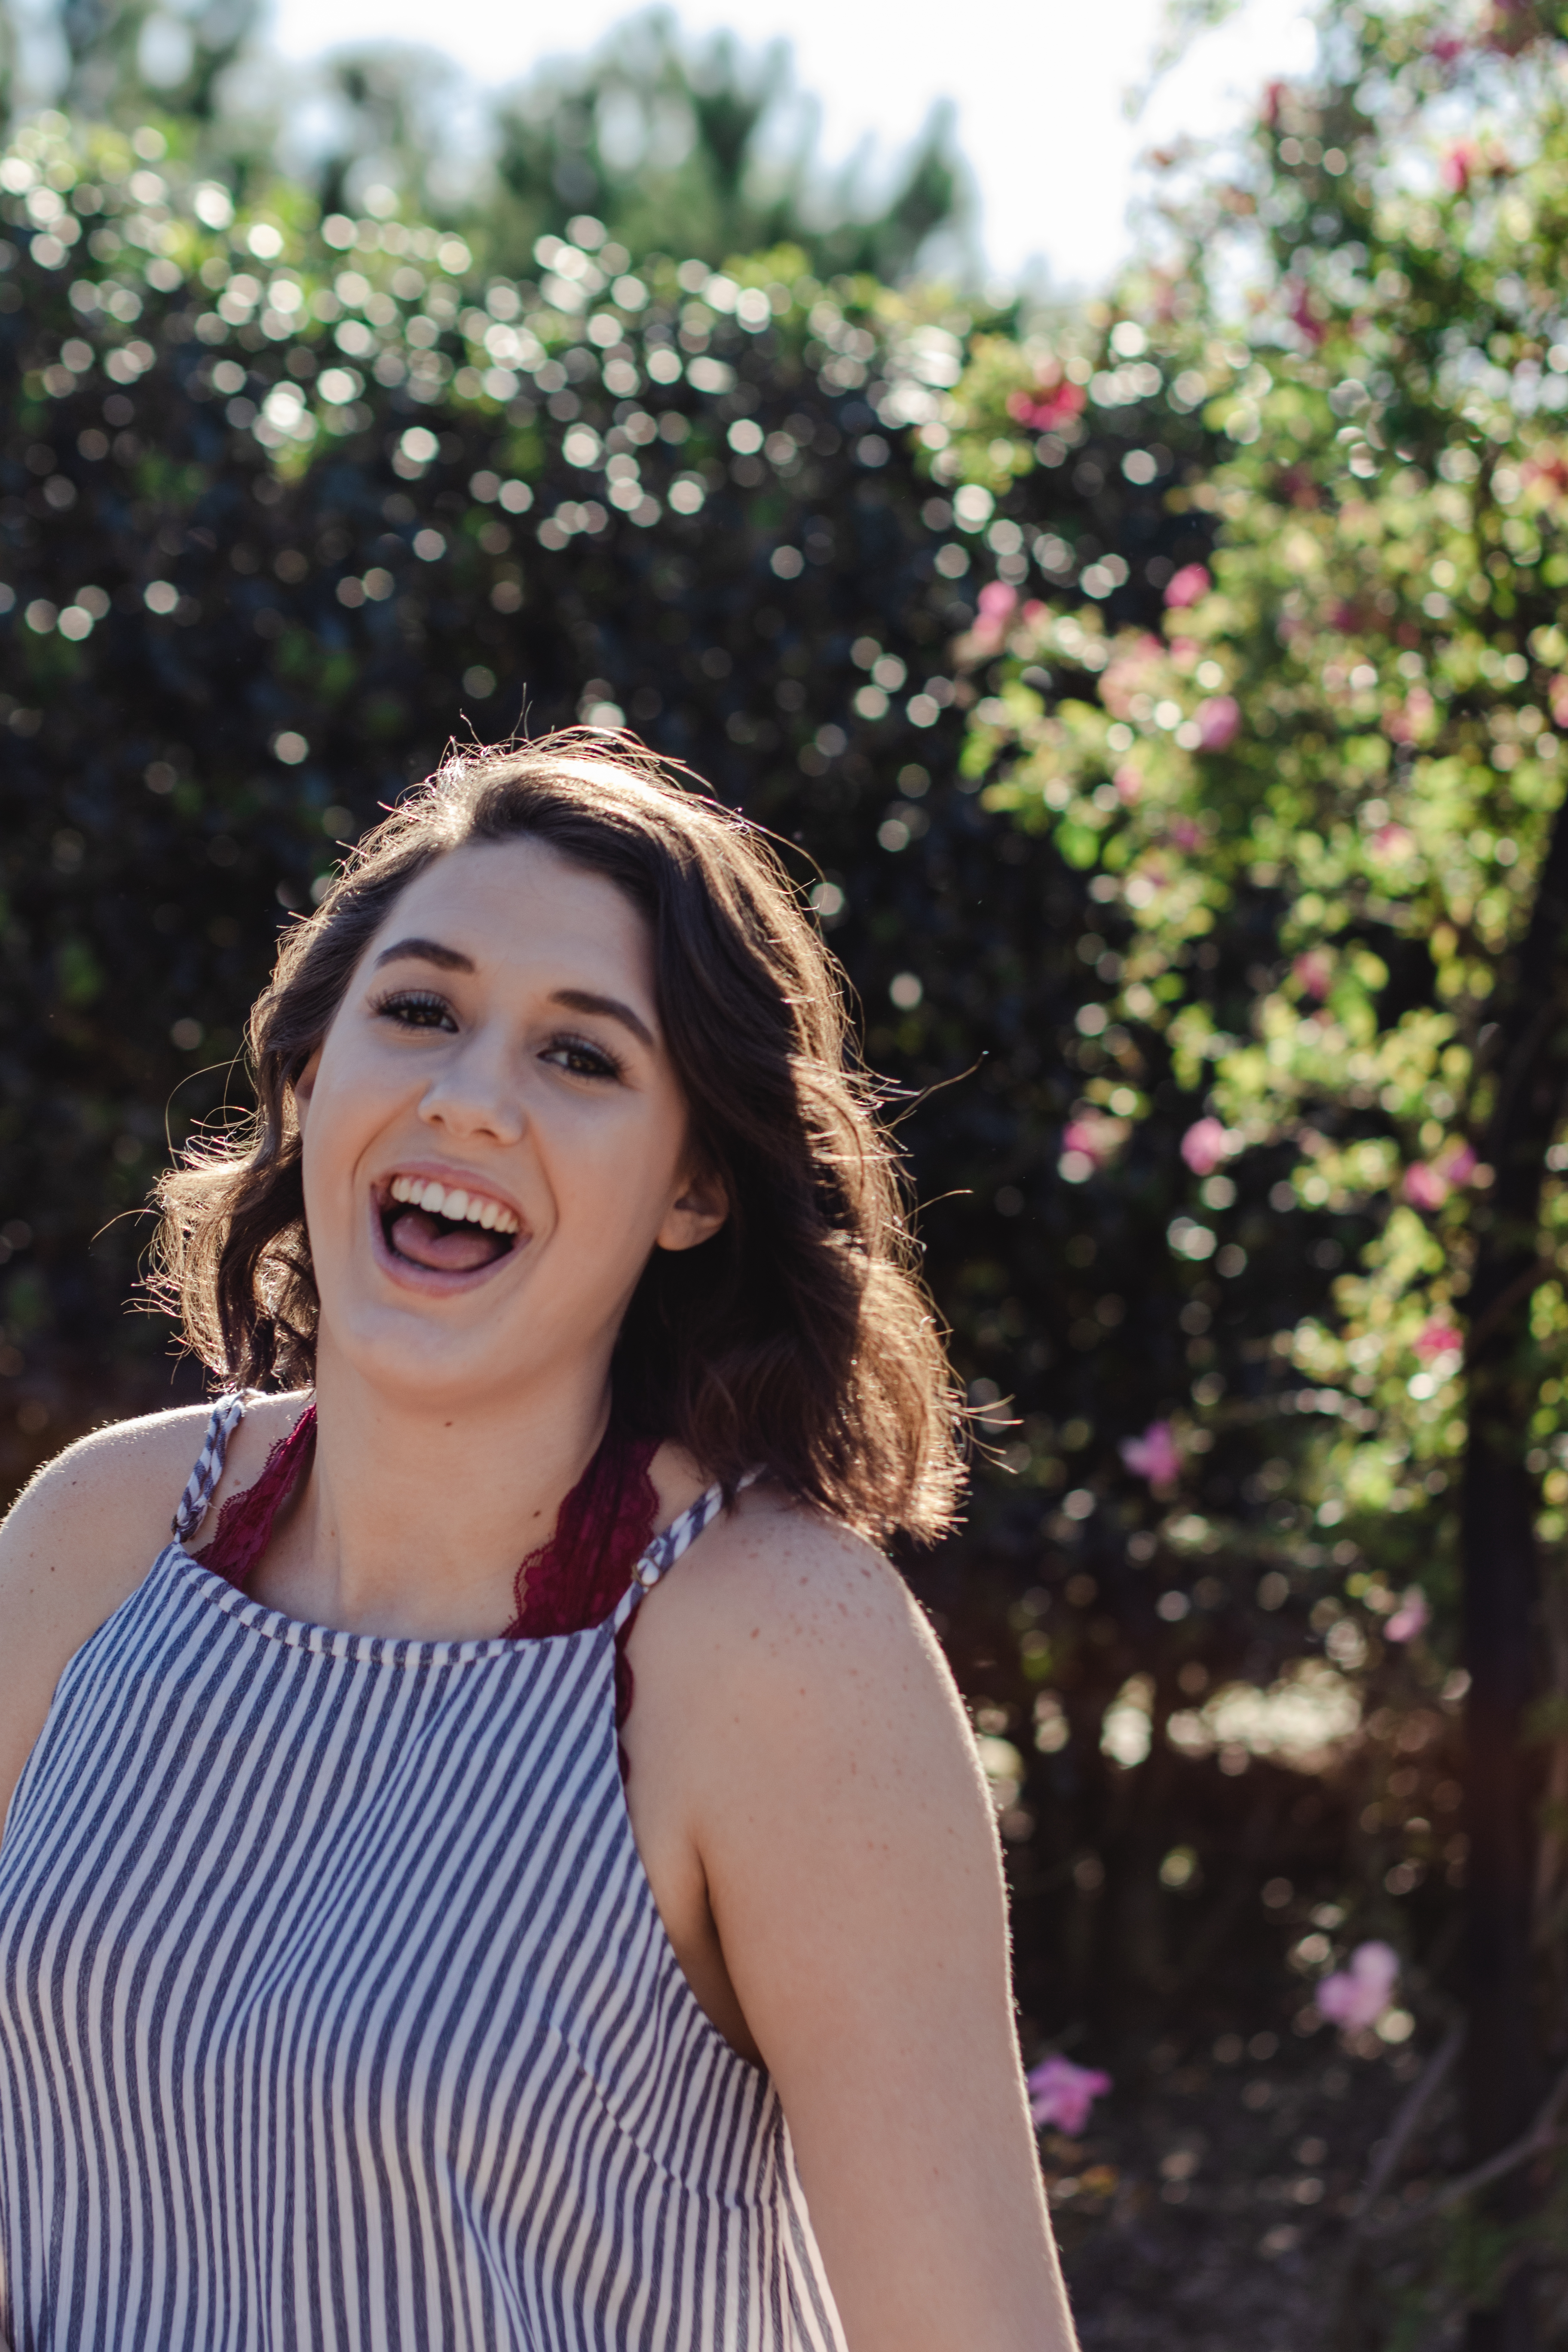
Natural light photographer with a light but slightly moody style focused heavily on eyes and warm tones.
How do I book a shoot with you?
Contact me by email (goodallphotos1@gmail.com)
How many years of experience do you have?
I’m a student photographer but I have over 9 years of photographic experience and I took photography classes throughout high school for 4 years and classes over the summer for 5 years. I am a Scholastic Gold and Silver Key recipient, have been a finalist in multiple competions and I have been noted by Voyage Houston as a reputable and up and coming artist in Houston, Texas.