Want to do a shoot together? Click here for booking and pricing information!
Instagram: @goodallphotos
Facebook Page: @goodallphotographs


Want to do a shoot together? Click here for booking and pricing information!
Instagram: @goodallphotos
Facebook Page: @goodallphotographs

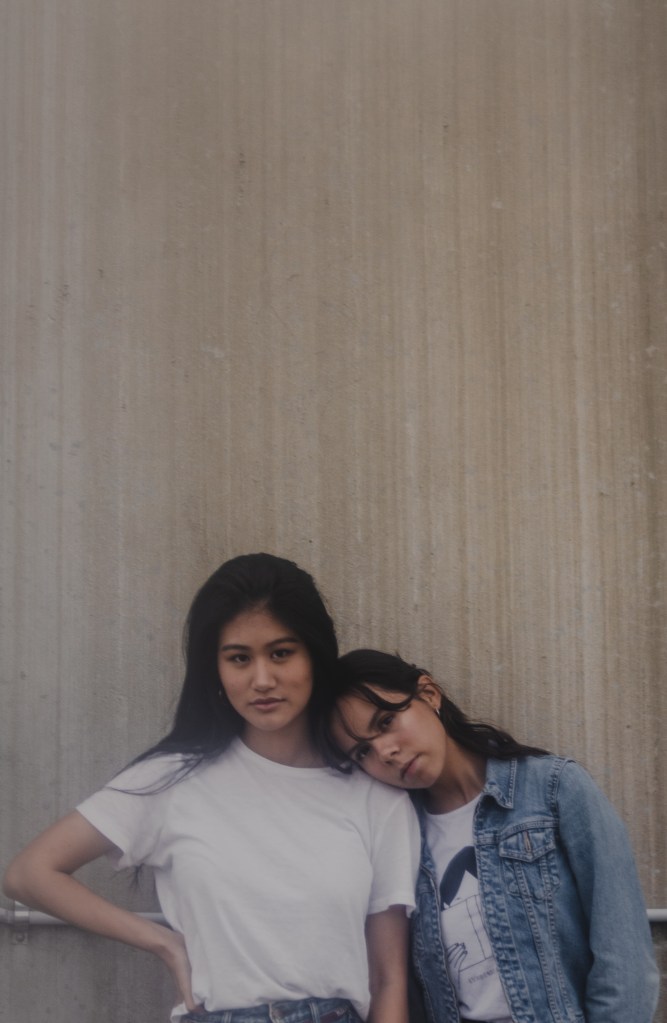
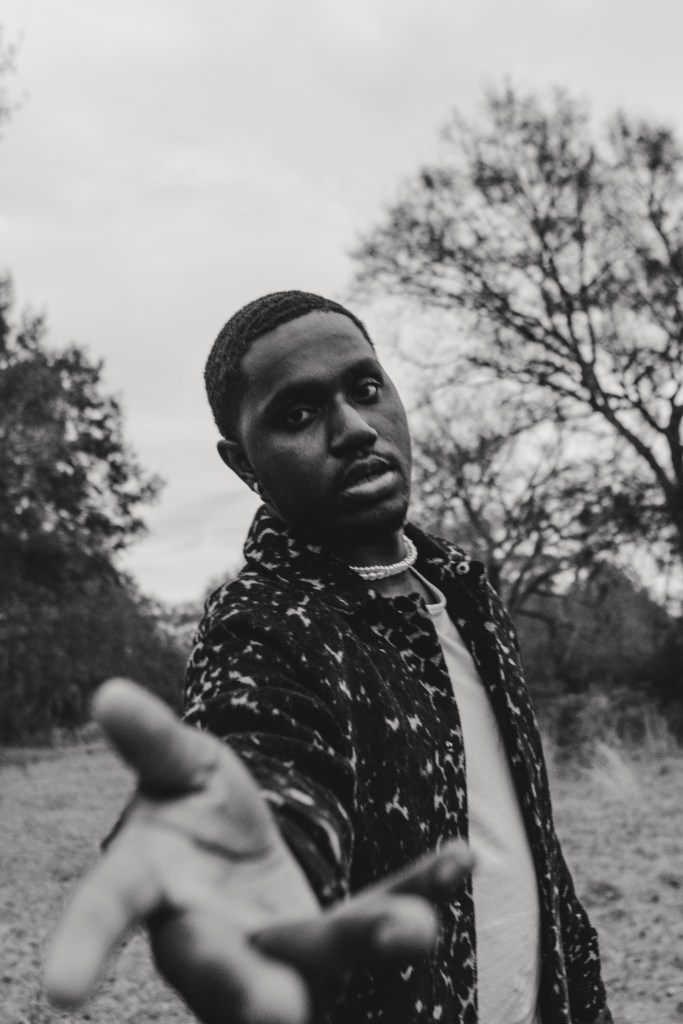
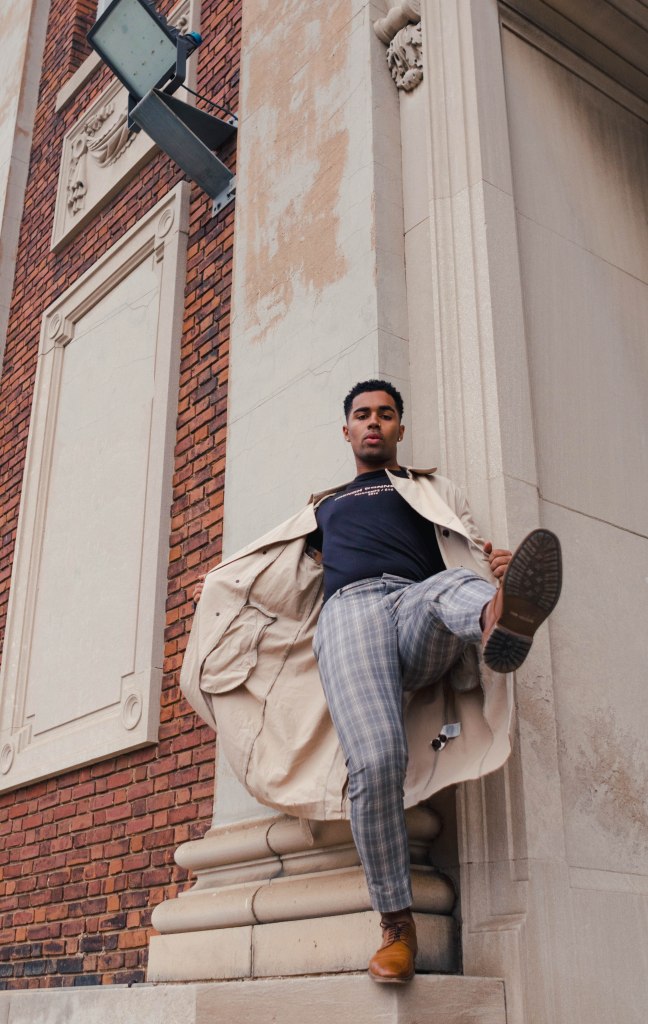
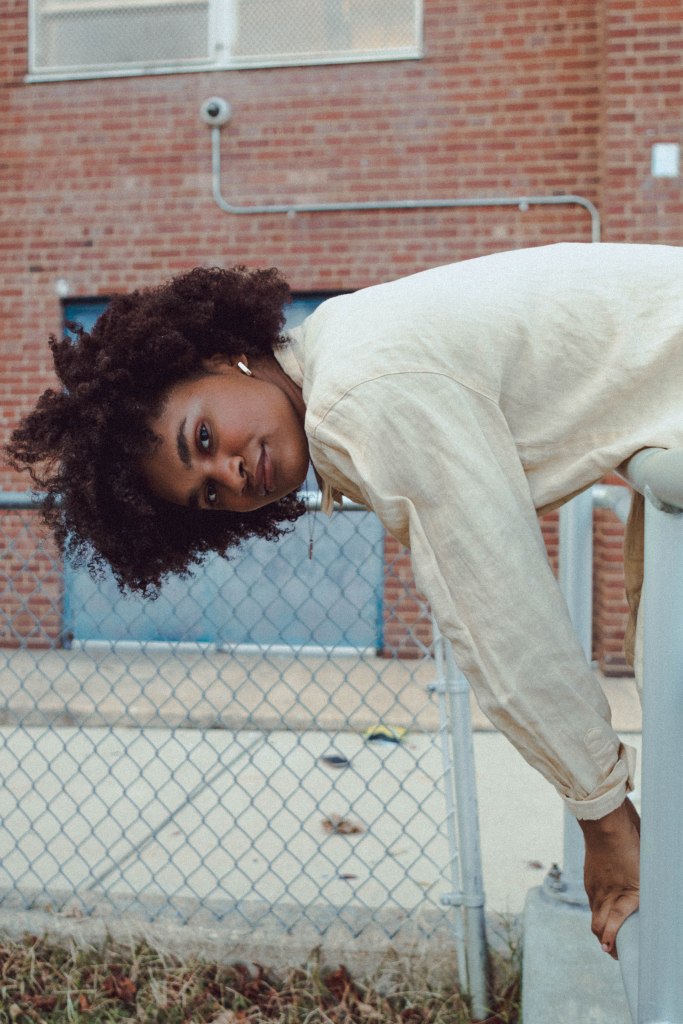
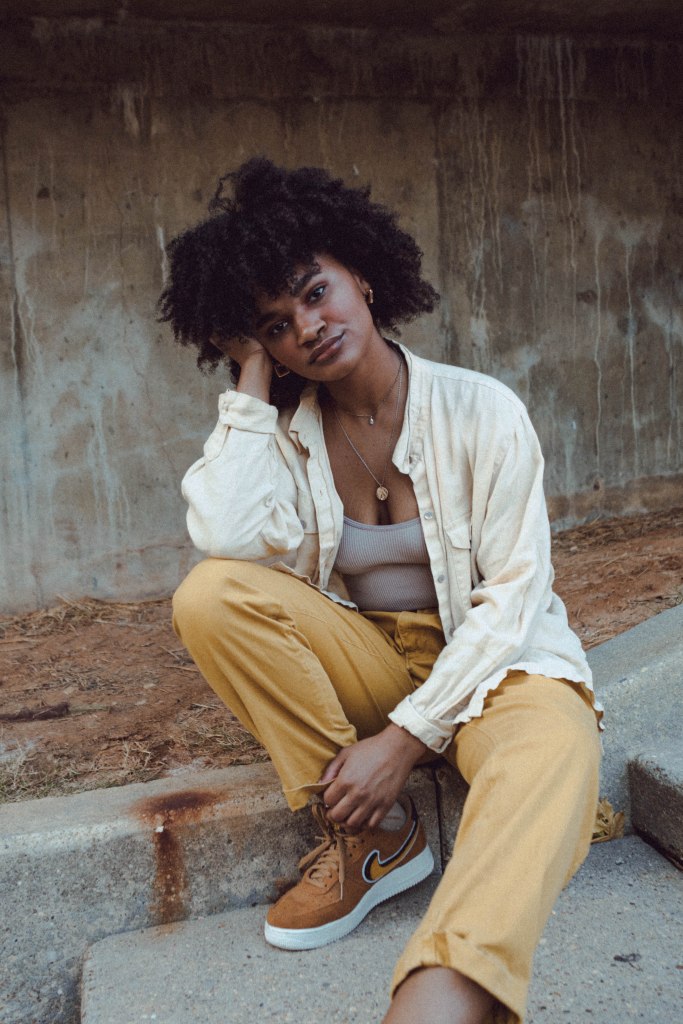
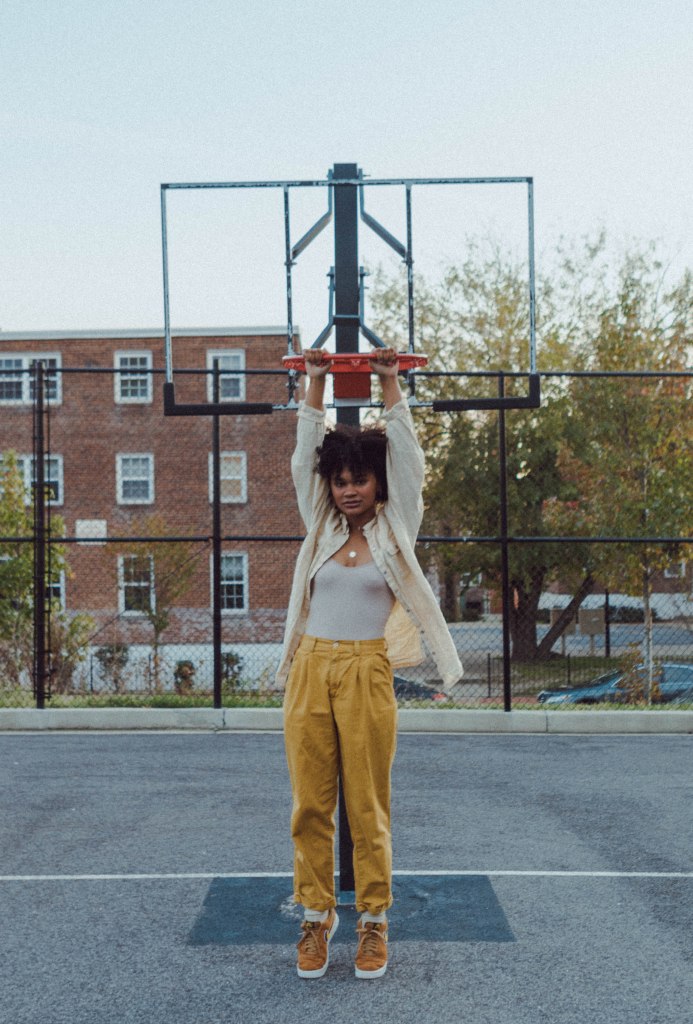
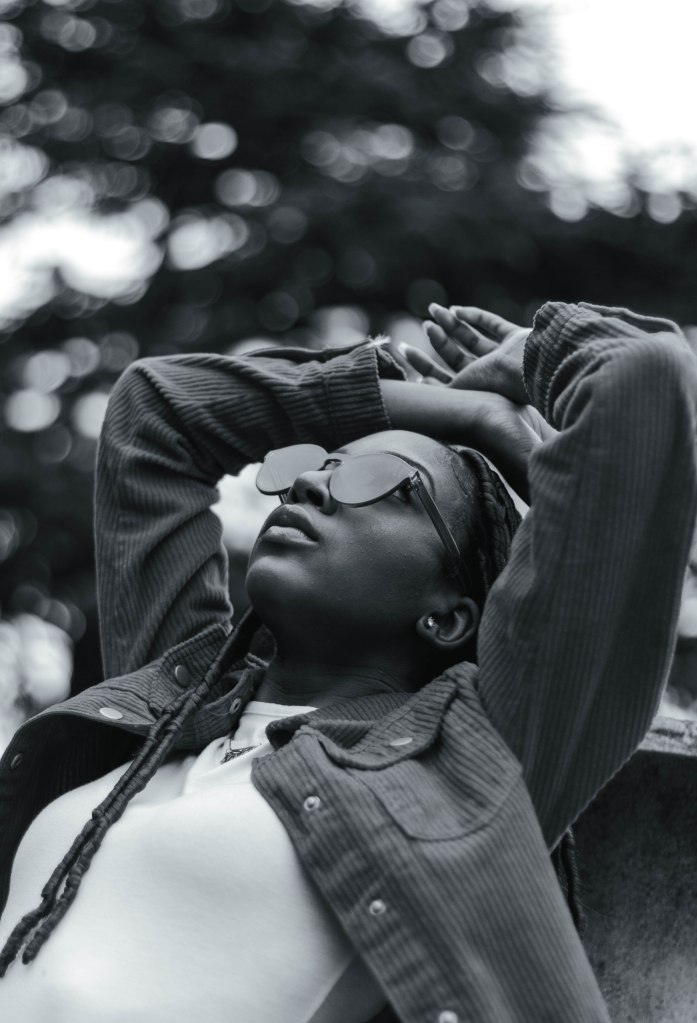
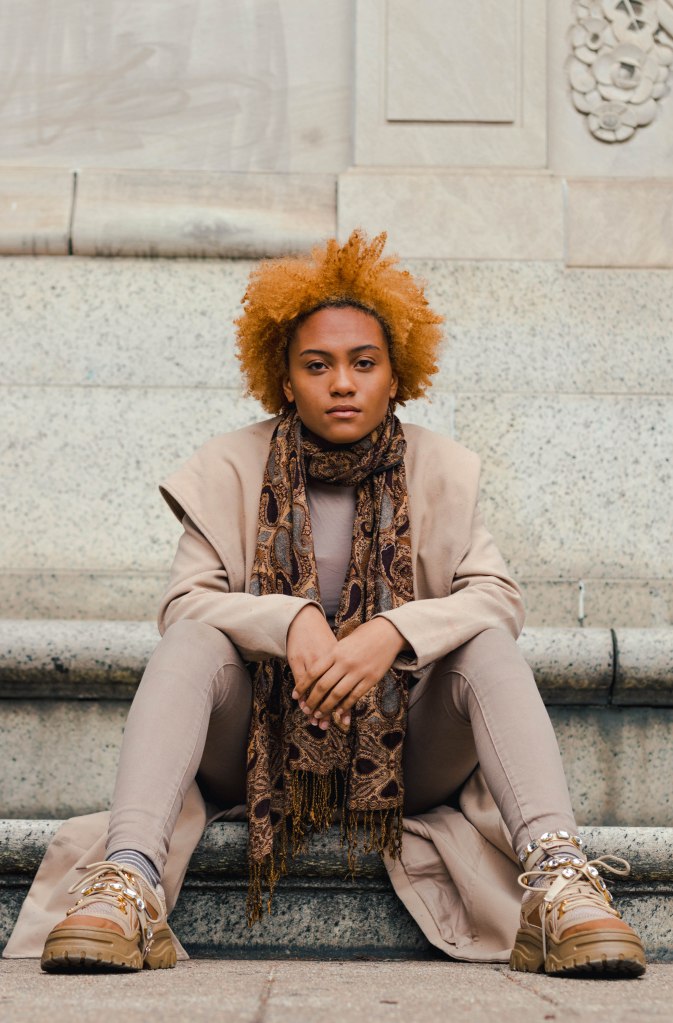
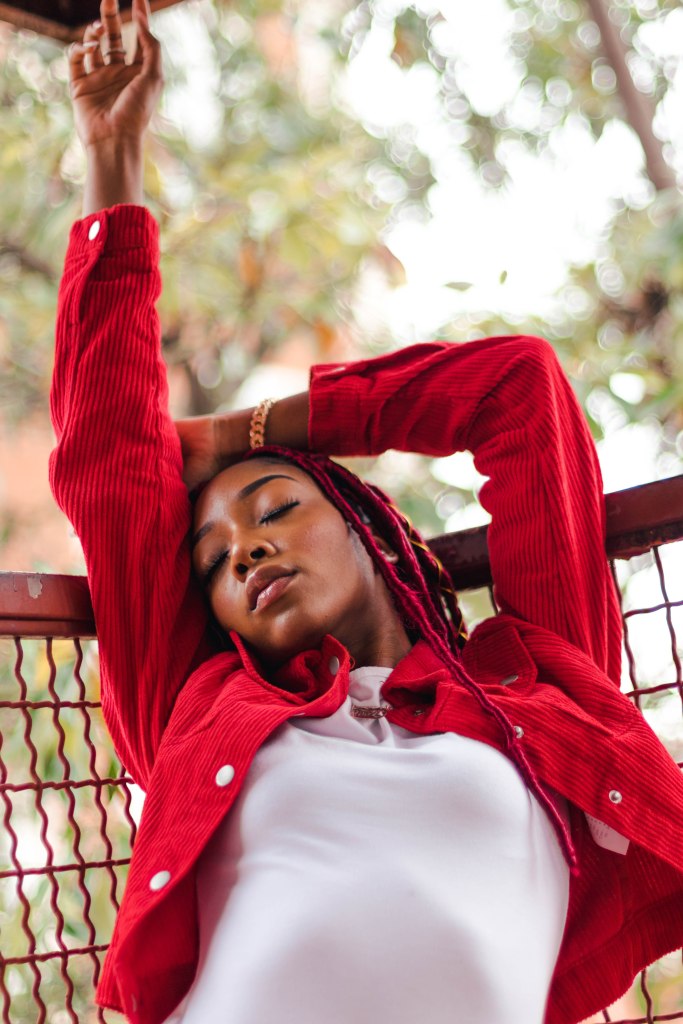
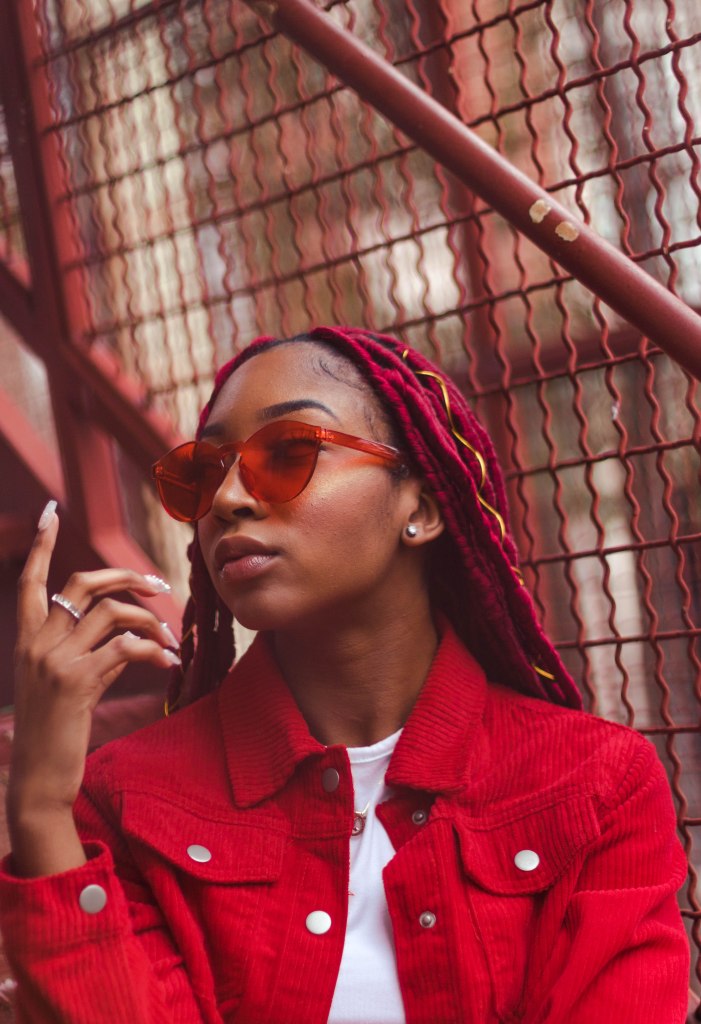
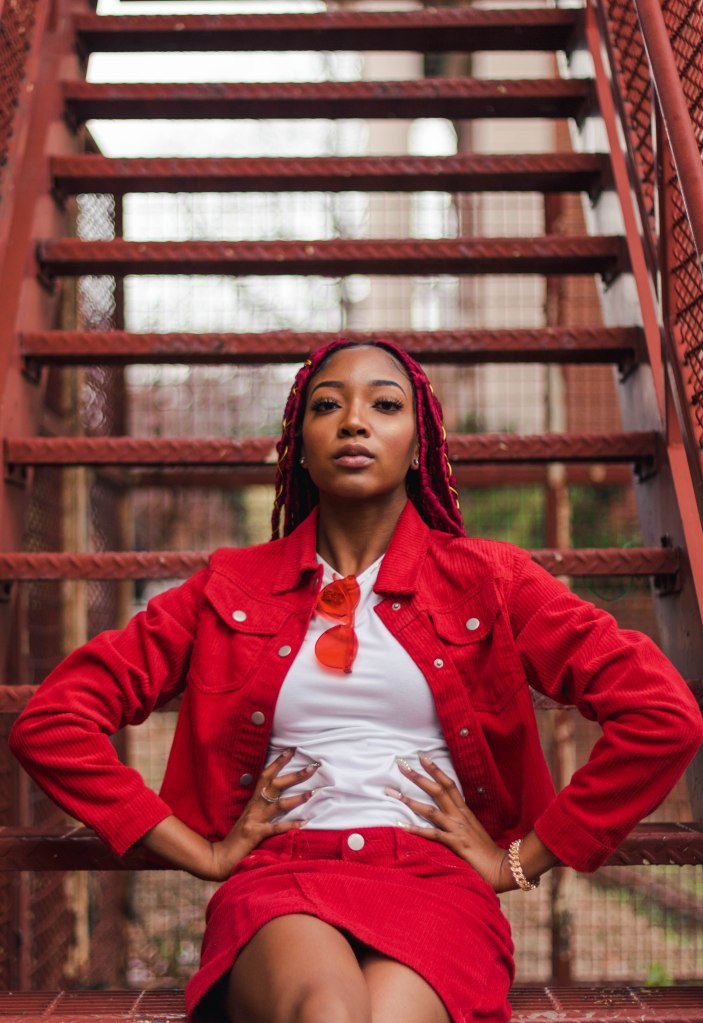
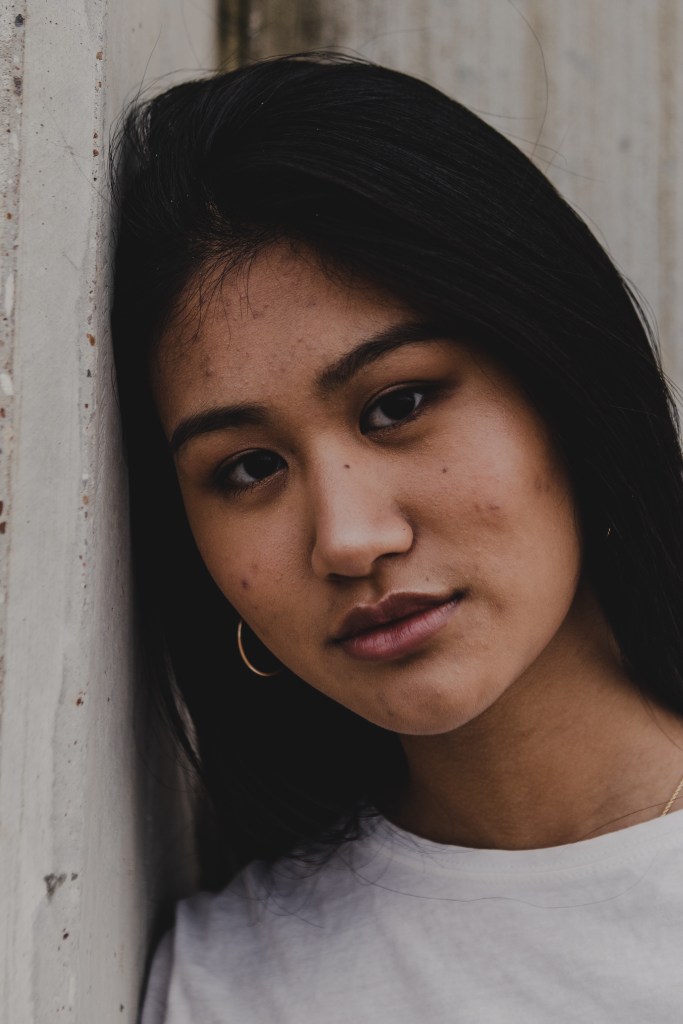
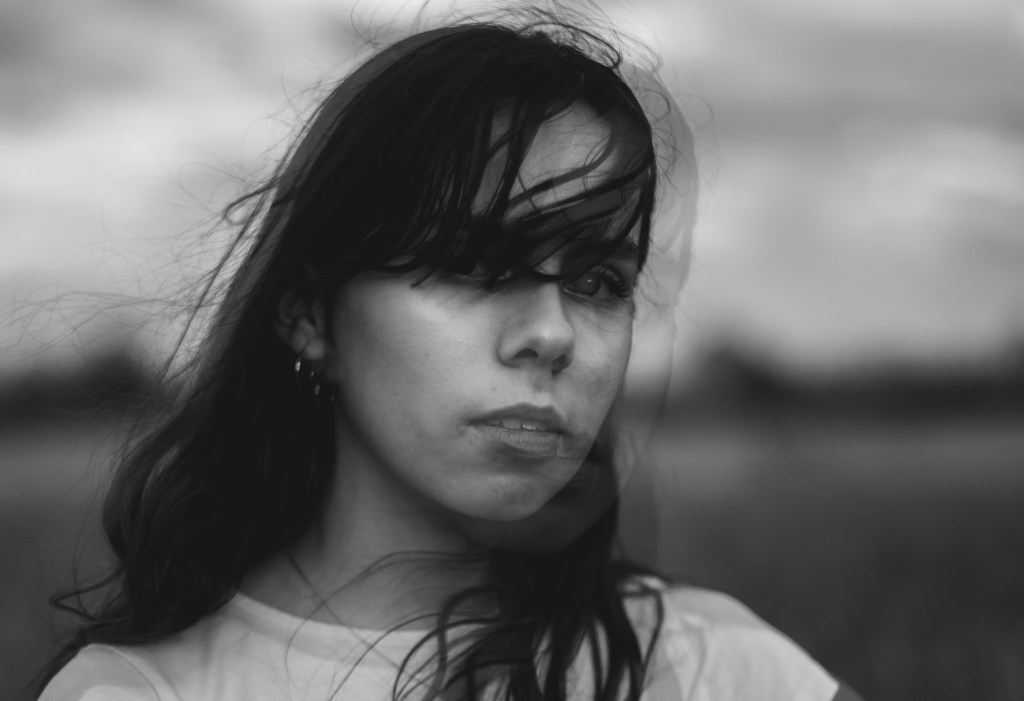
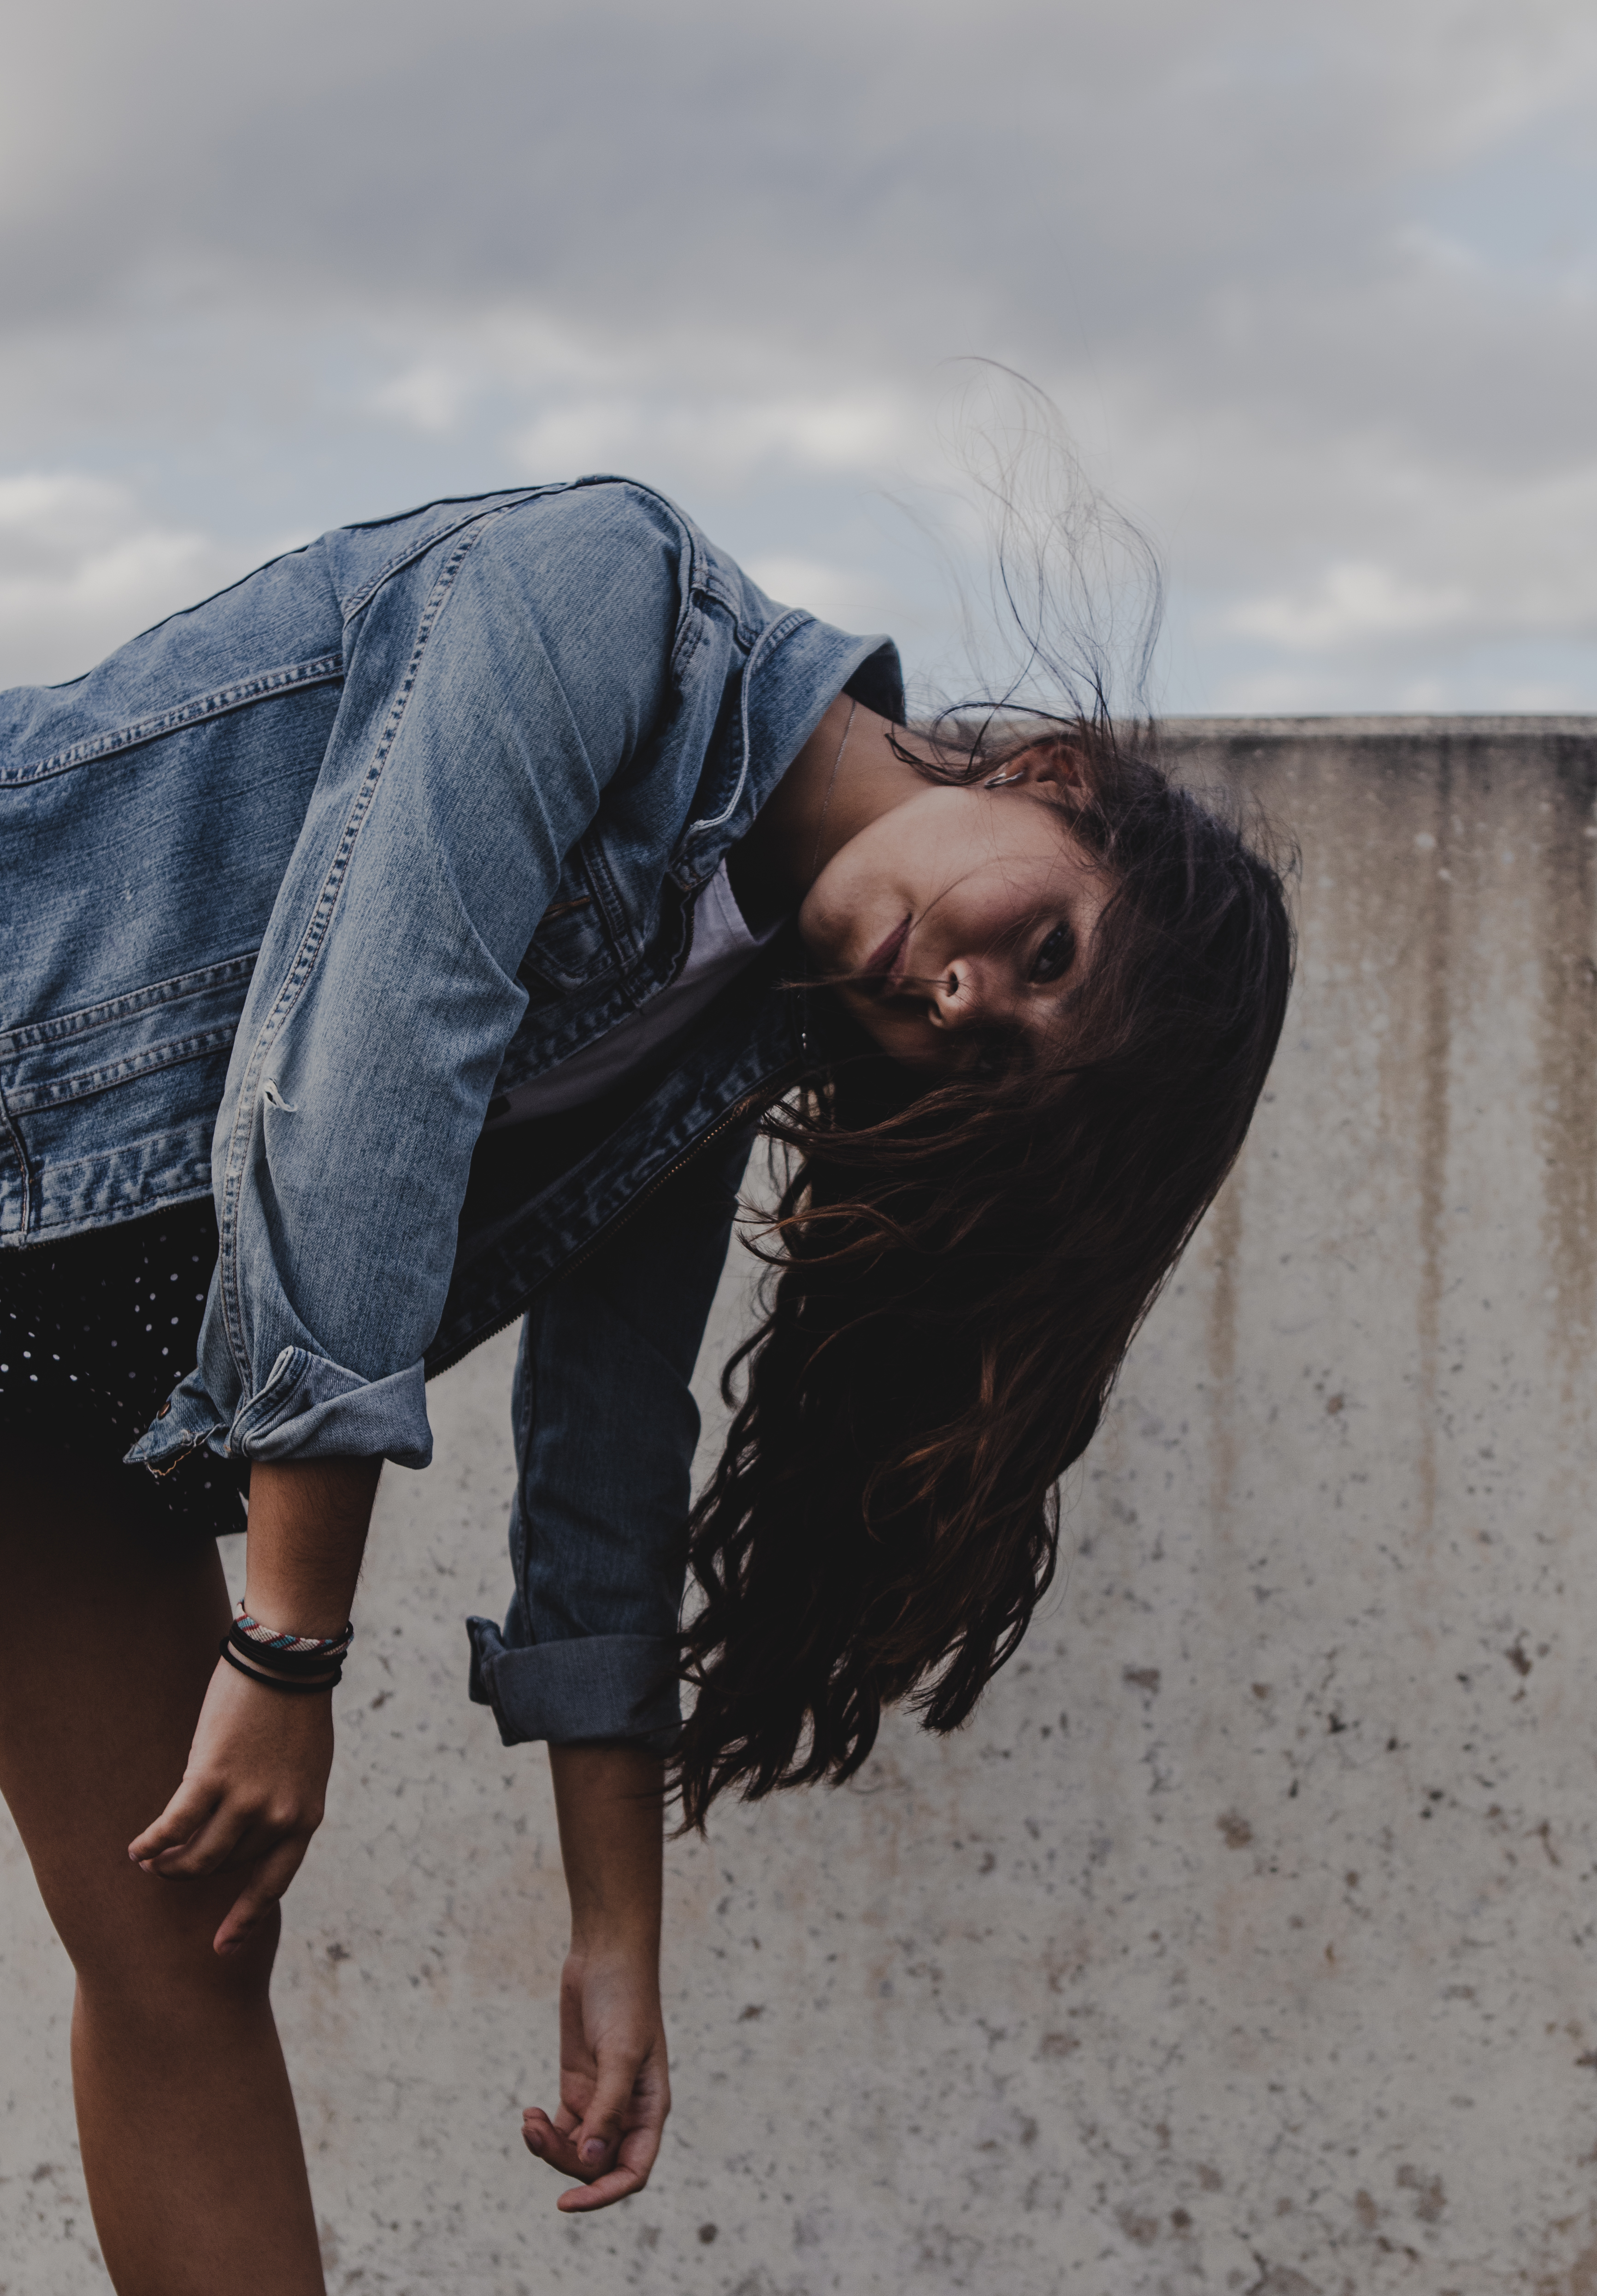
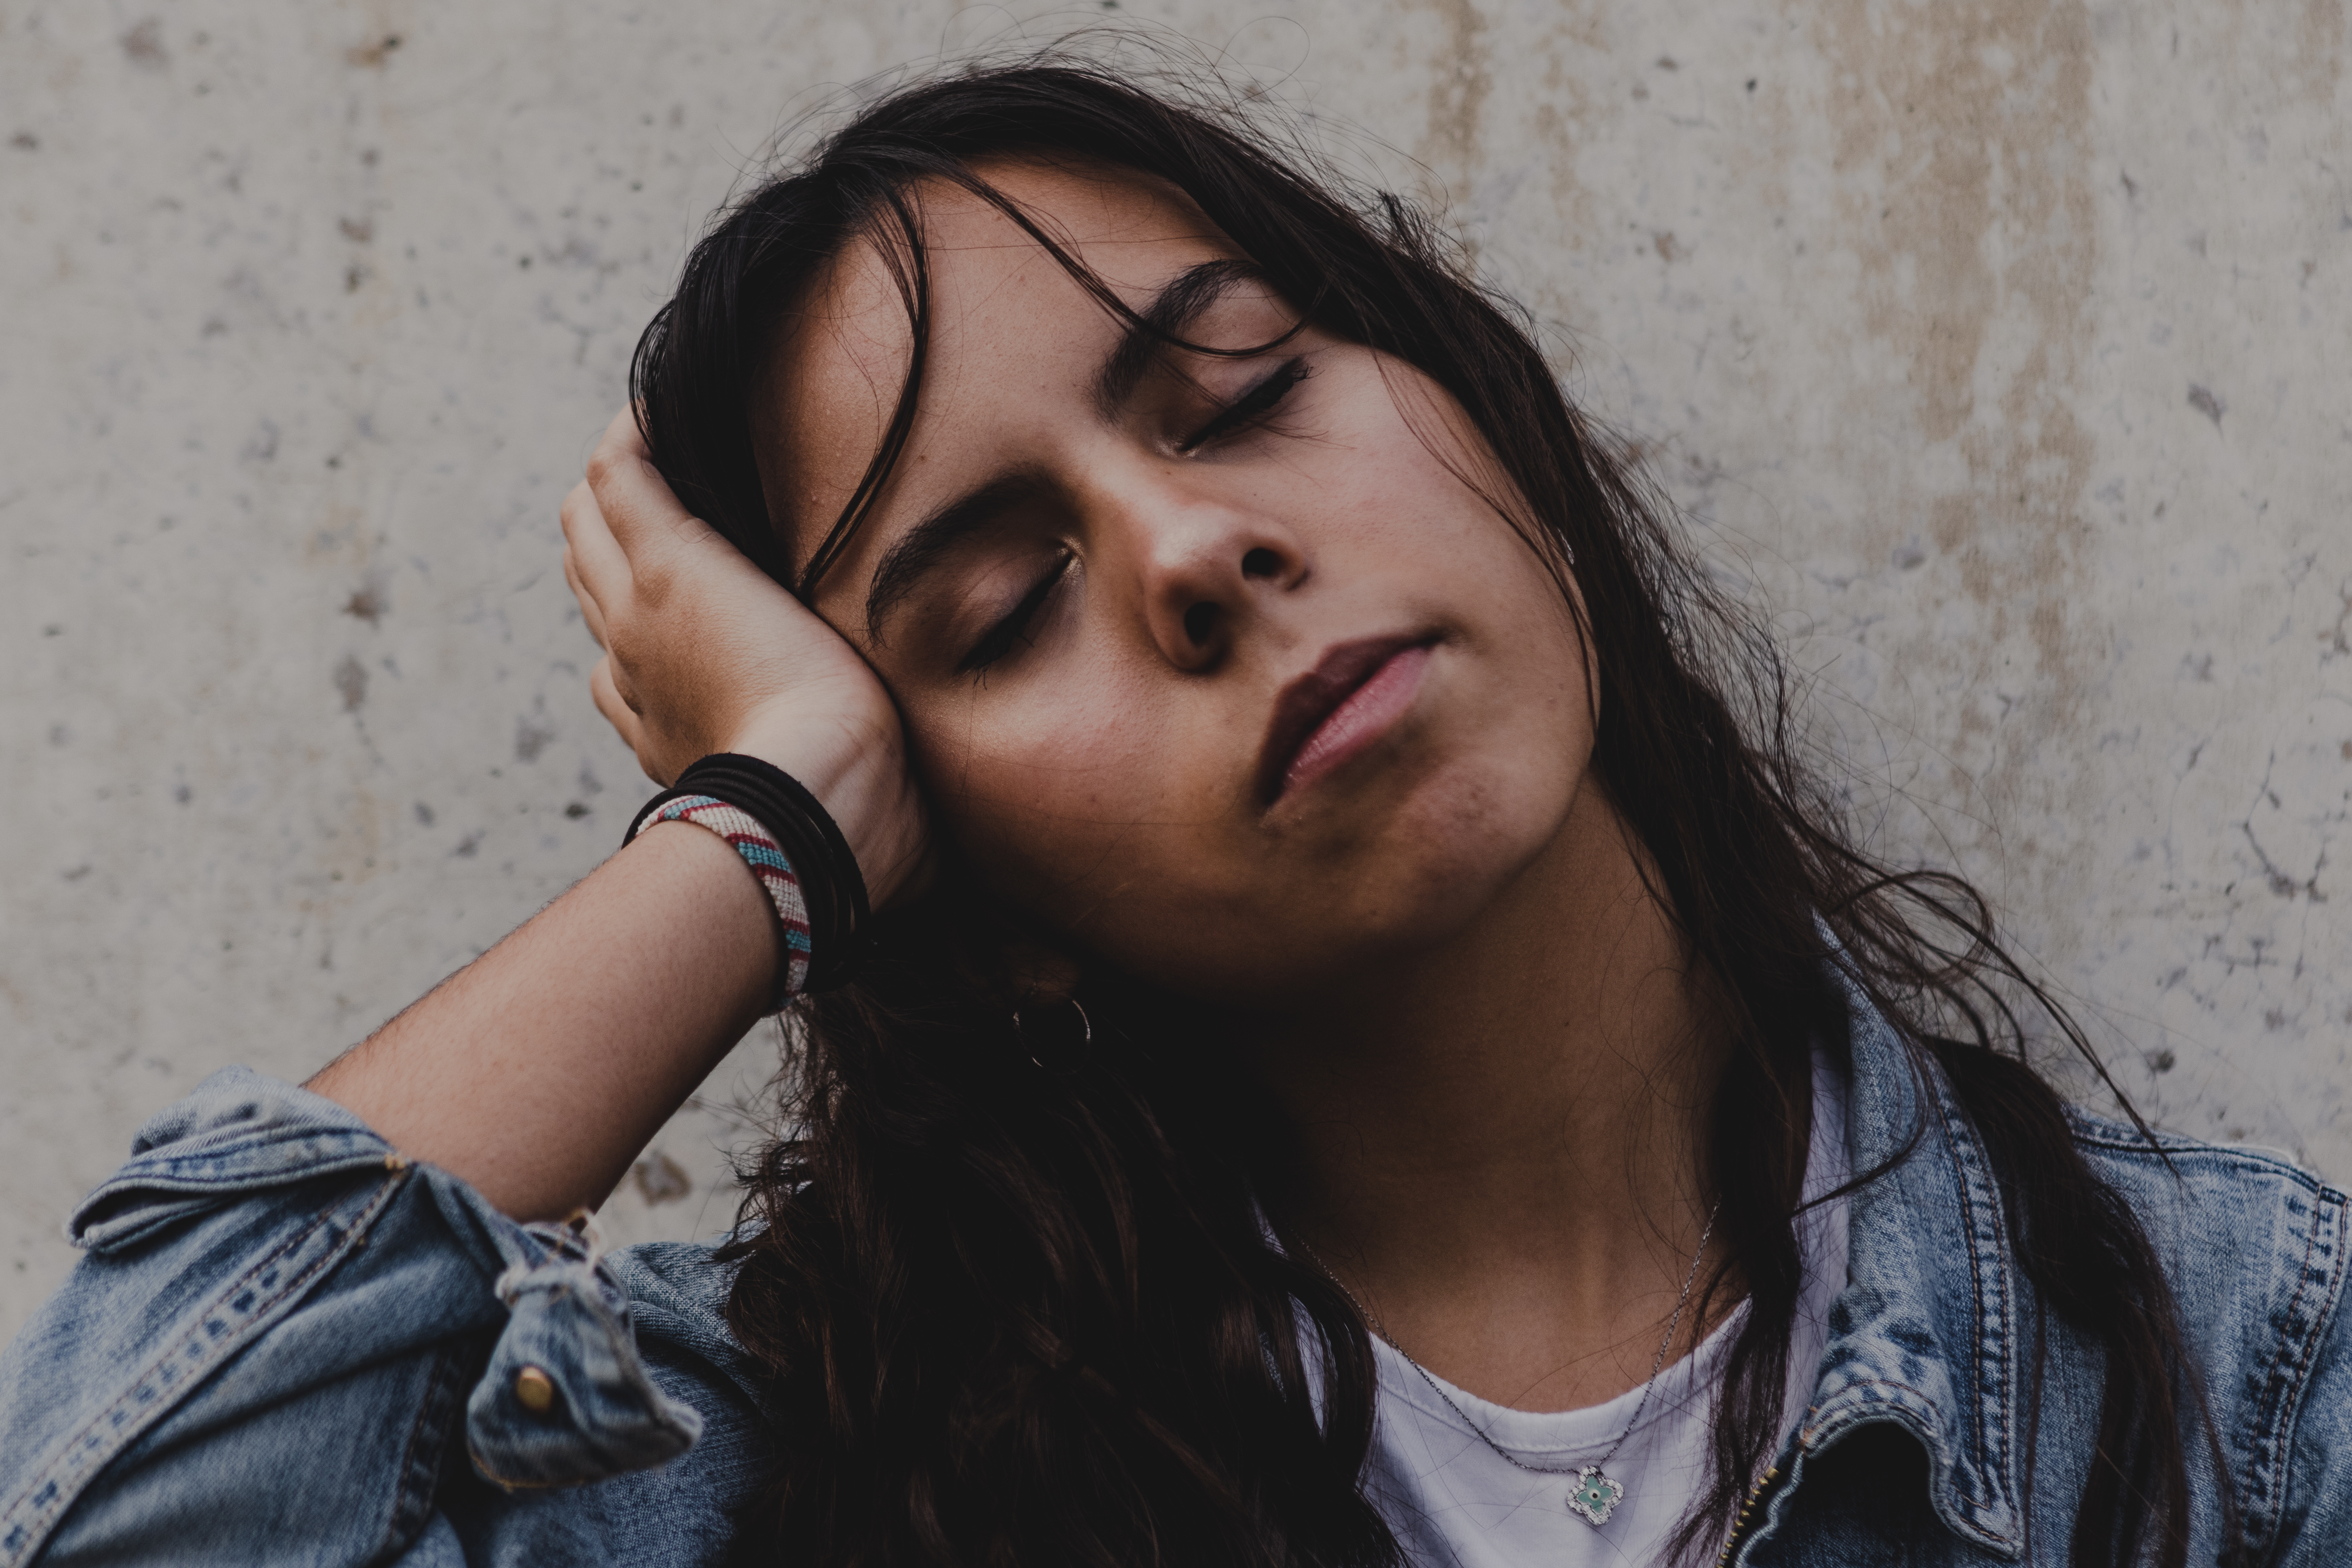
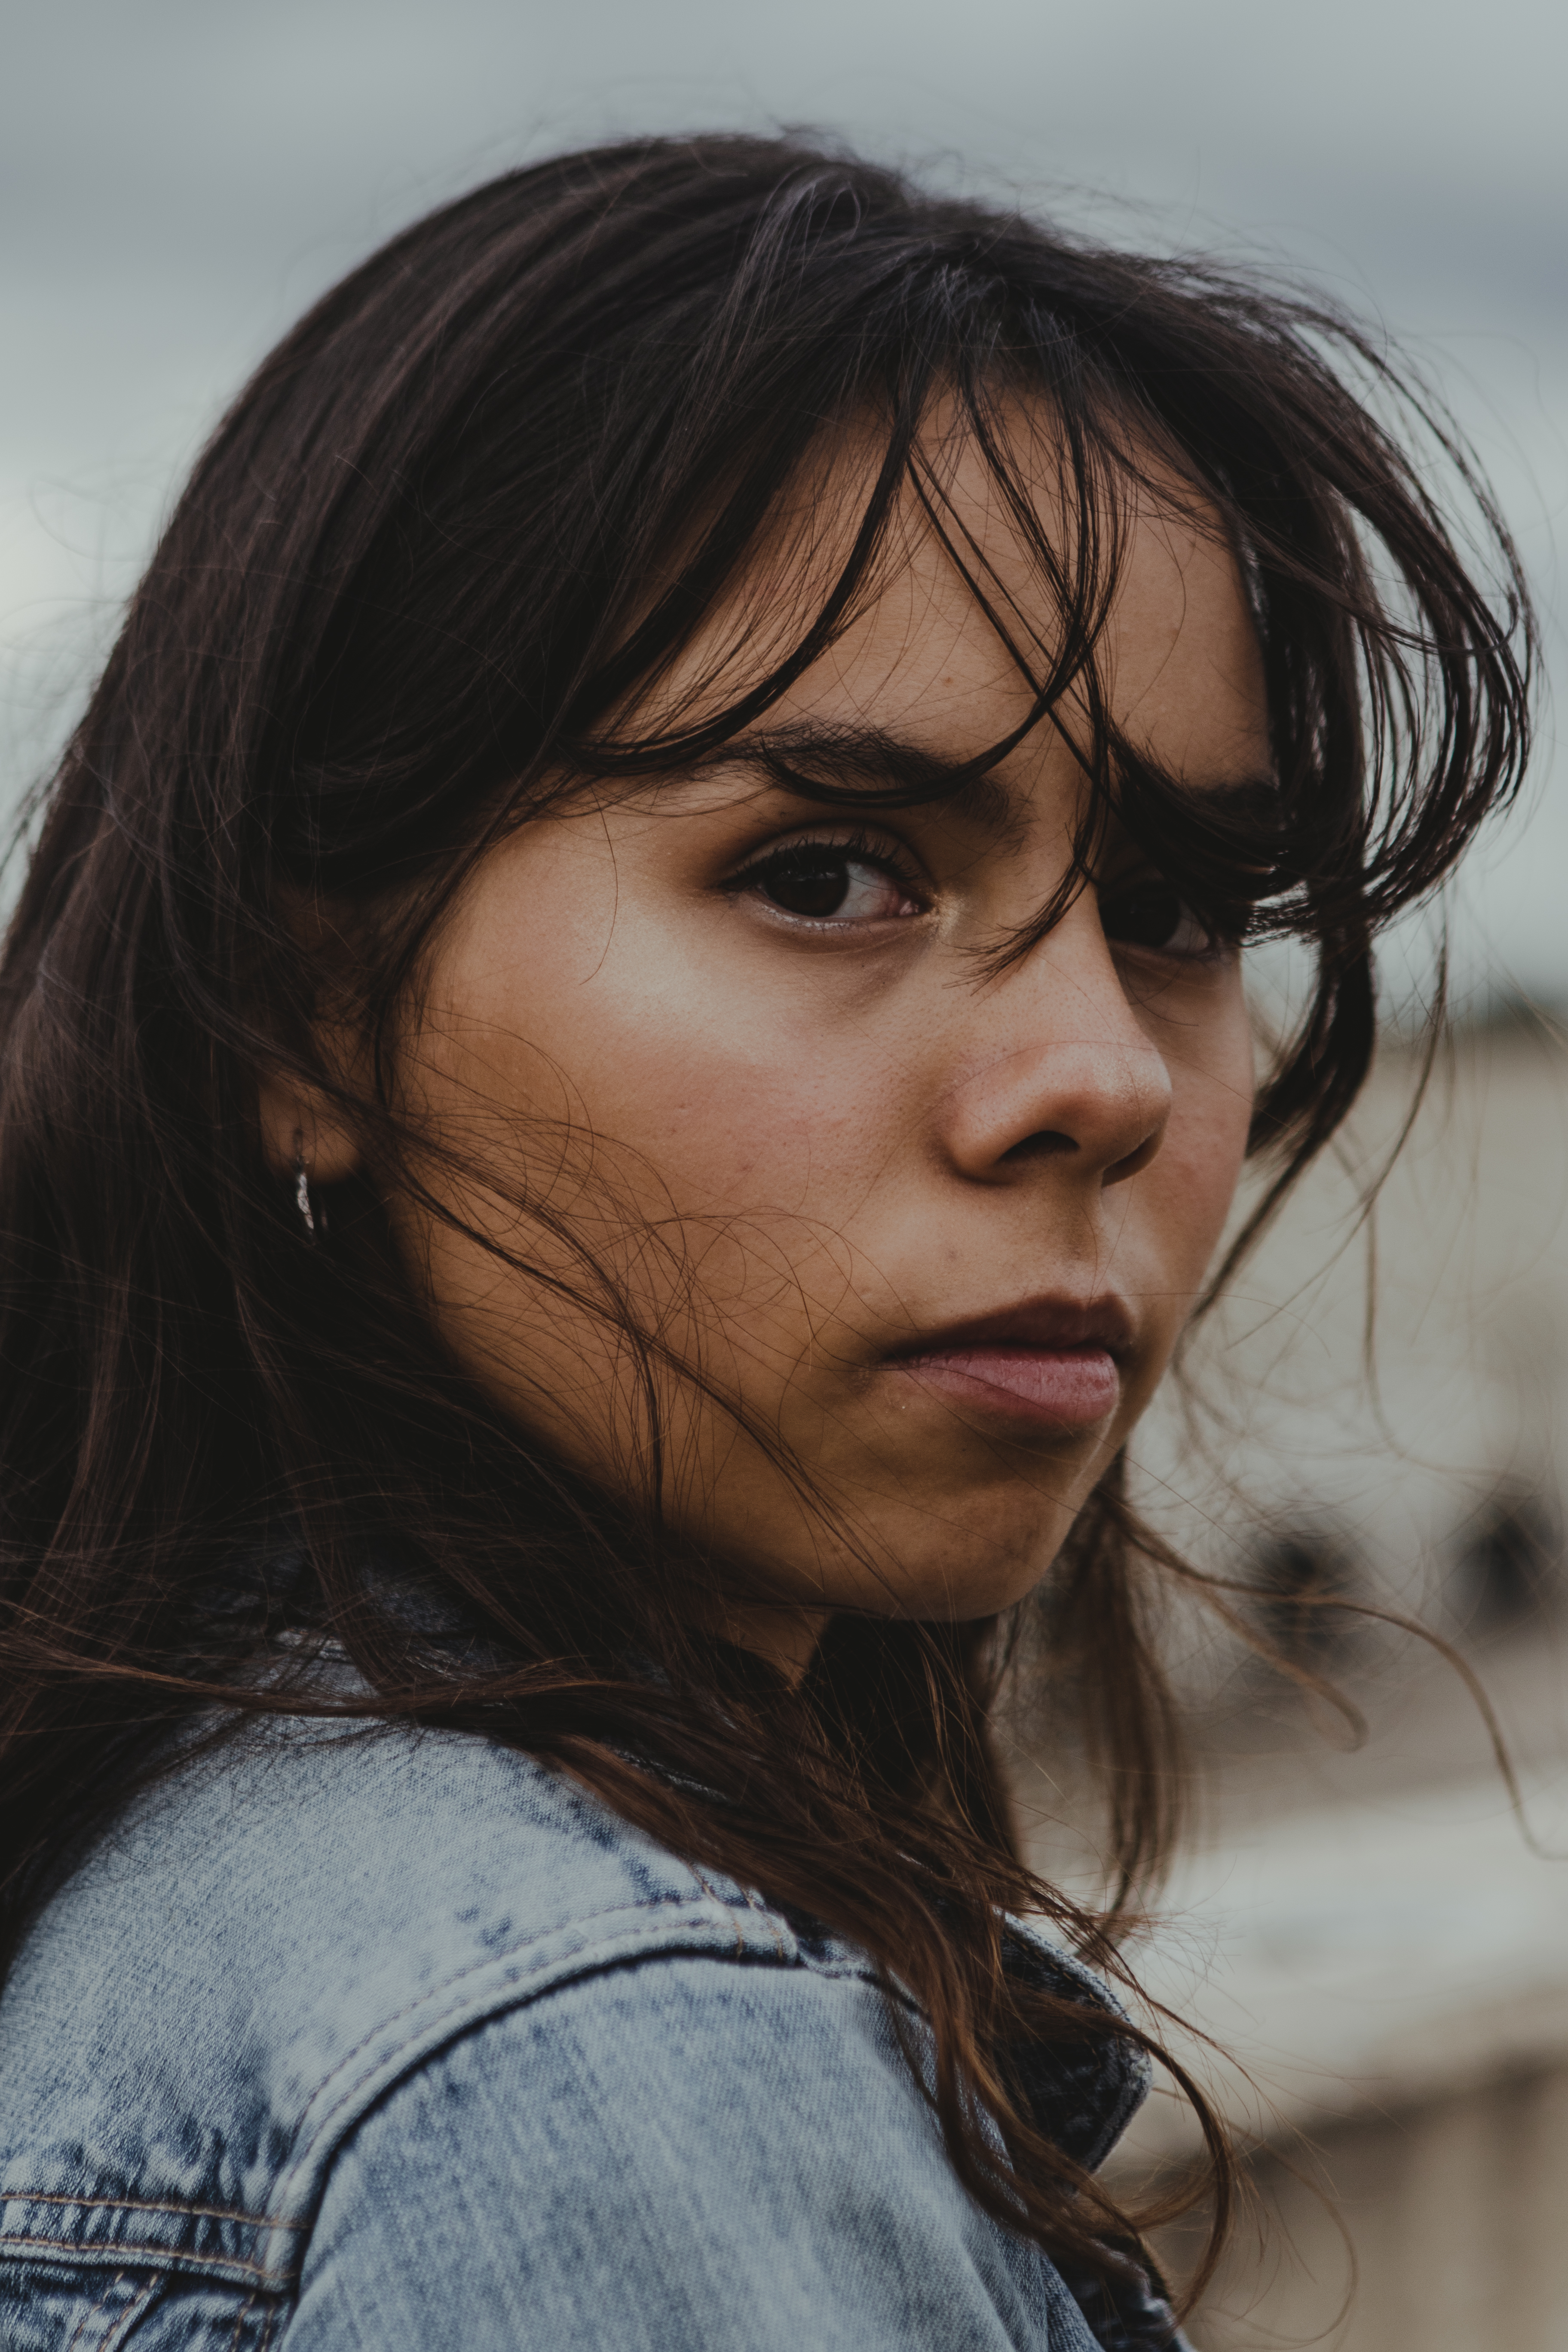
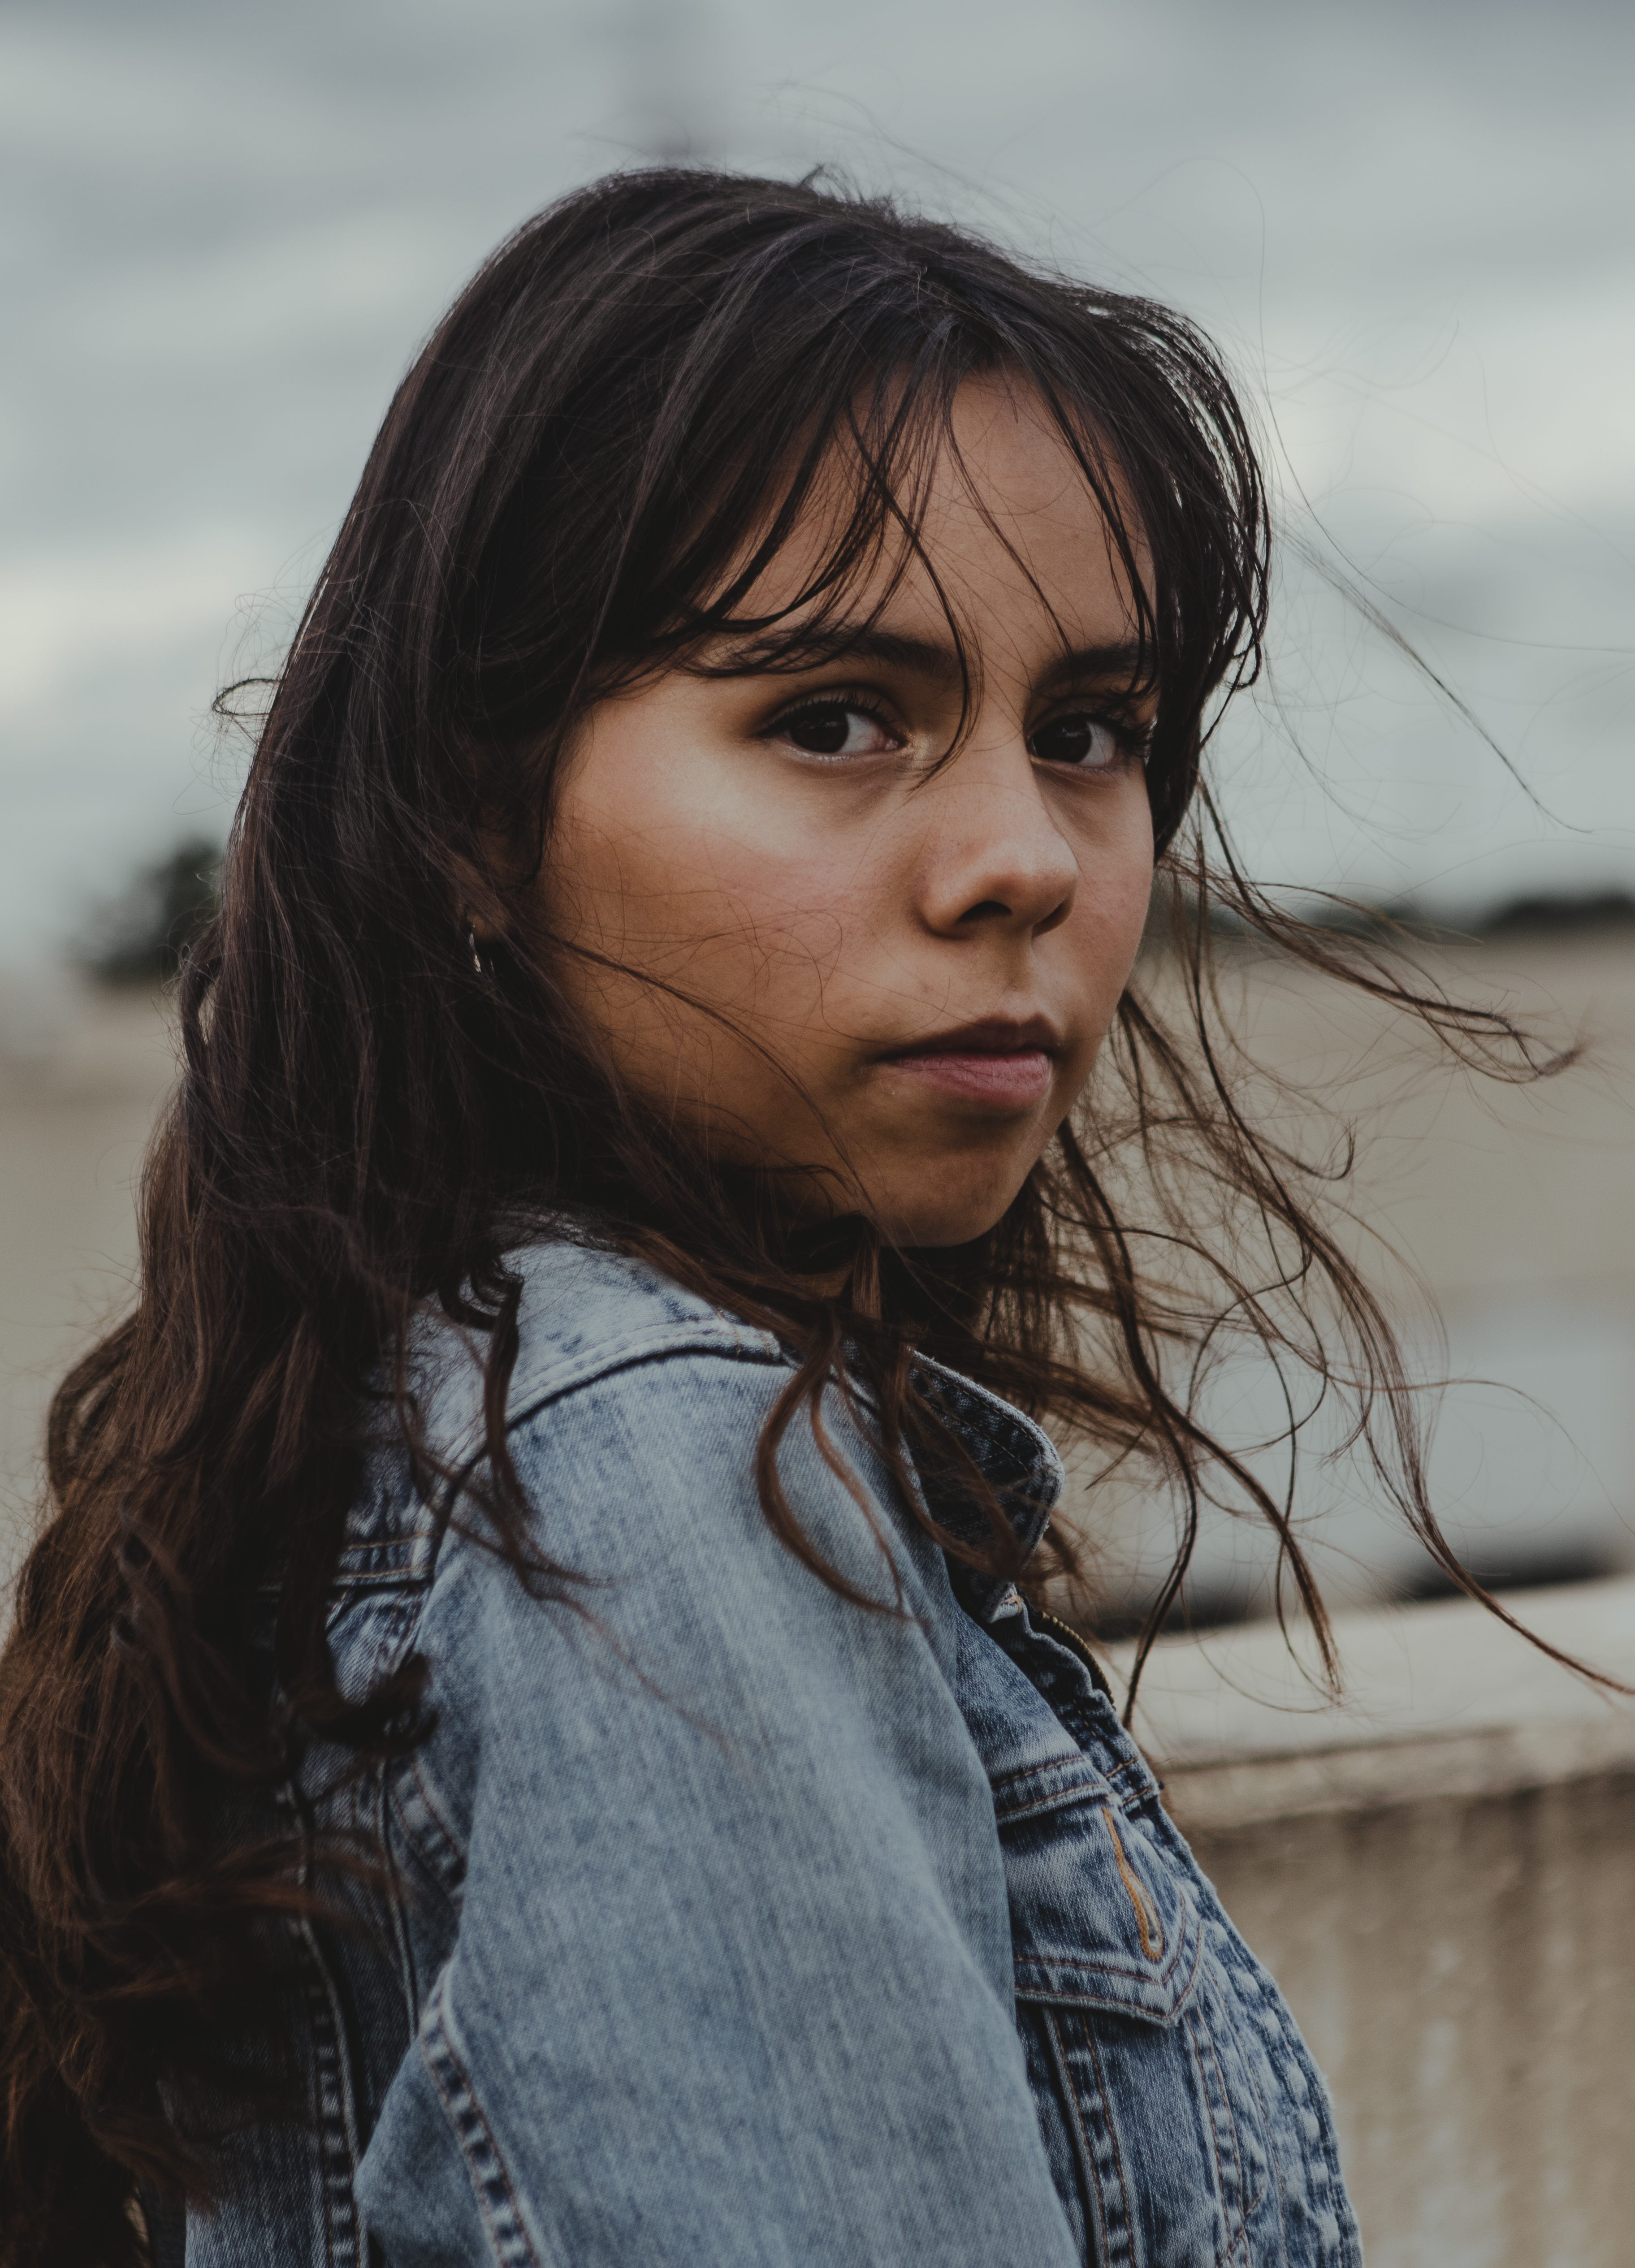
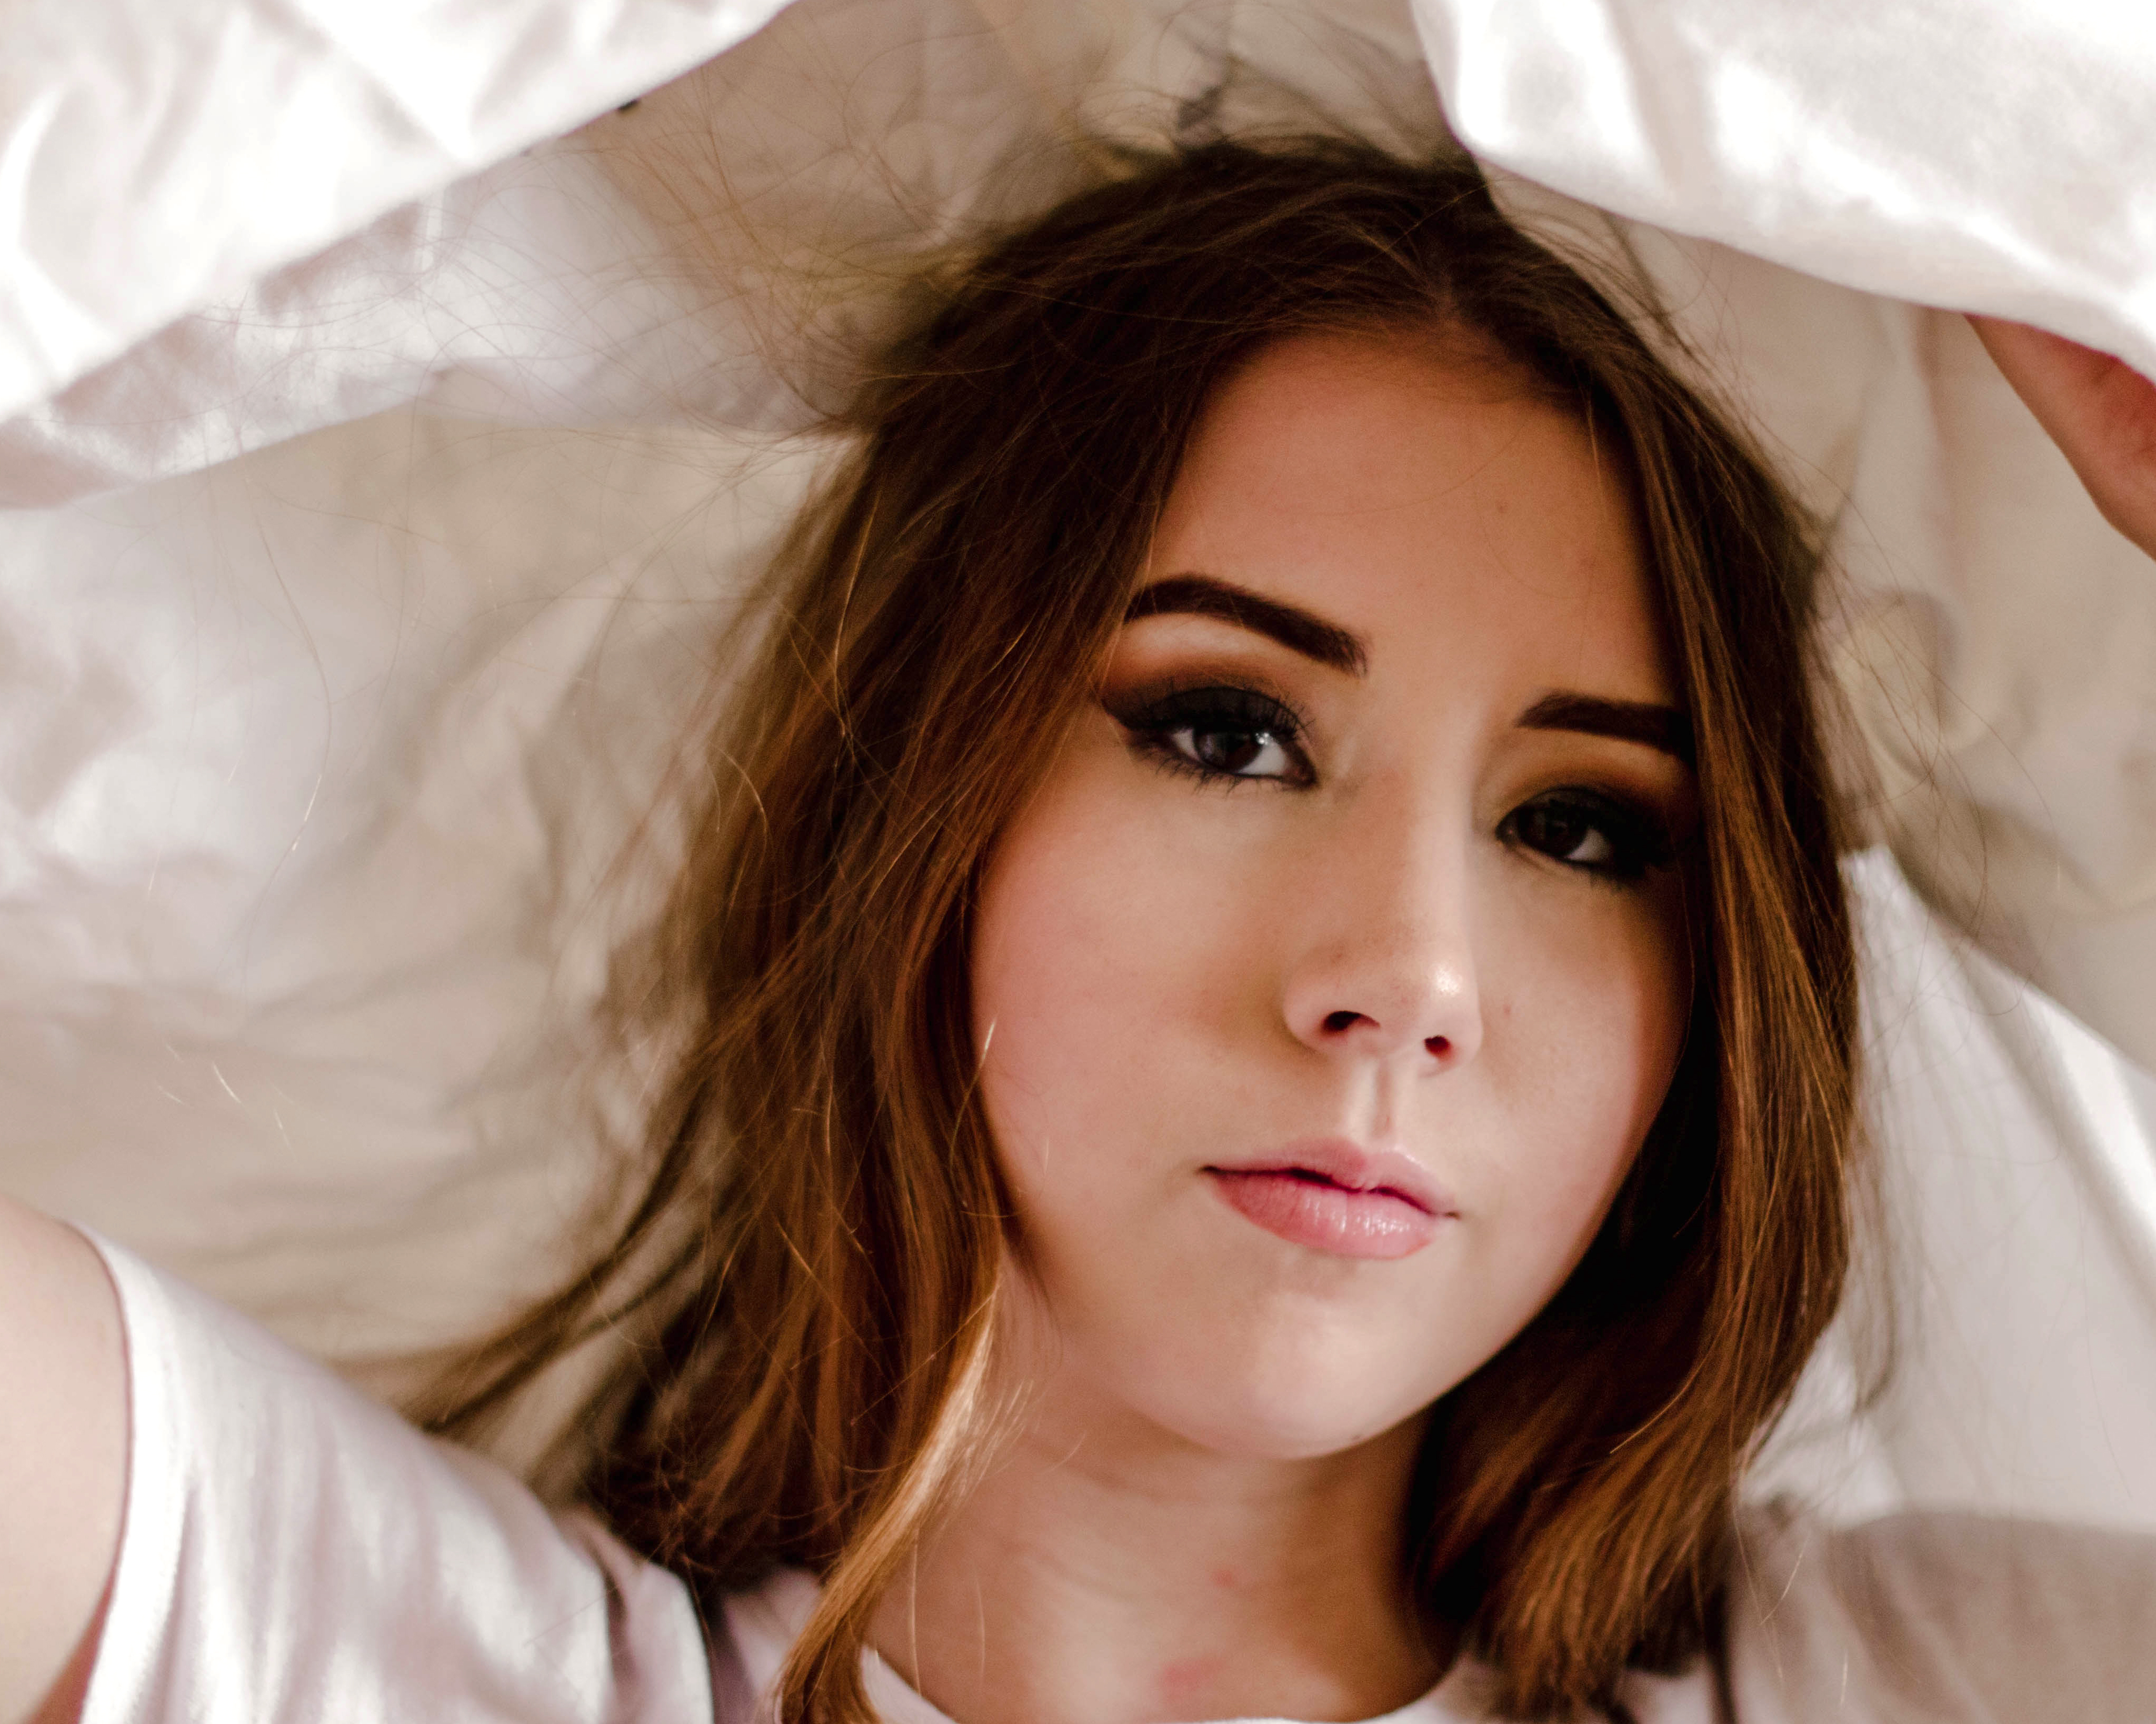
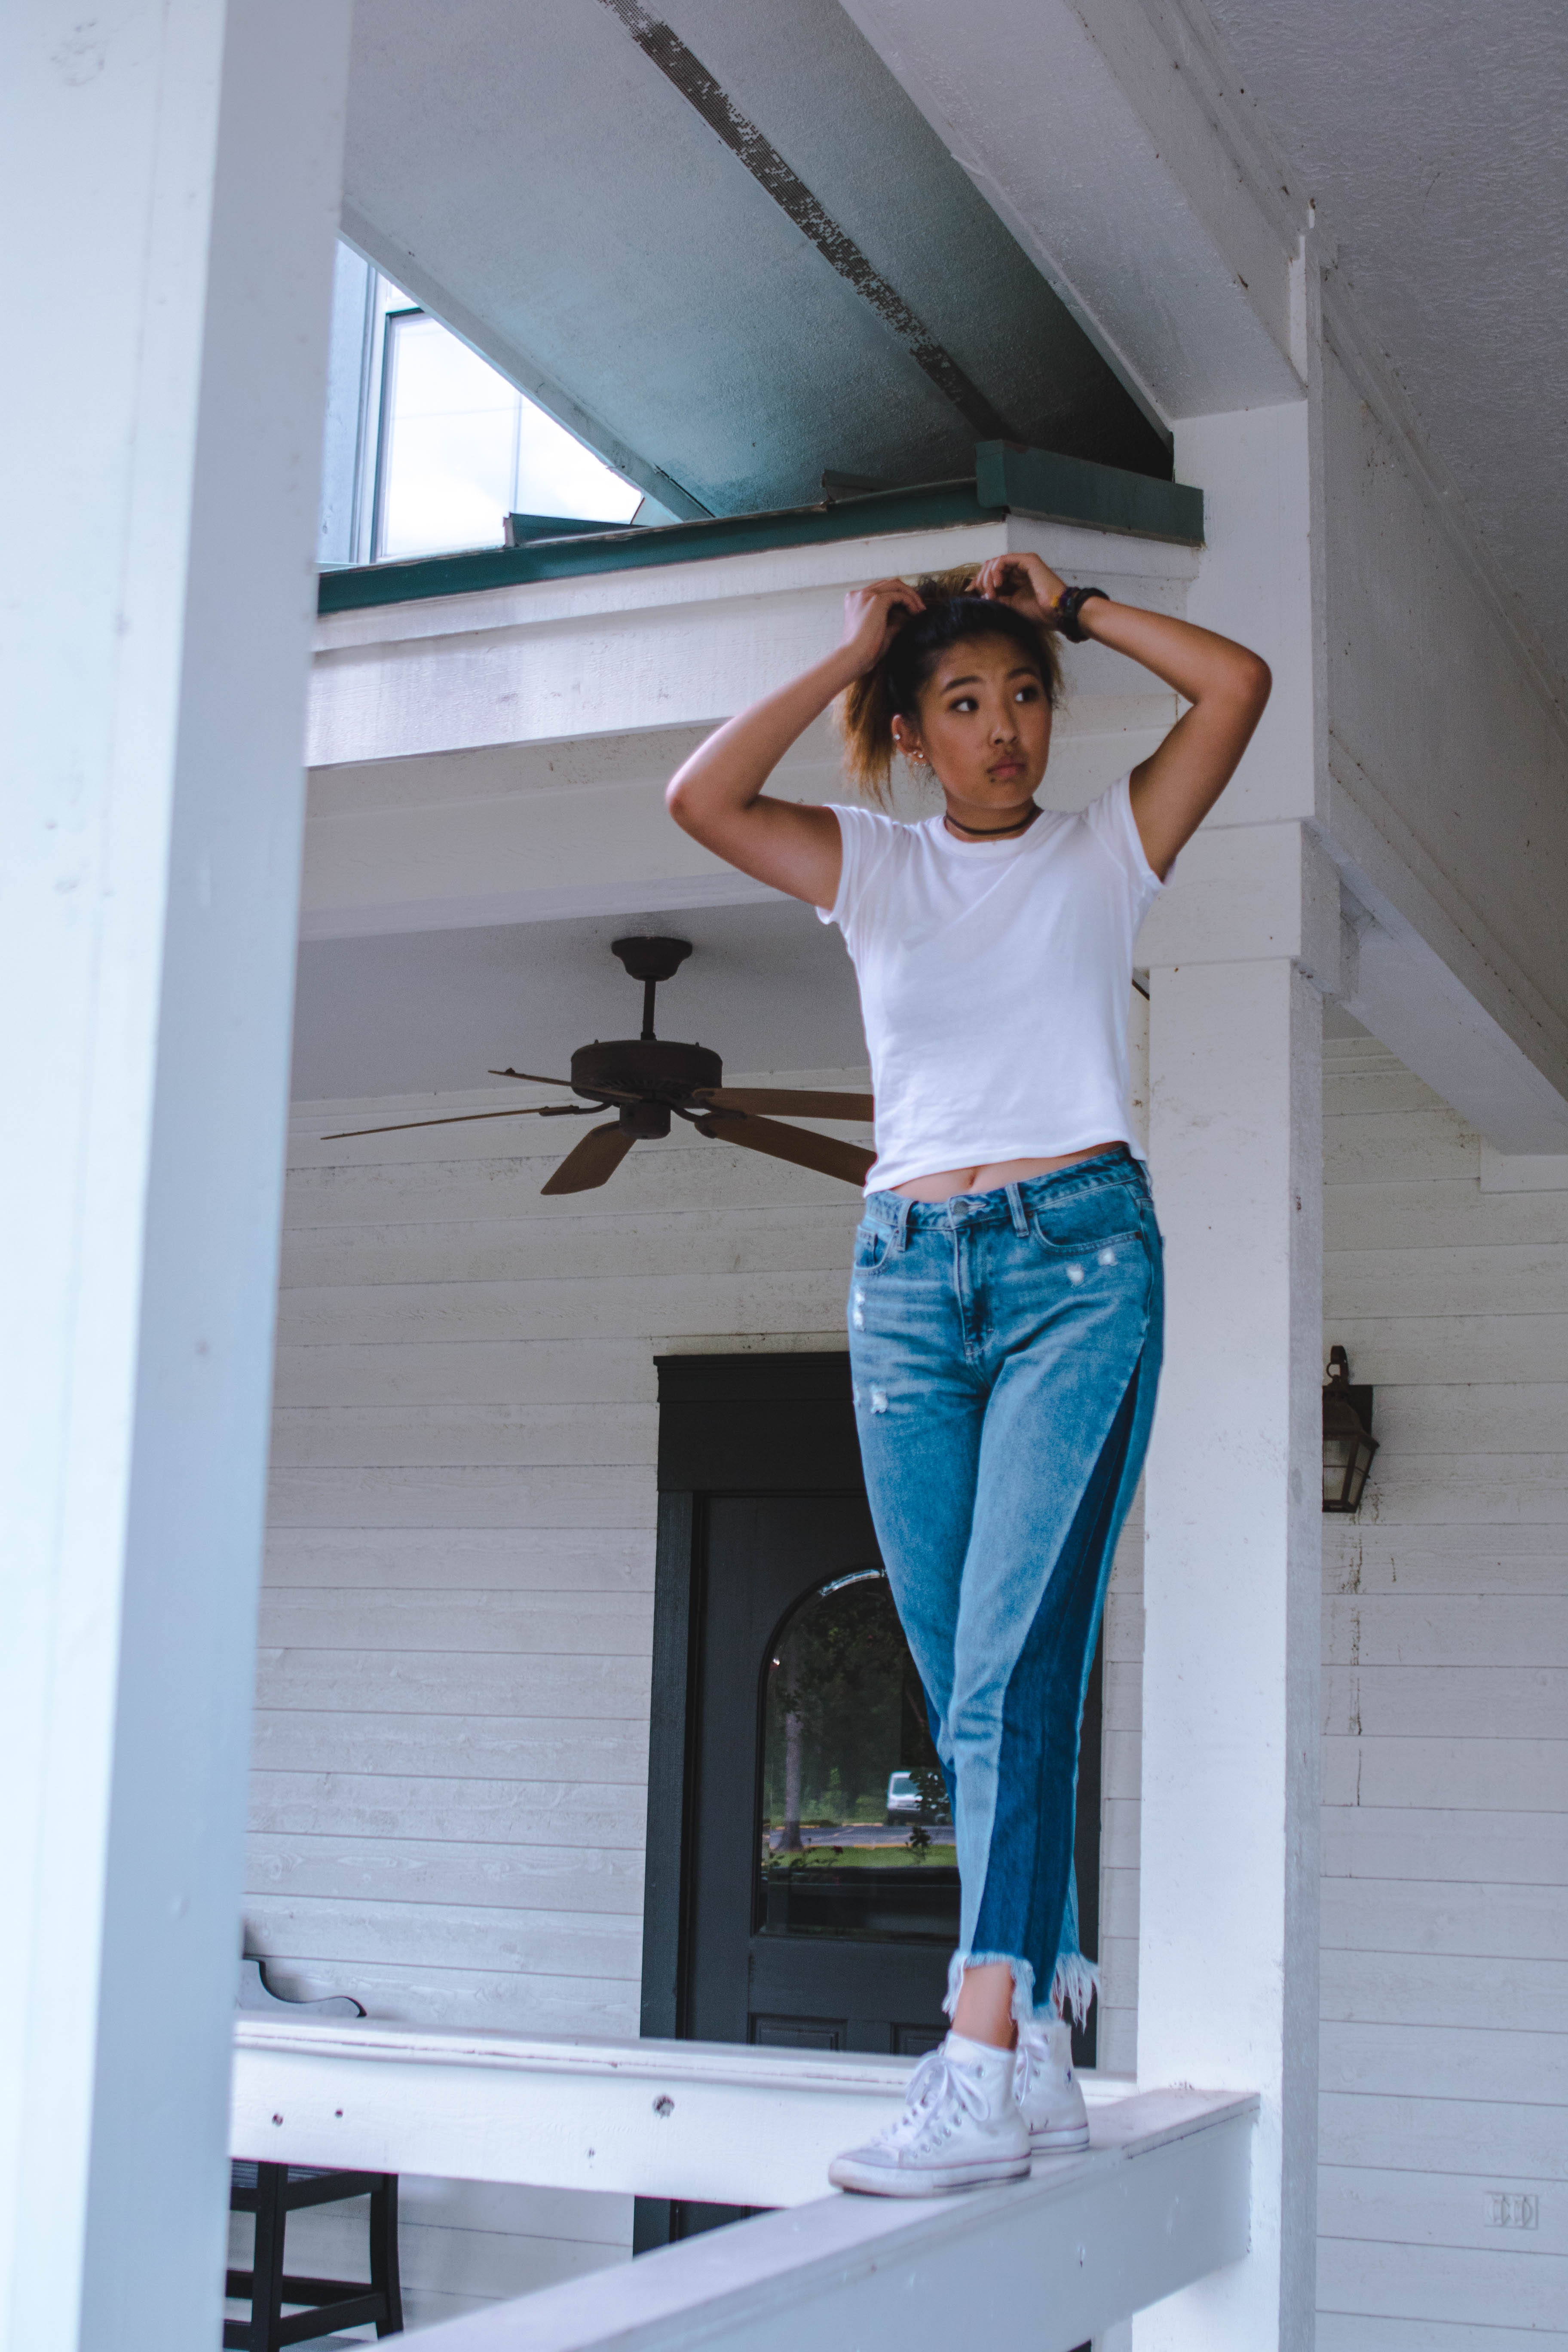
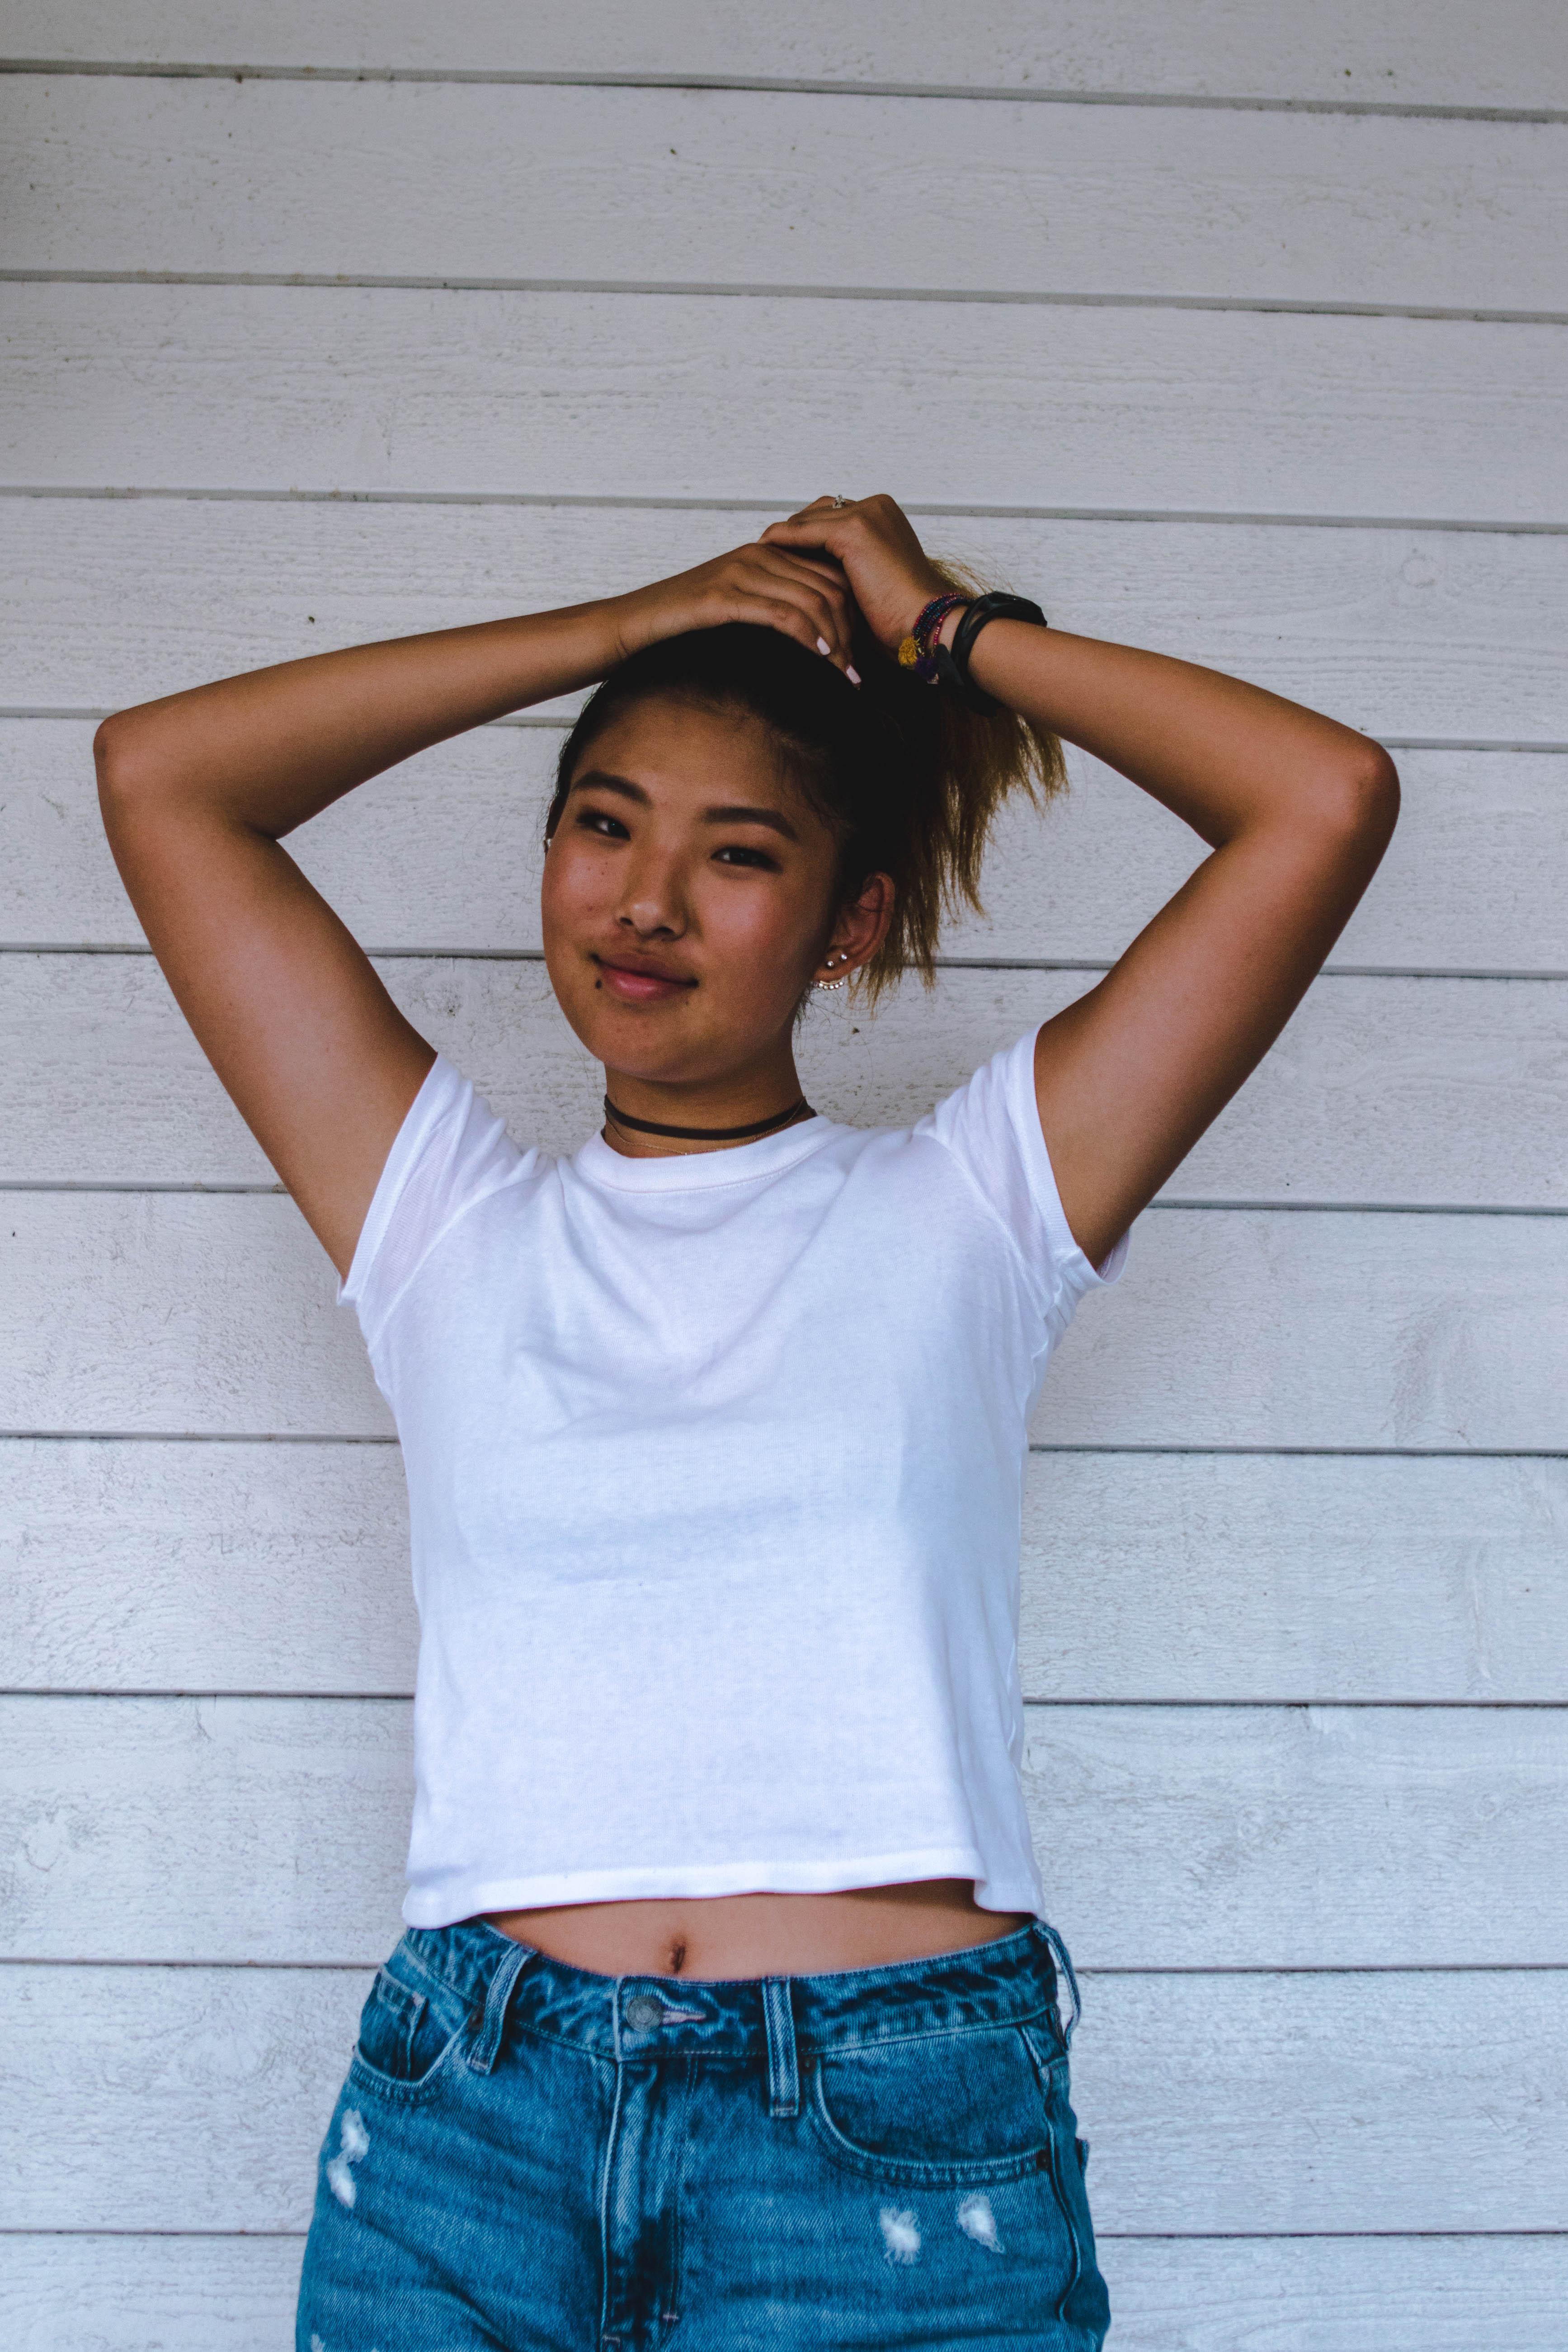
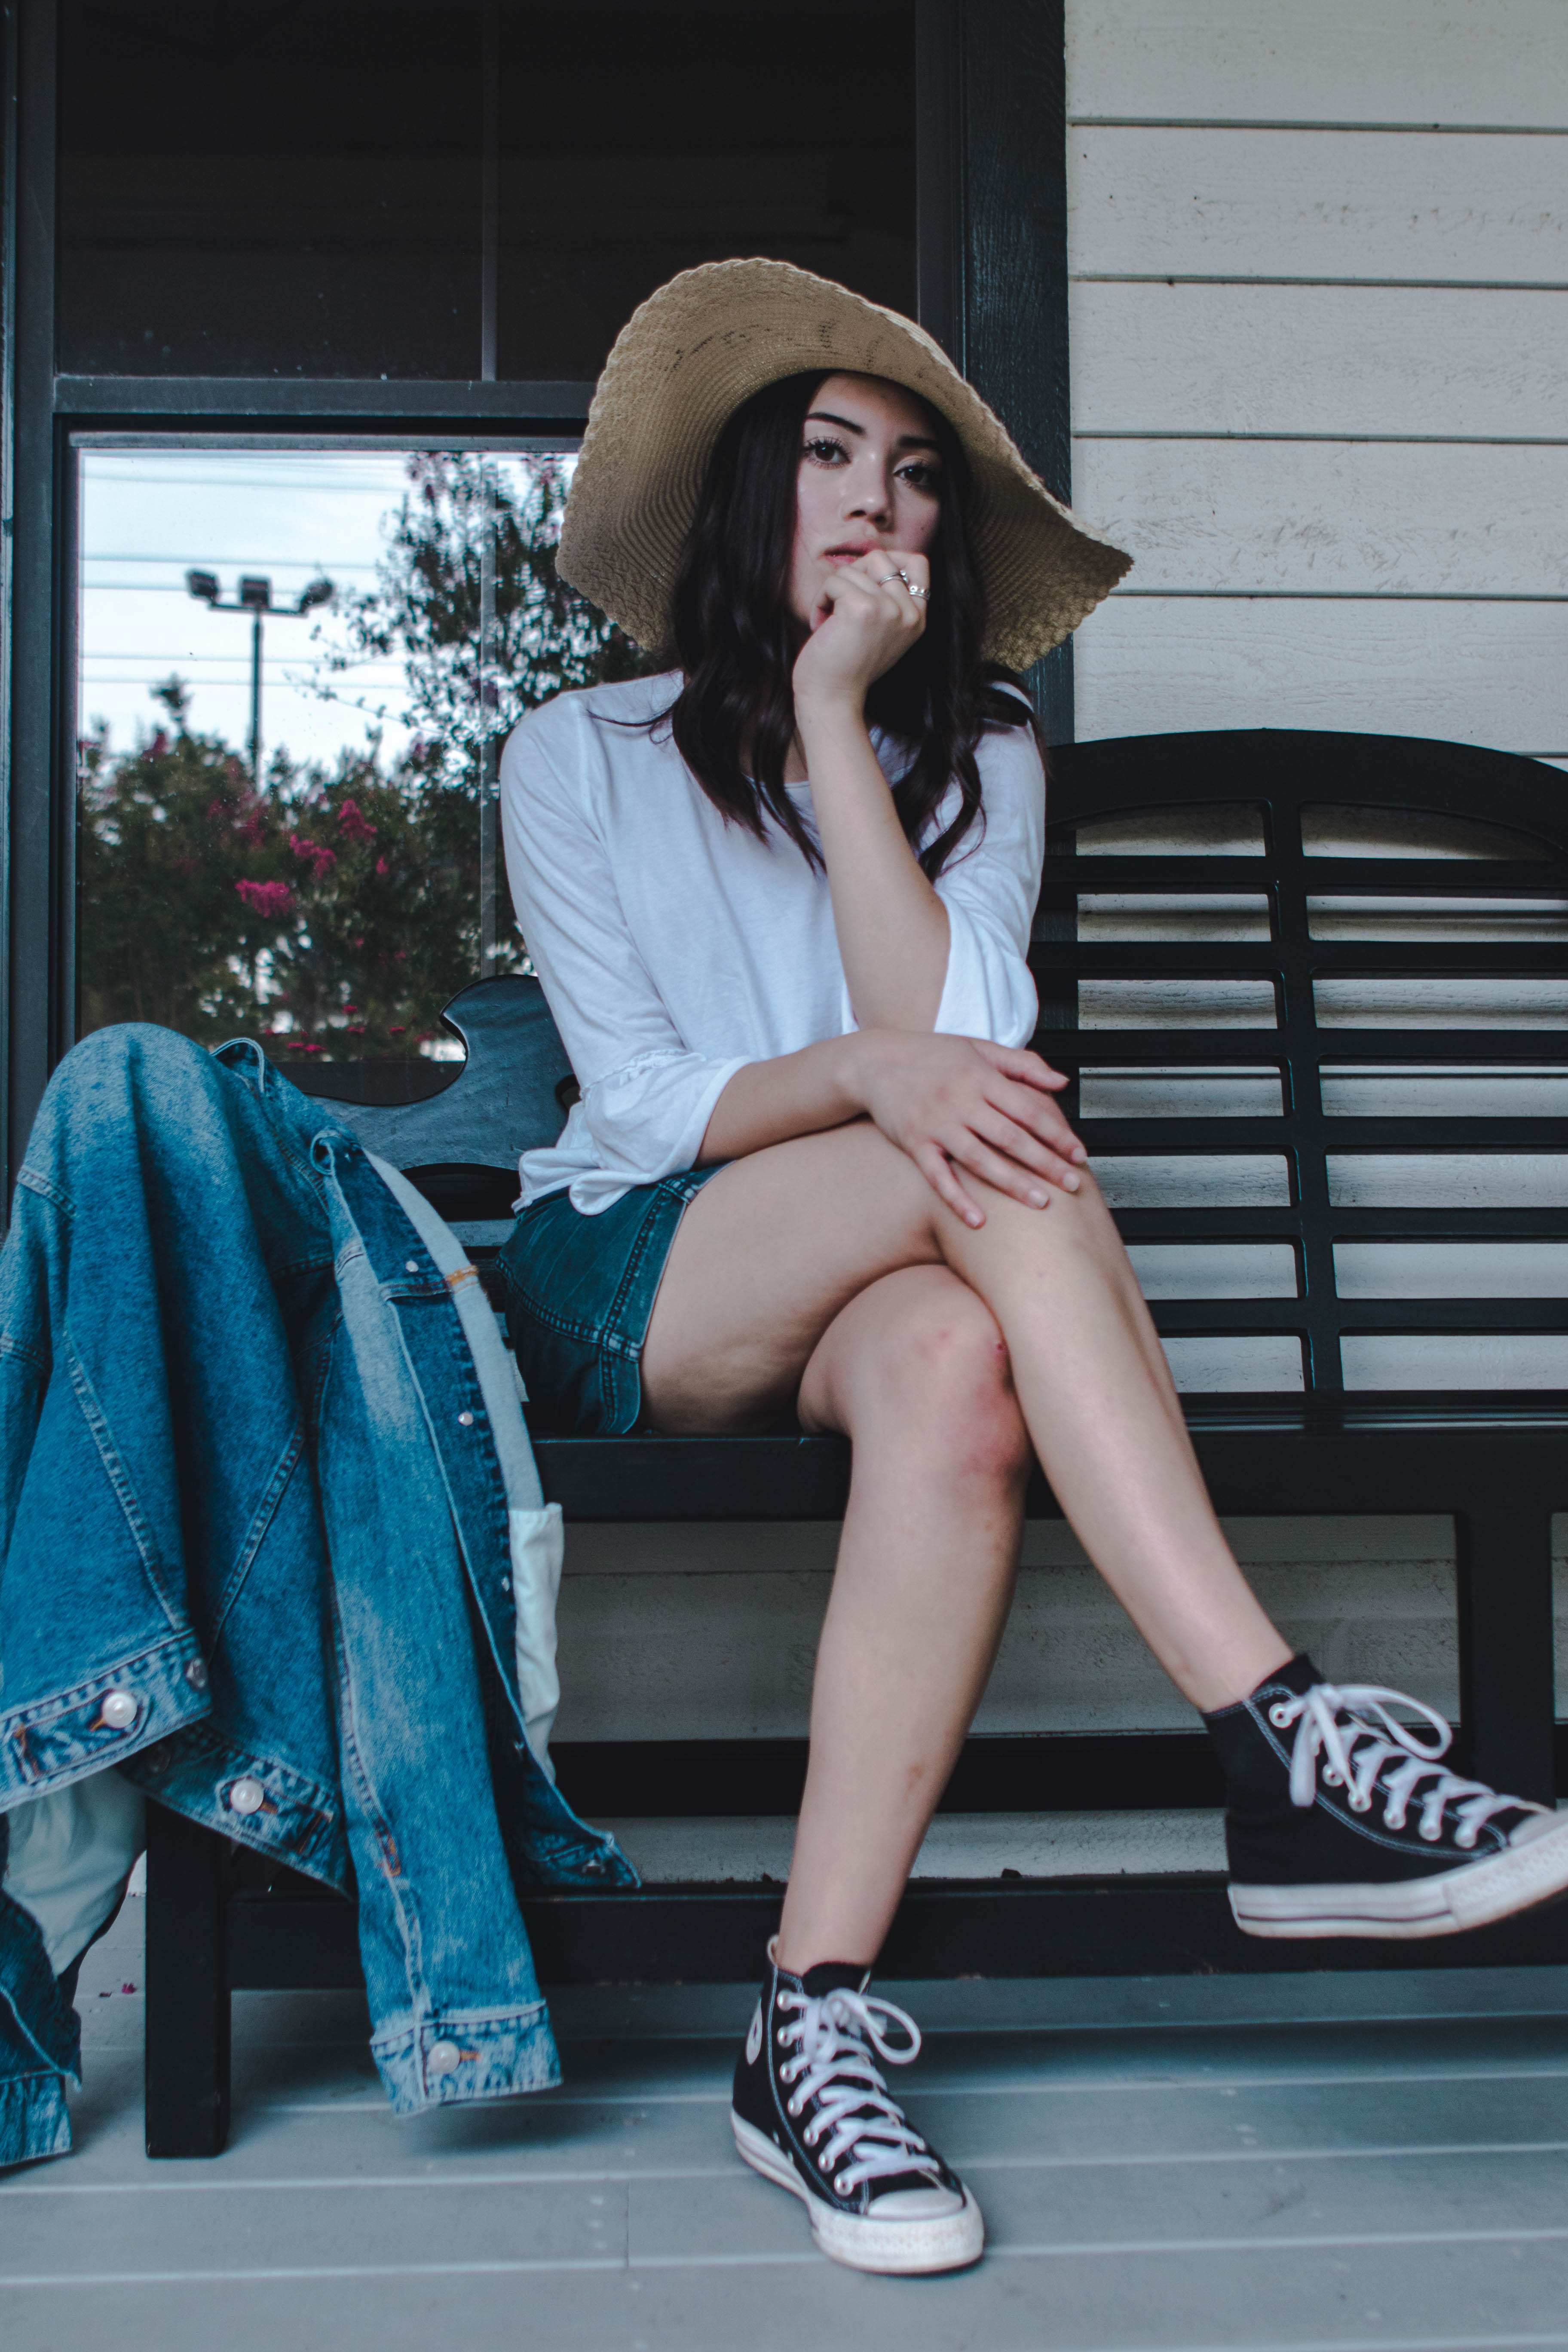
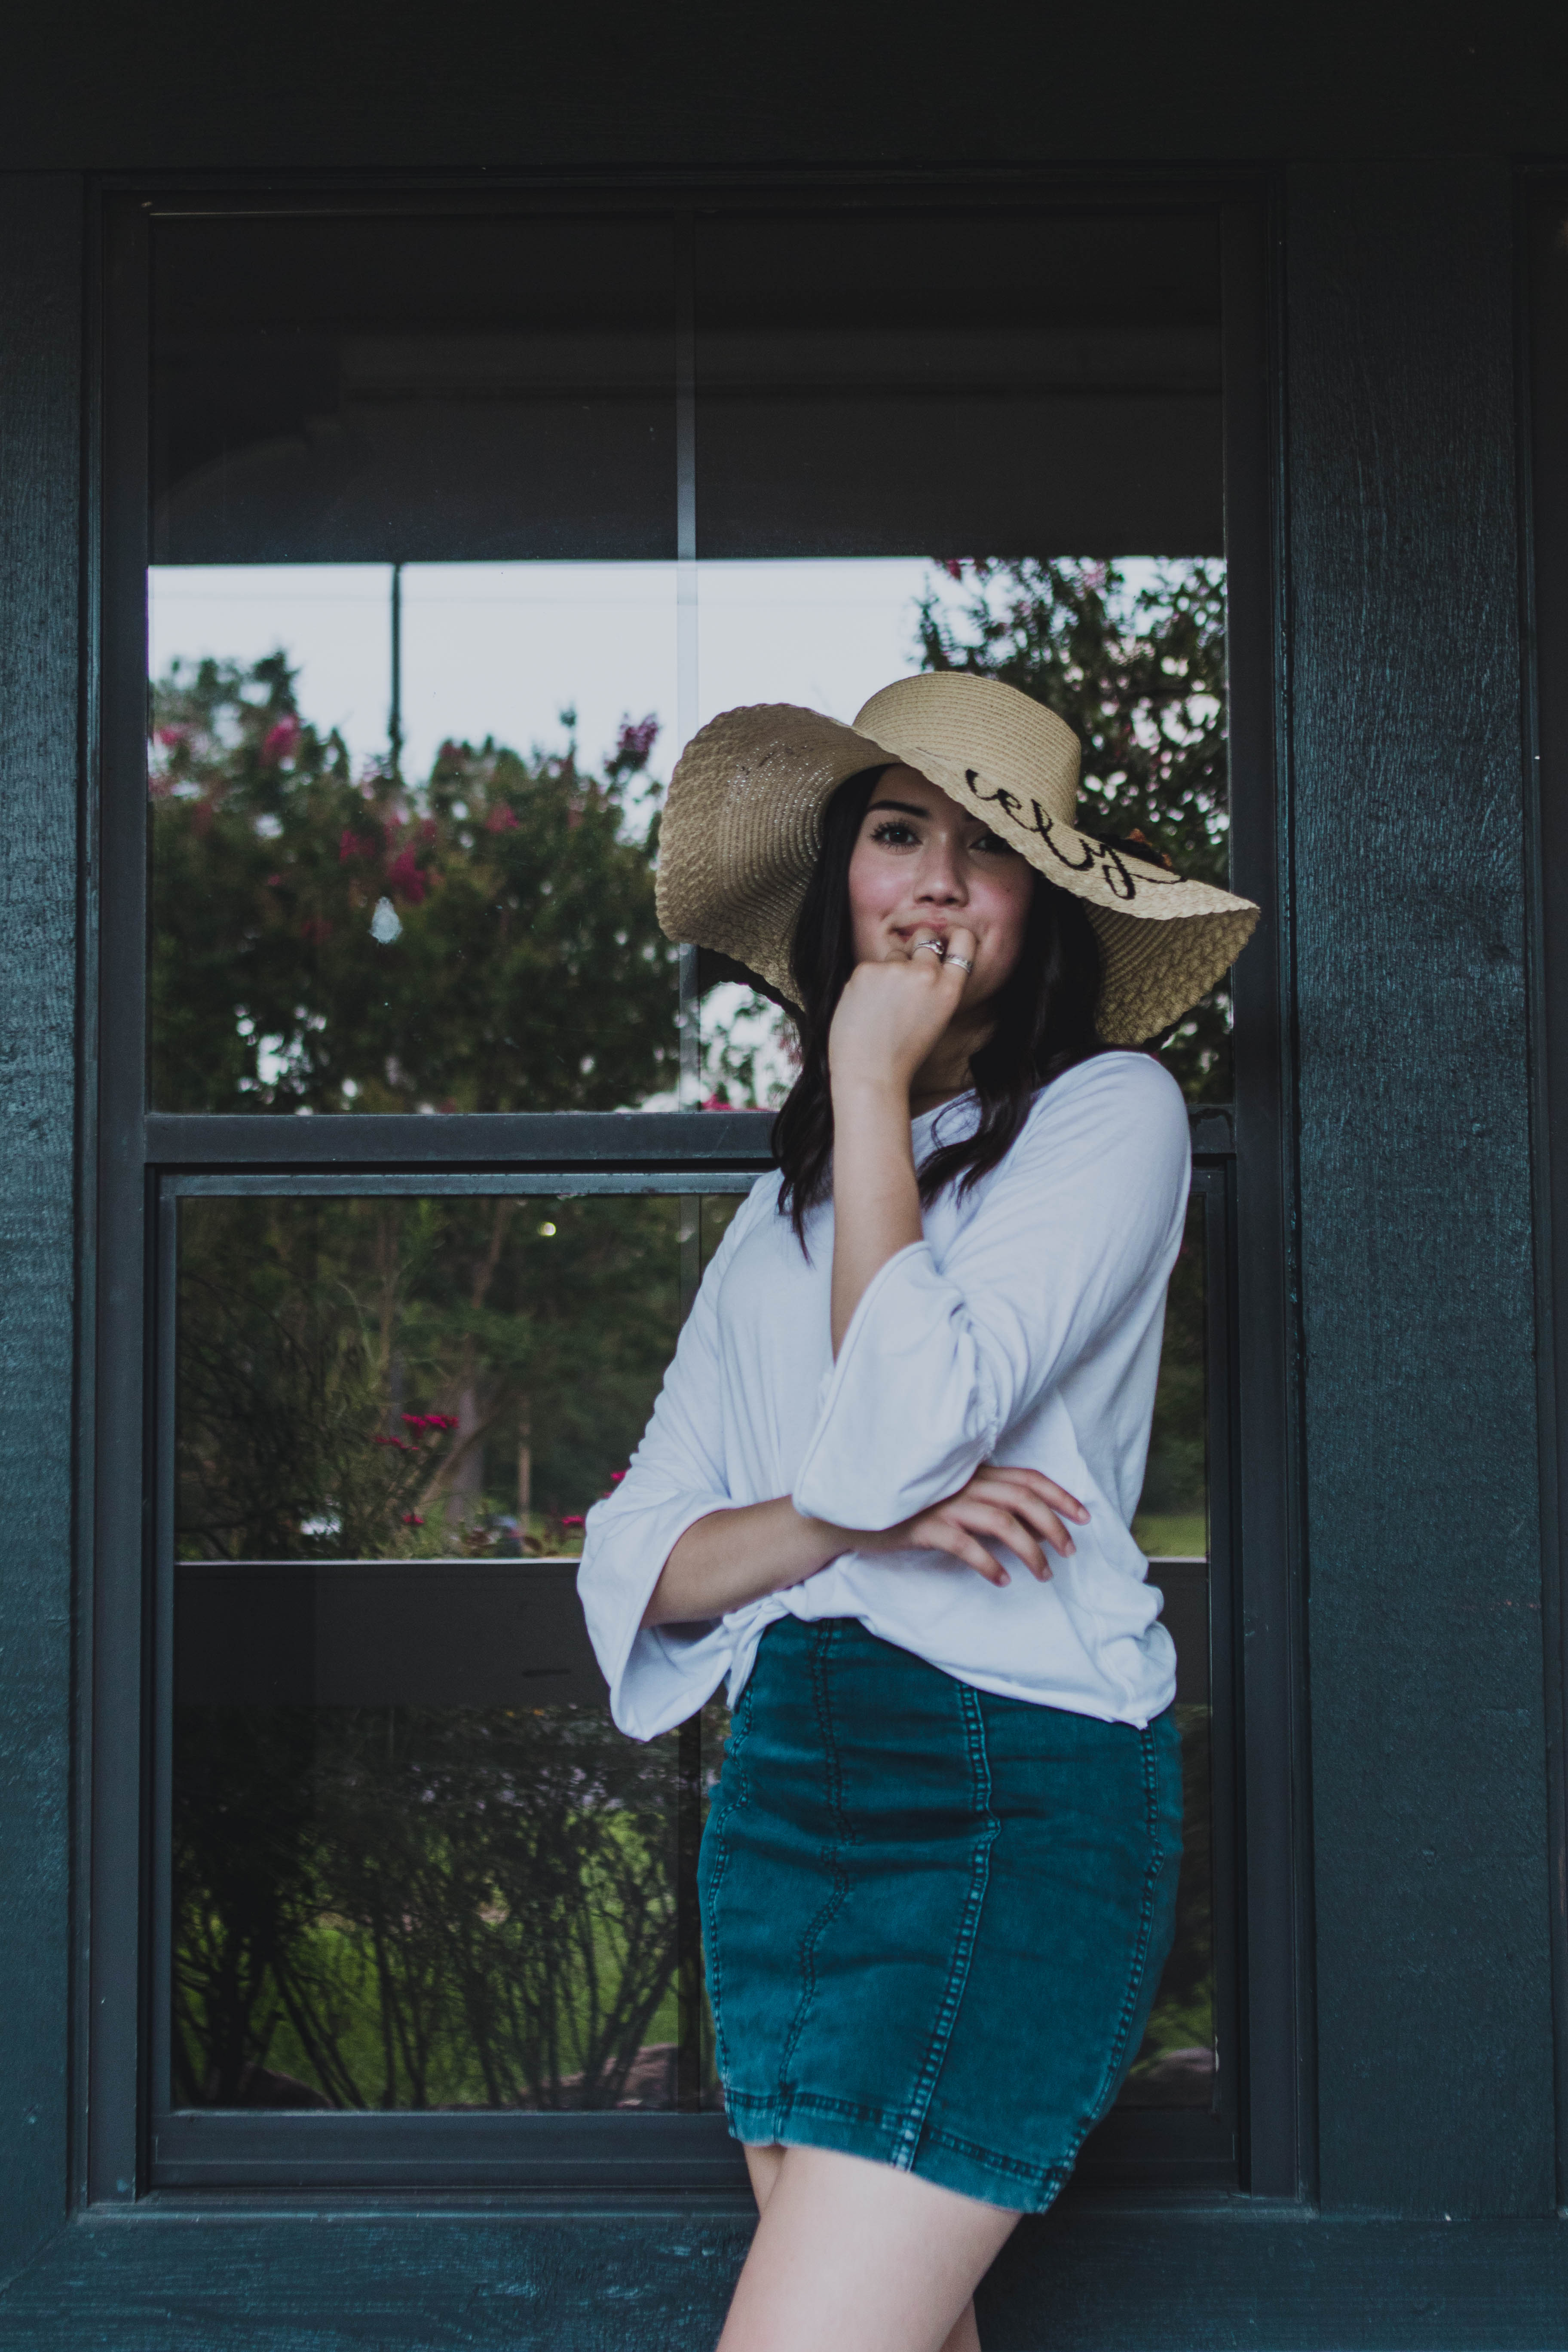
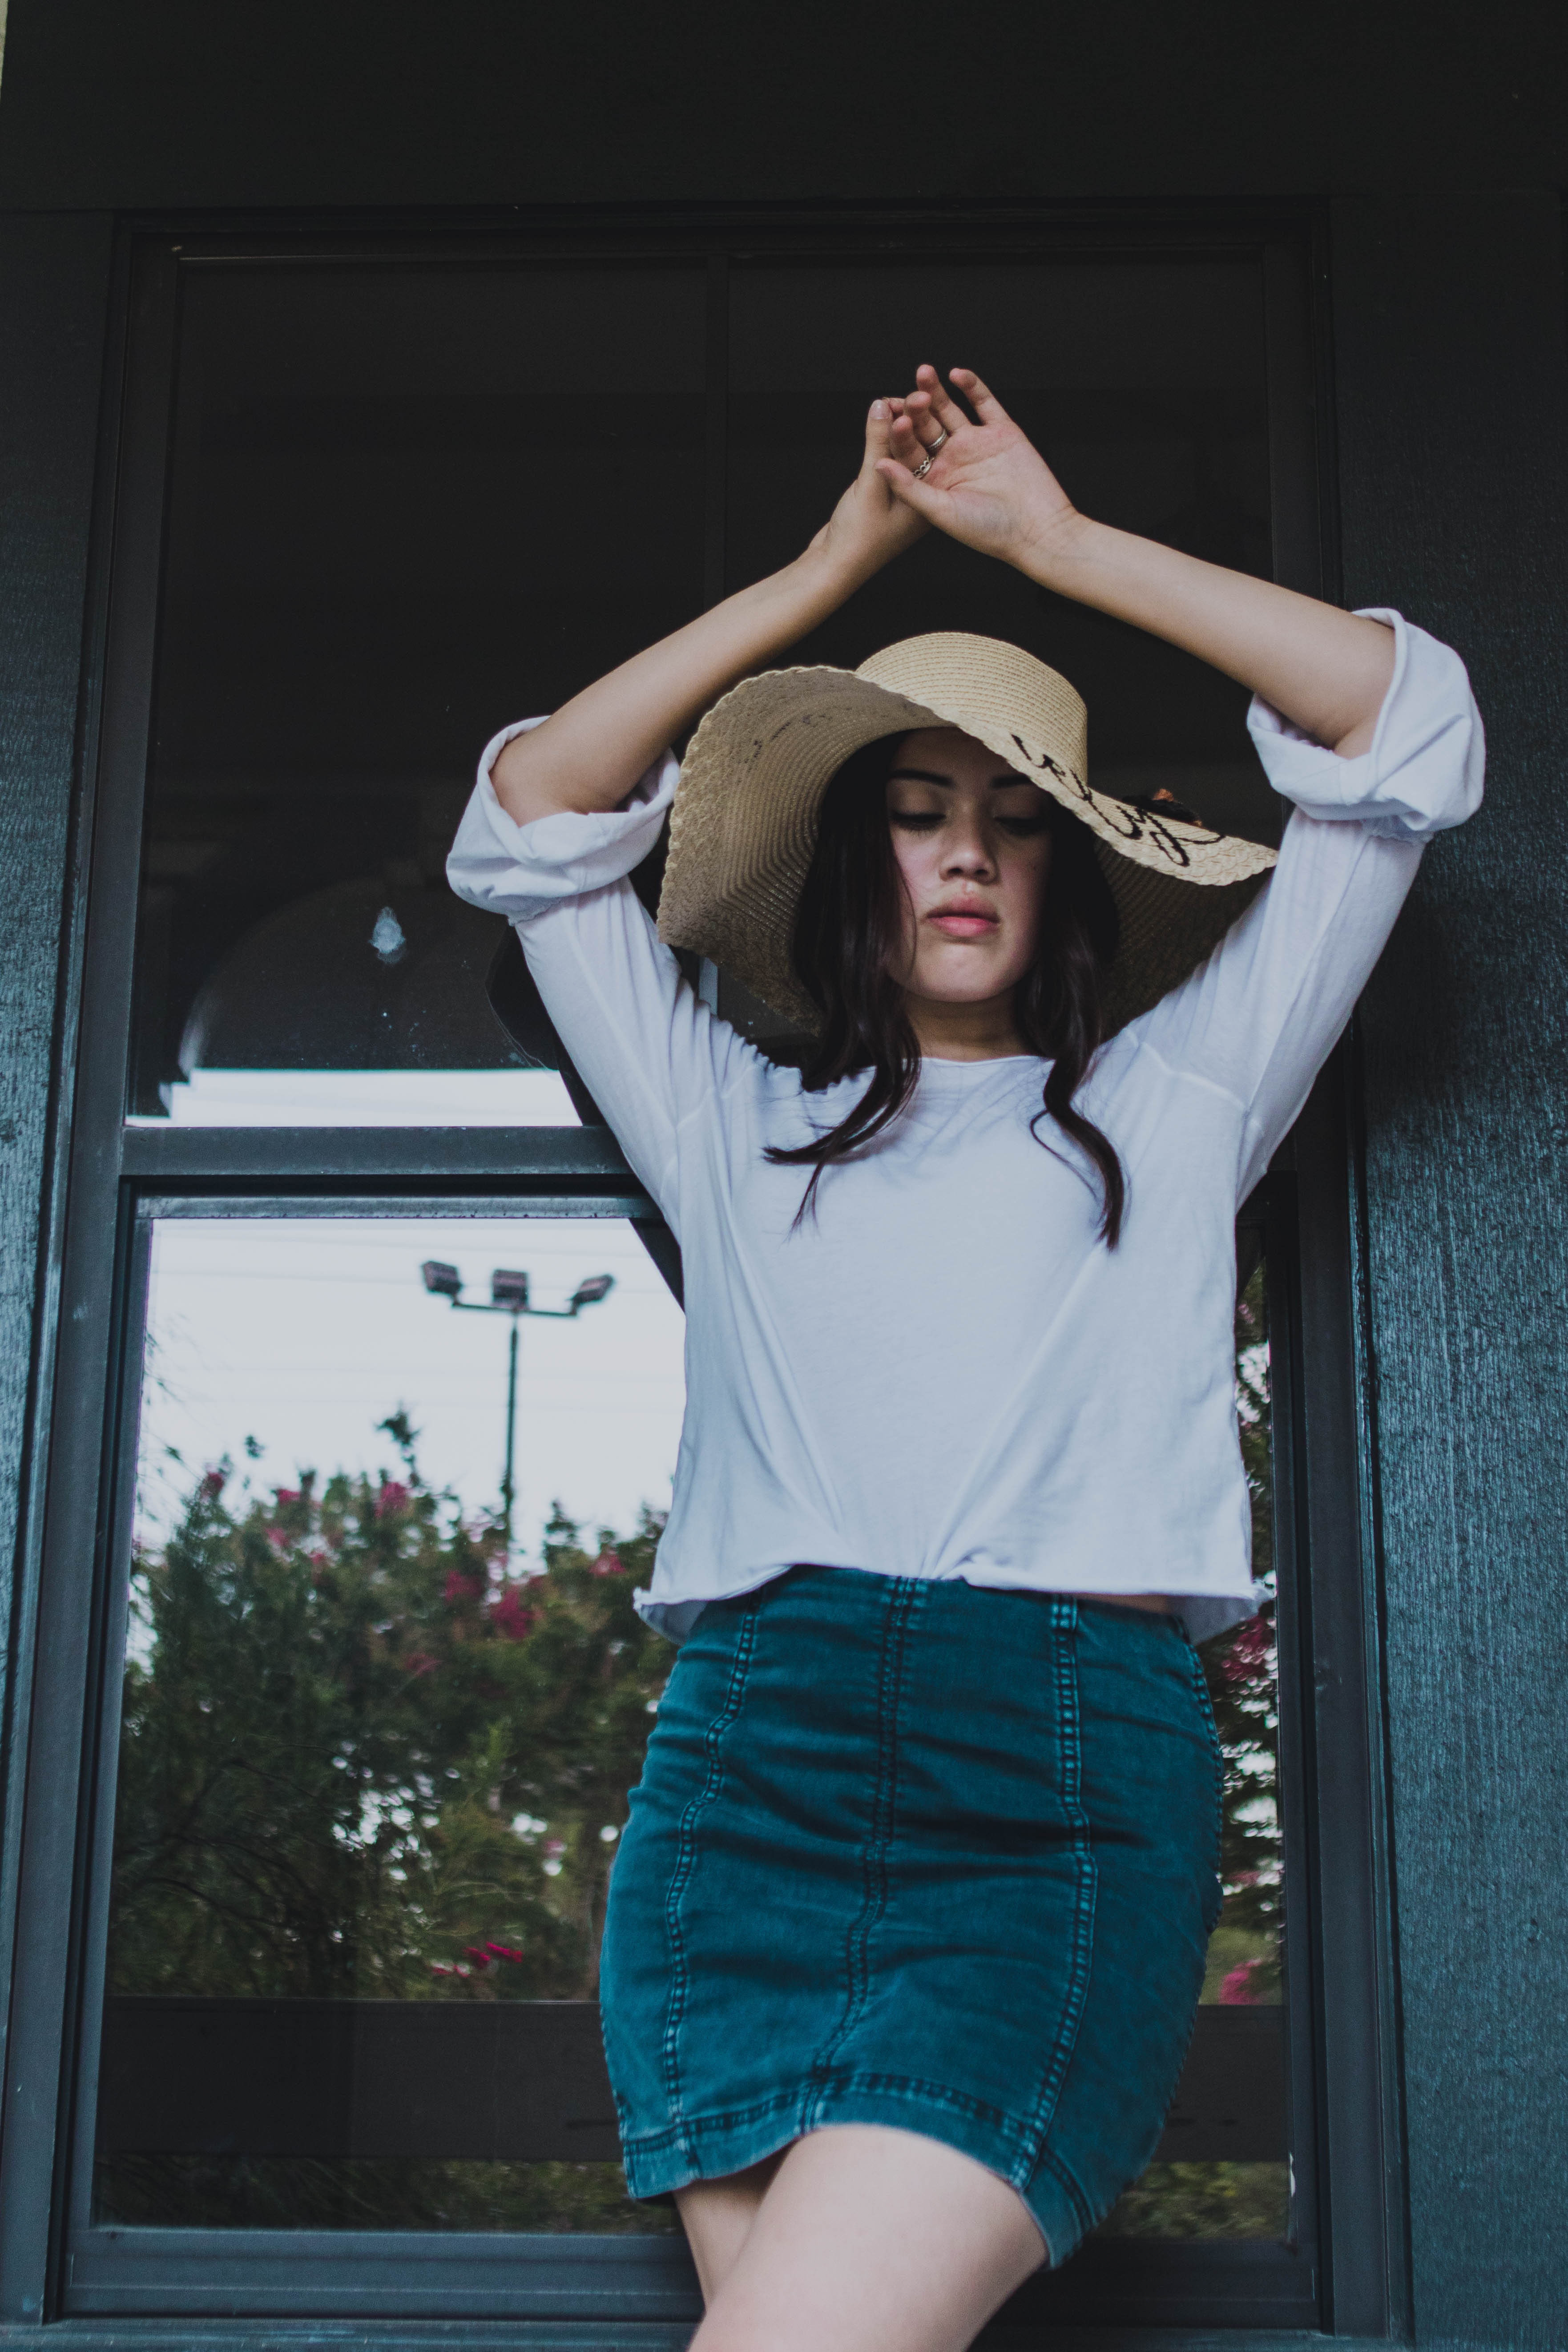
Recently I’ve been missing the precision and vintage feel that film brings to each of my images so I purchased some Kodak Portra 400 film and scheduled a shoot. After having to develop all of my own rolls, not understanding the manual setting on my film camera and constantly smelling like developer had I drifted away from shooting with film my Sophomore year of high school. However, I wasn’t completely confident in my film abilities because I haven’t shot with film in over two years so I brought along my digital camera. I wanted my digital images to also have a vintage quality so I diy-ed a lens filter.
I placed a piece of clear saran wrap on my camera lens and attached it with a rubber band. Next, I added a thin layer of vaseline around the outside of my lens creating a frame around the lens opening and slowly building up to my desired opaqueness. With much trial and error, I created the perfect amount of haze and began shooting.
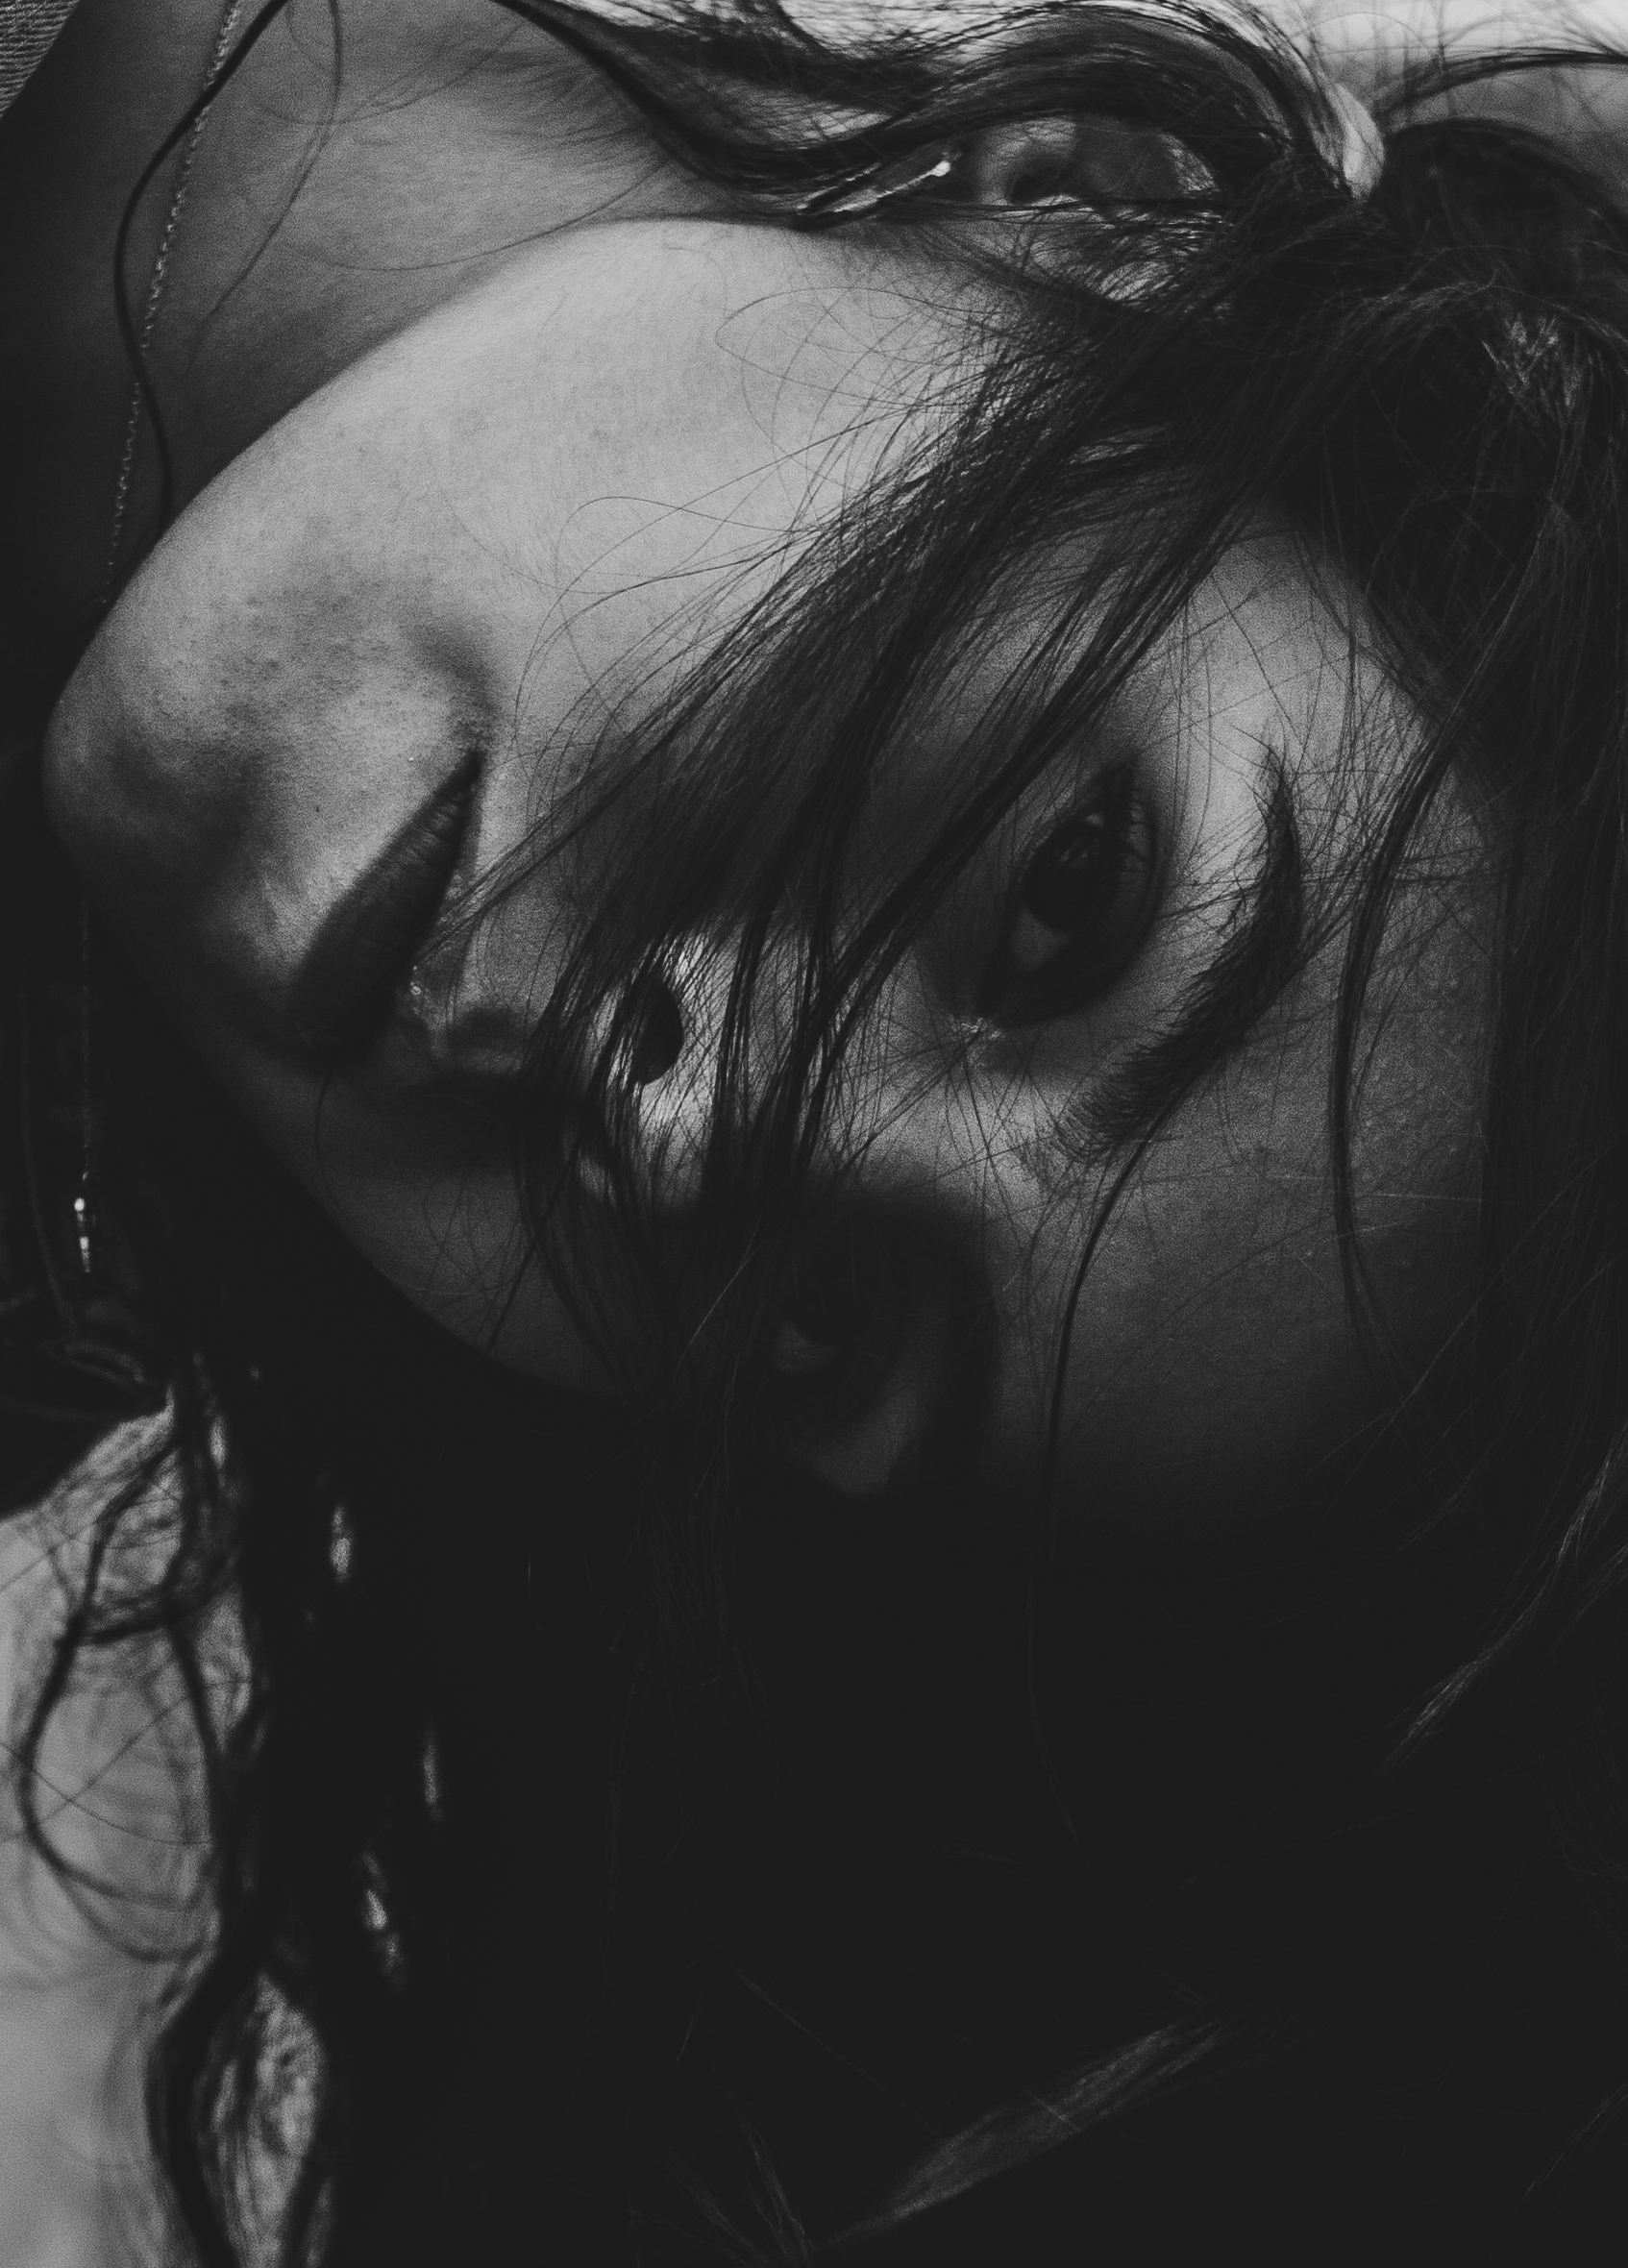


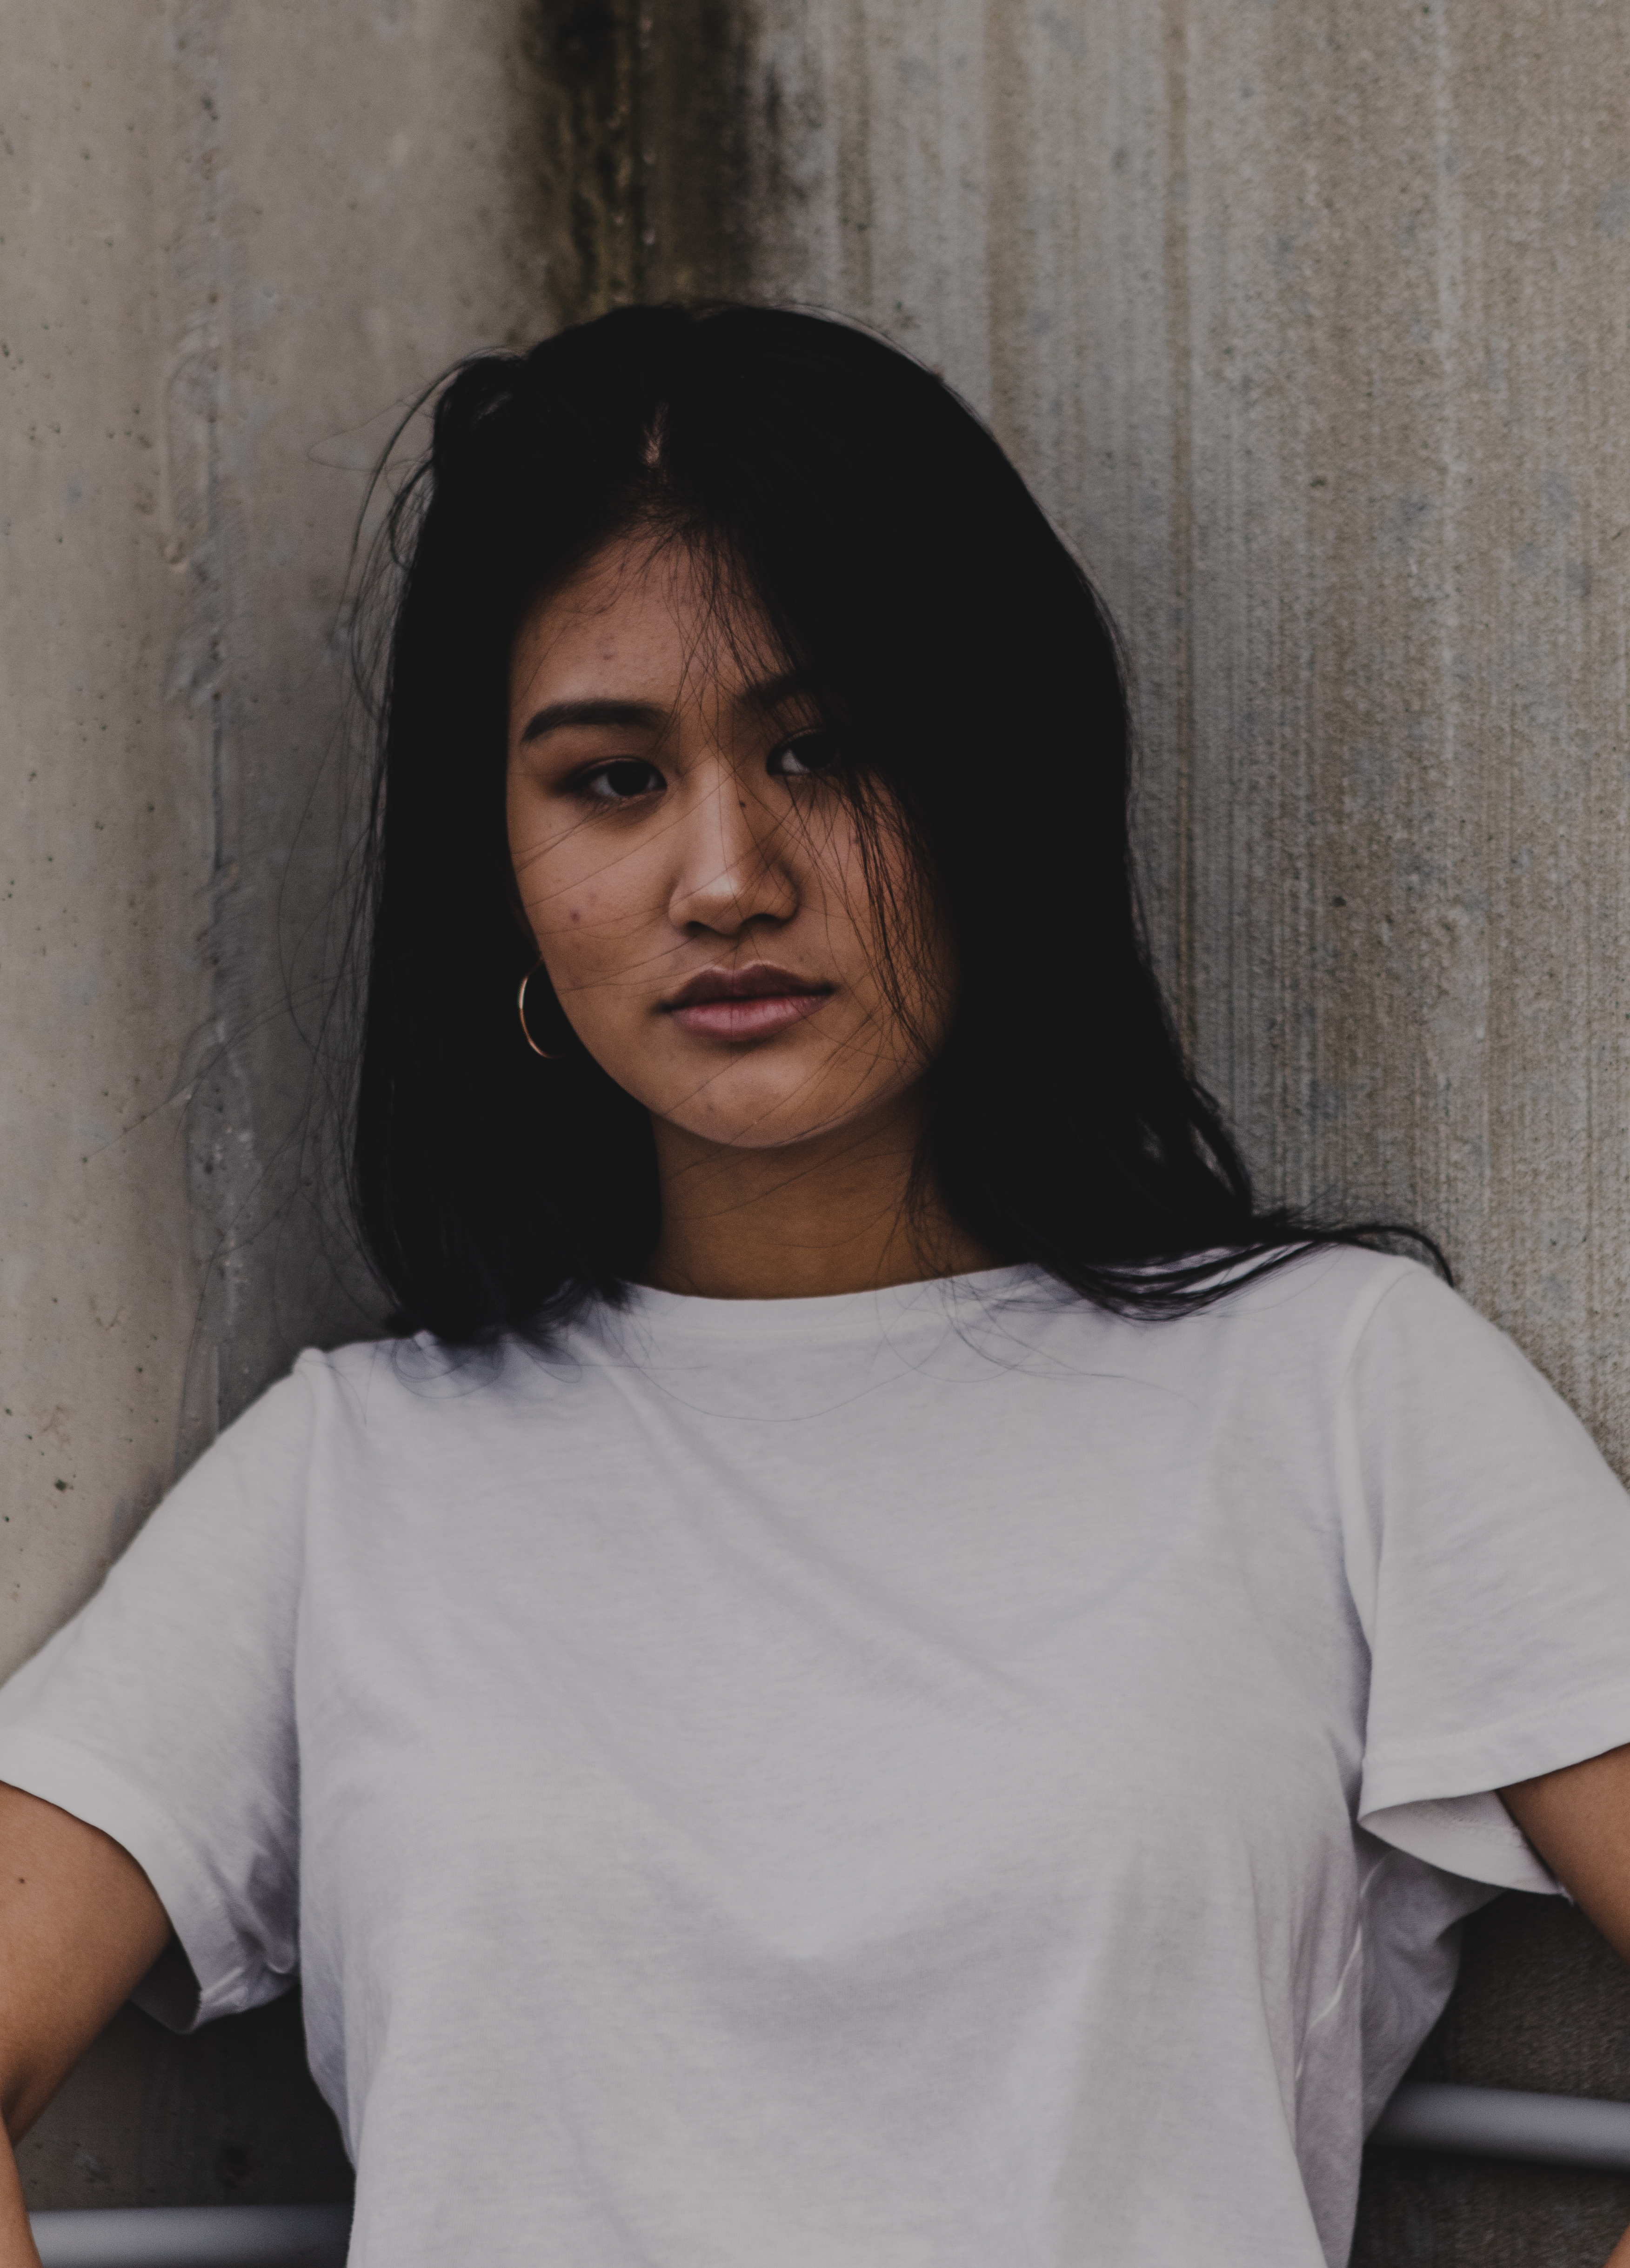


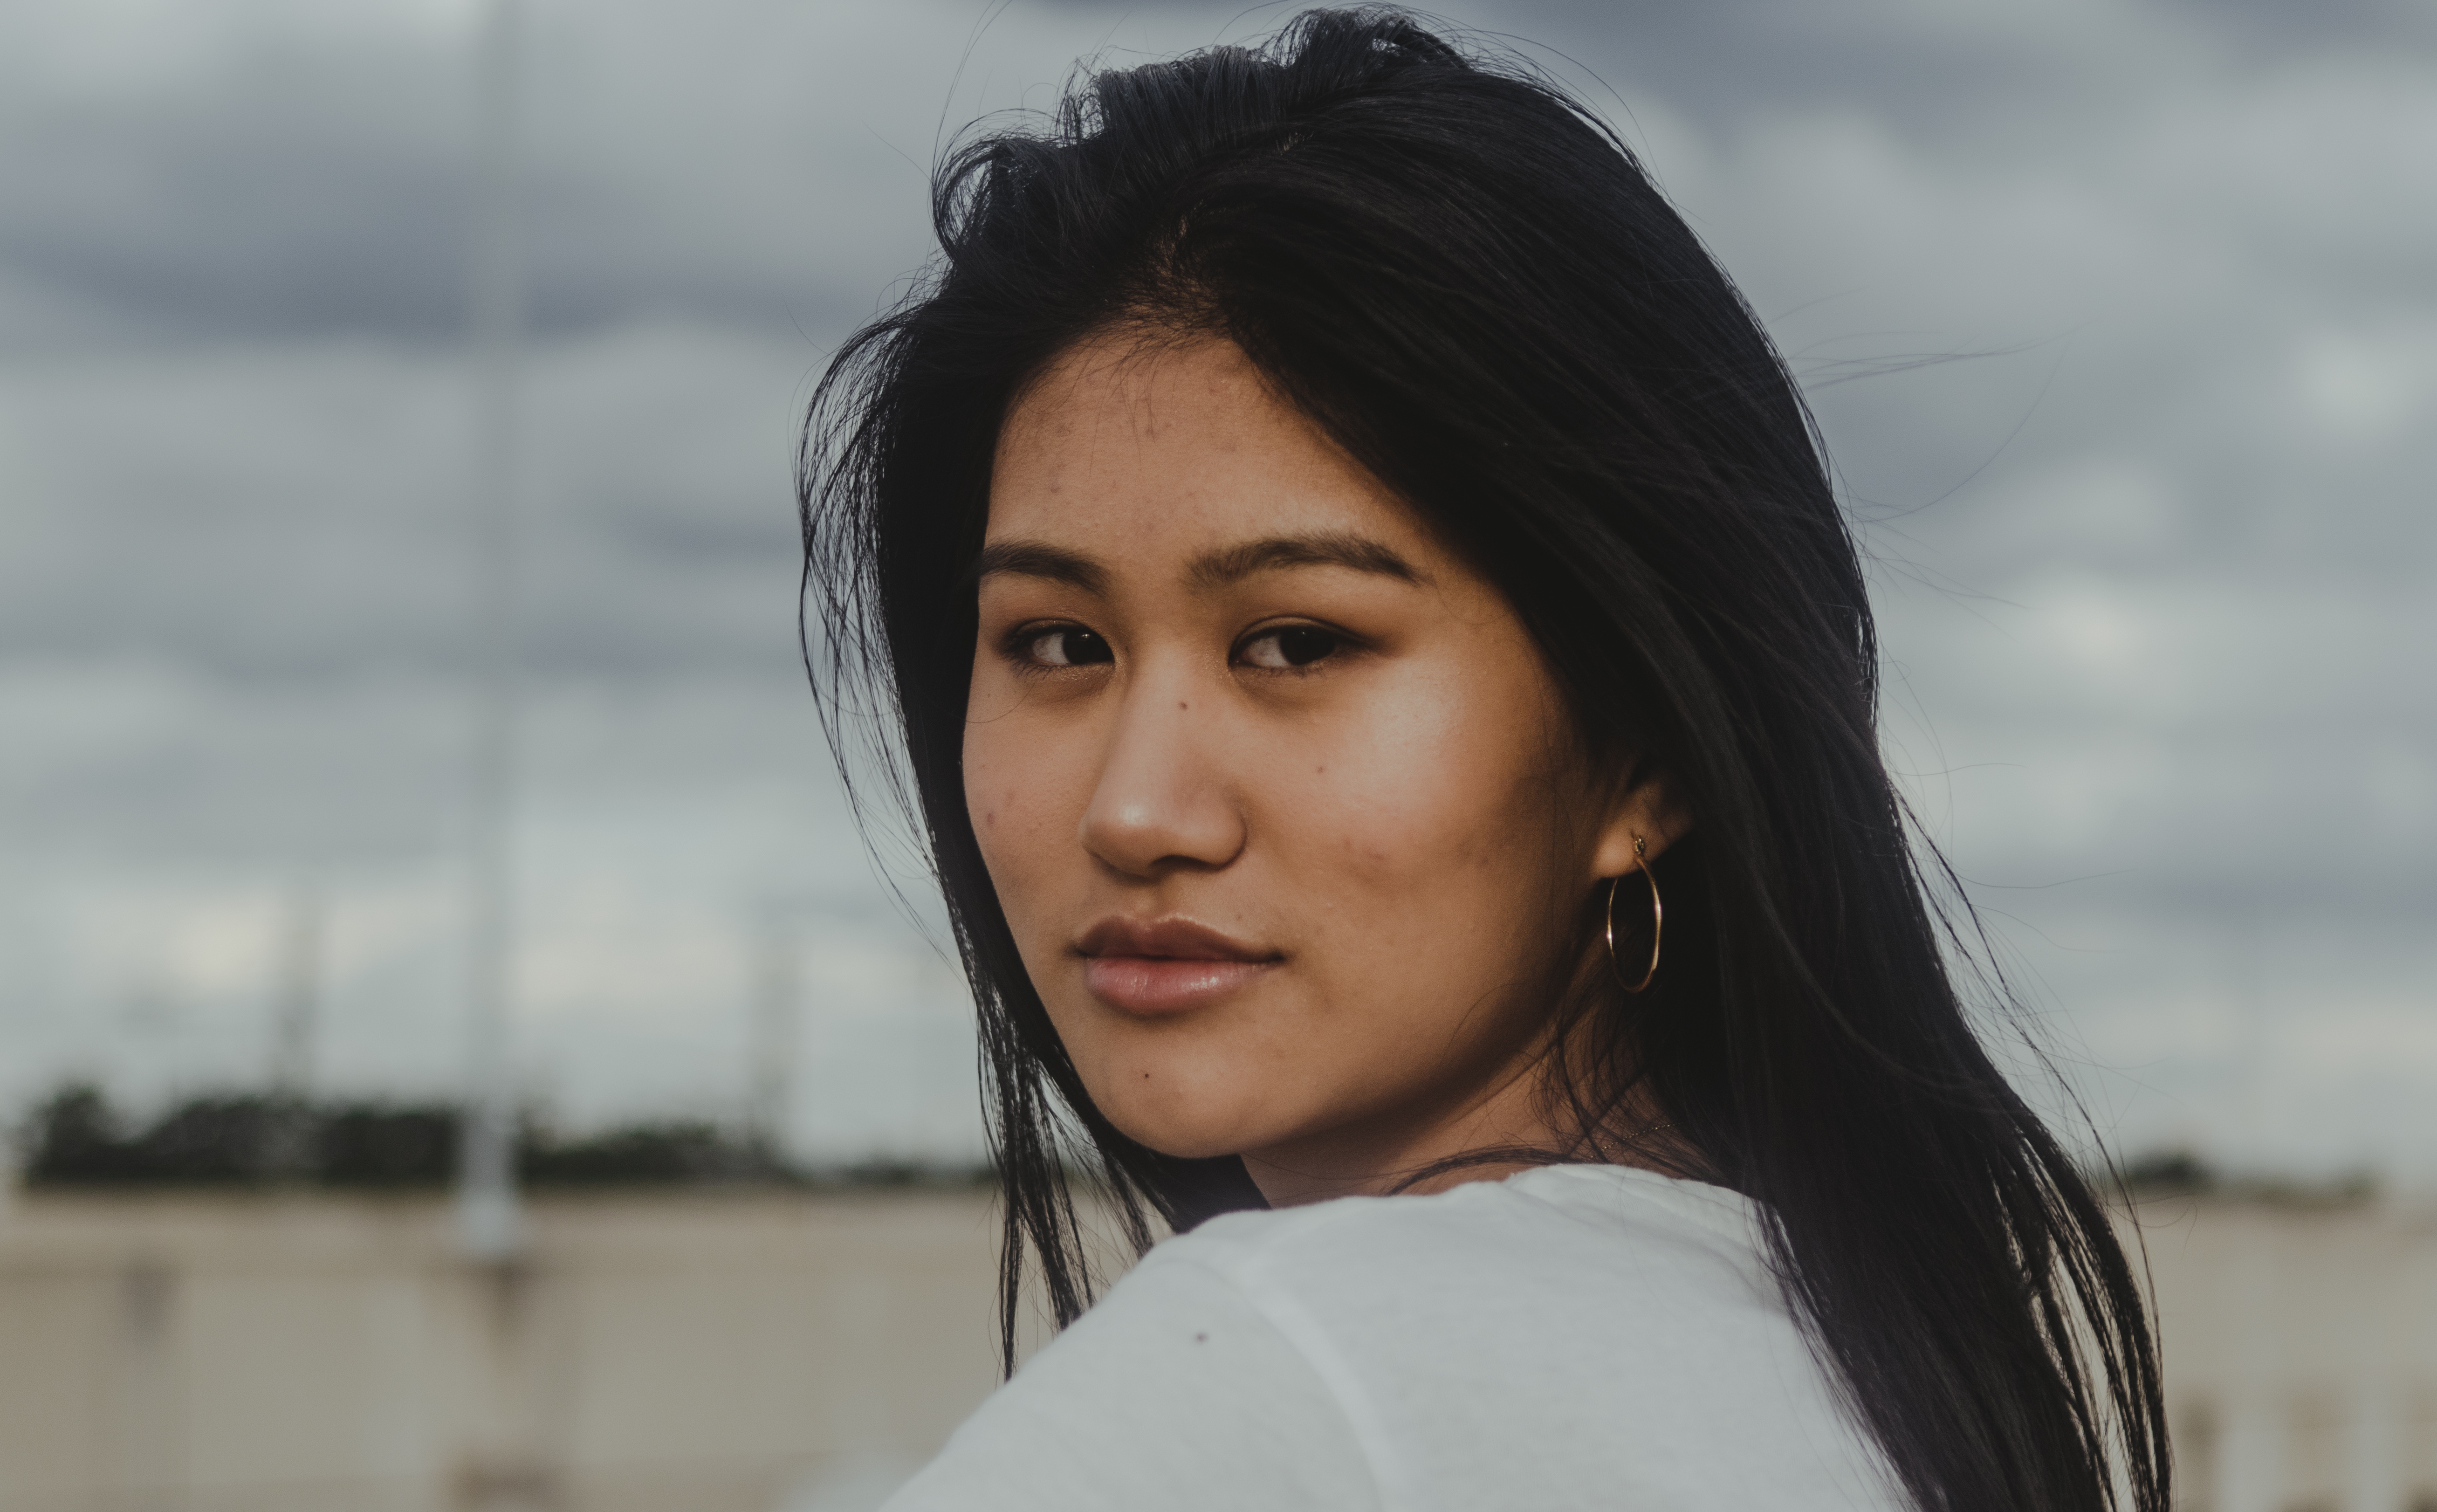


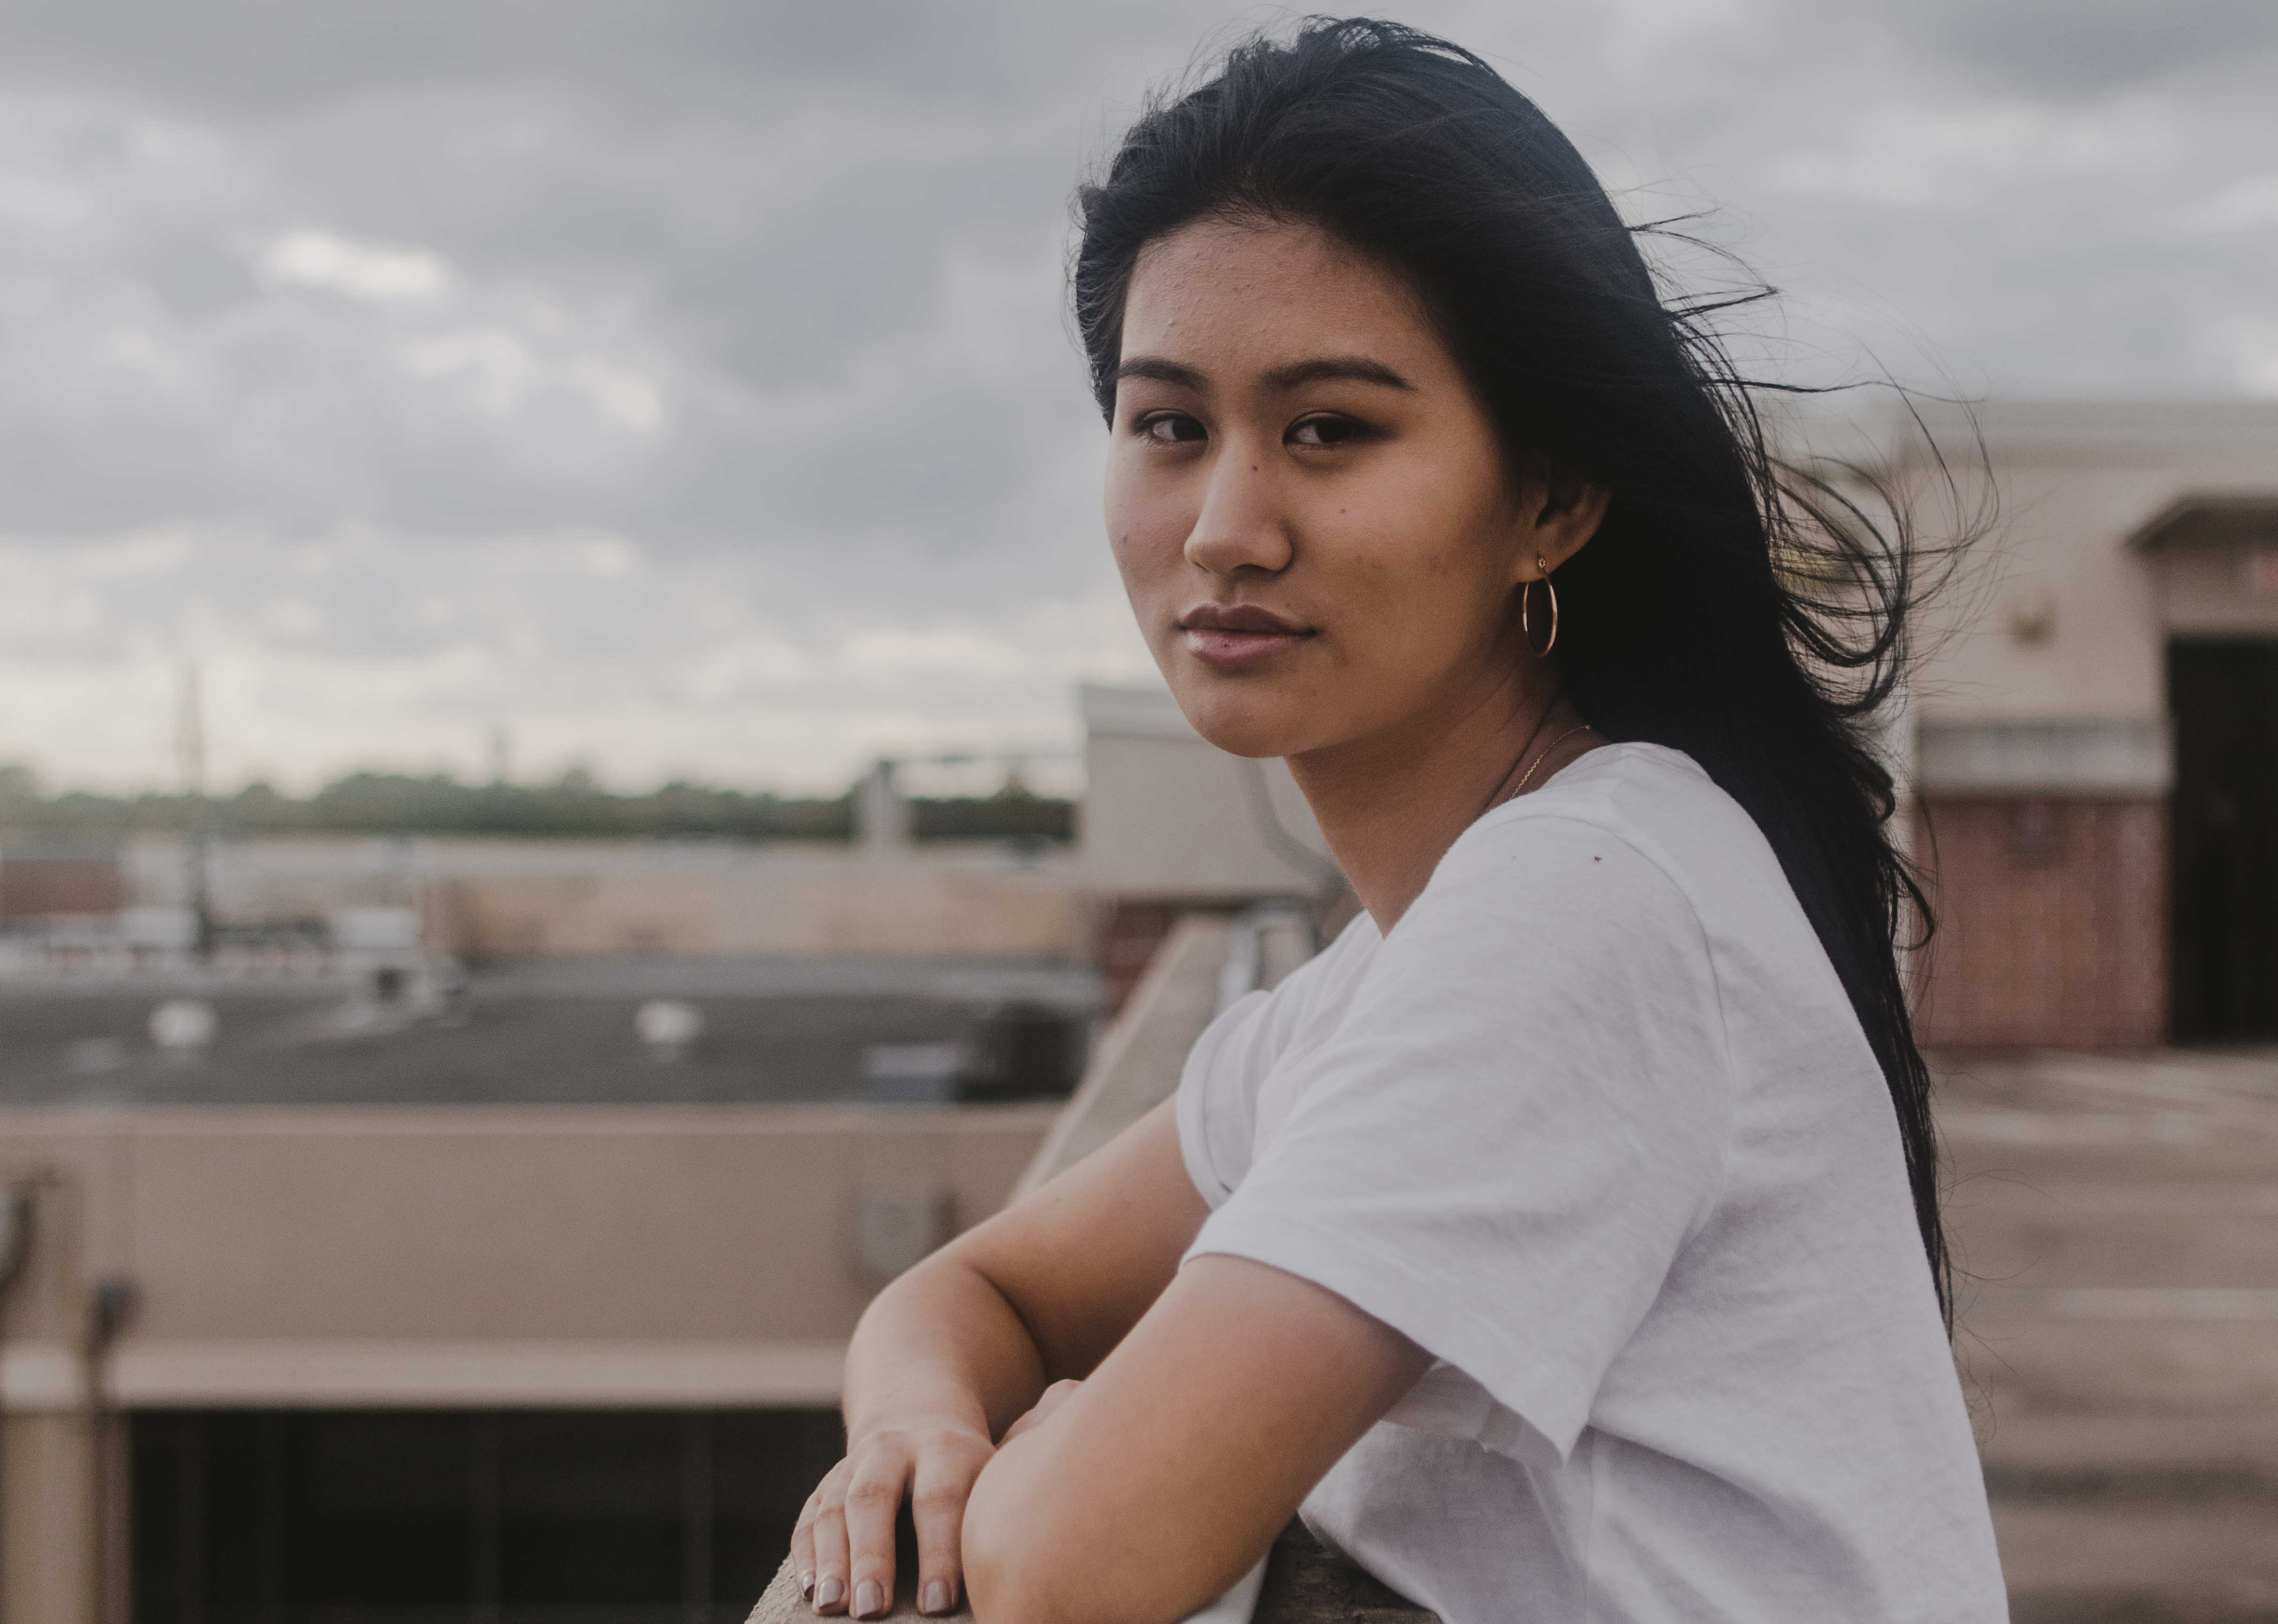
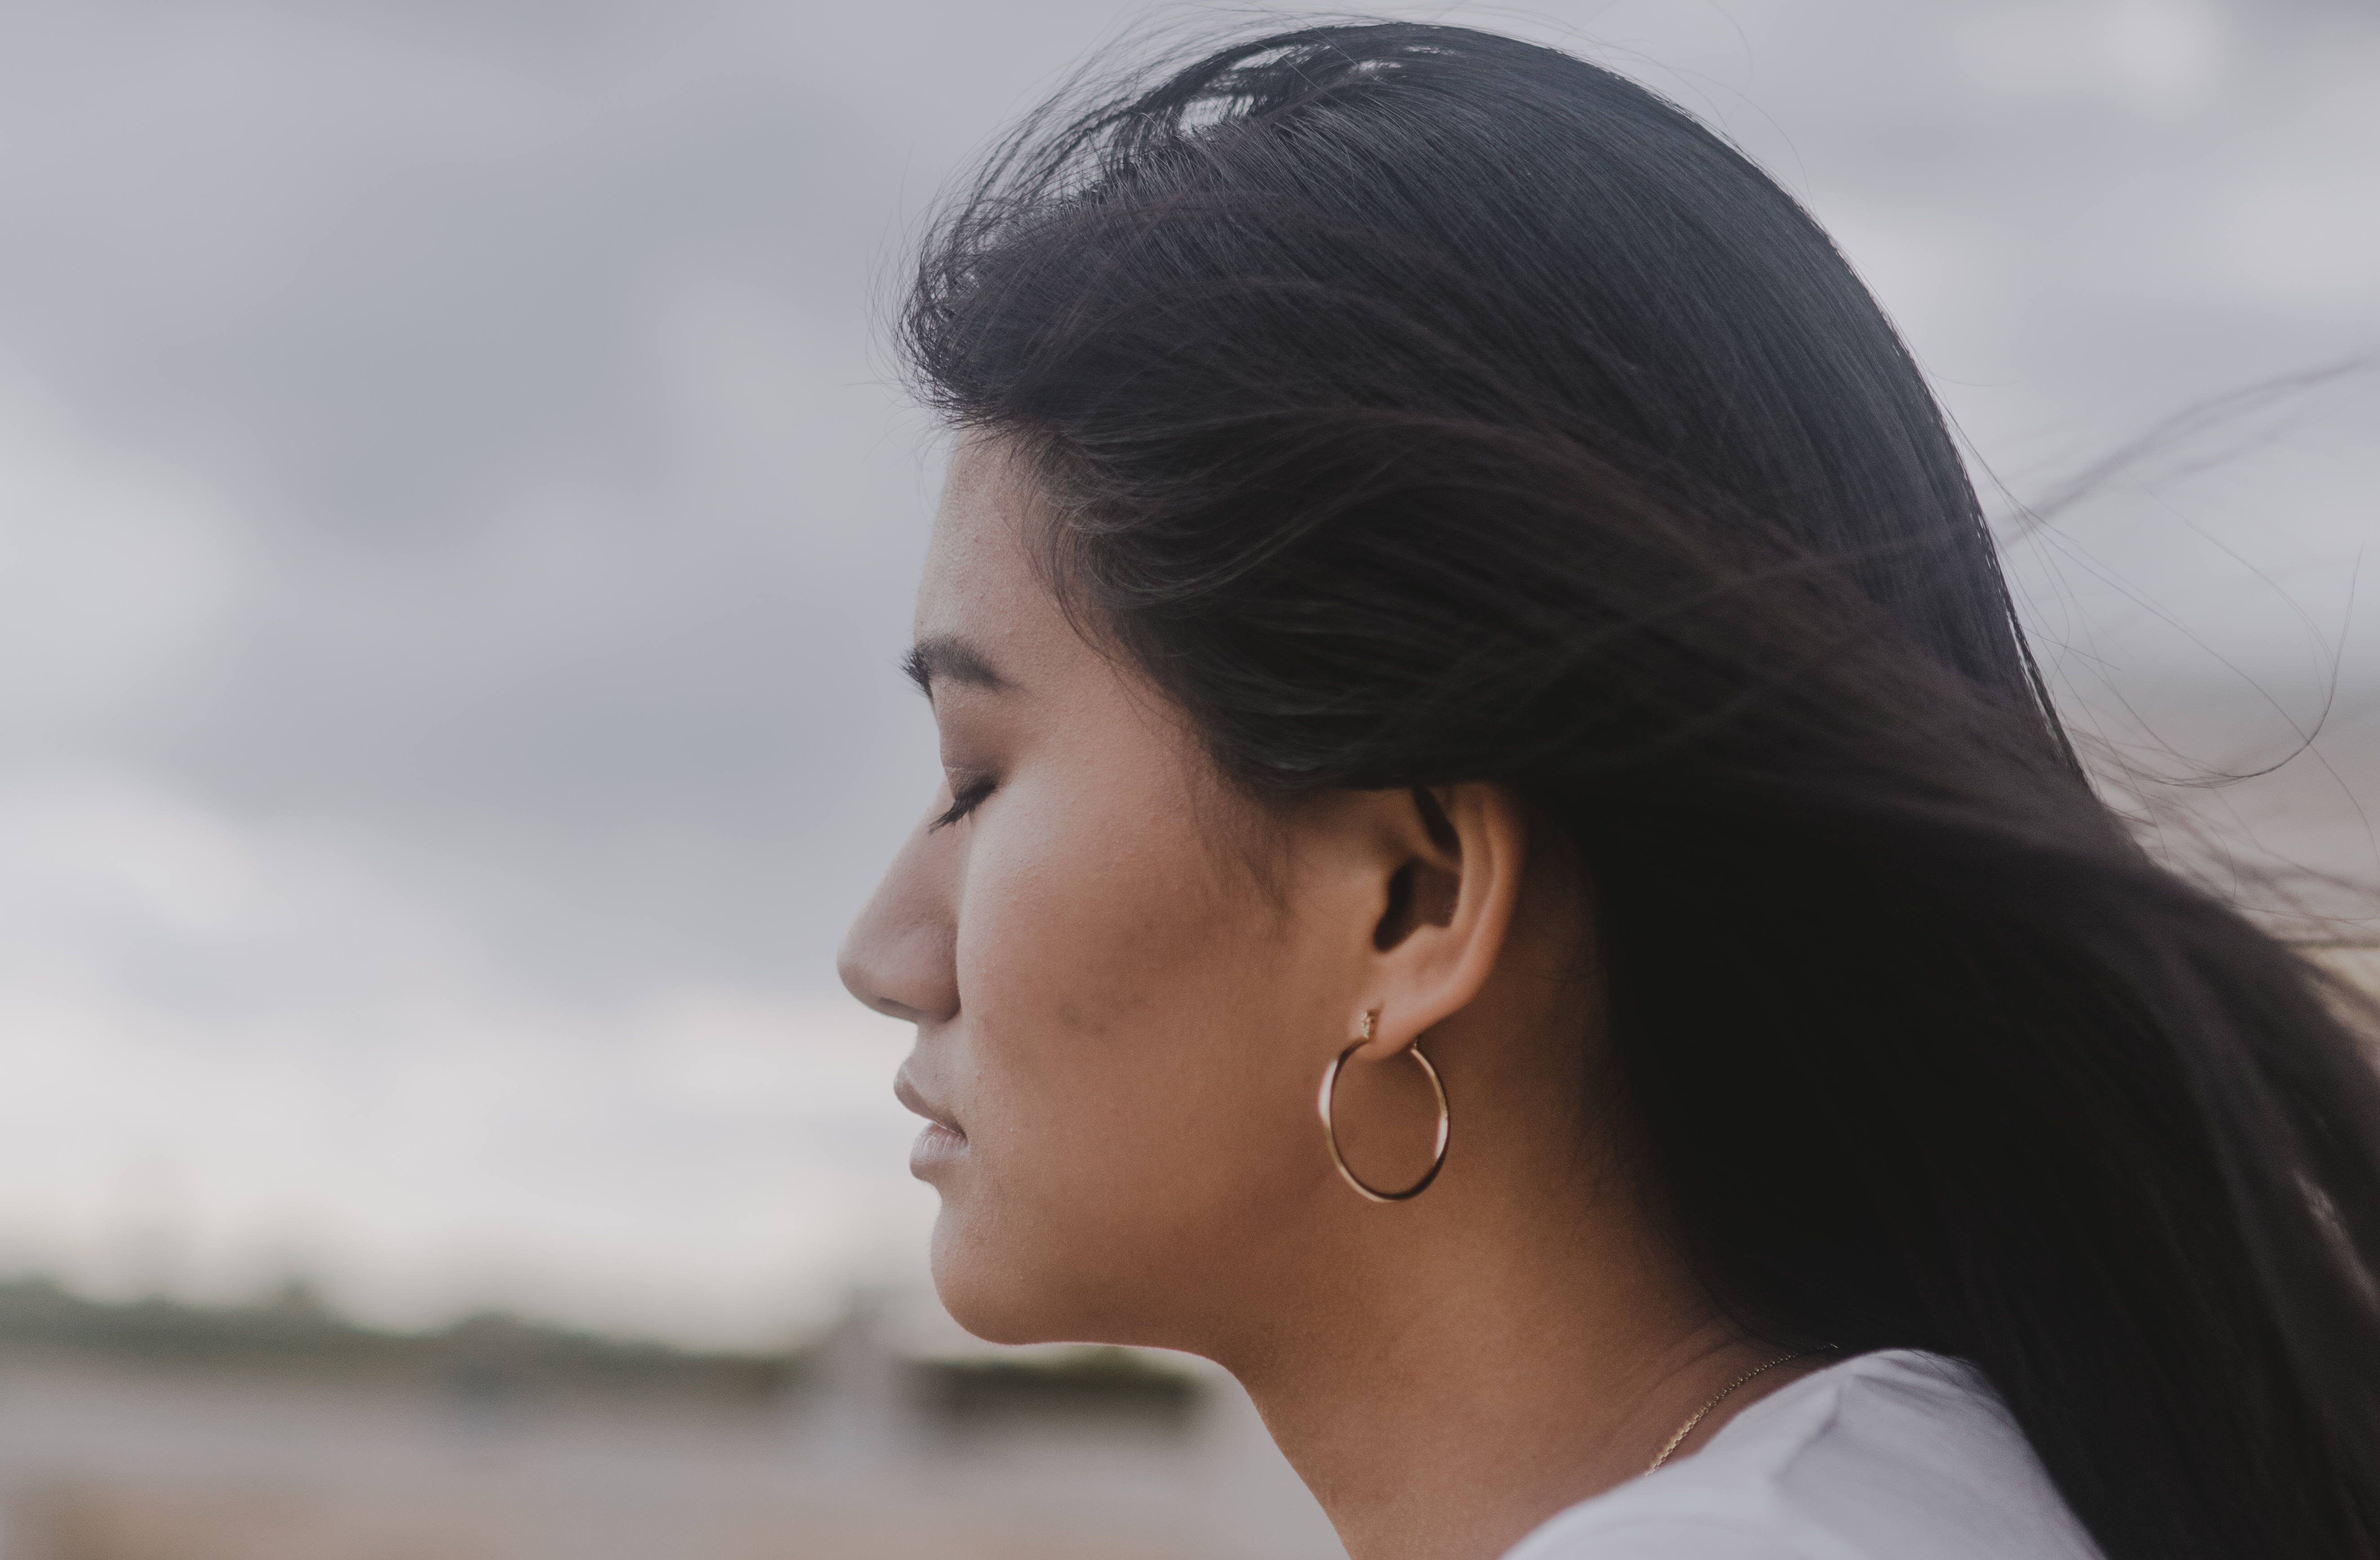


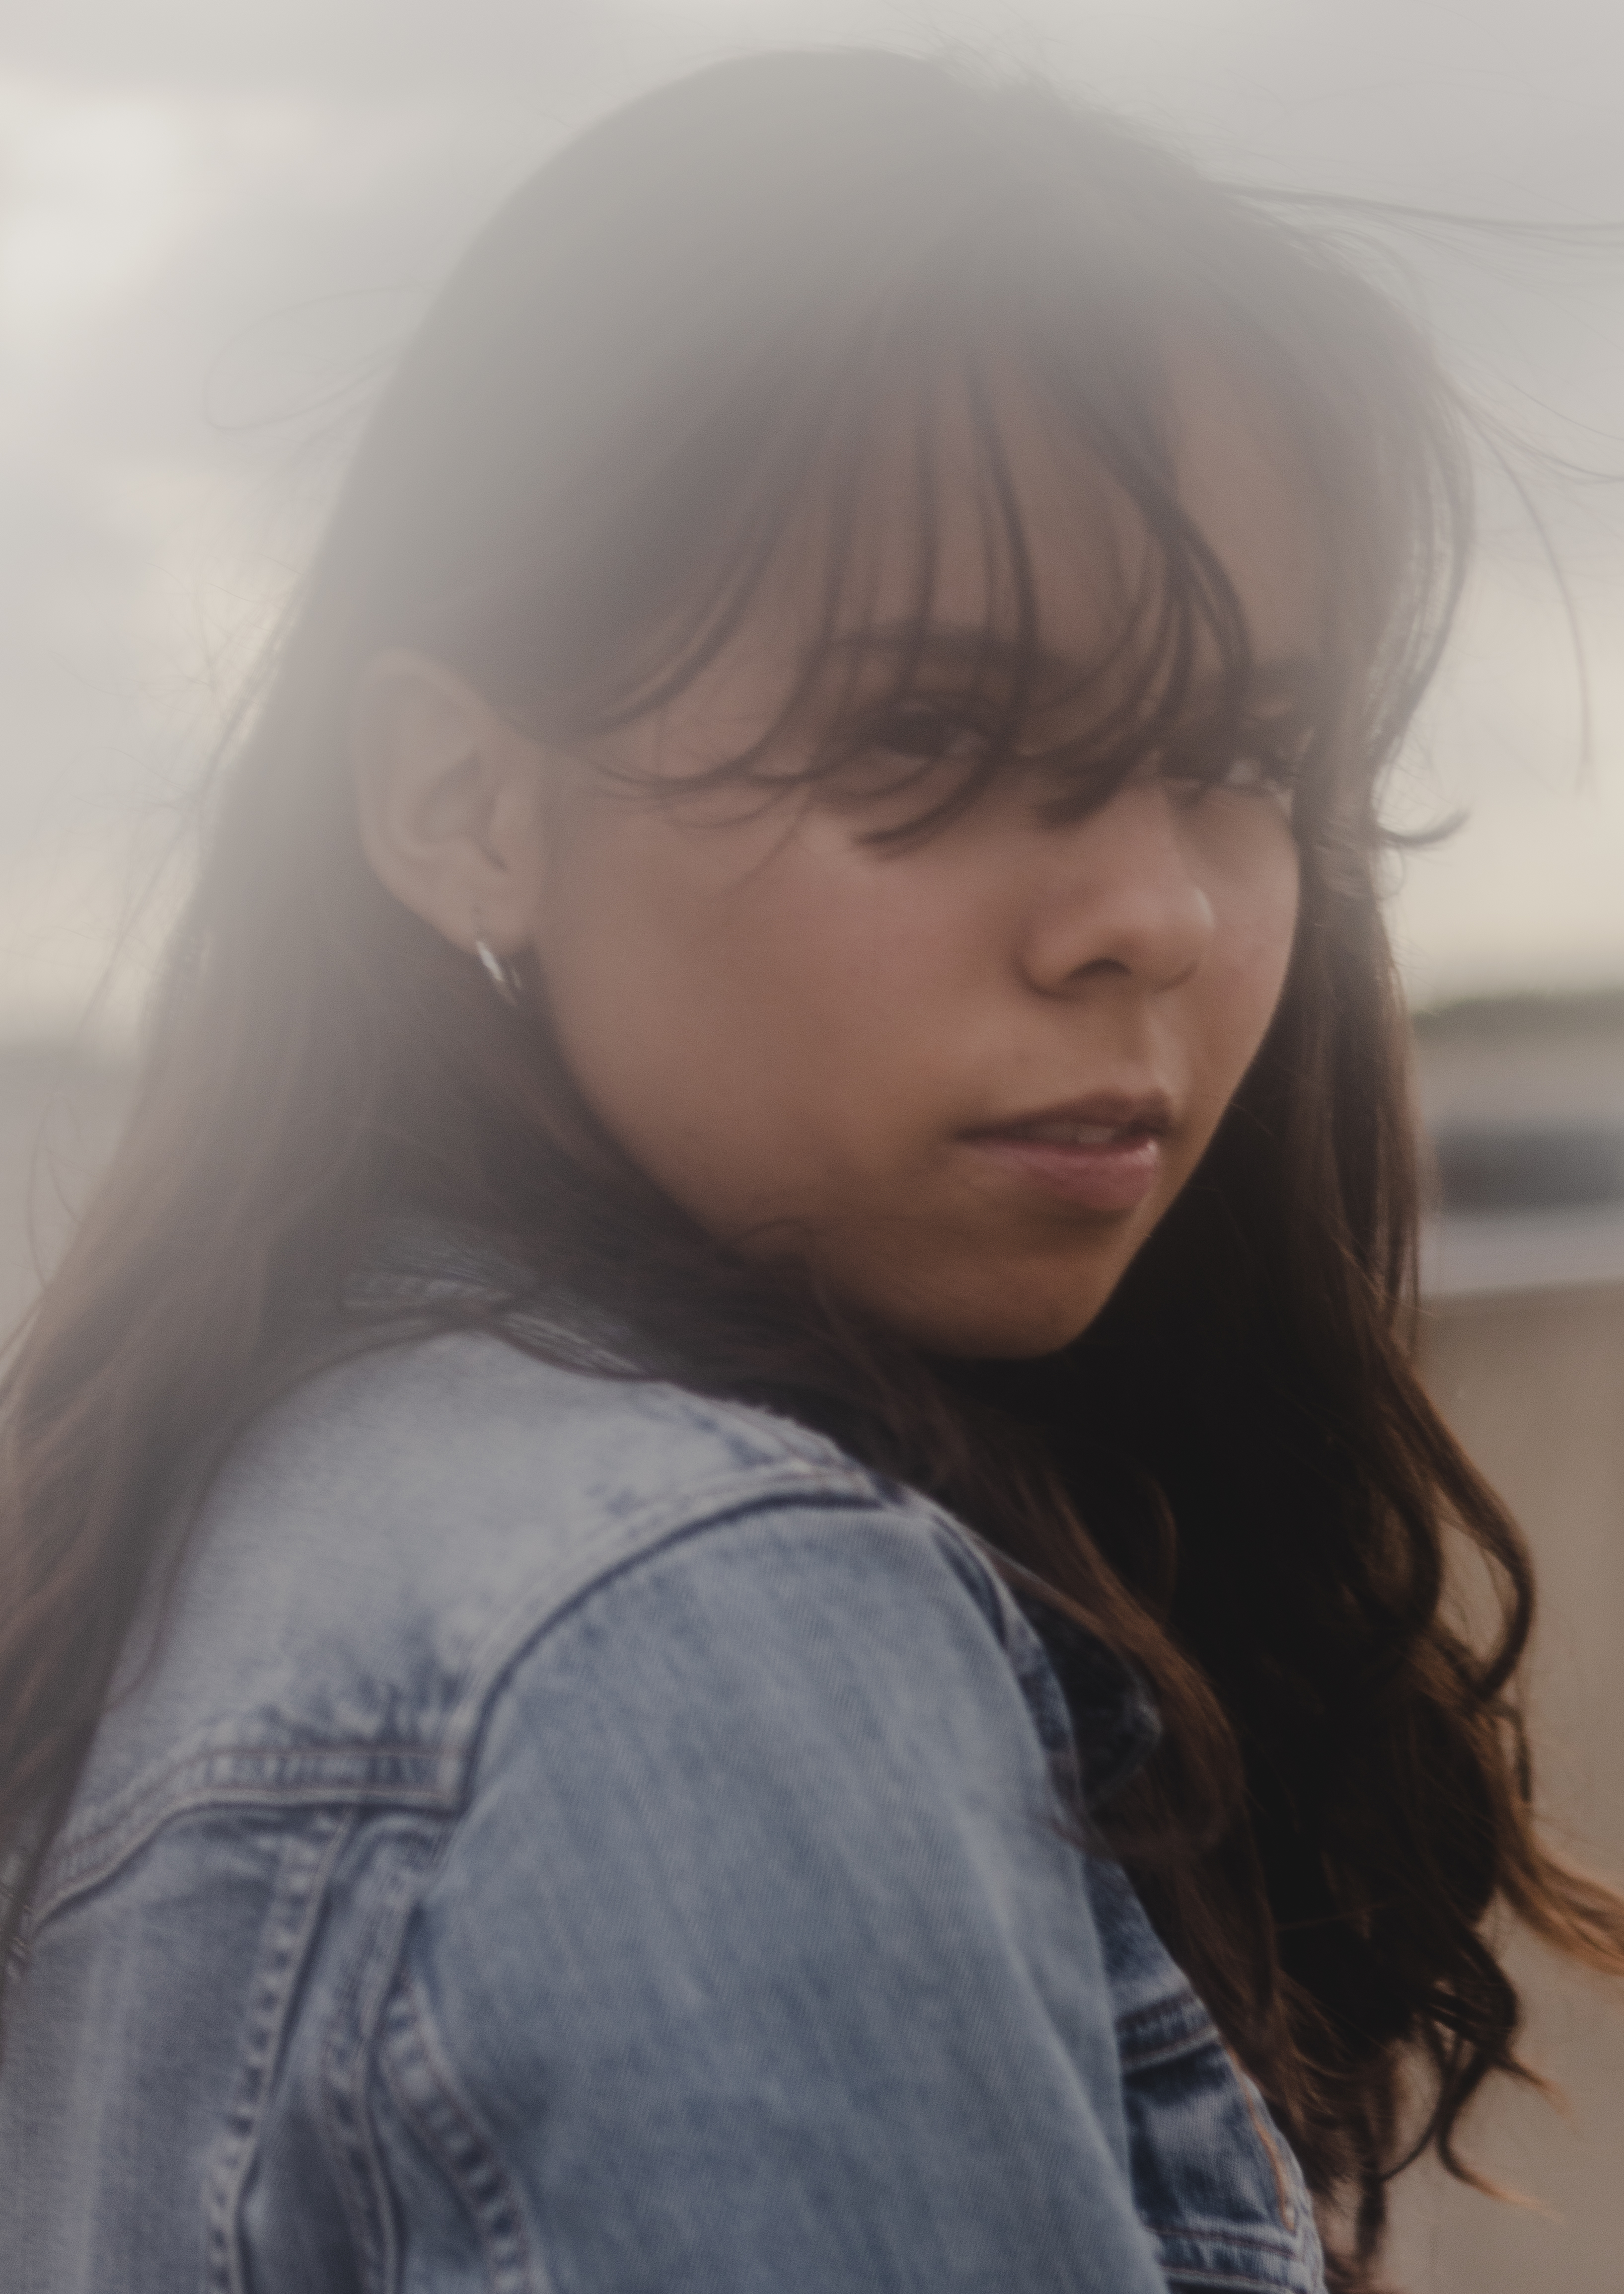

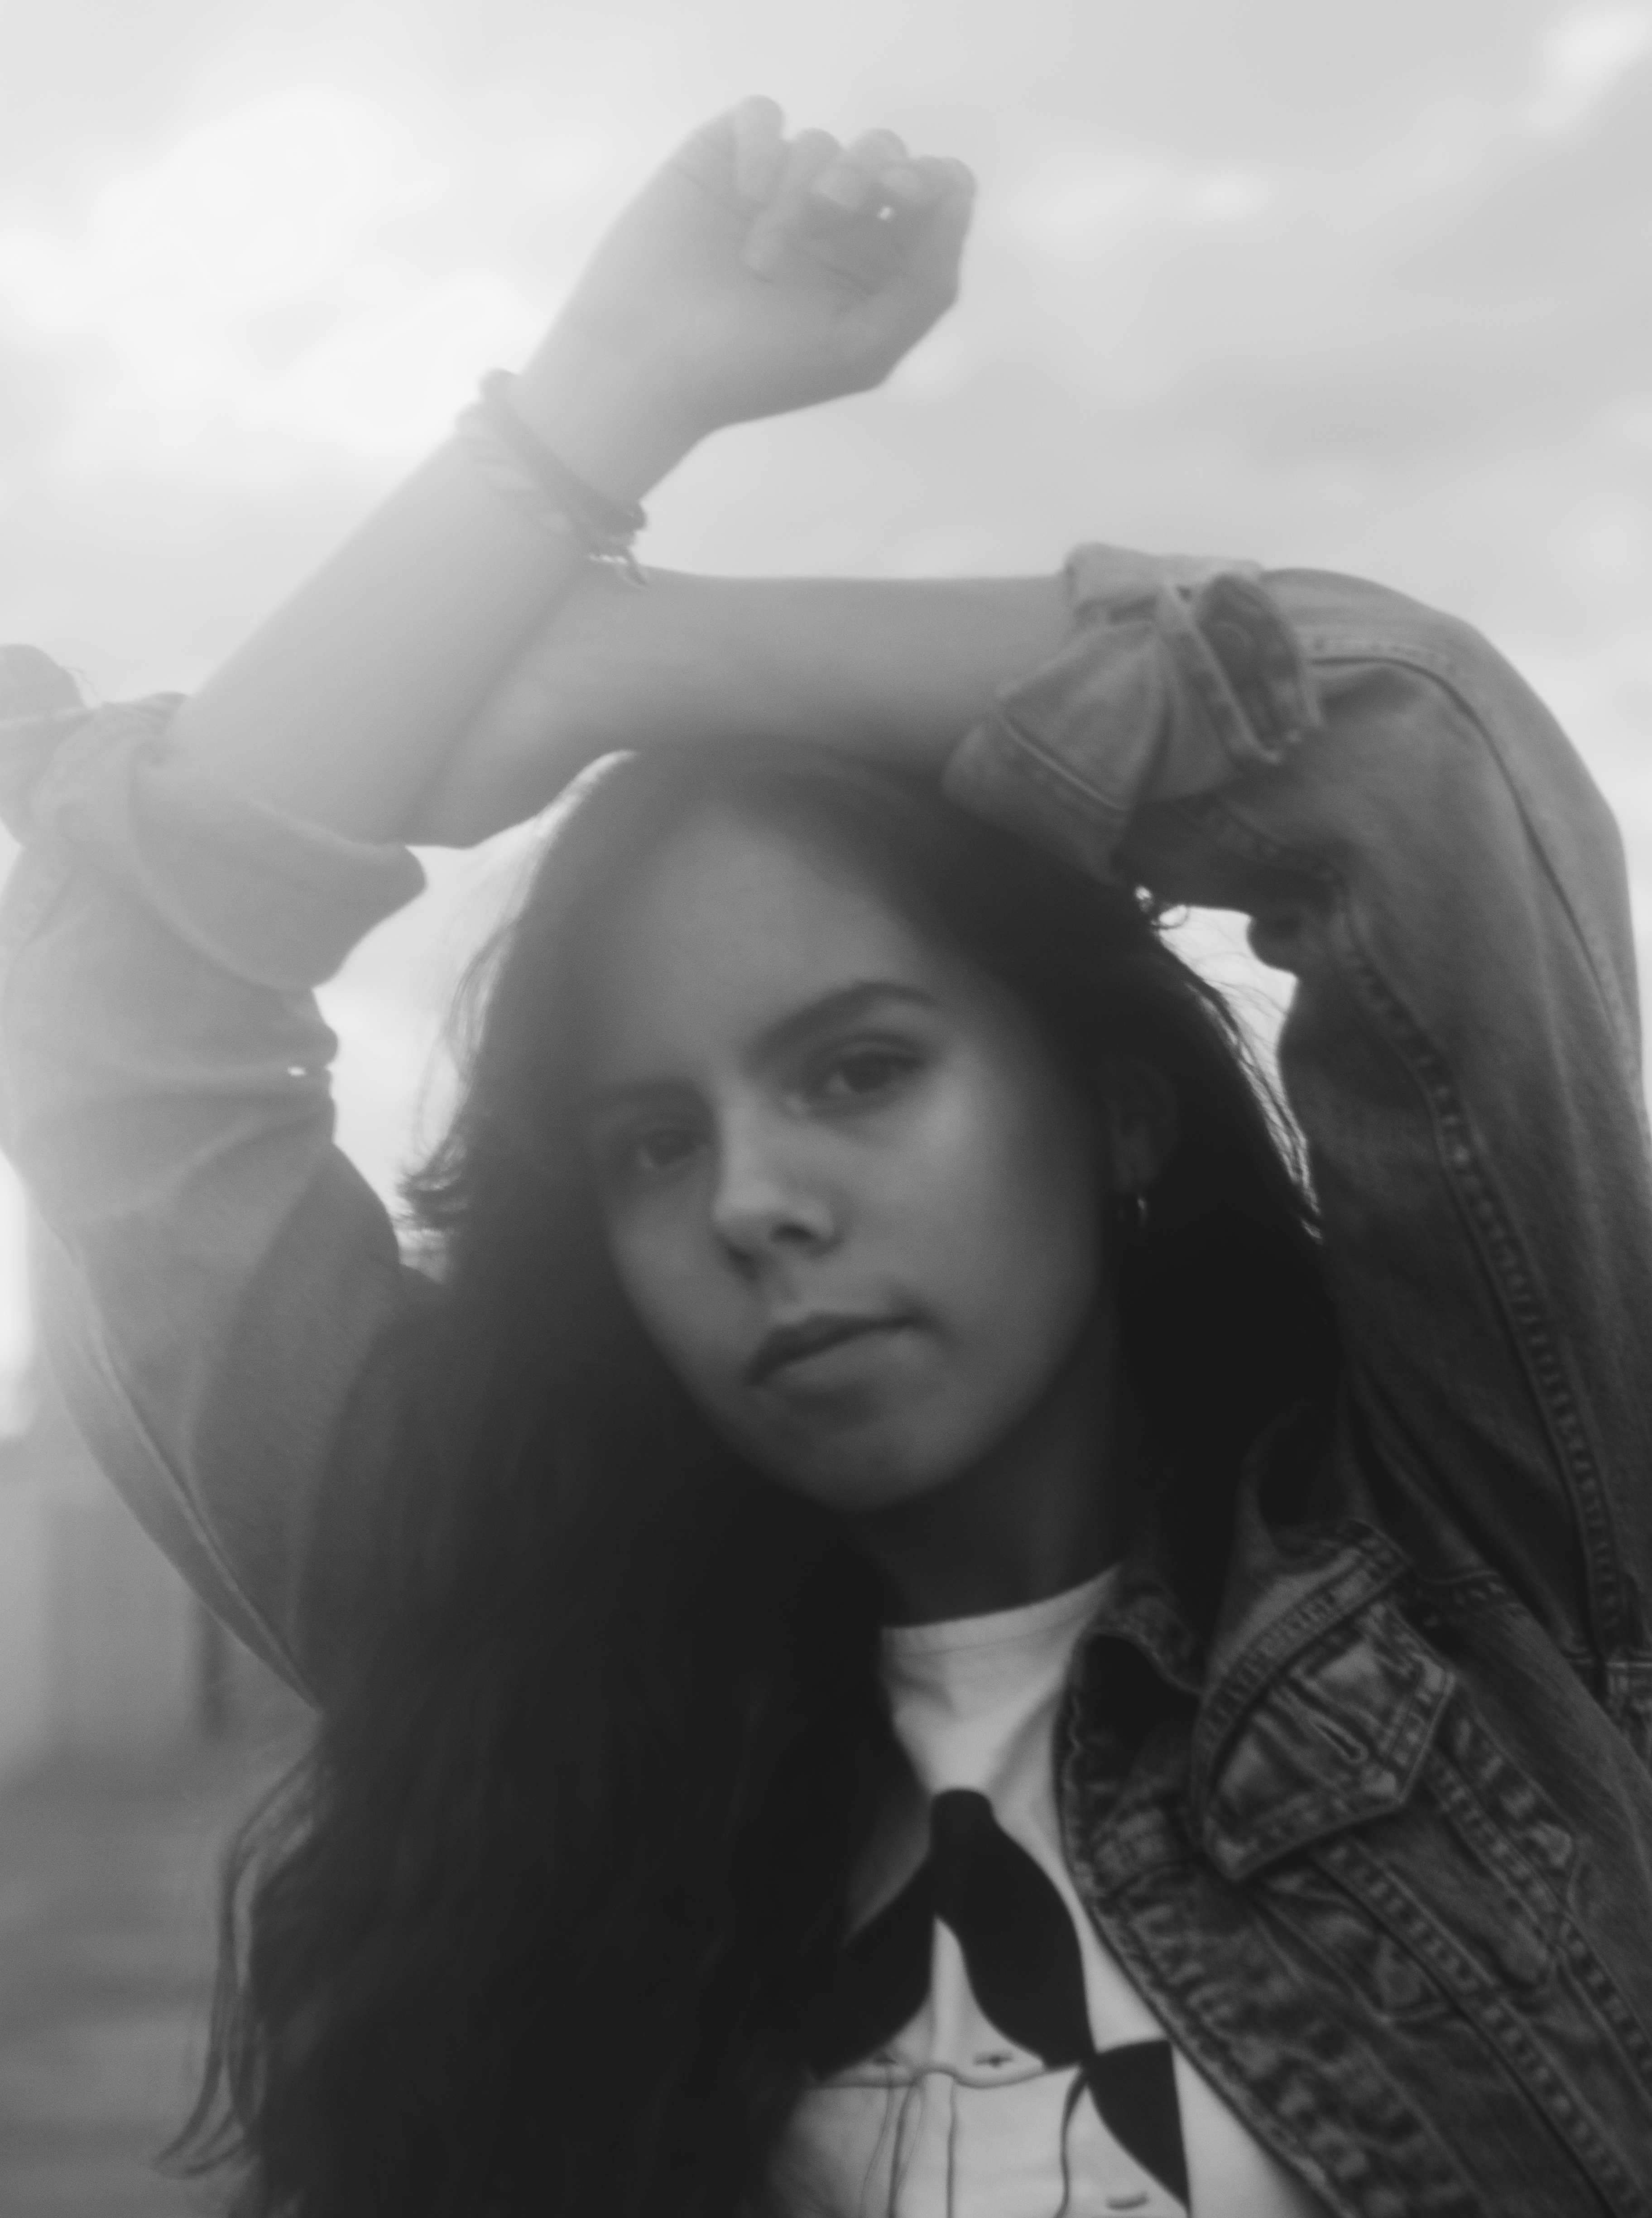
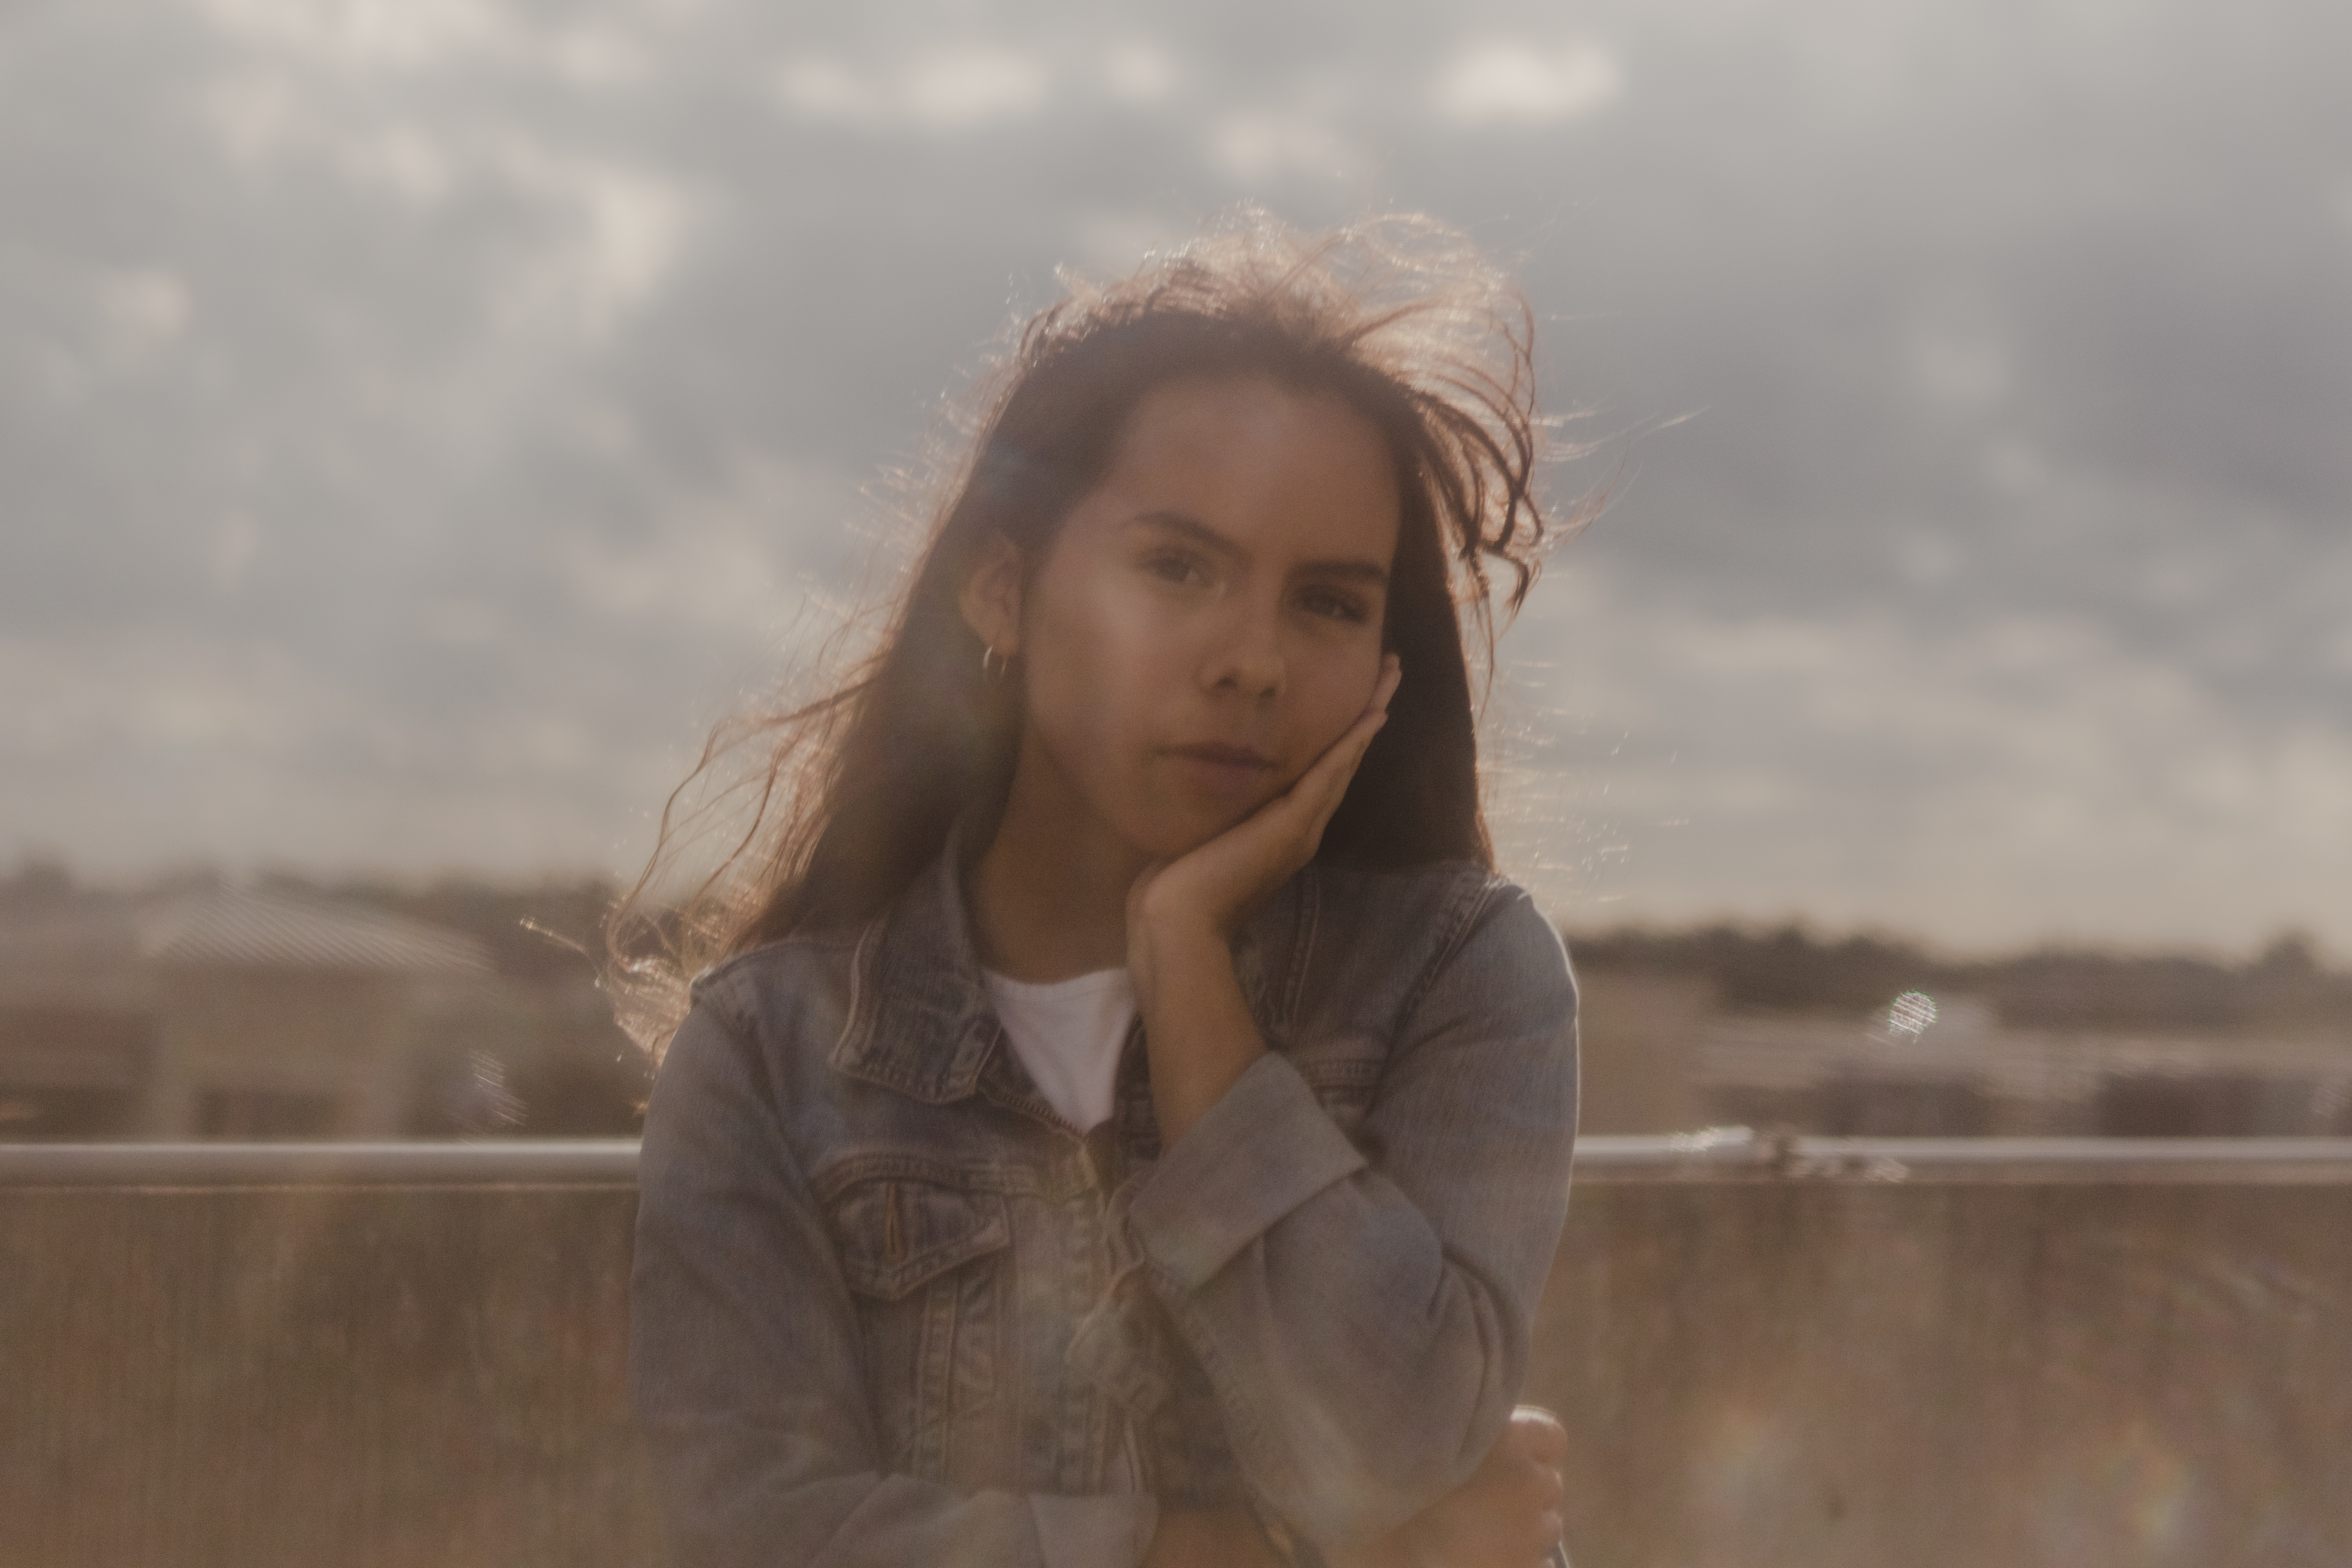
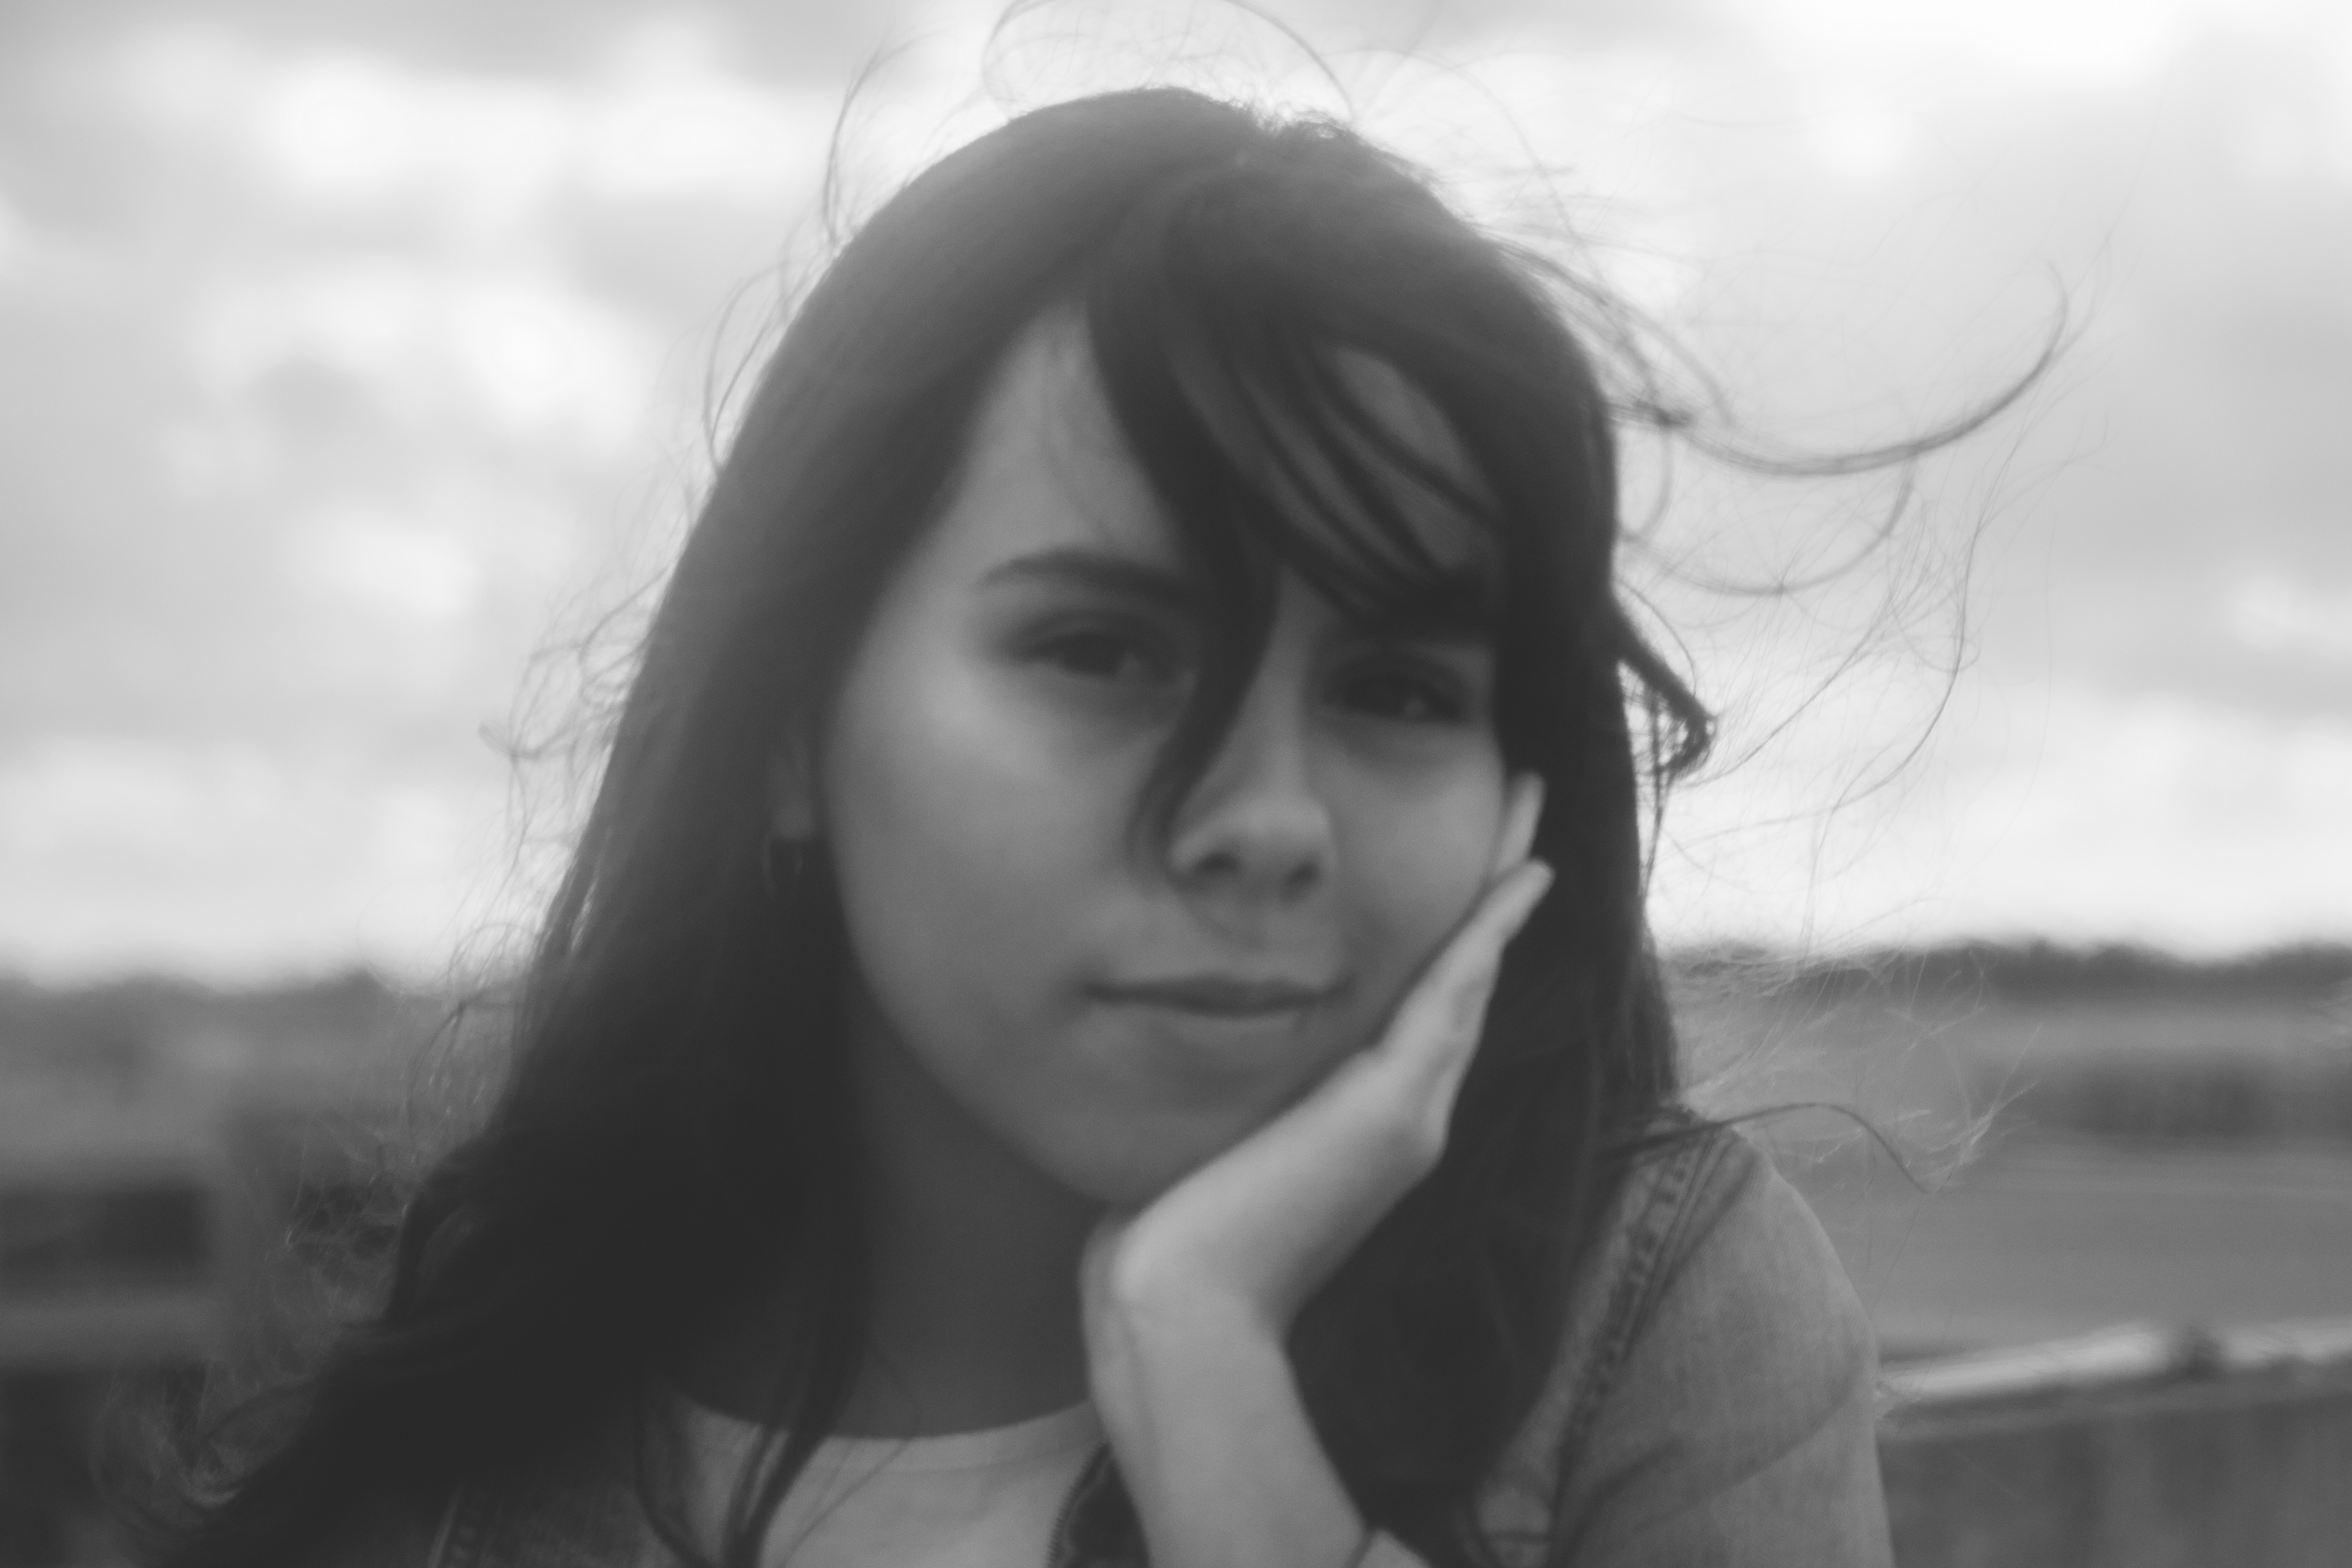
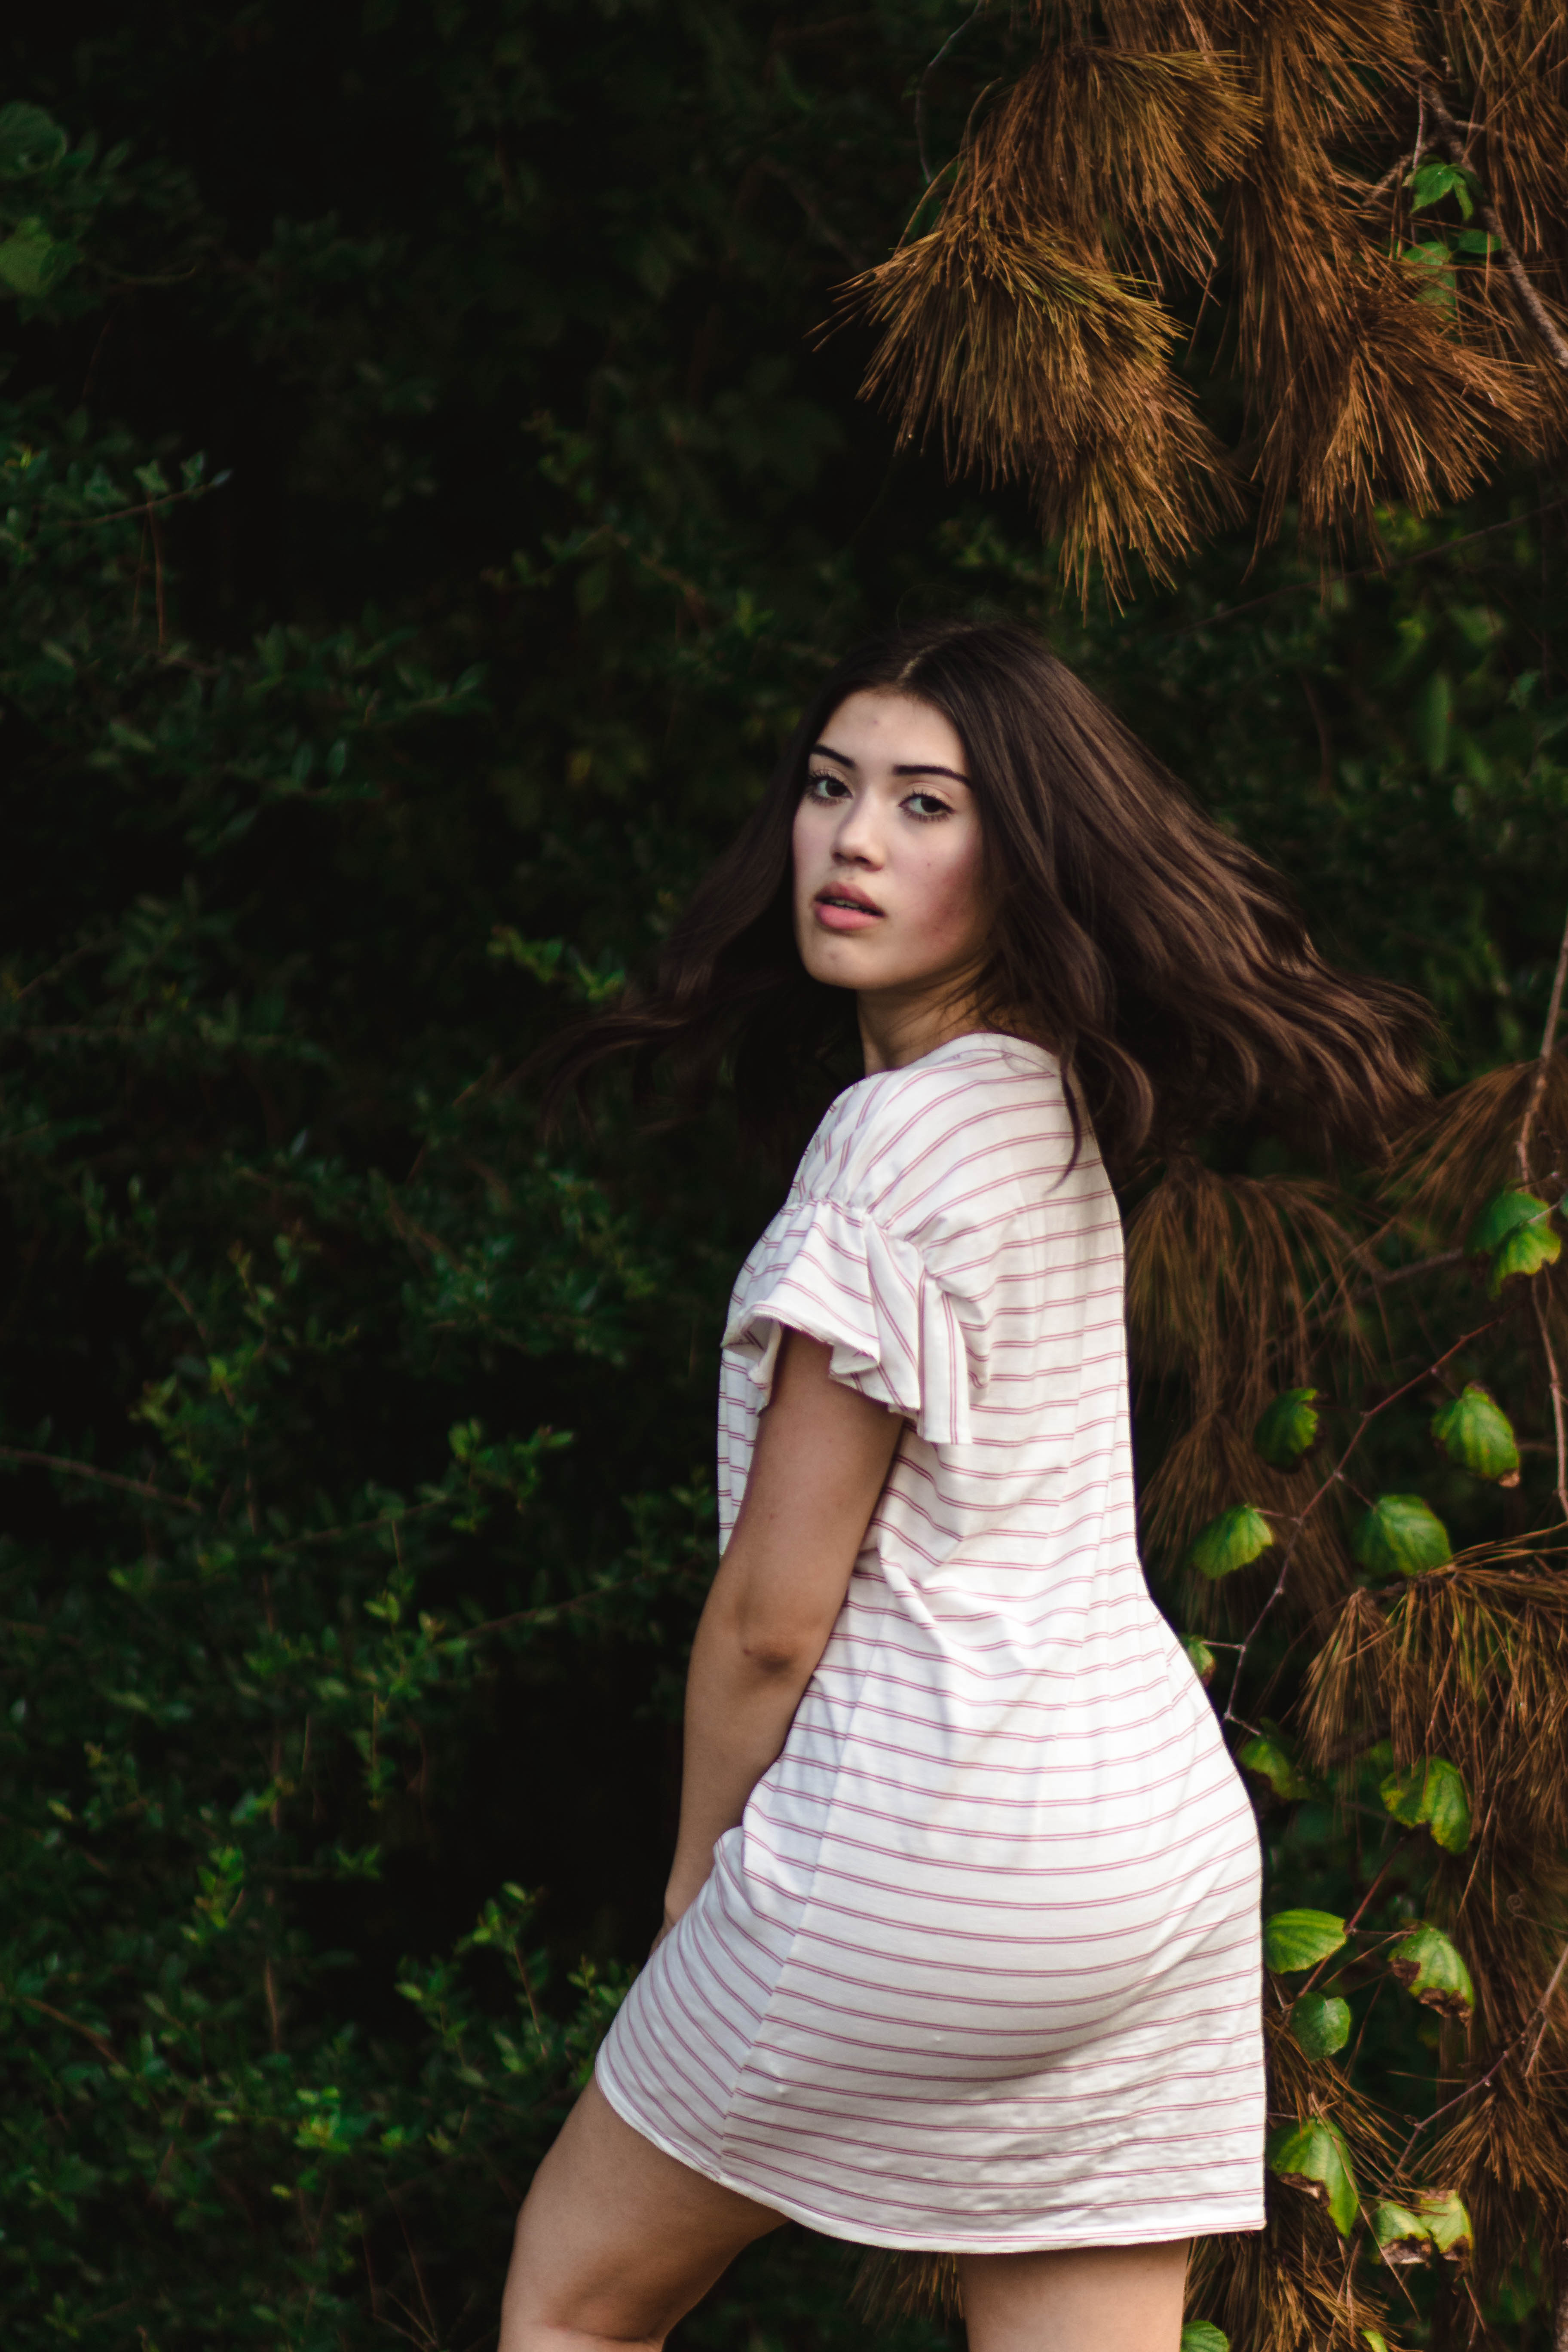
I was inspired by photographers Jerry Maestas and Samuel Elkins for this photoshoot if you would like to see my mood board click here!!
The film versions of this photoshoot will be coming soon
Want to do a shoot together? Click here for booking and pricing information! or click here to book me for your photography needs!
Instagram: @goodallphotos
Facebook Page: @goodallphotographs
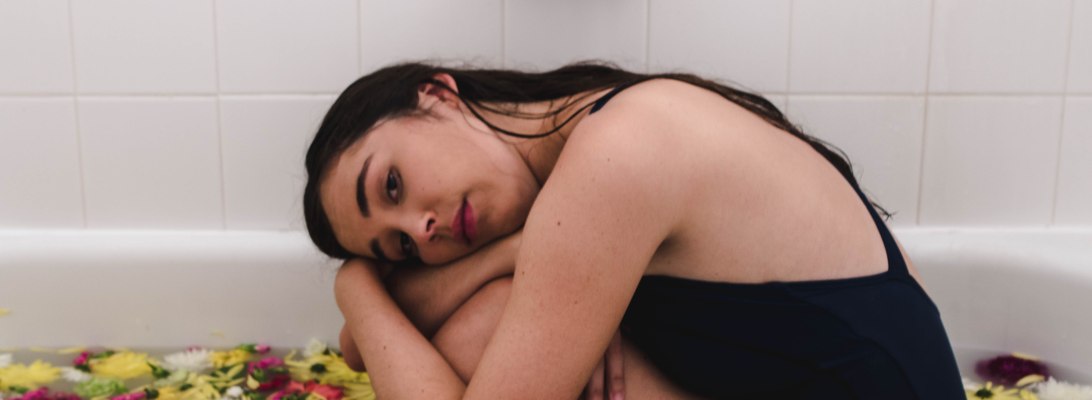
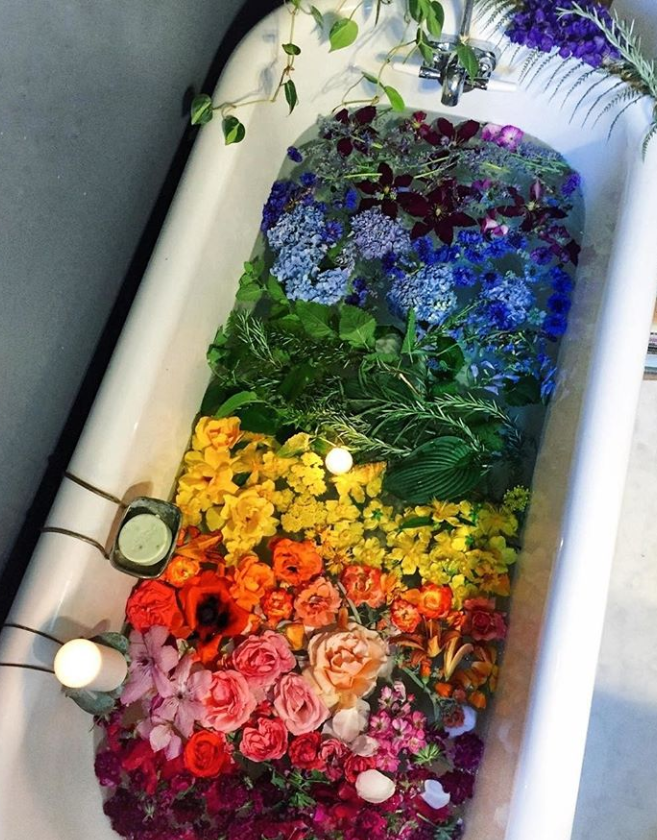
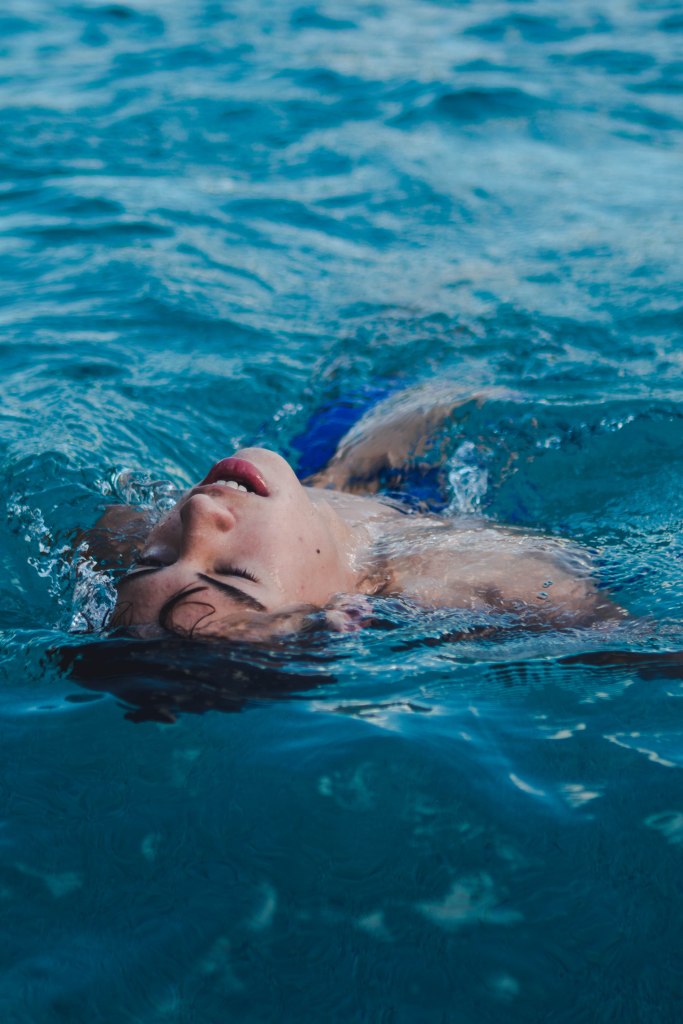
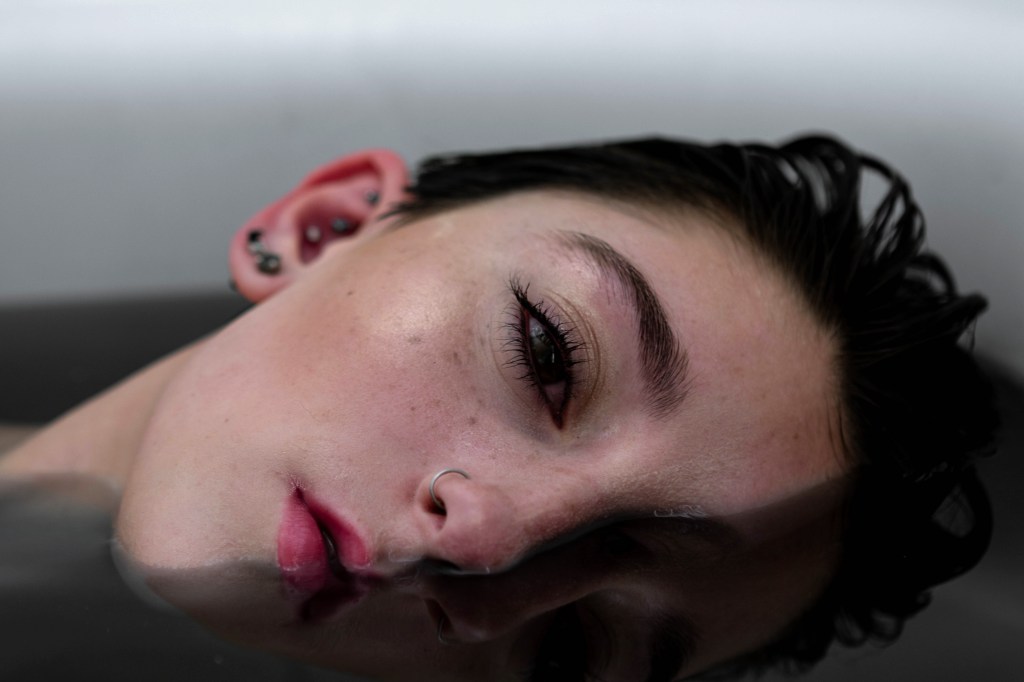
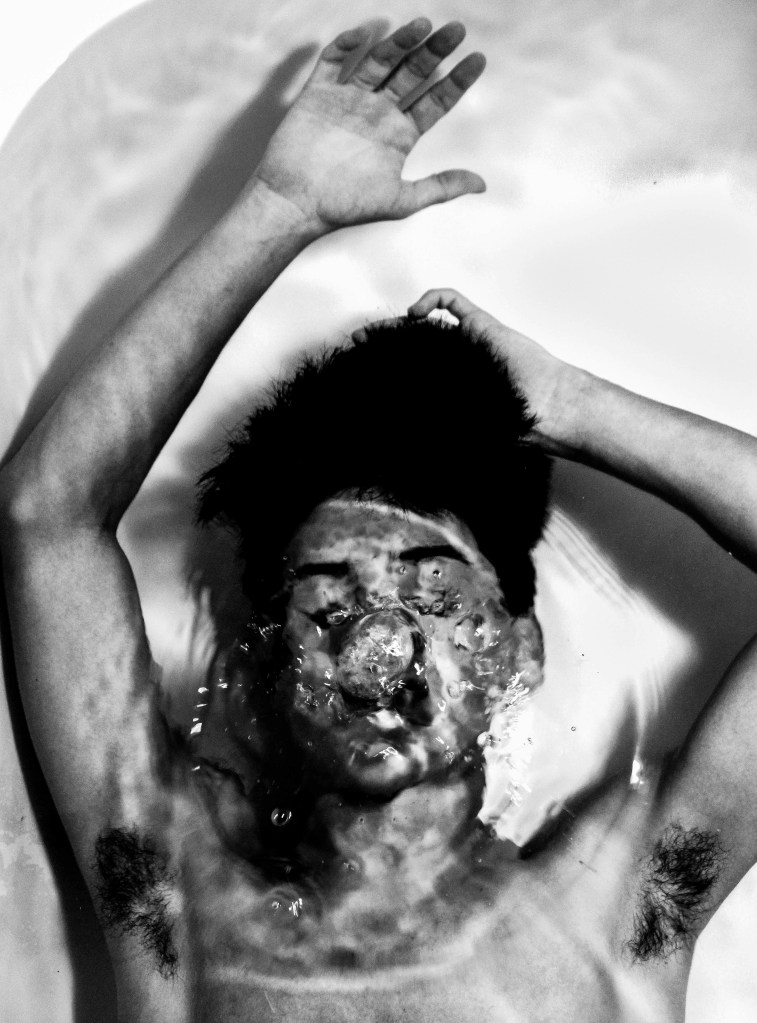
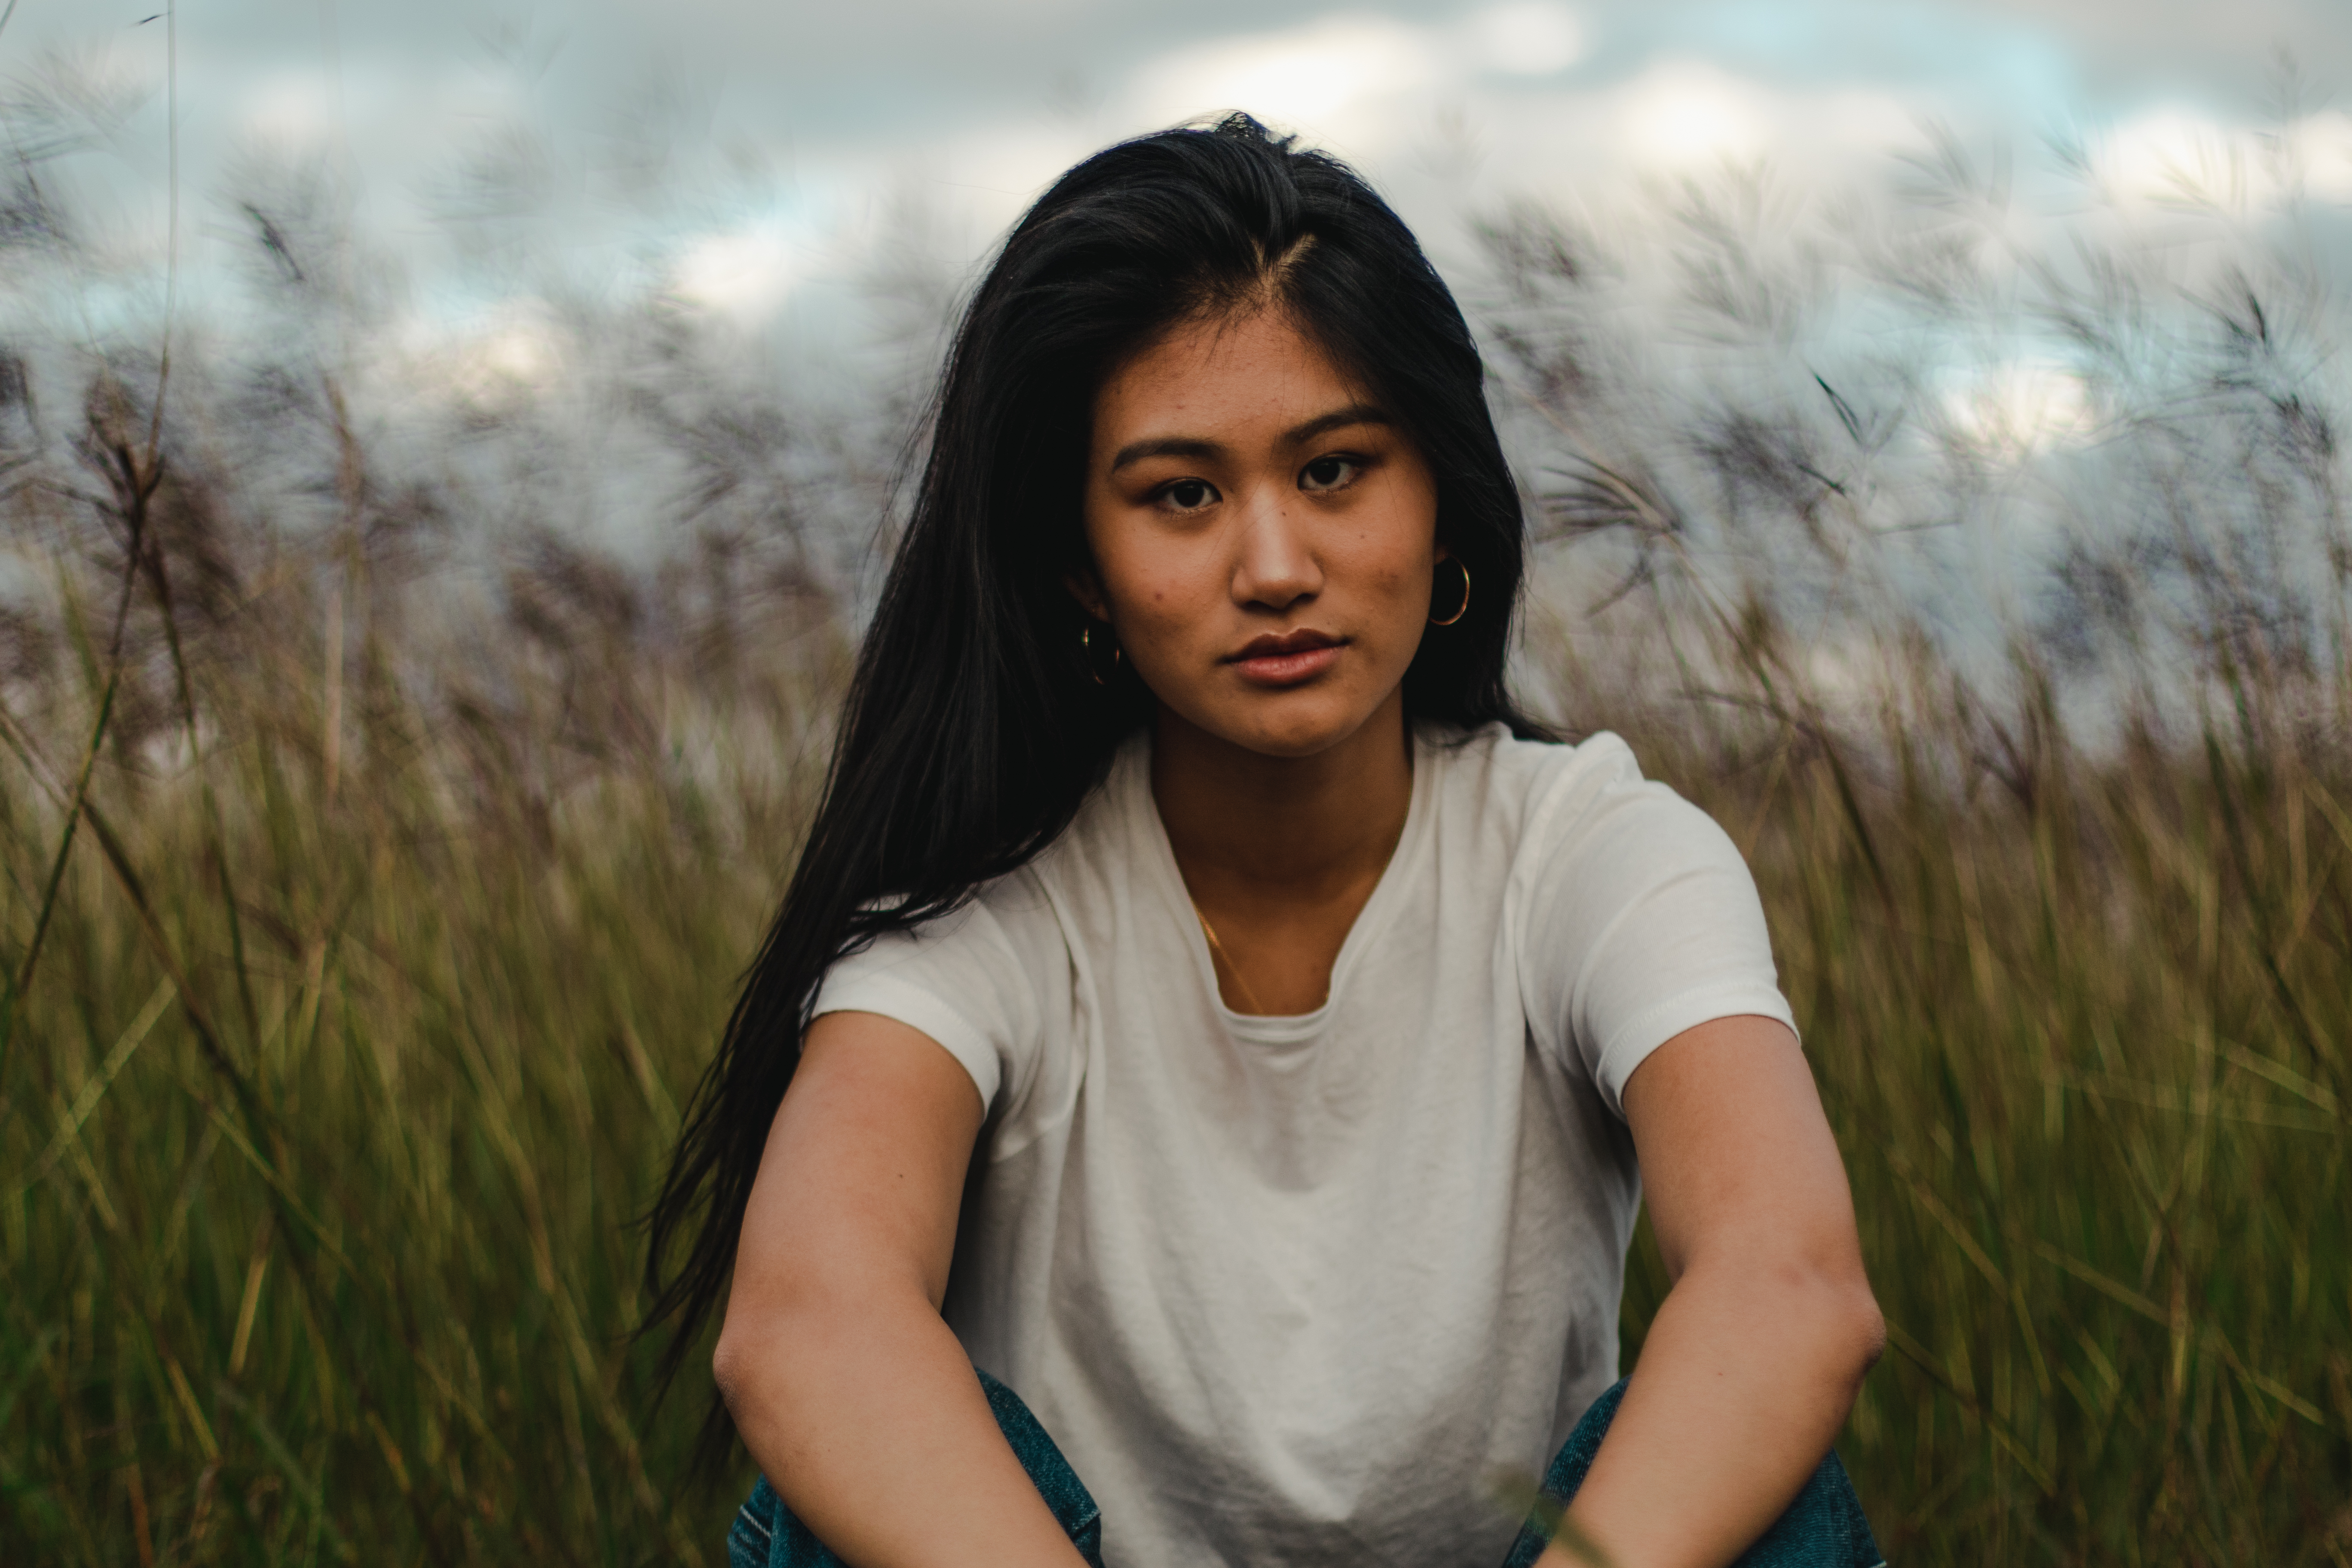
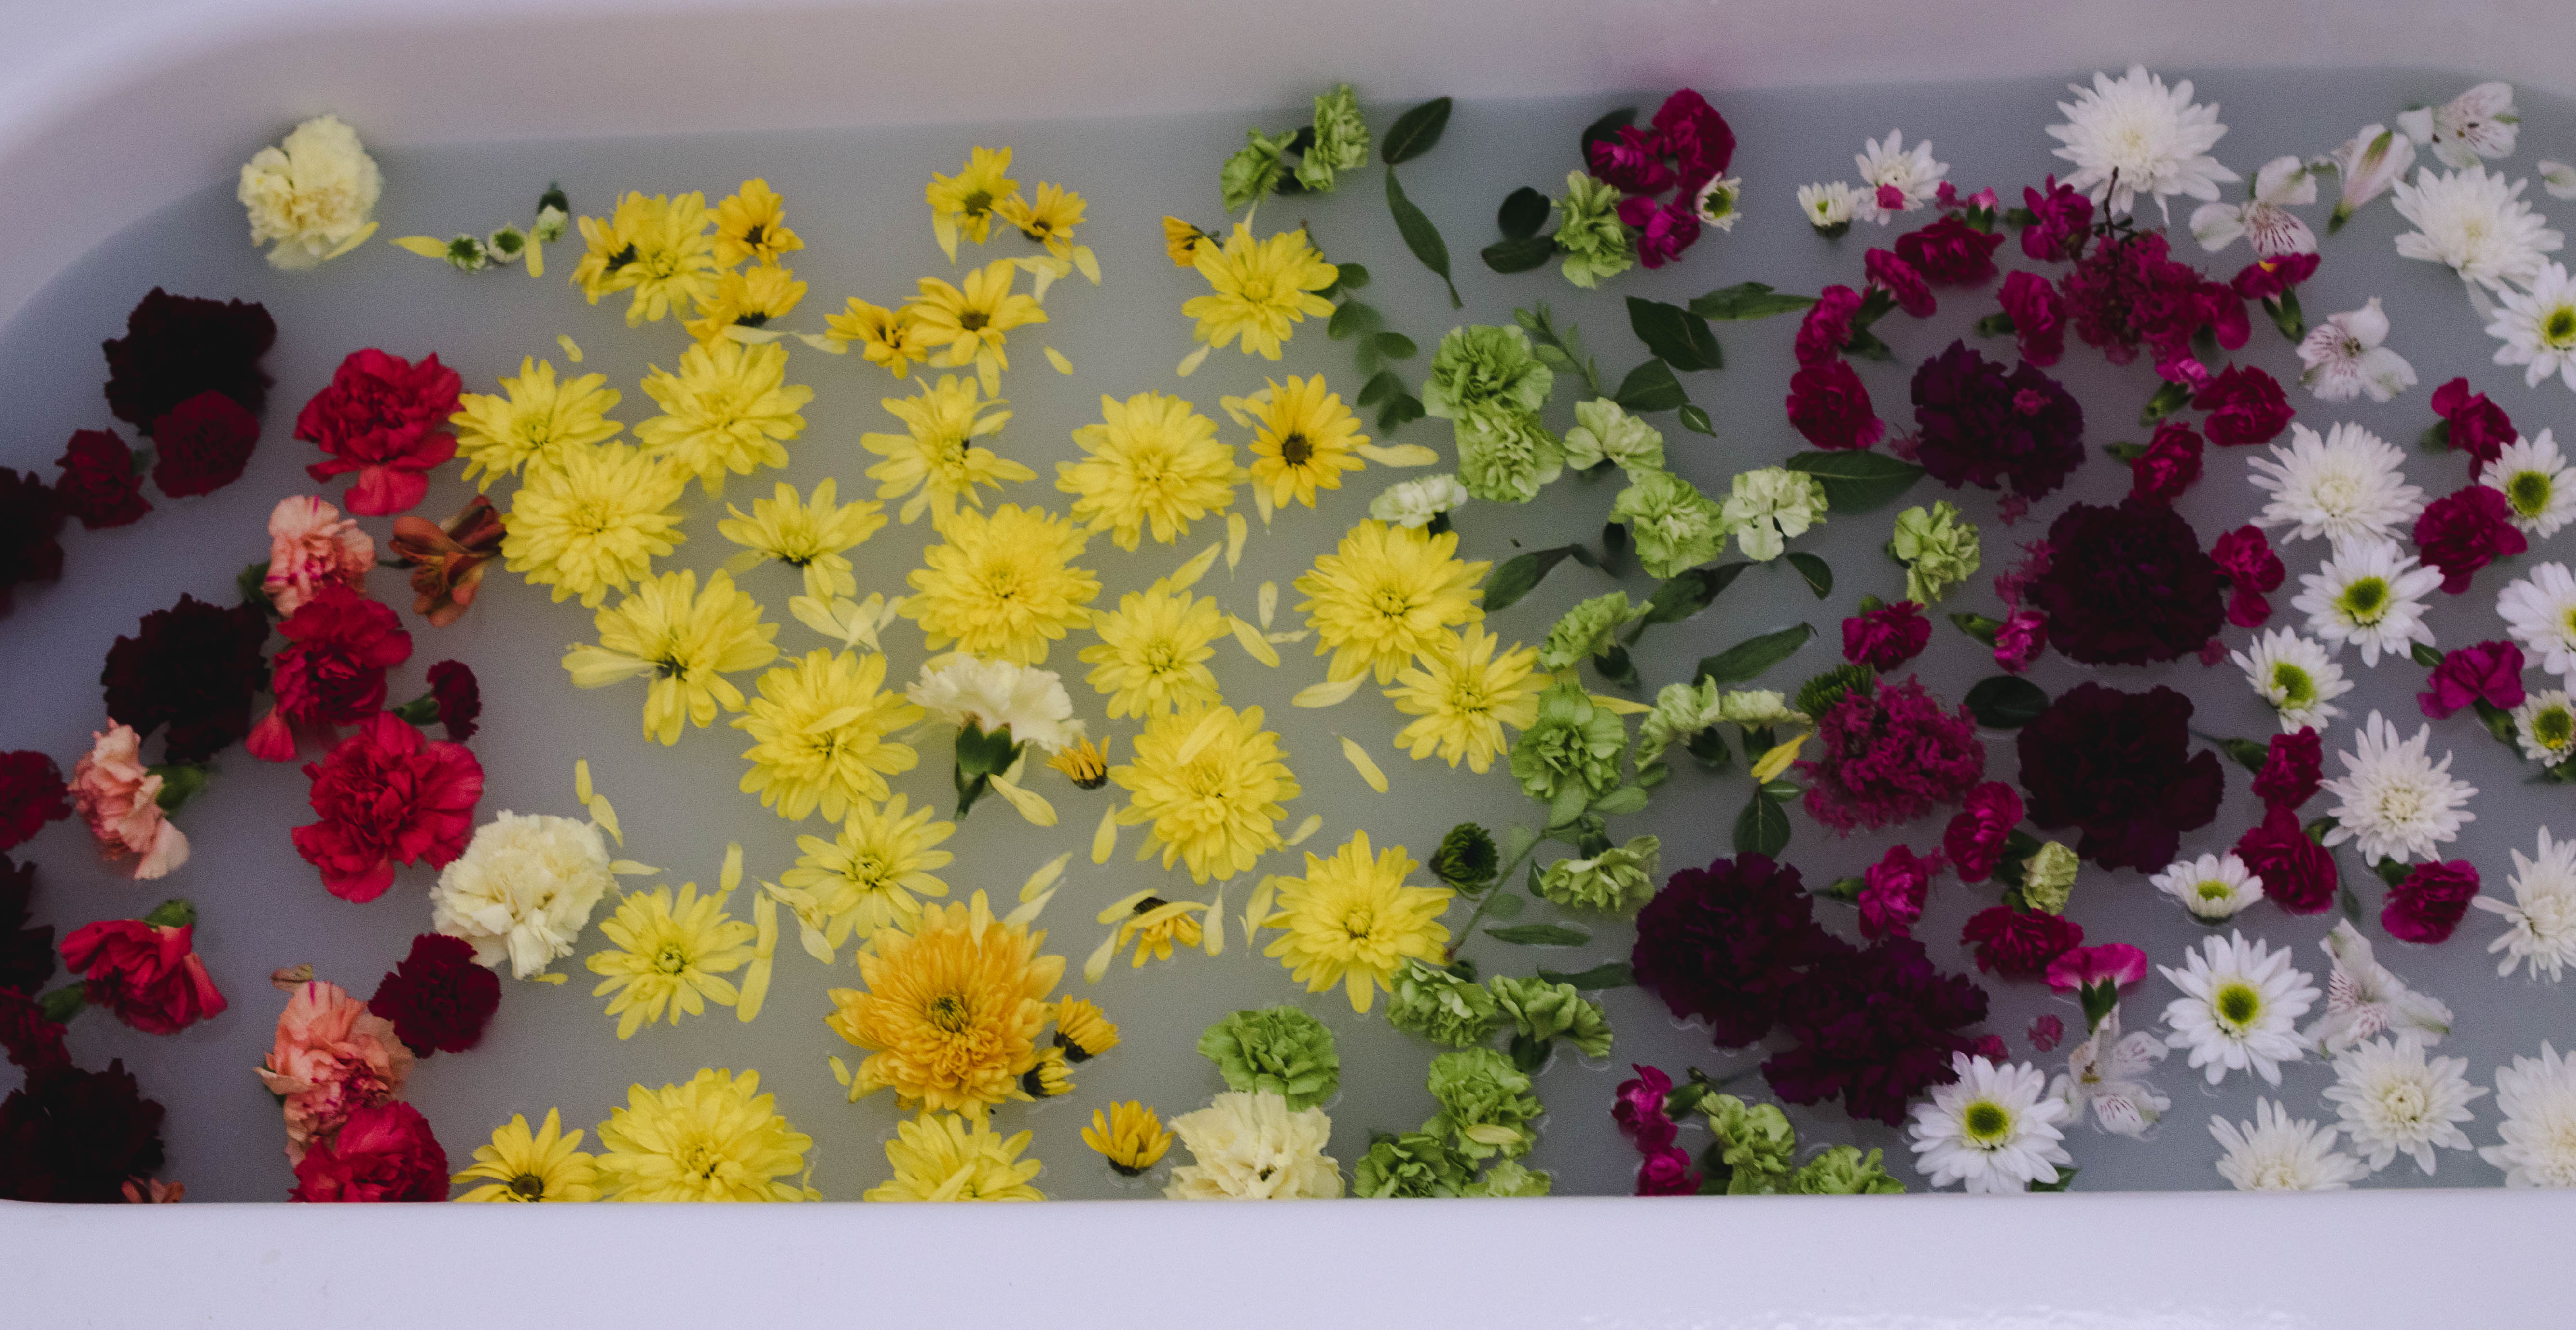
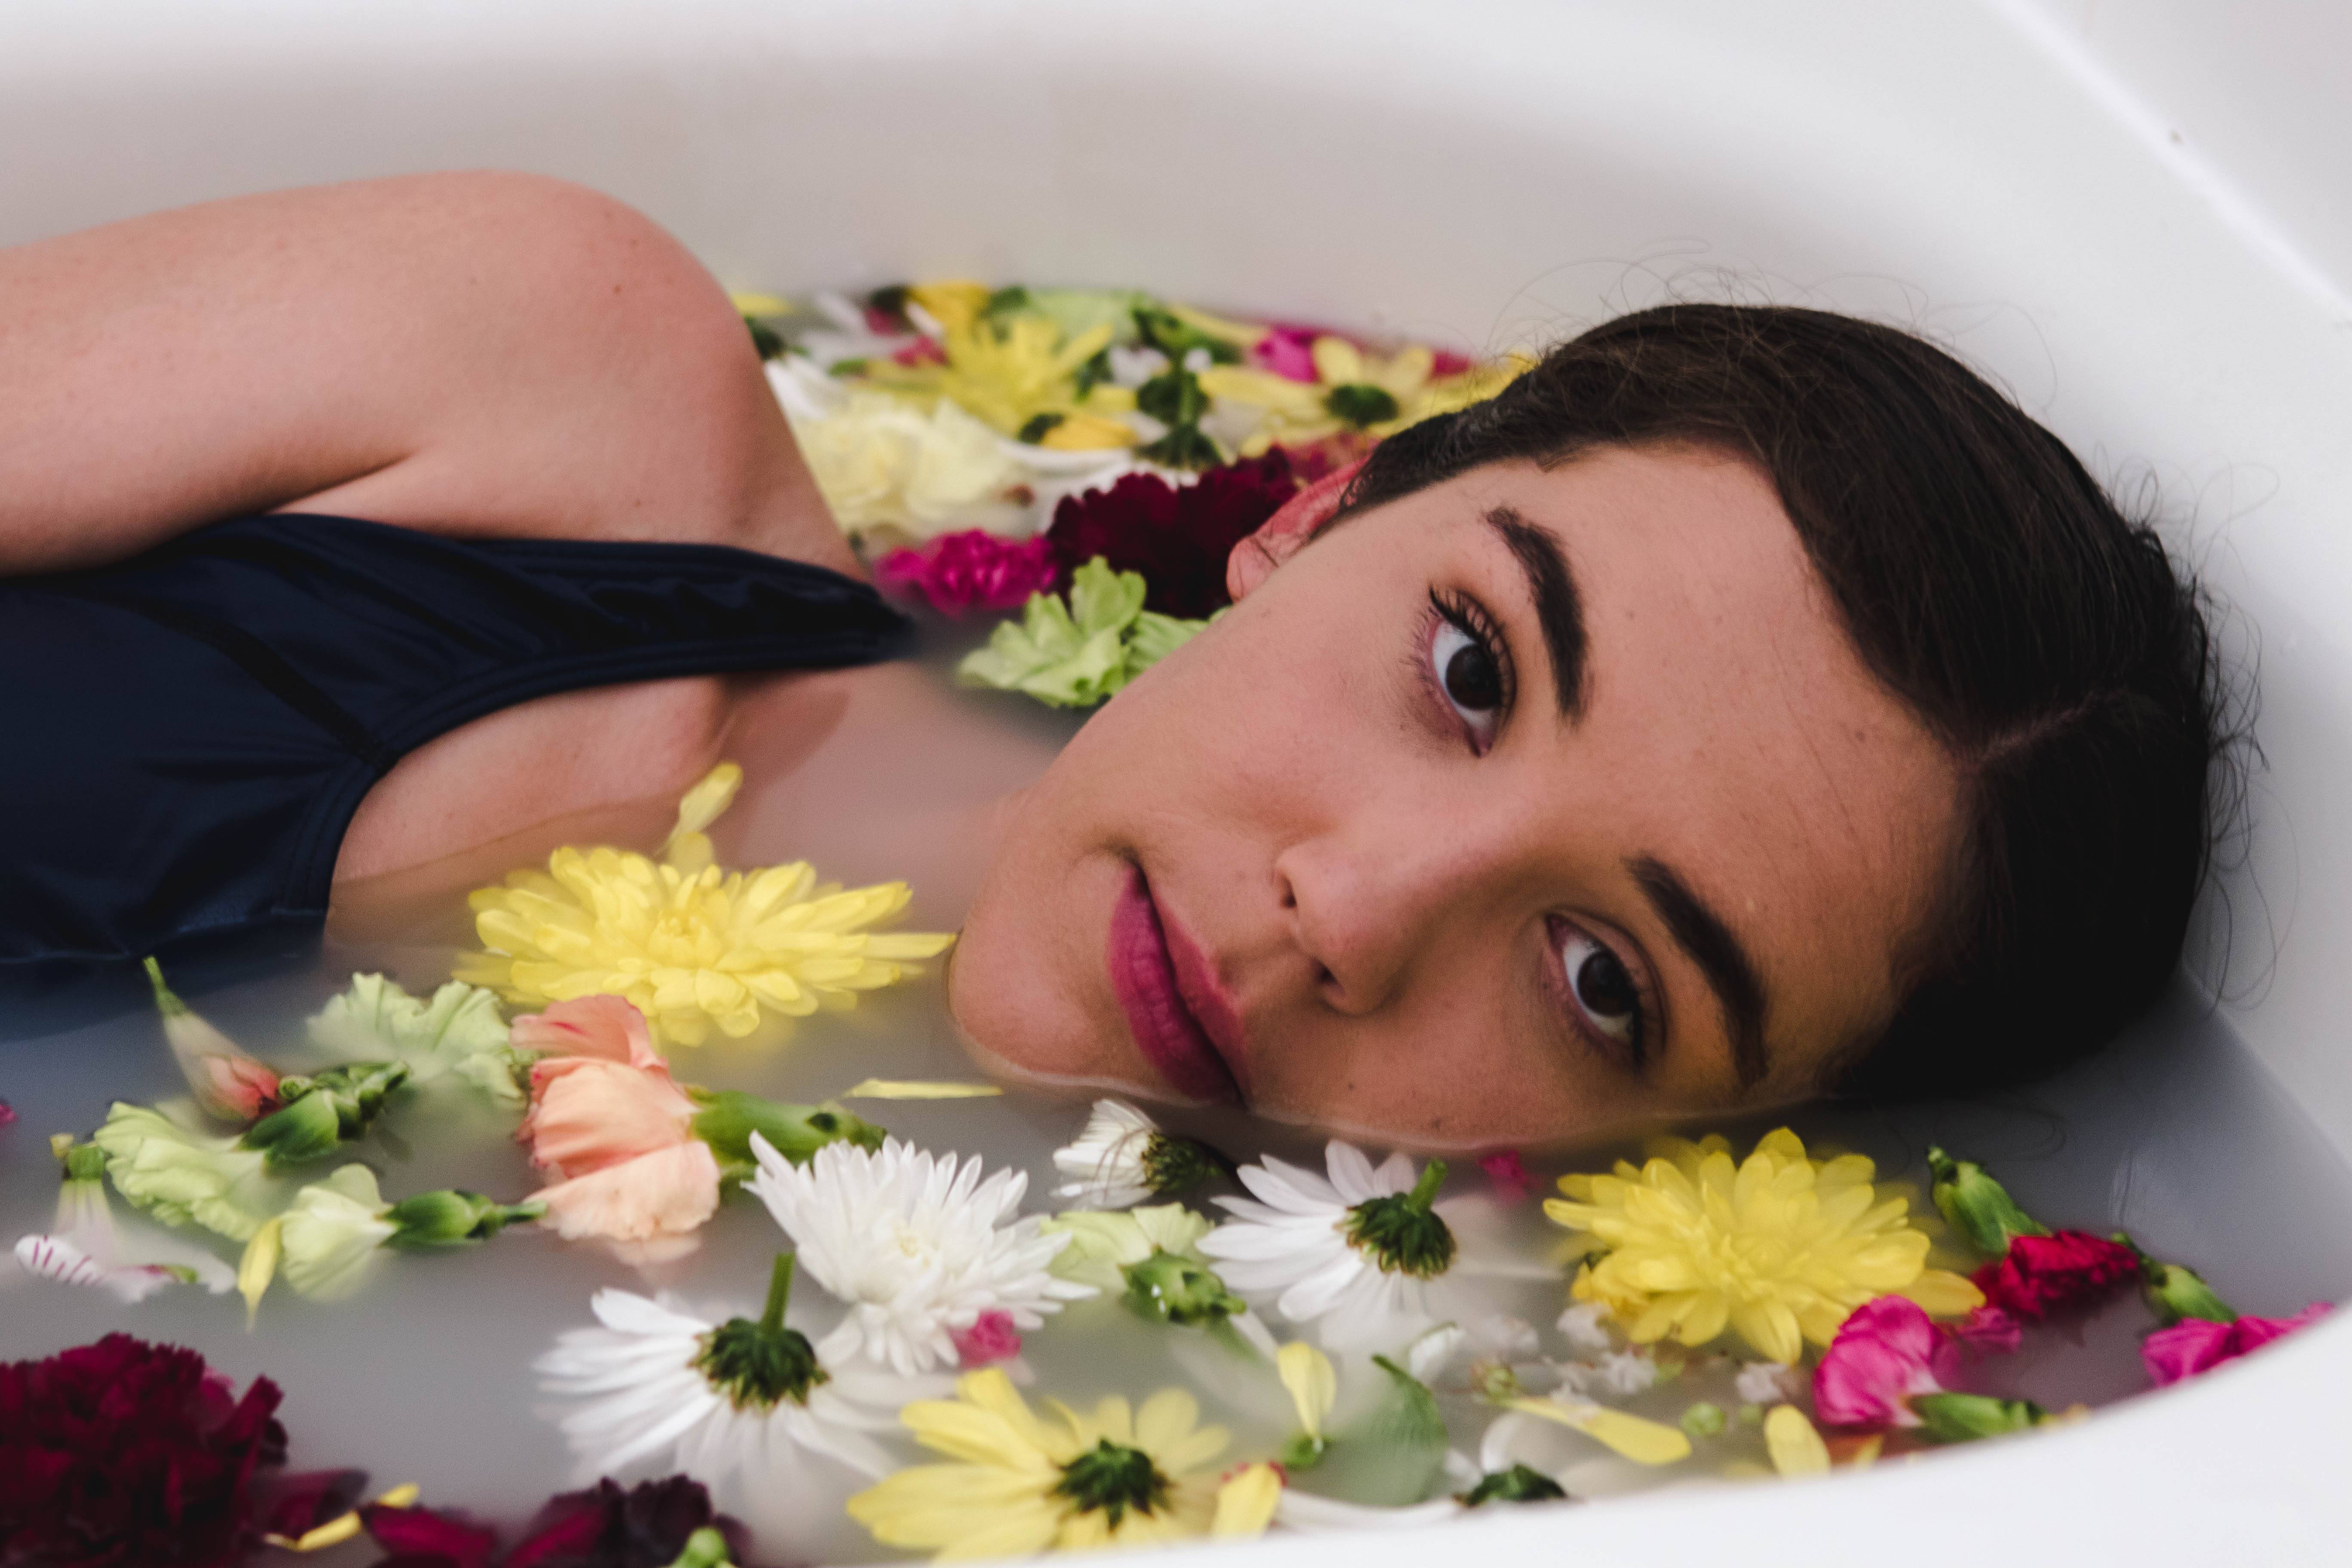
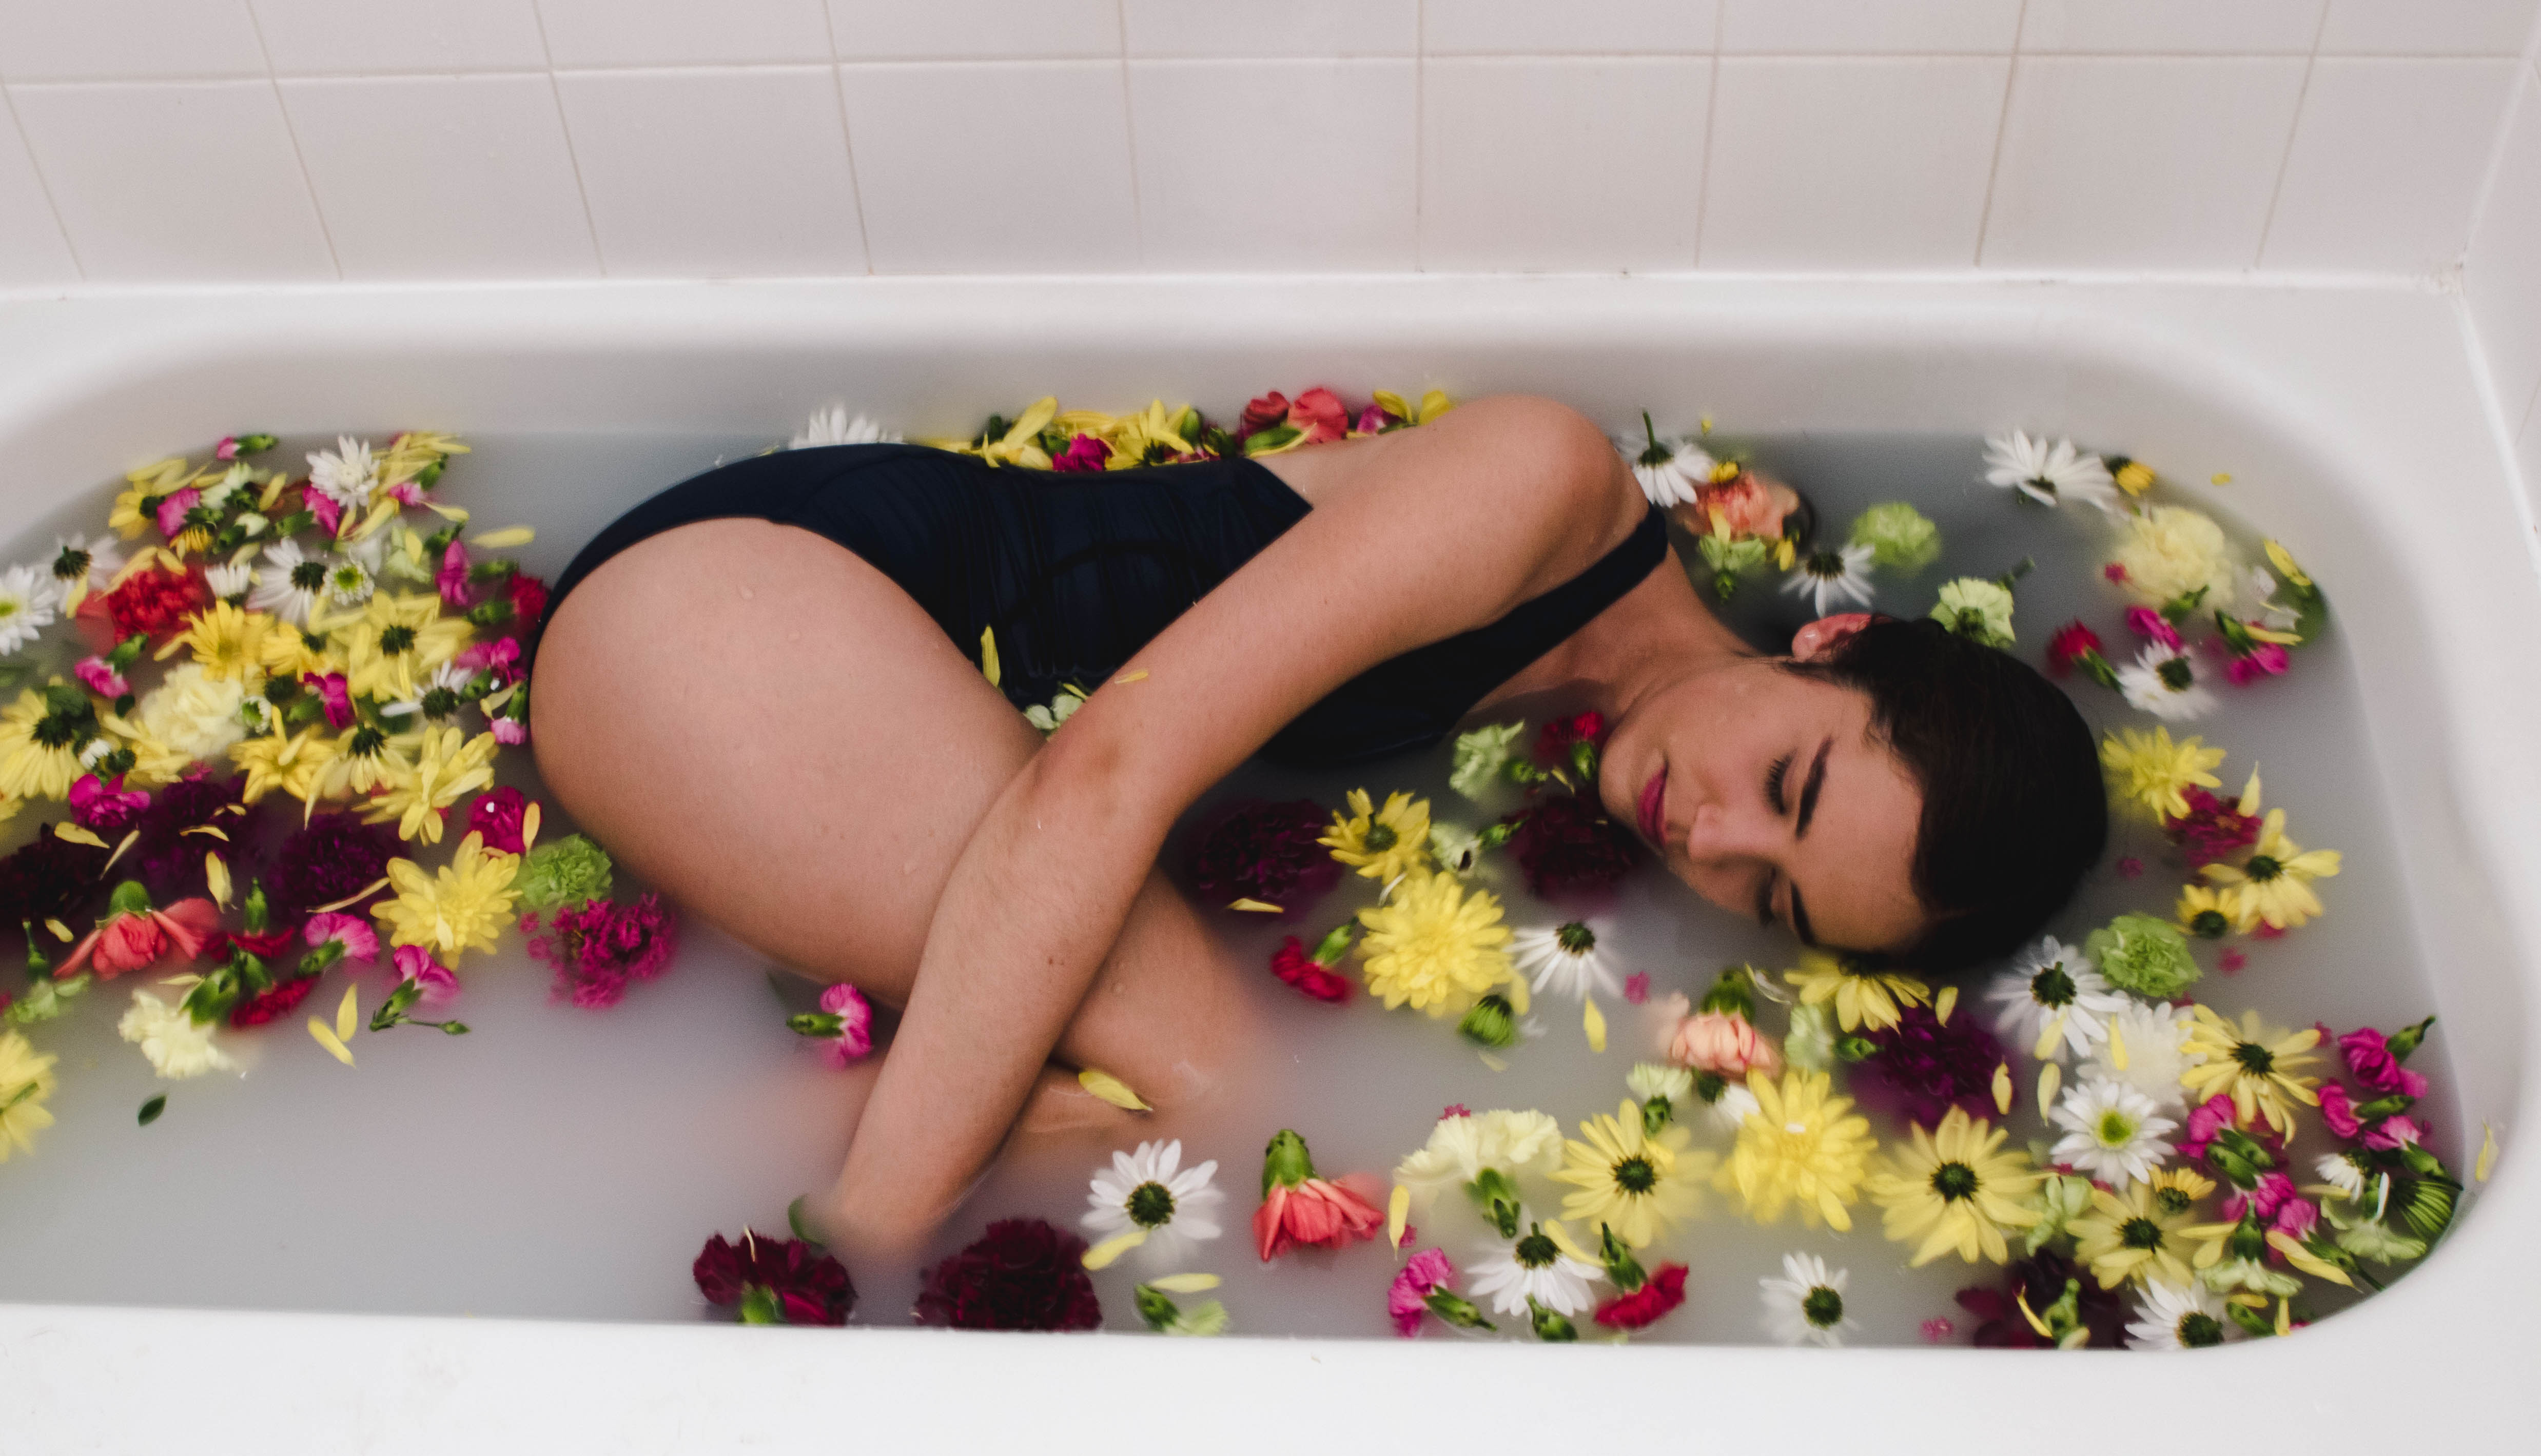
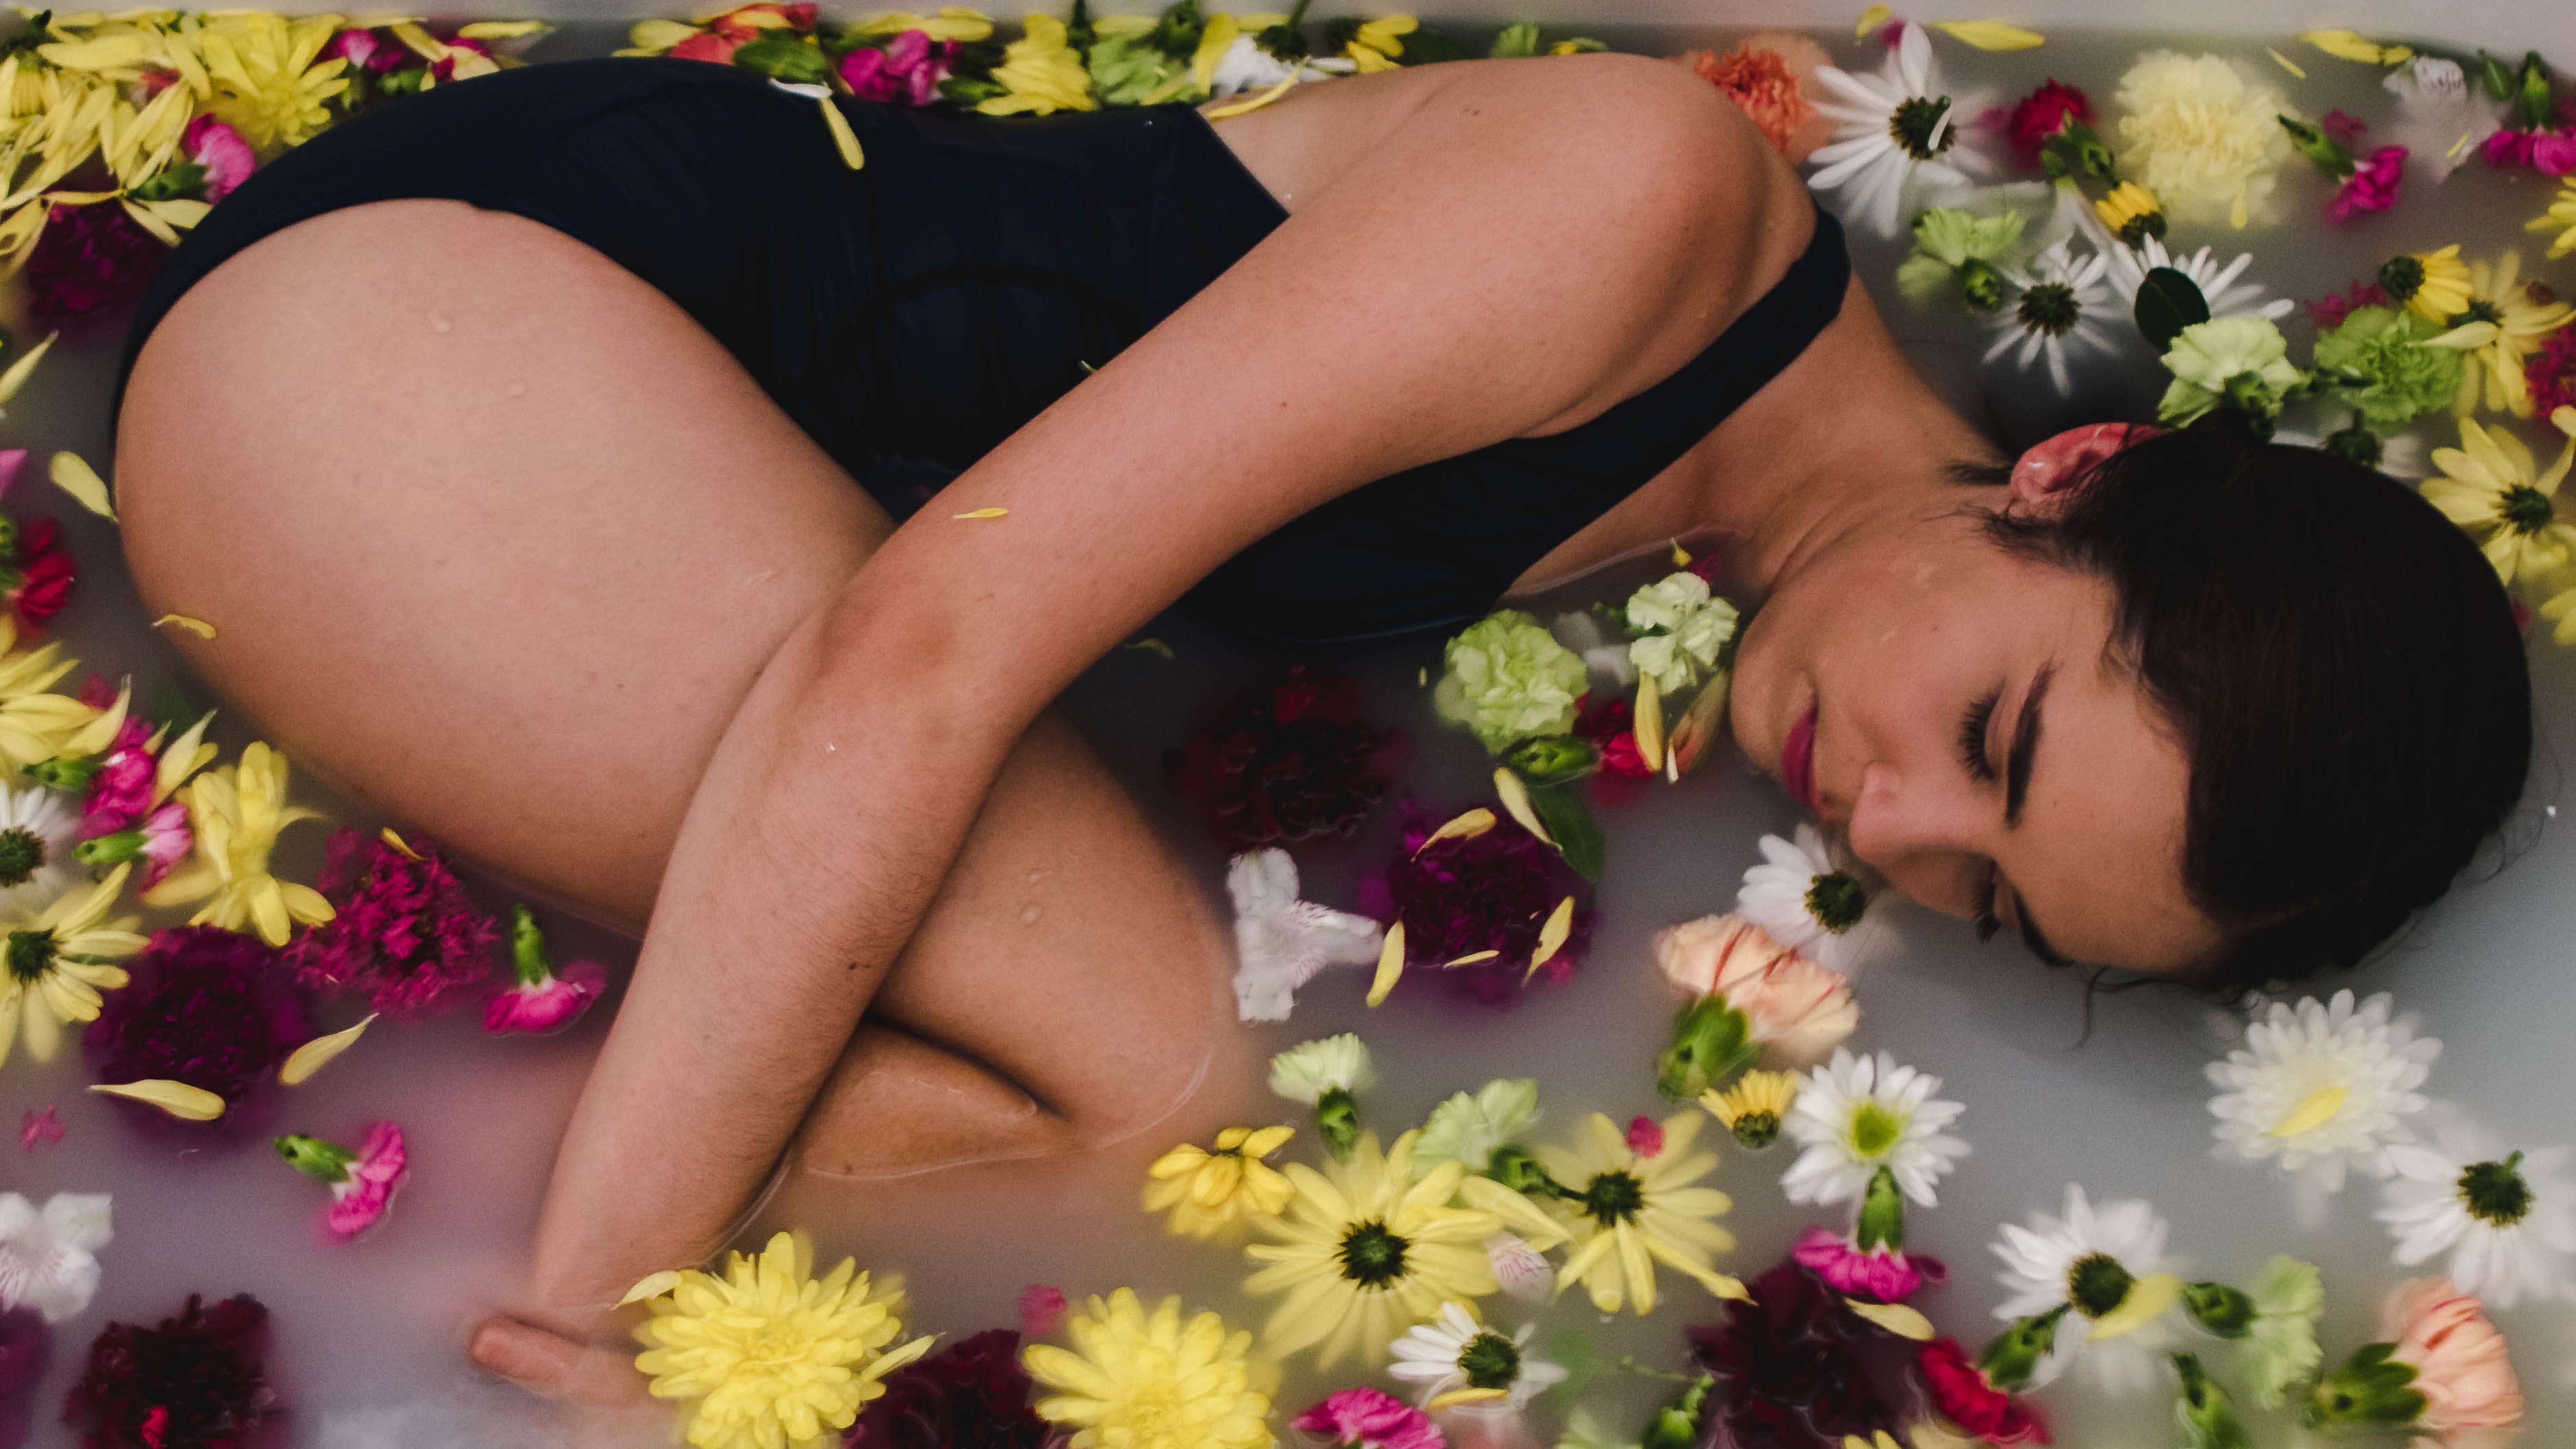
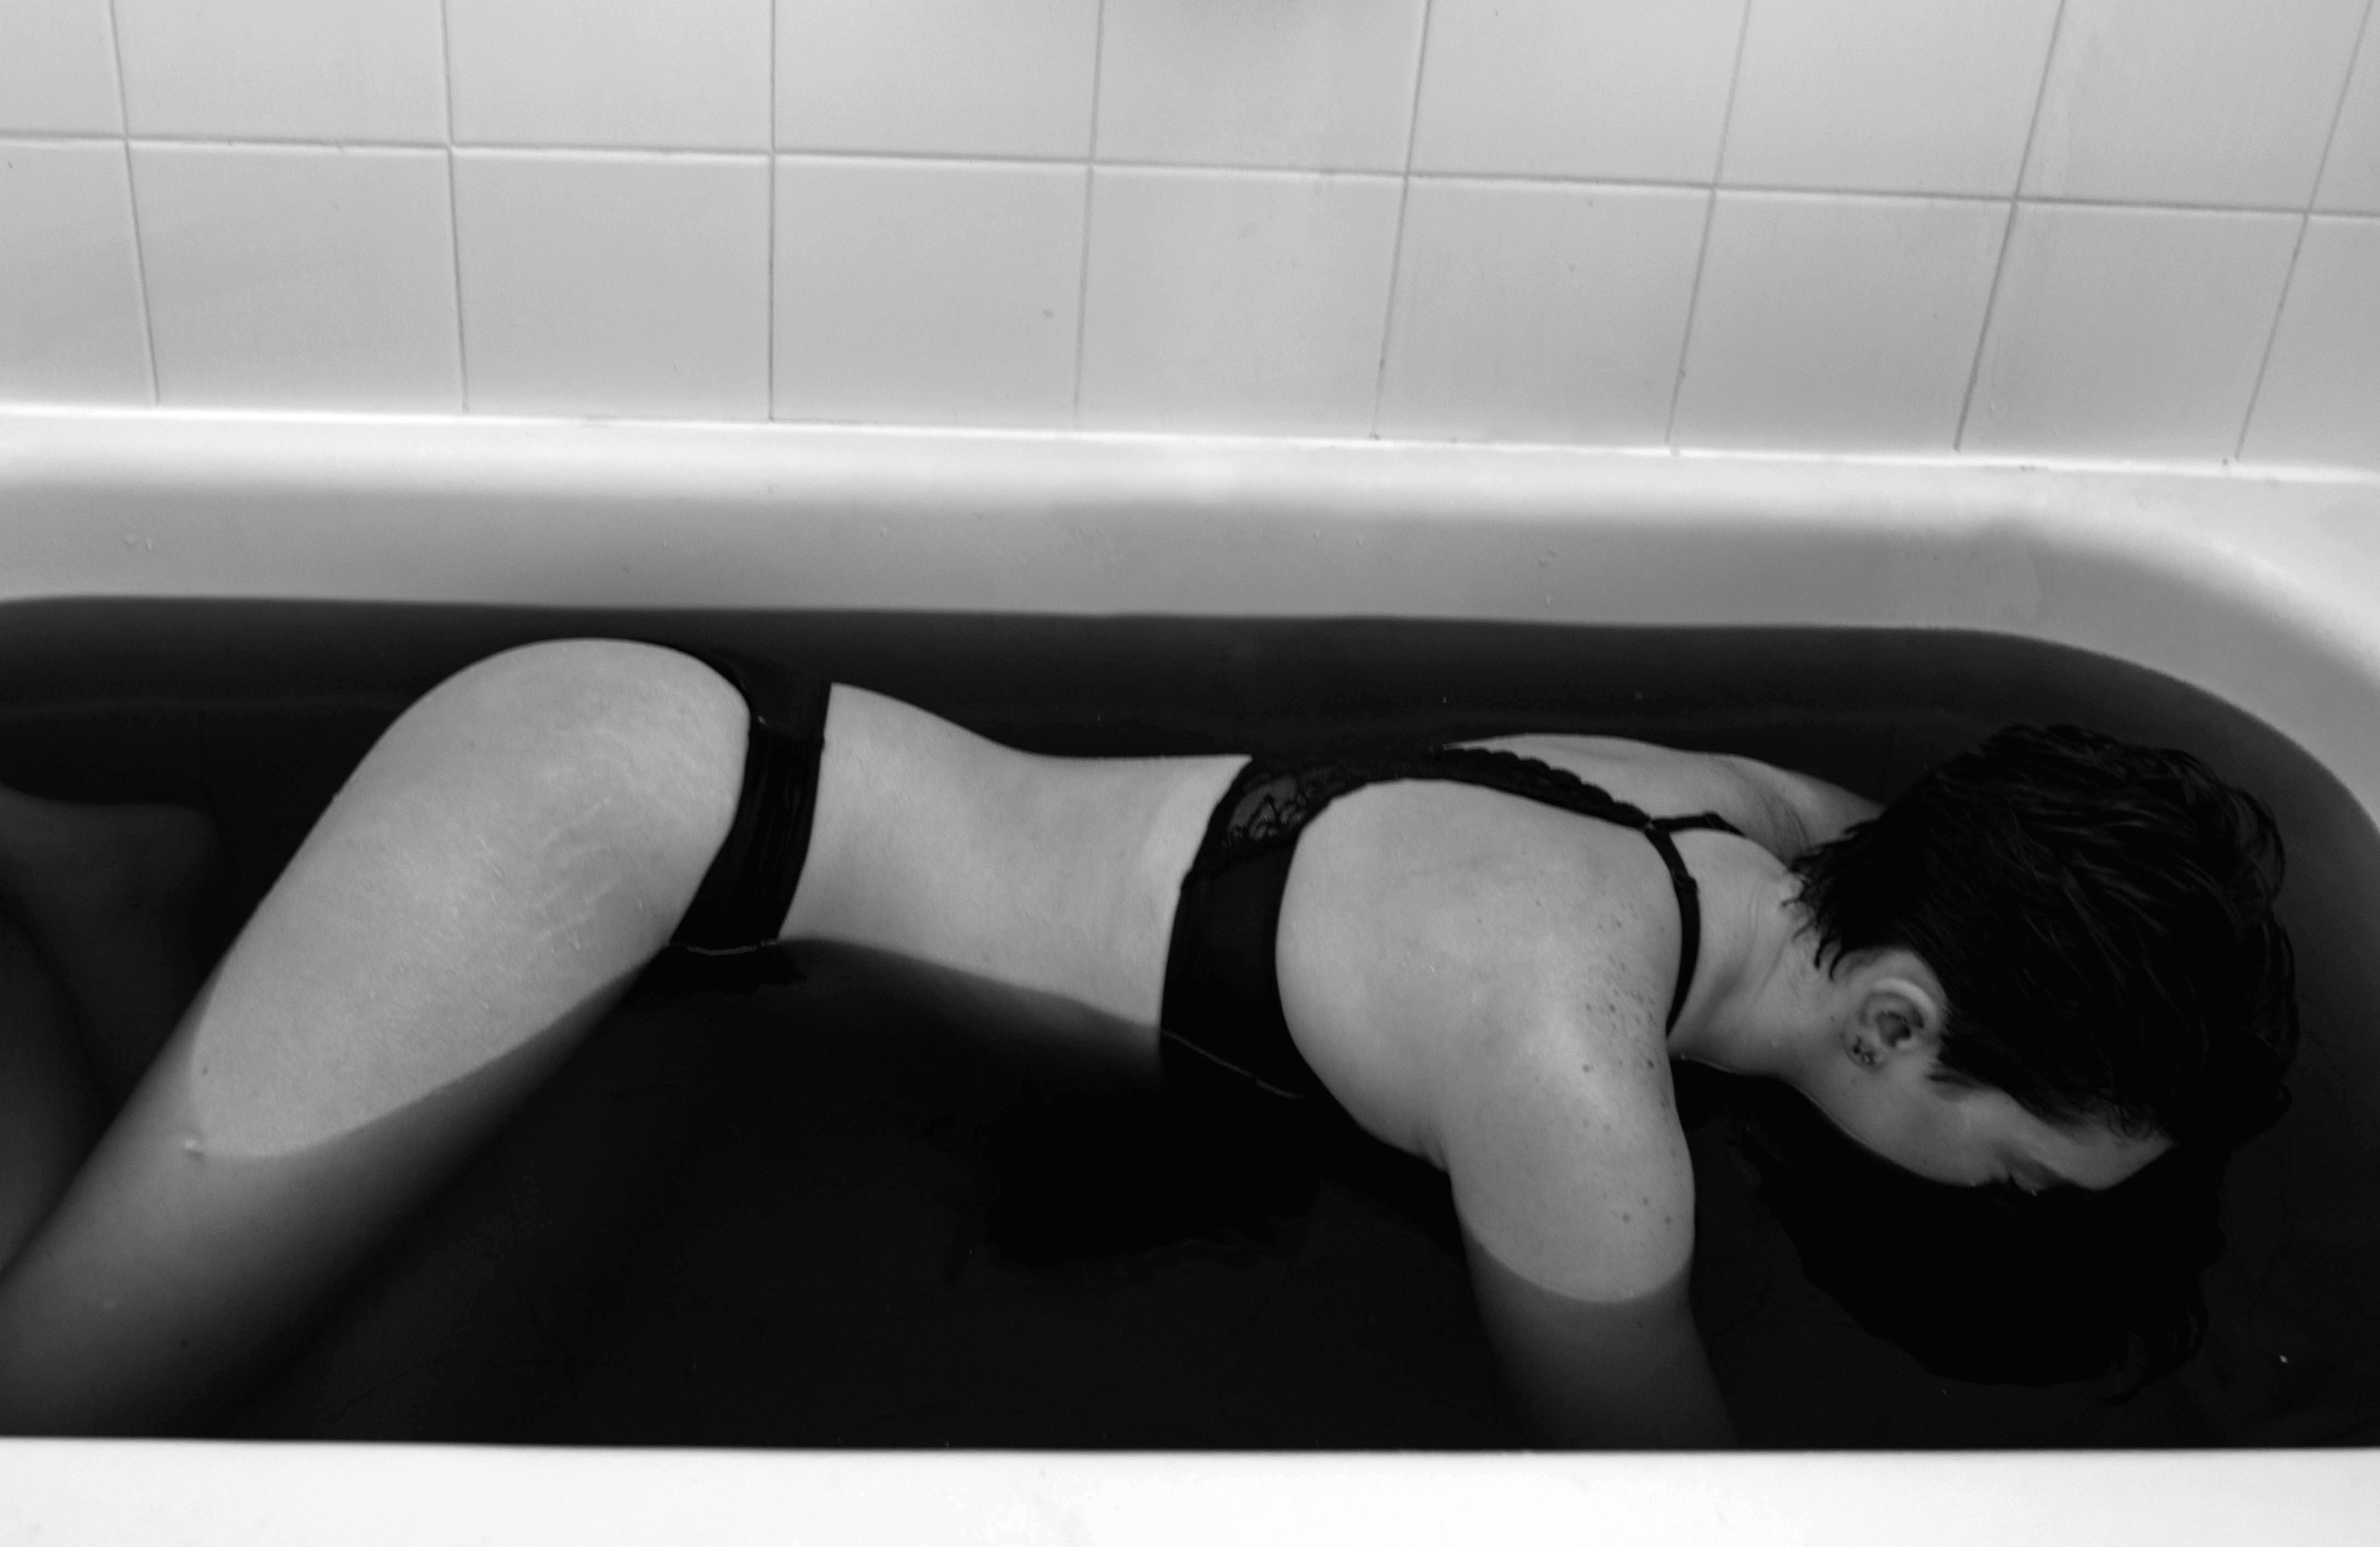
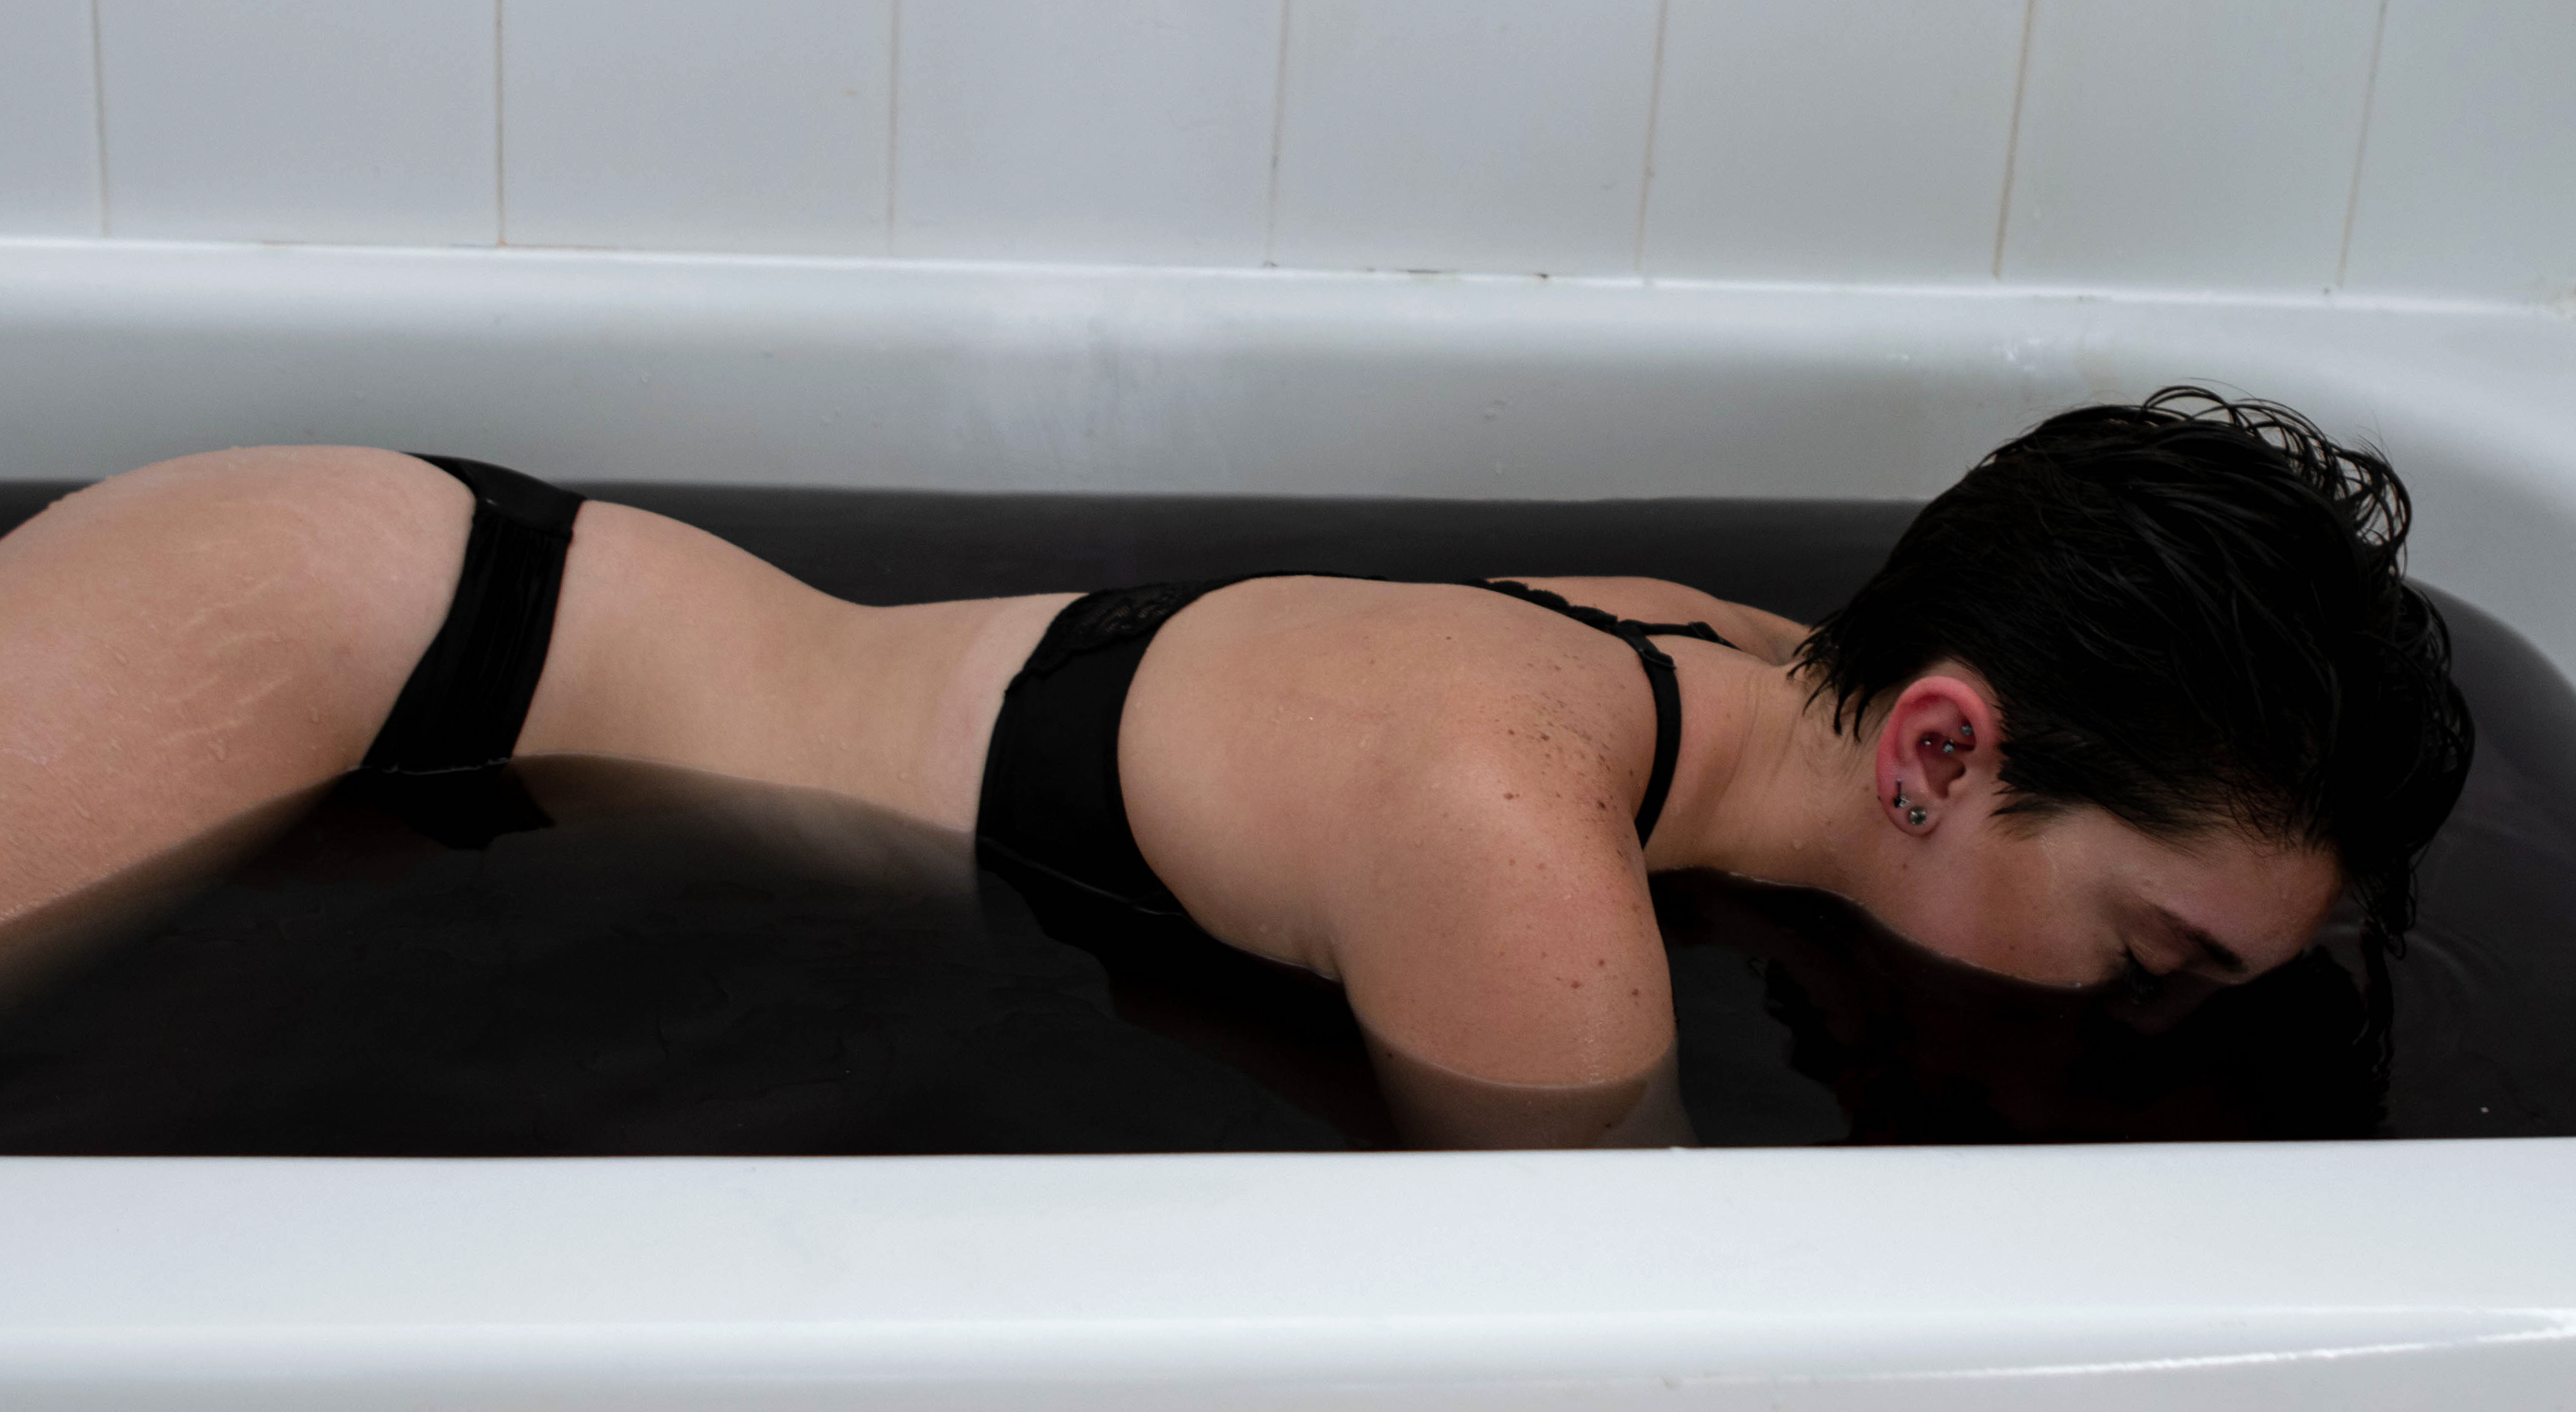
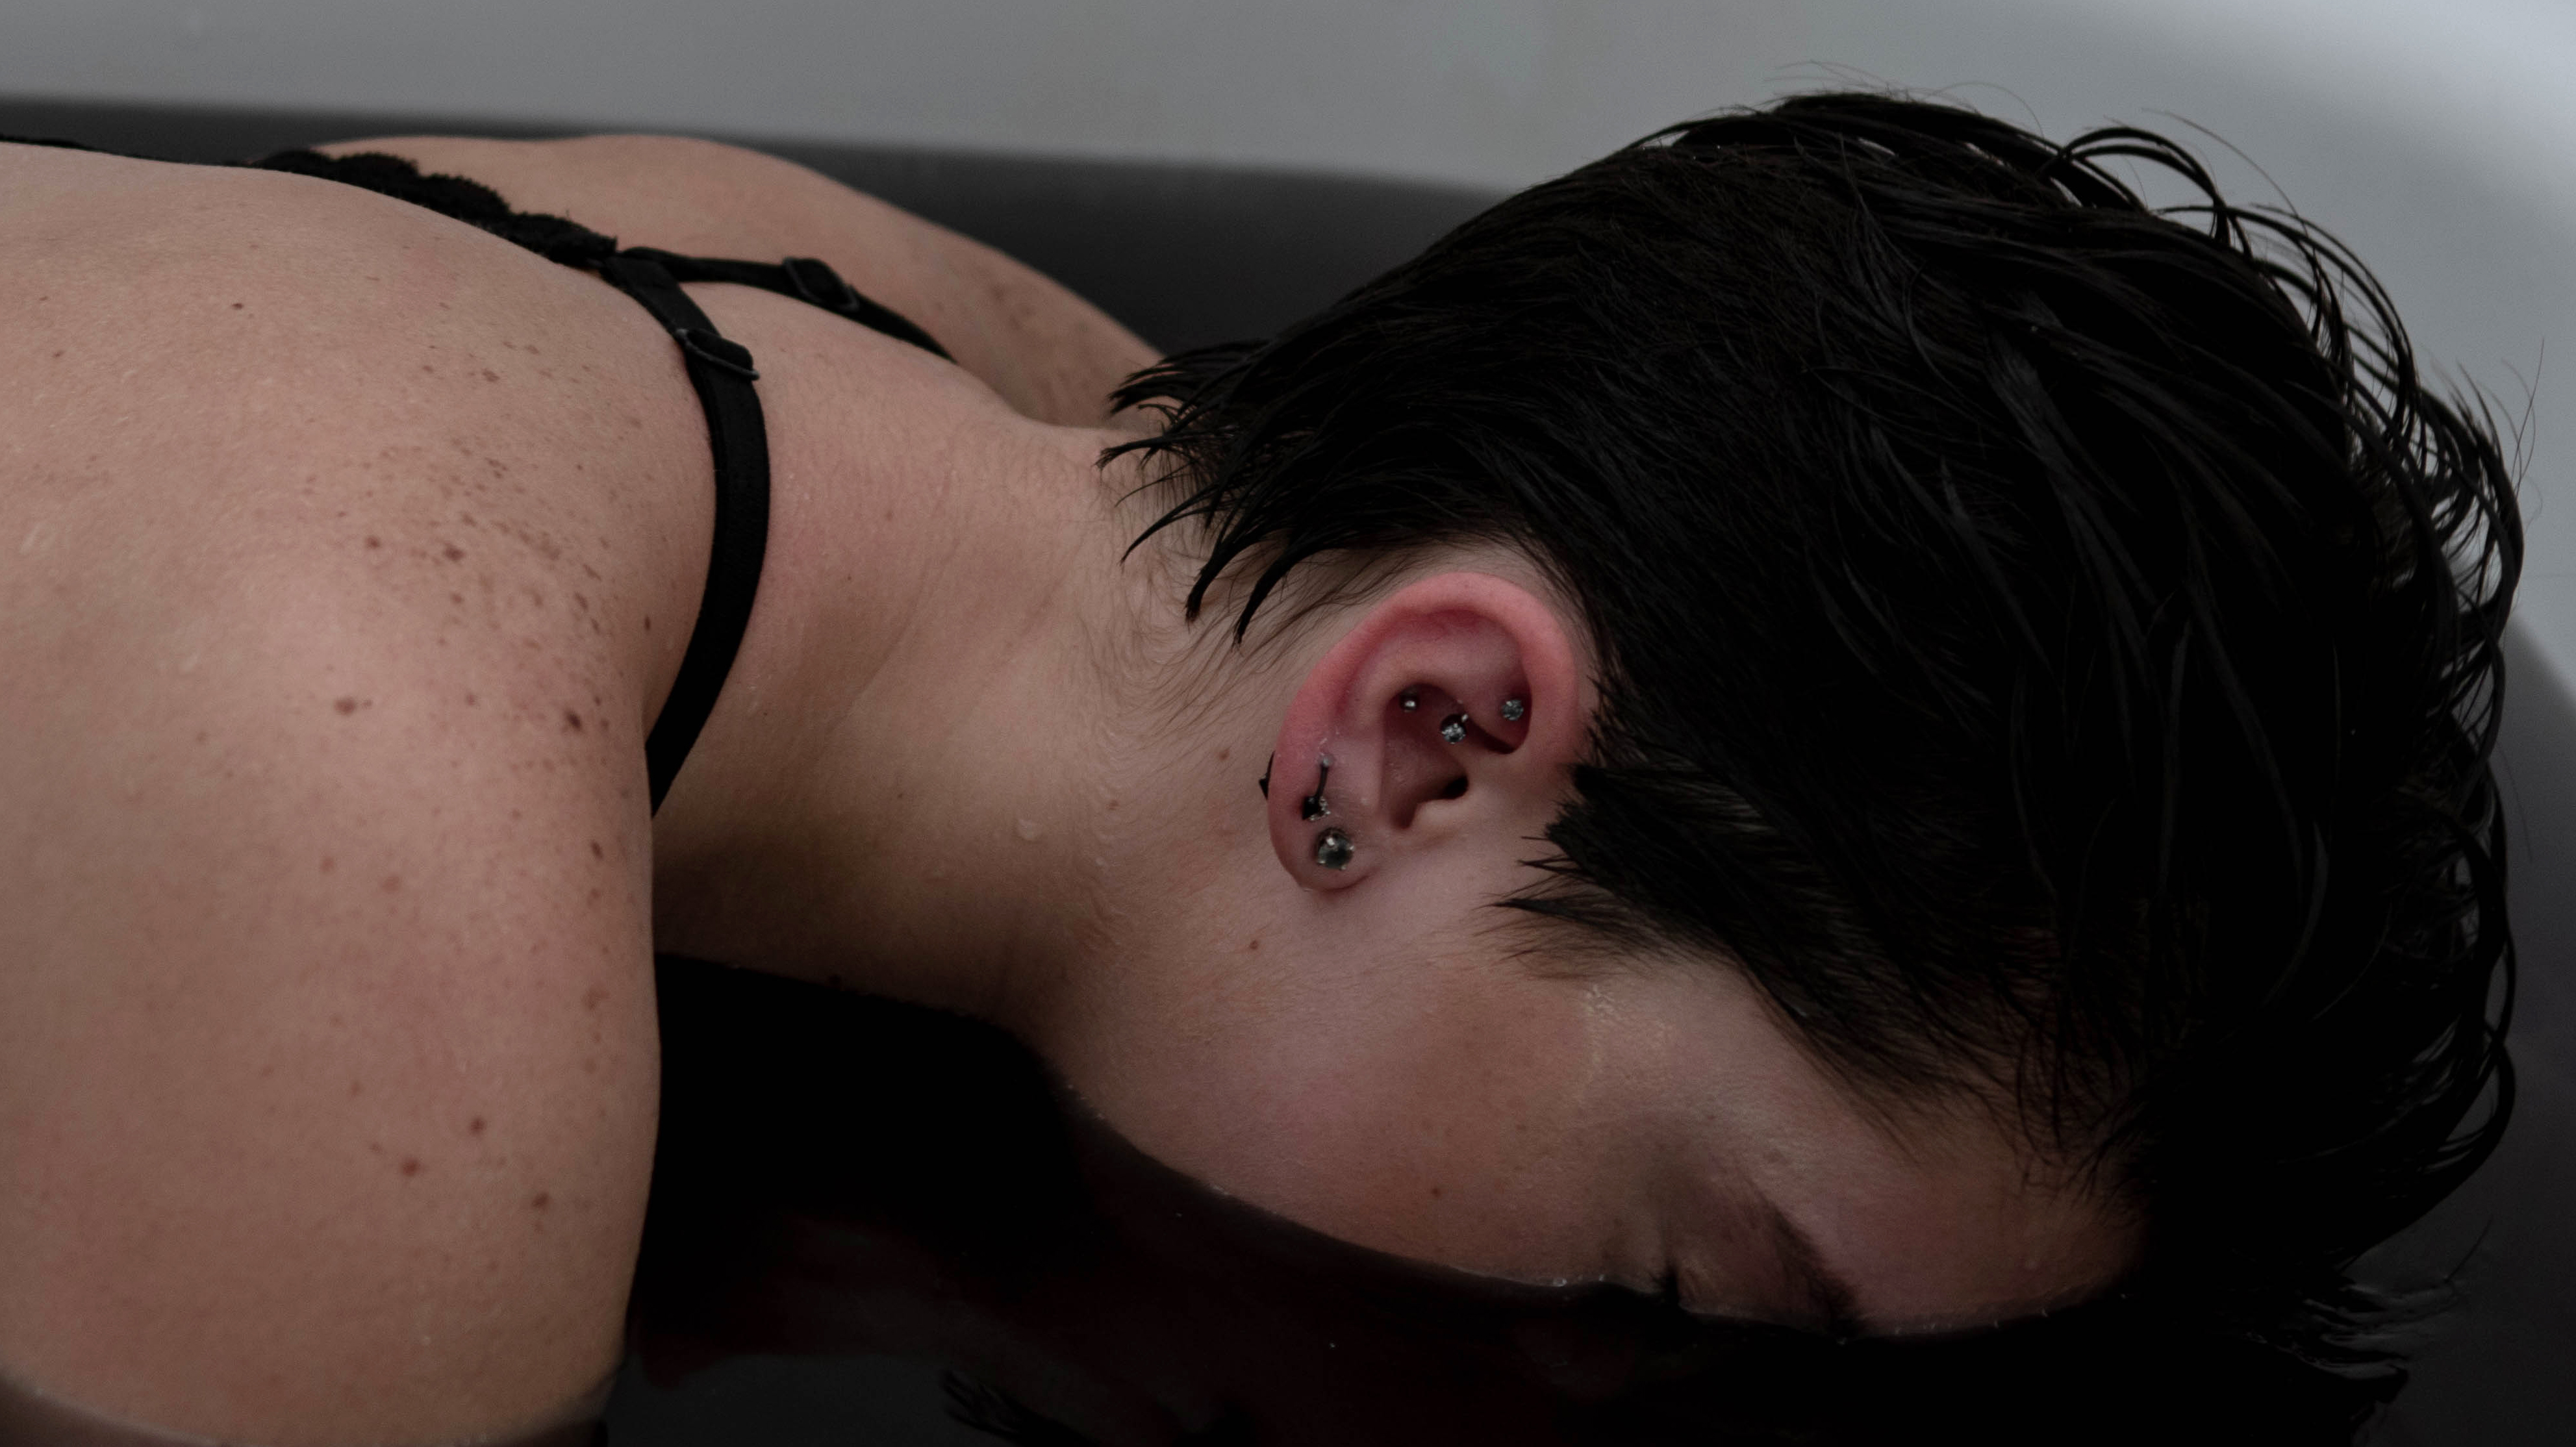
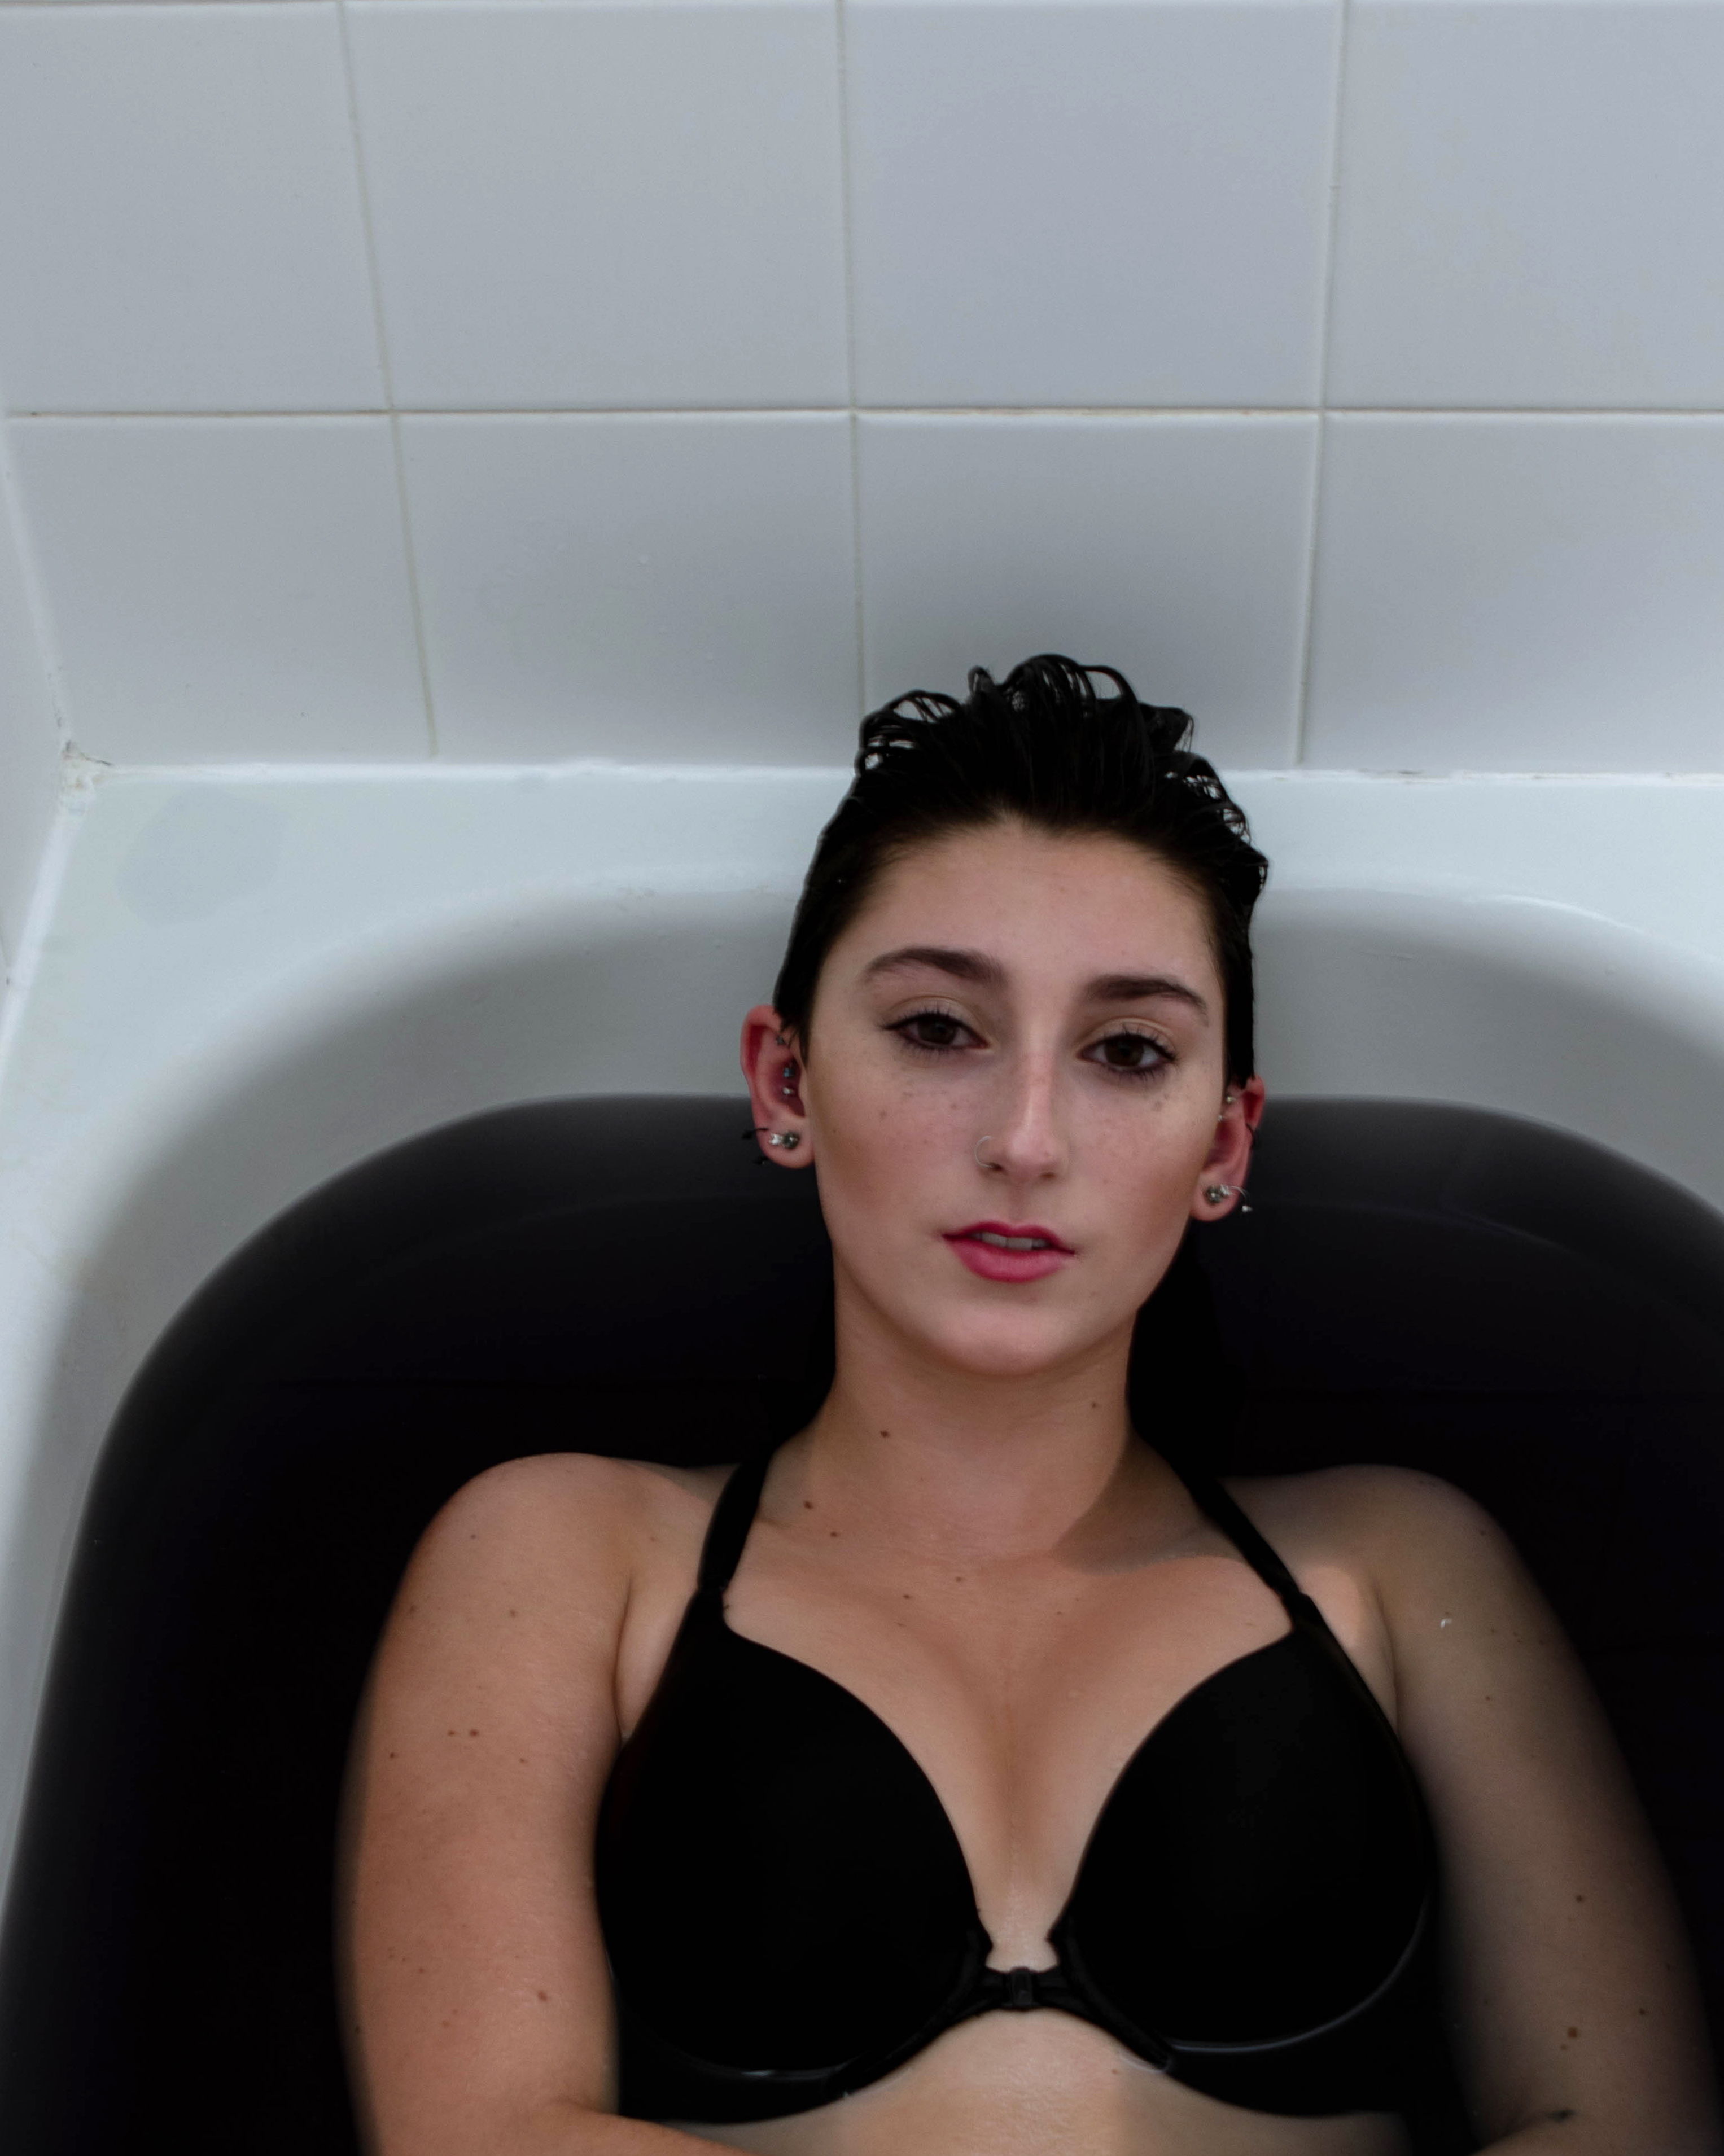
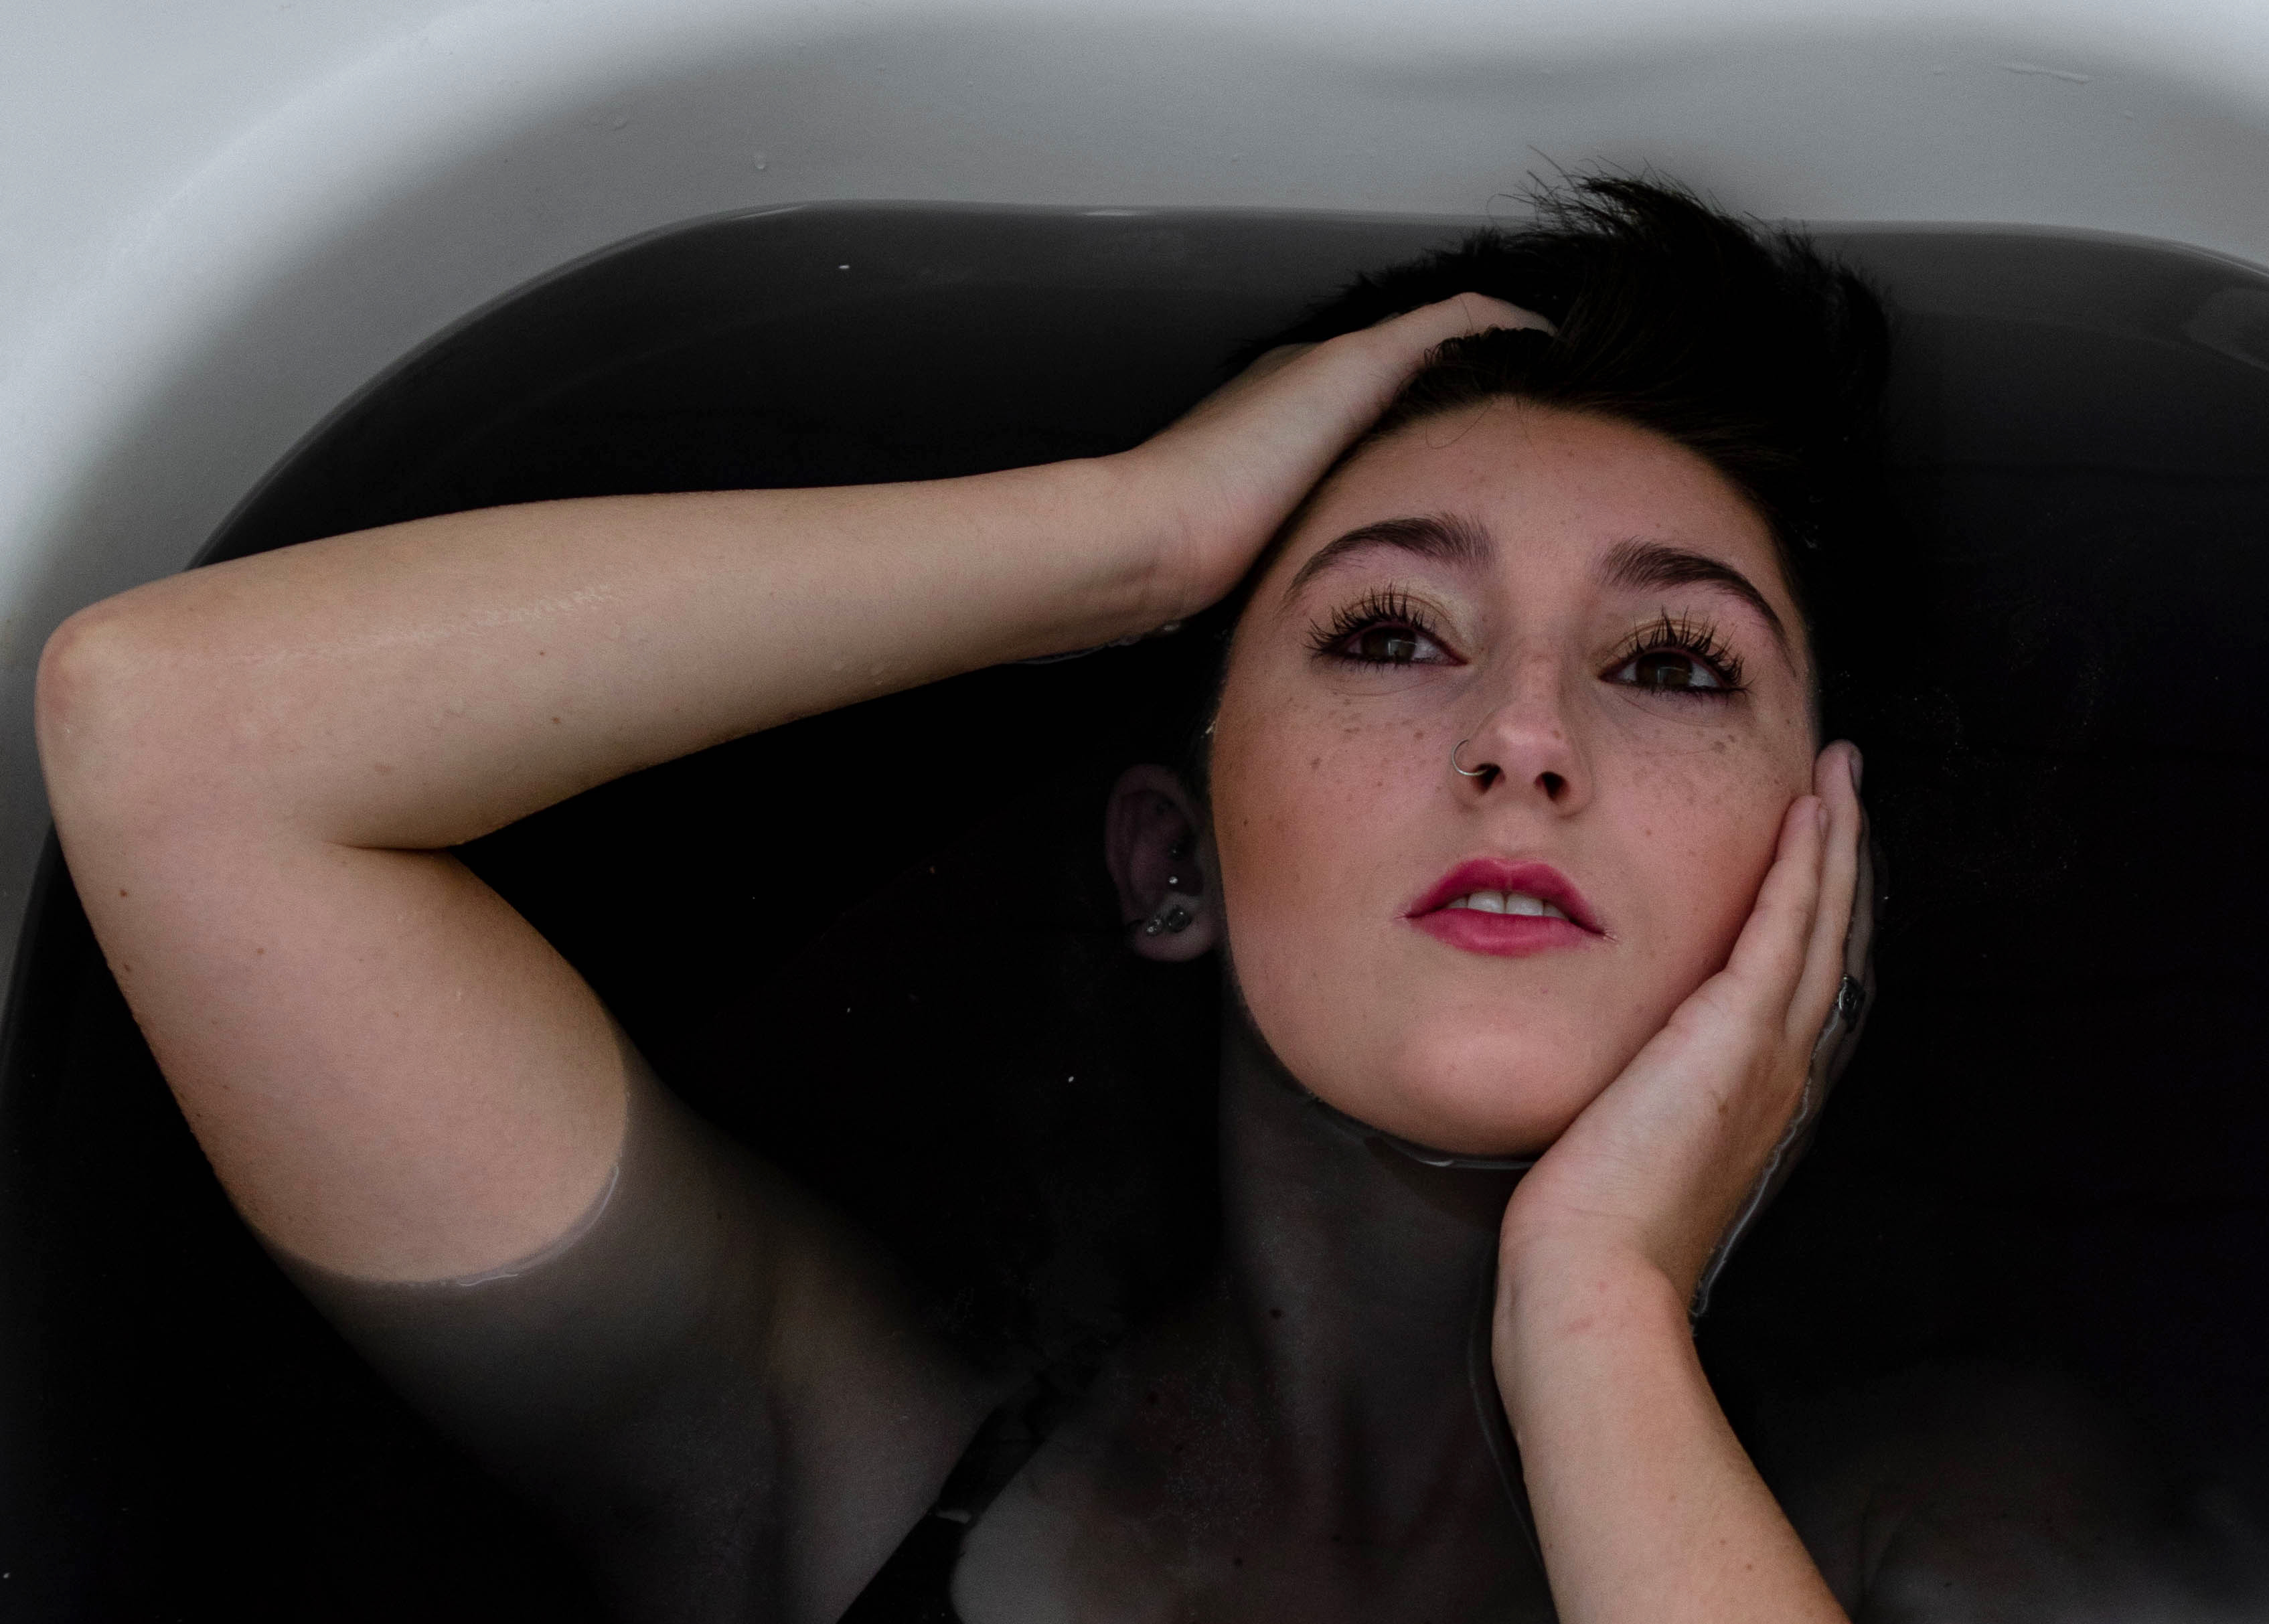
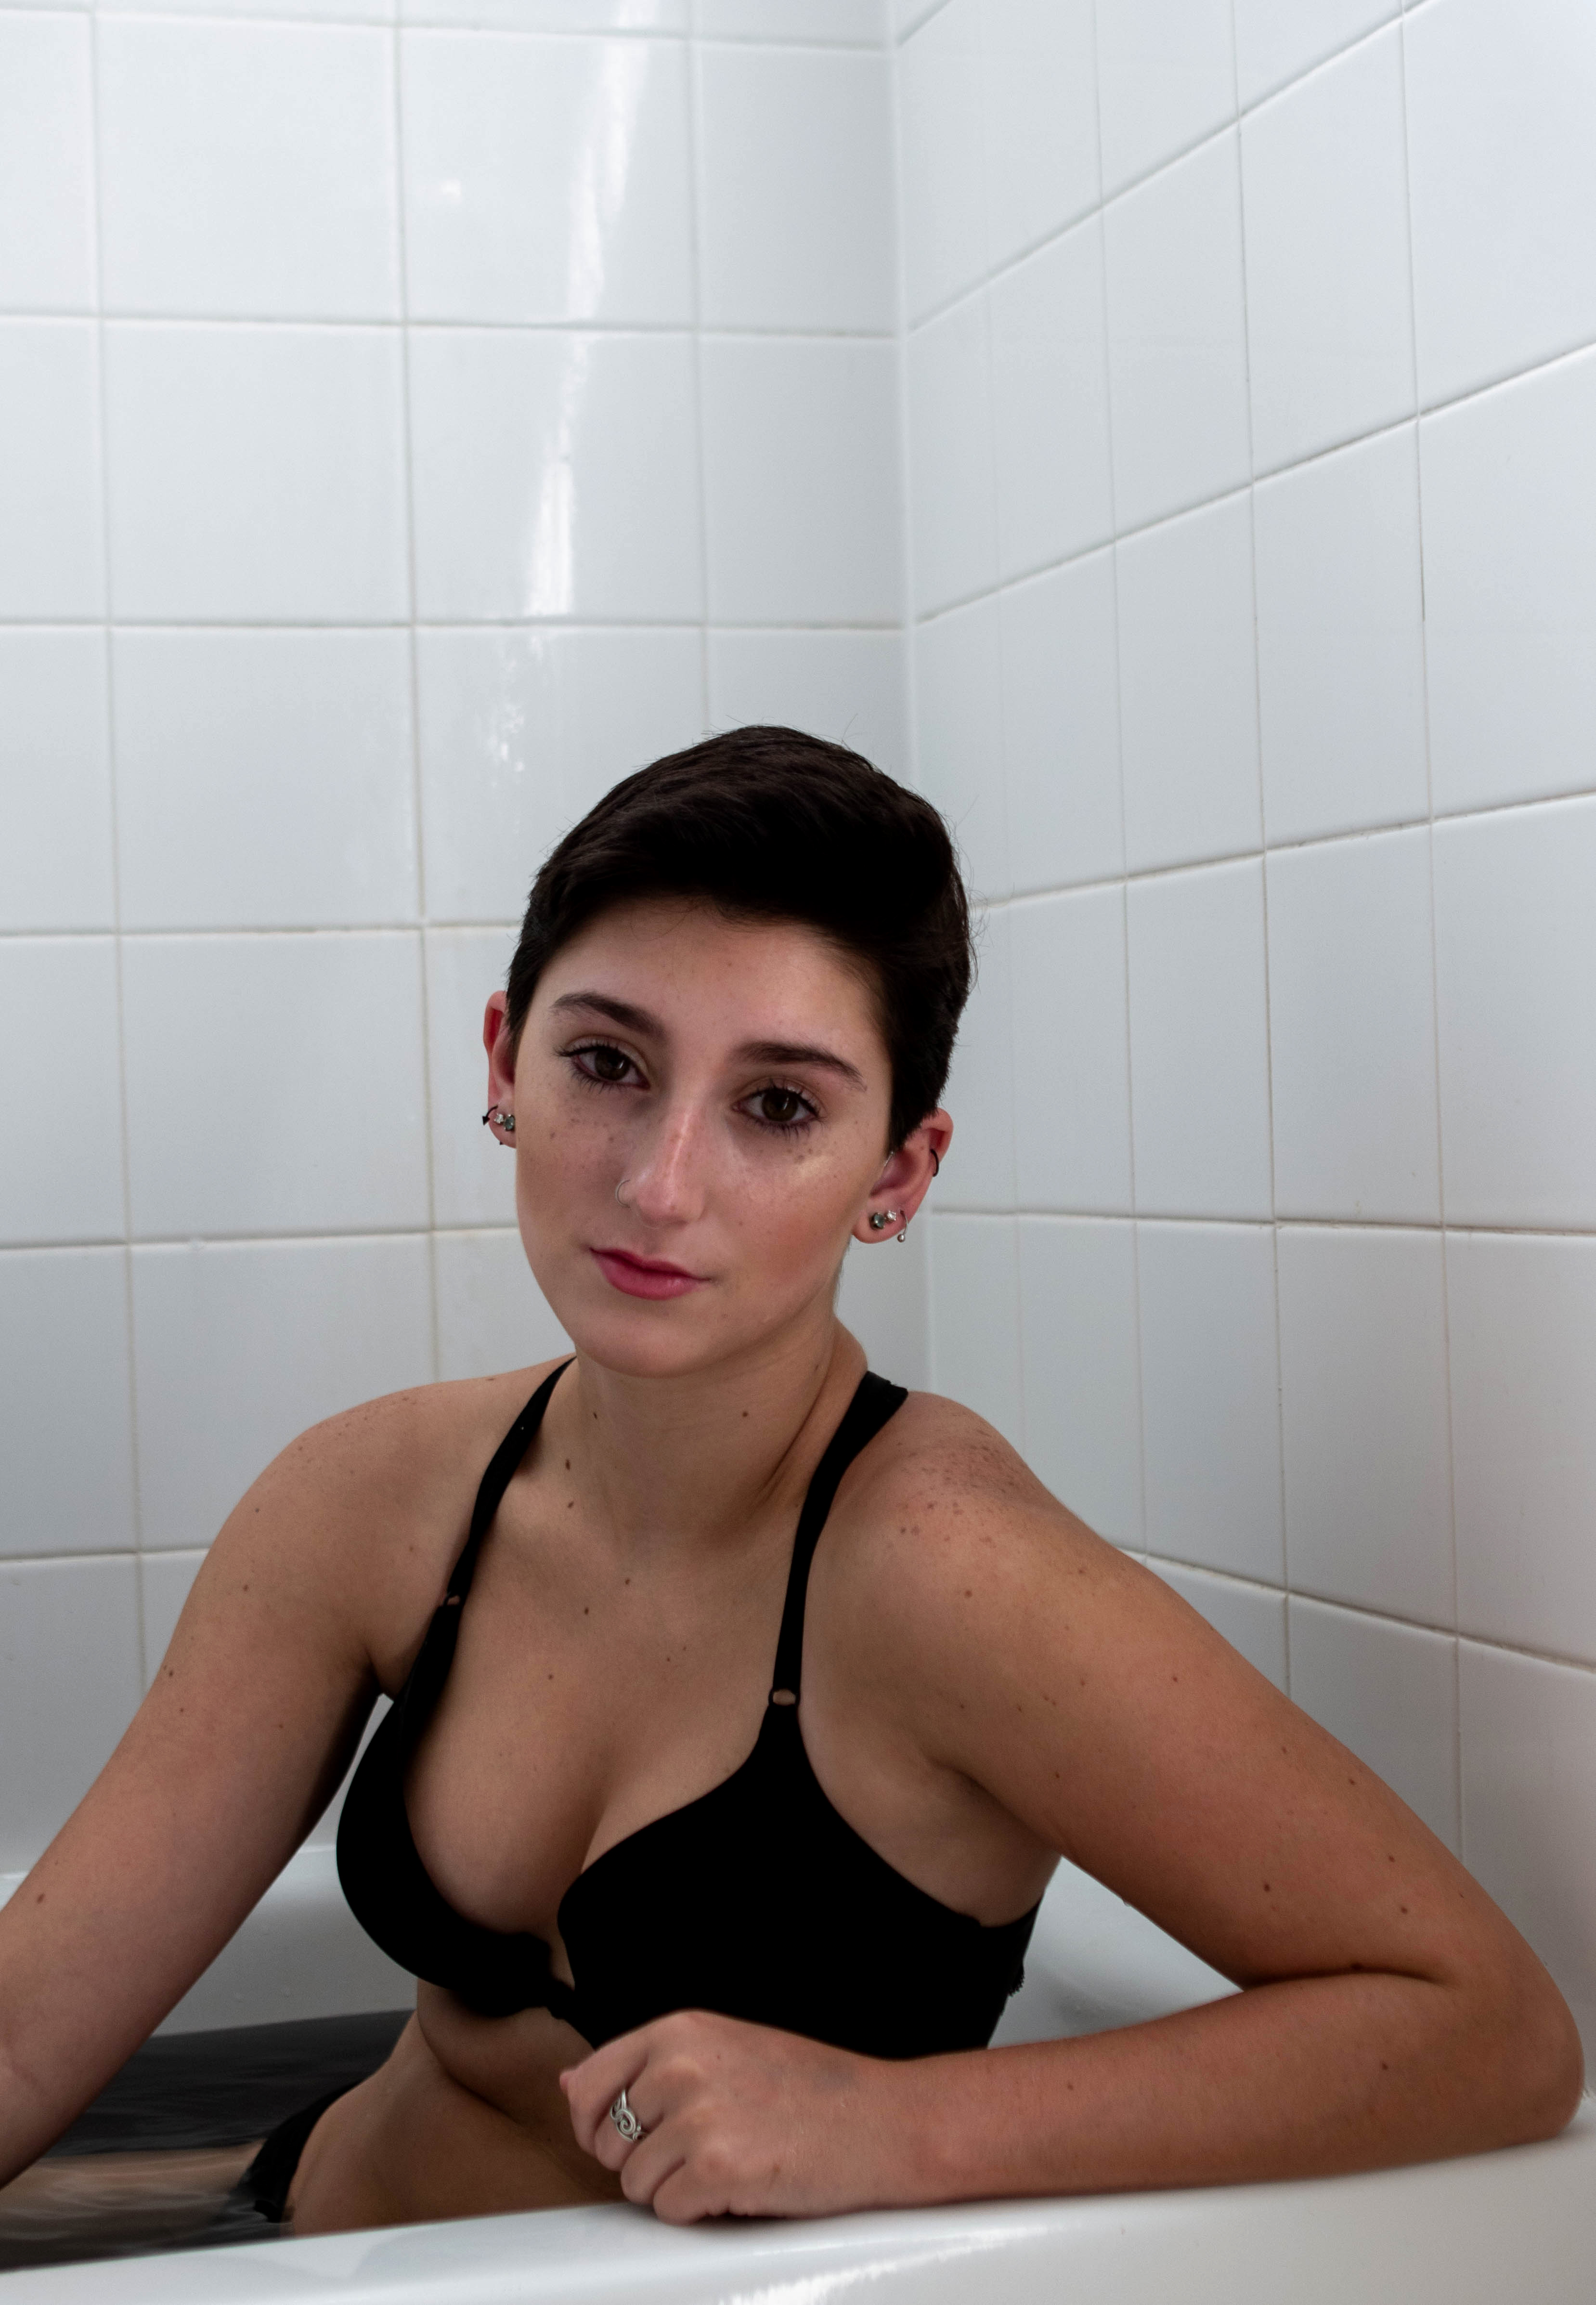
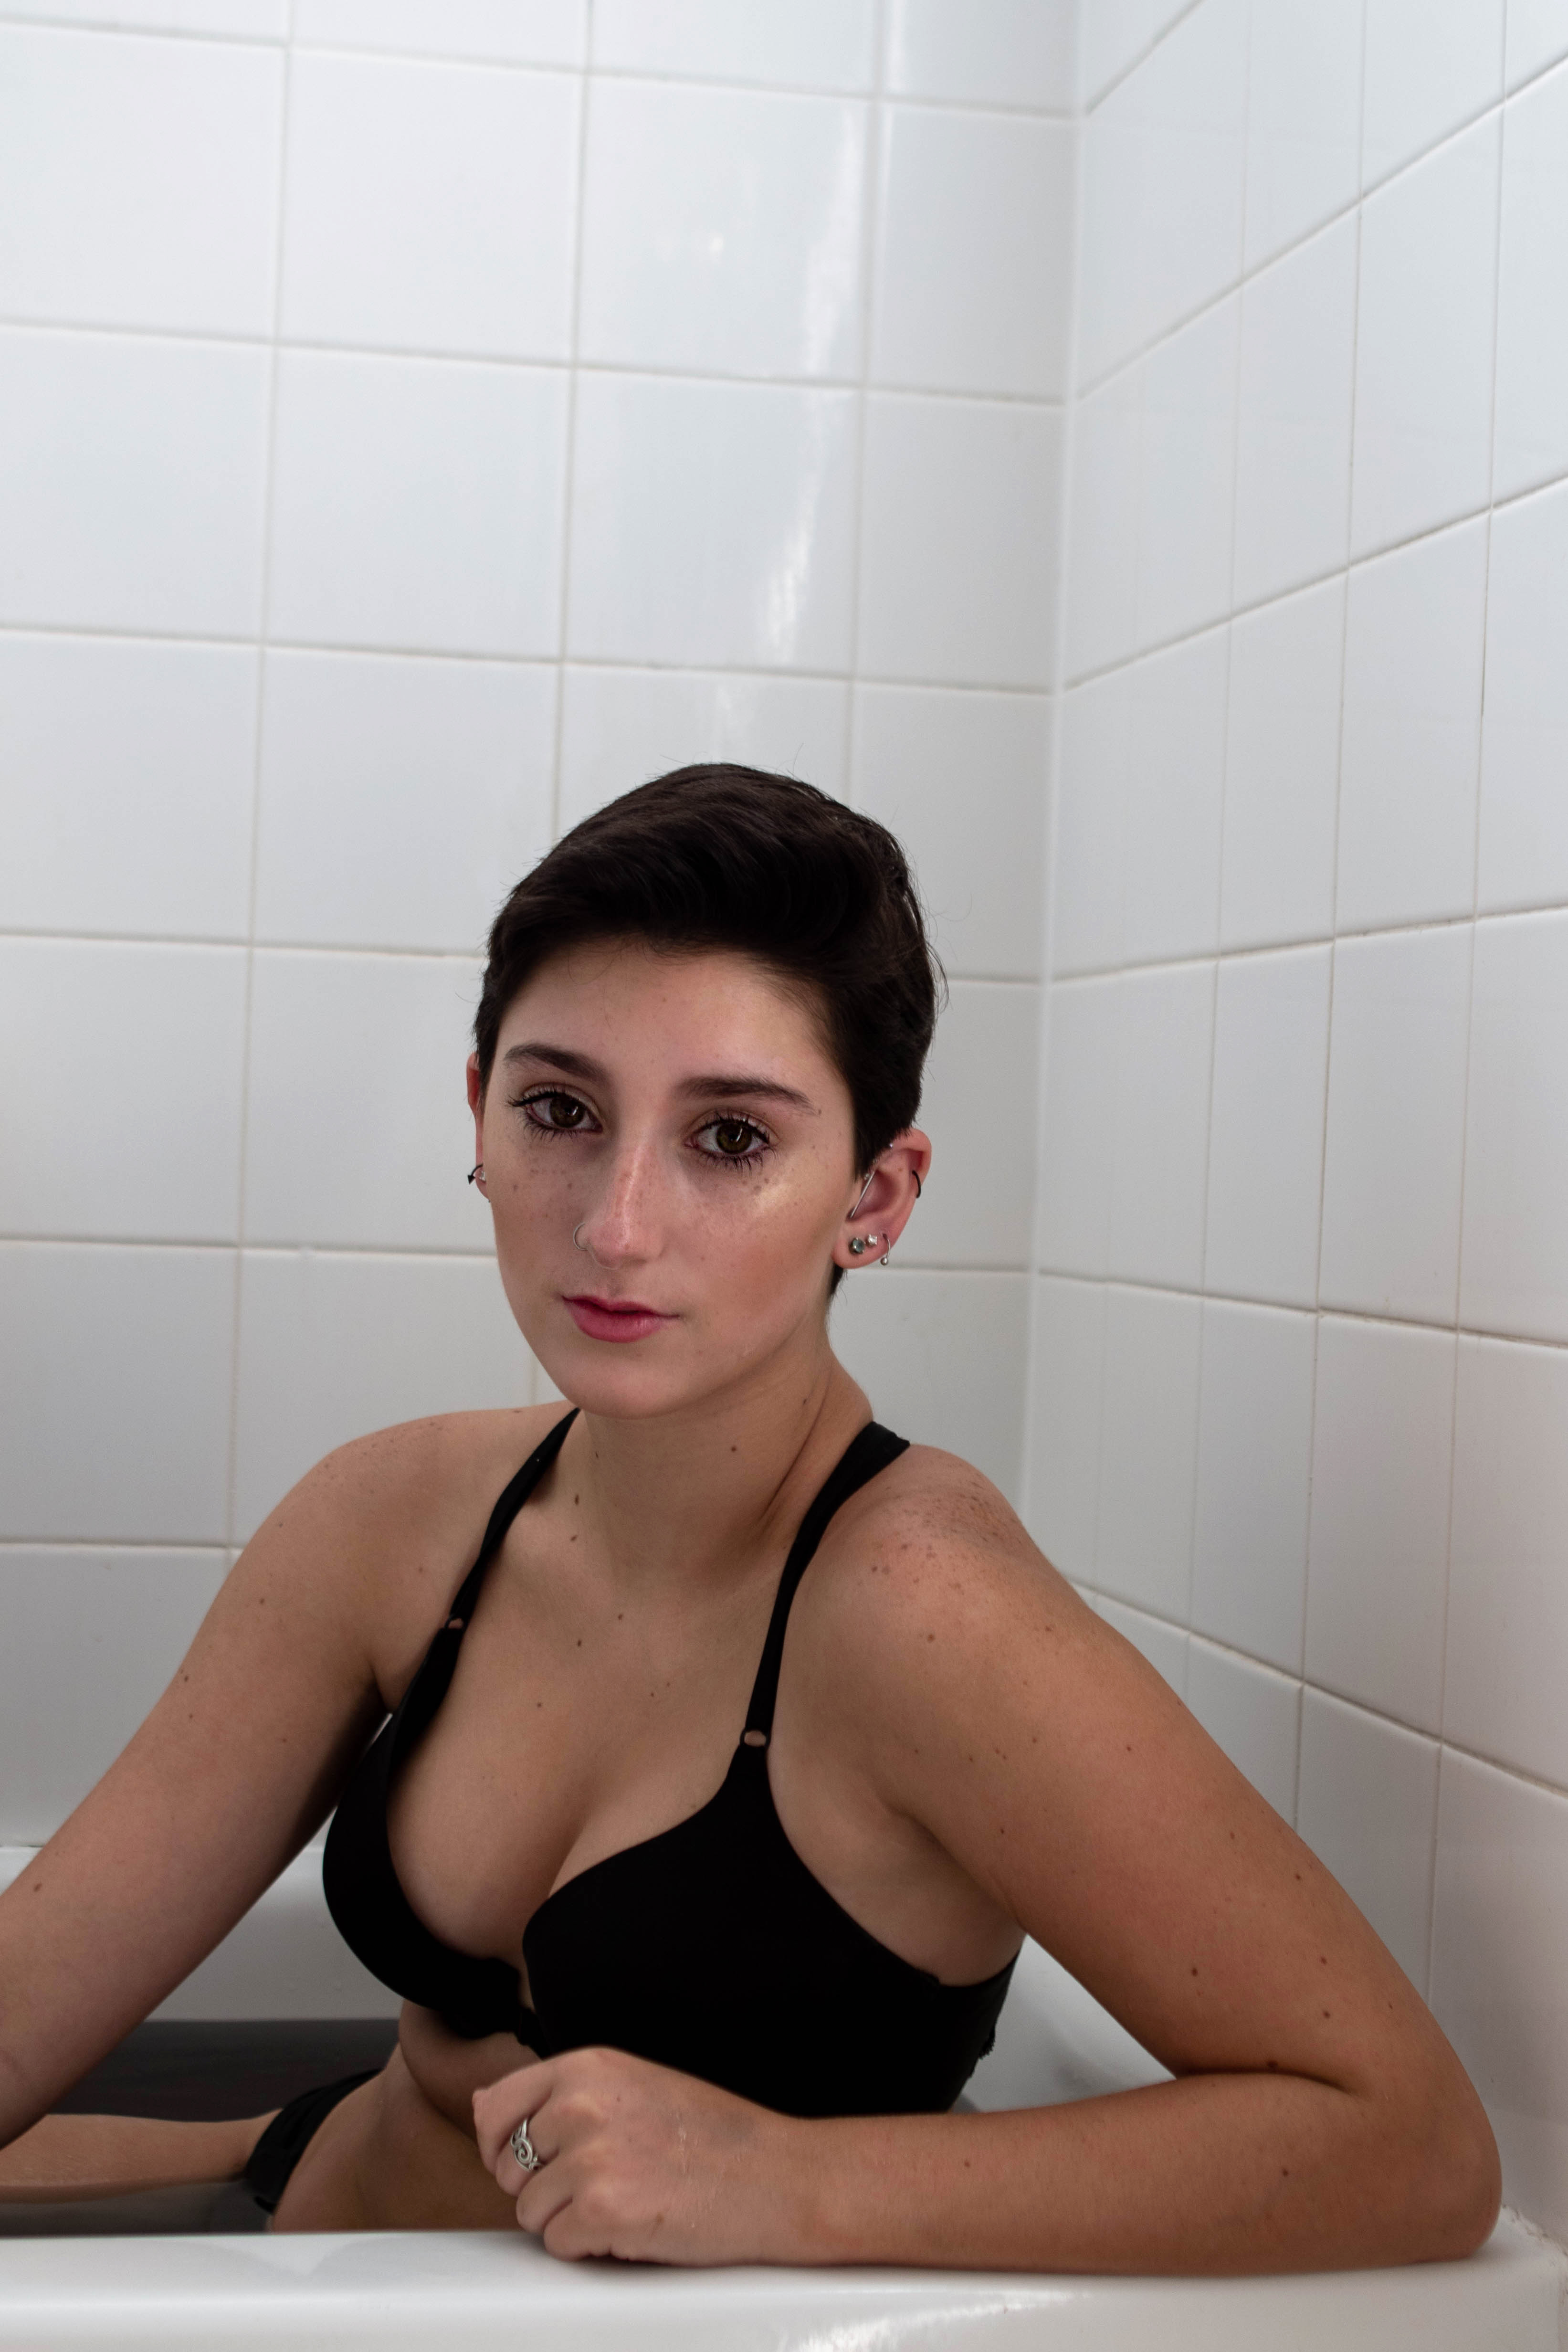
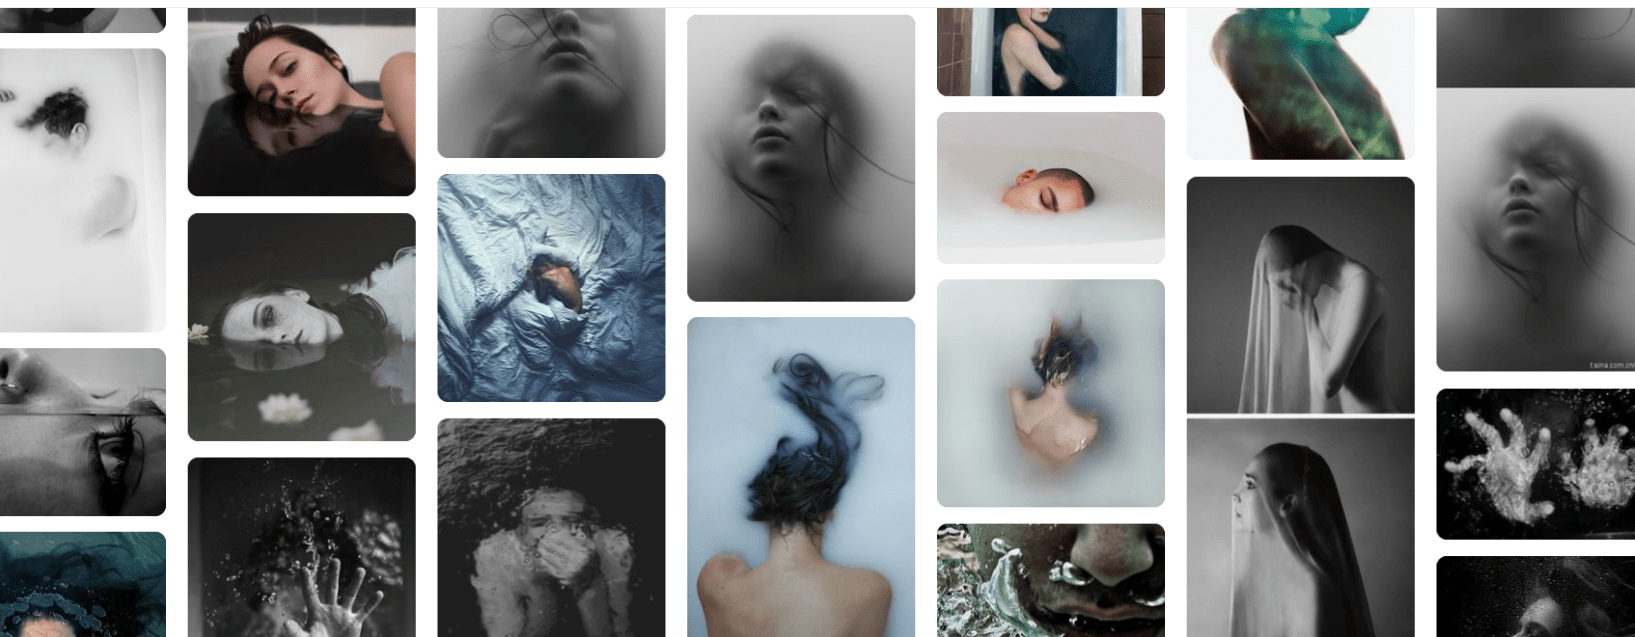
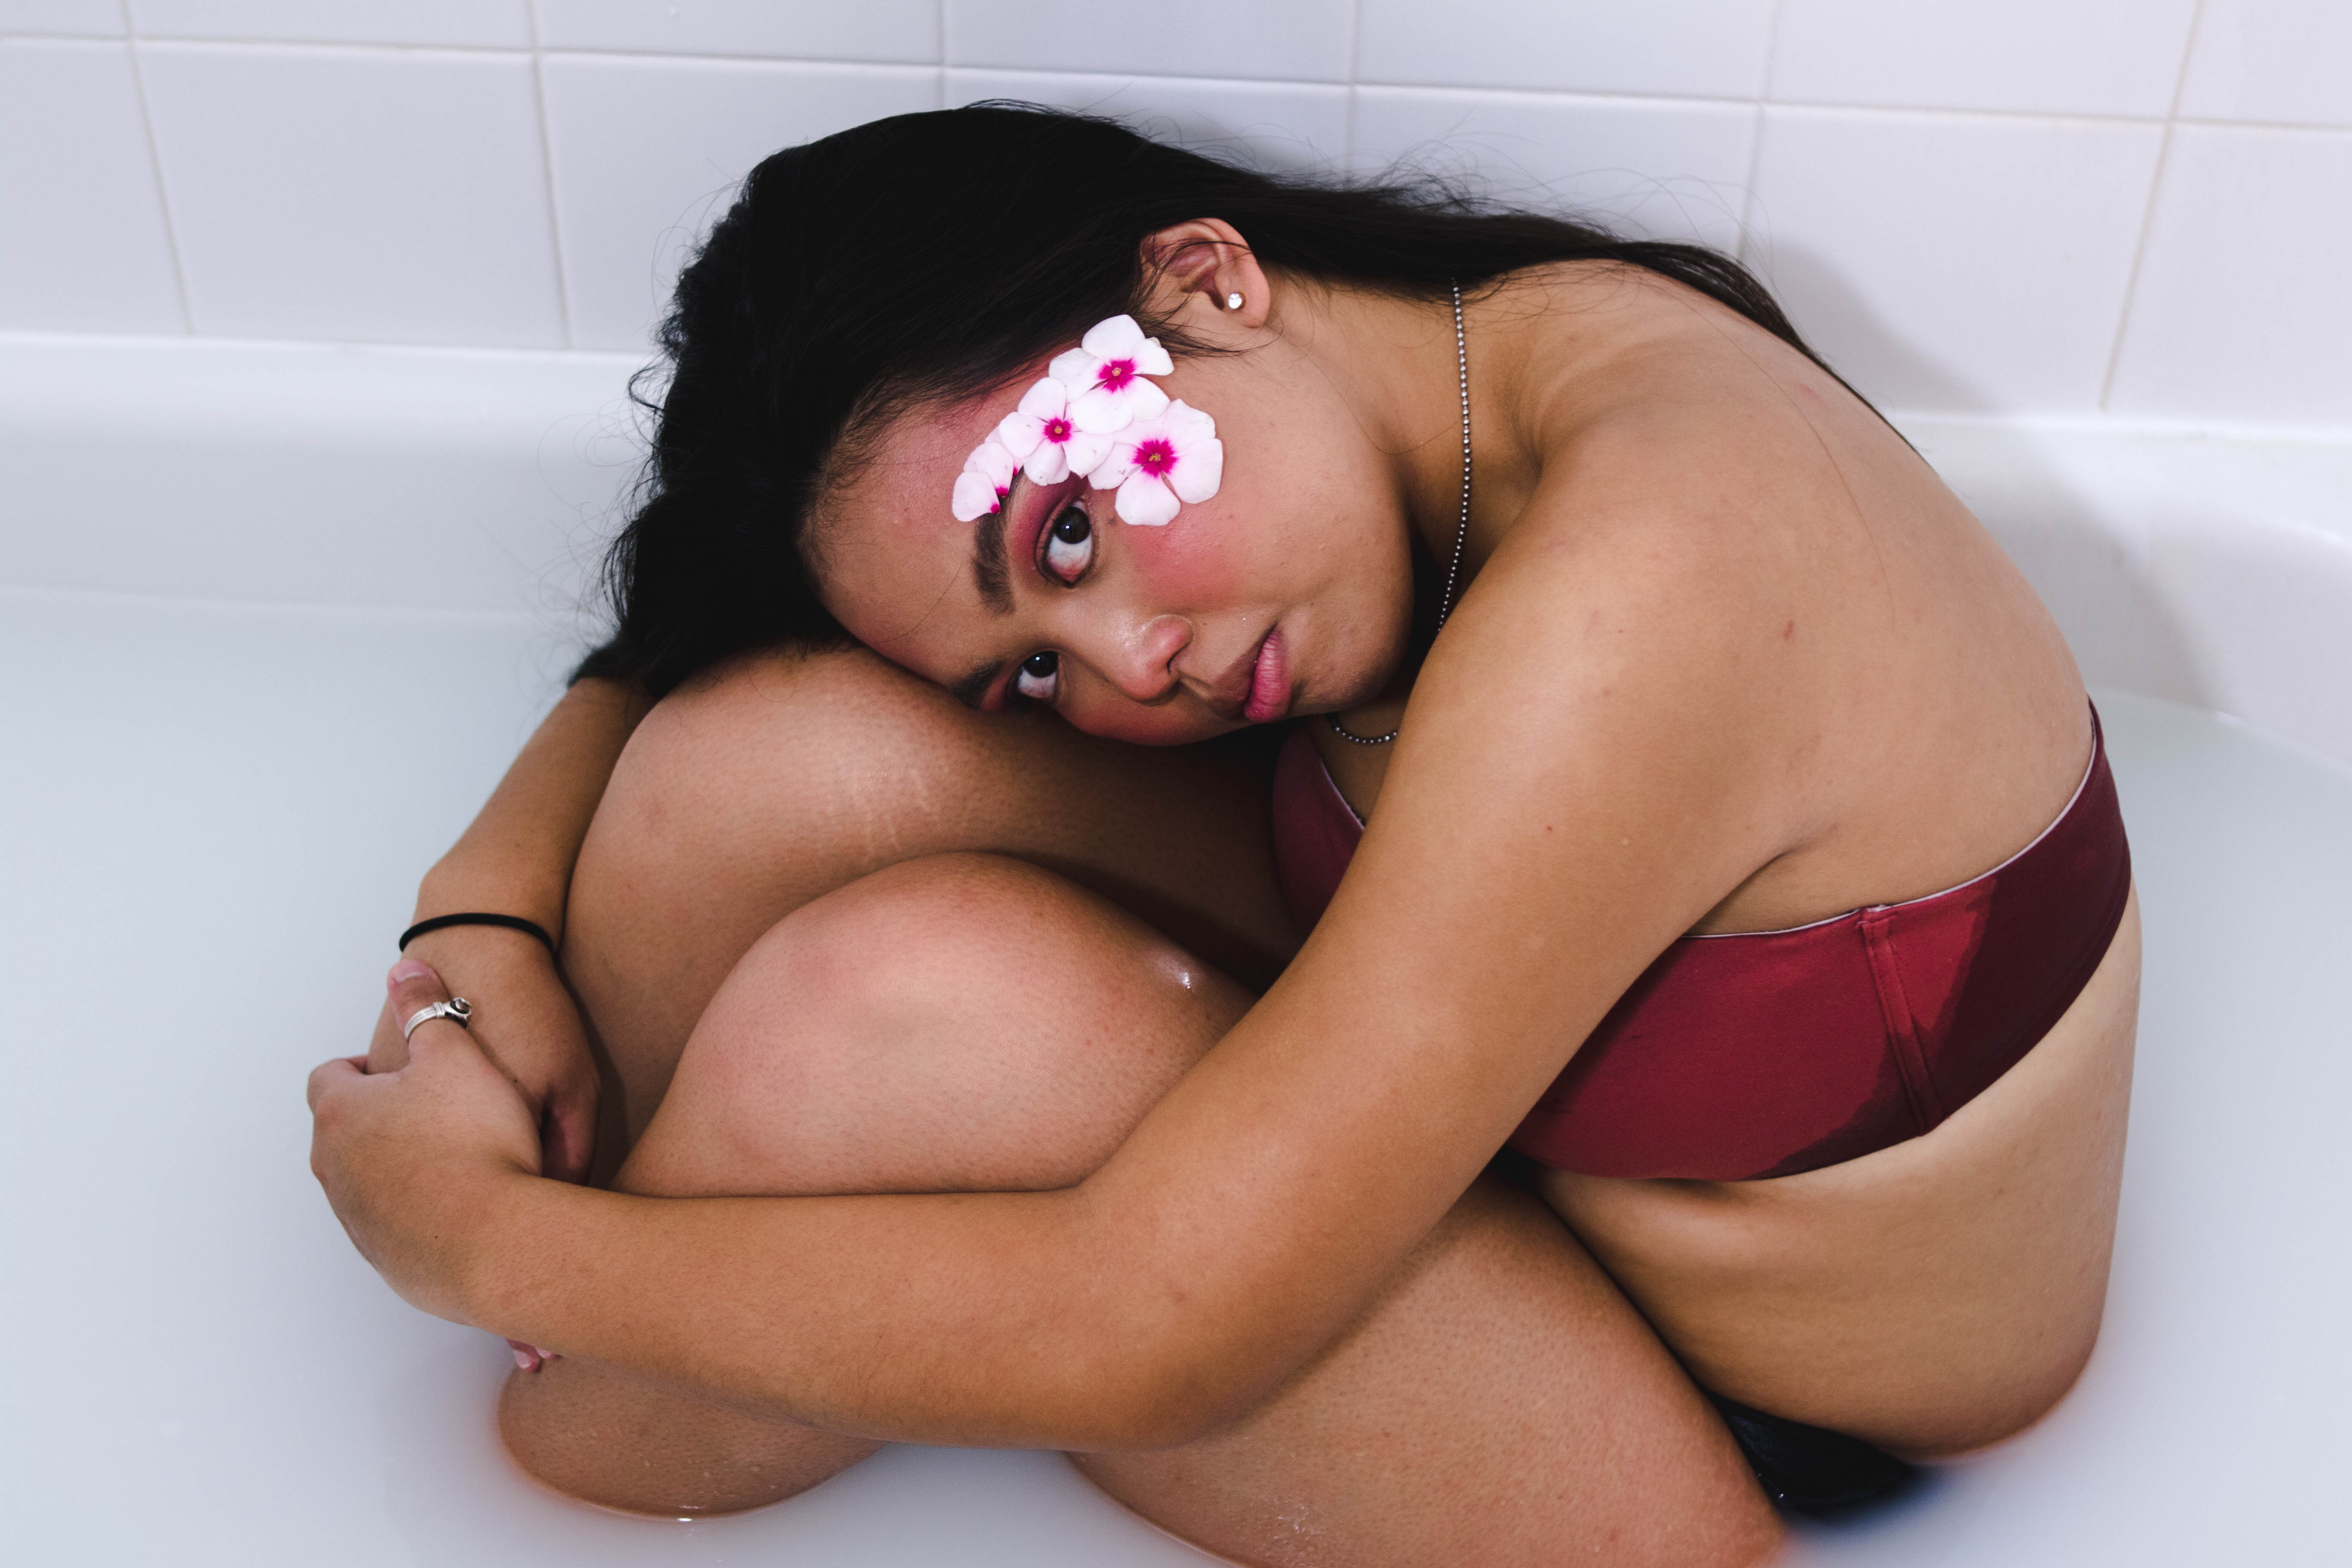
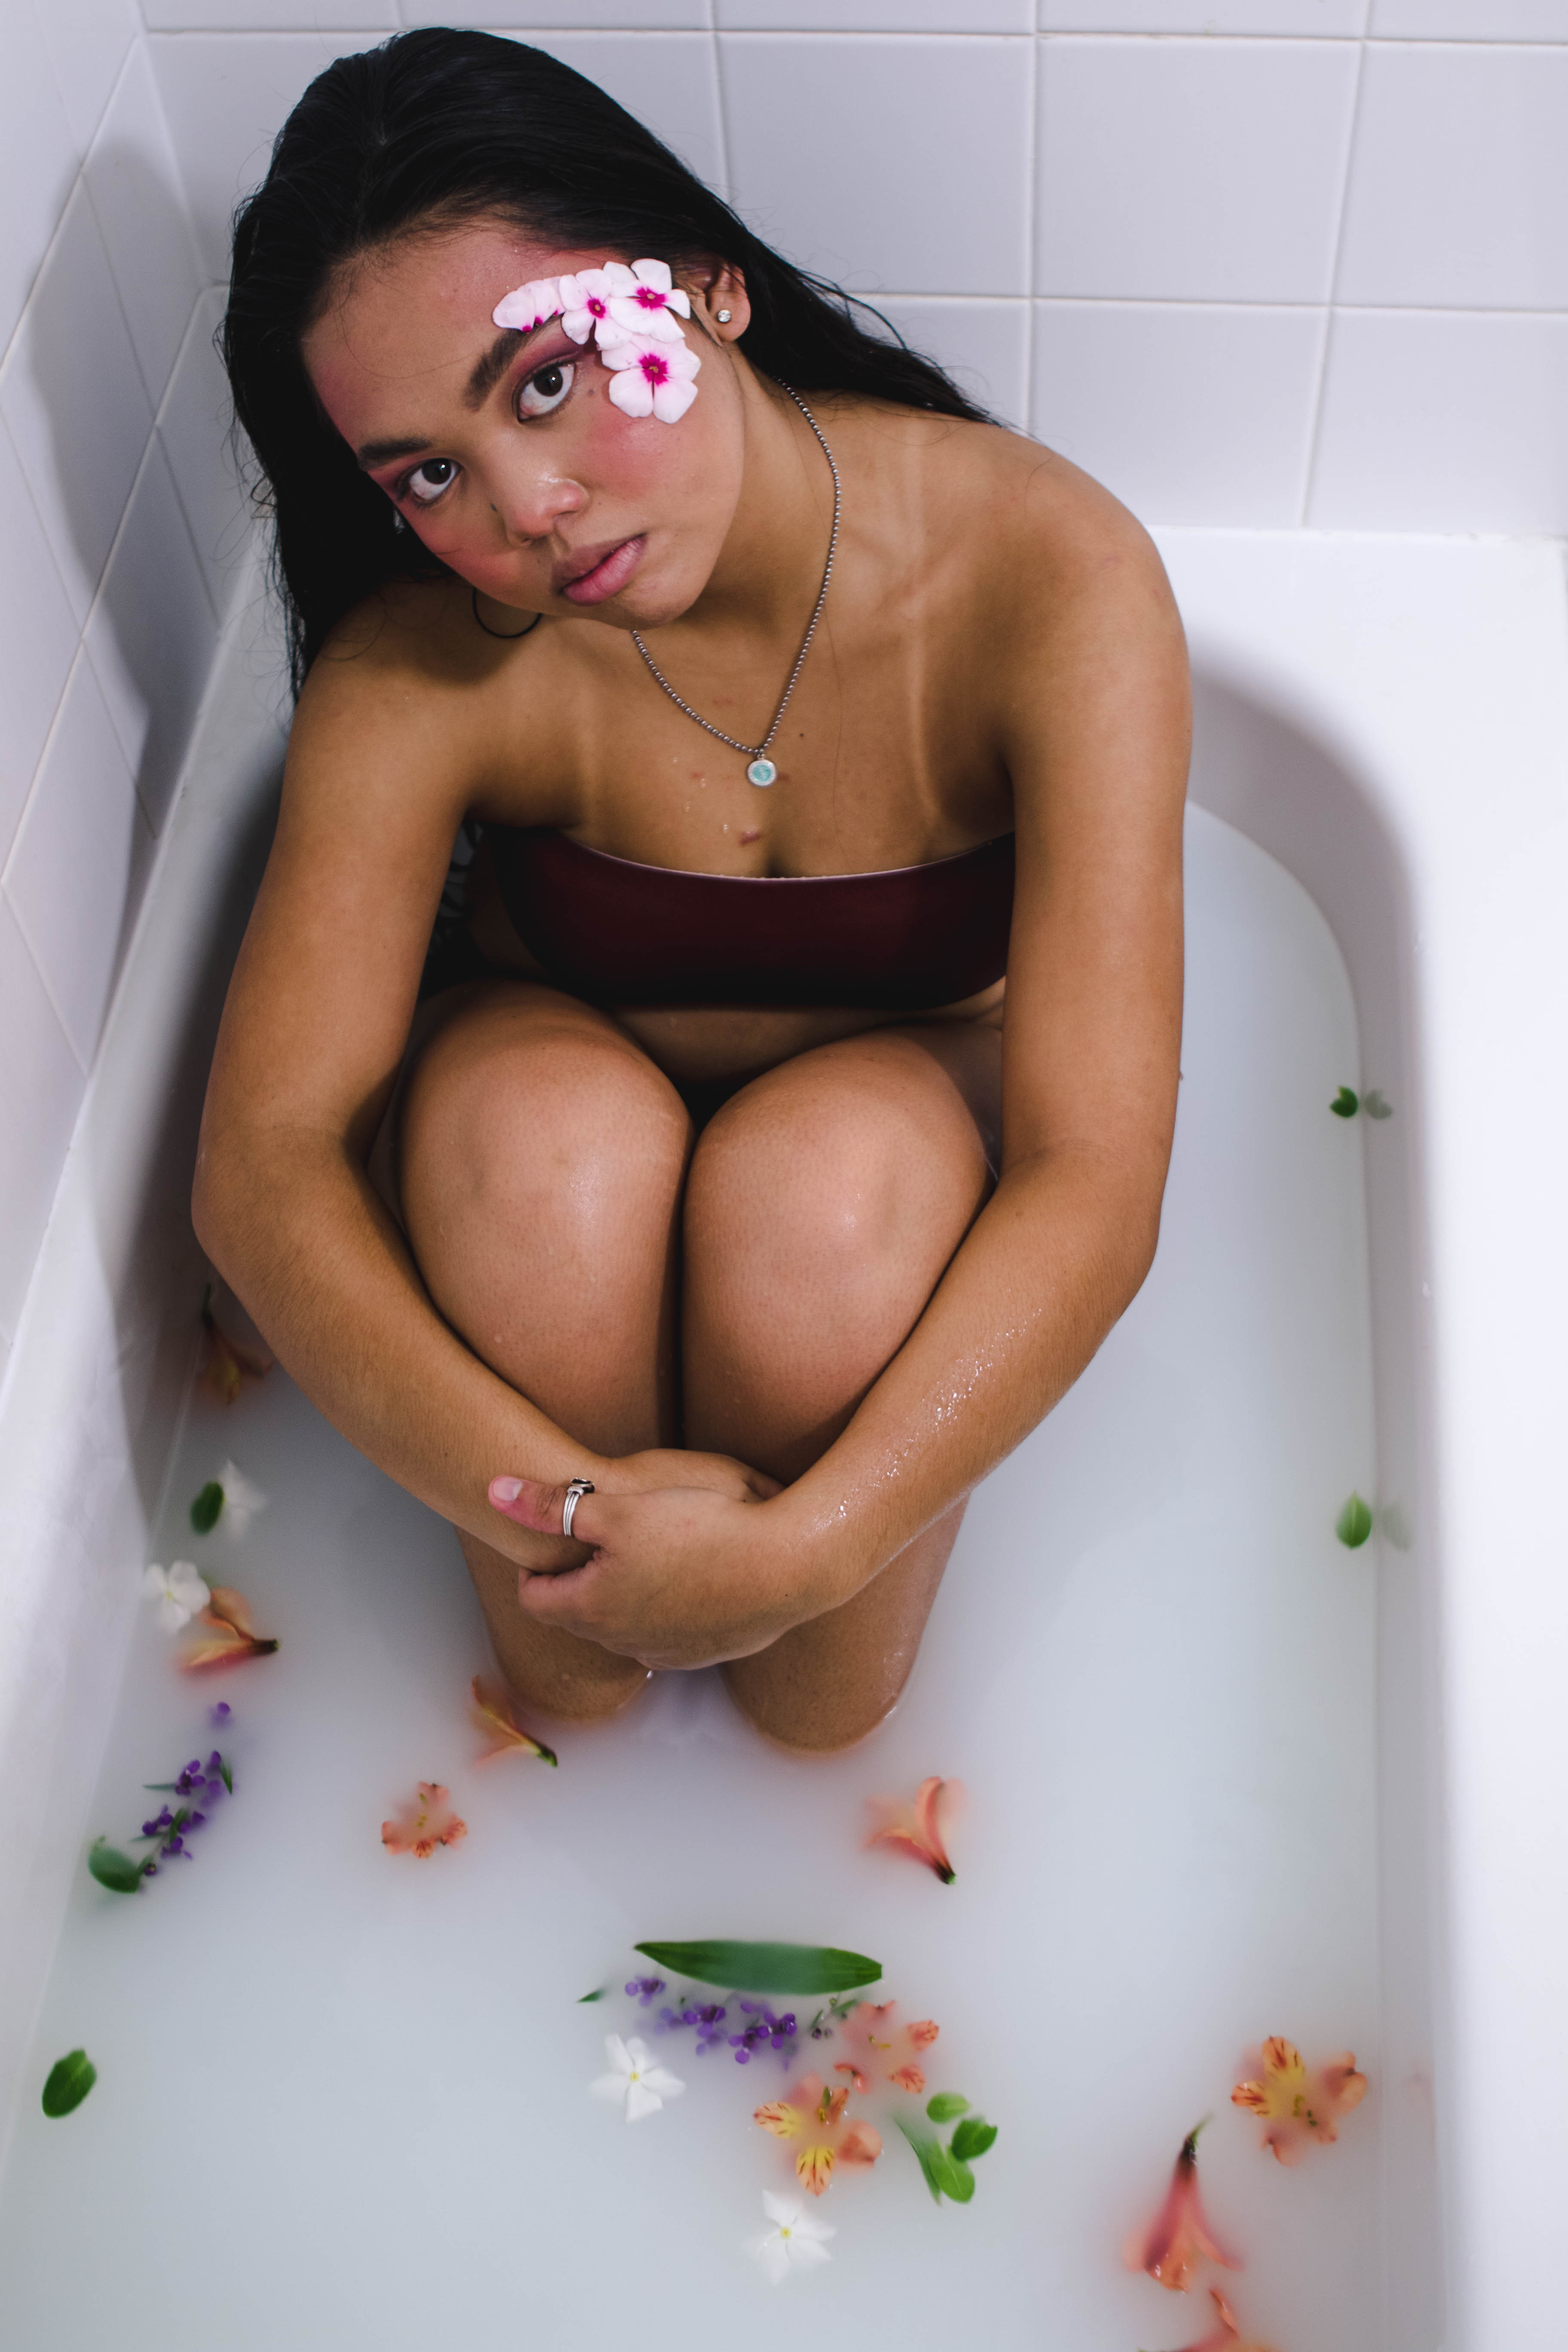
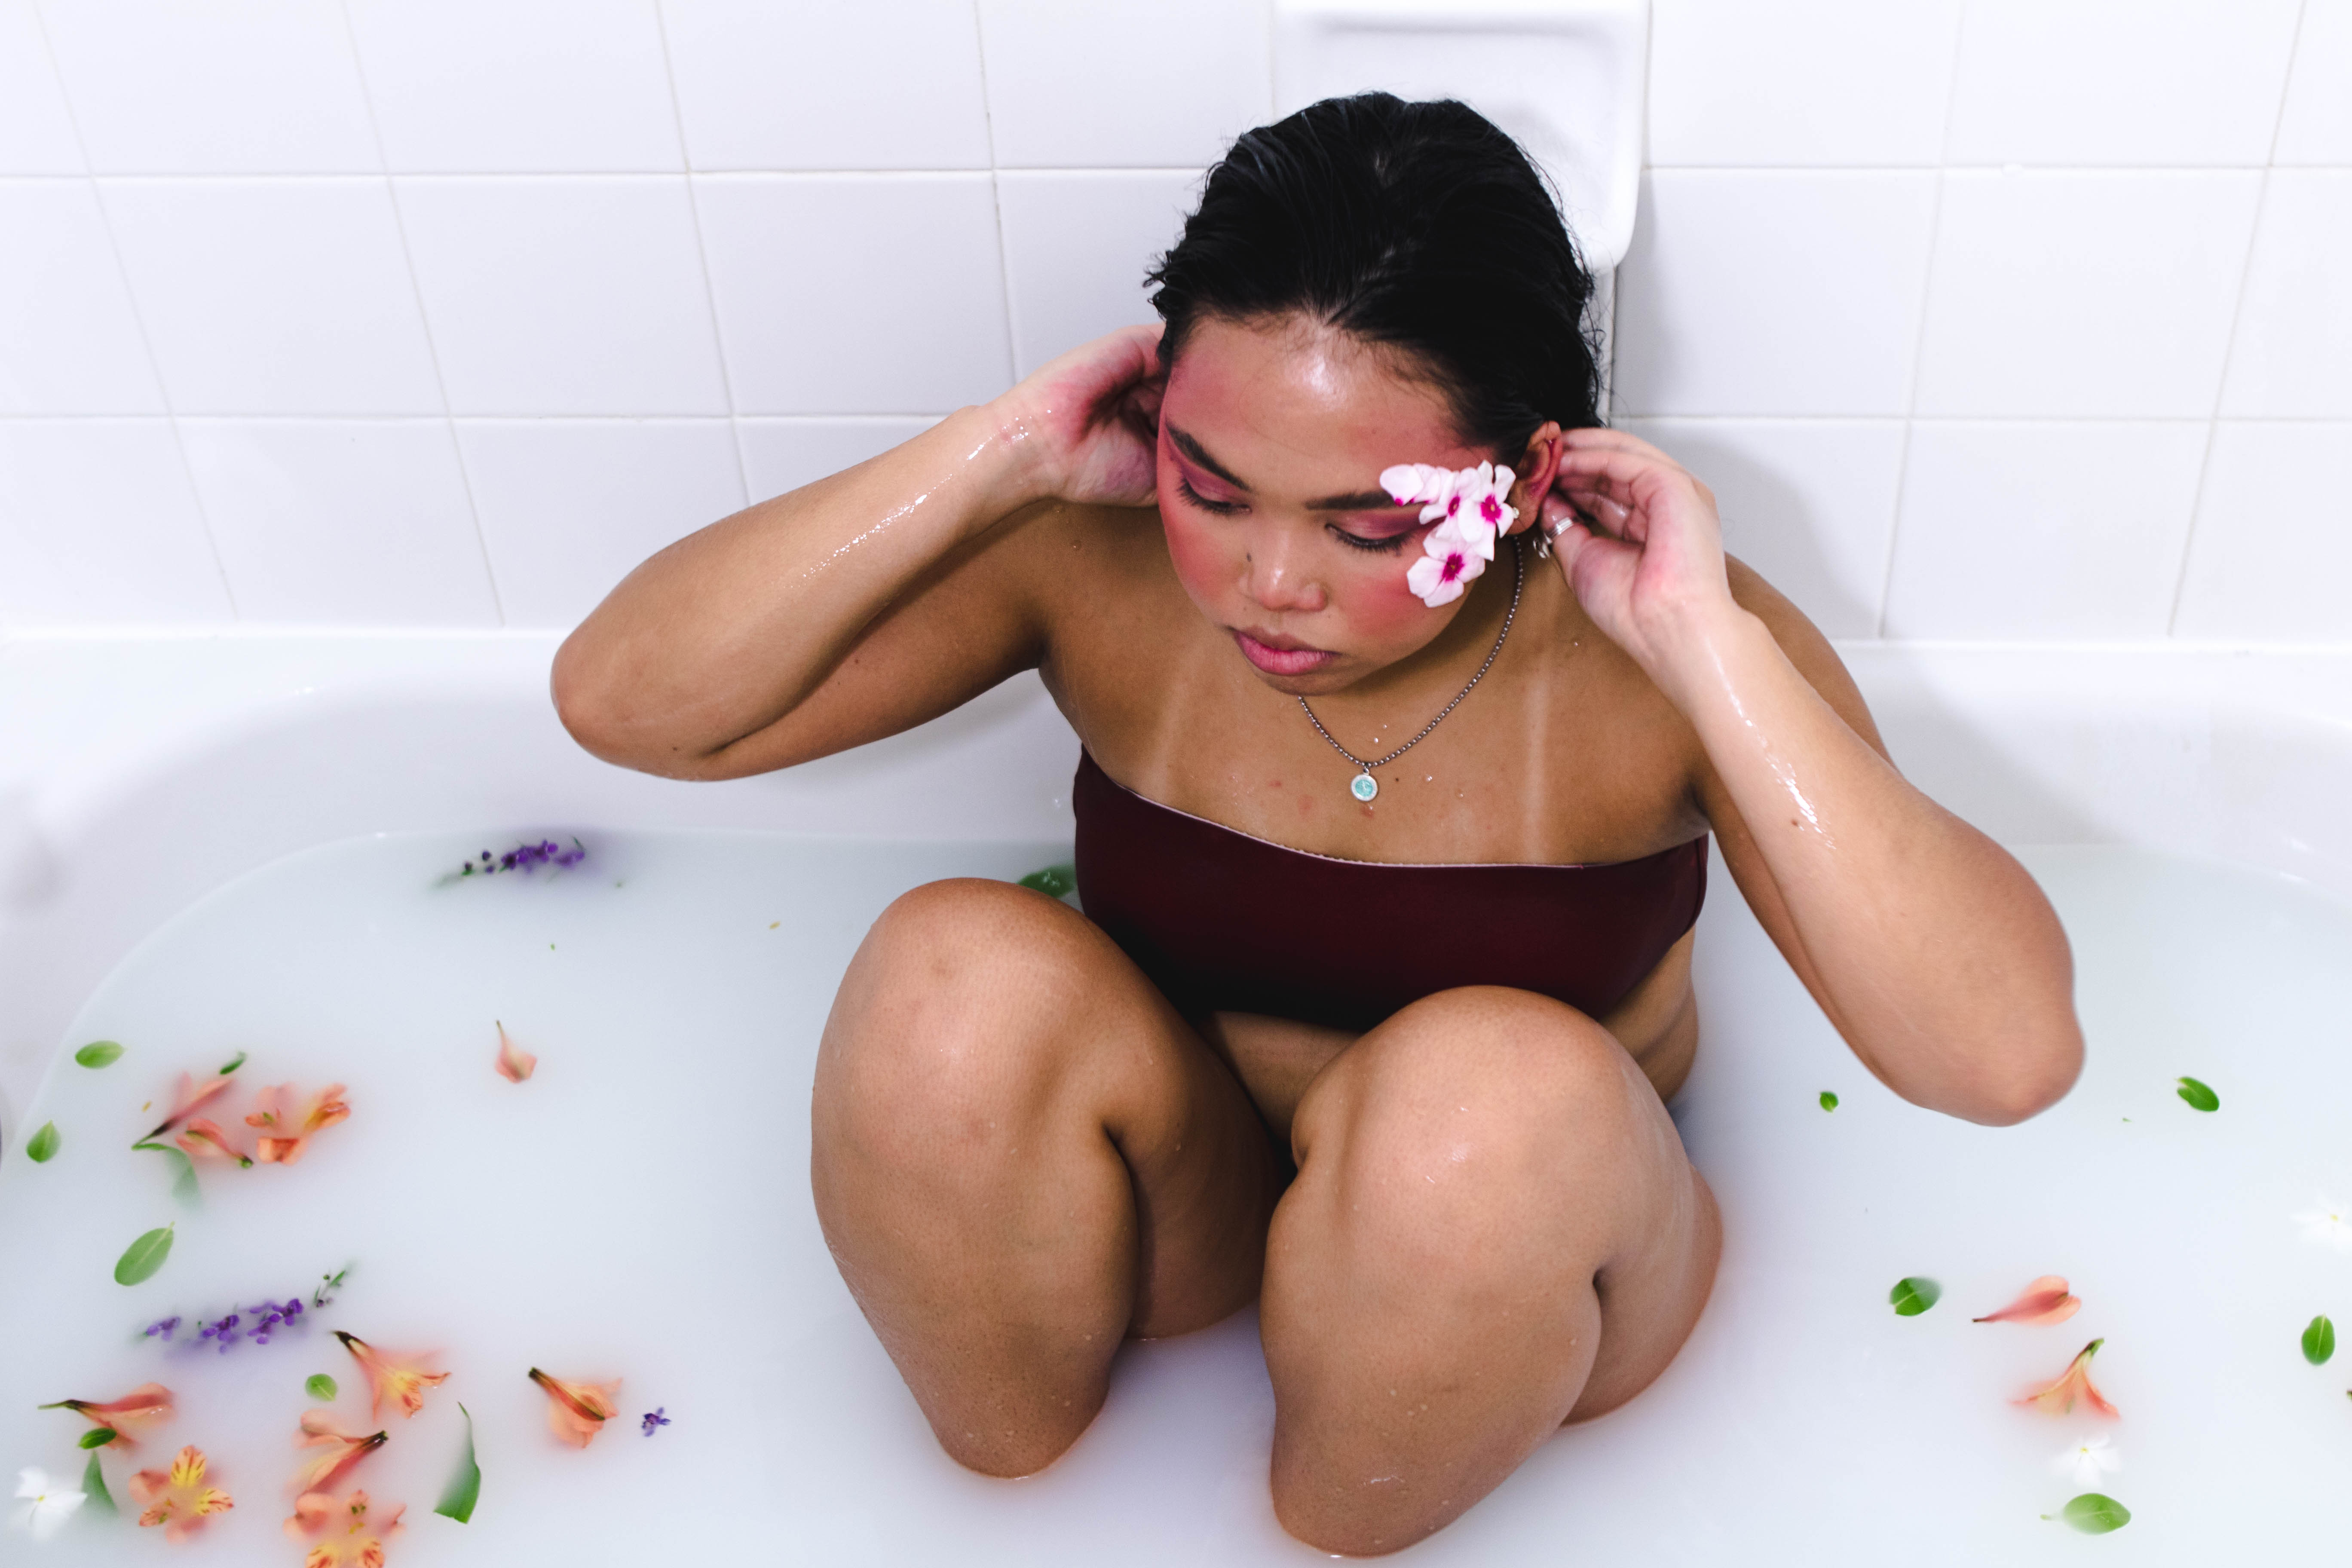
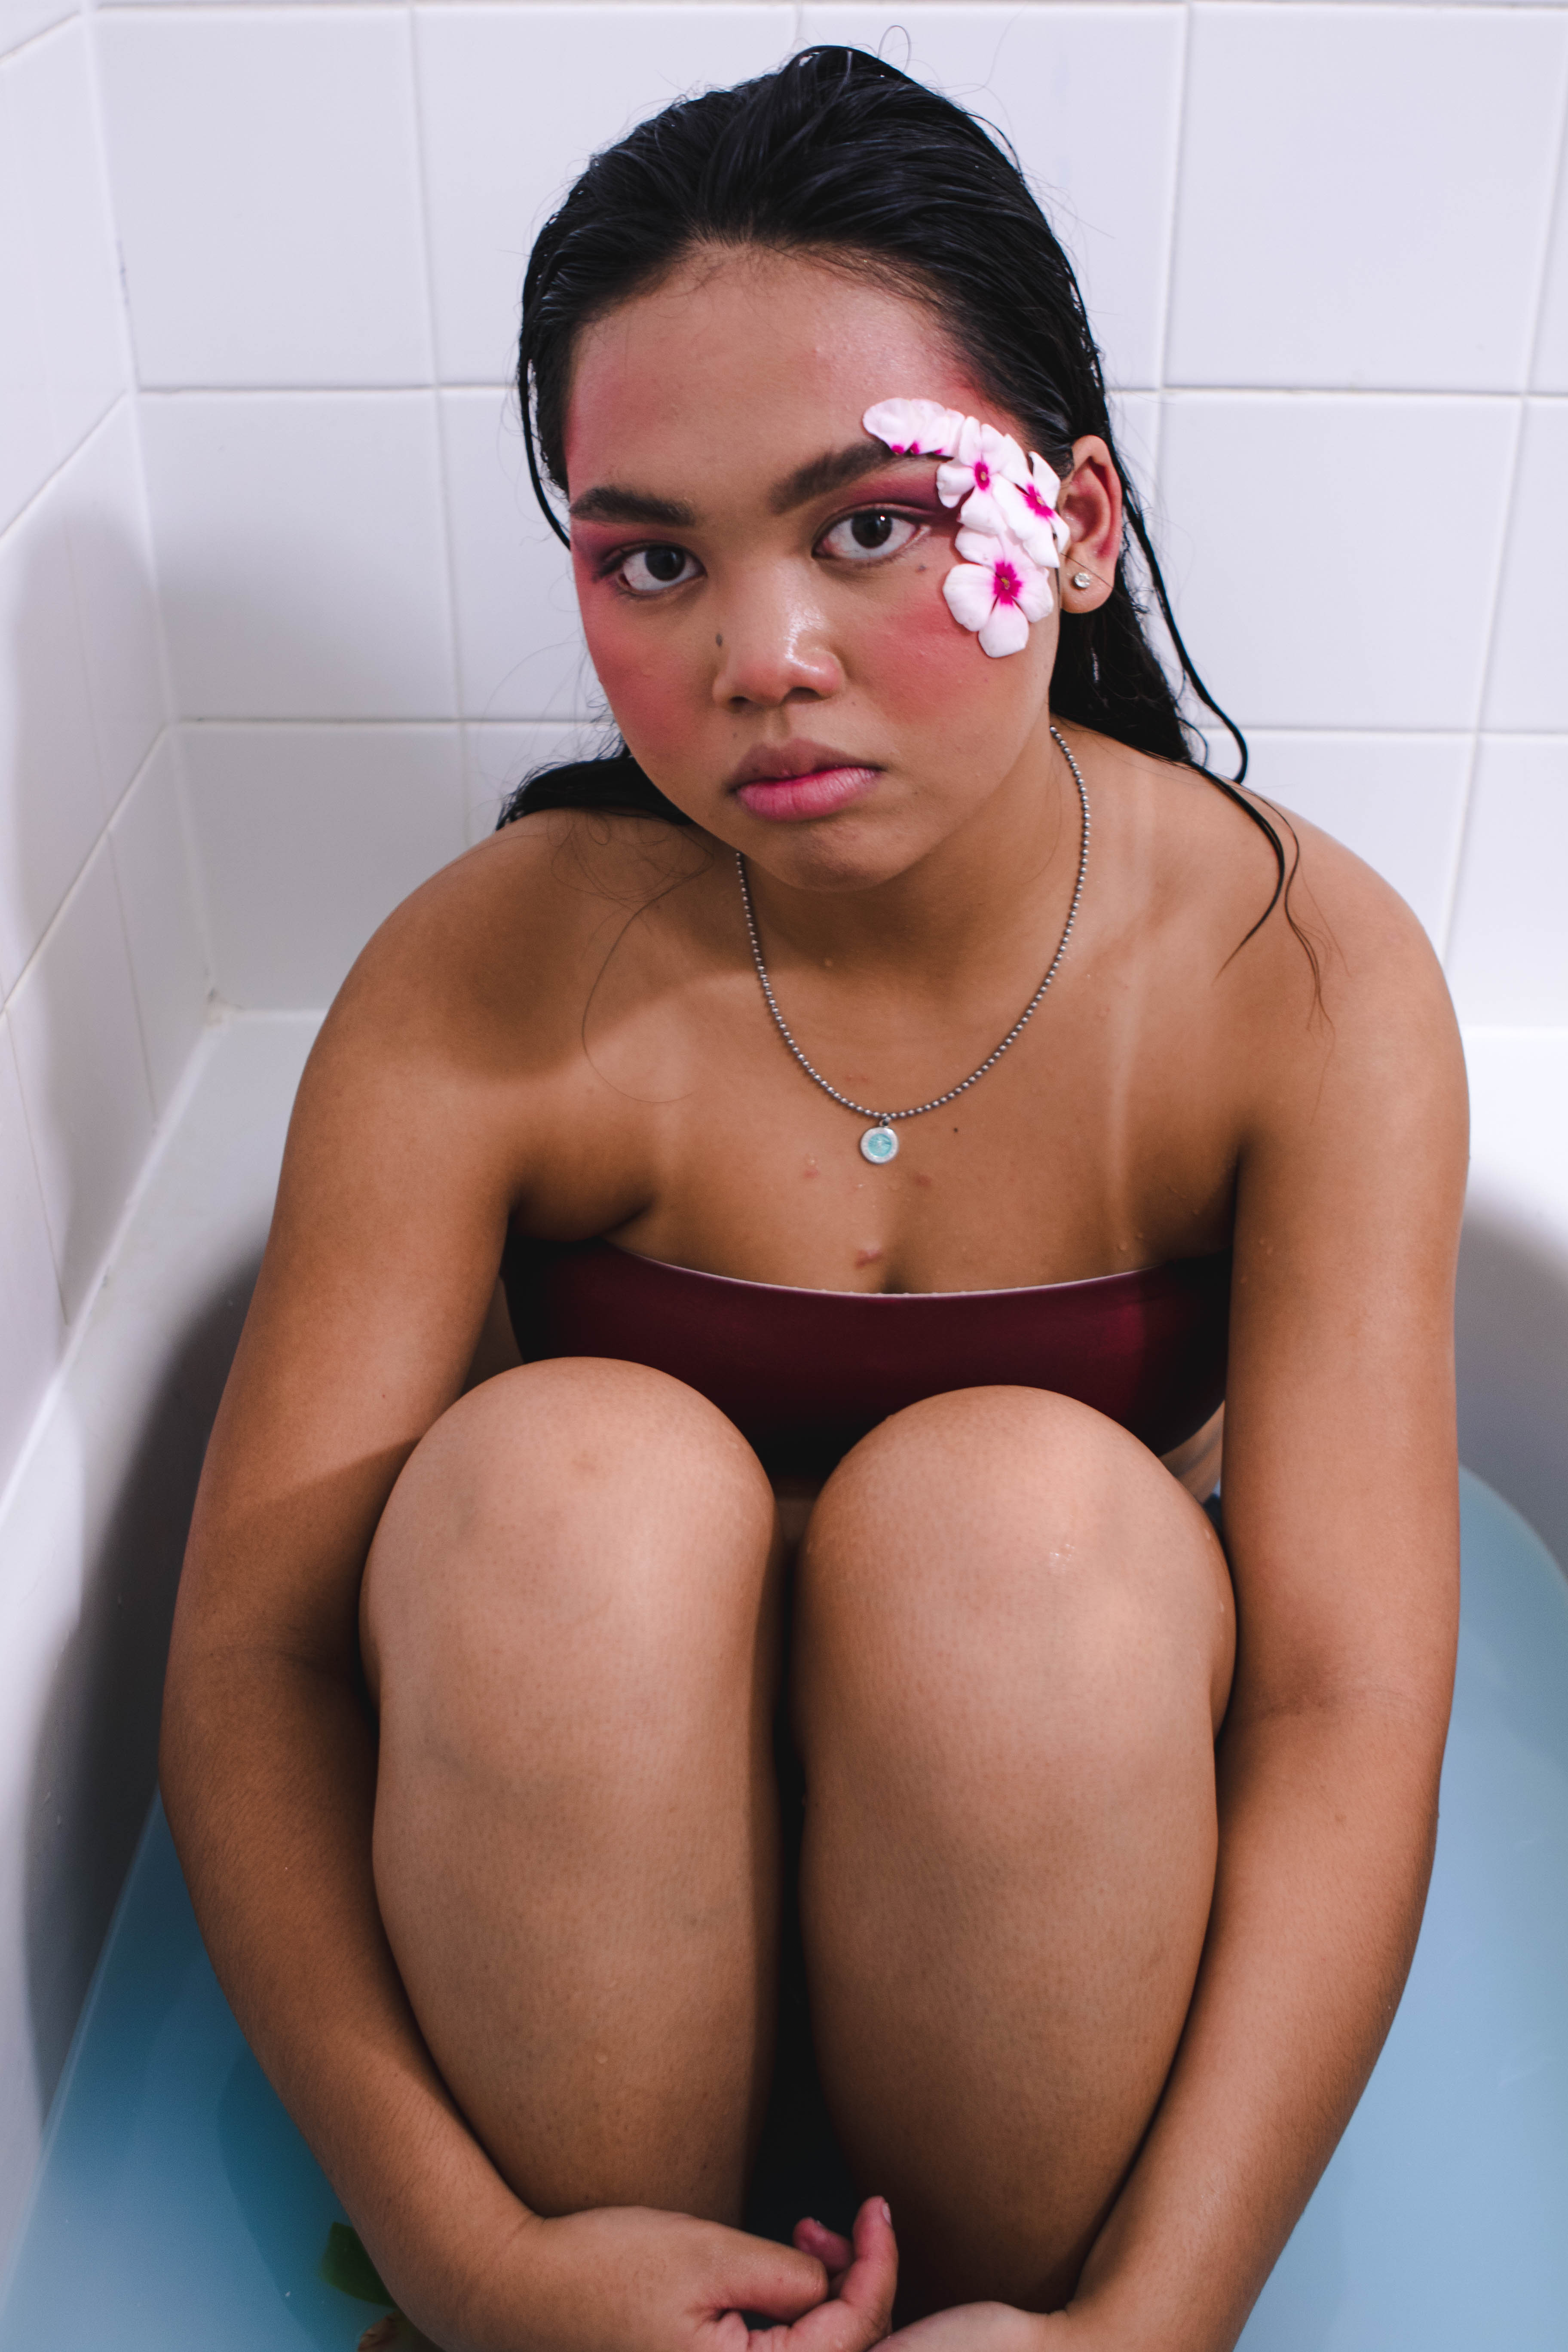
I was inspired to do this shoot because one of my friends sent me the image below and I was inspired to buy not one bouquet but 10 bouquets of flowers. I strove to just continuously shoot but to rather focus on specific poses I have been wanting to get all year. I hope you enjoy my floral water portraits.
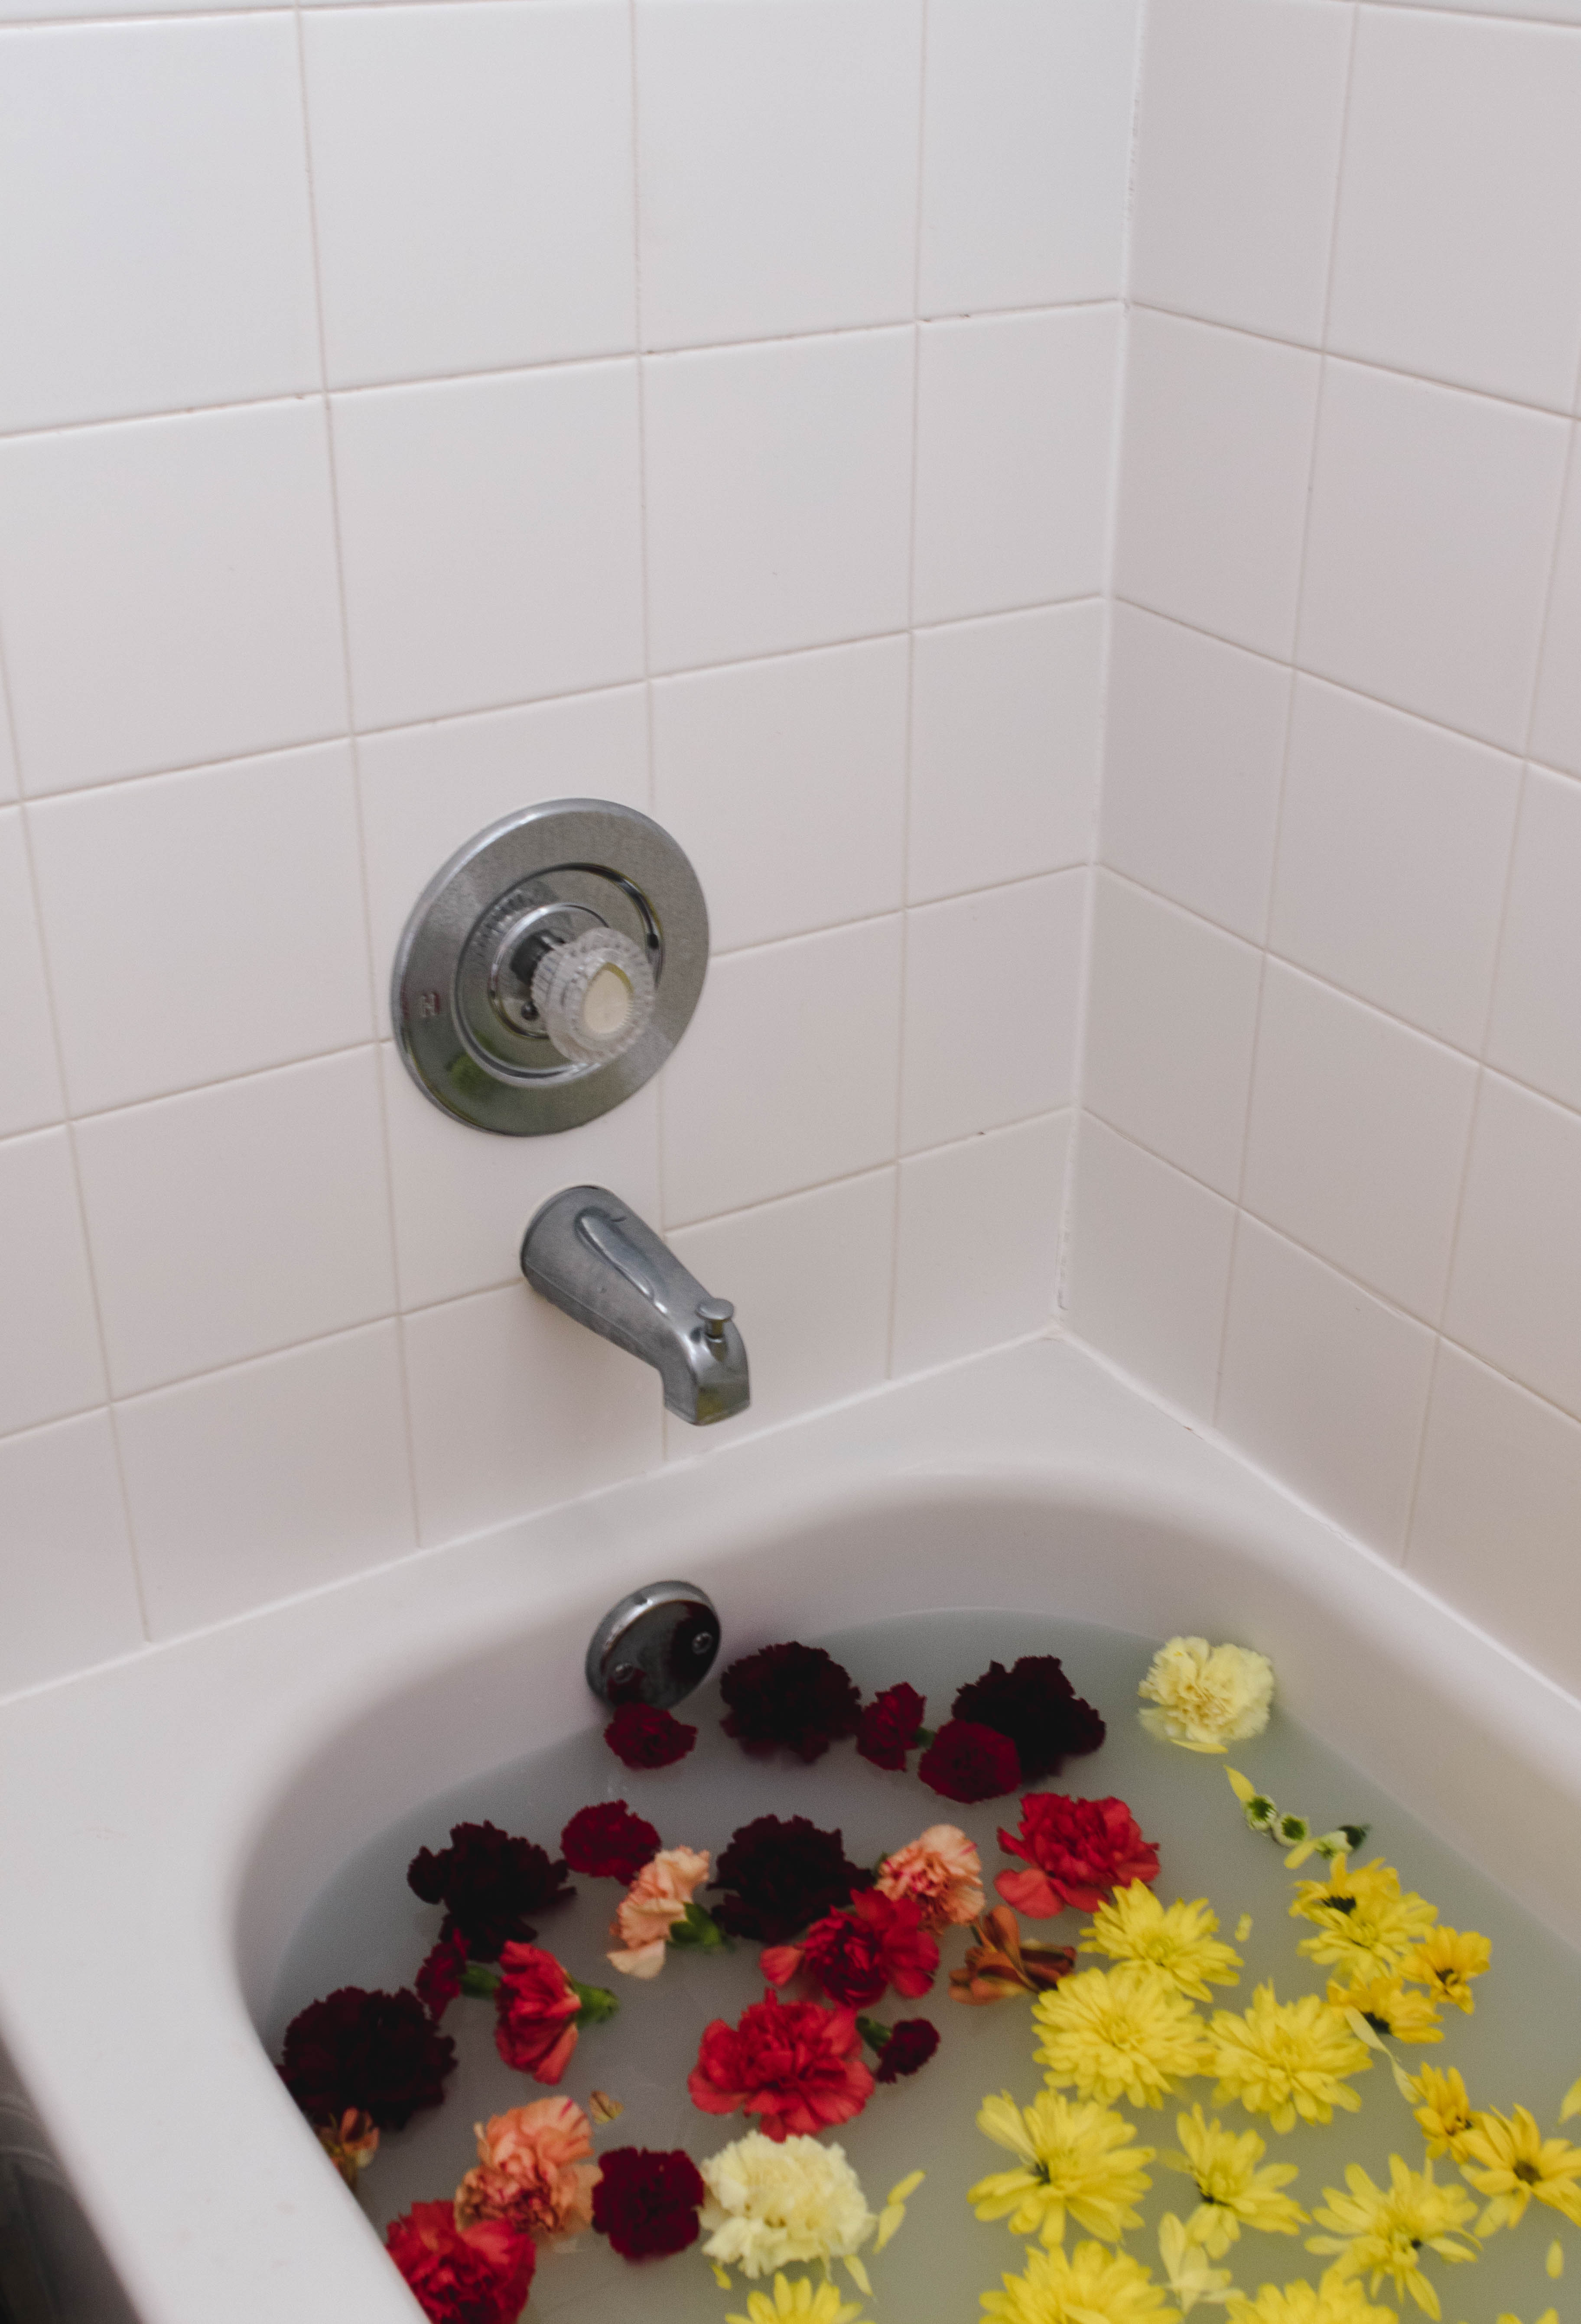
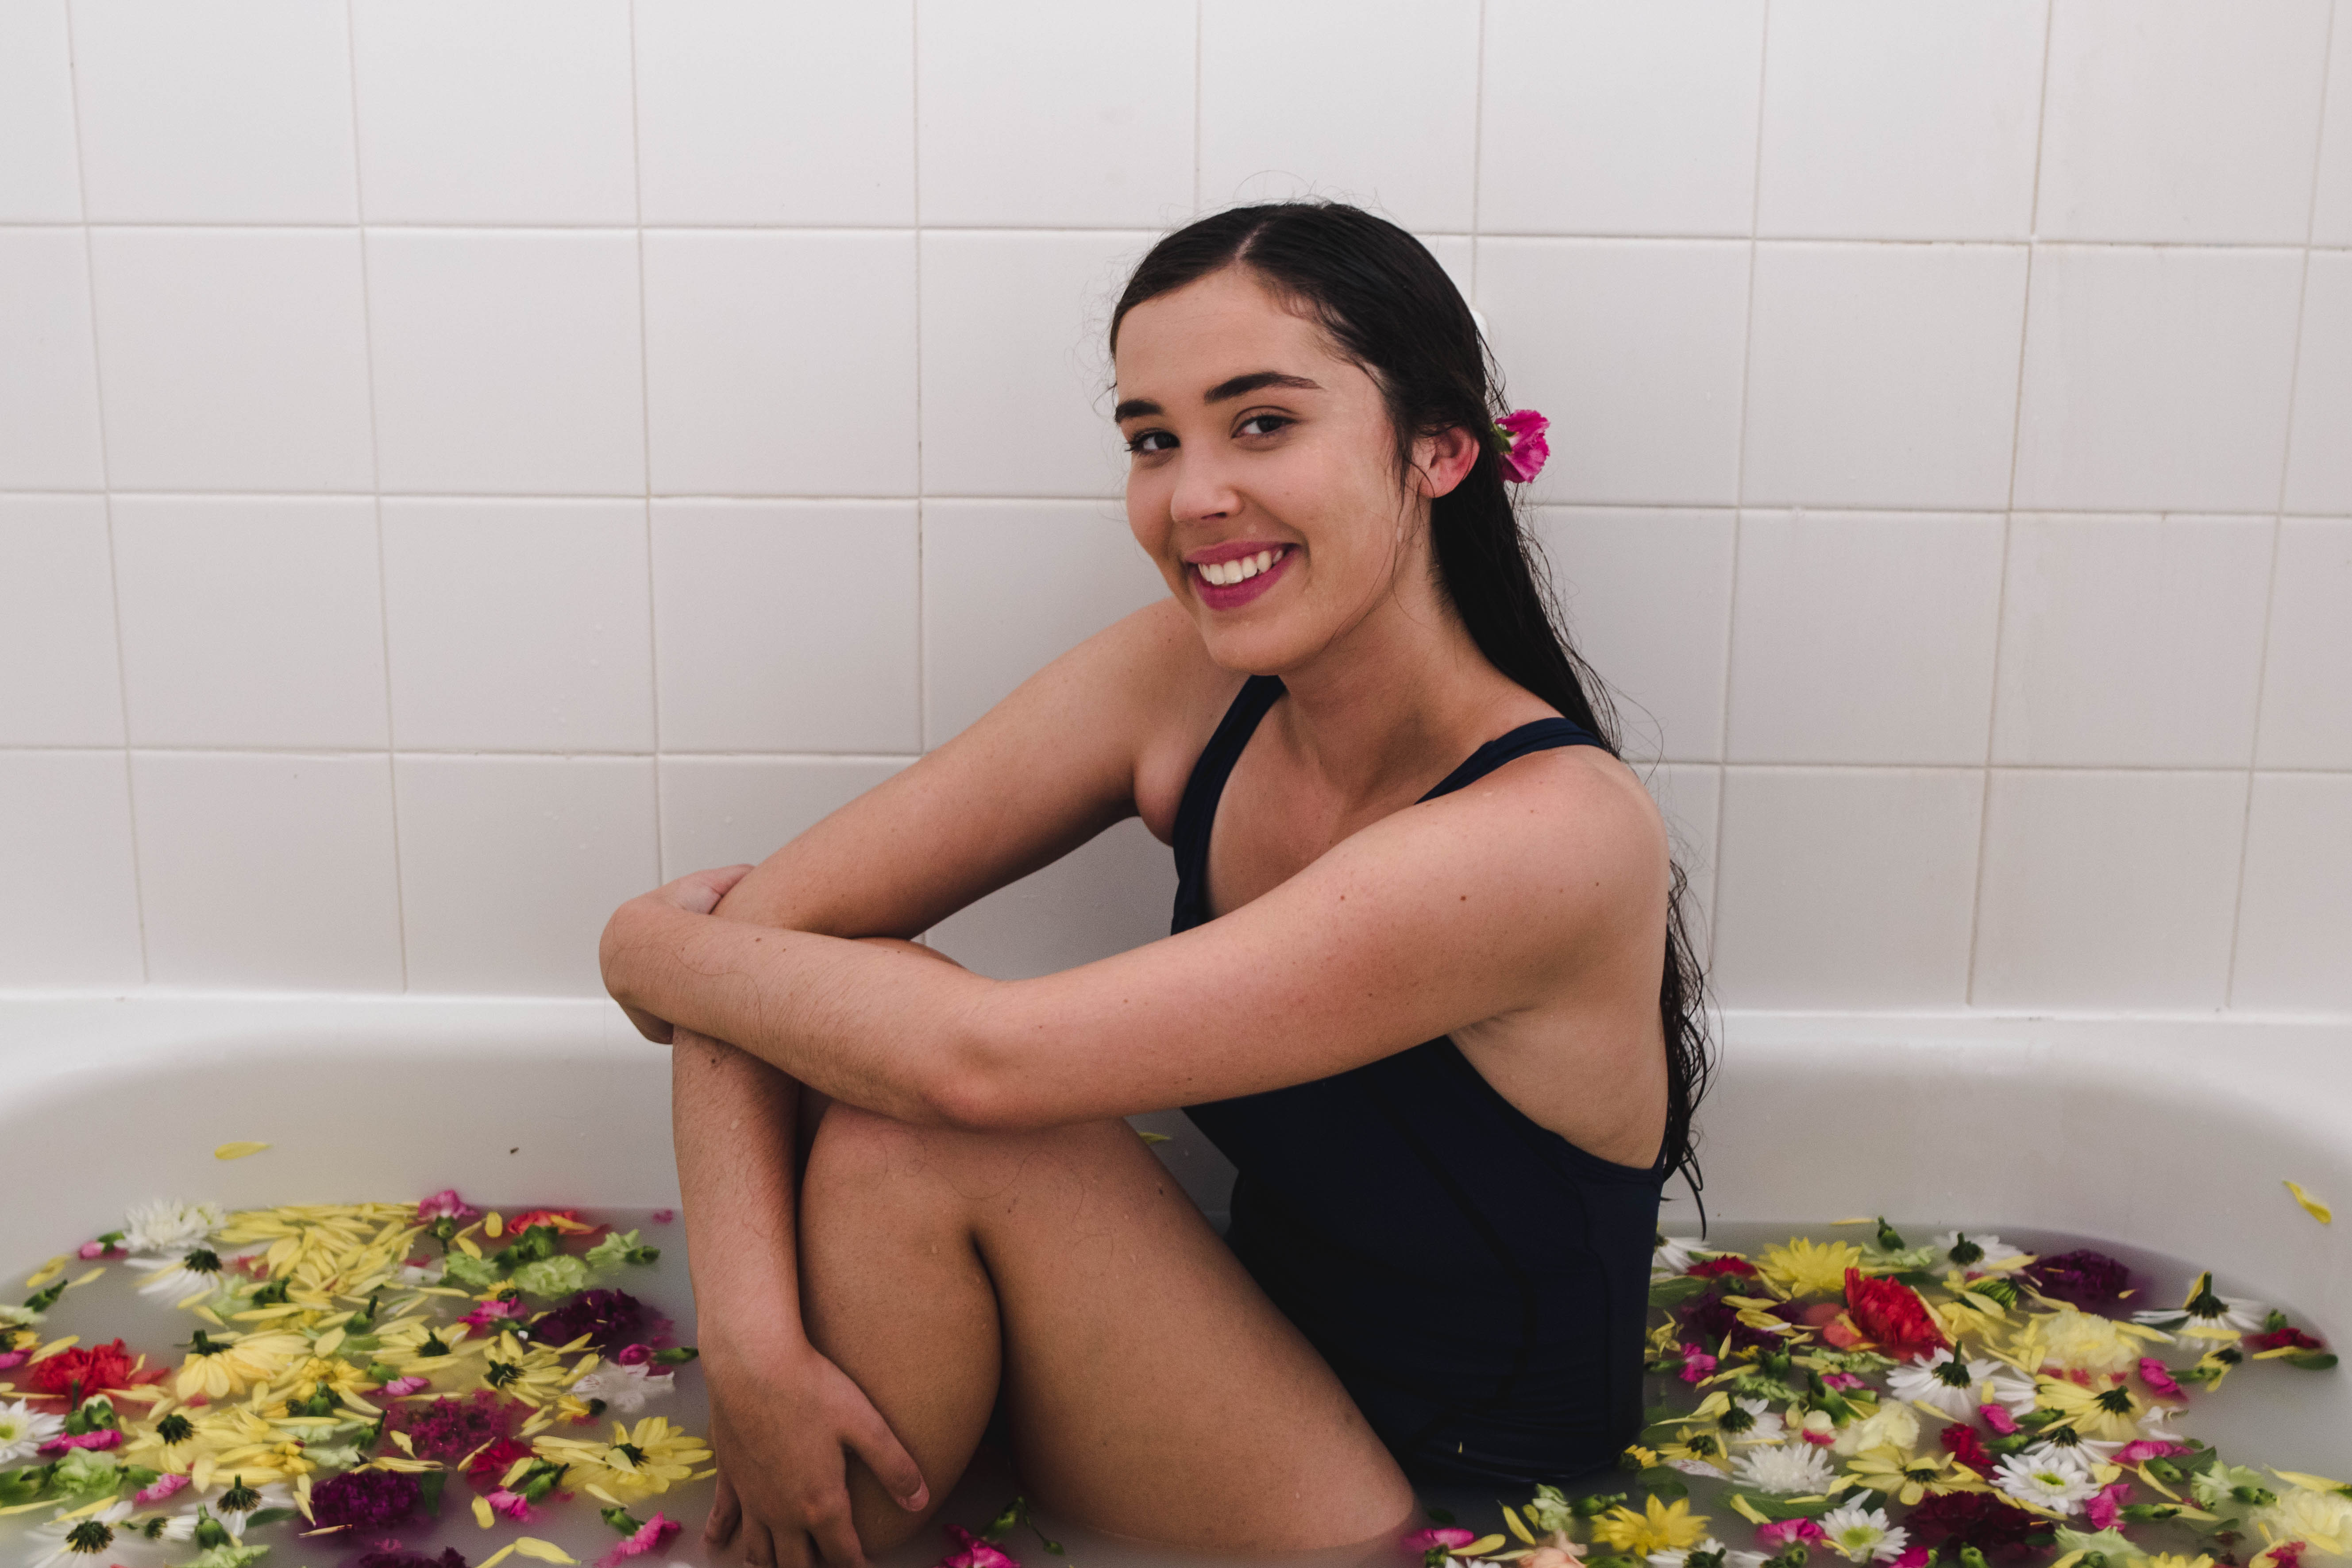
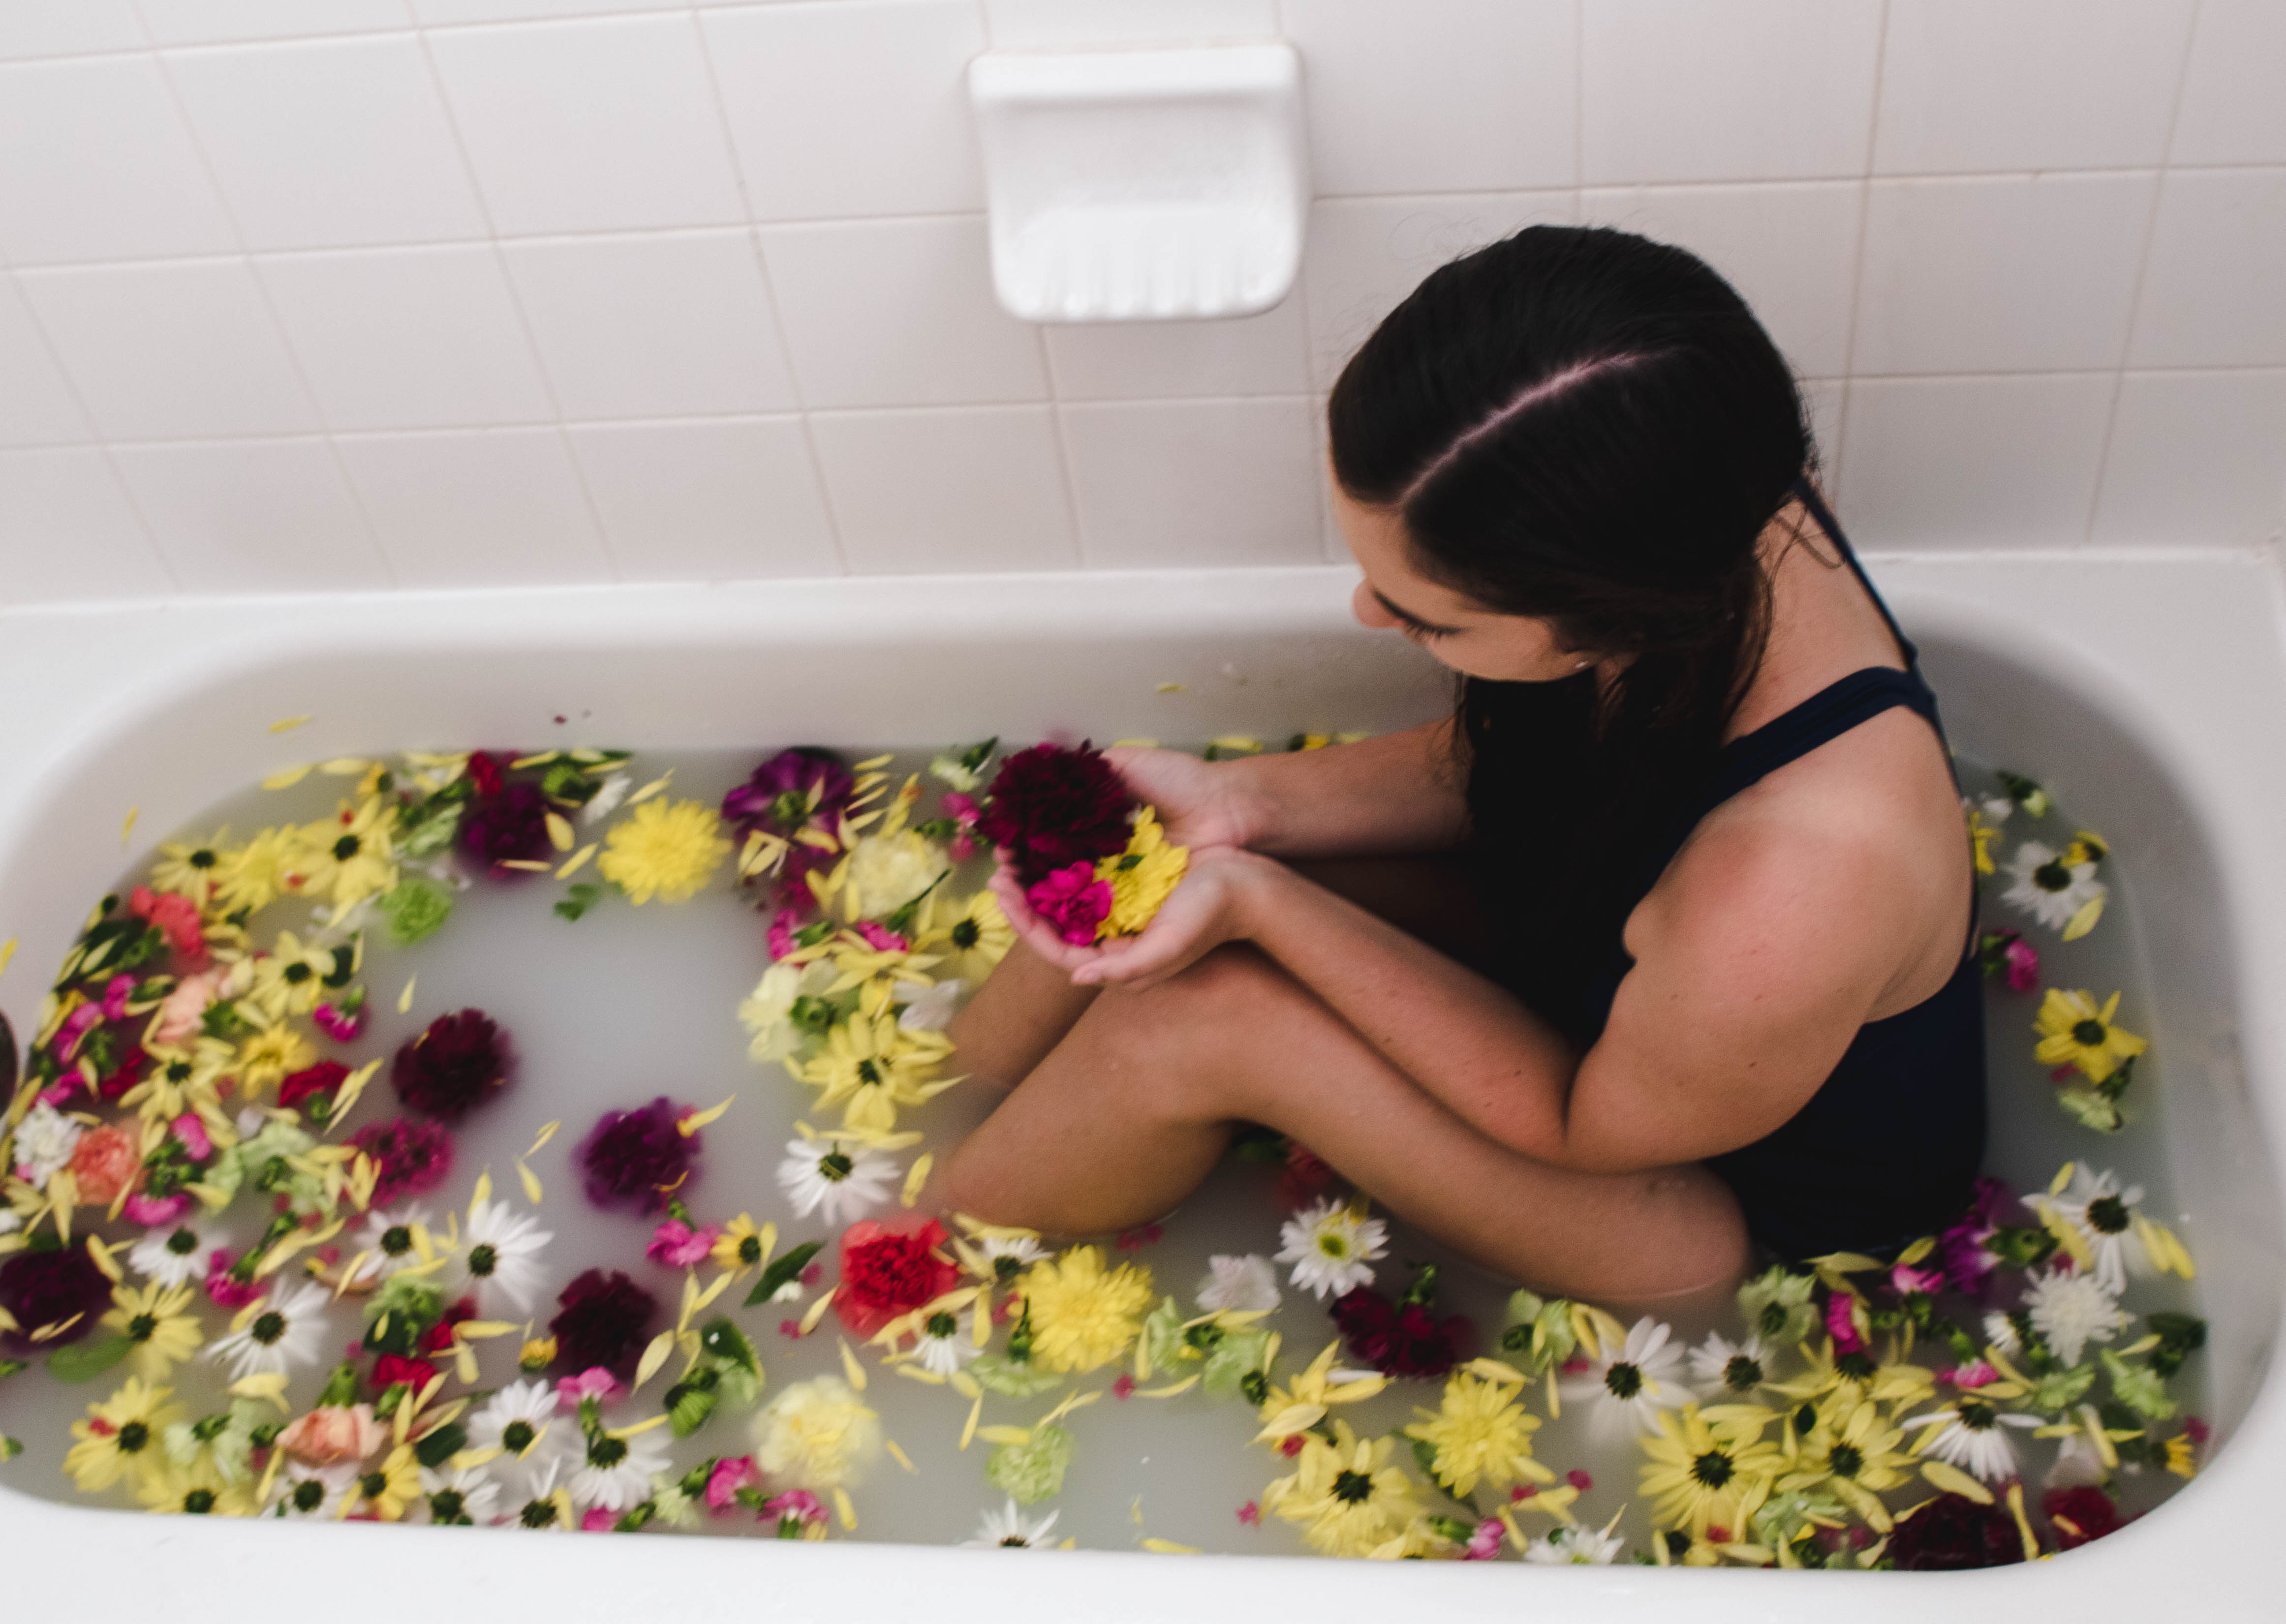
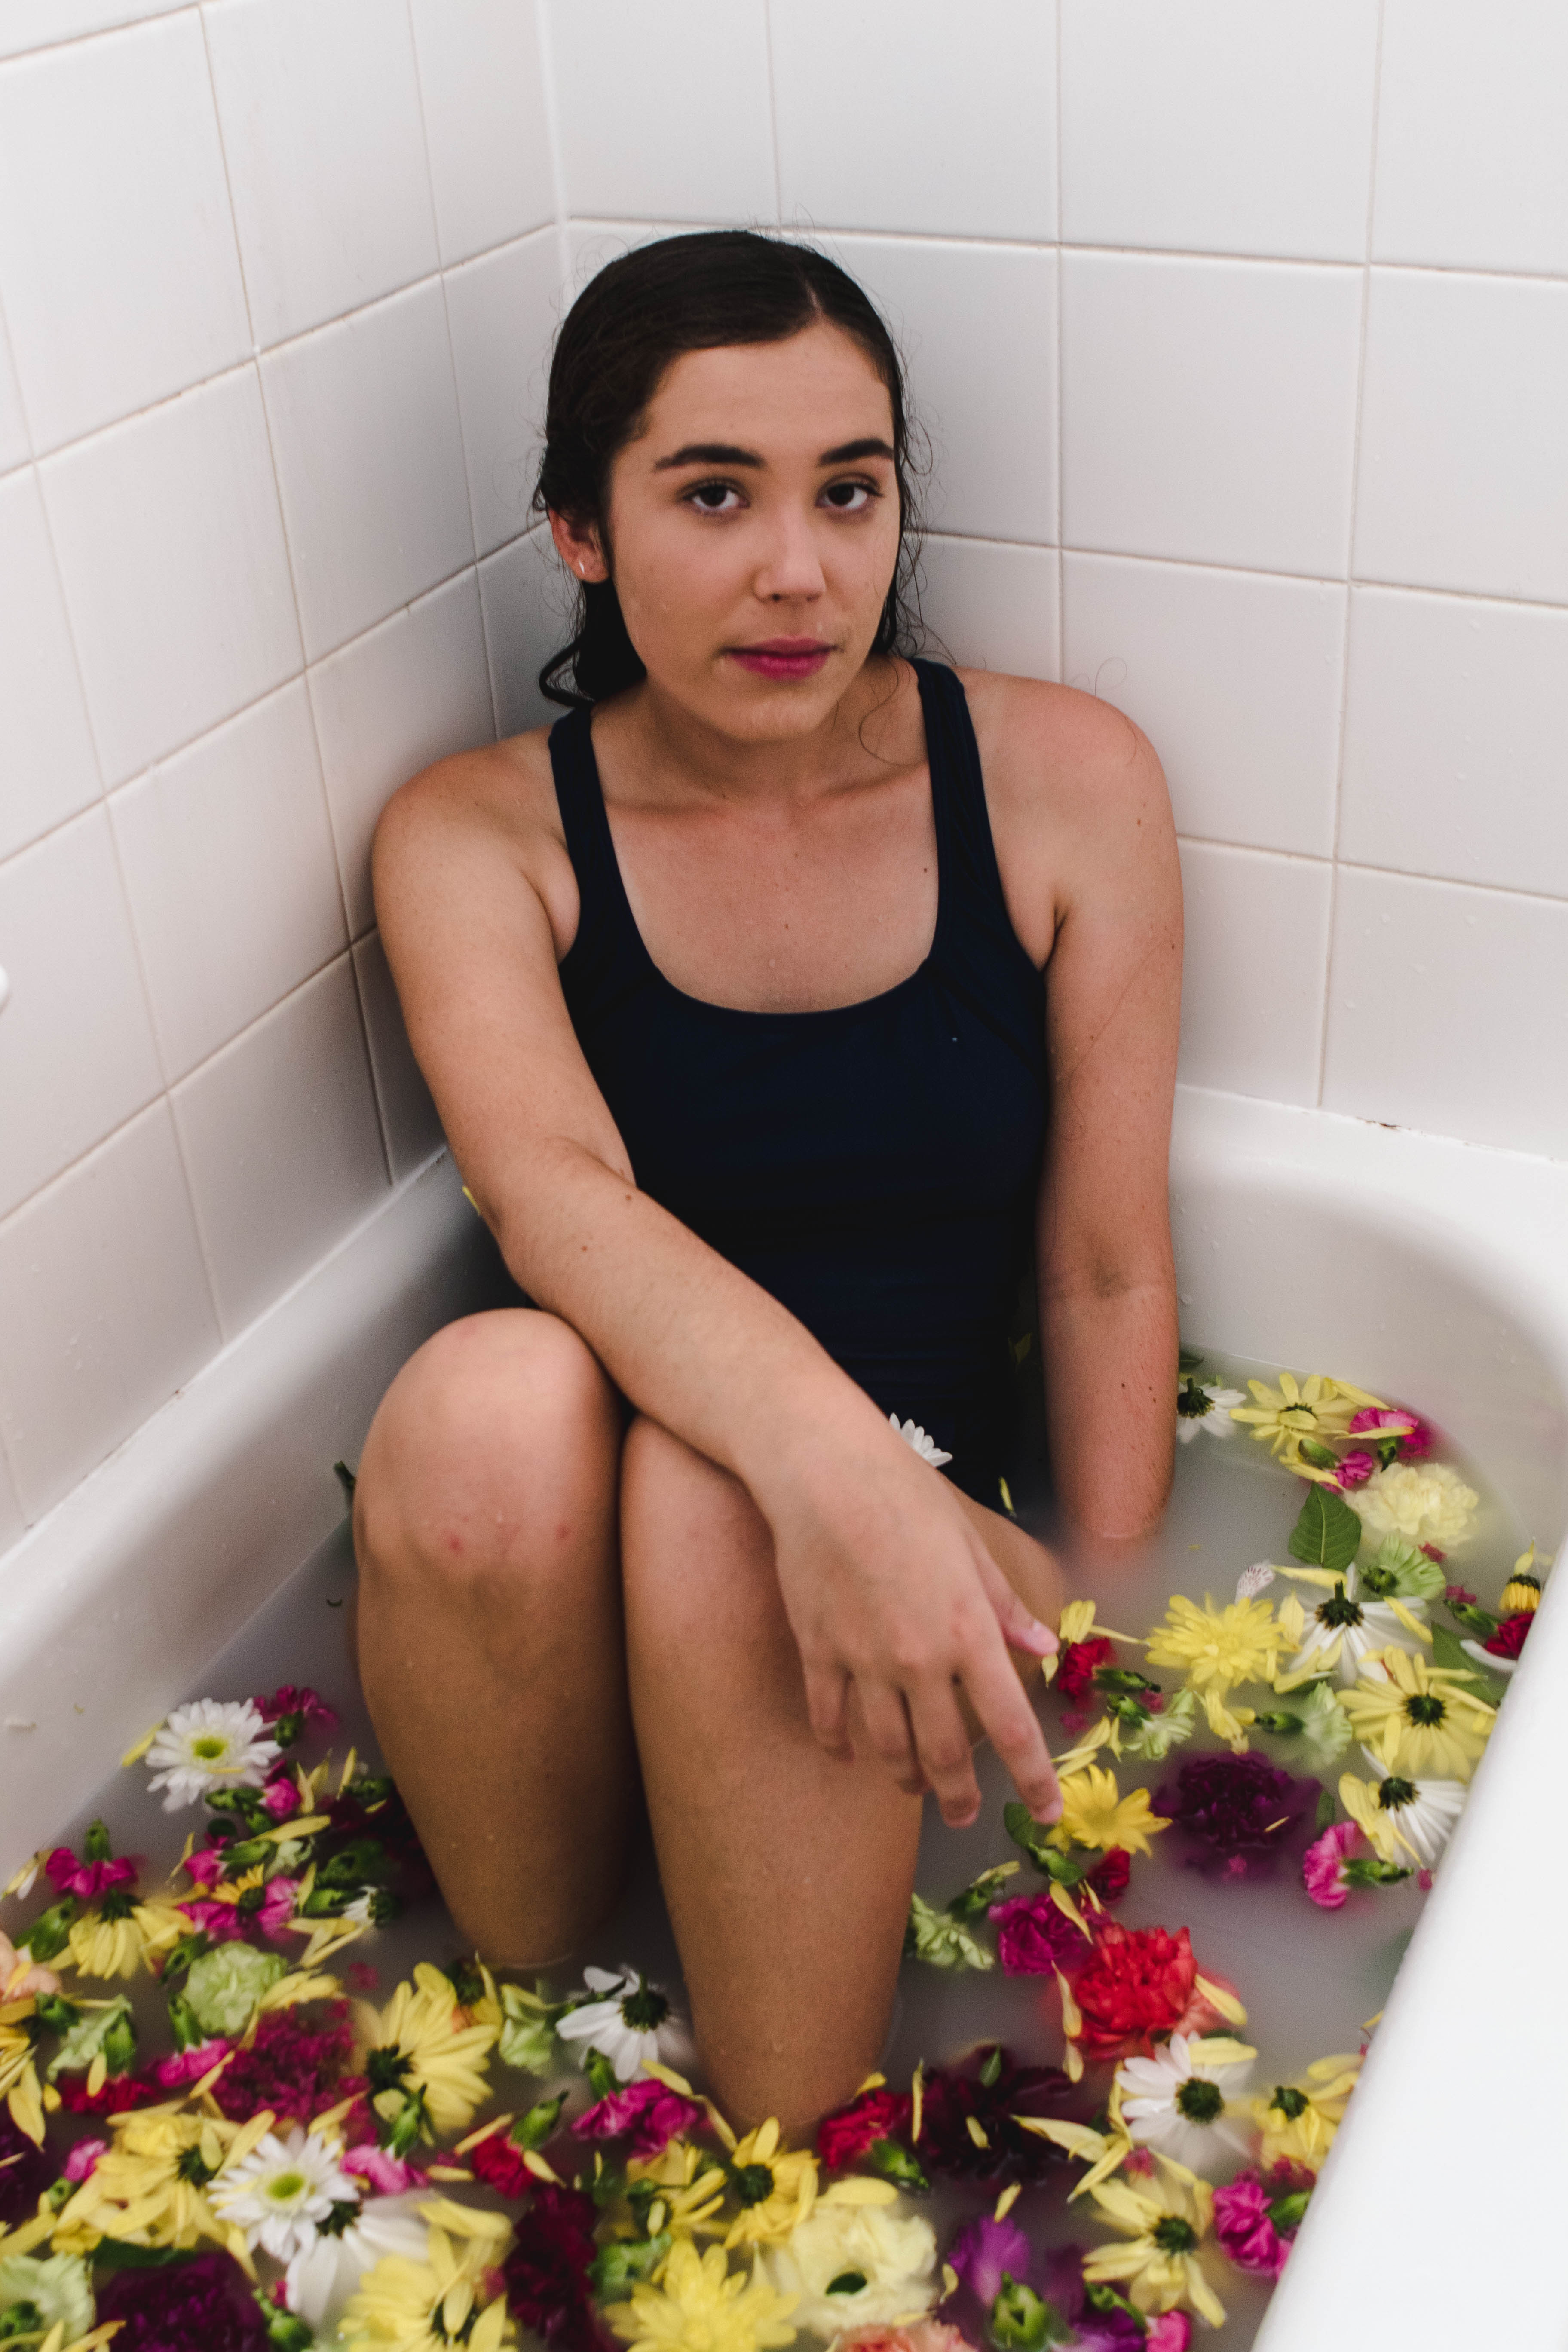
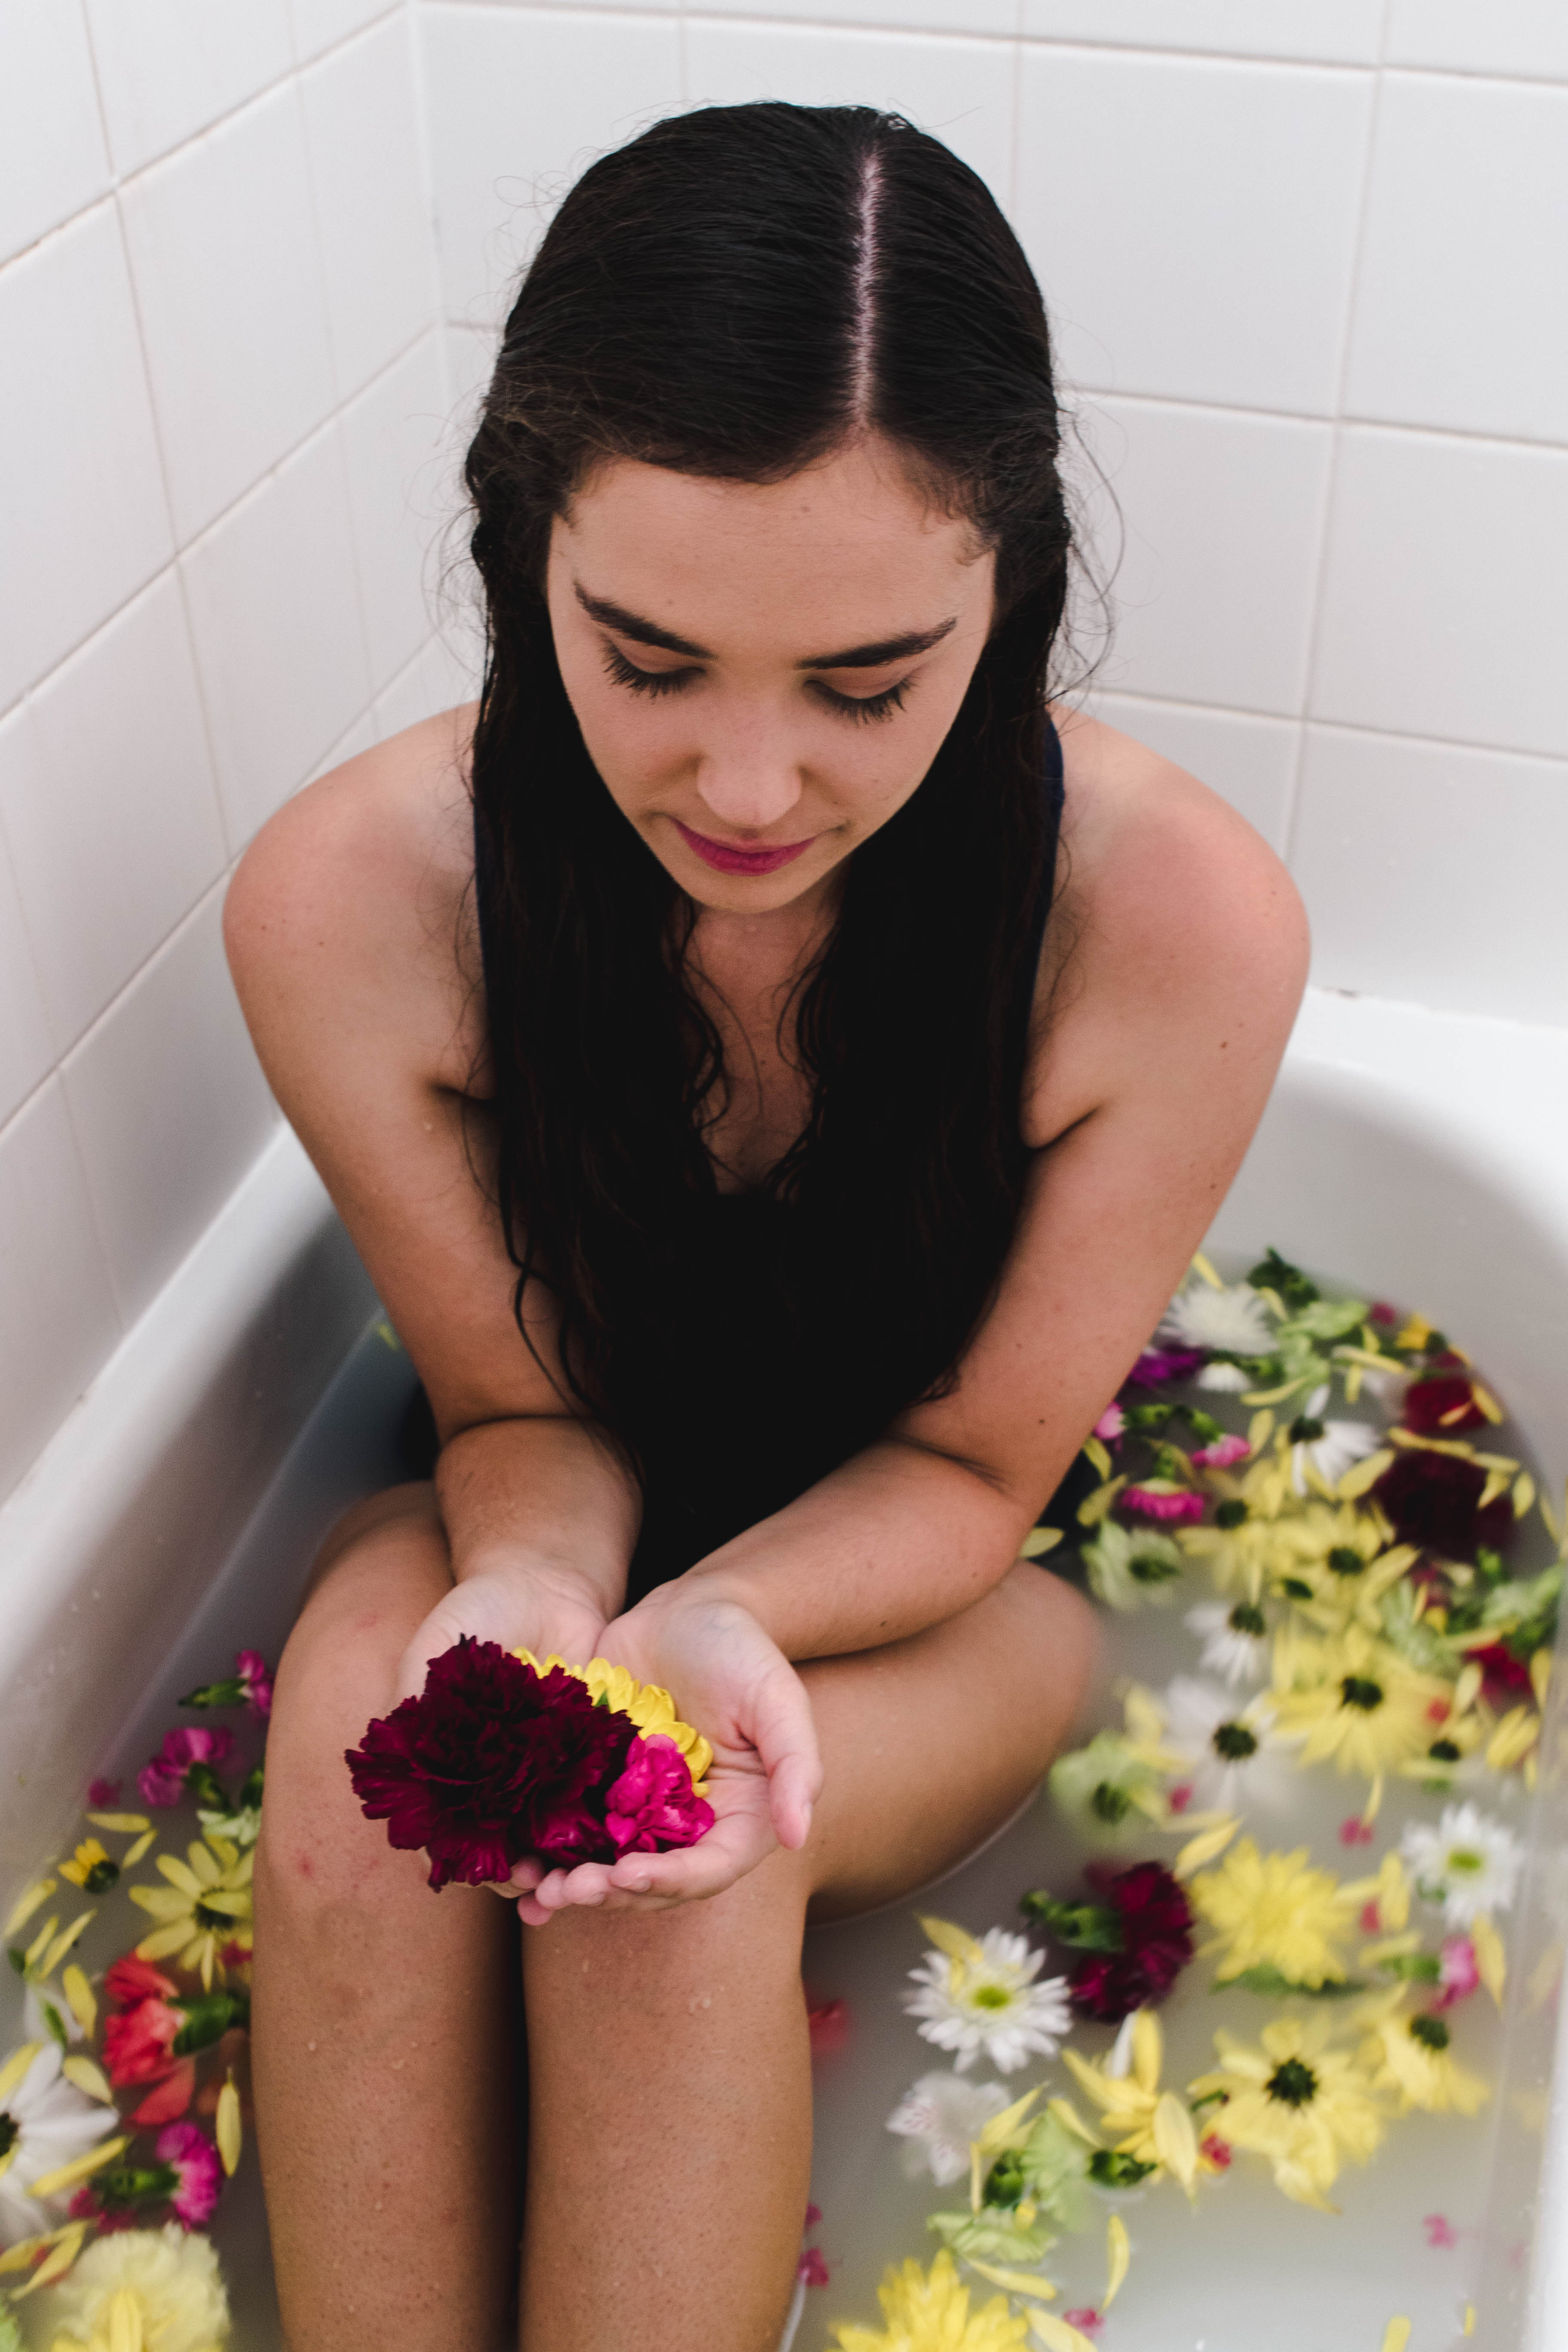
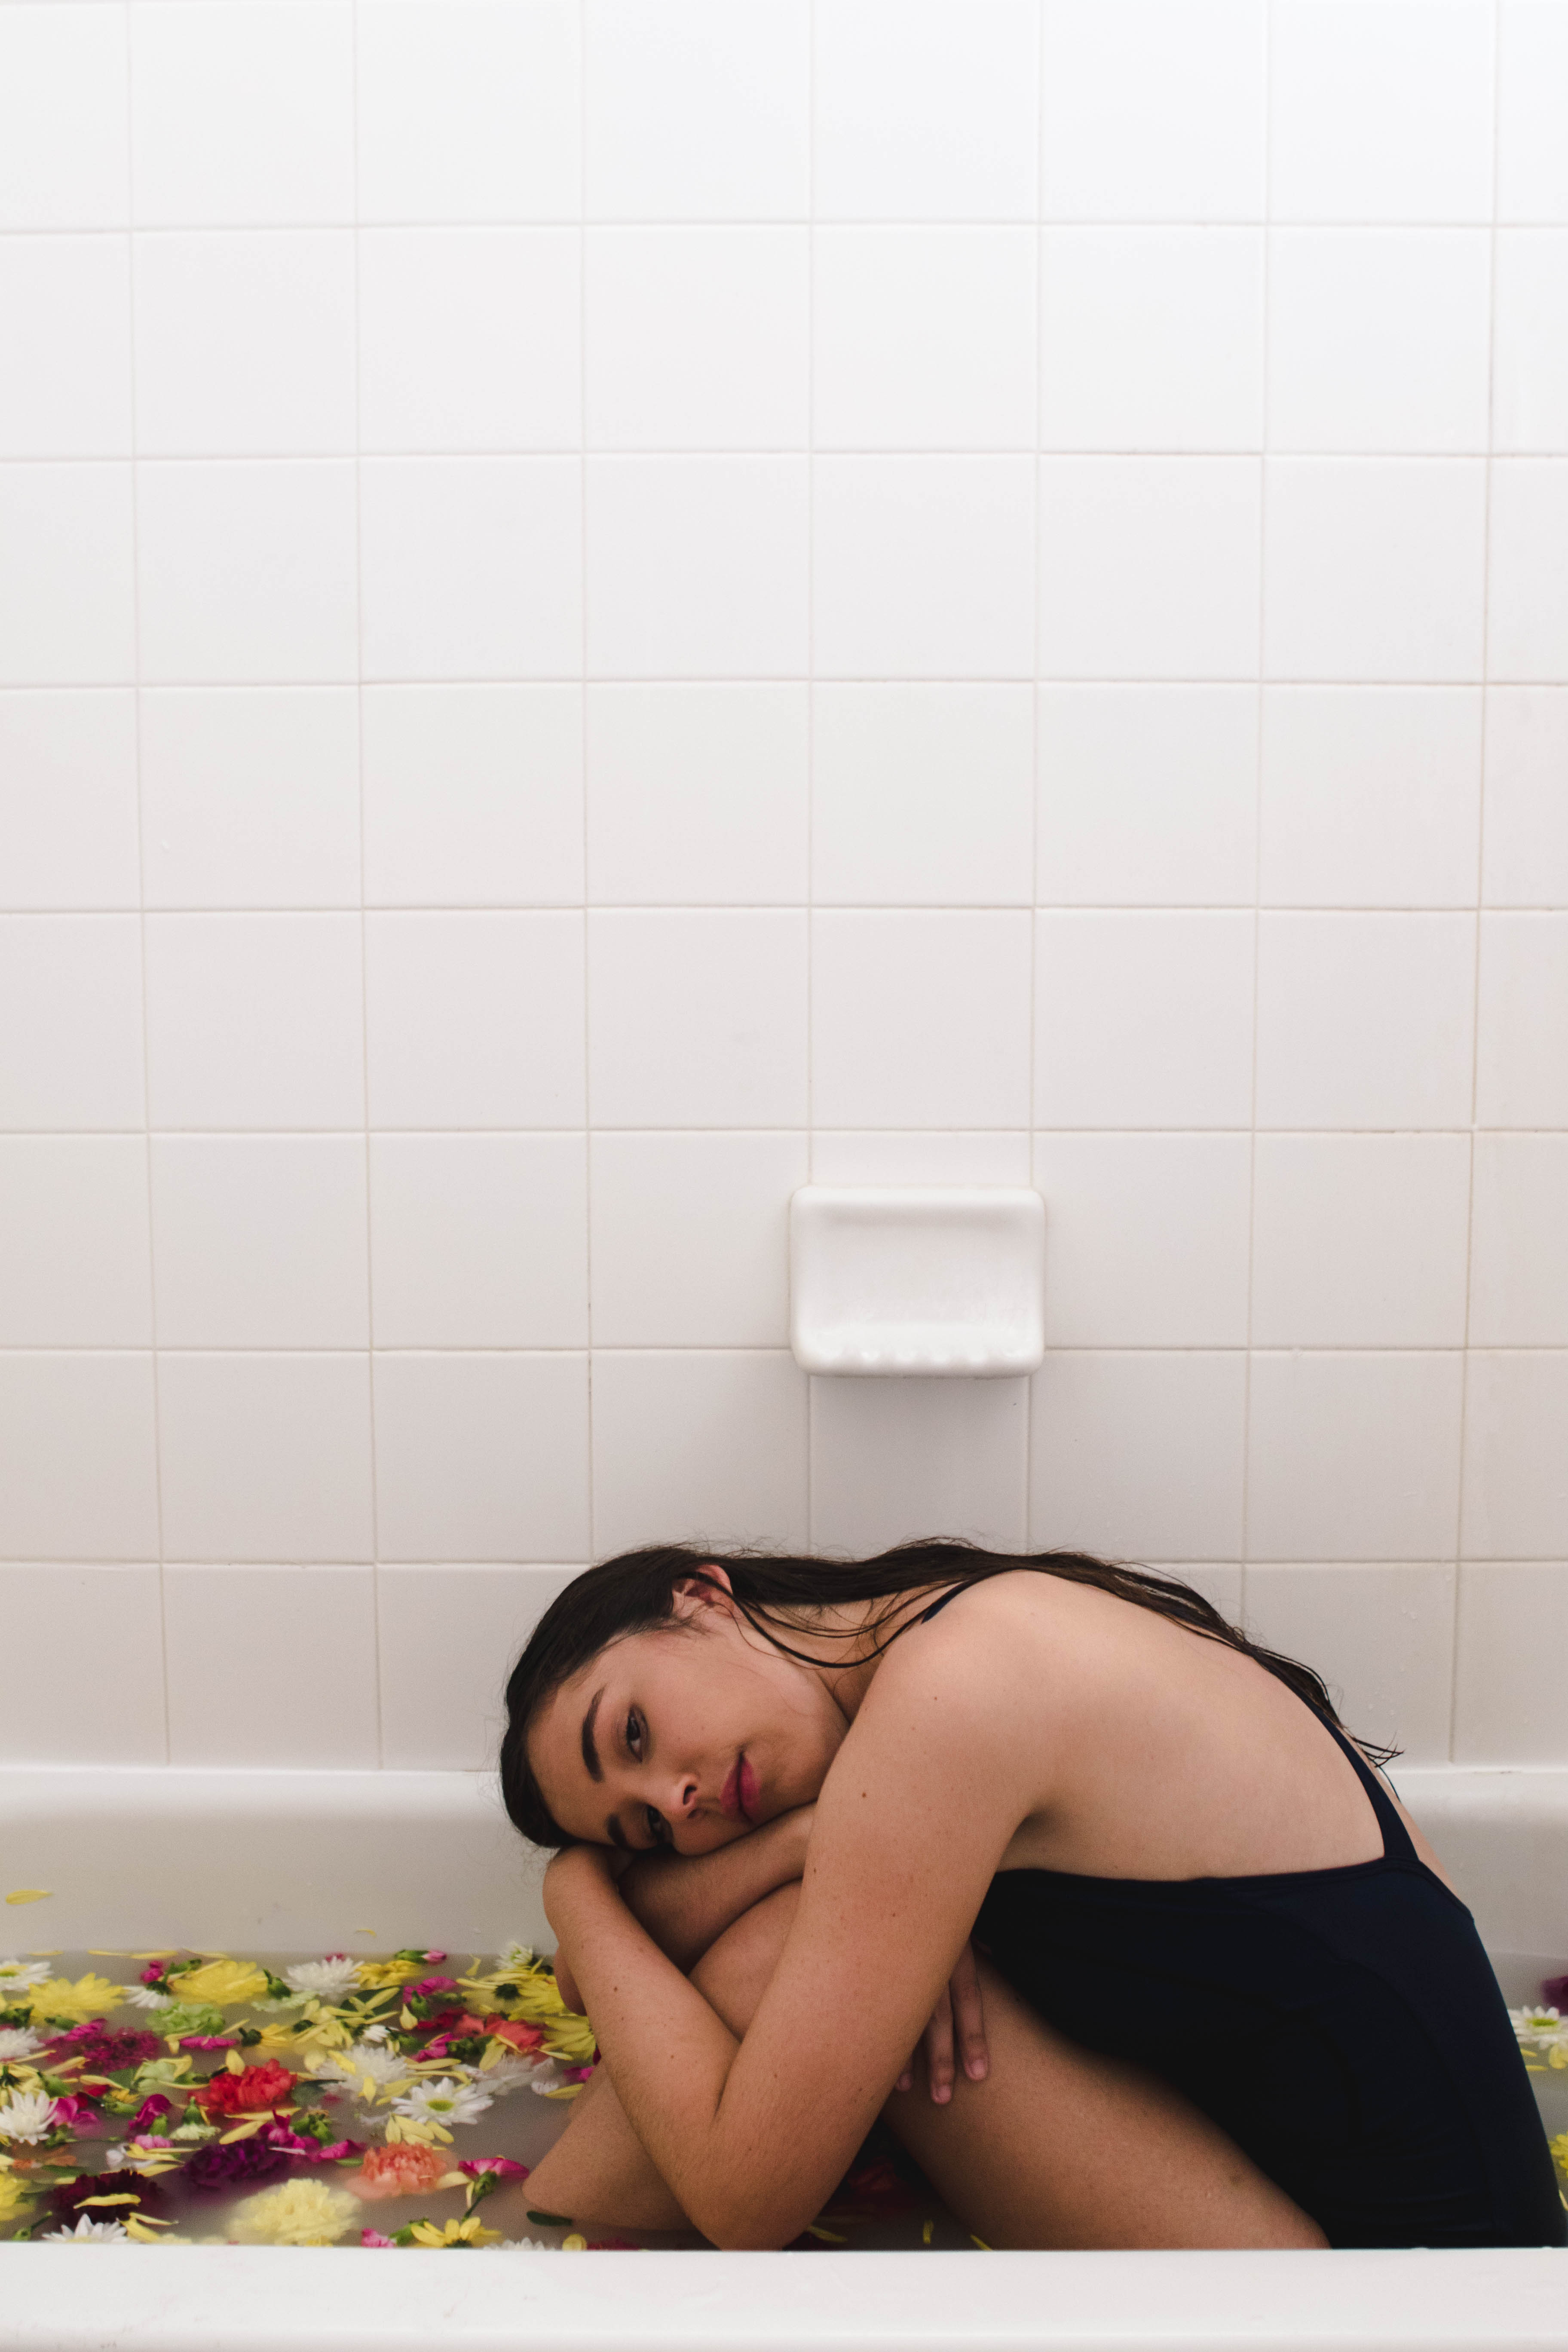
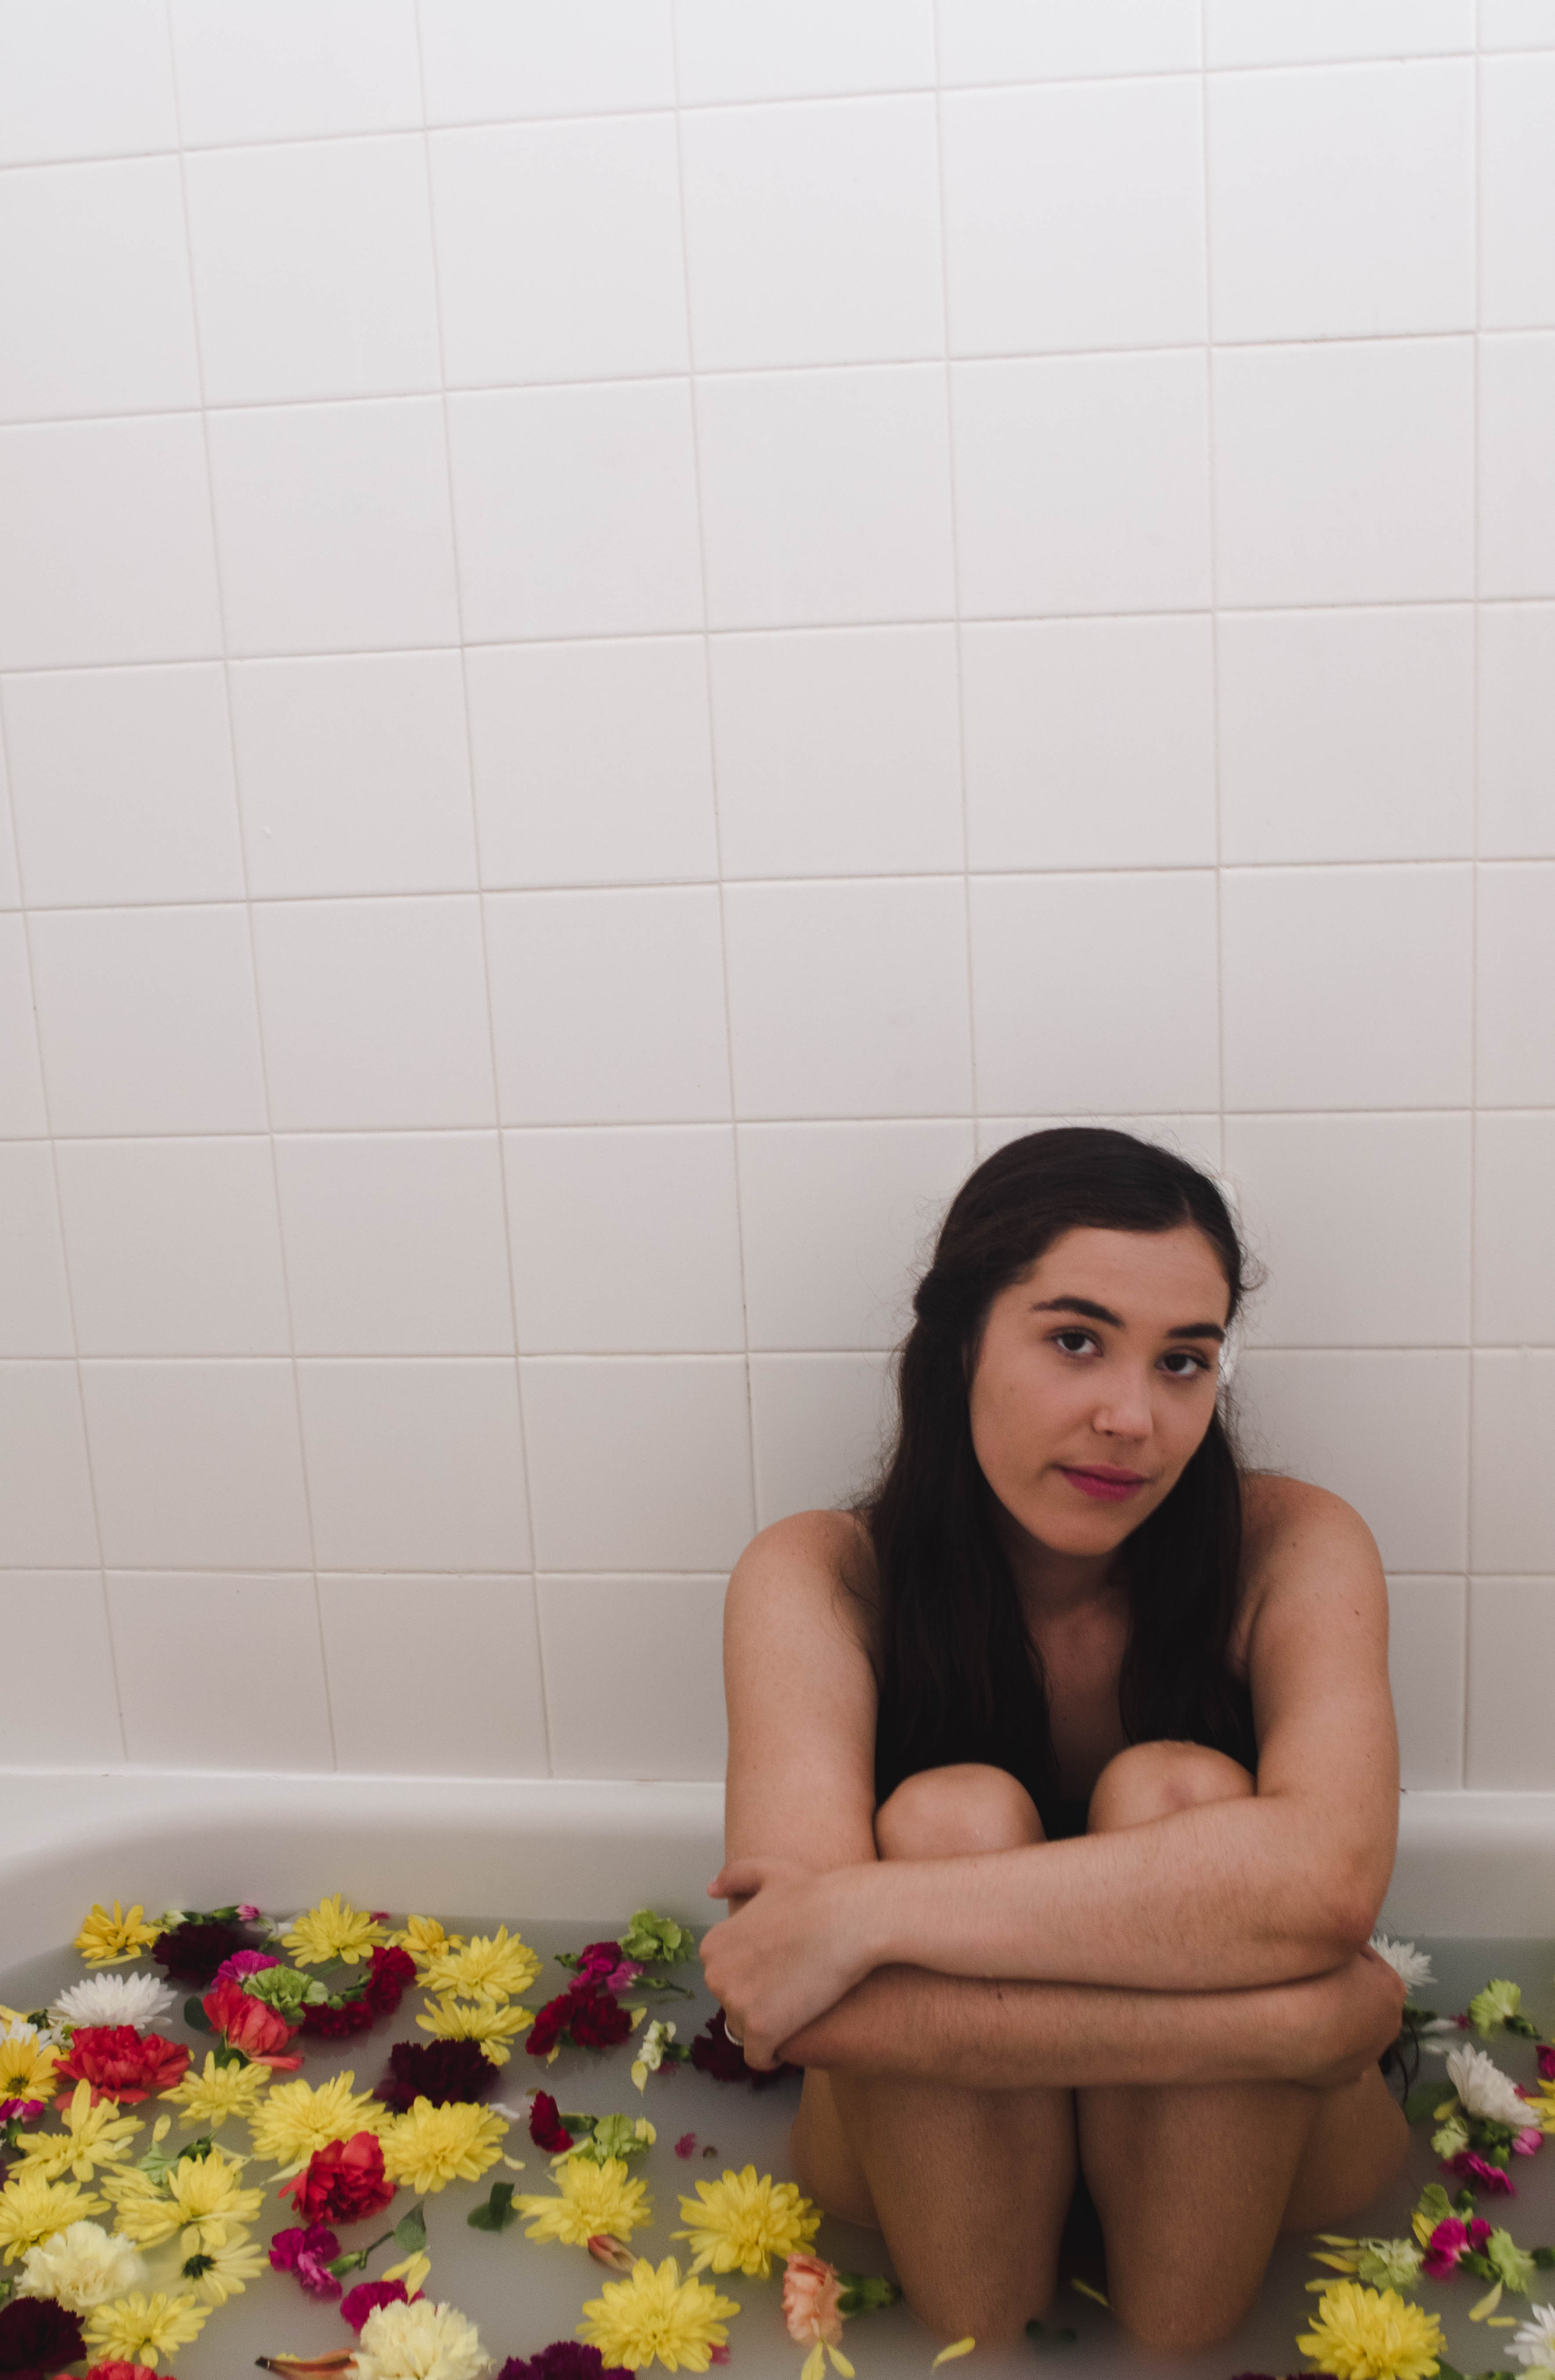
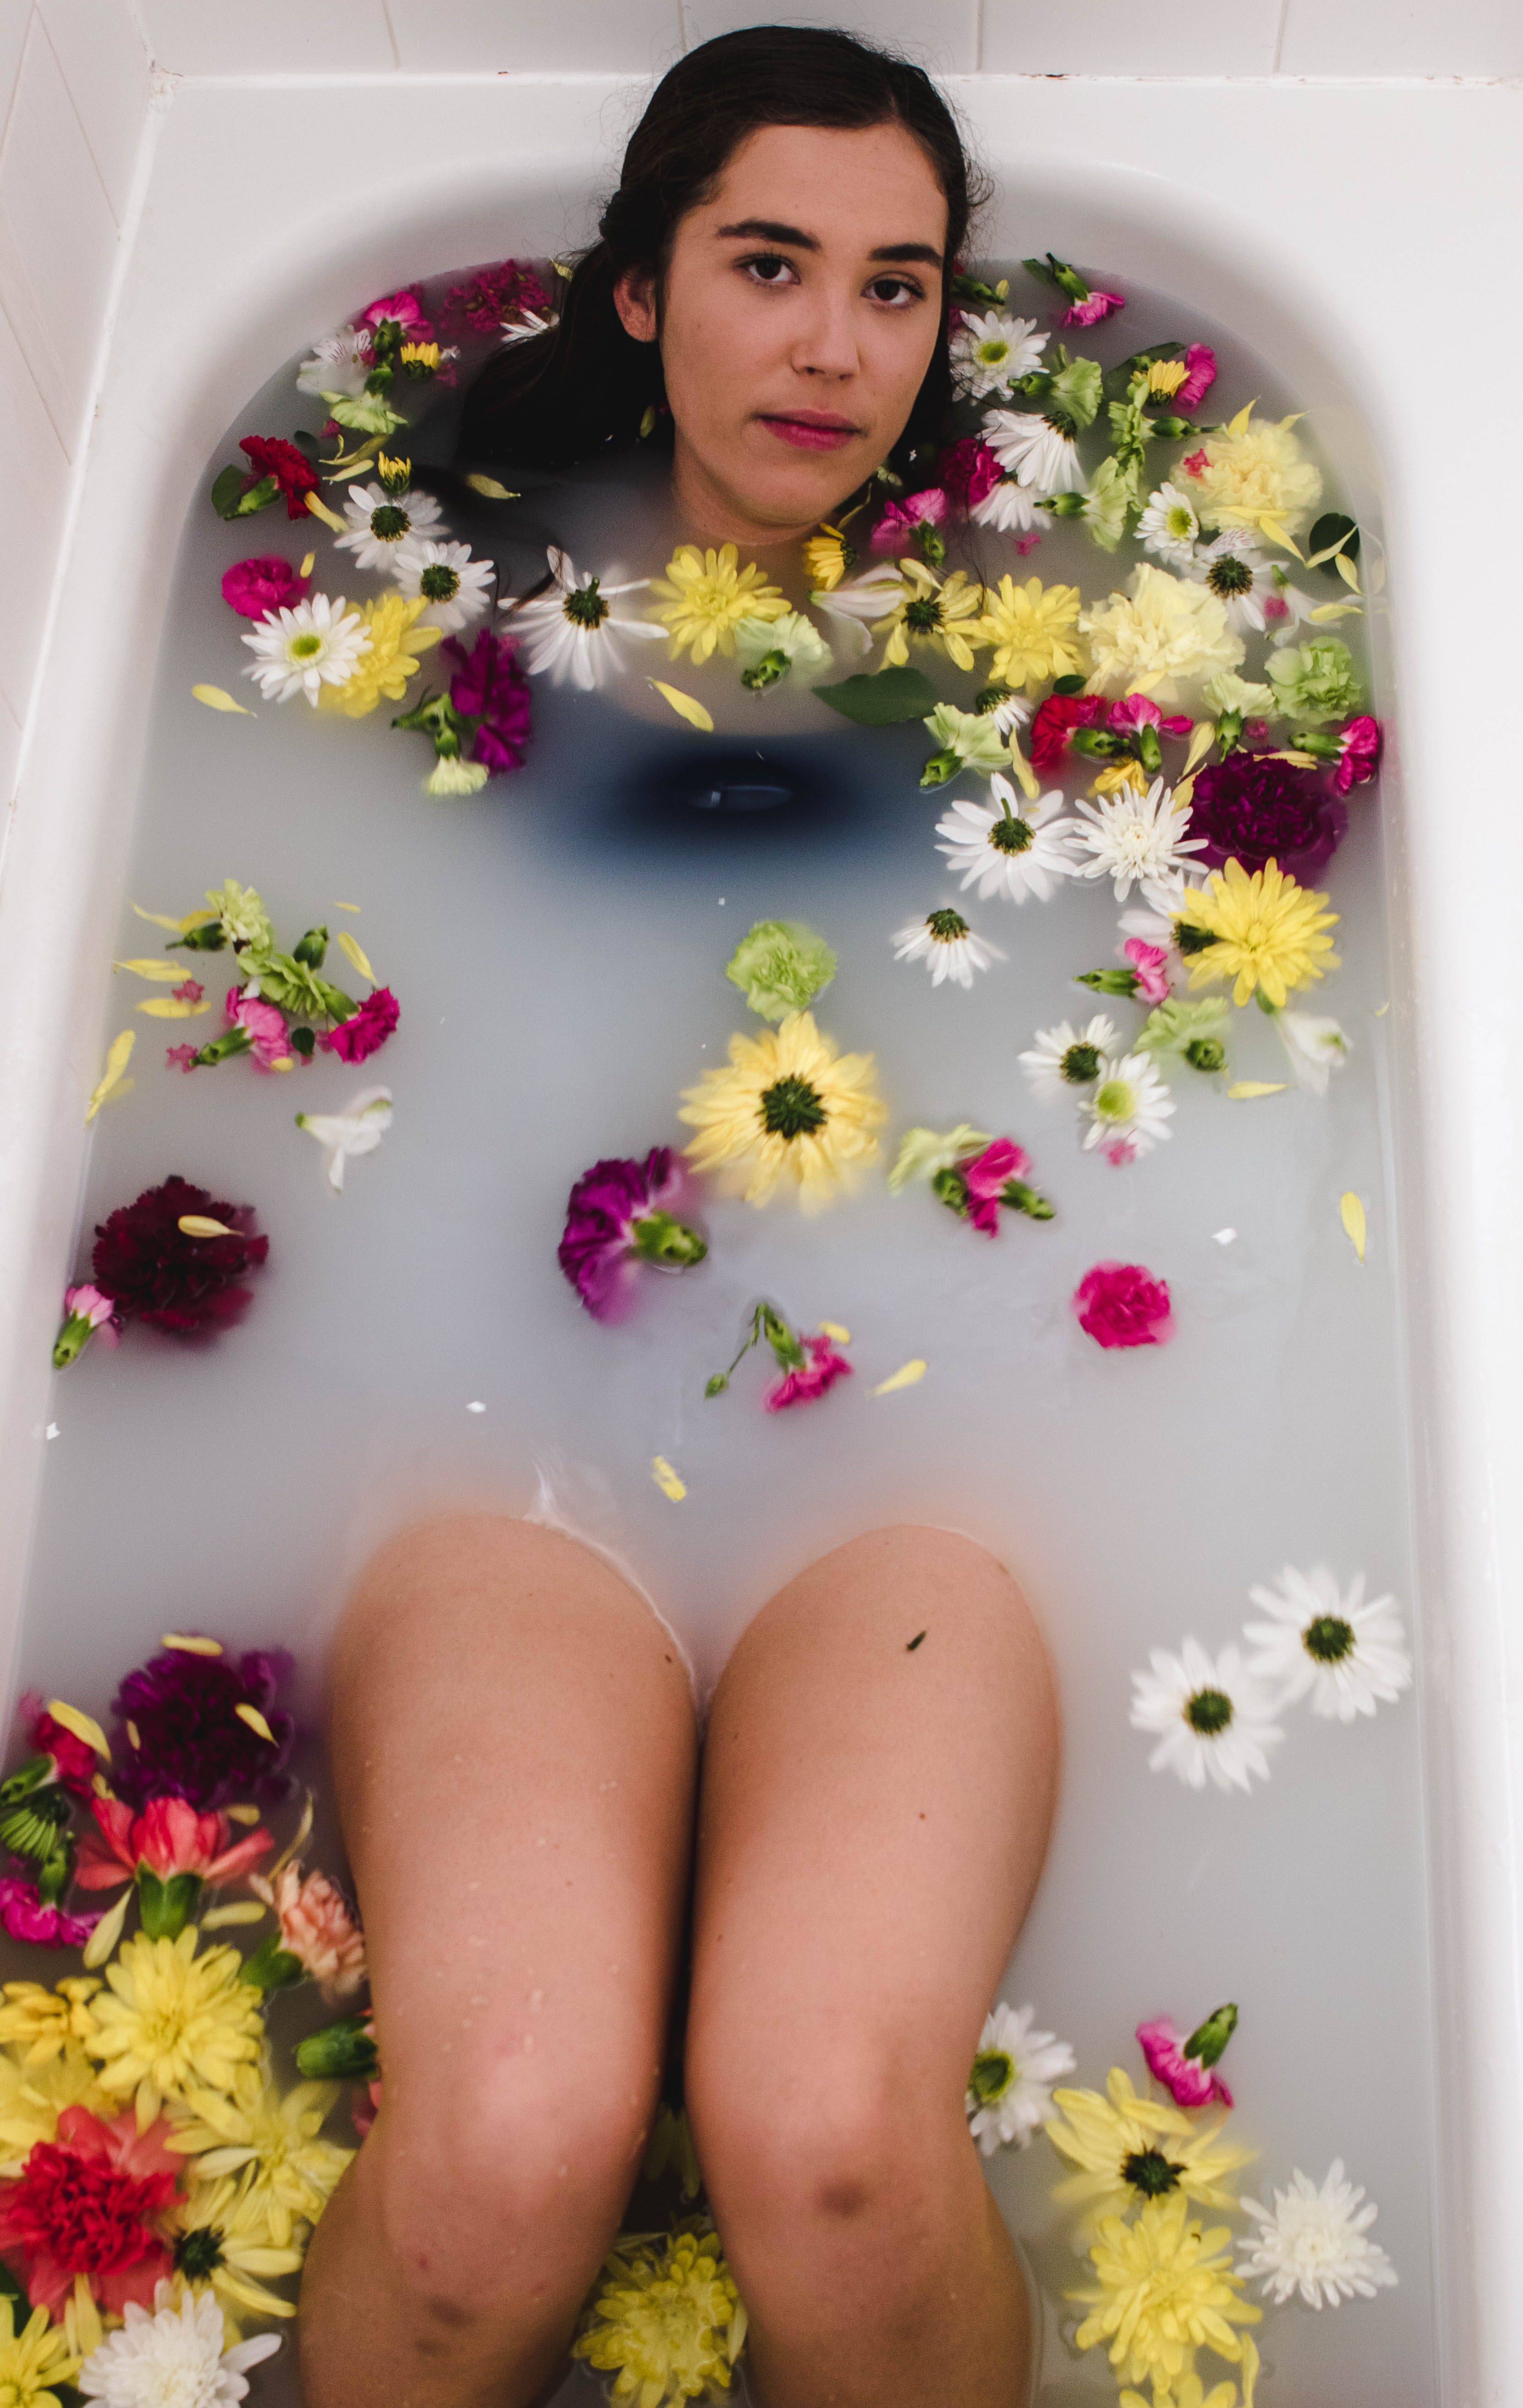
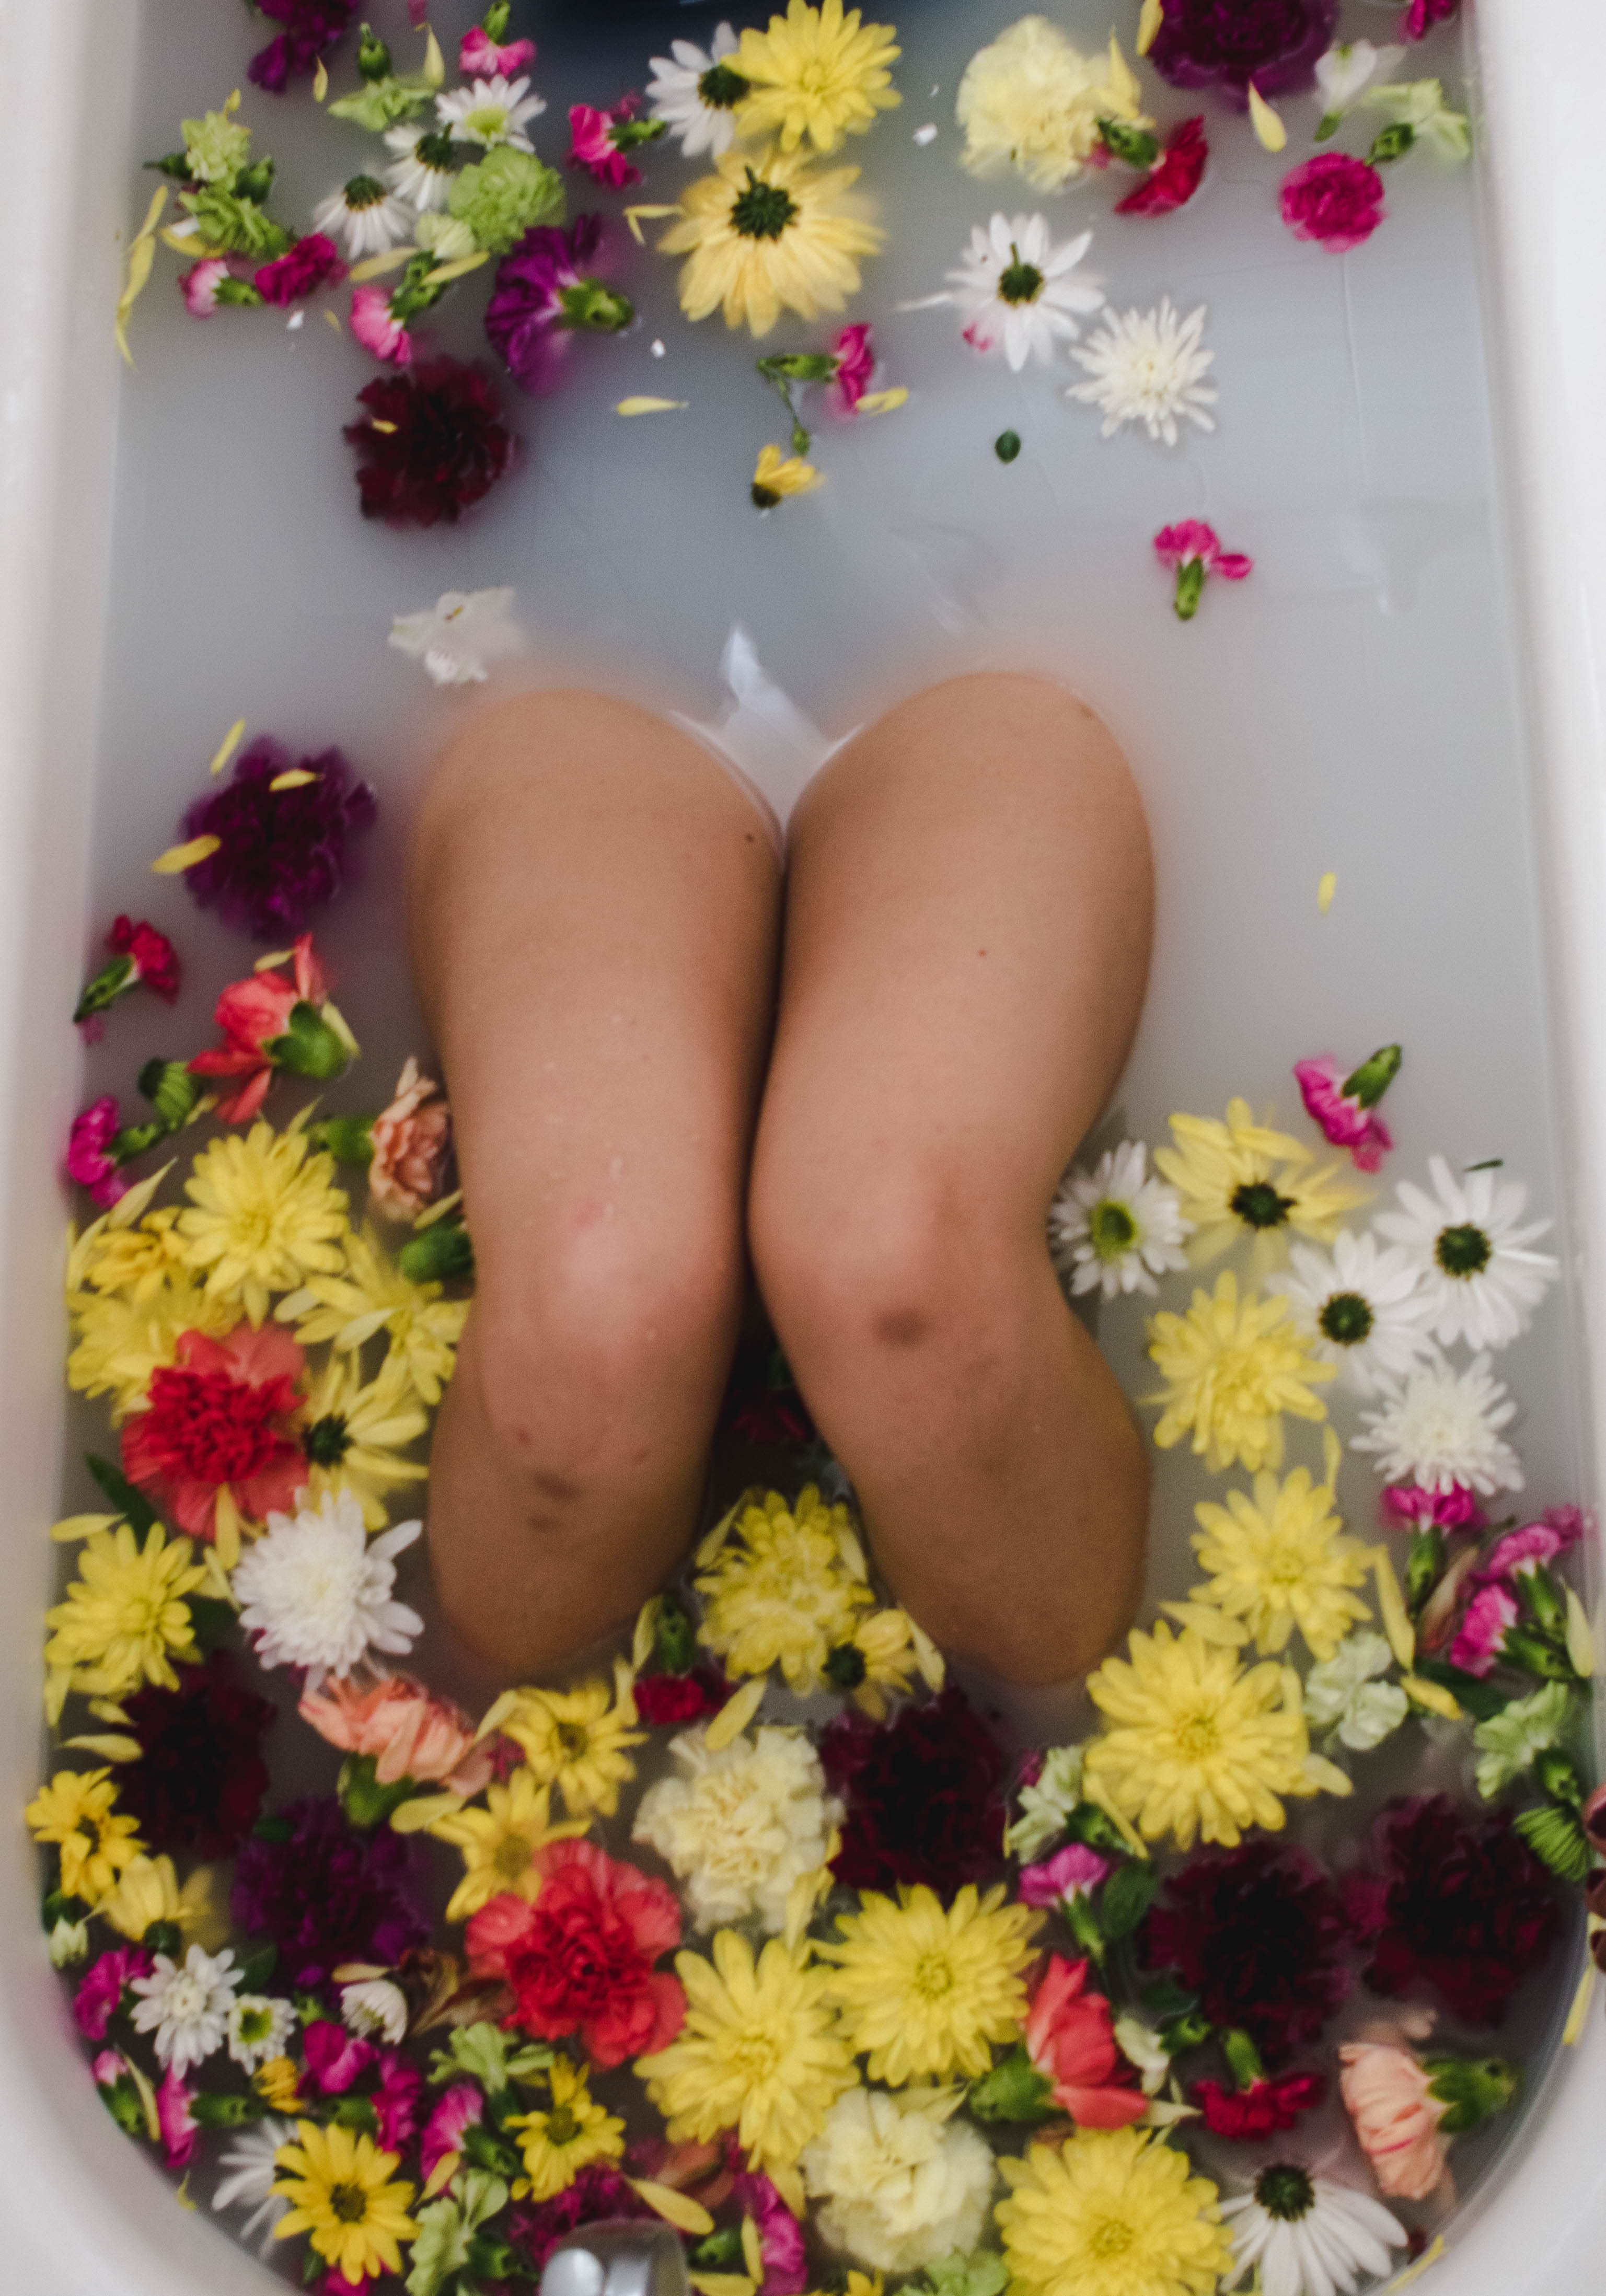
more water portraits
Want to see more of my summer shoots? Click here!
Want to see more of my photography tutorials? Click here to see more!
Want to do a shoot together? Click here for booking and pricing information! or click here to book me for your photography needs!
Instagram: @goodallphotos
Facebook Page: @goodallphotographs
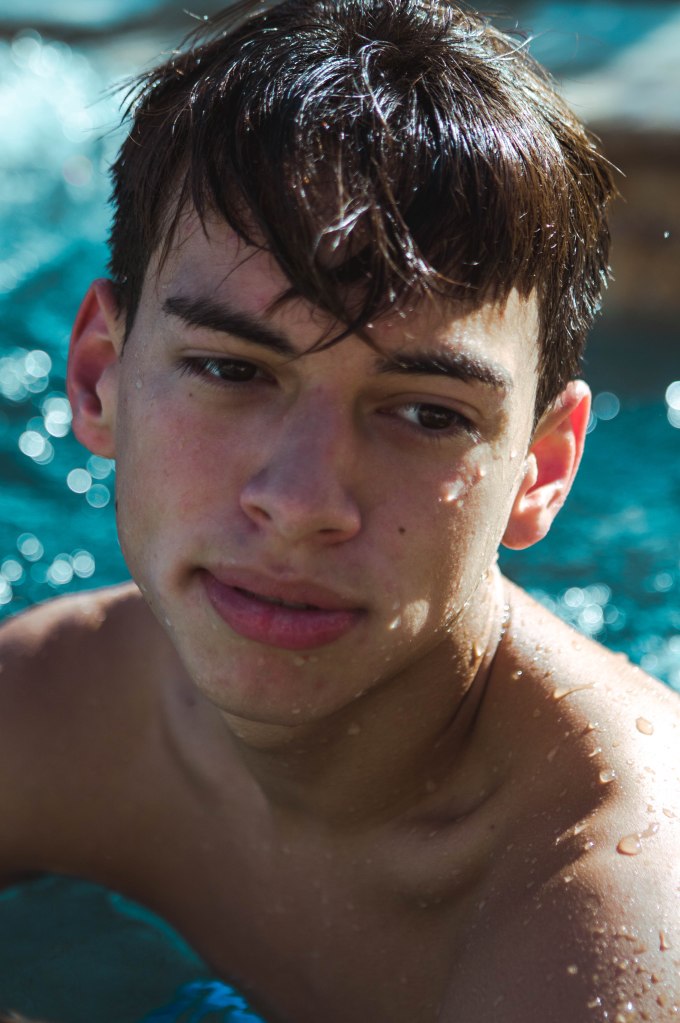
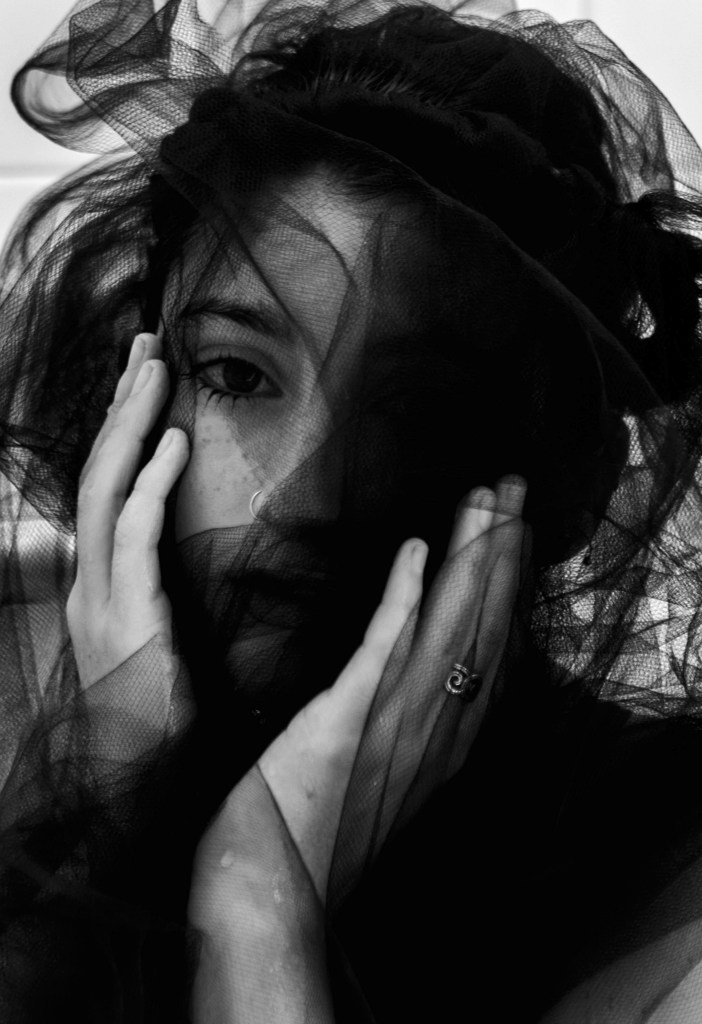
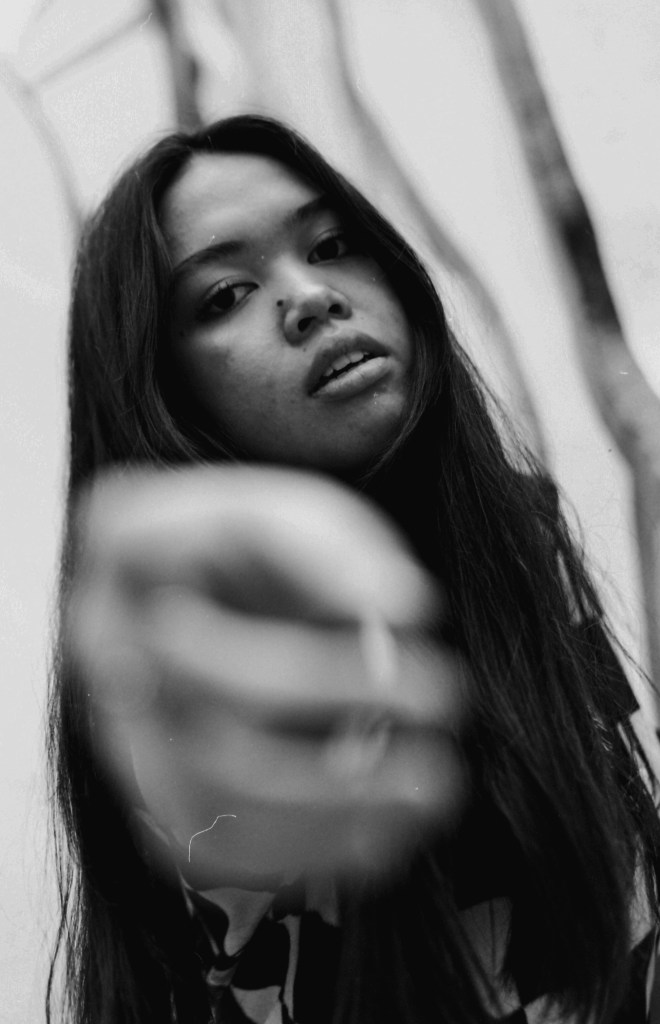
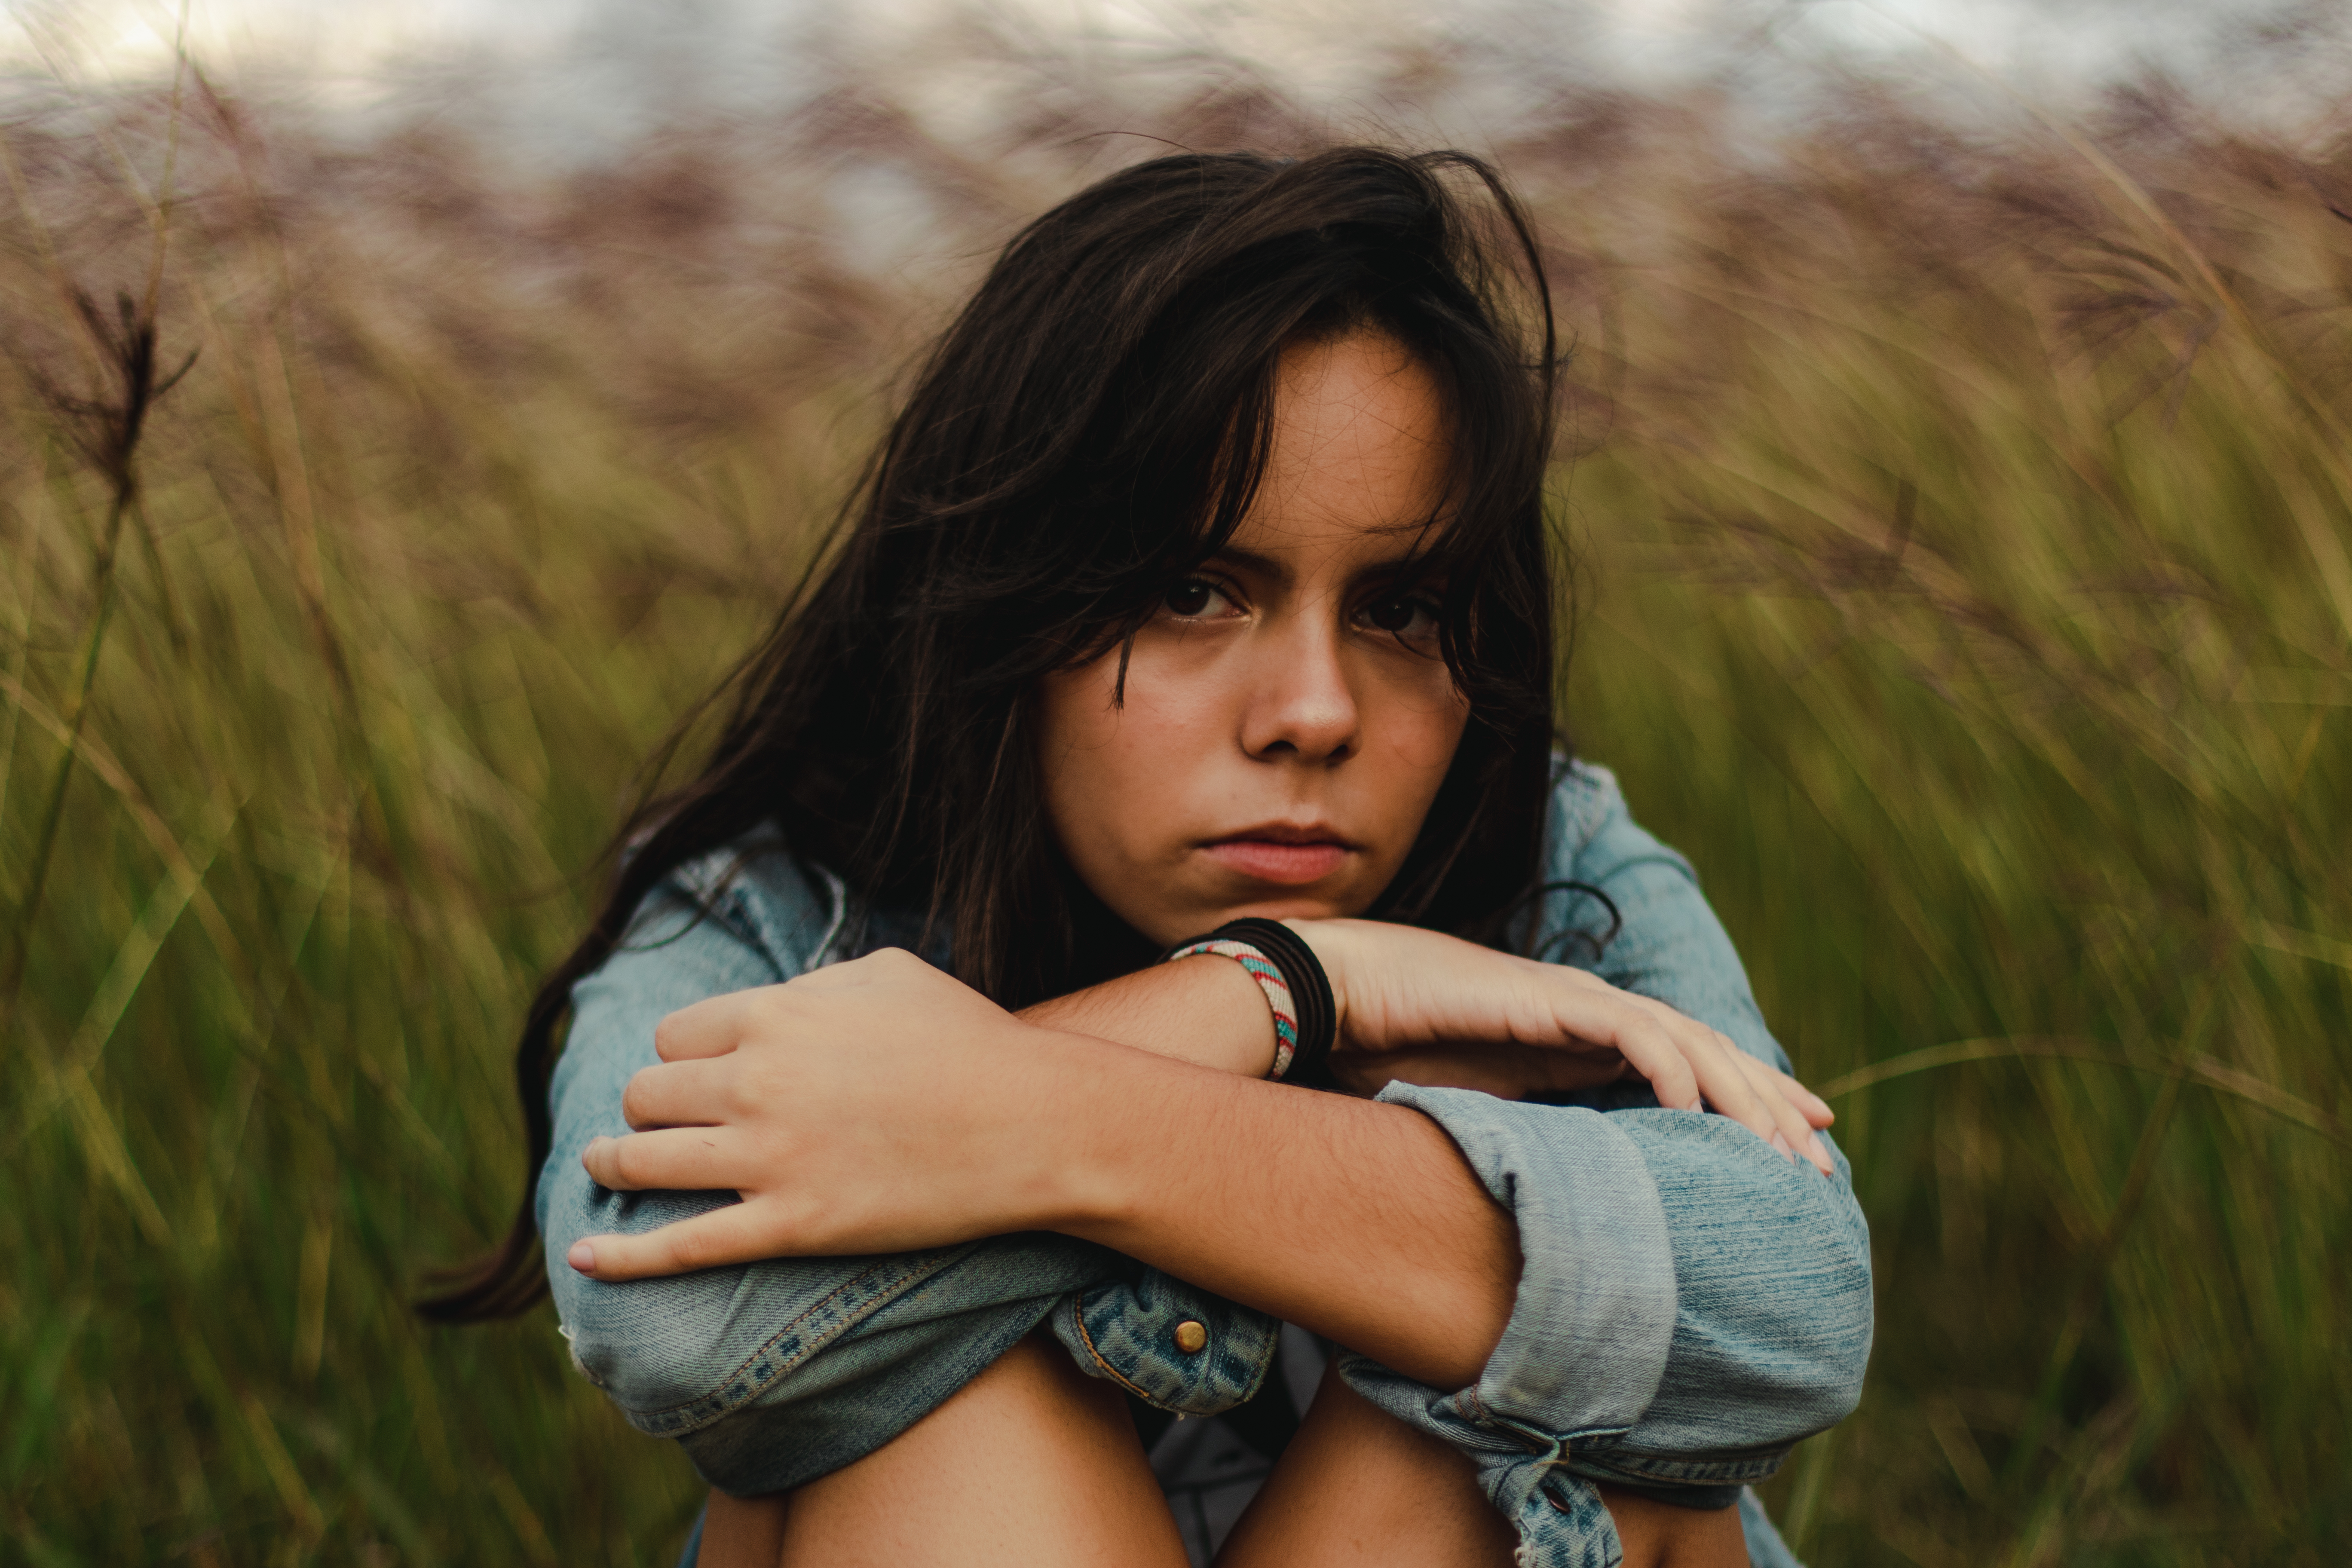
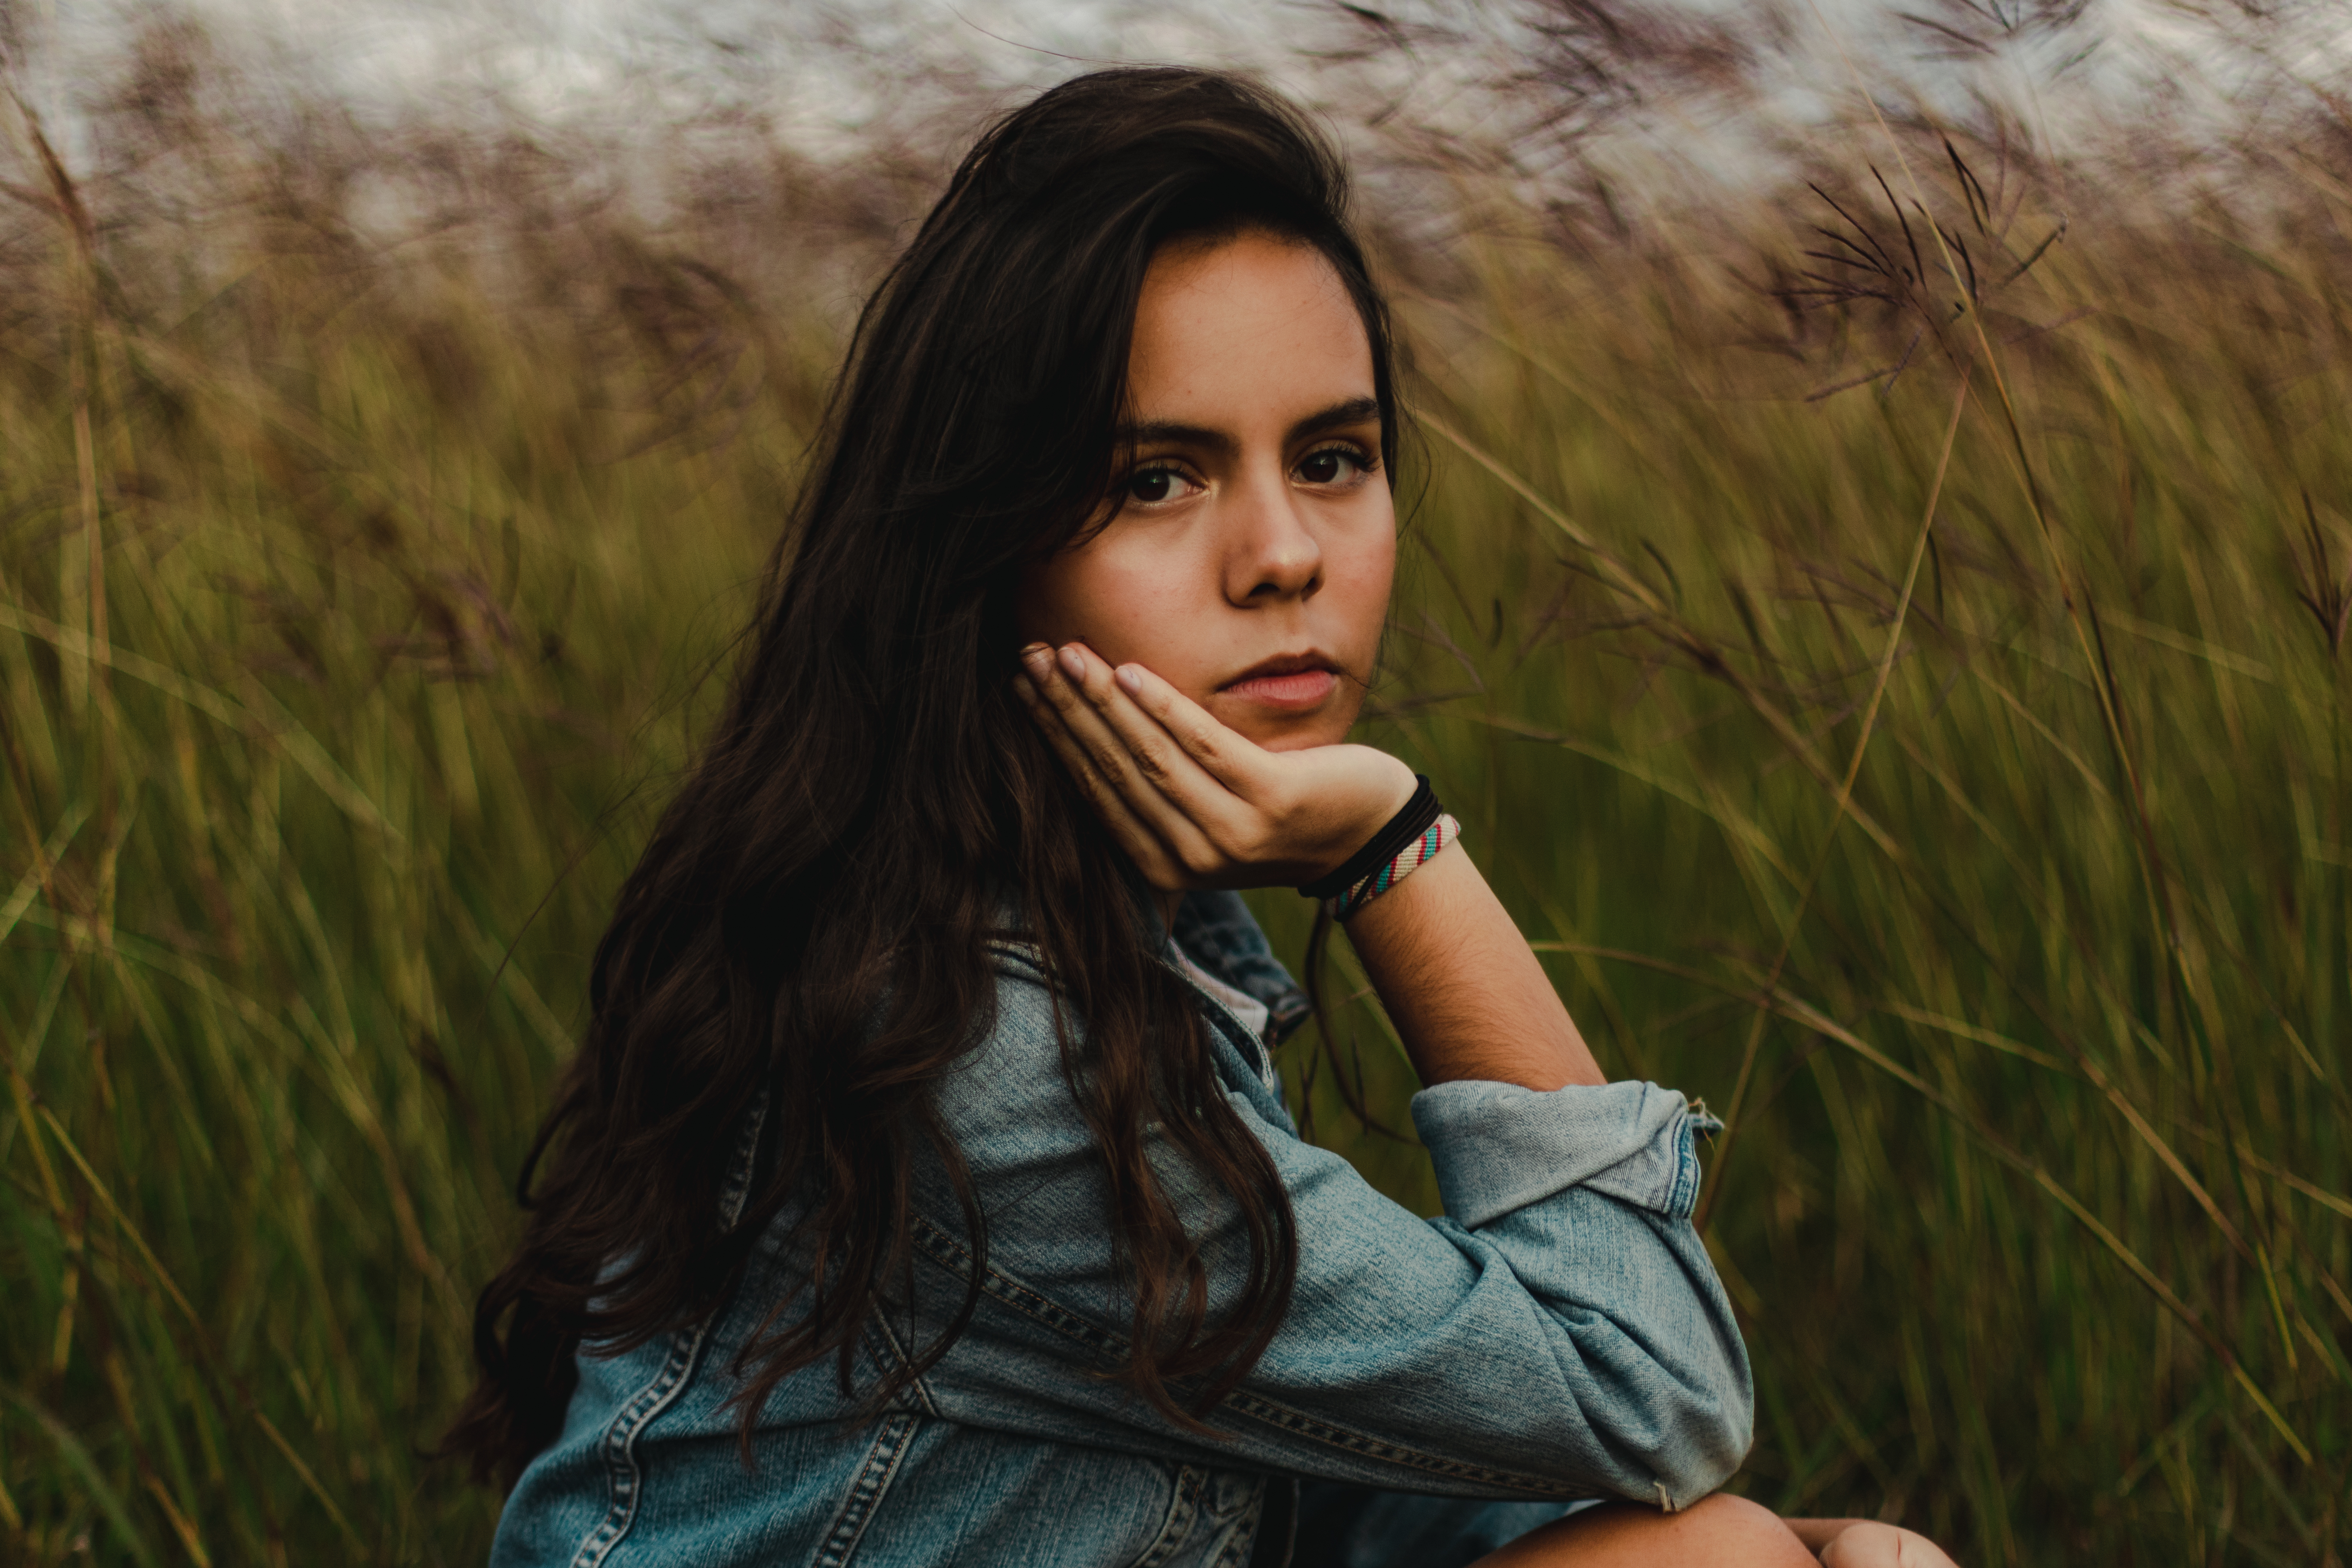
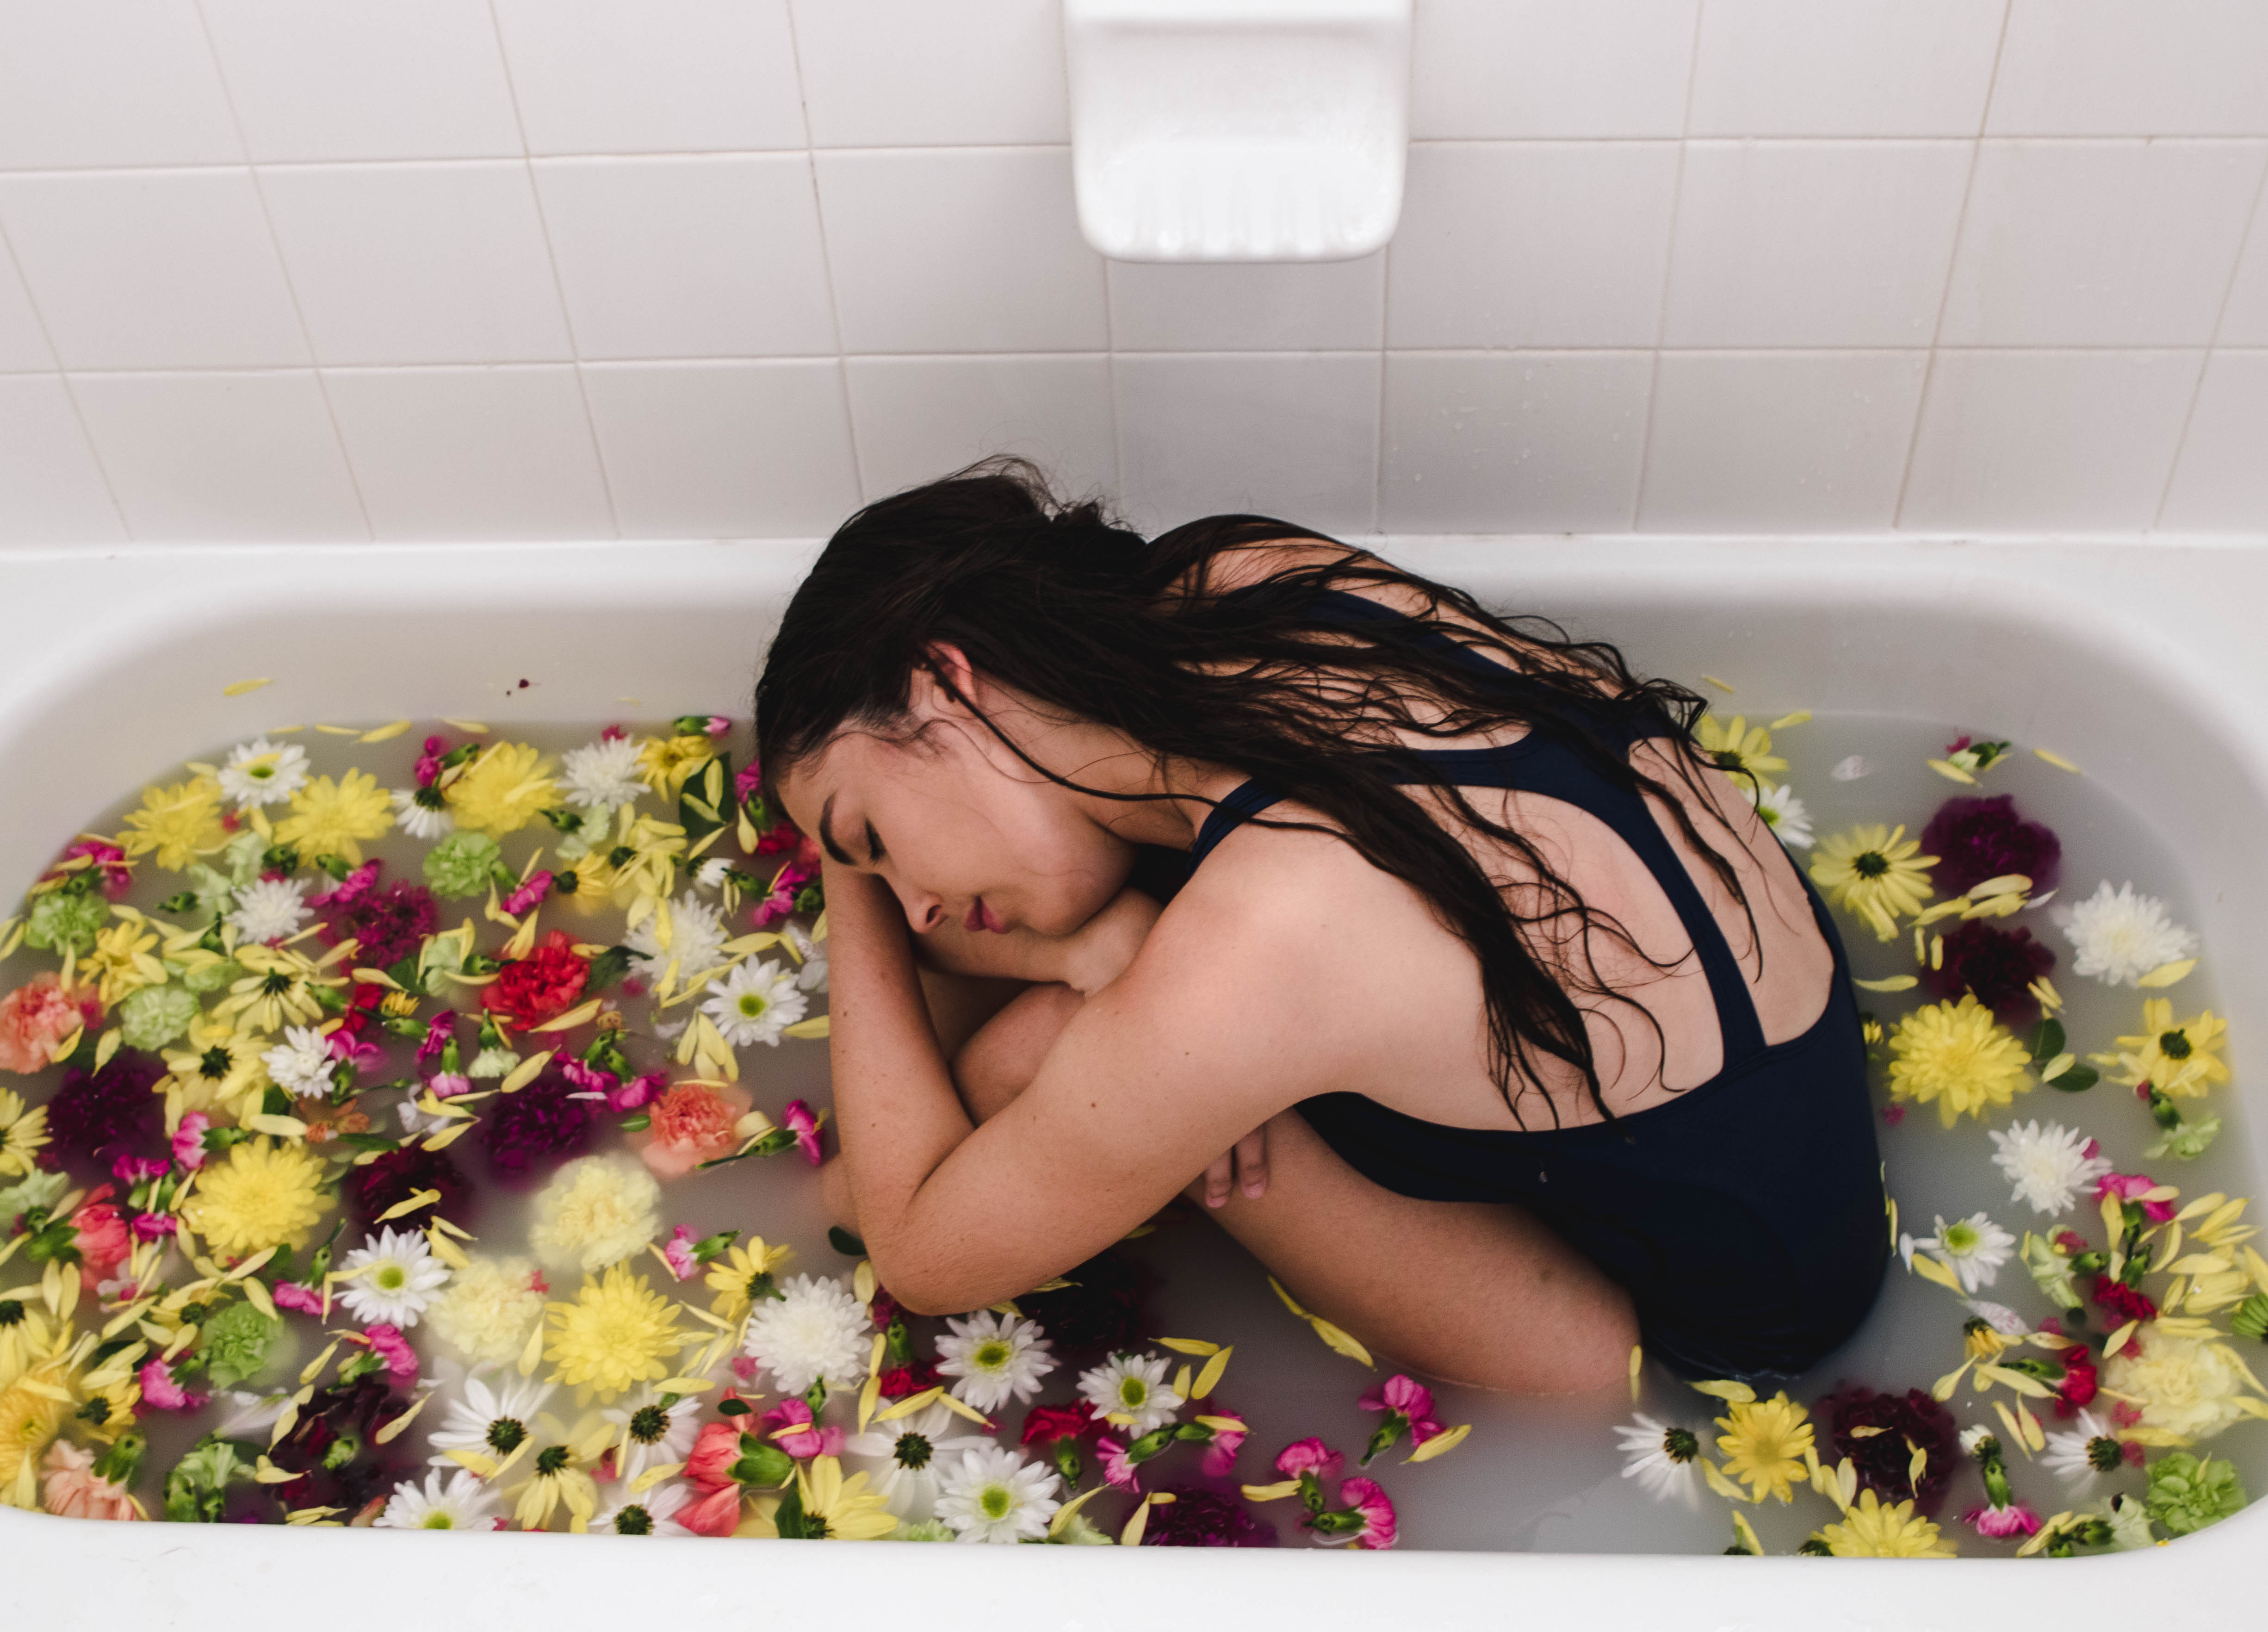
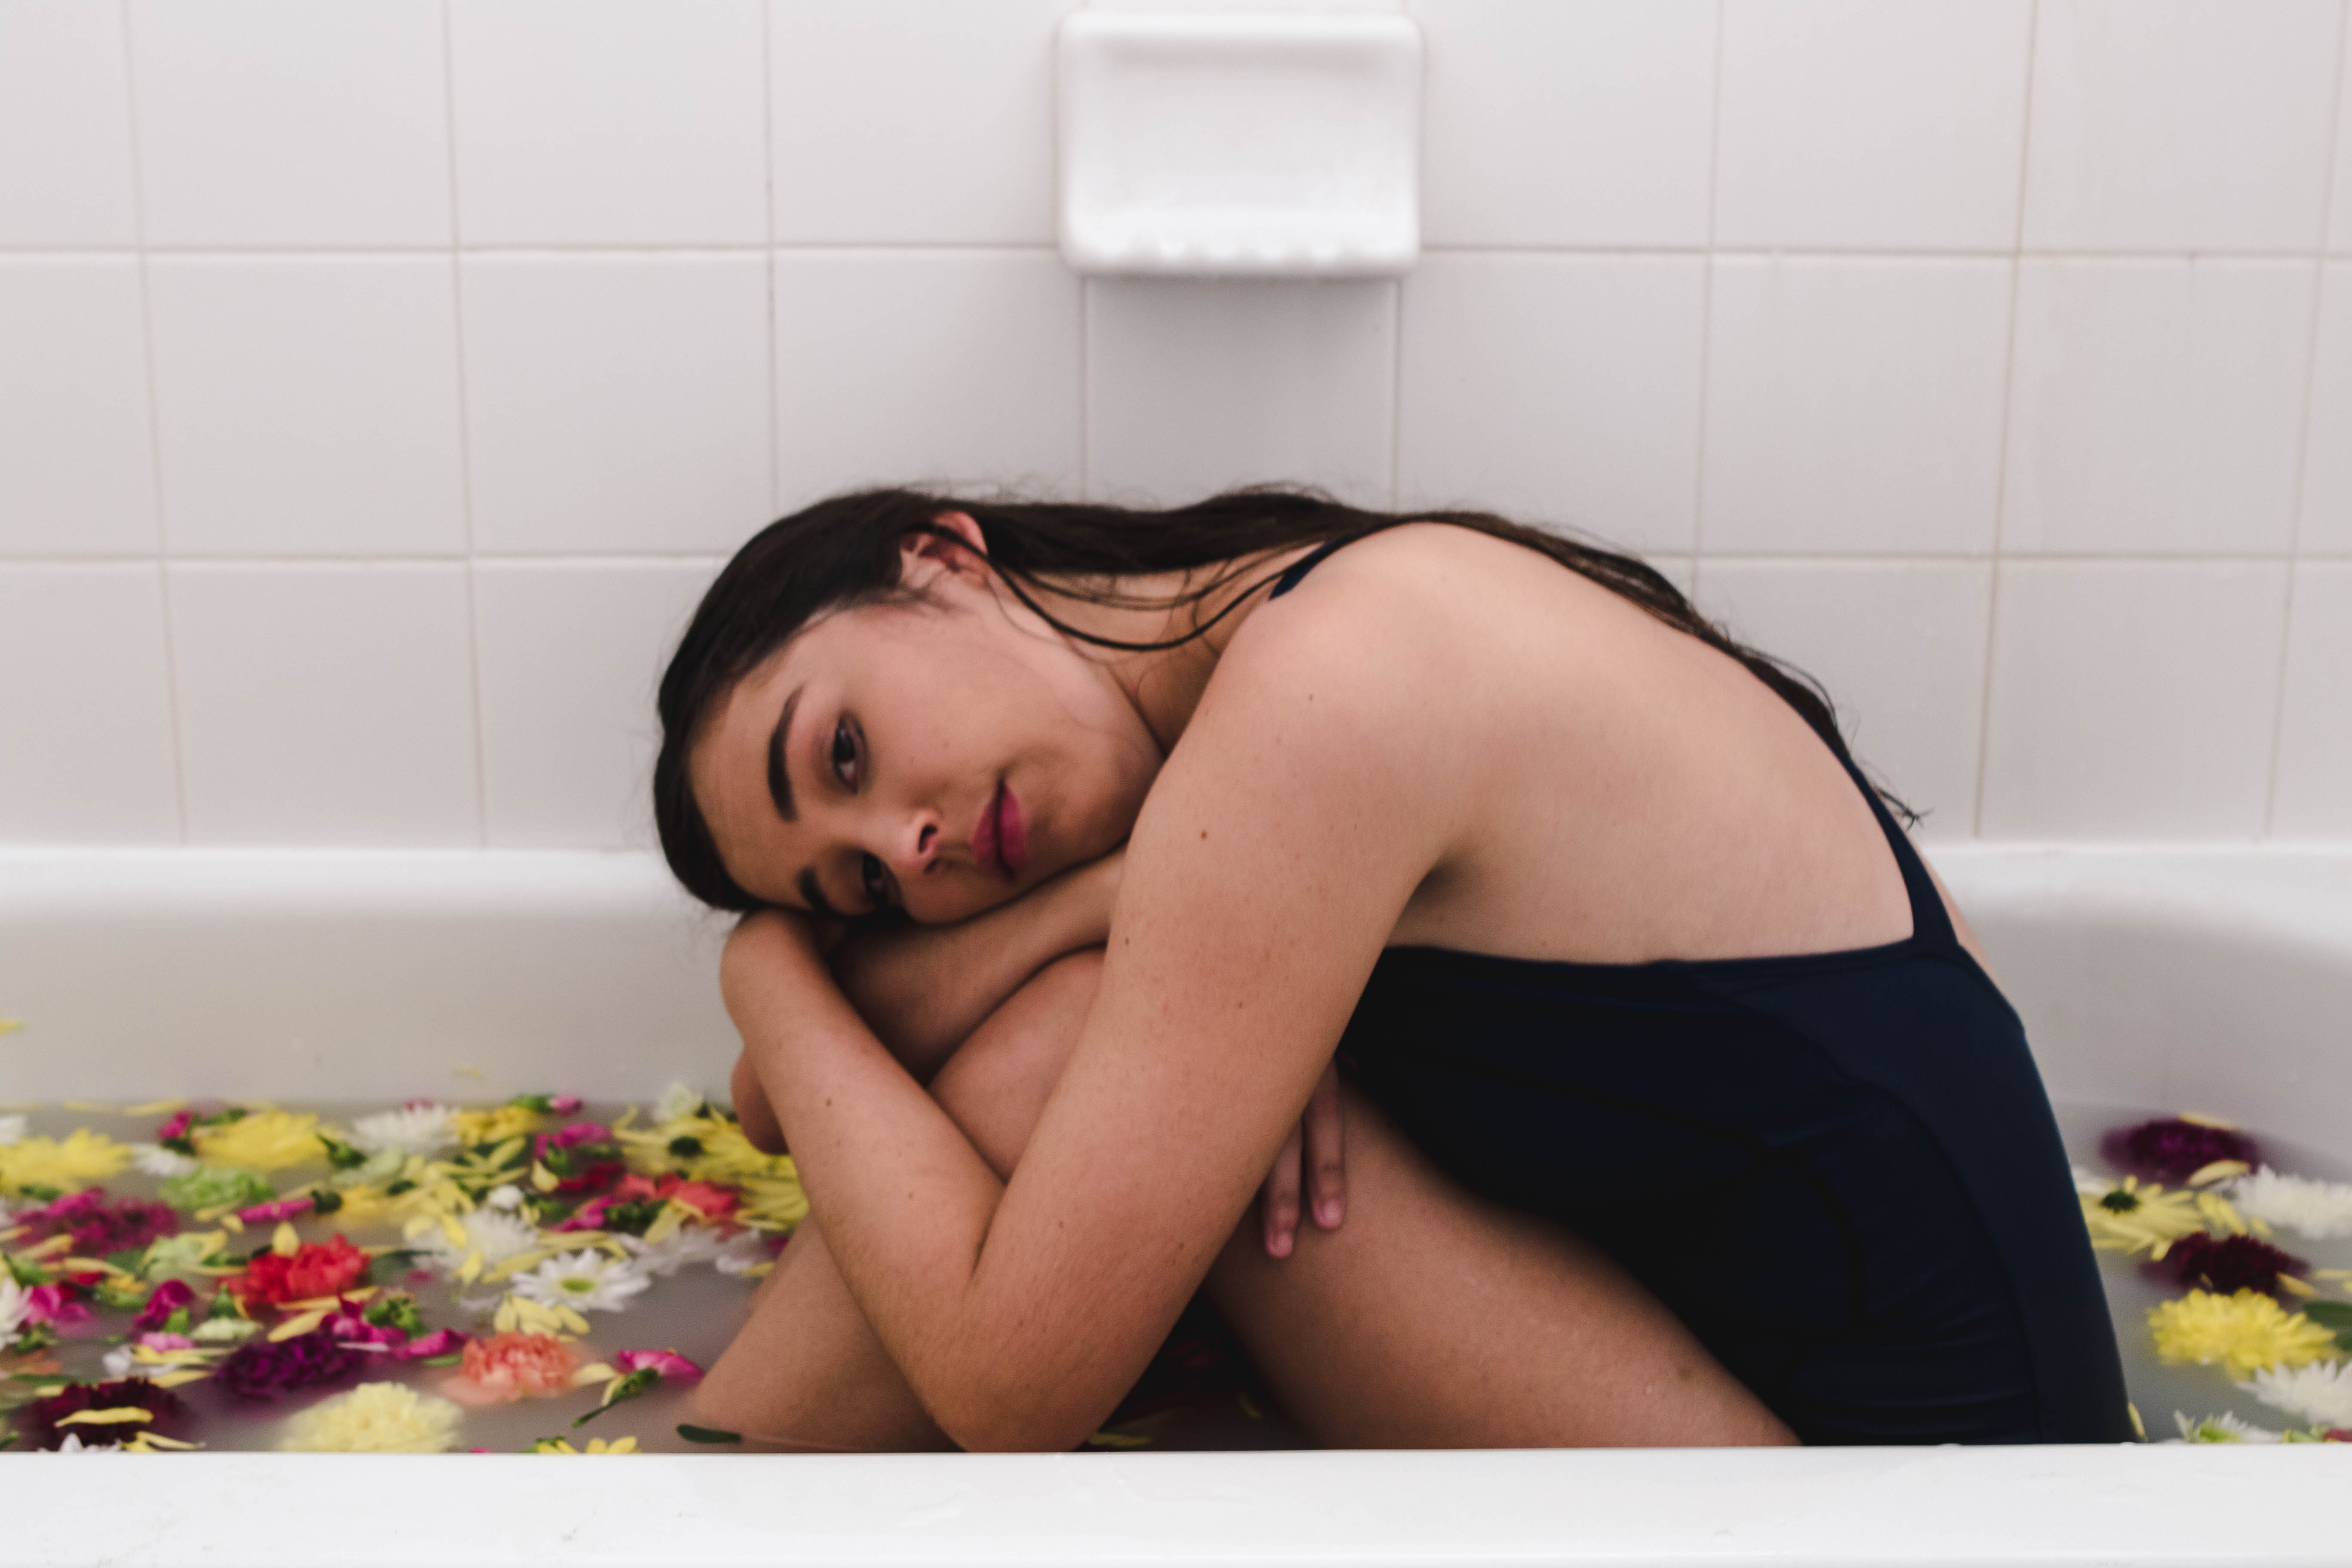
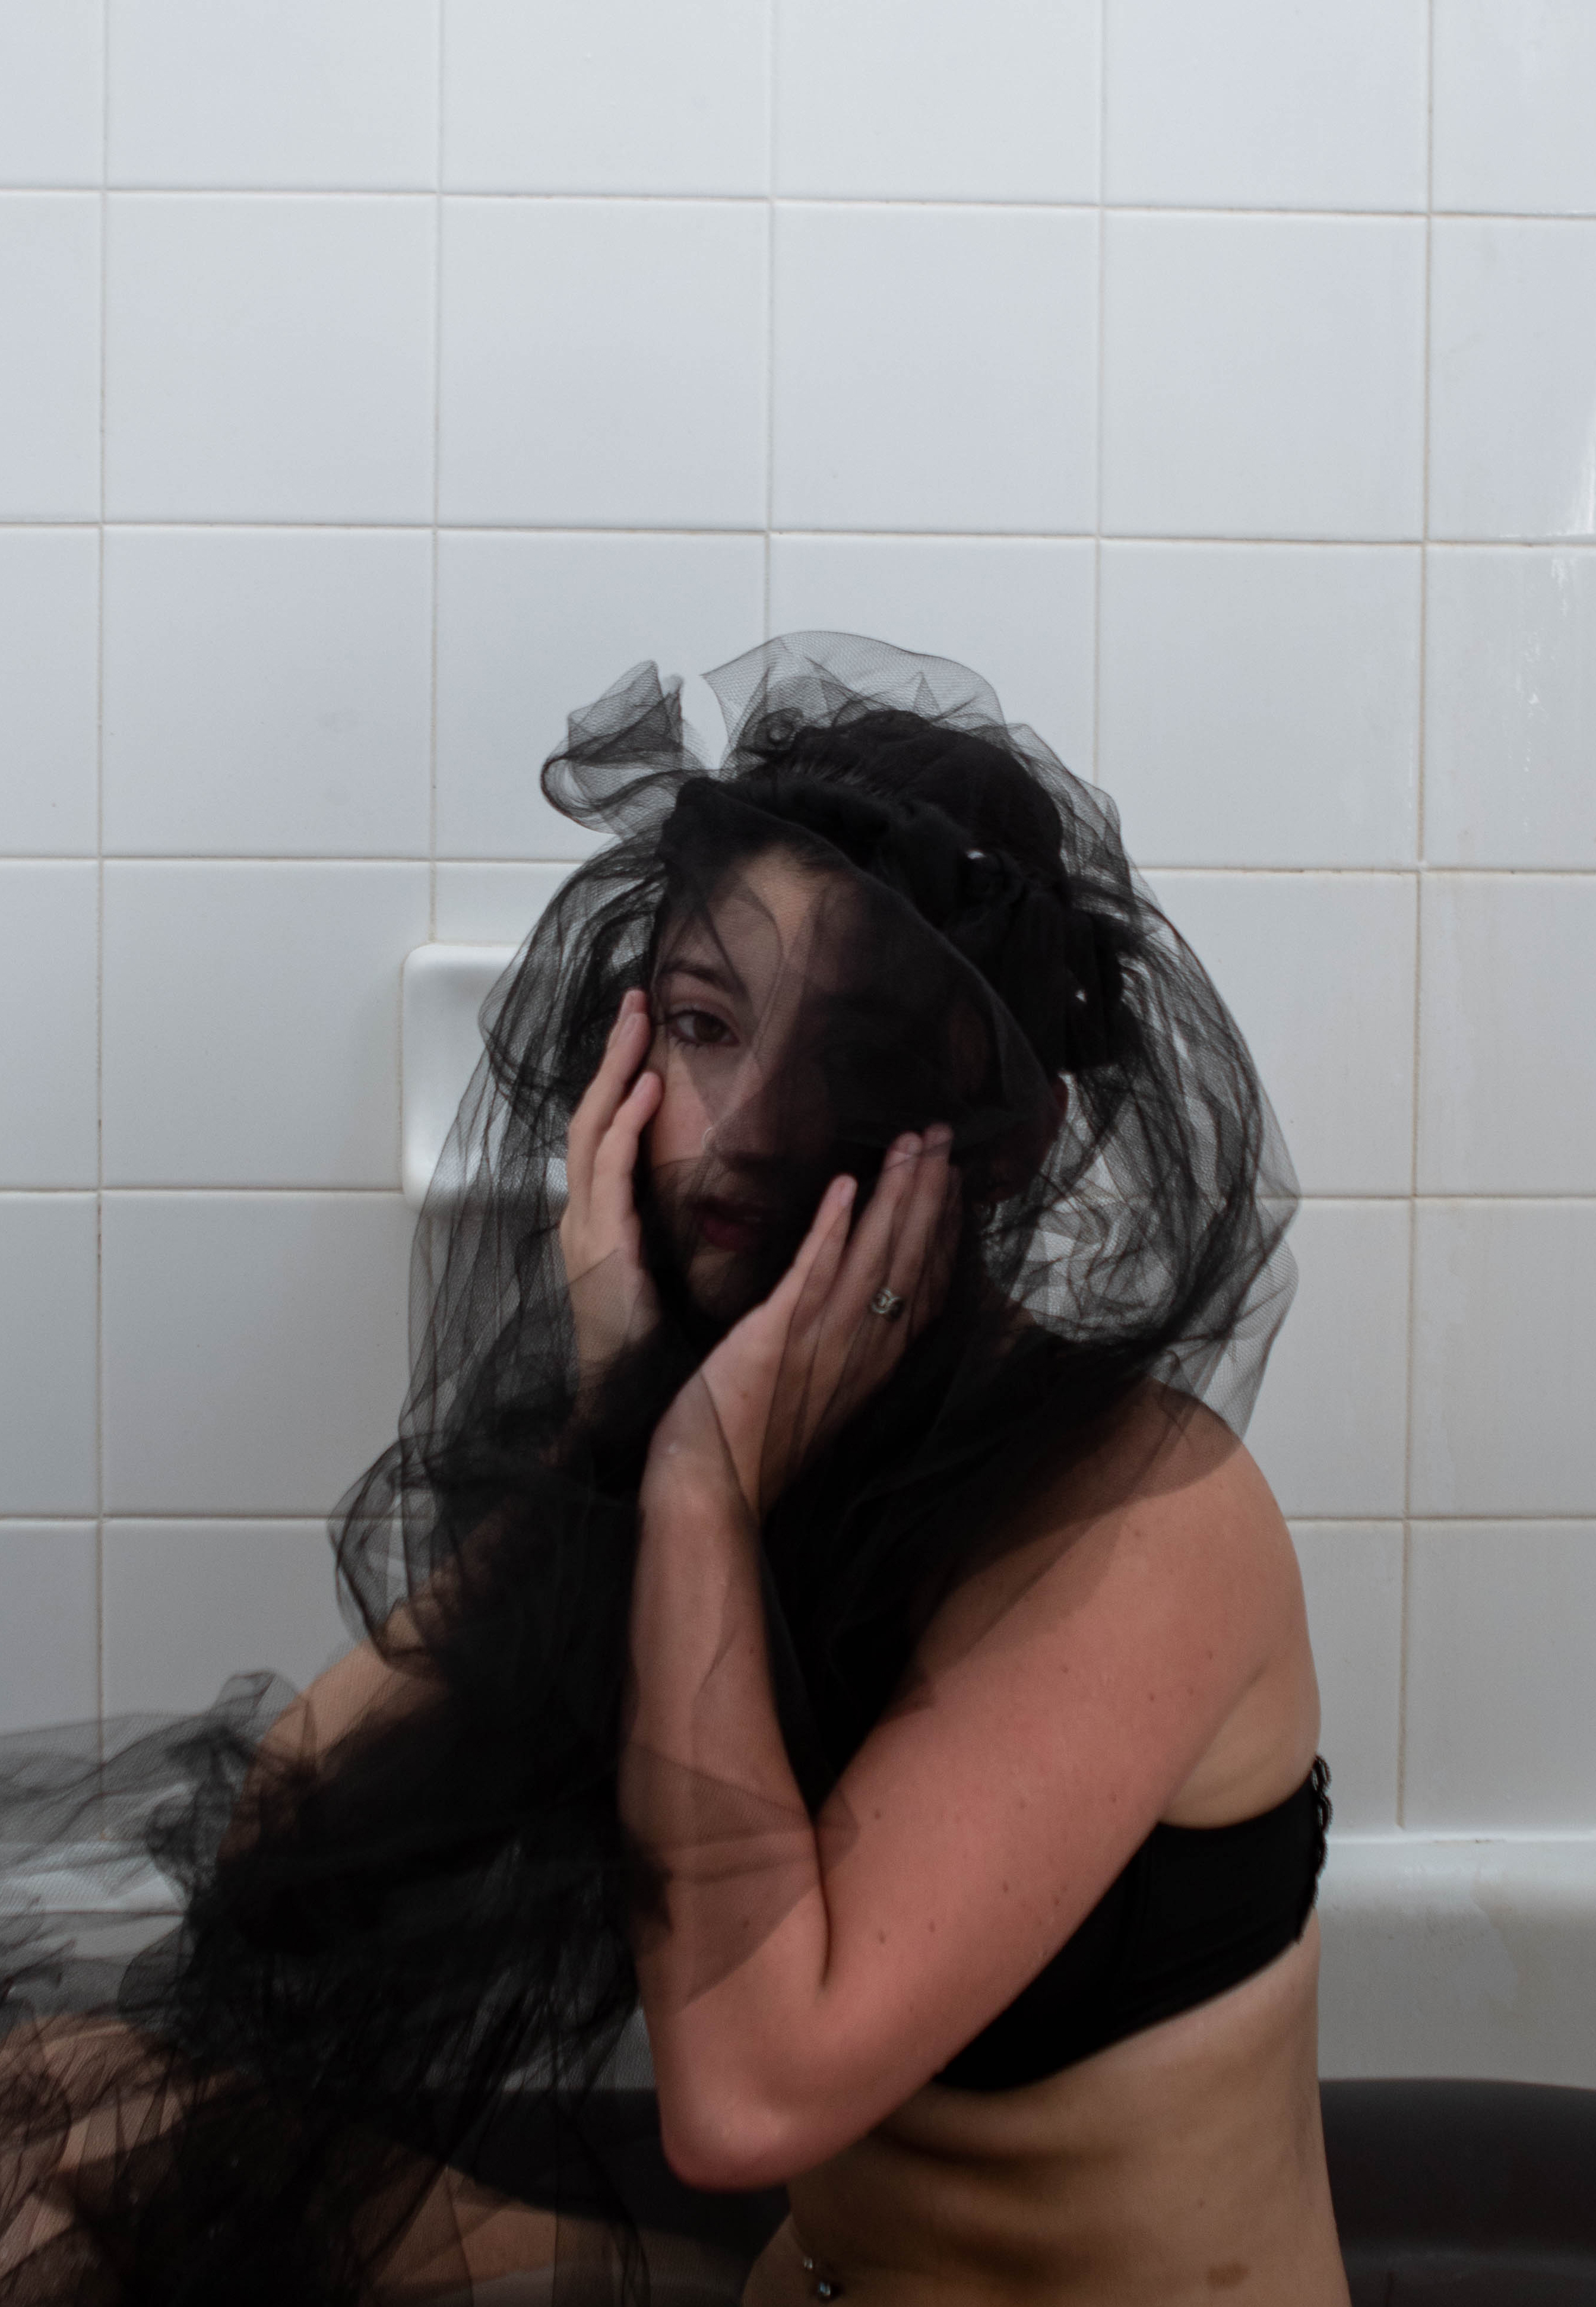
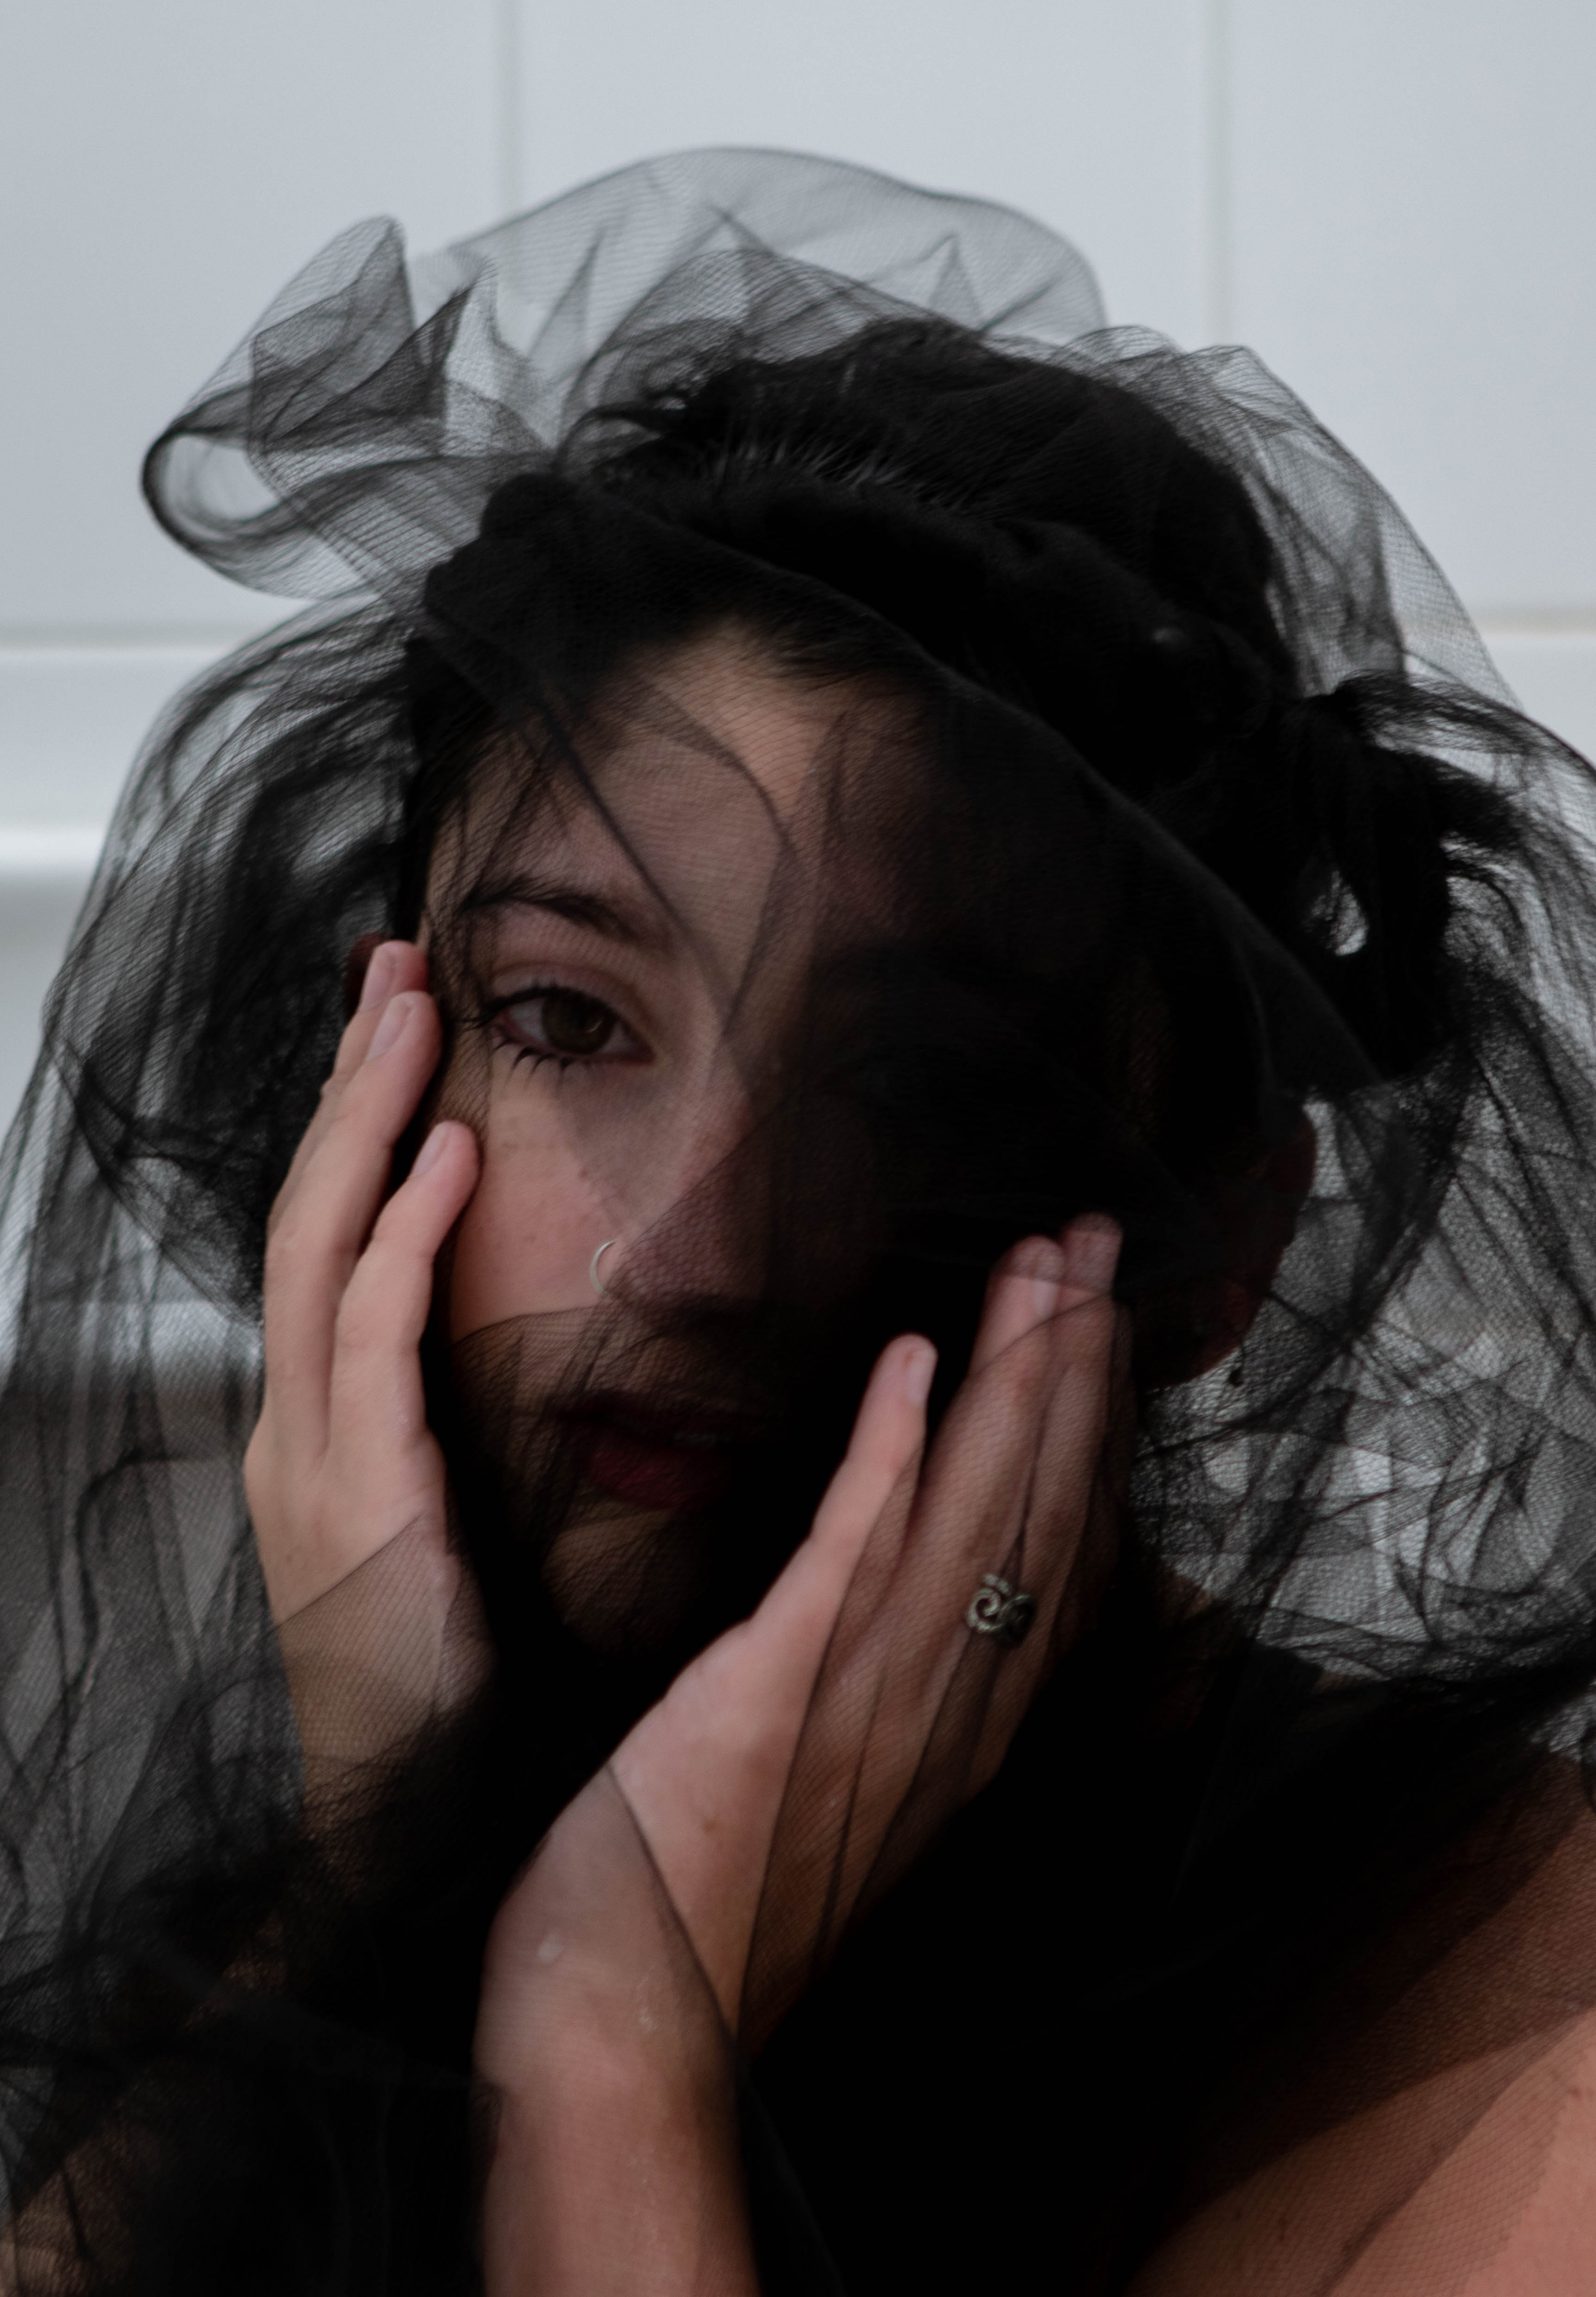
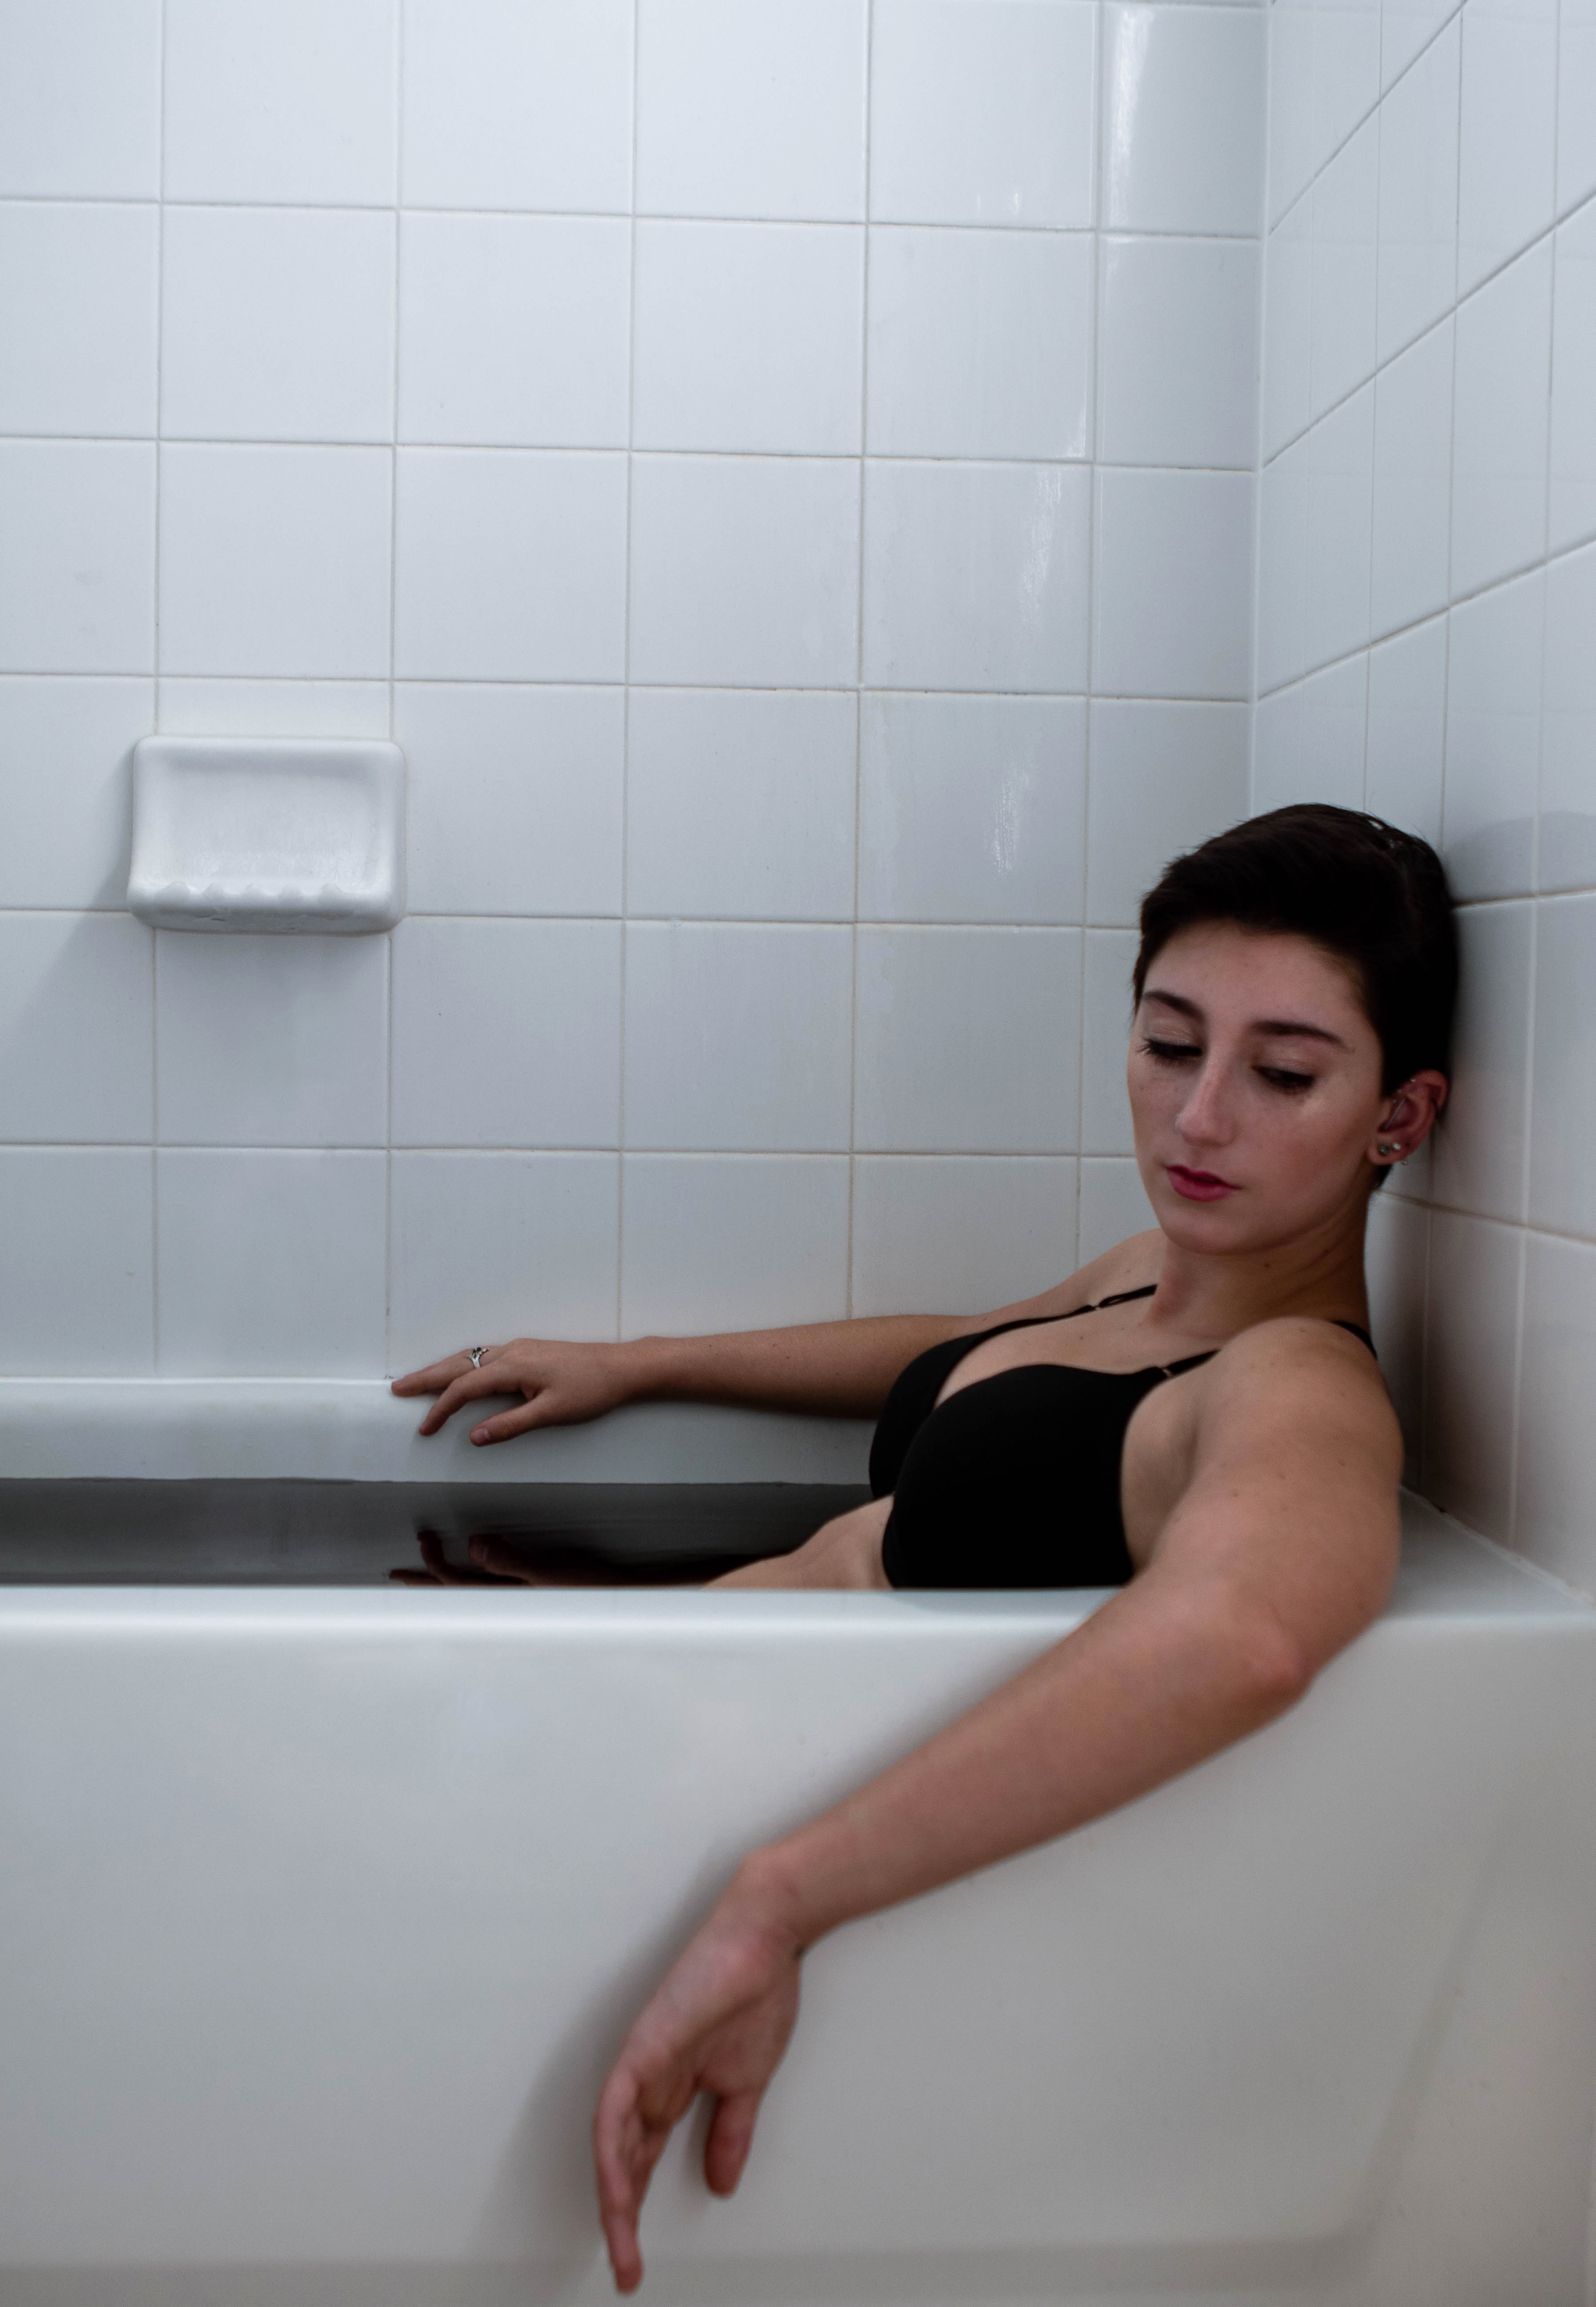
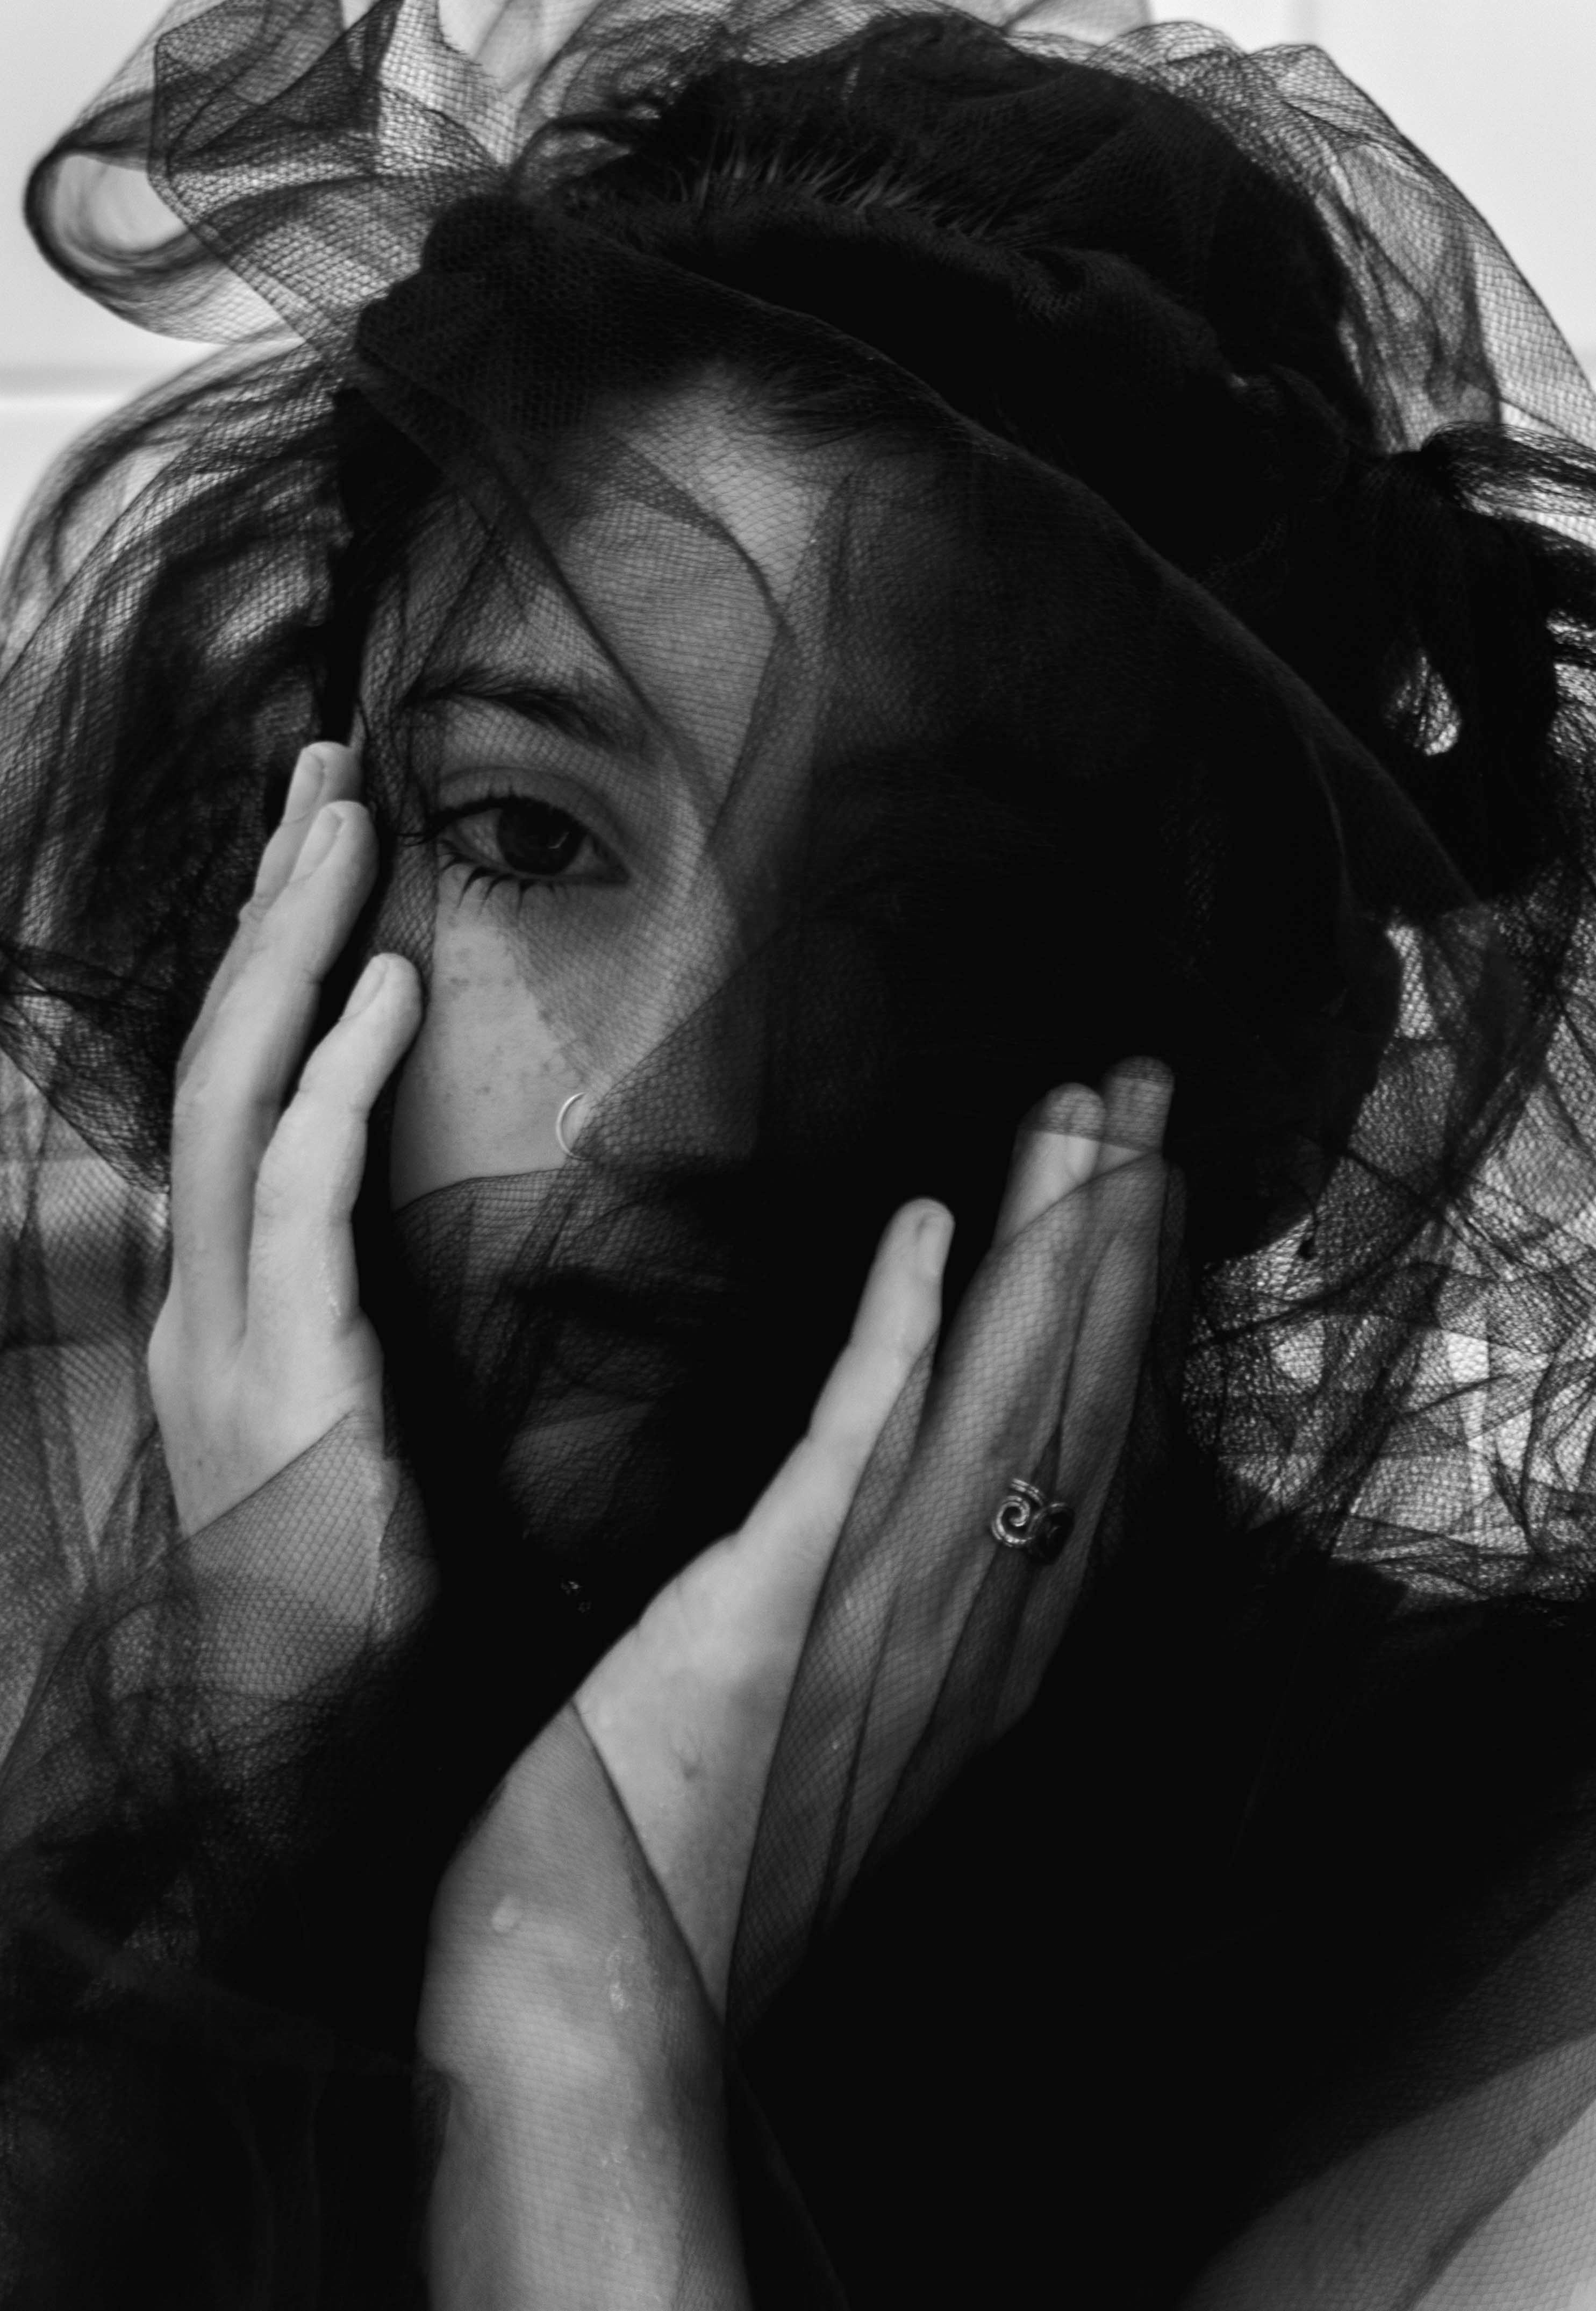
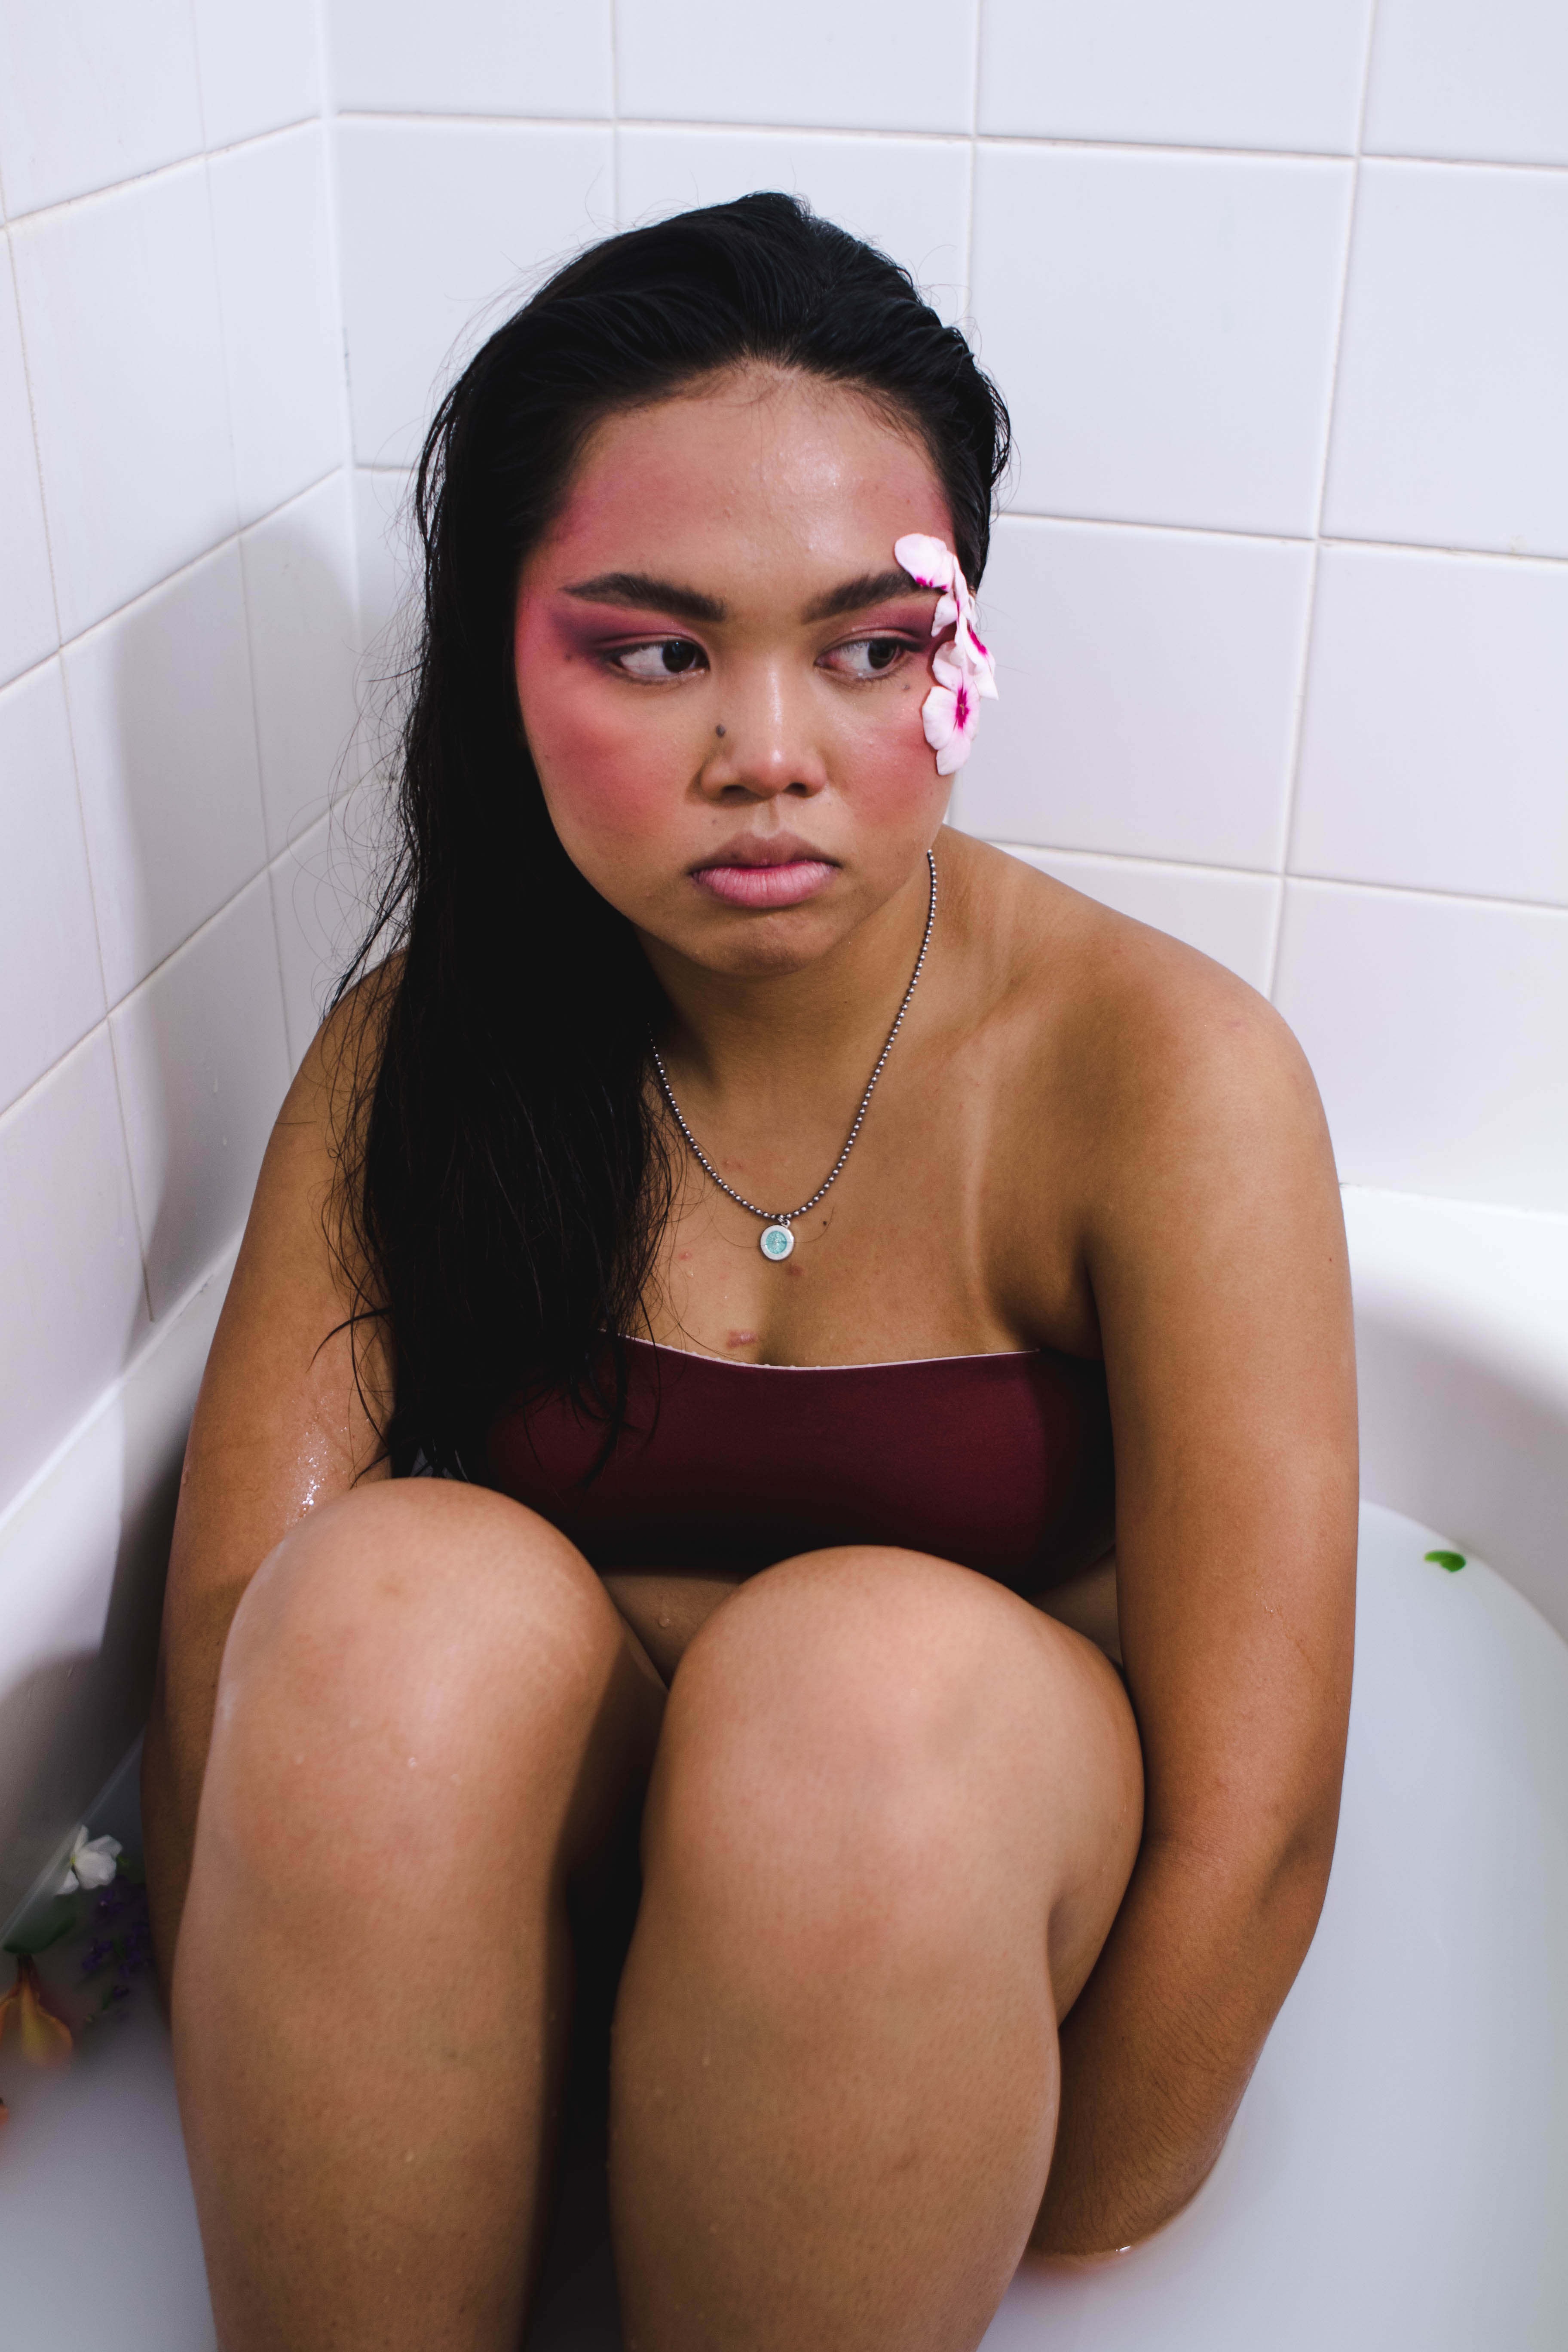
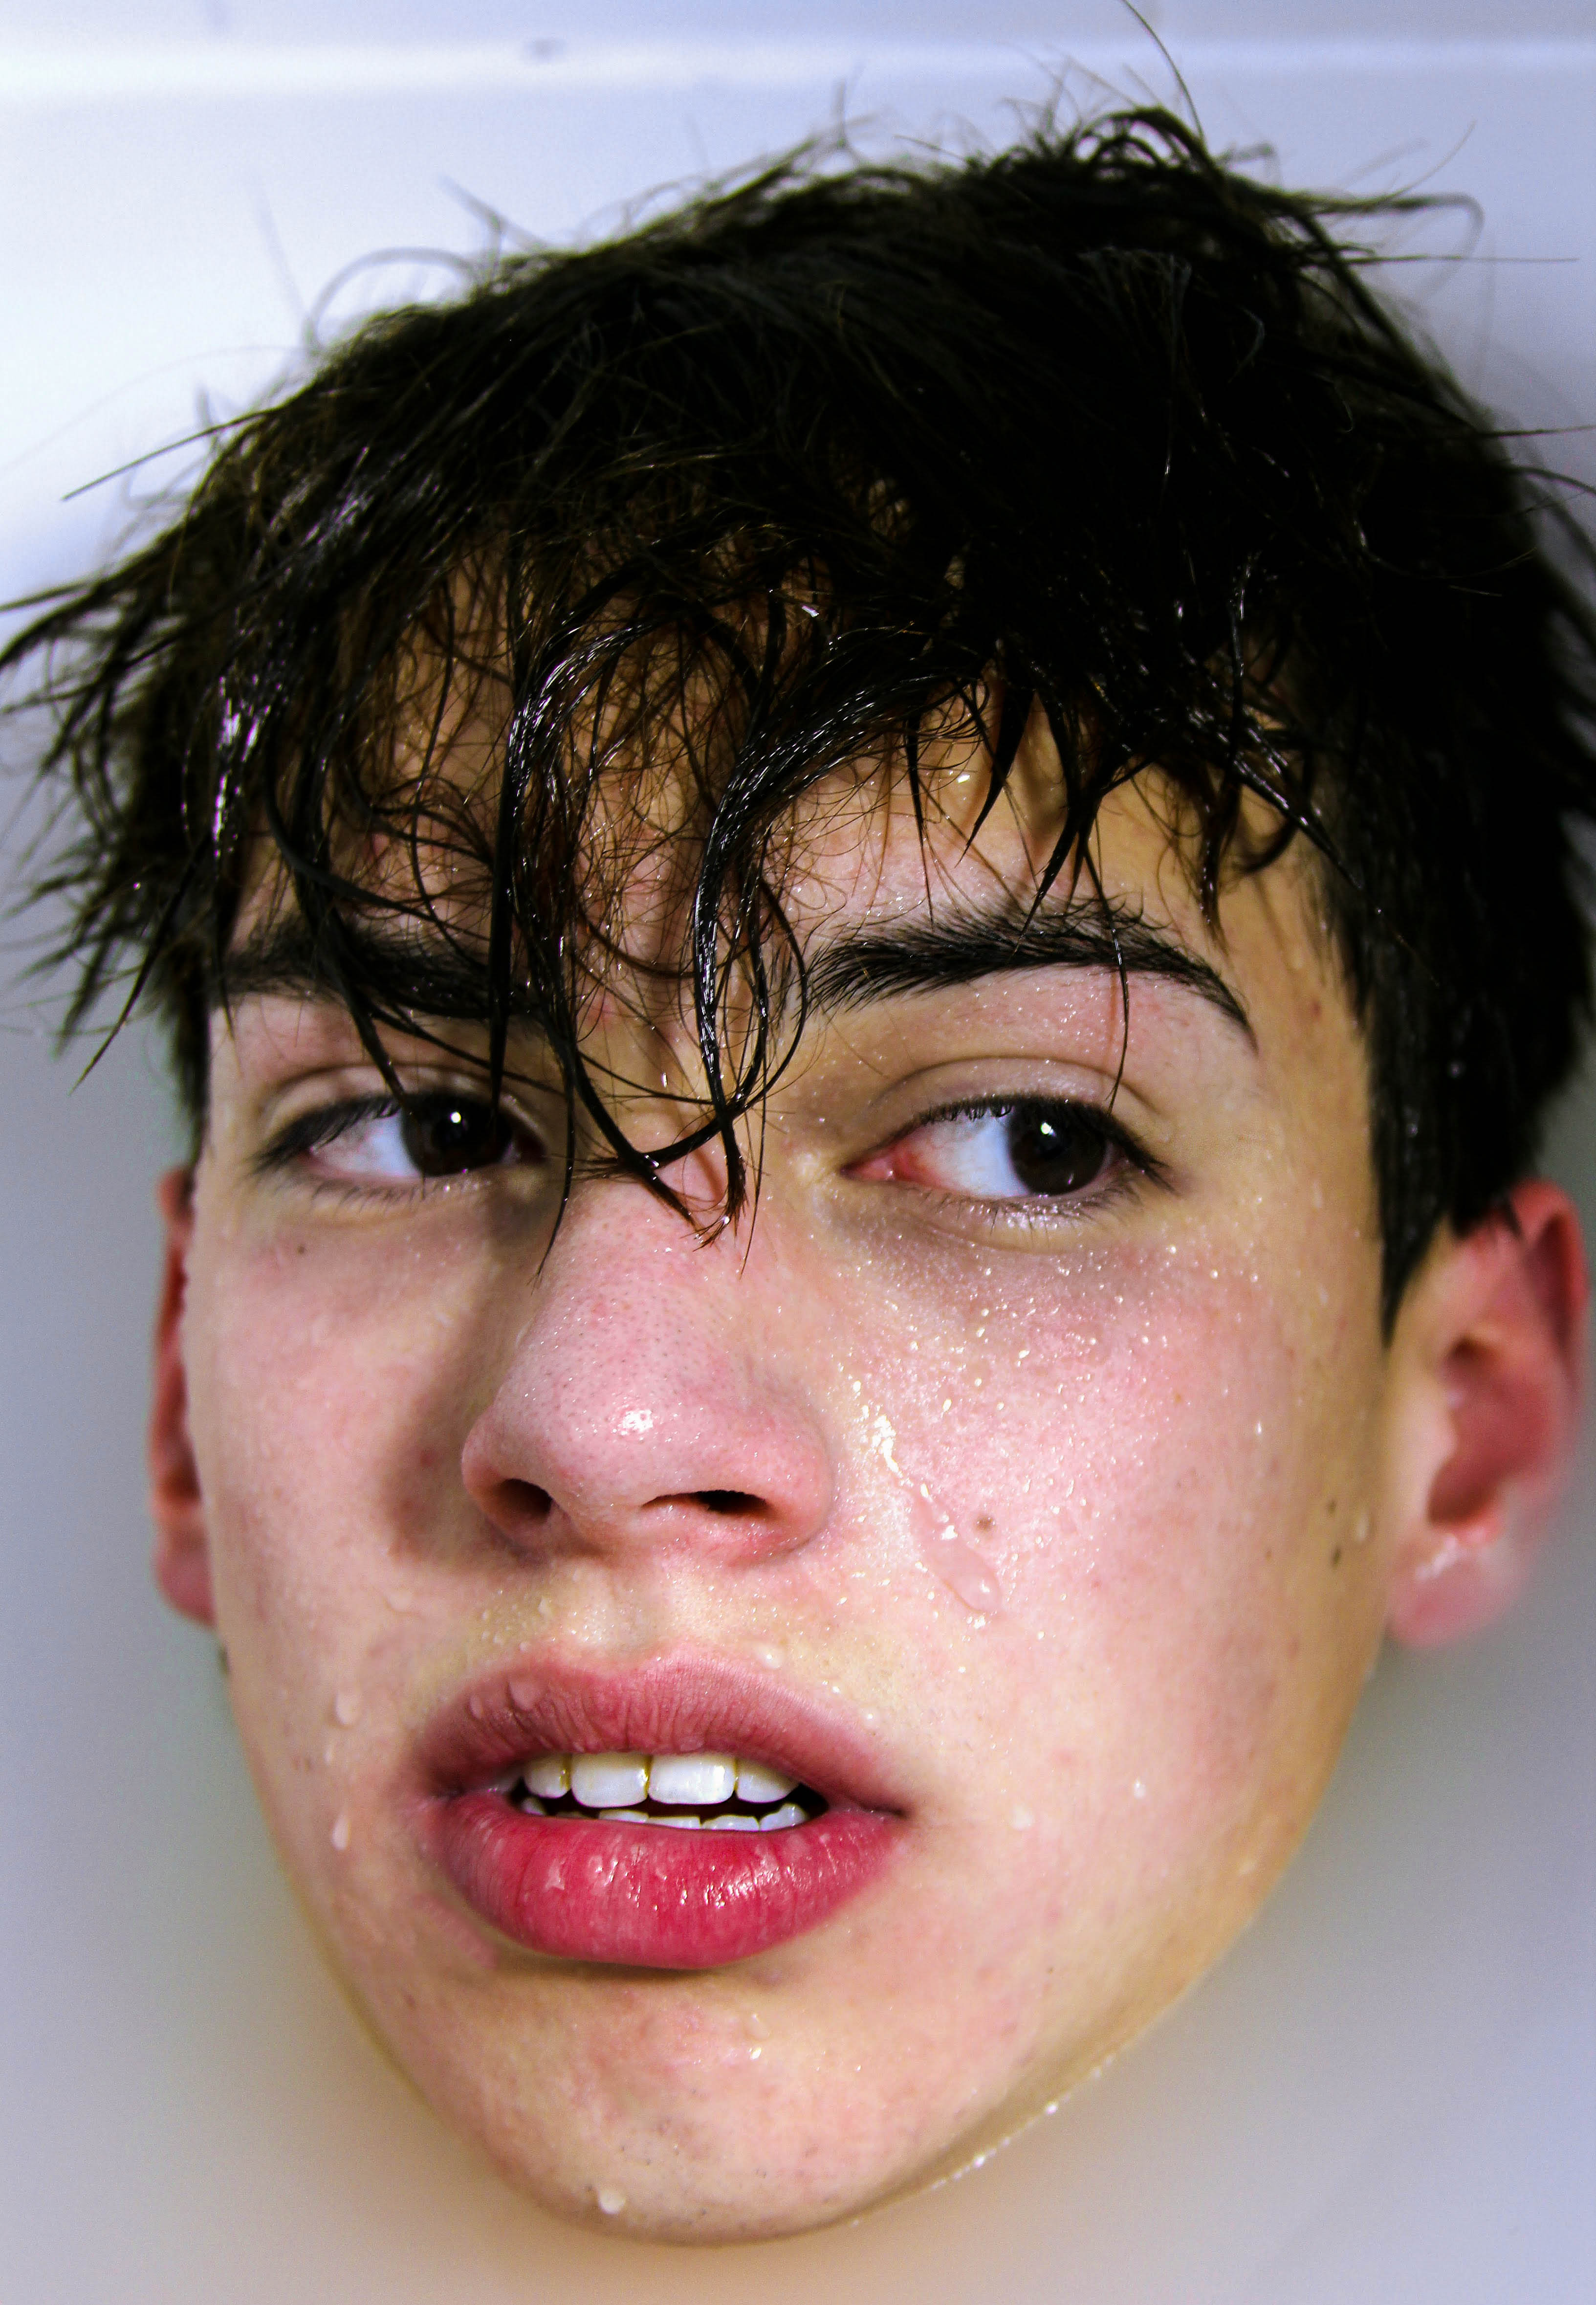
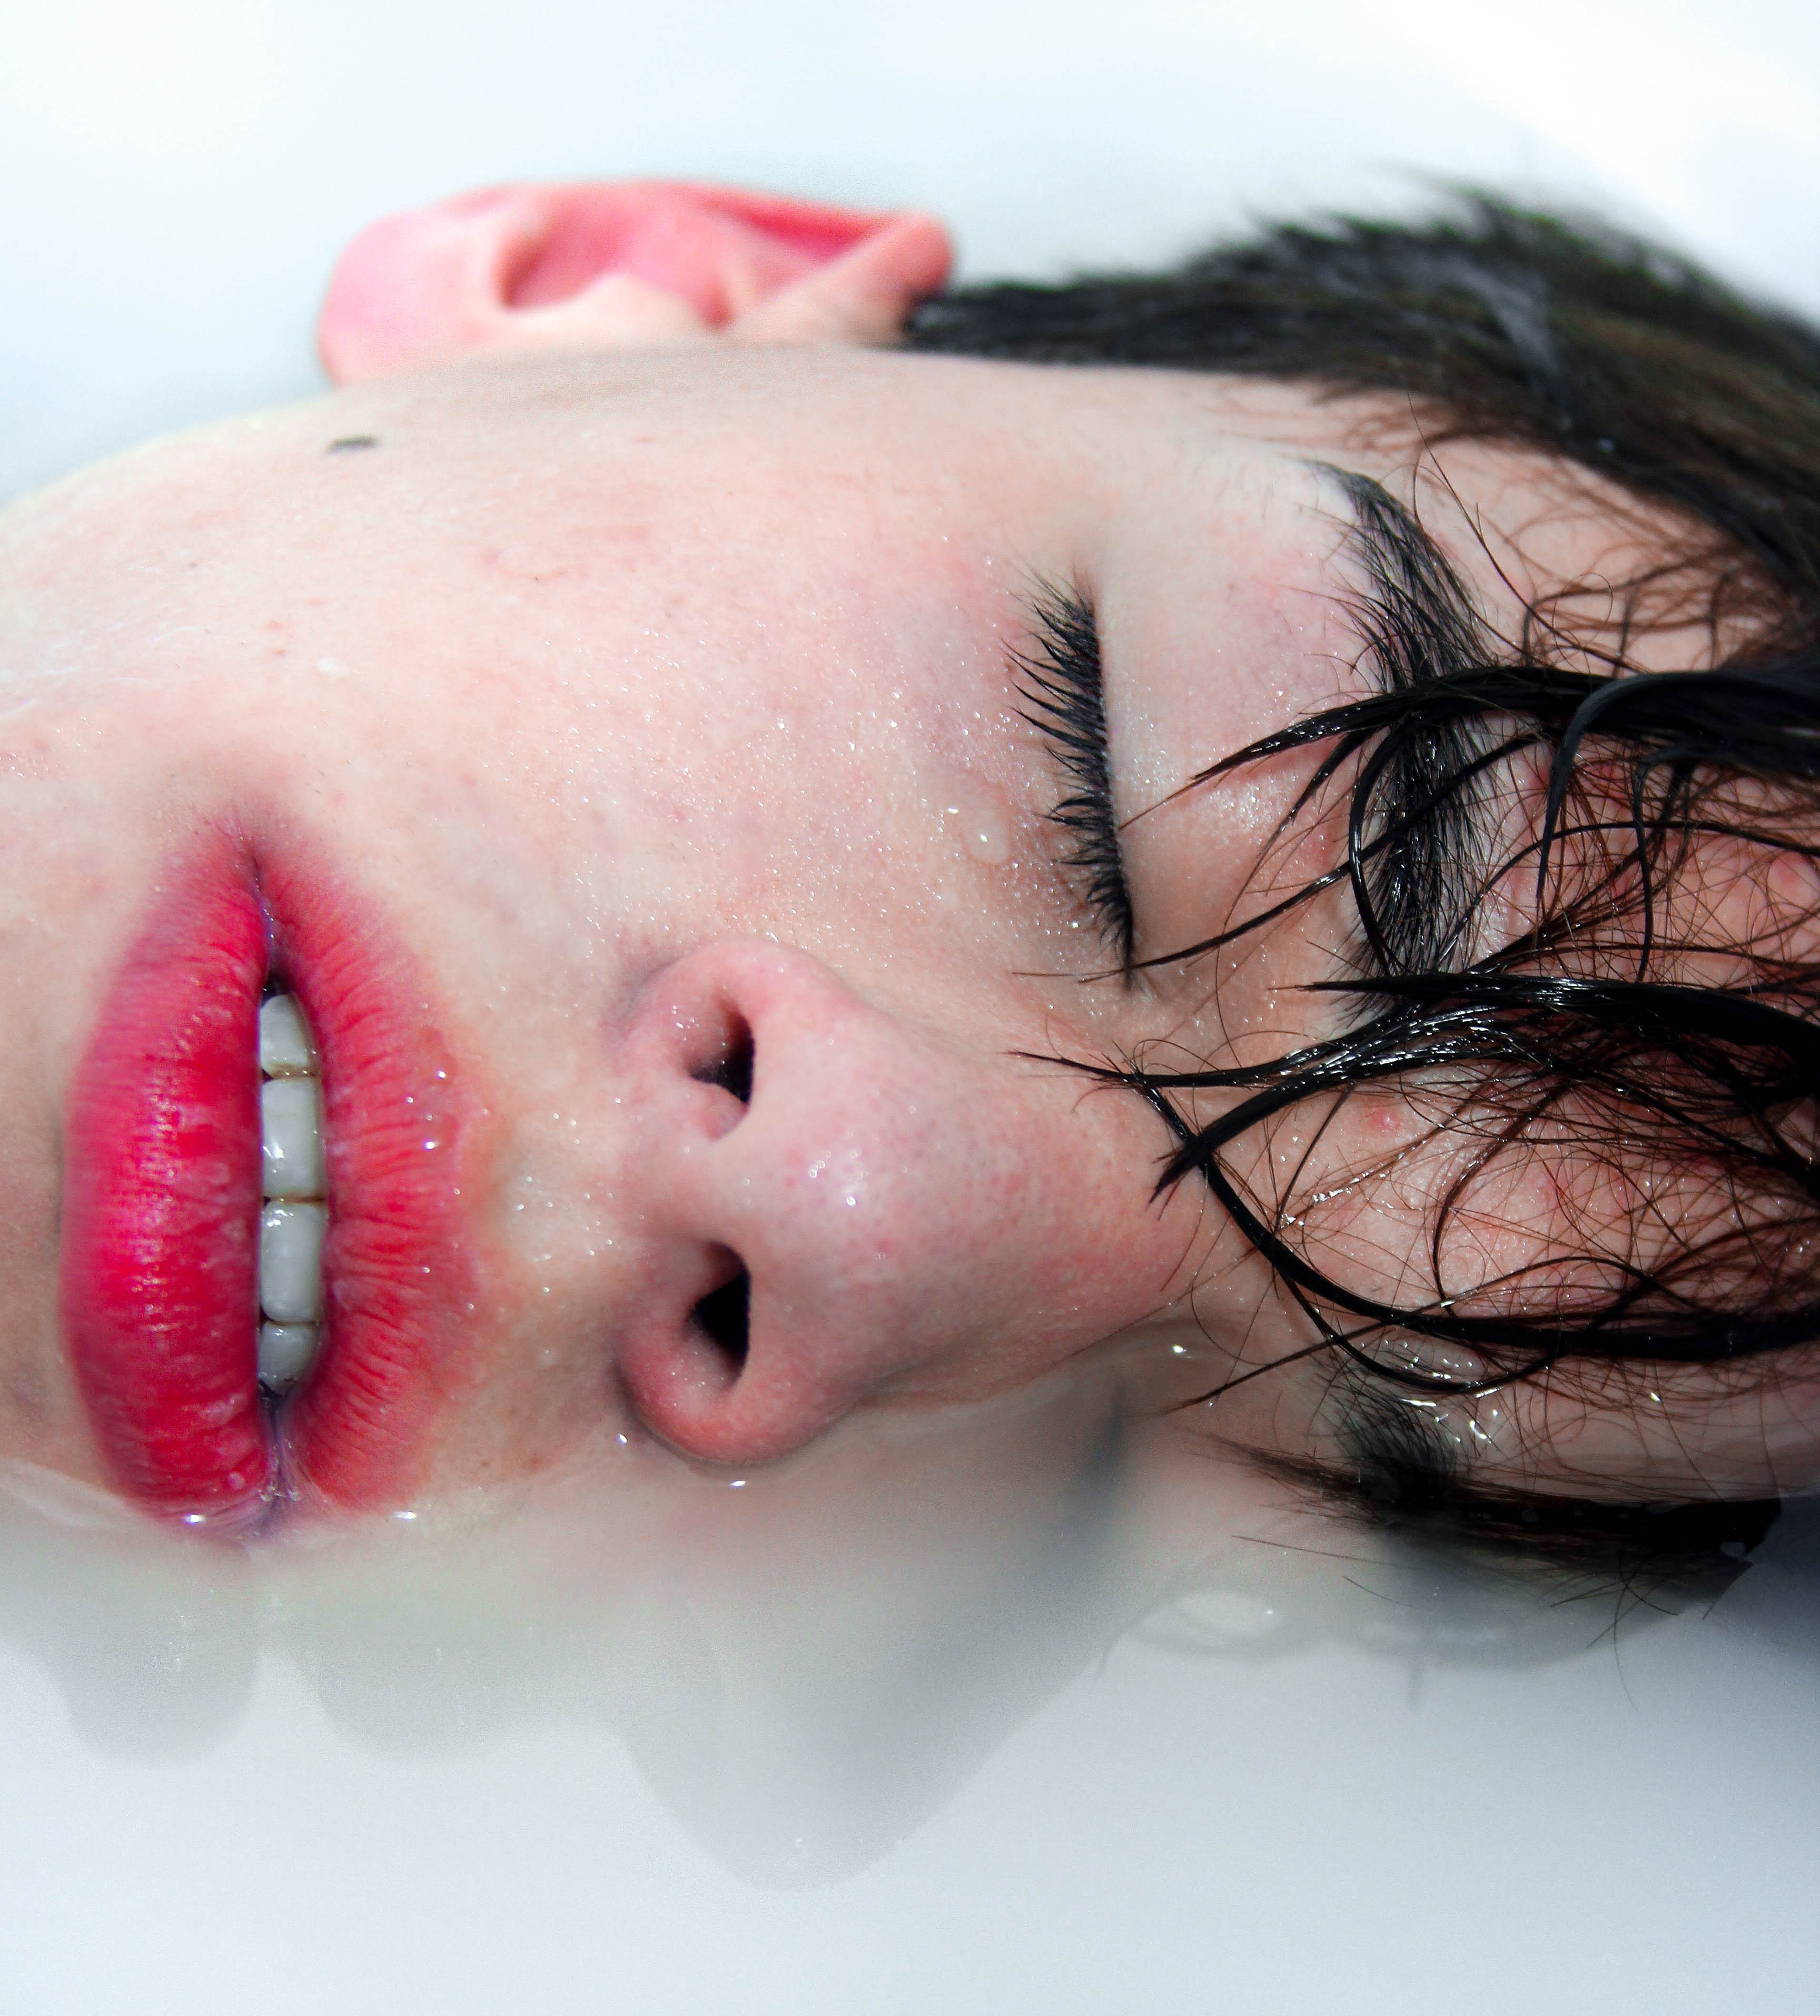
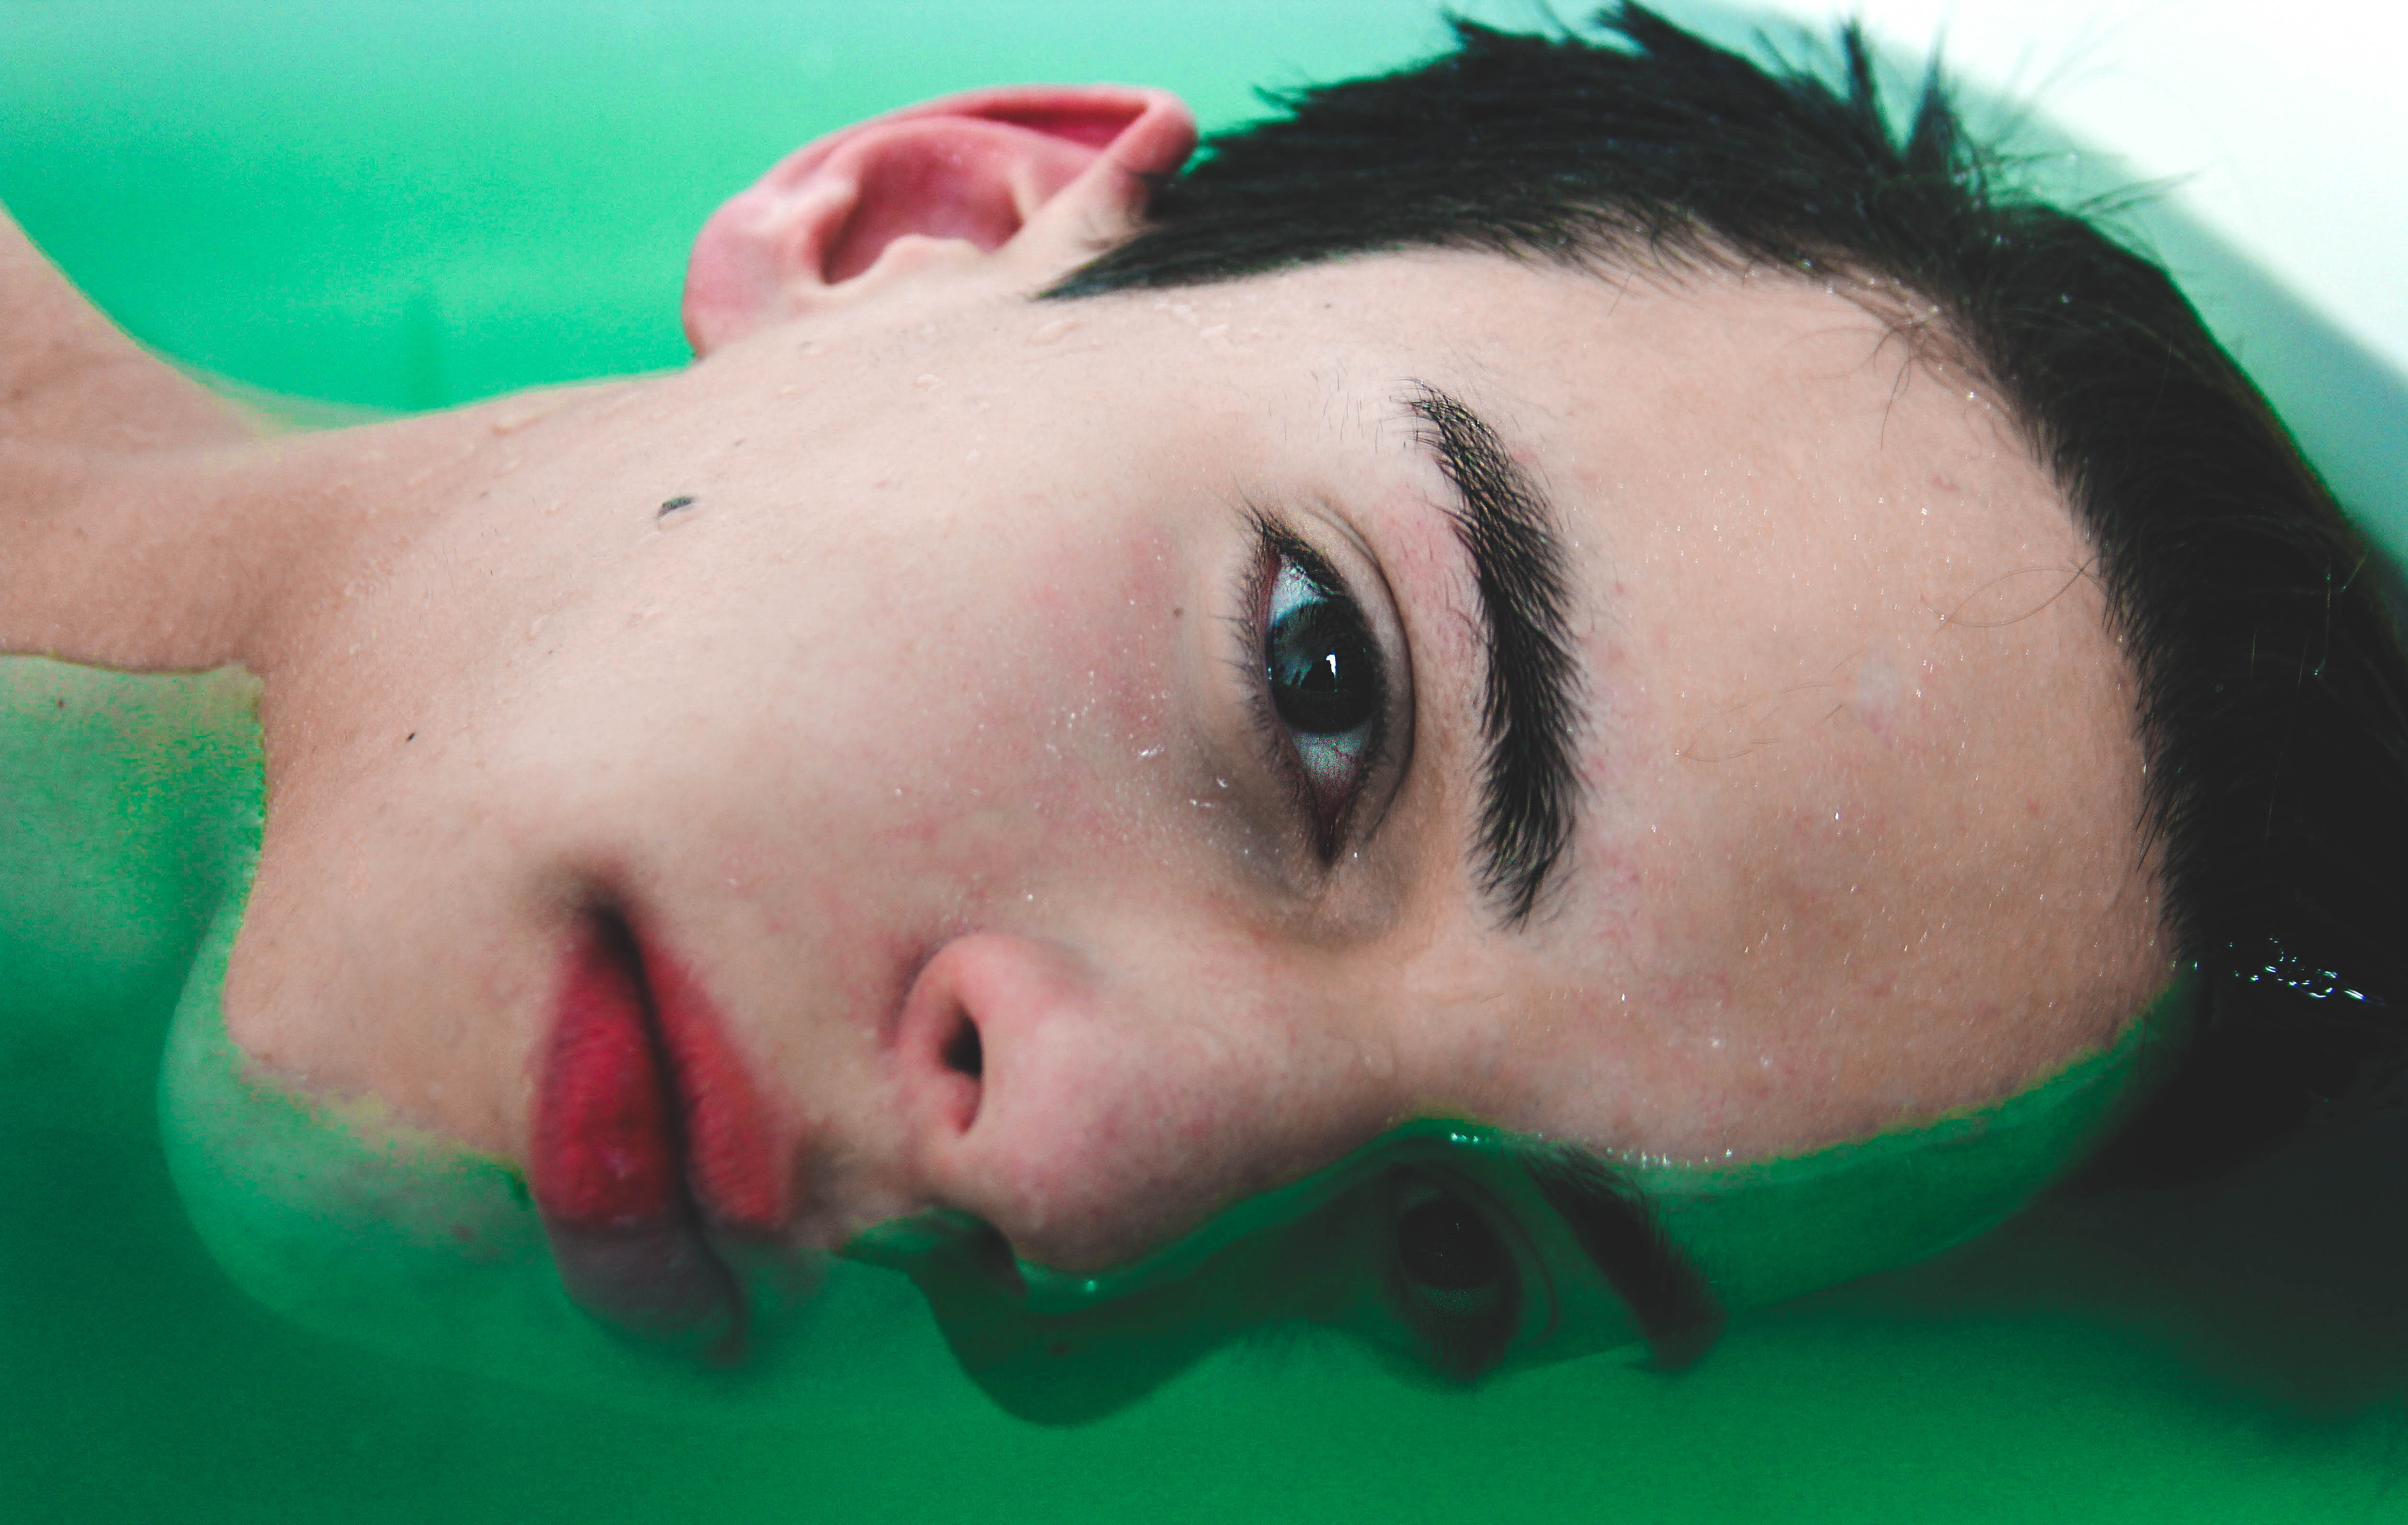
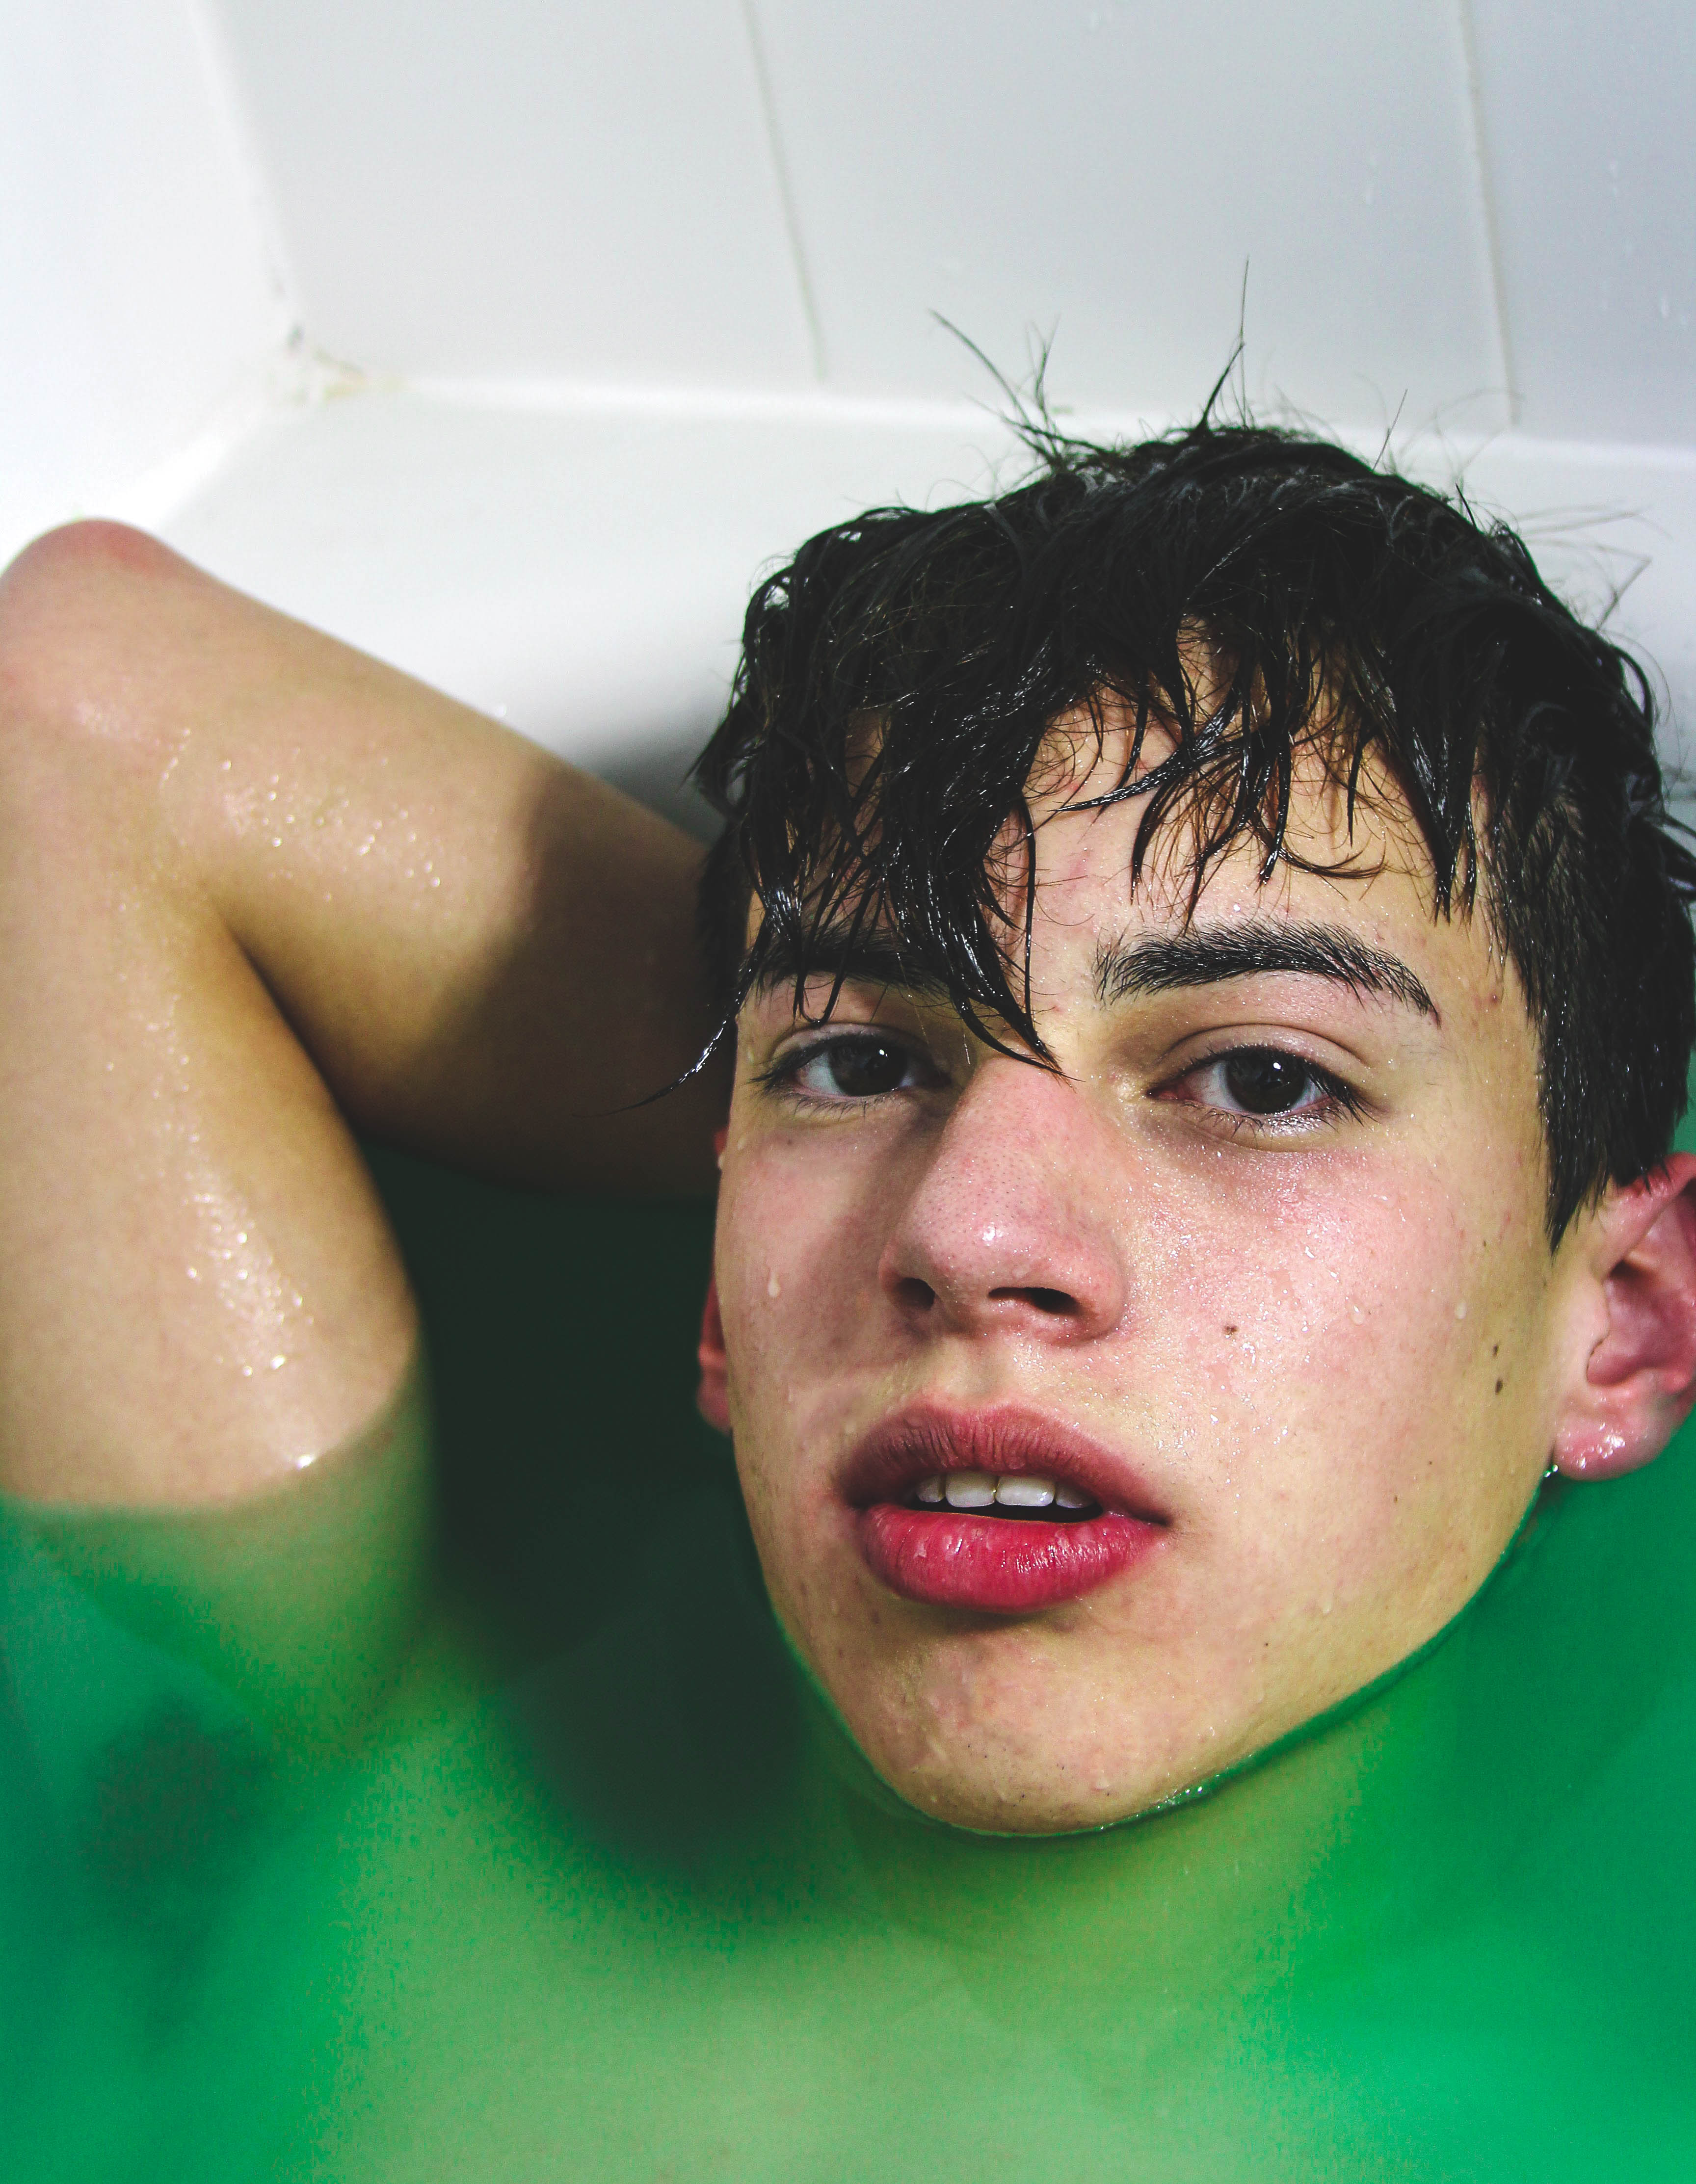
I created this photoshoot beginning with the concept from a mood board that I created and progressing from there. I sketched poses, diy-ed a tulle veil and scouted for a model to get the best images as possible. I’ve recently become fascinated by the concept of portraits with water, I think it can add an element of beauty, darkness, innocence or even mystery to an image. I told my model my ideas for my photoshoot and got shooting. Enjoy.

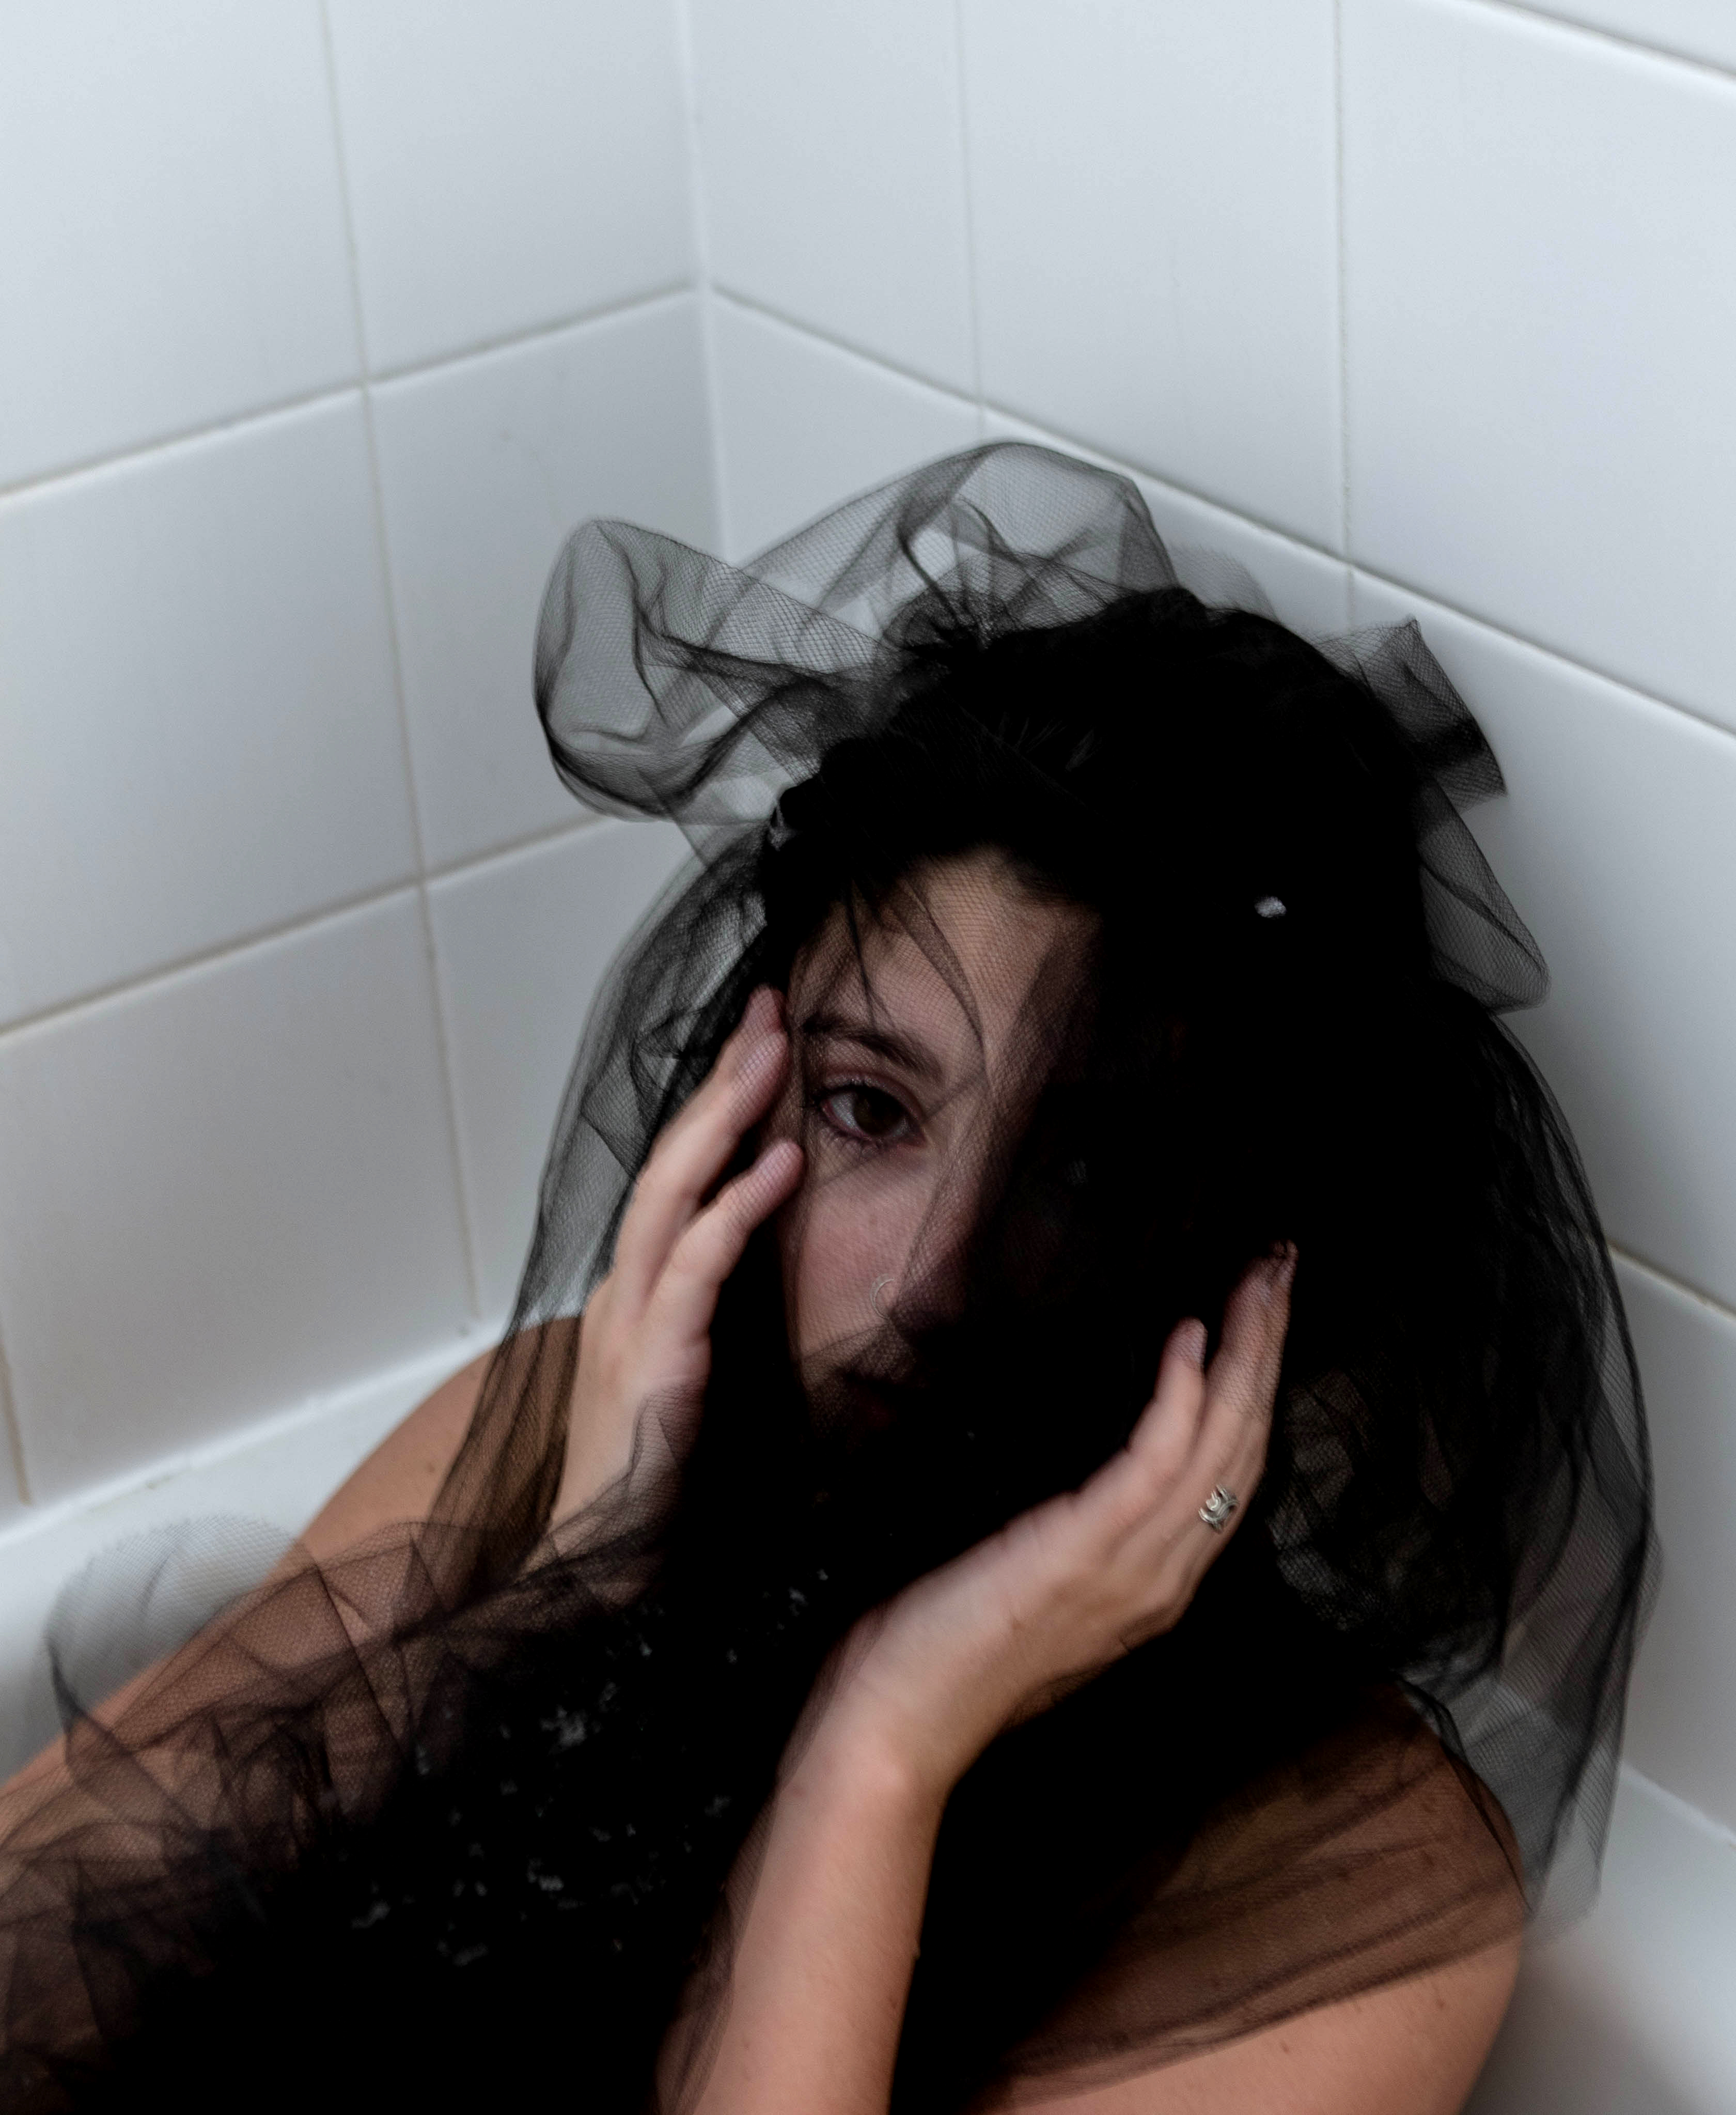


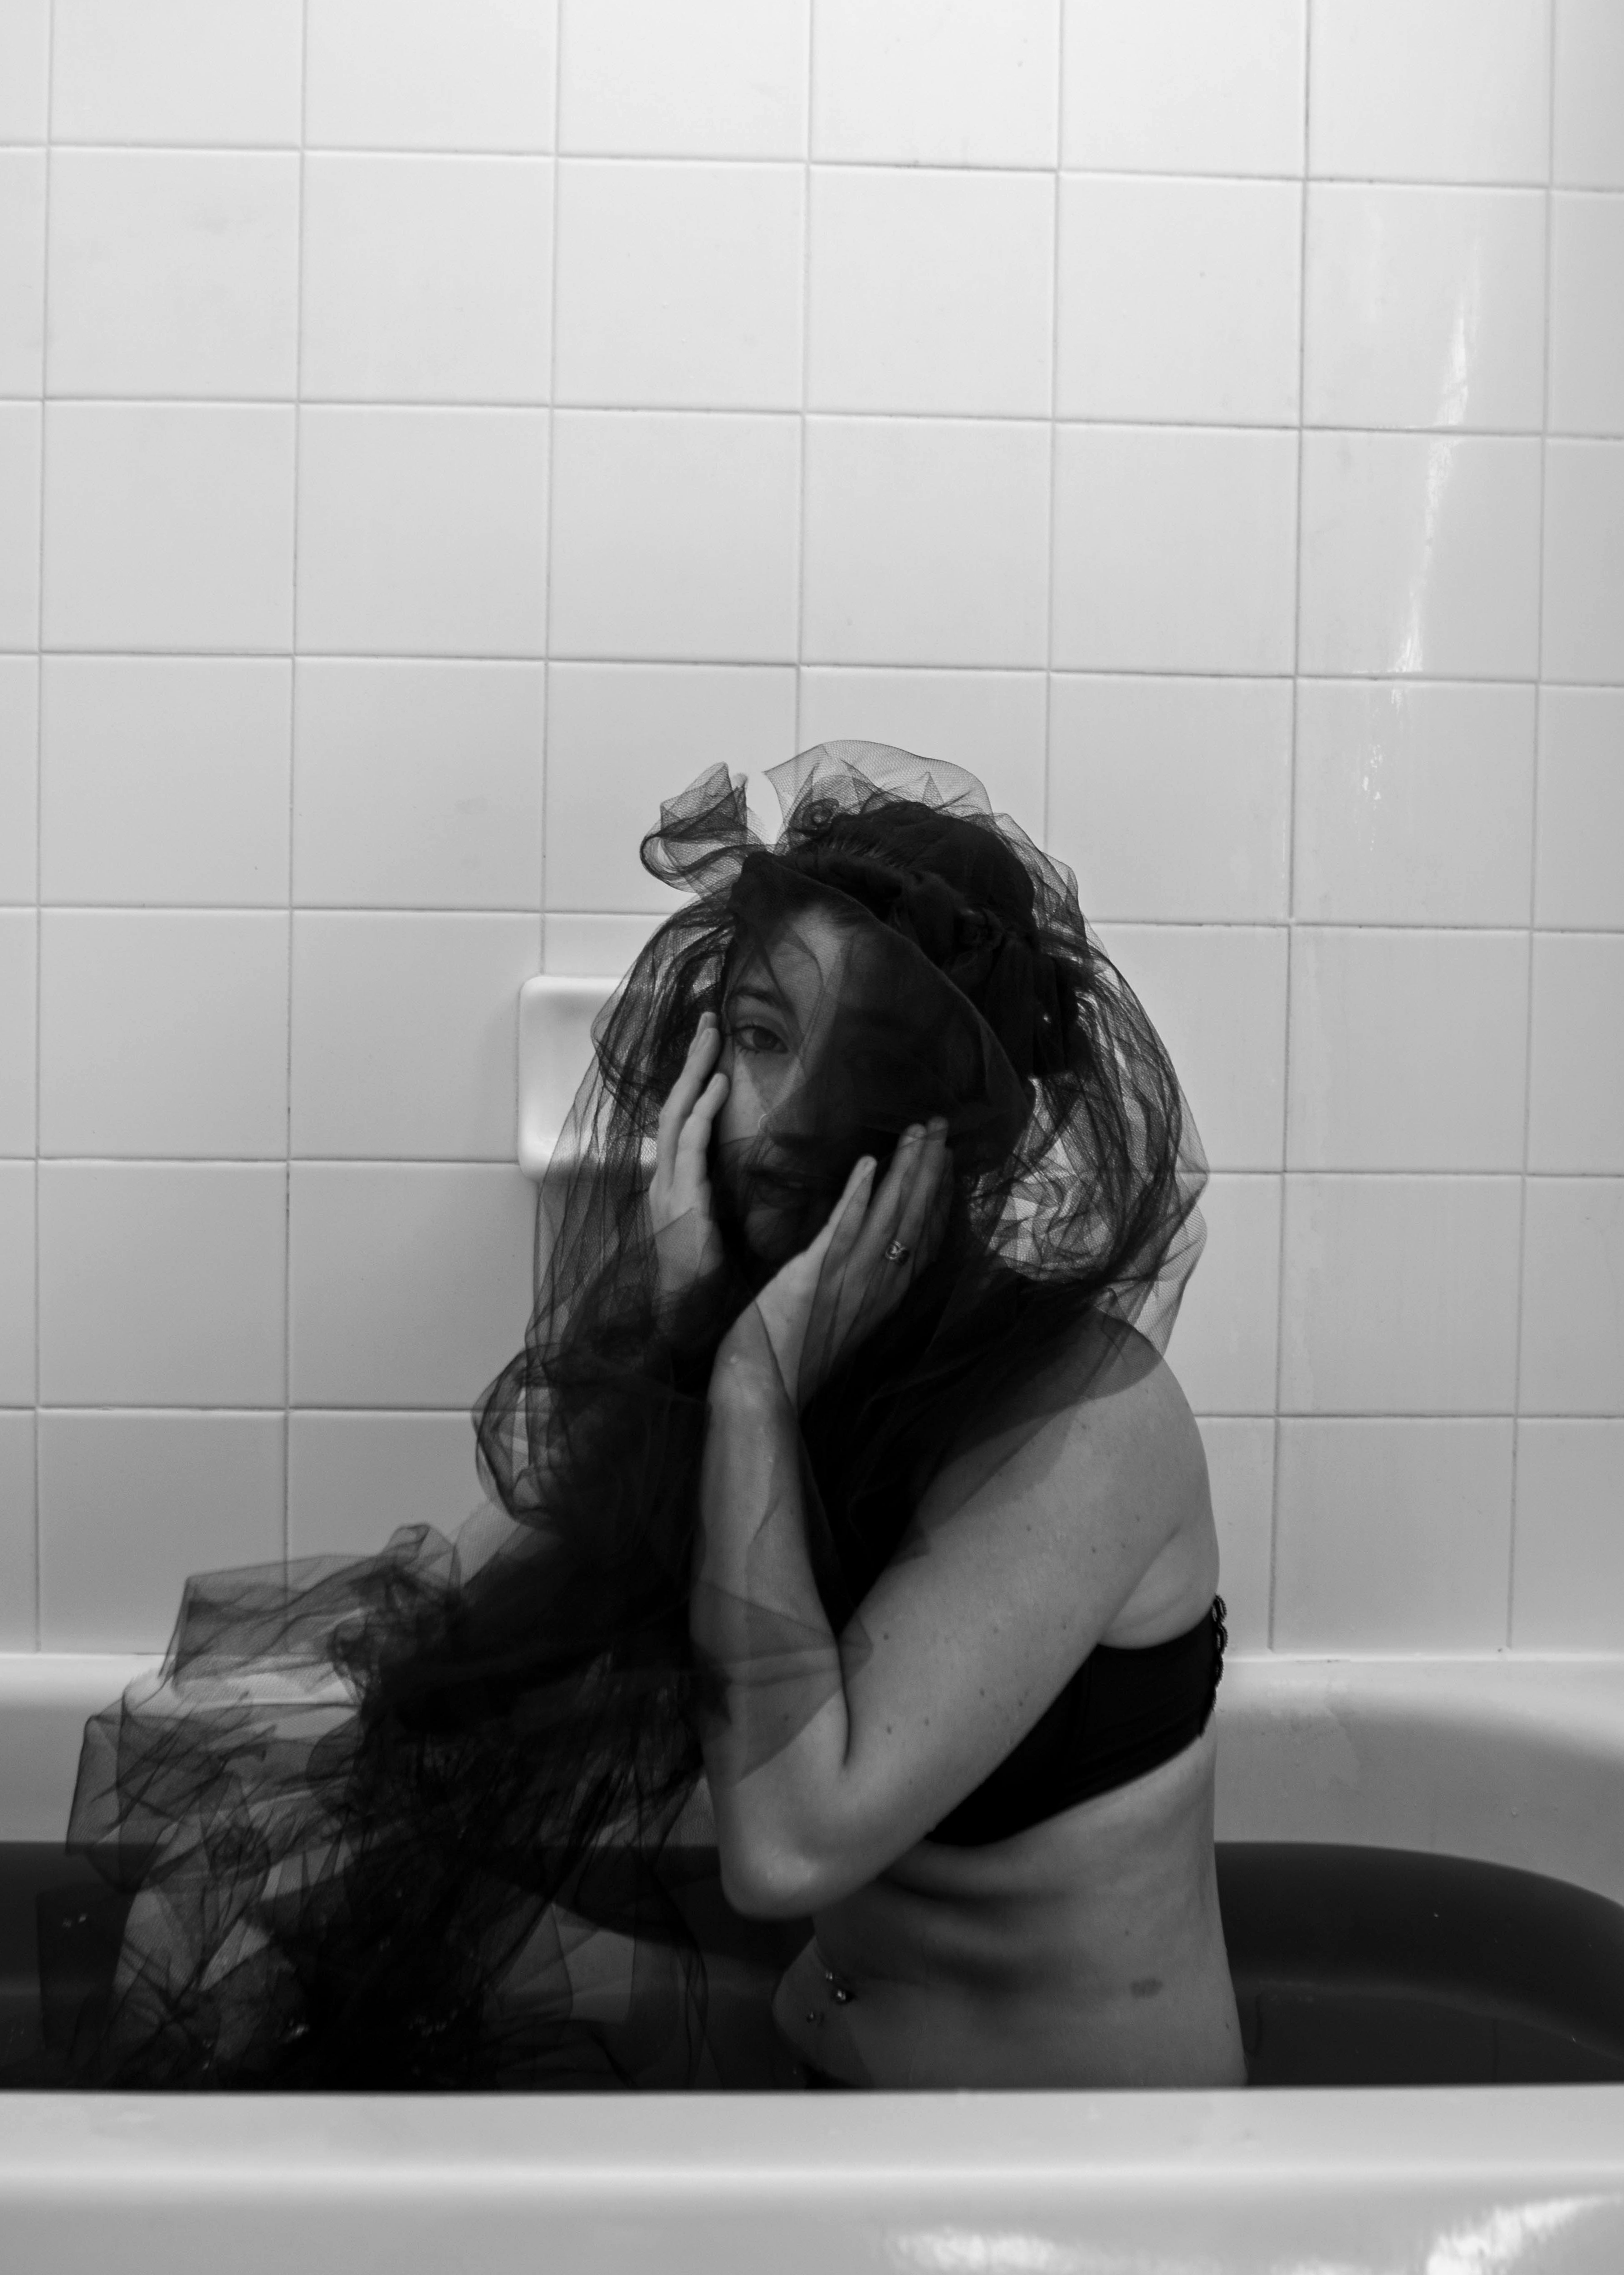
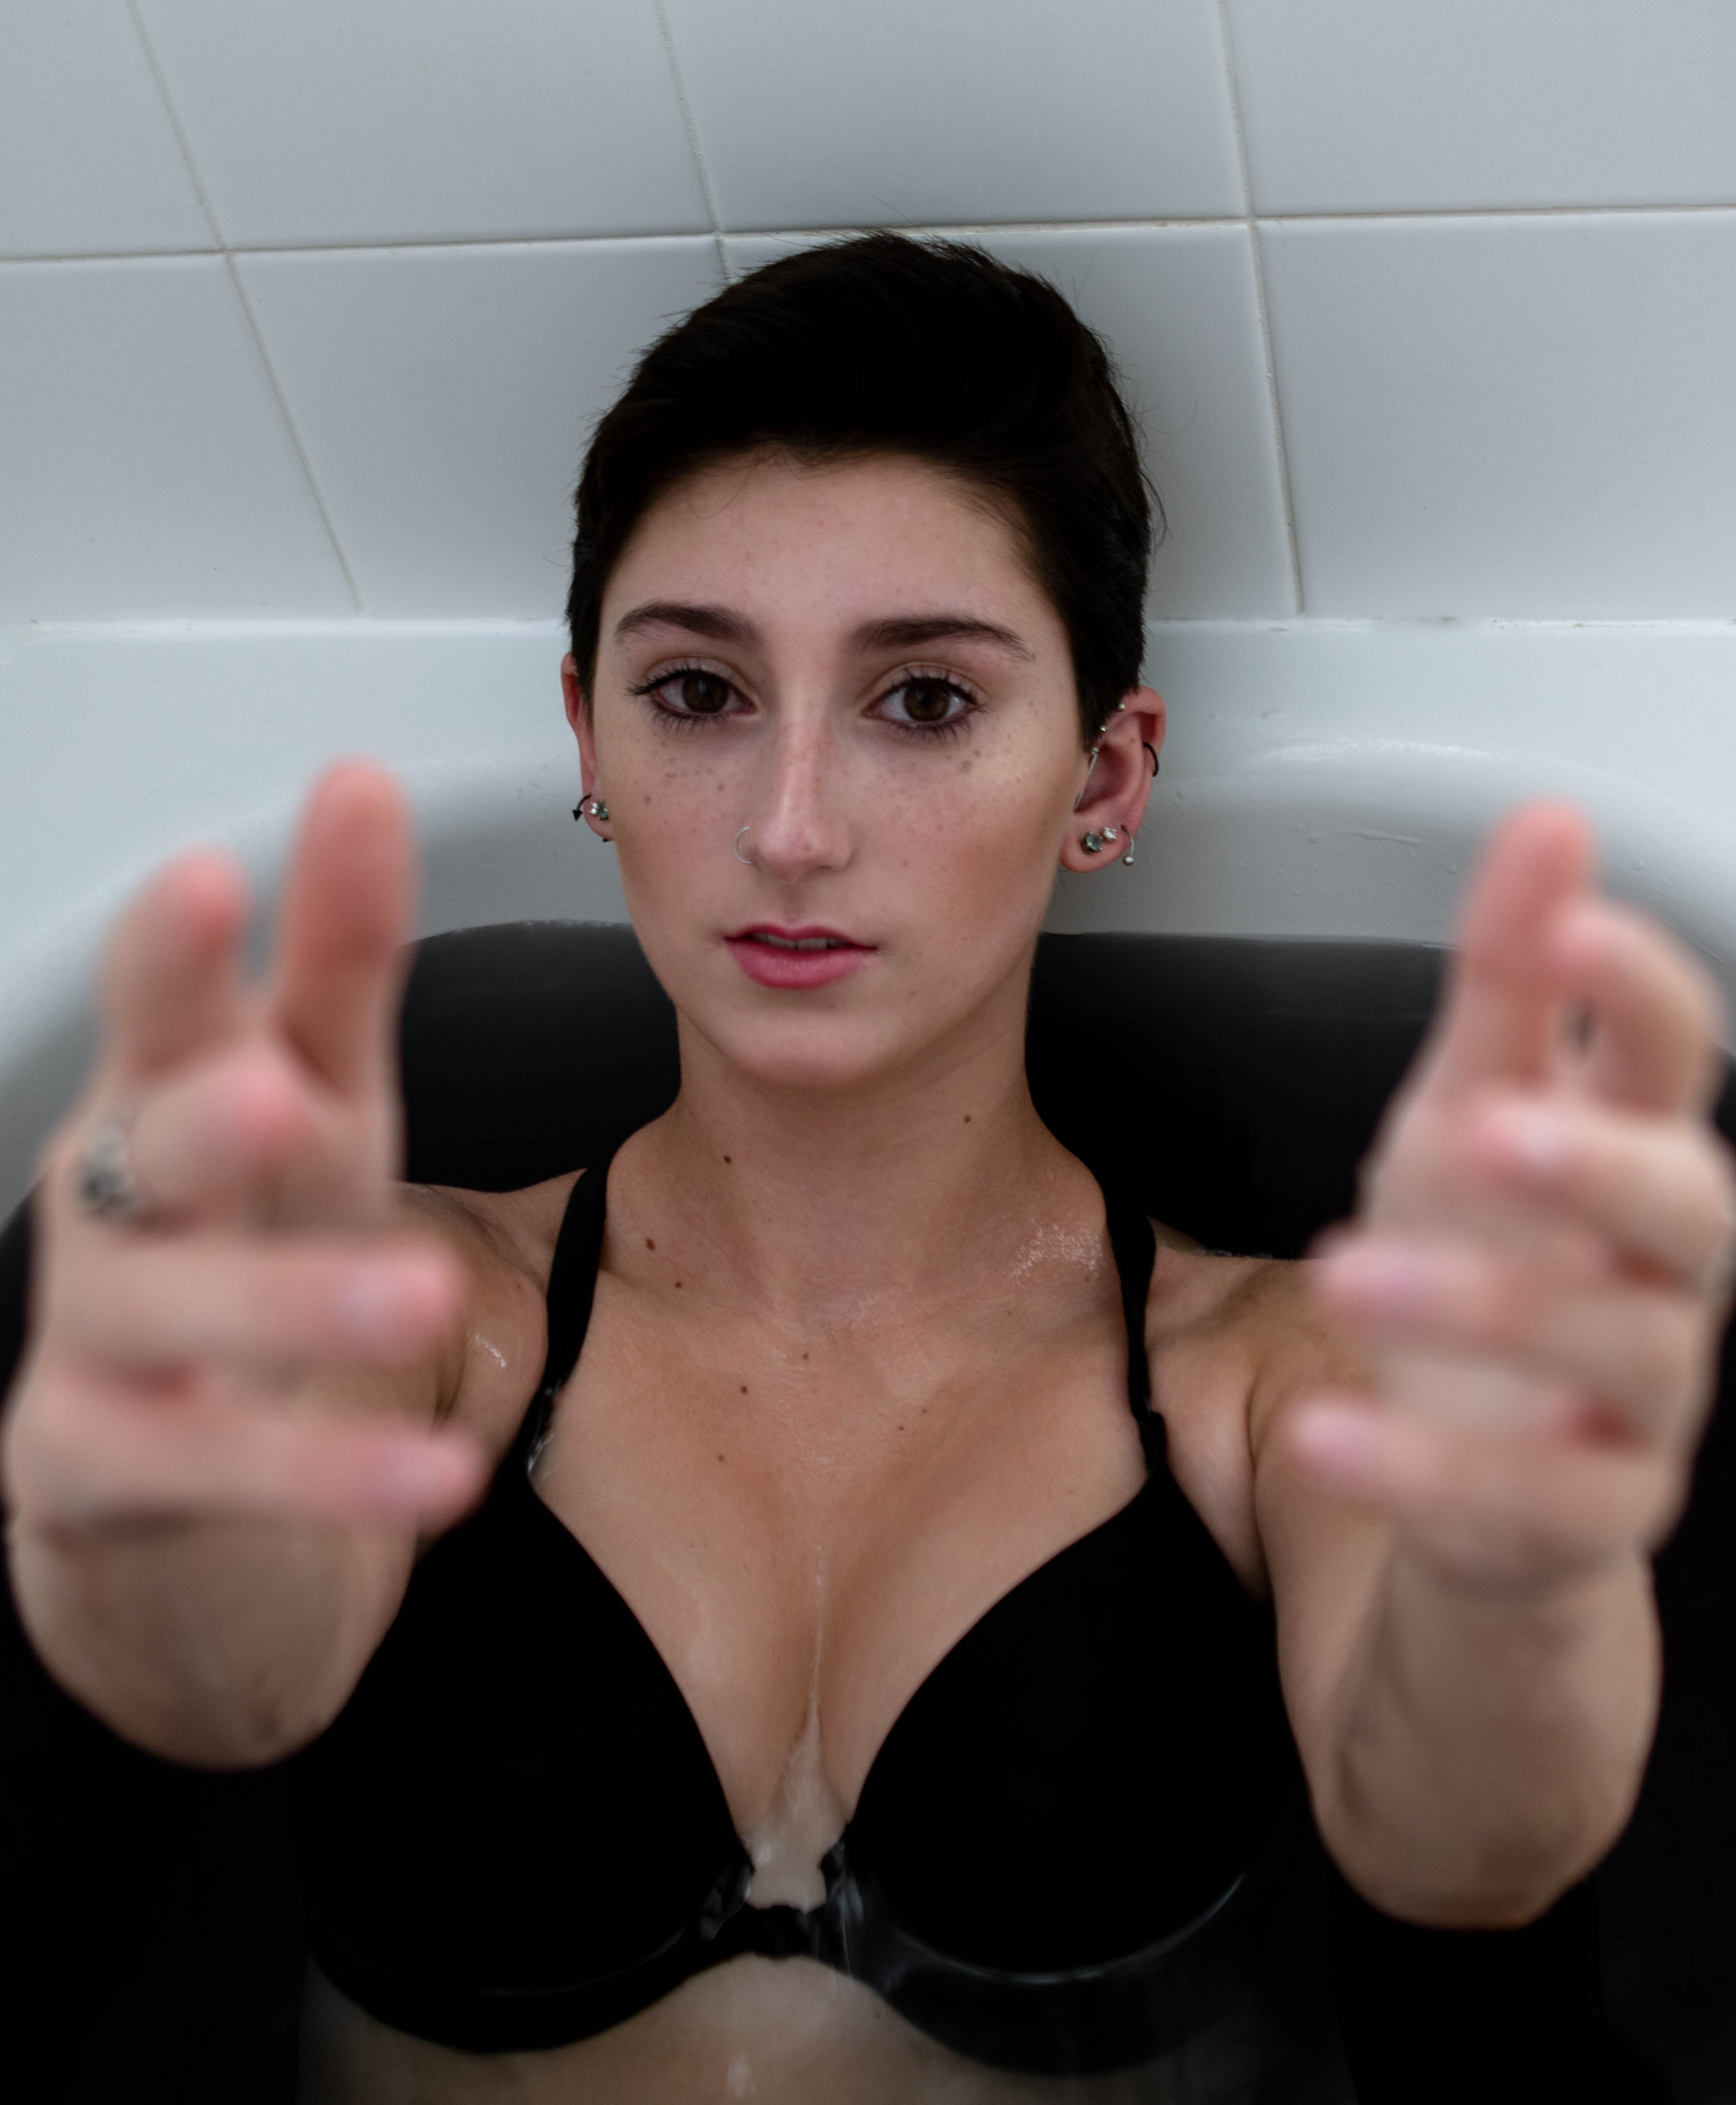
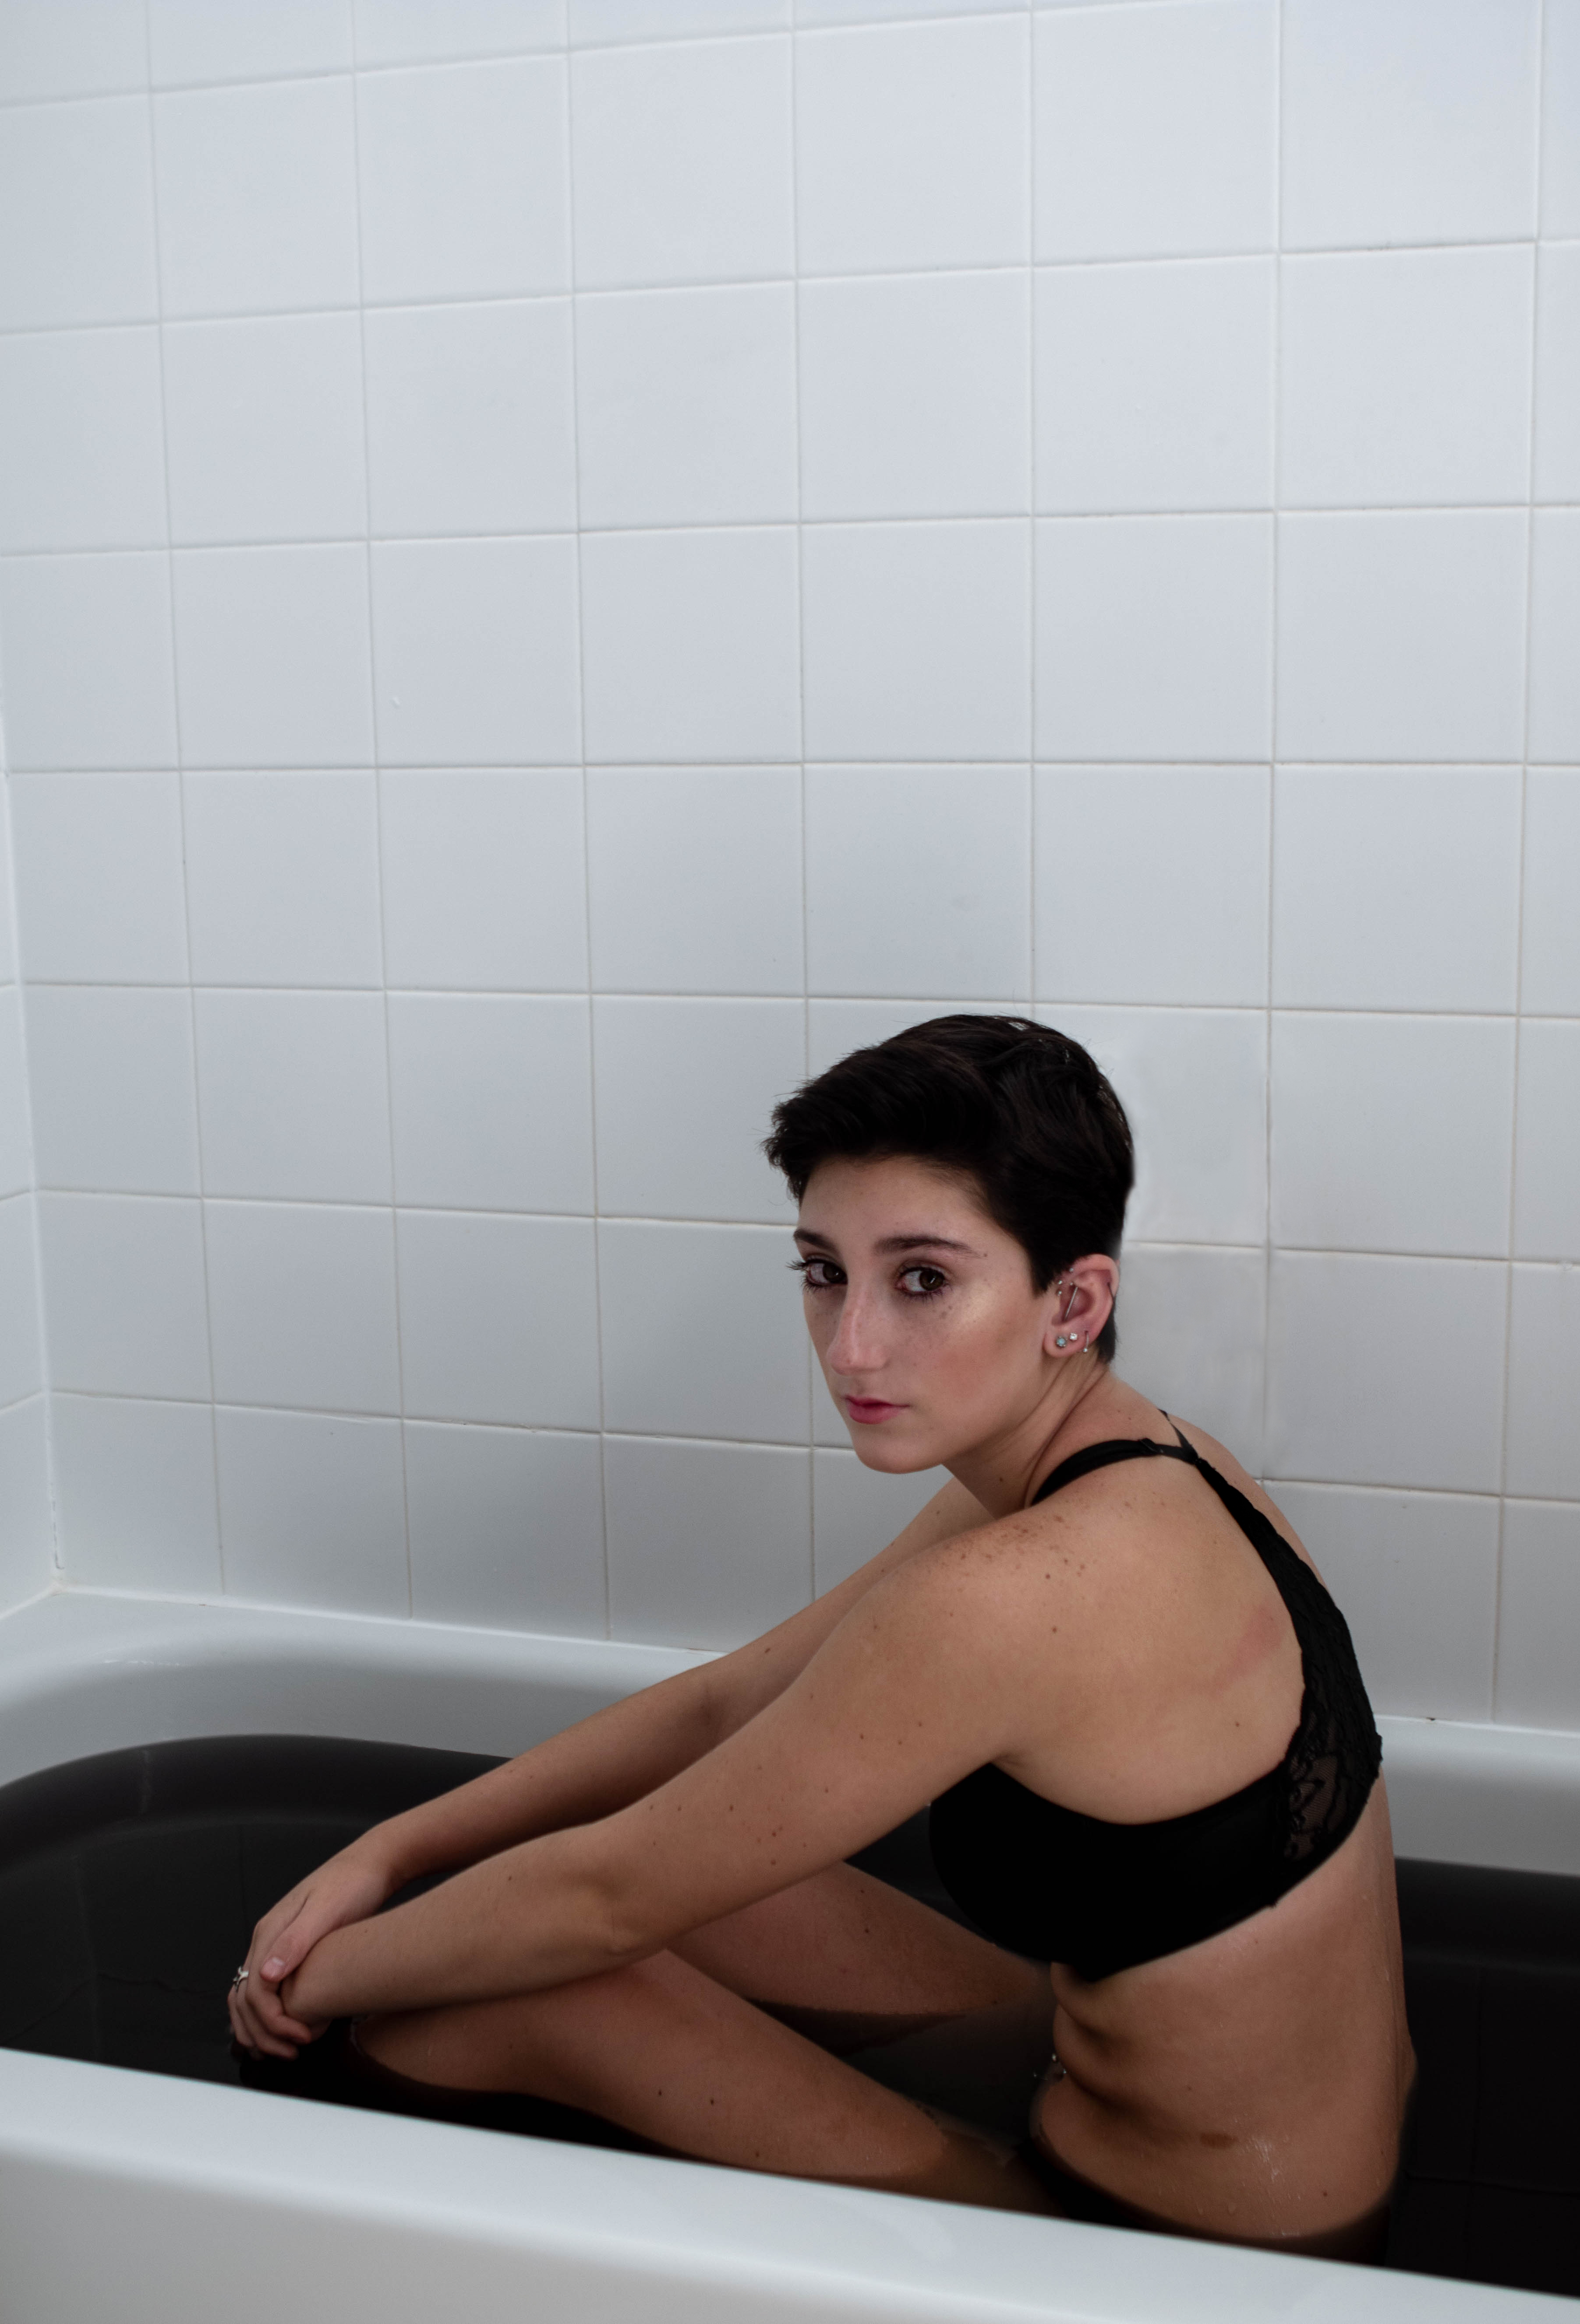


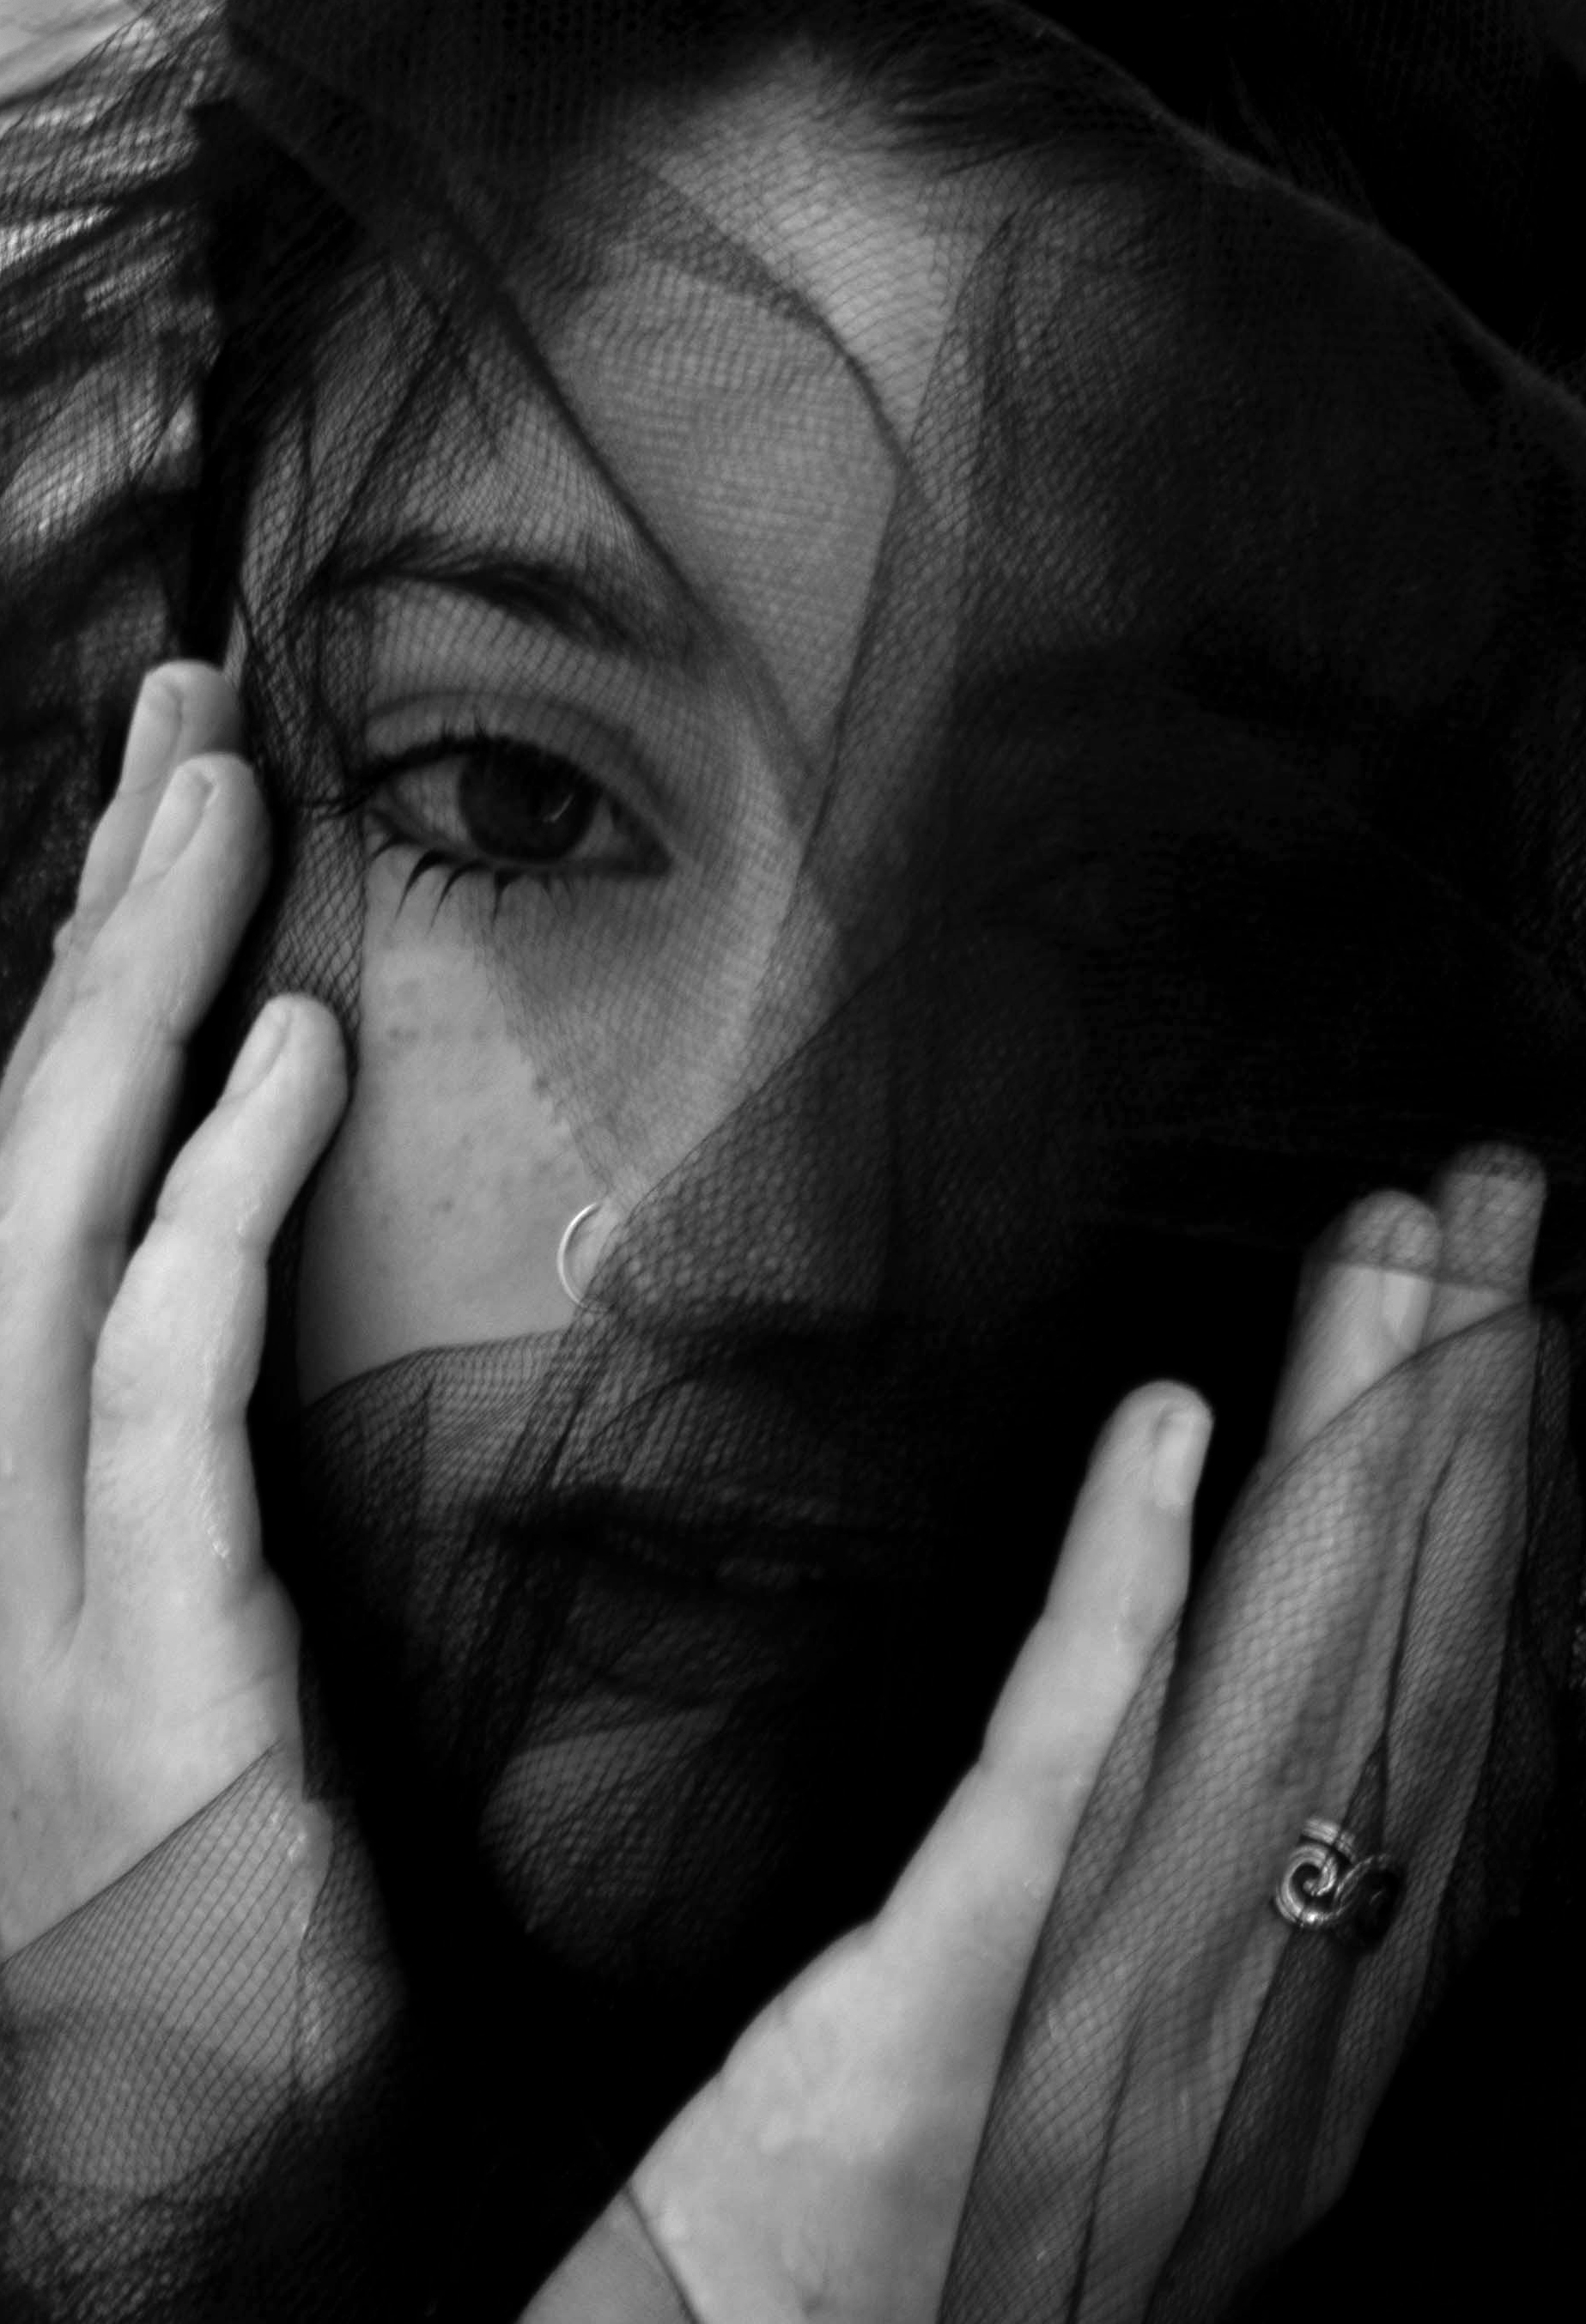
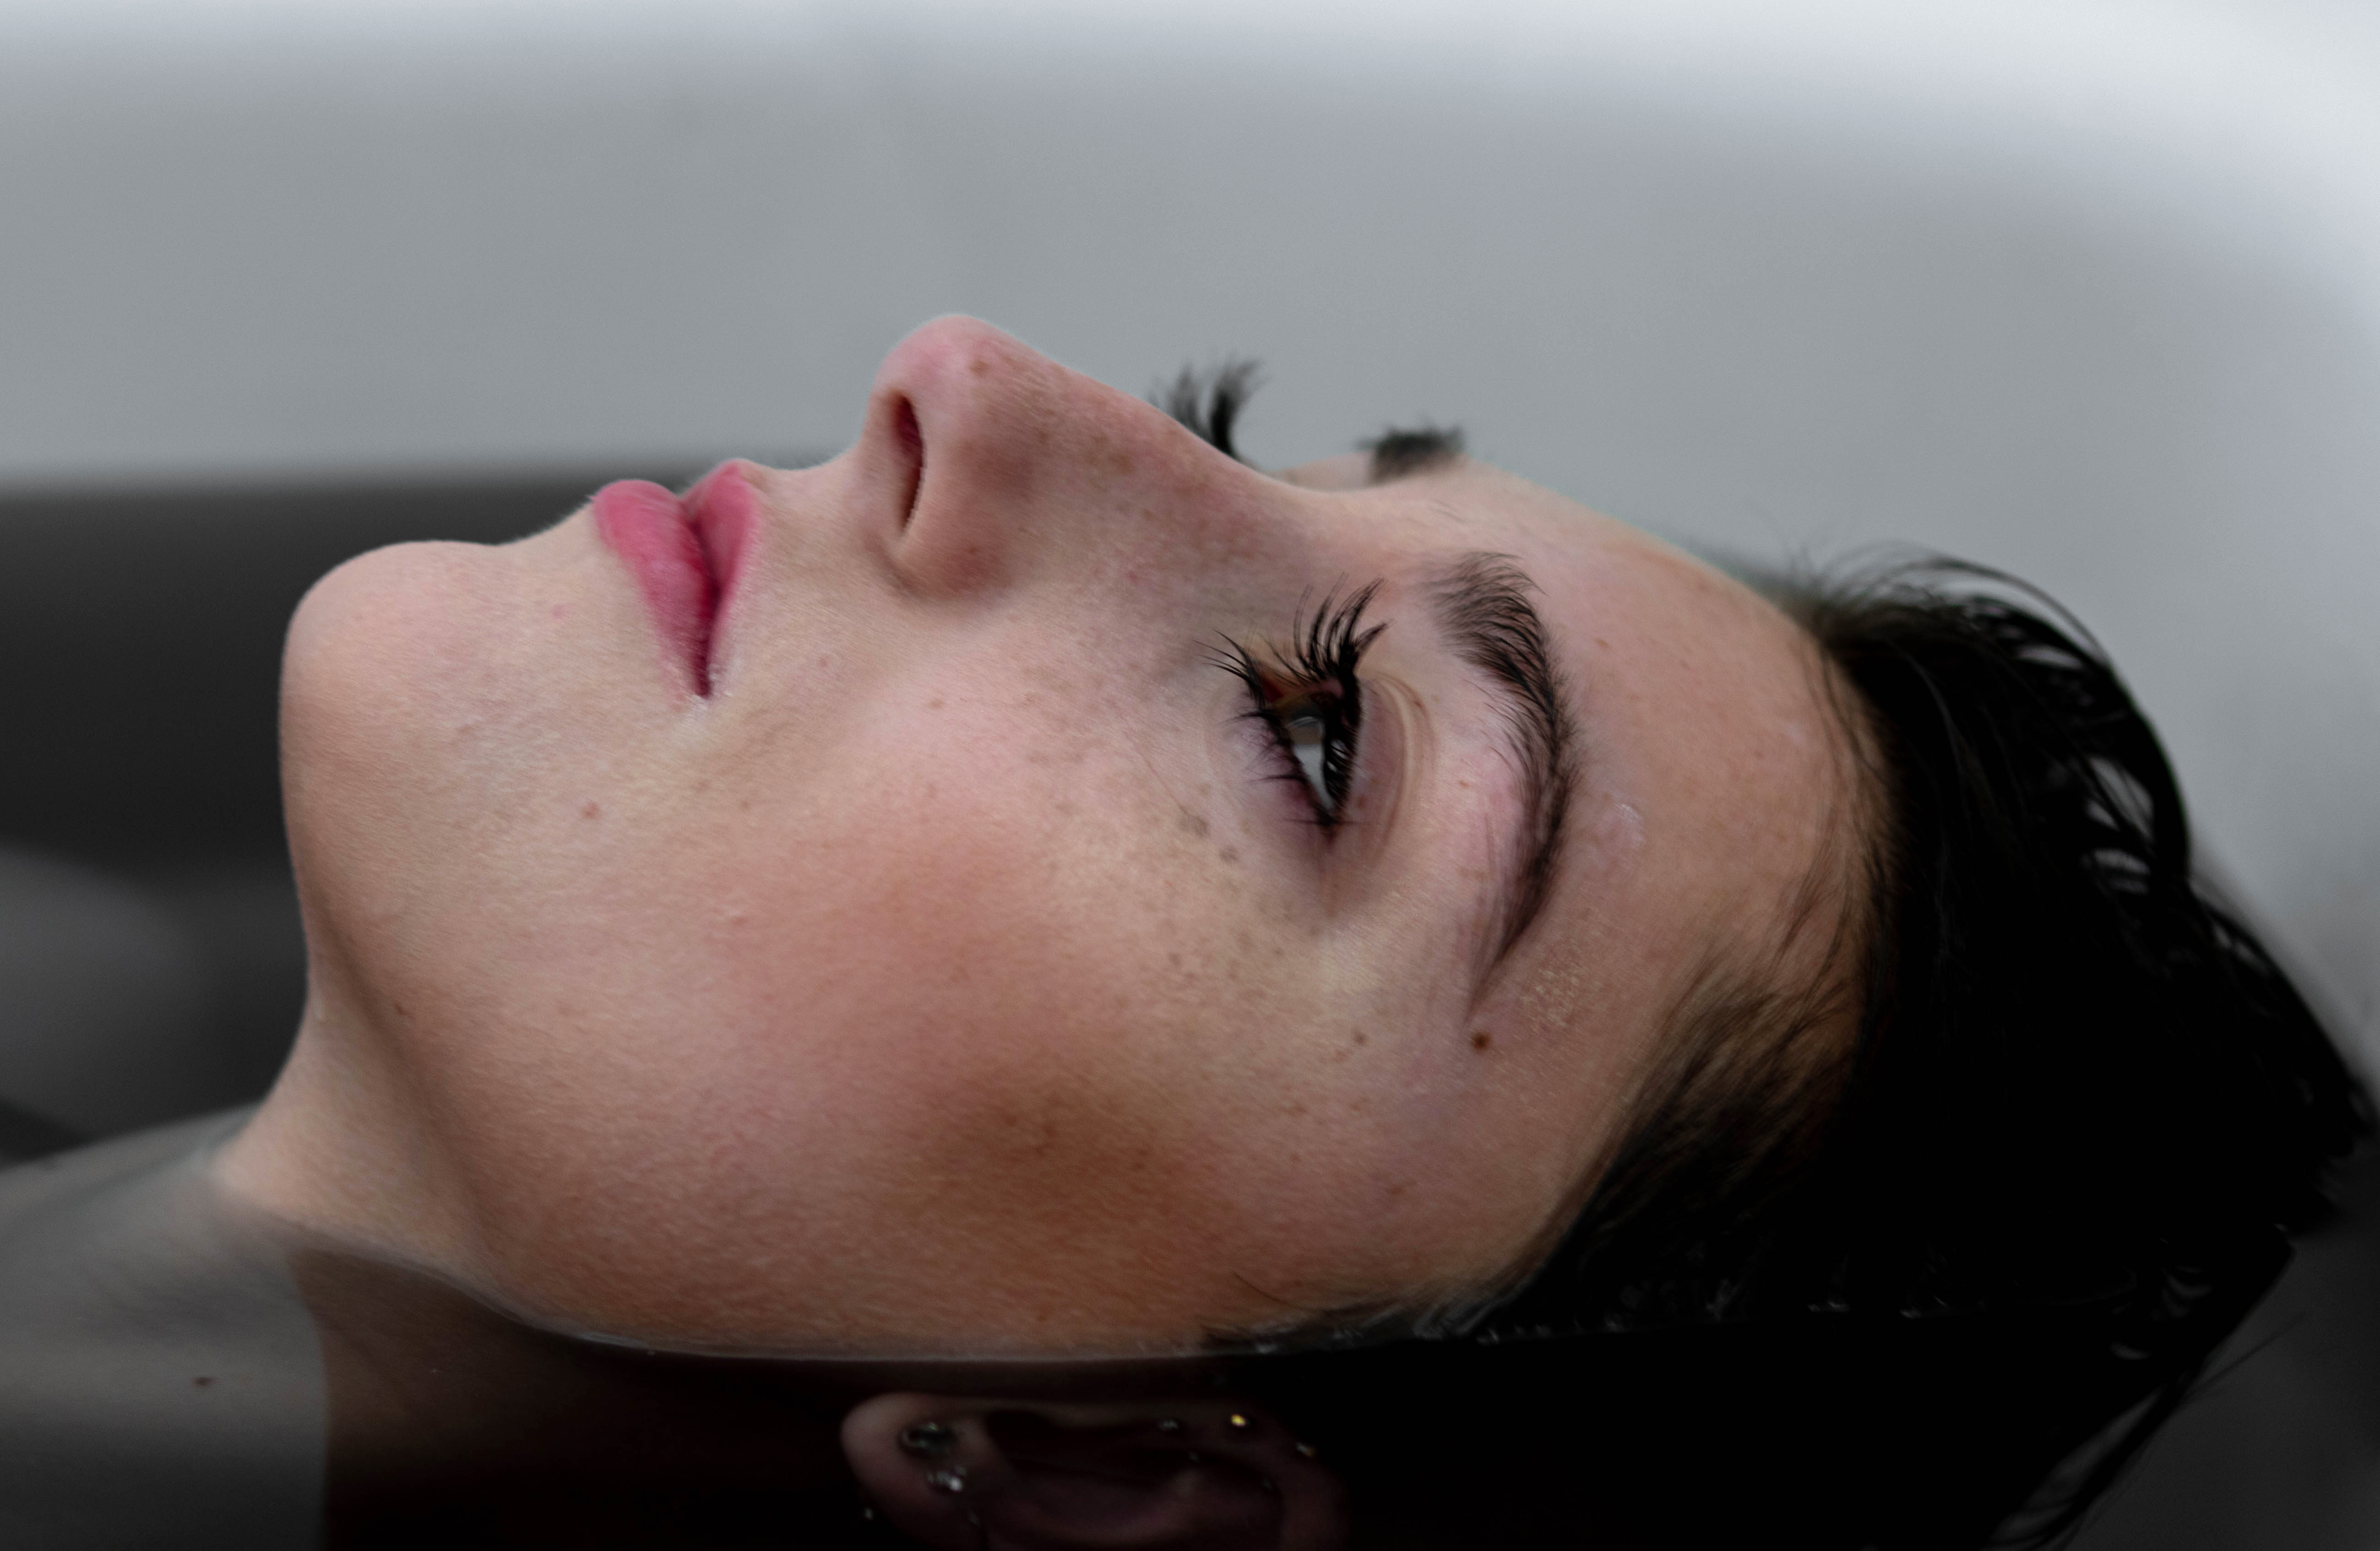
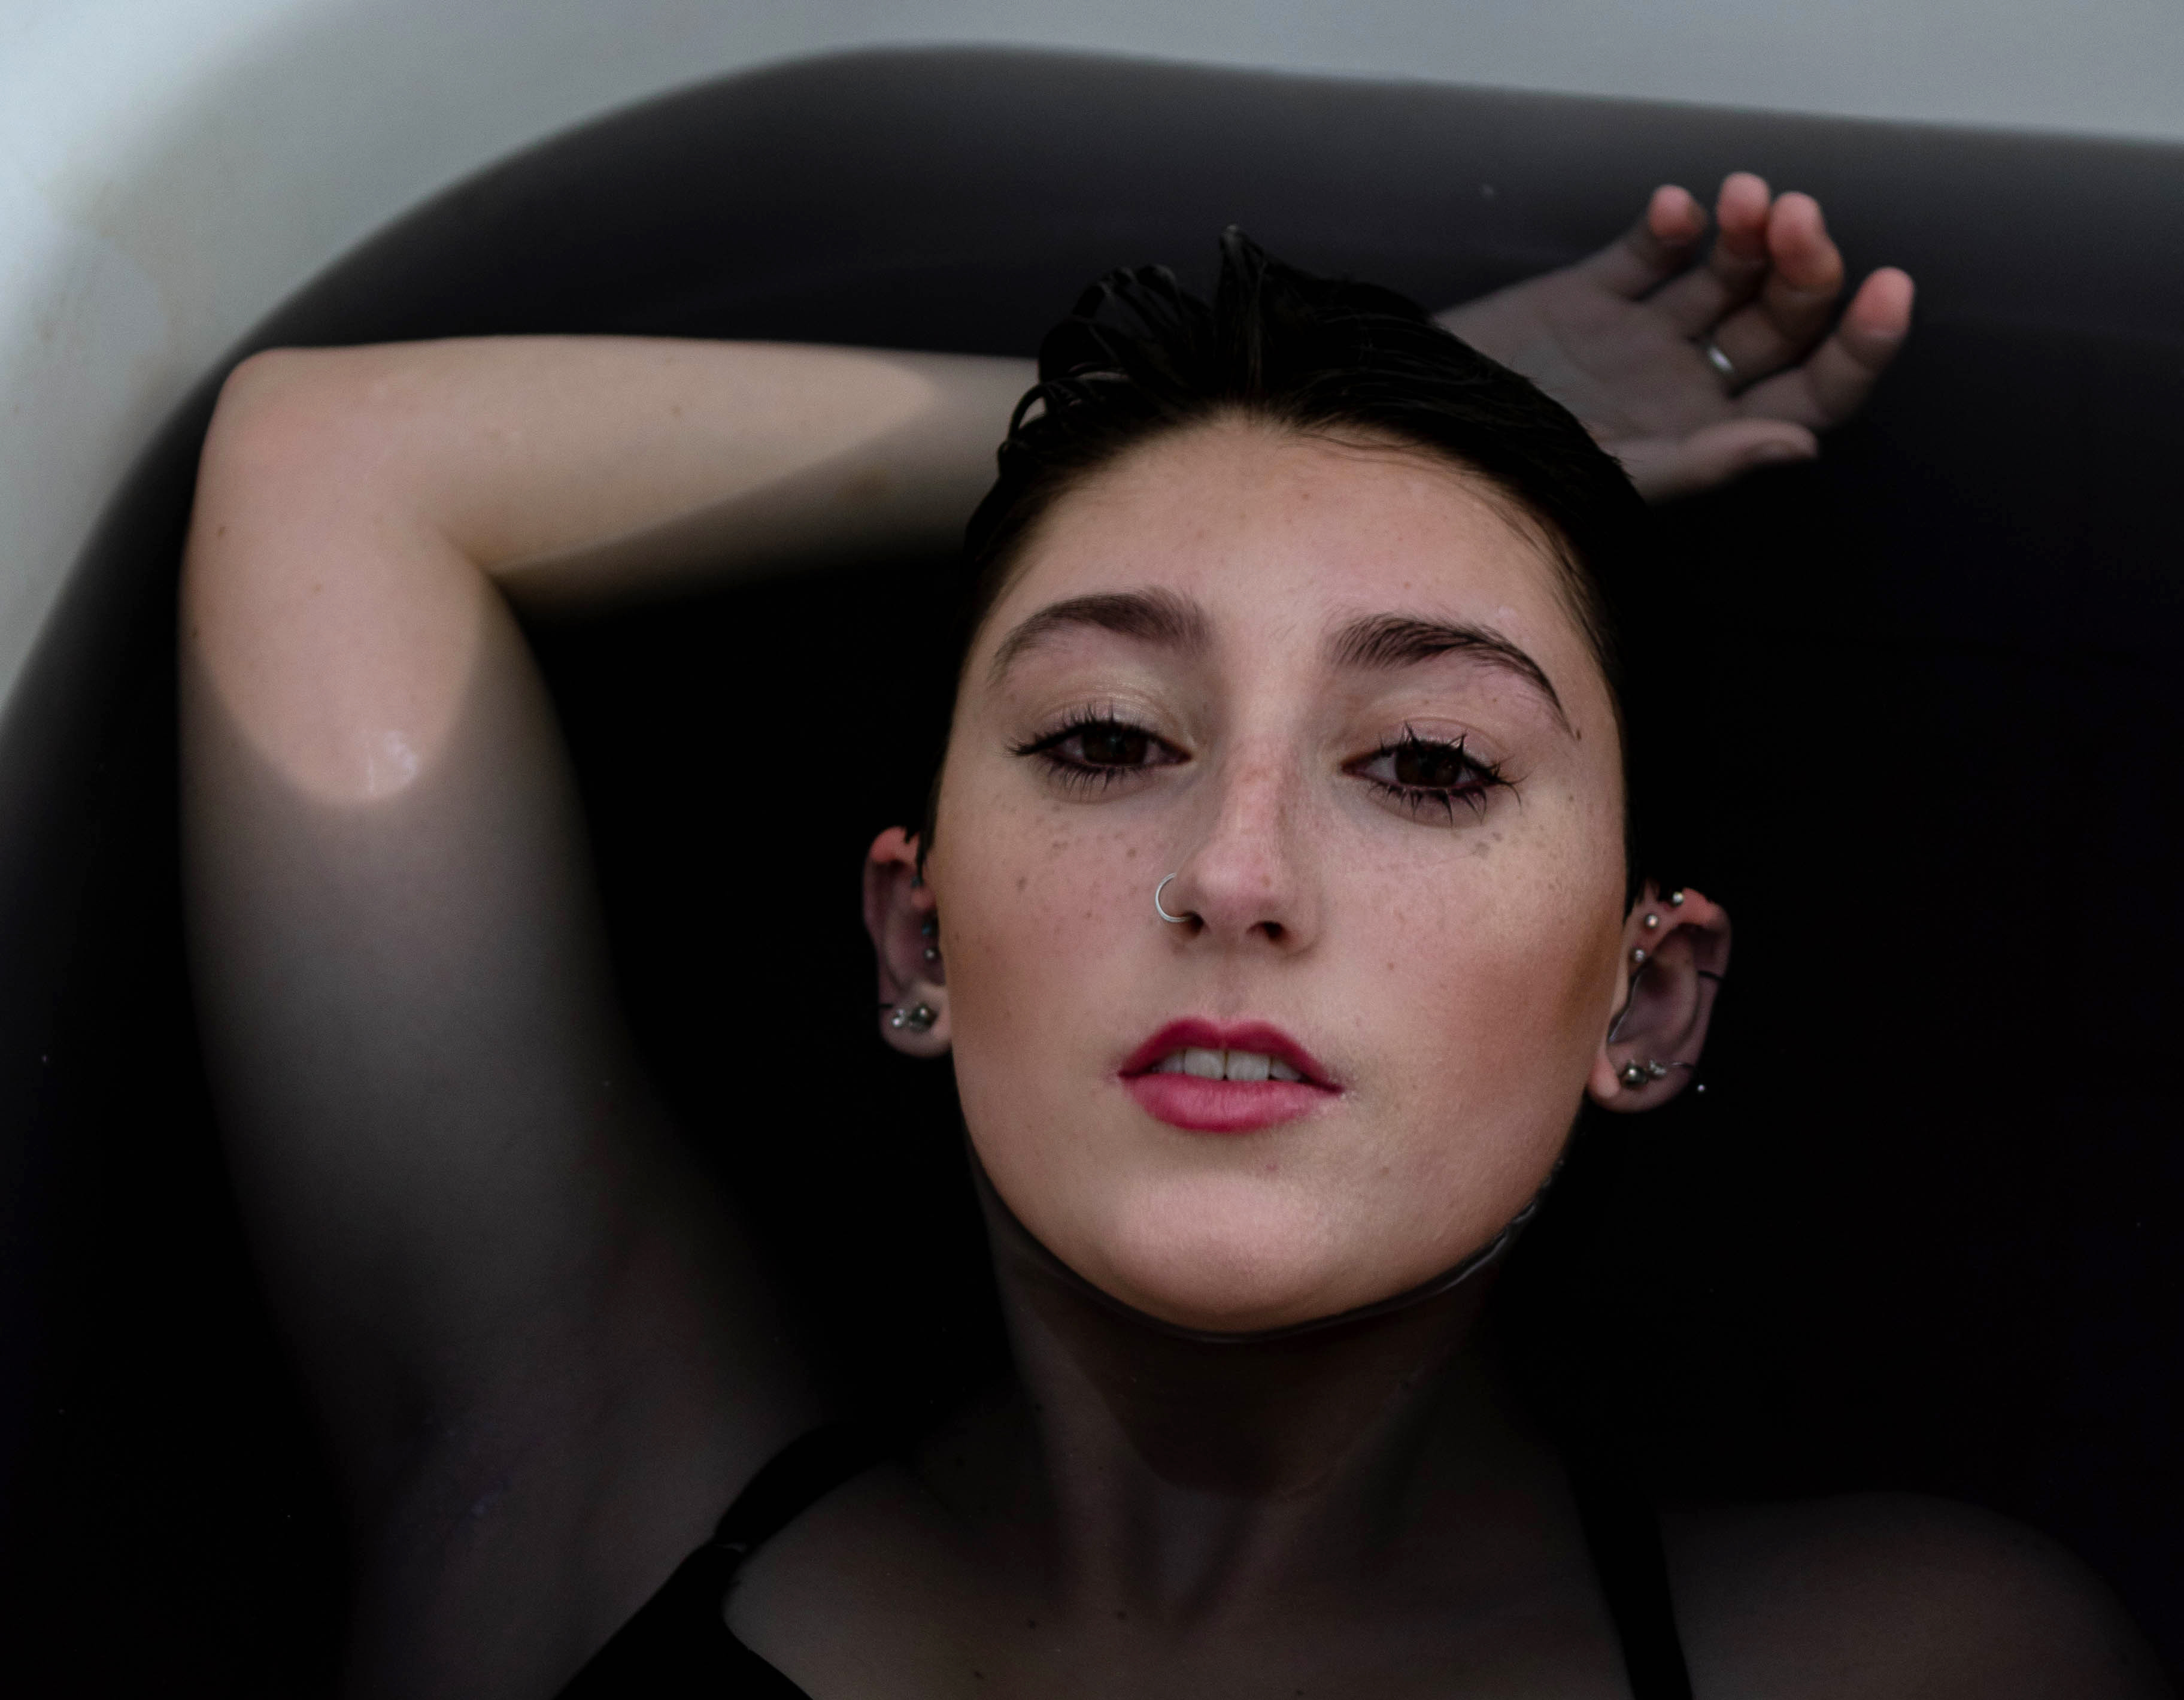
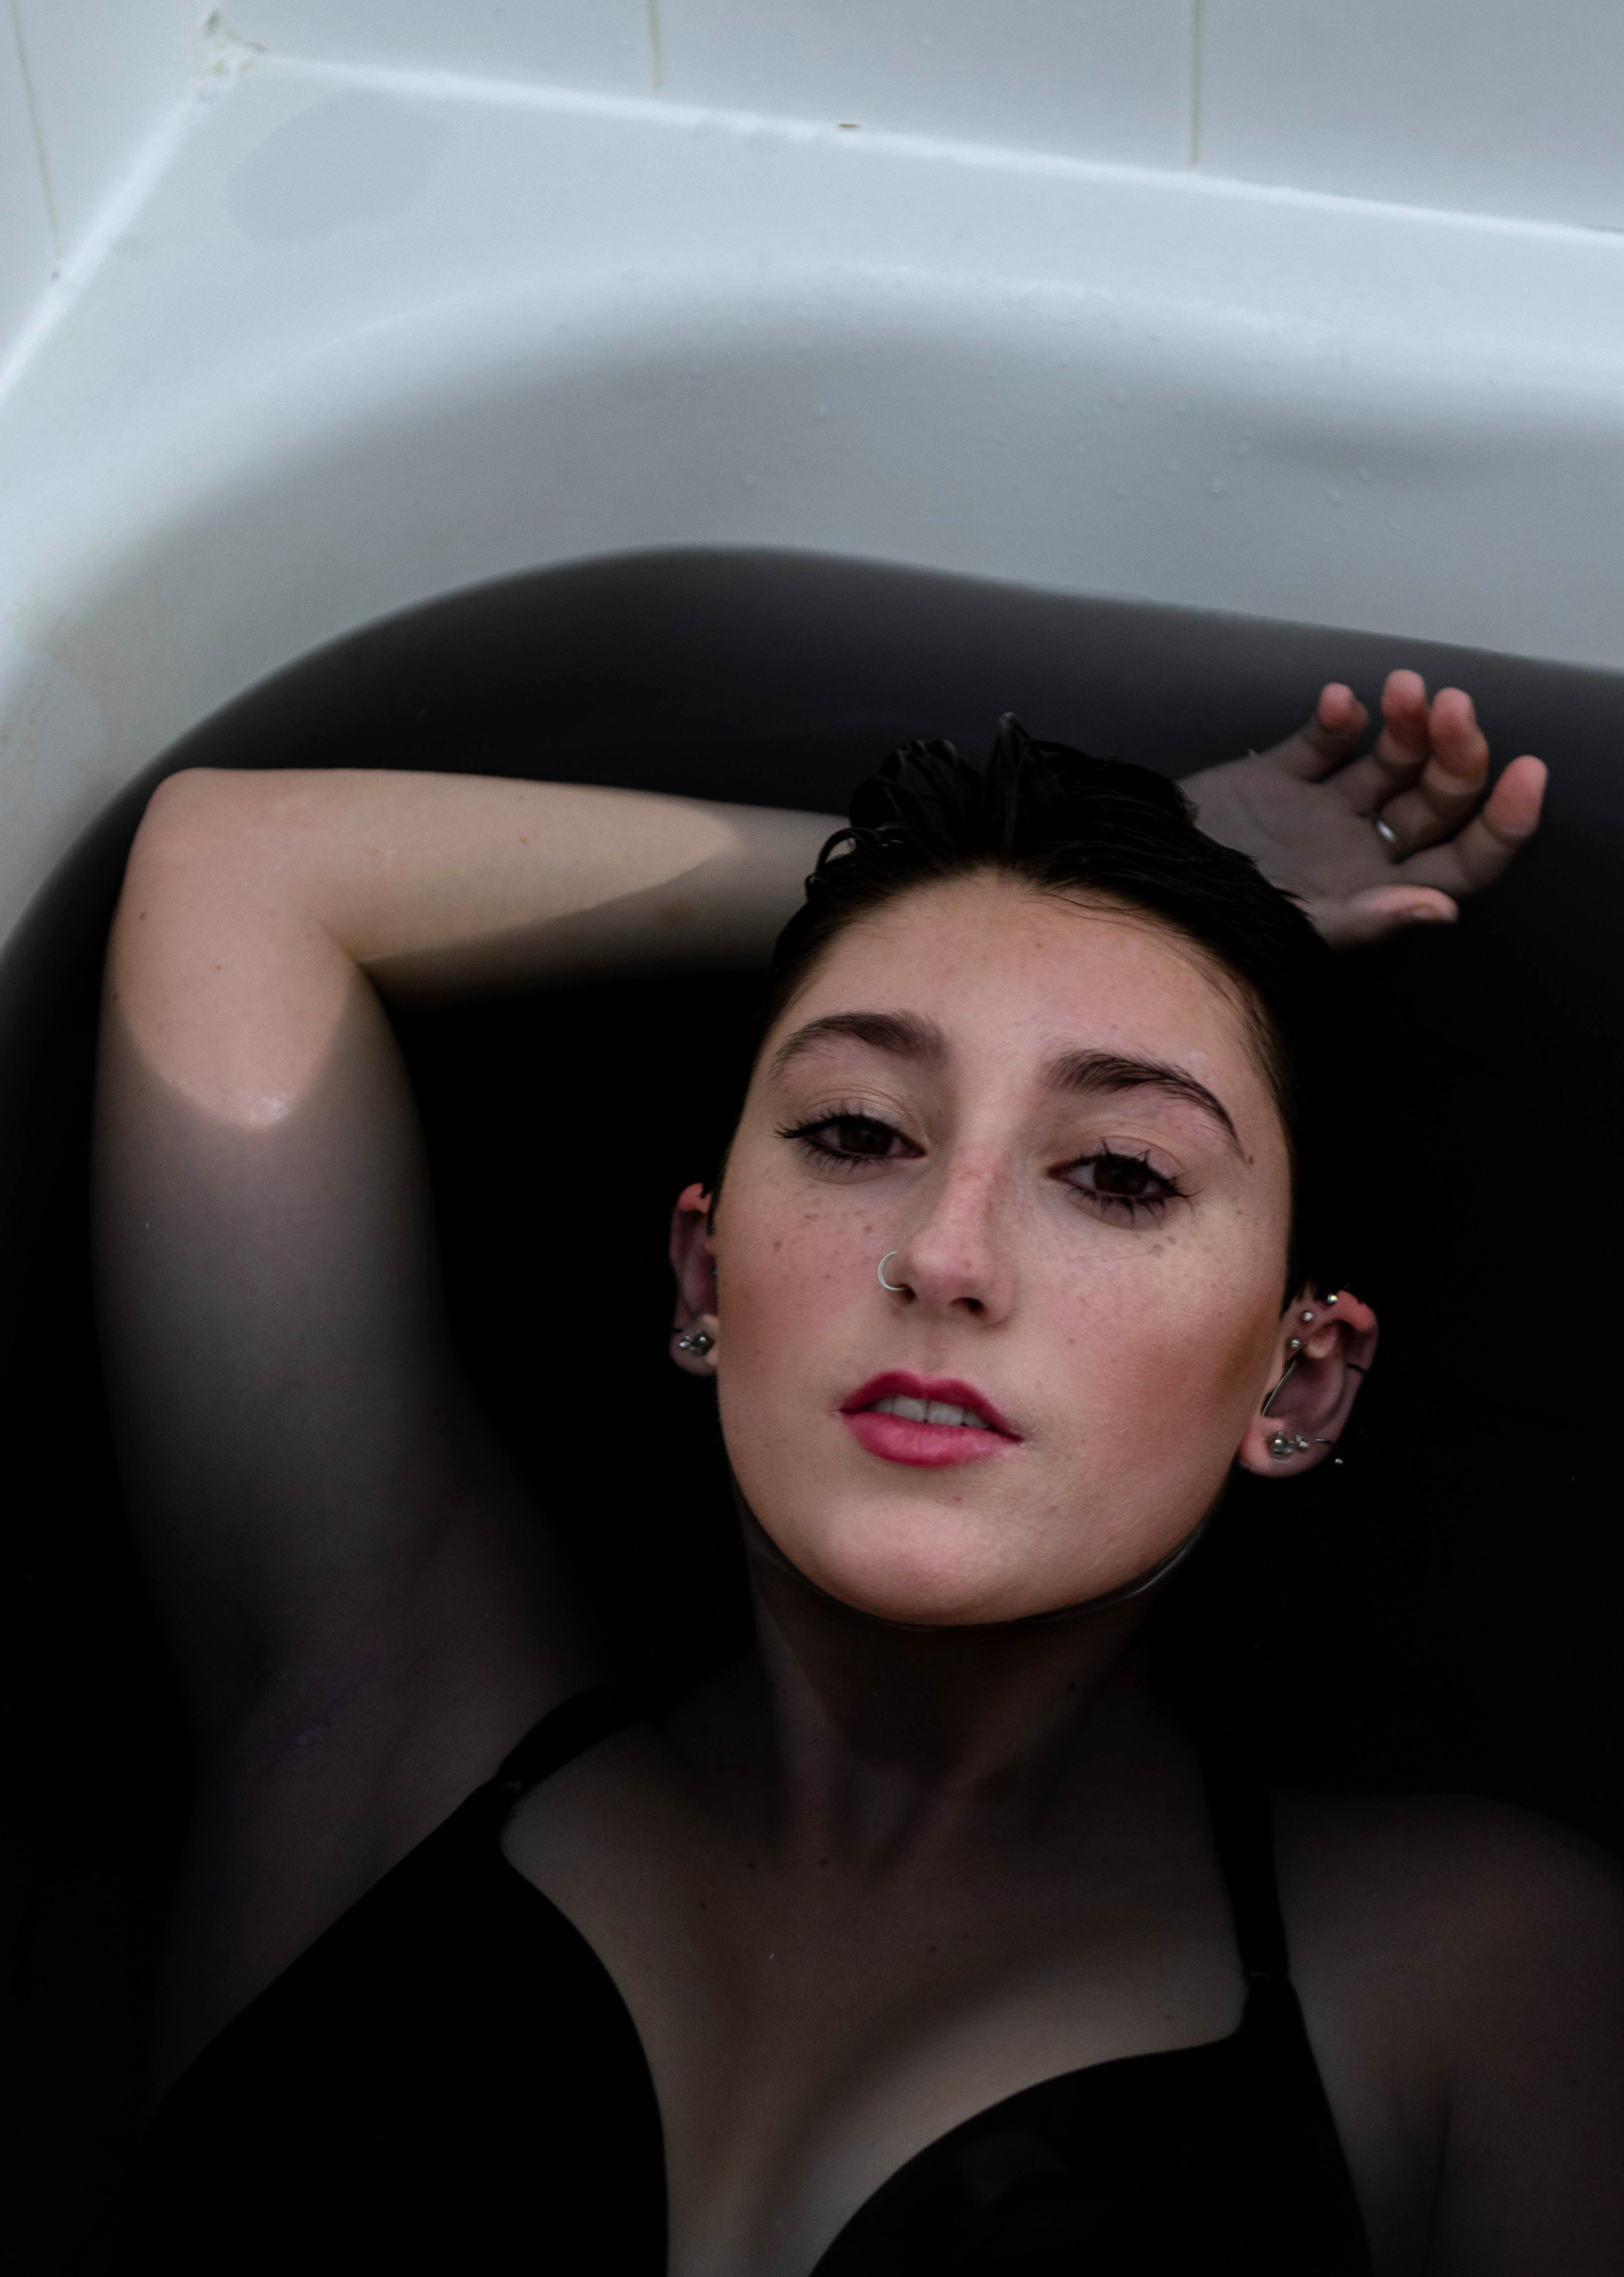

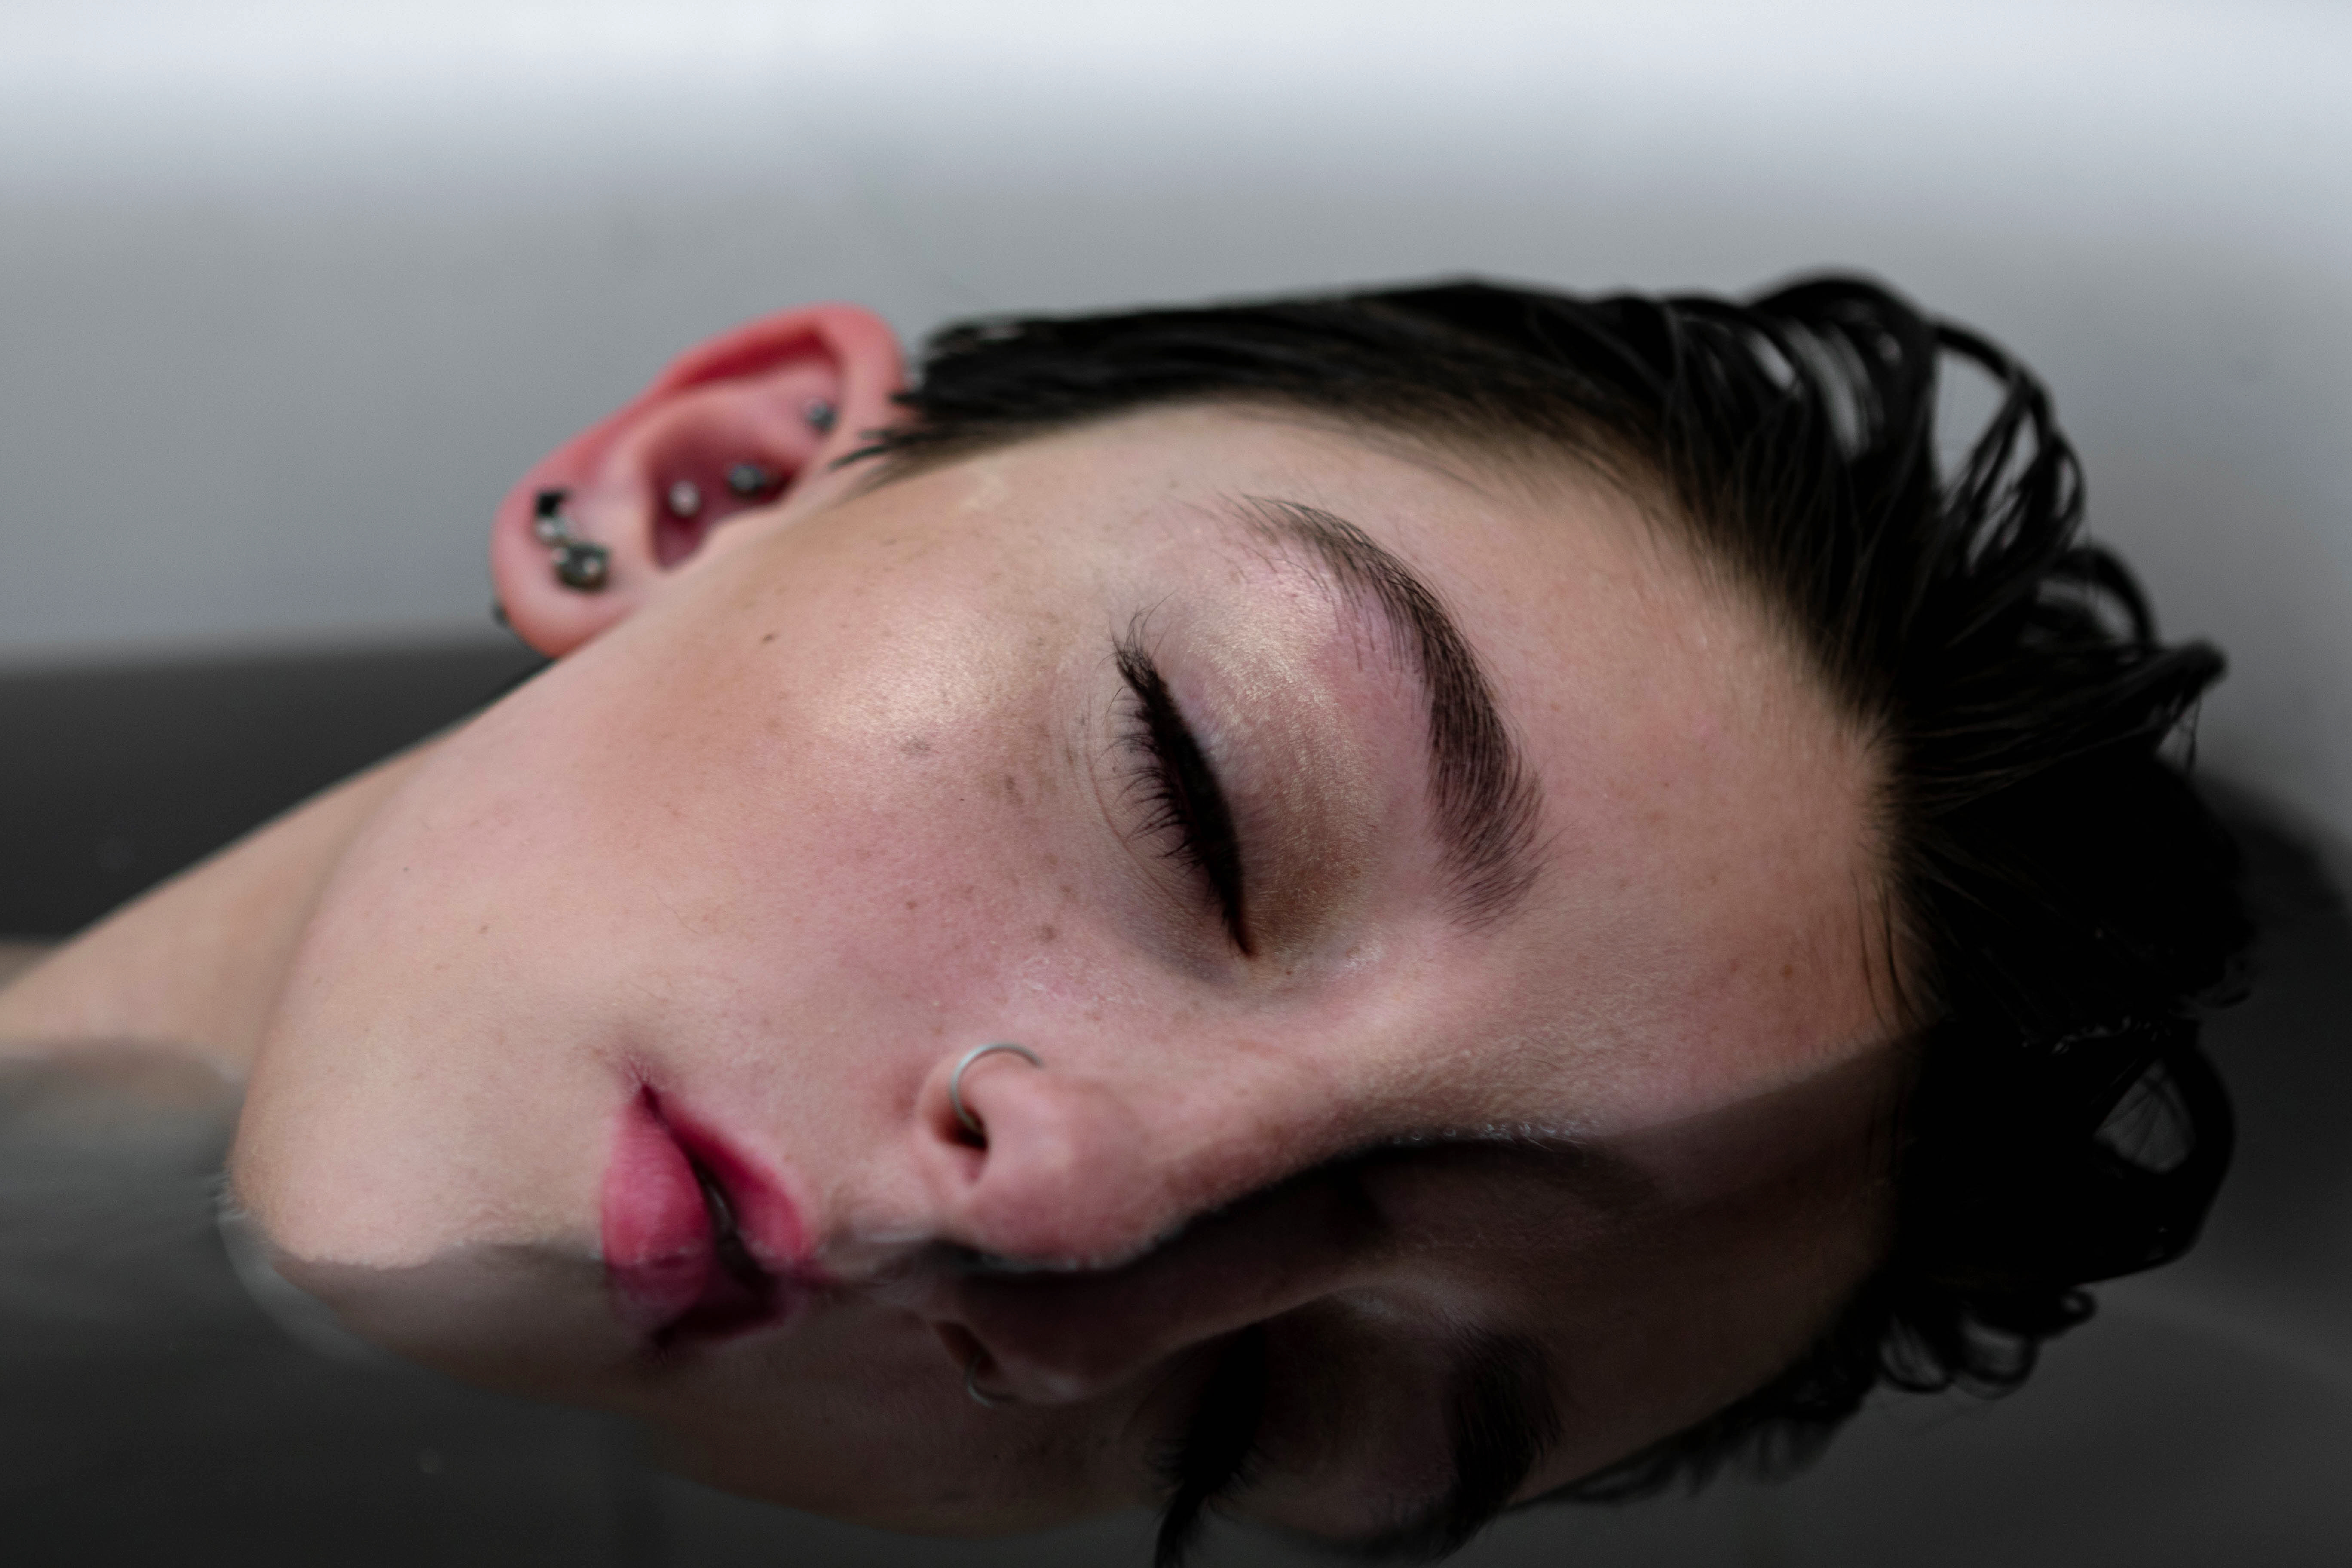
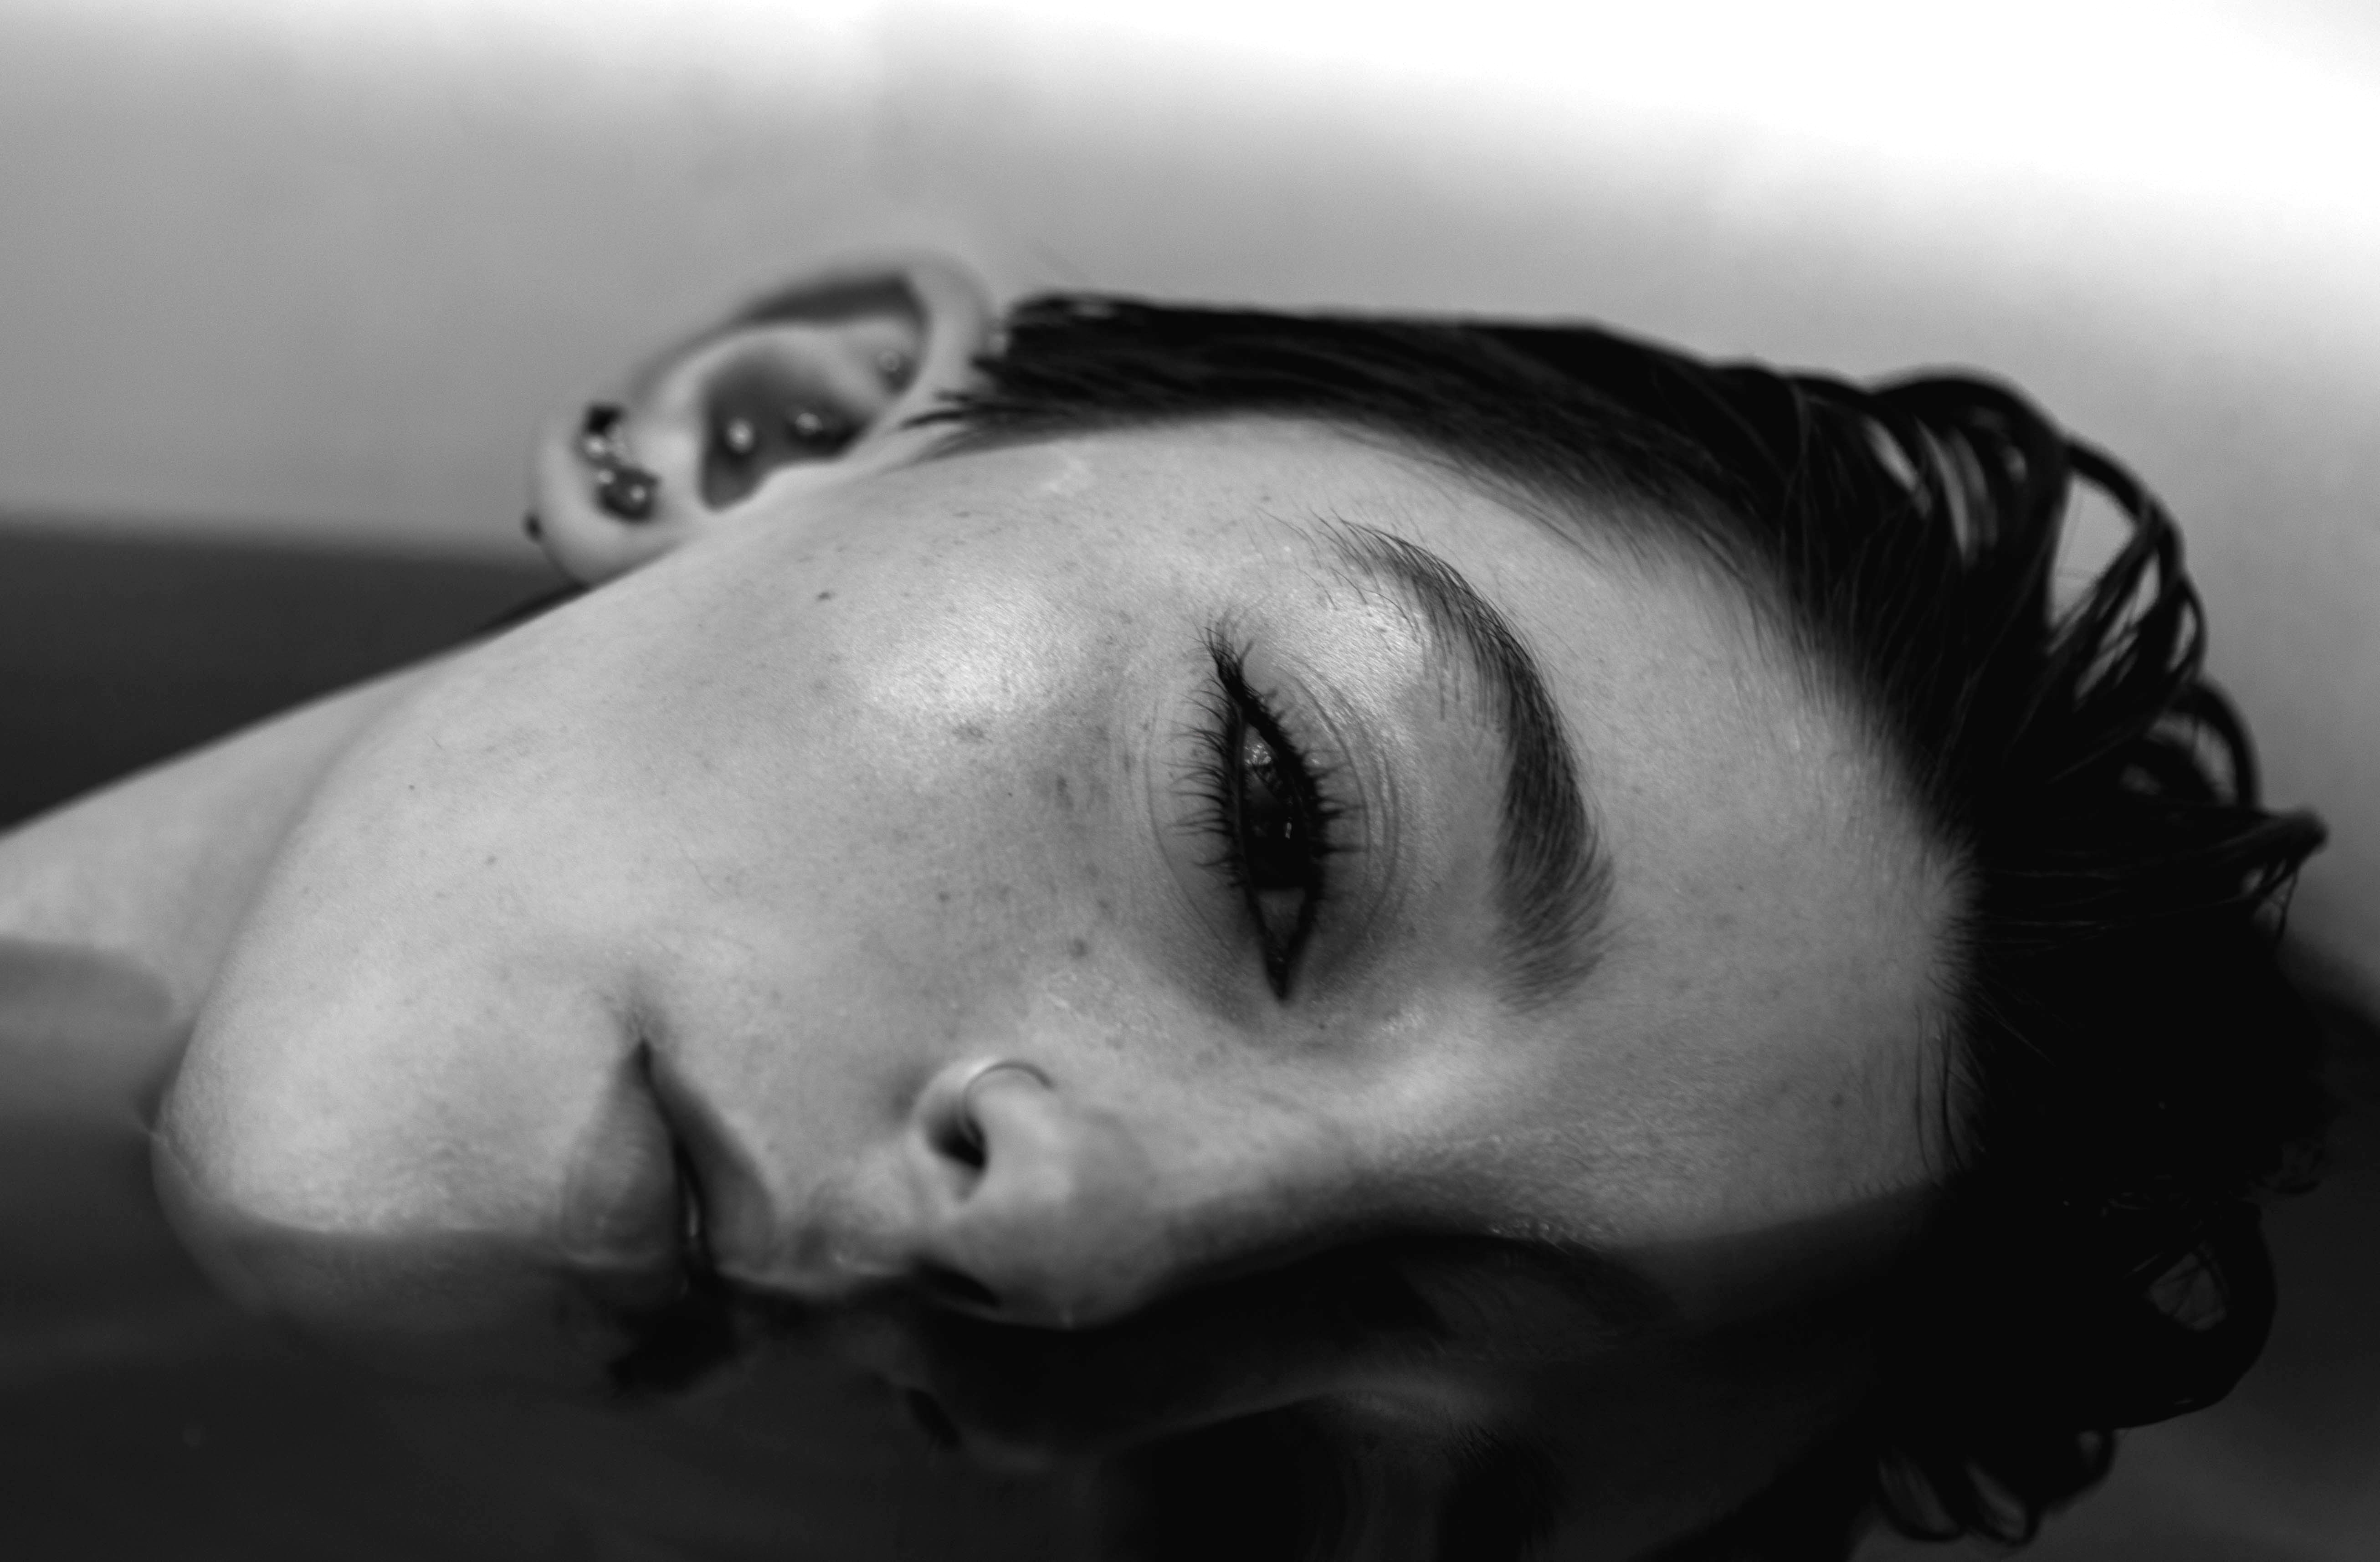
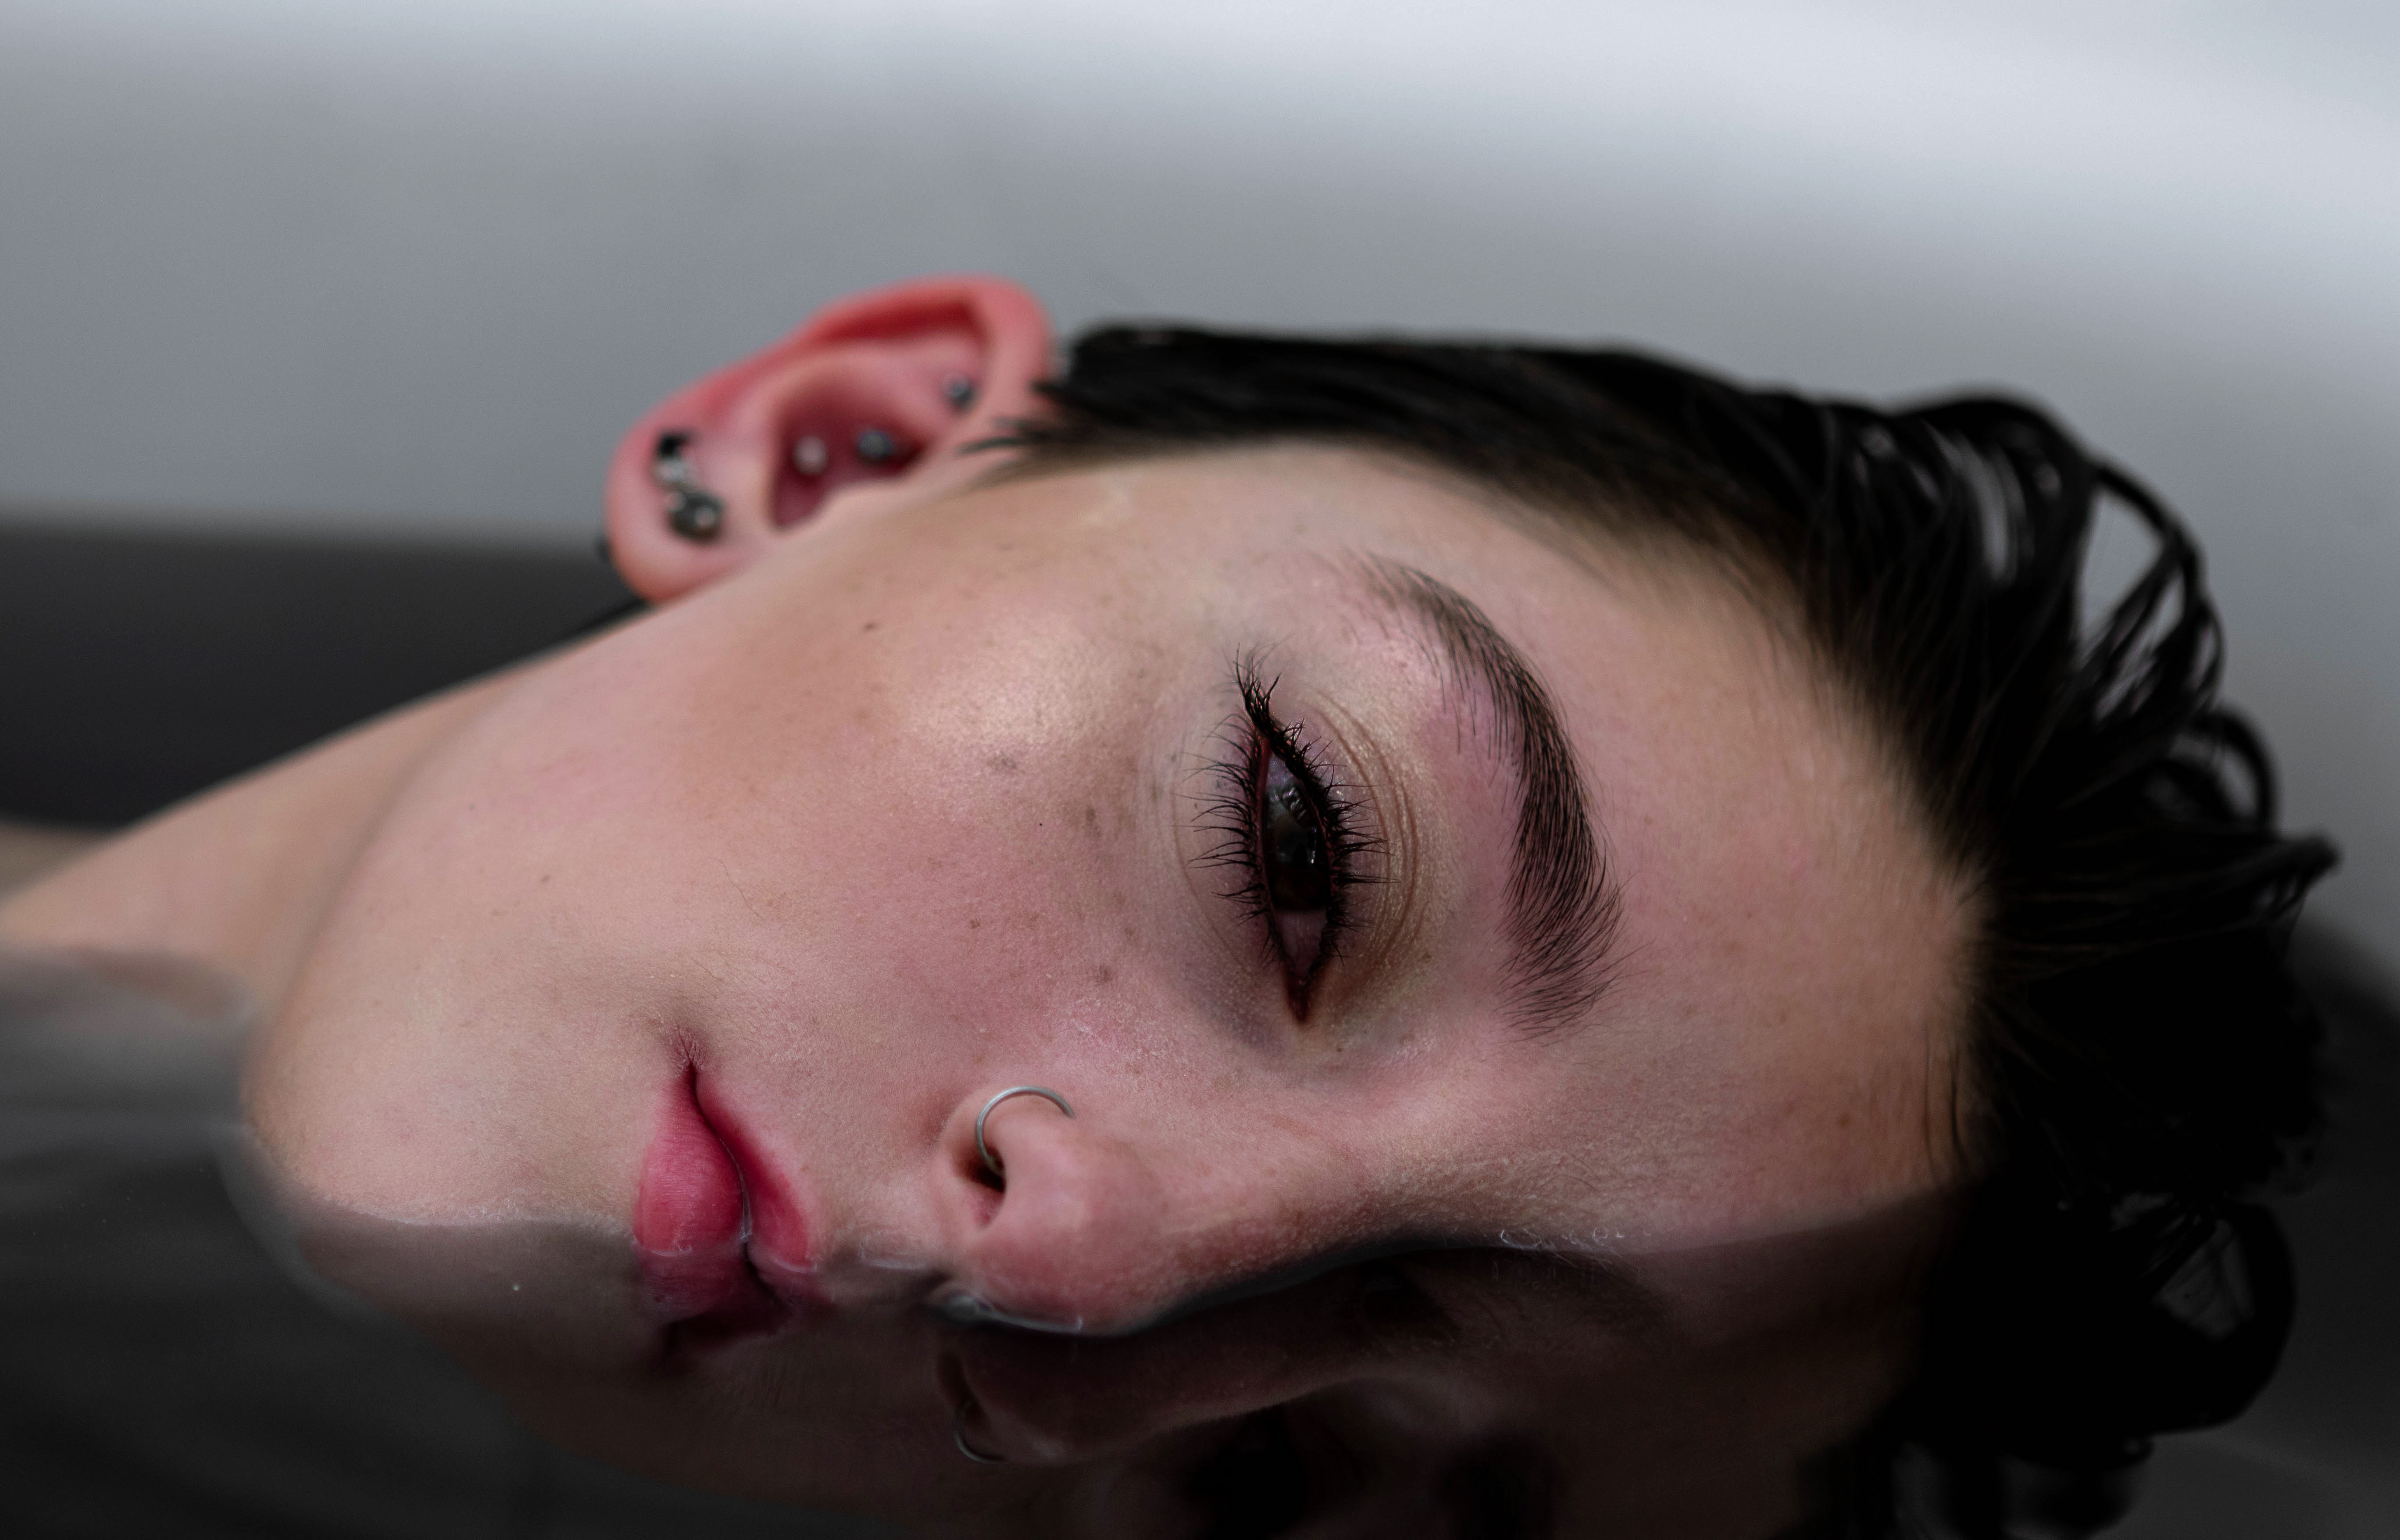
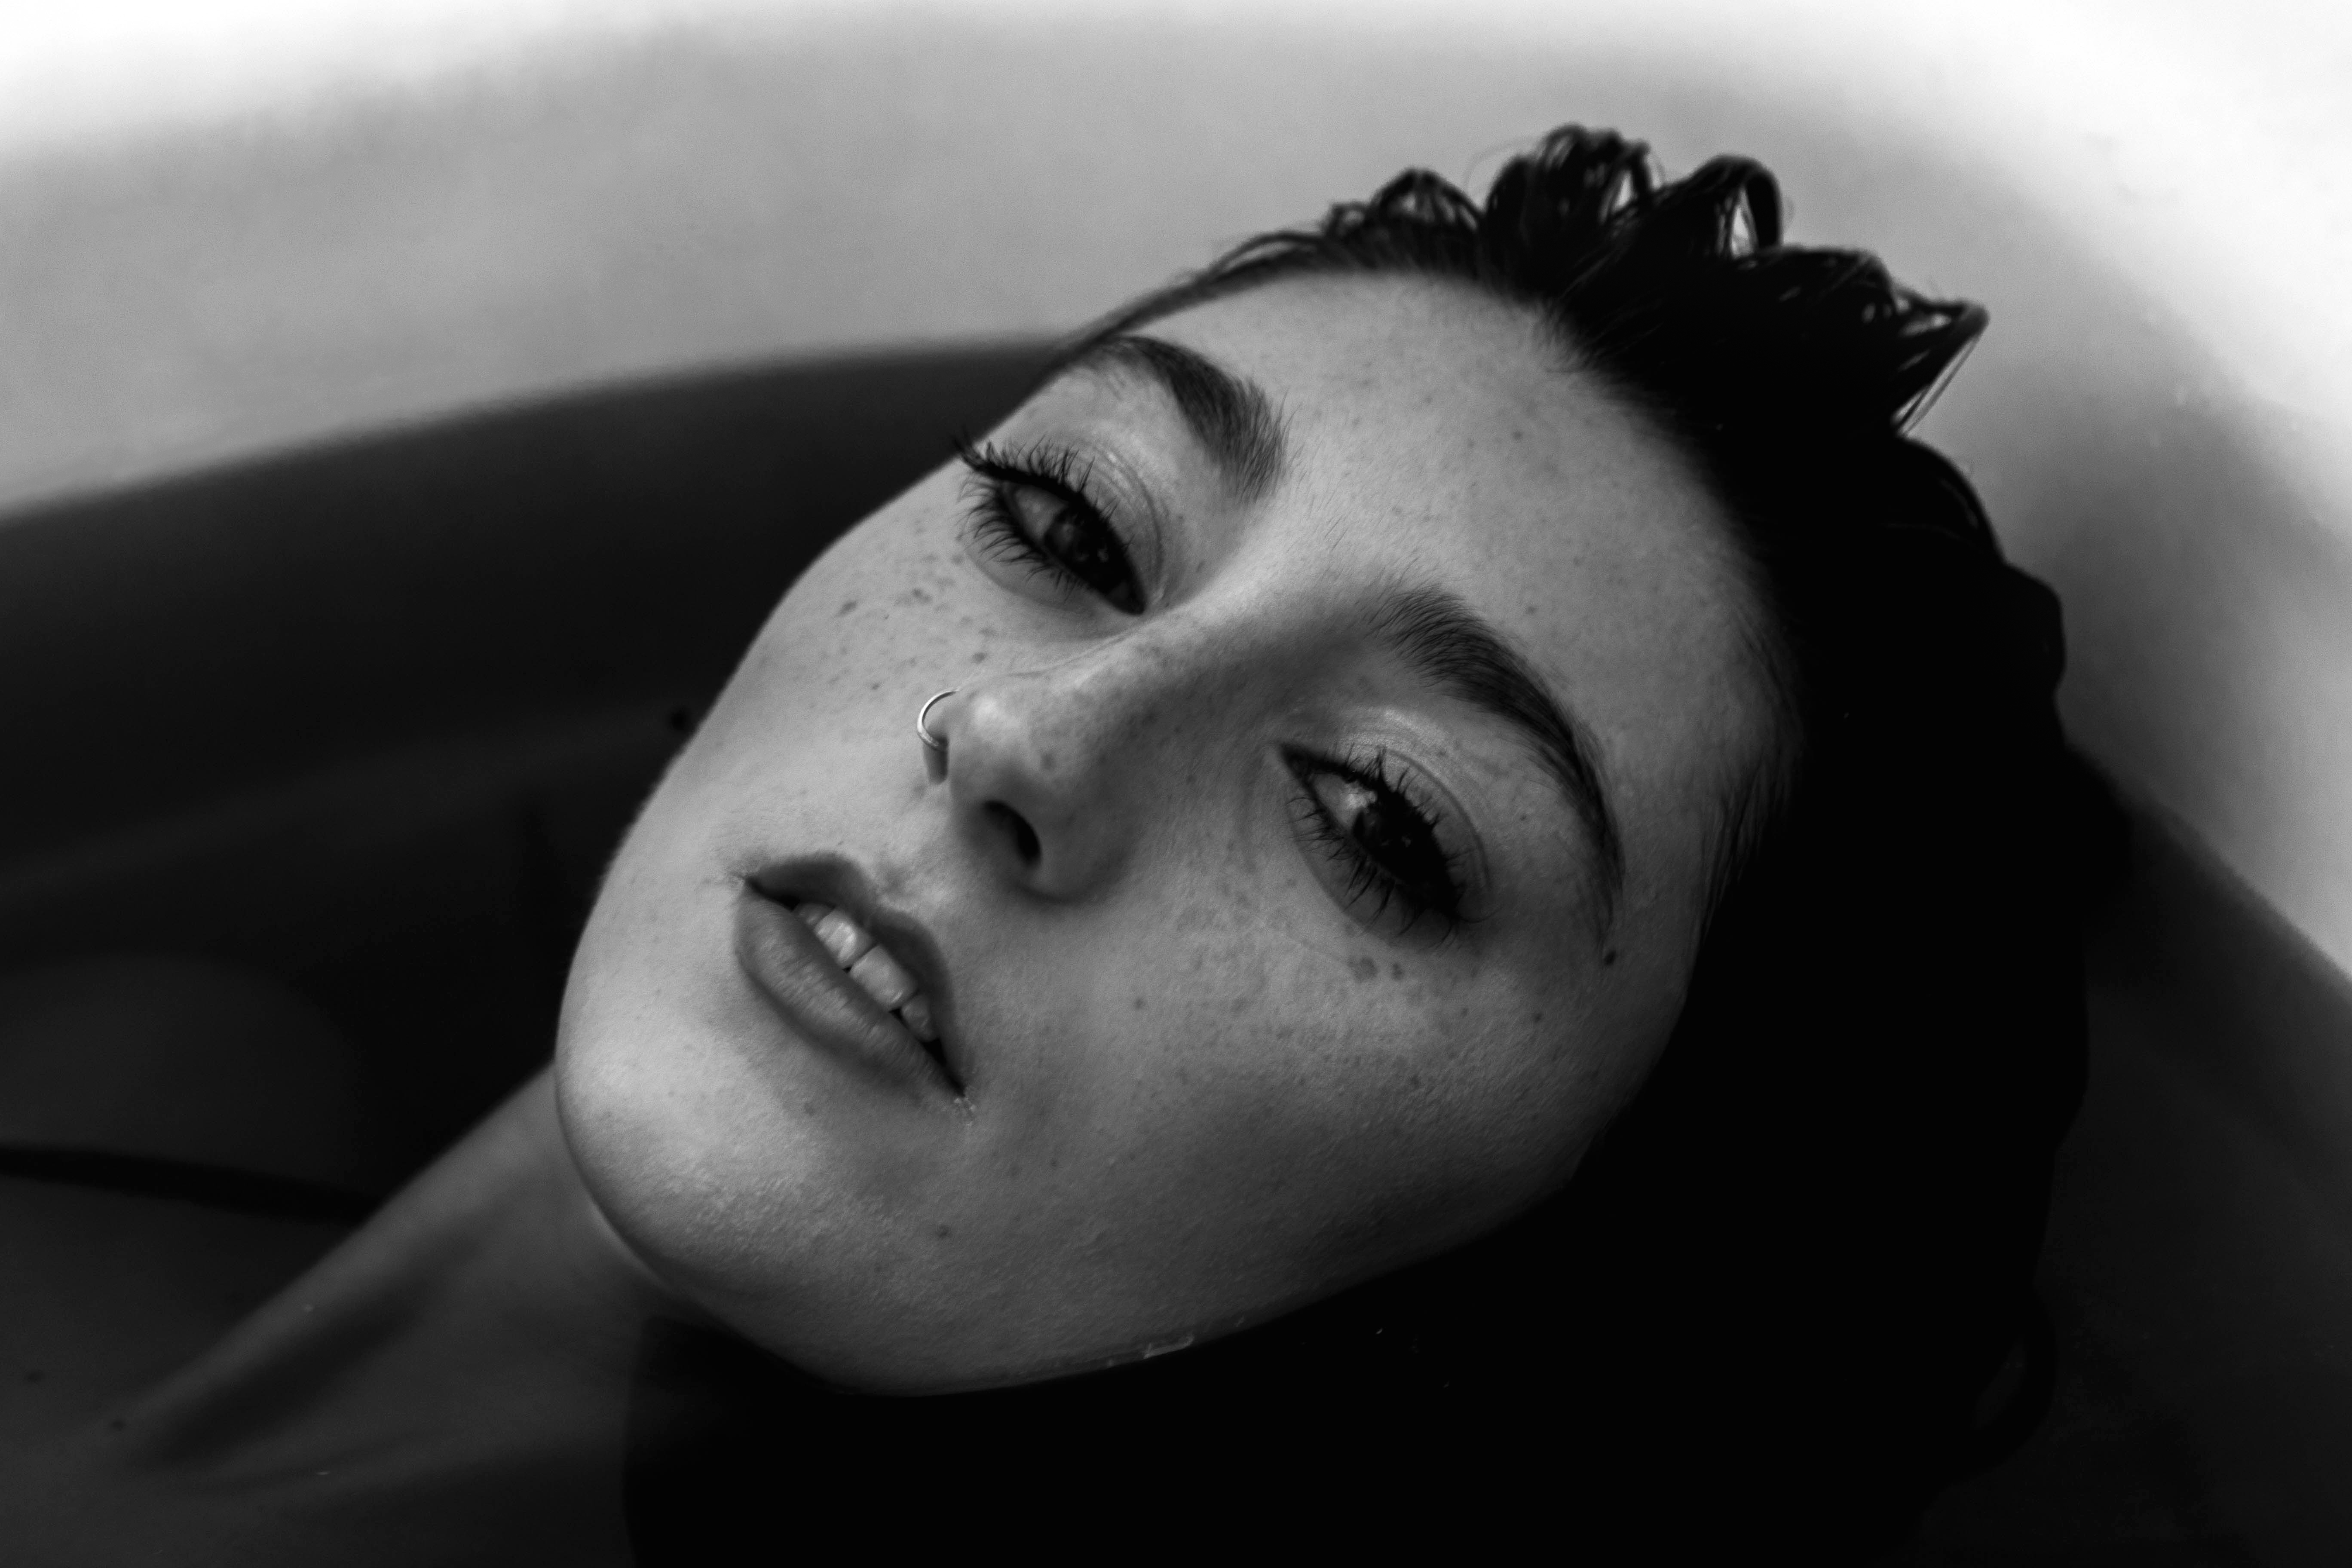

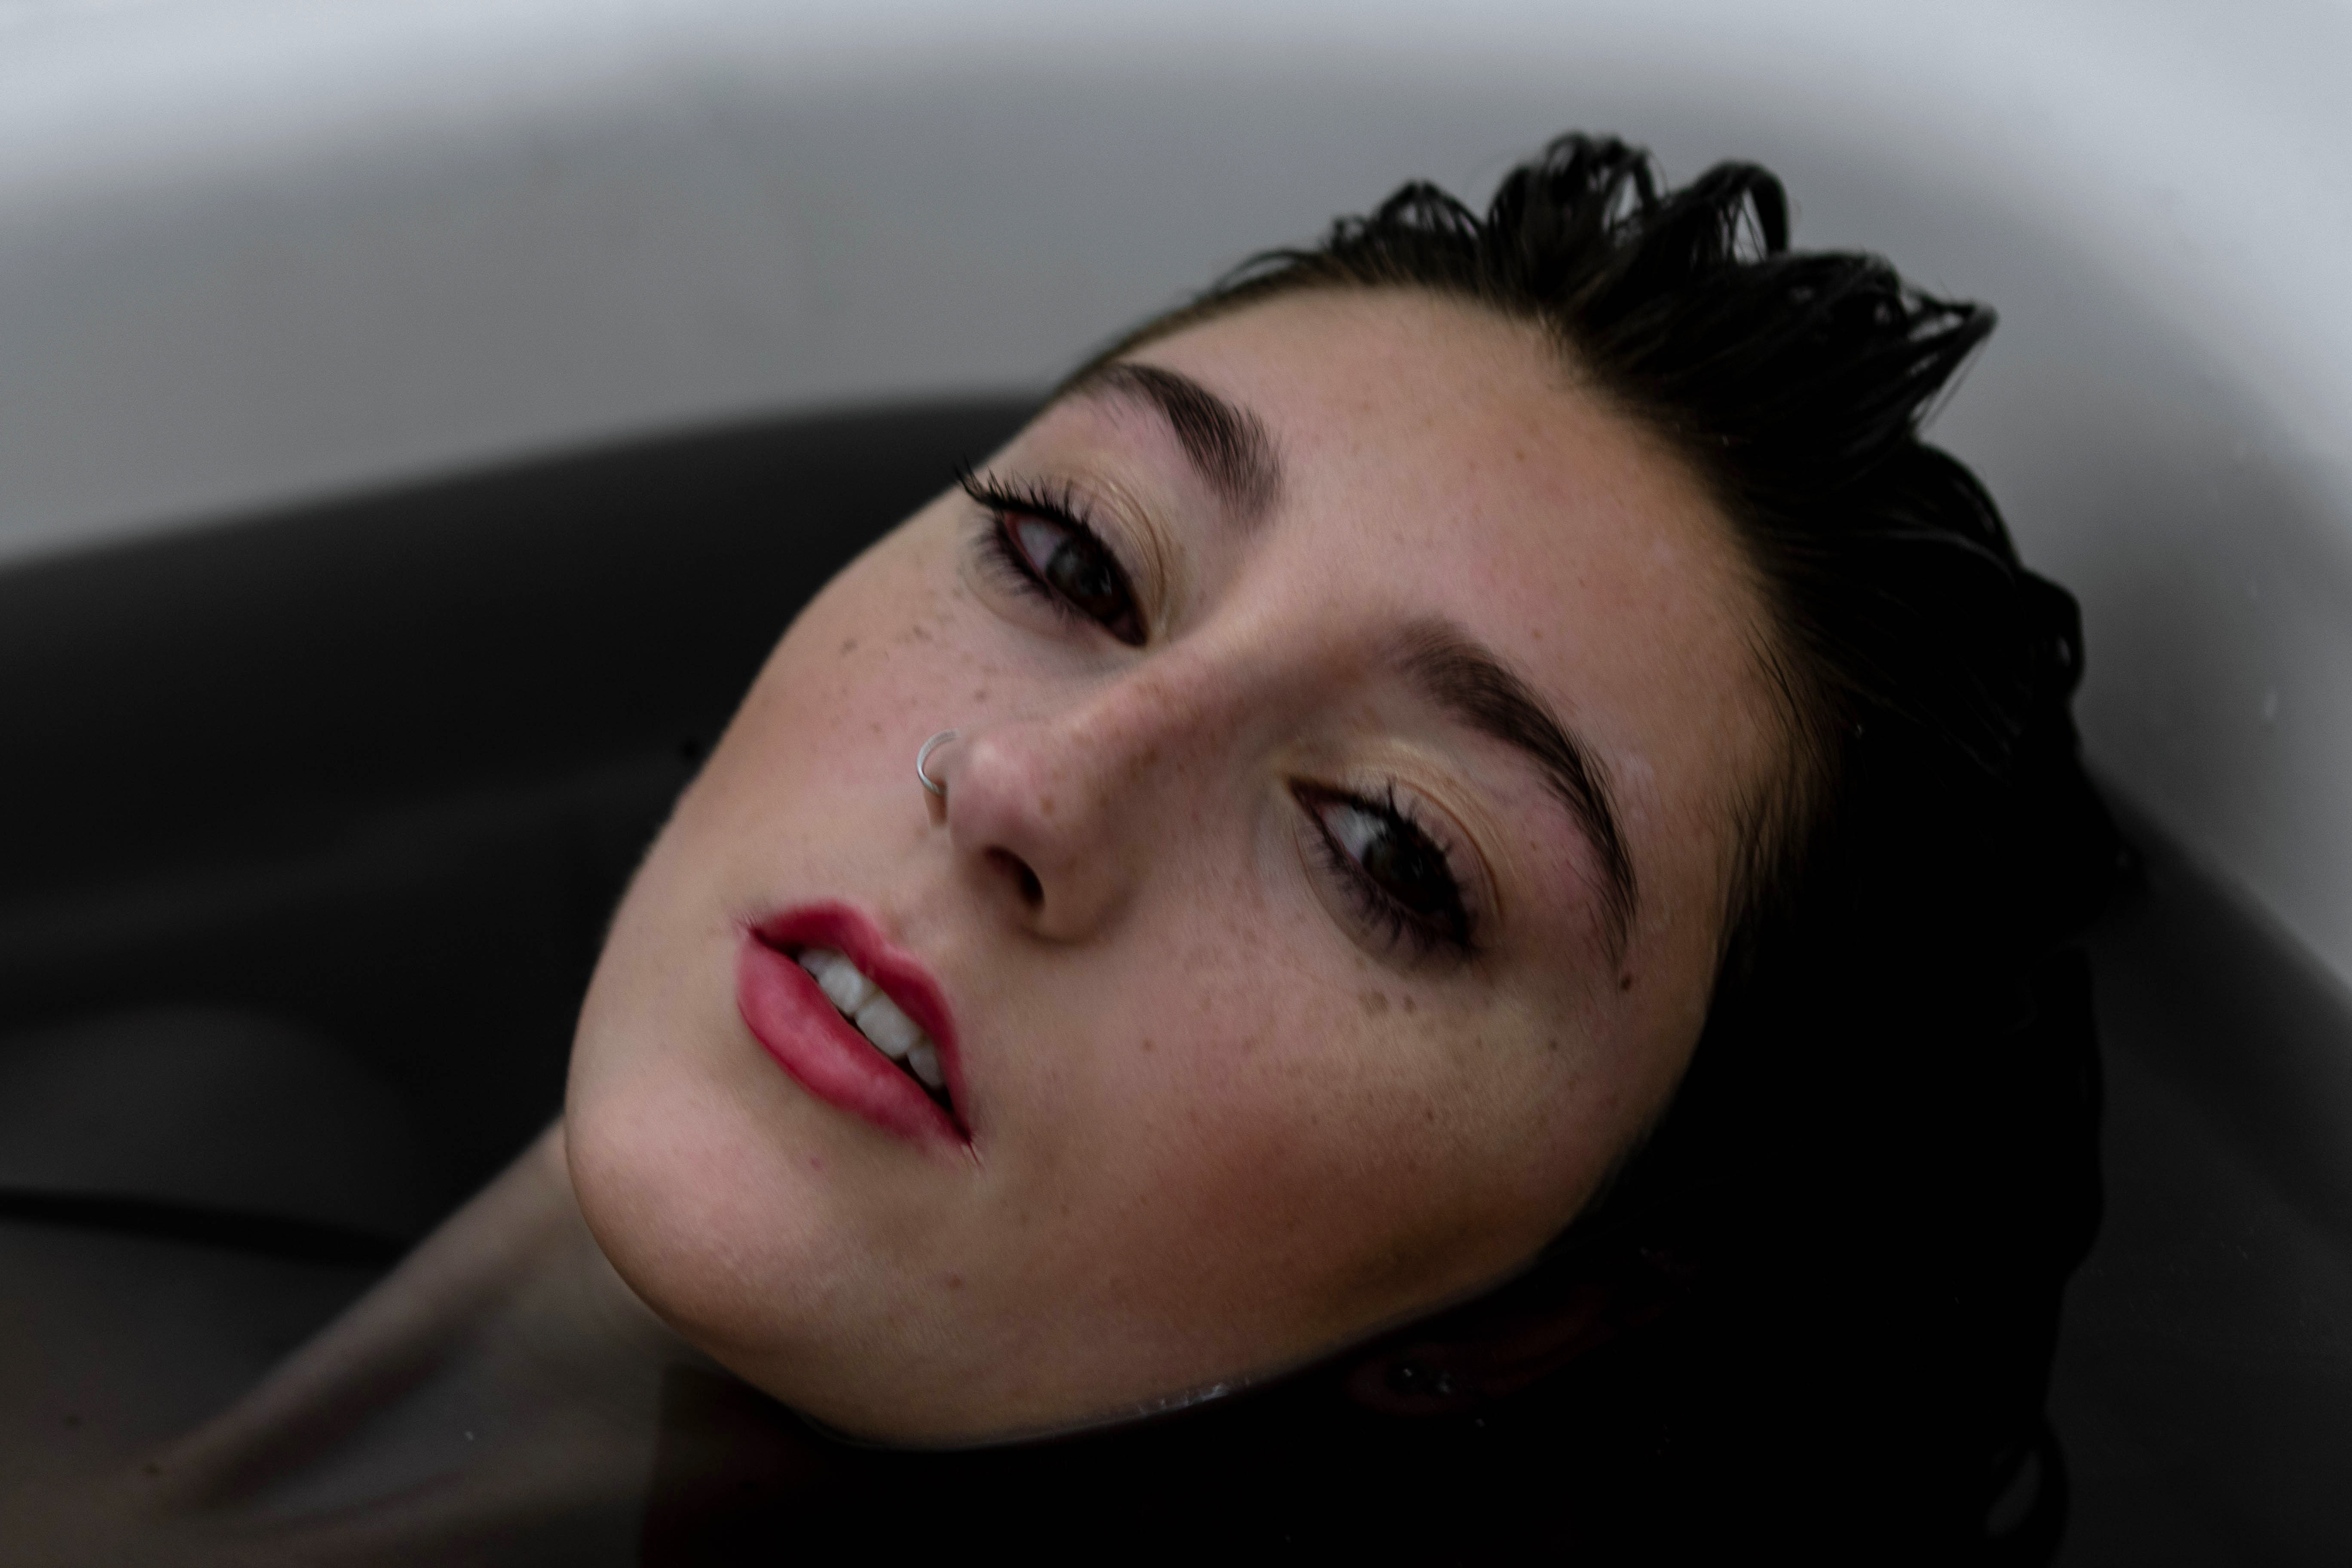
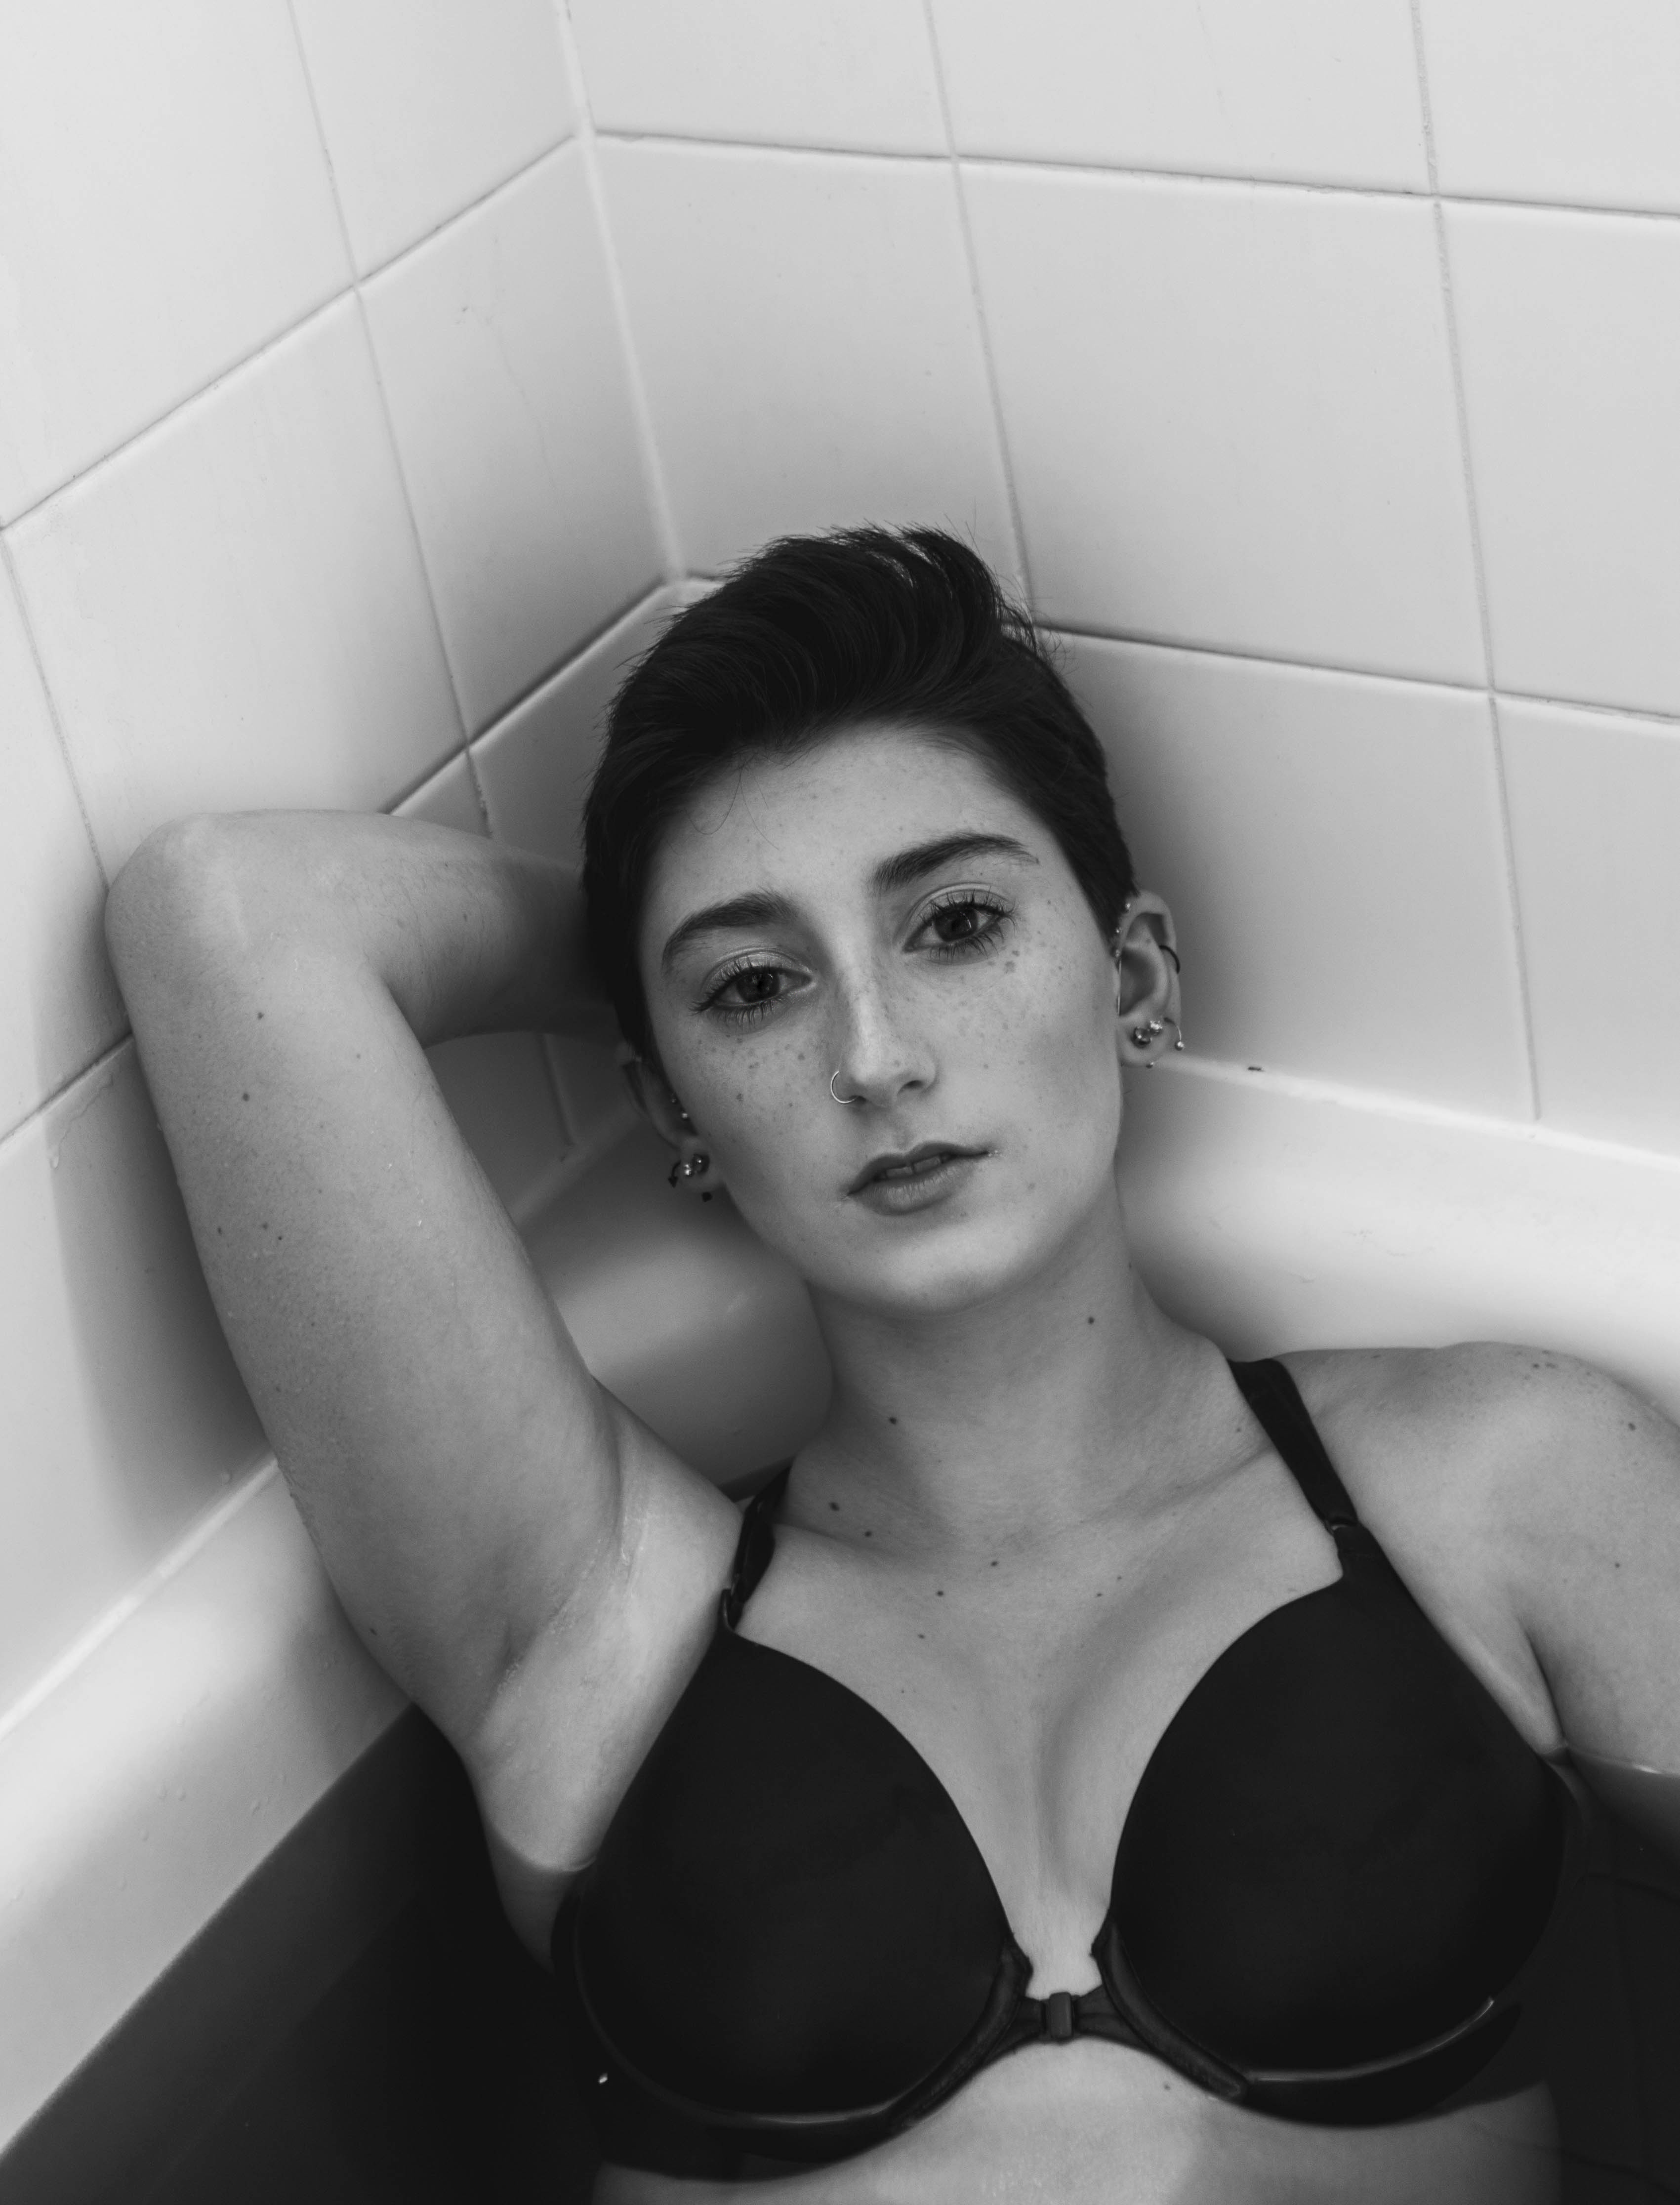
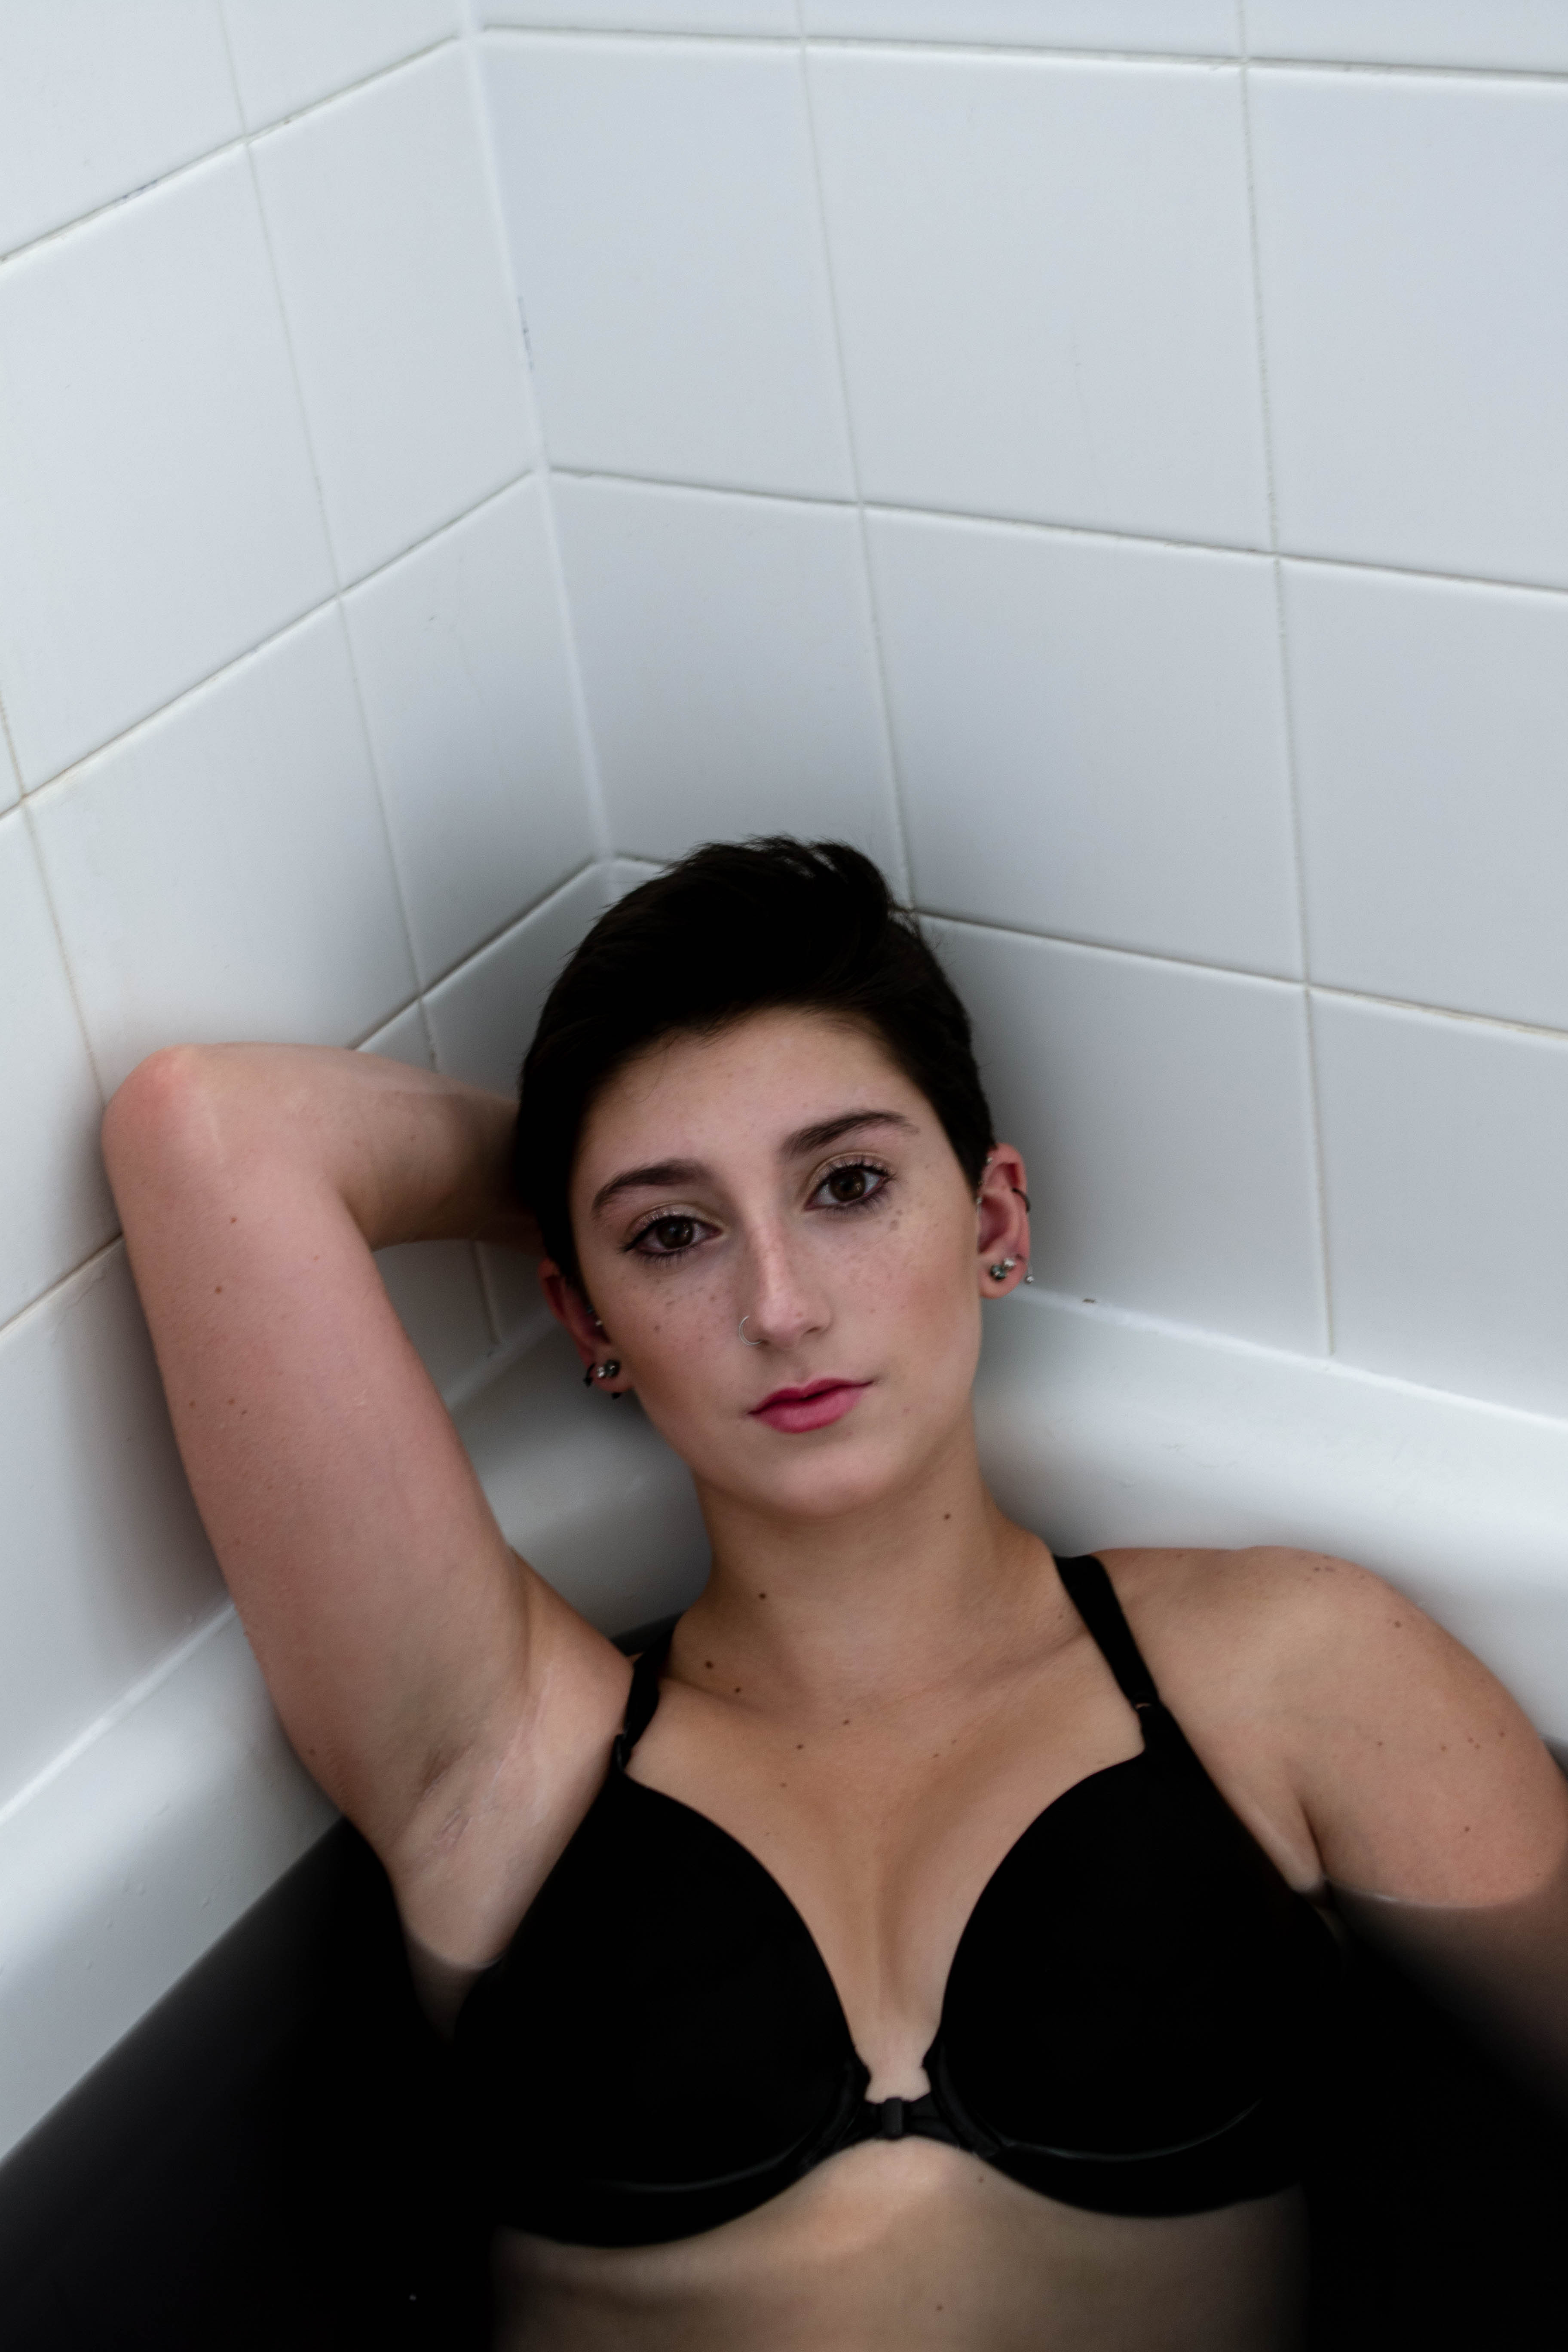
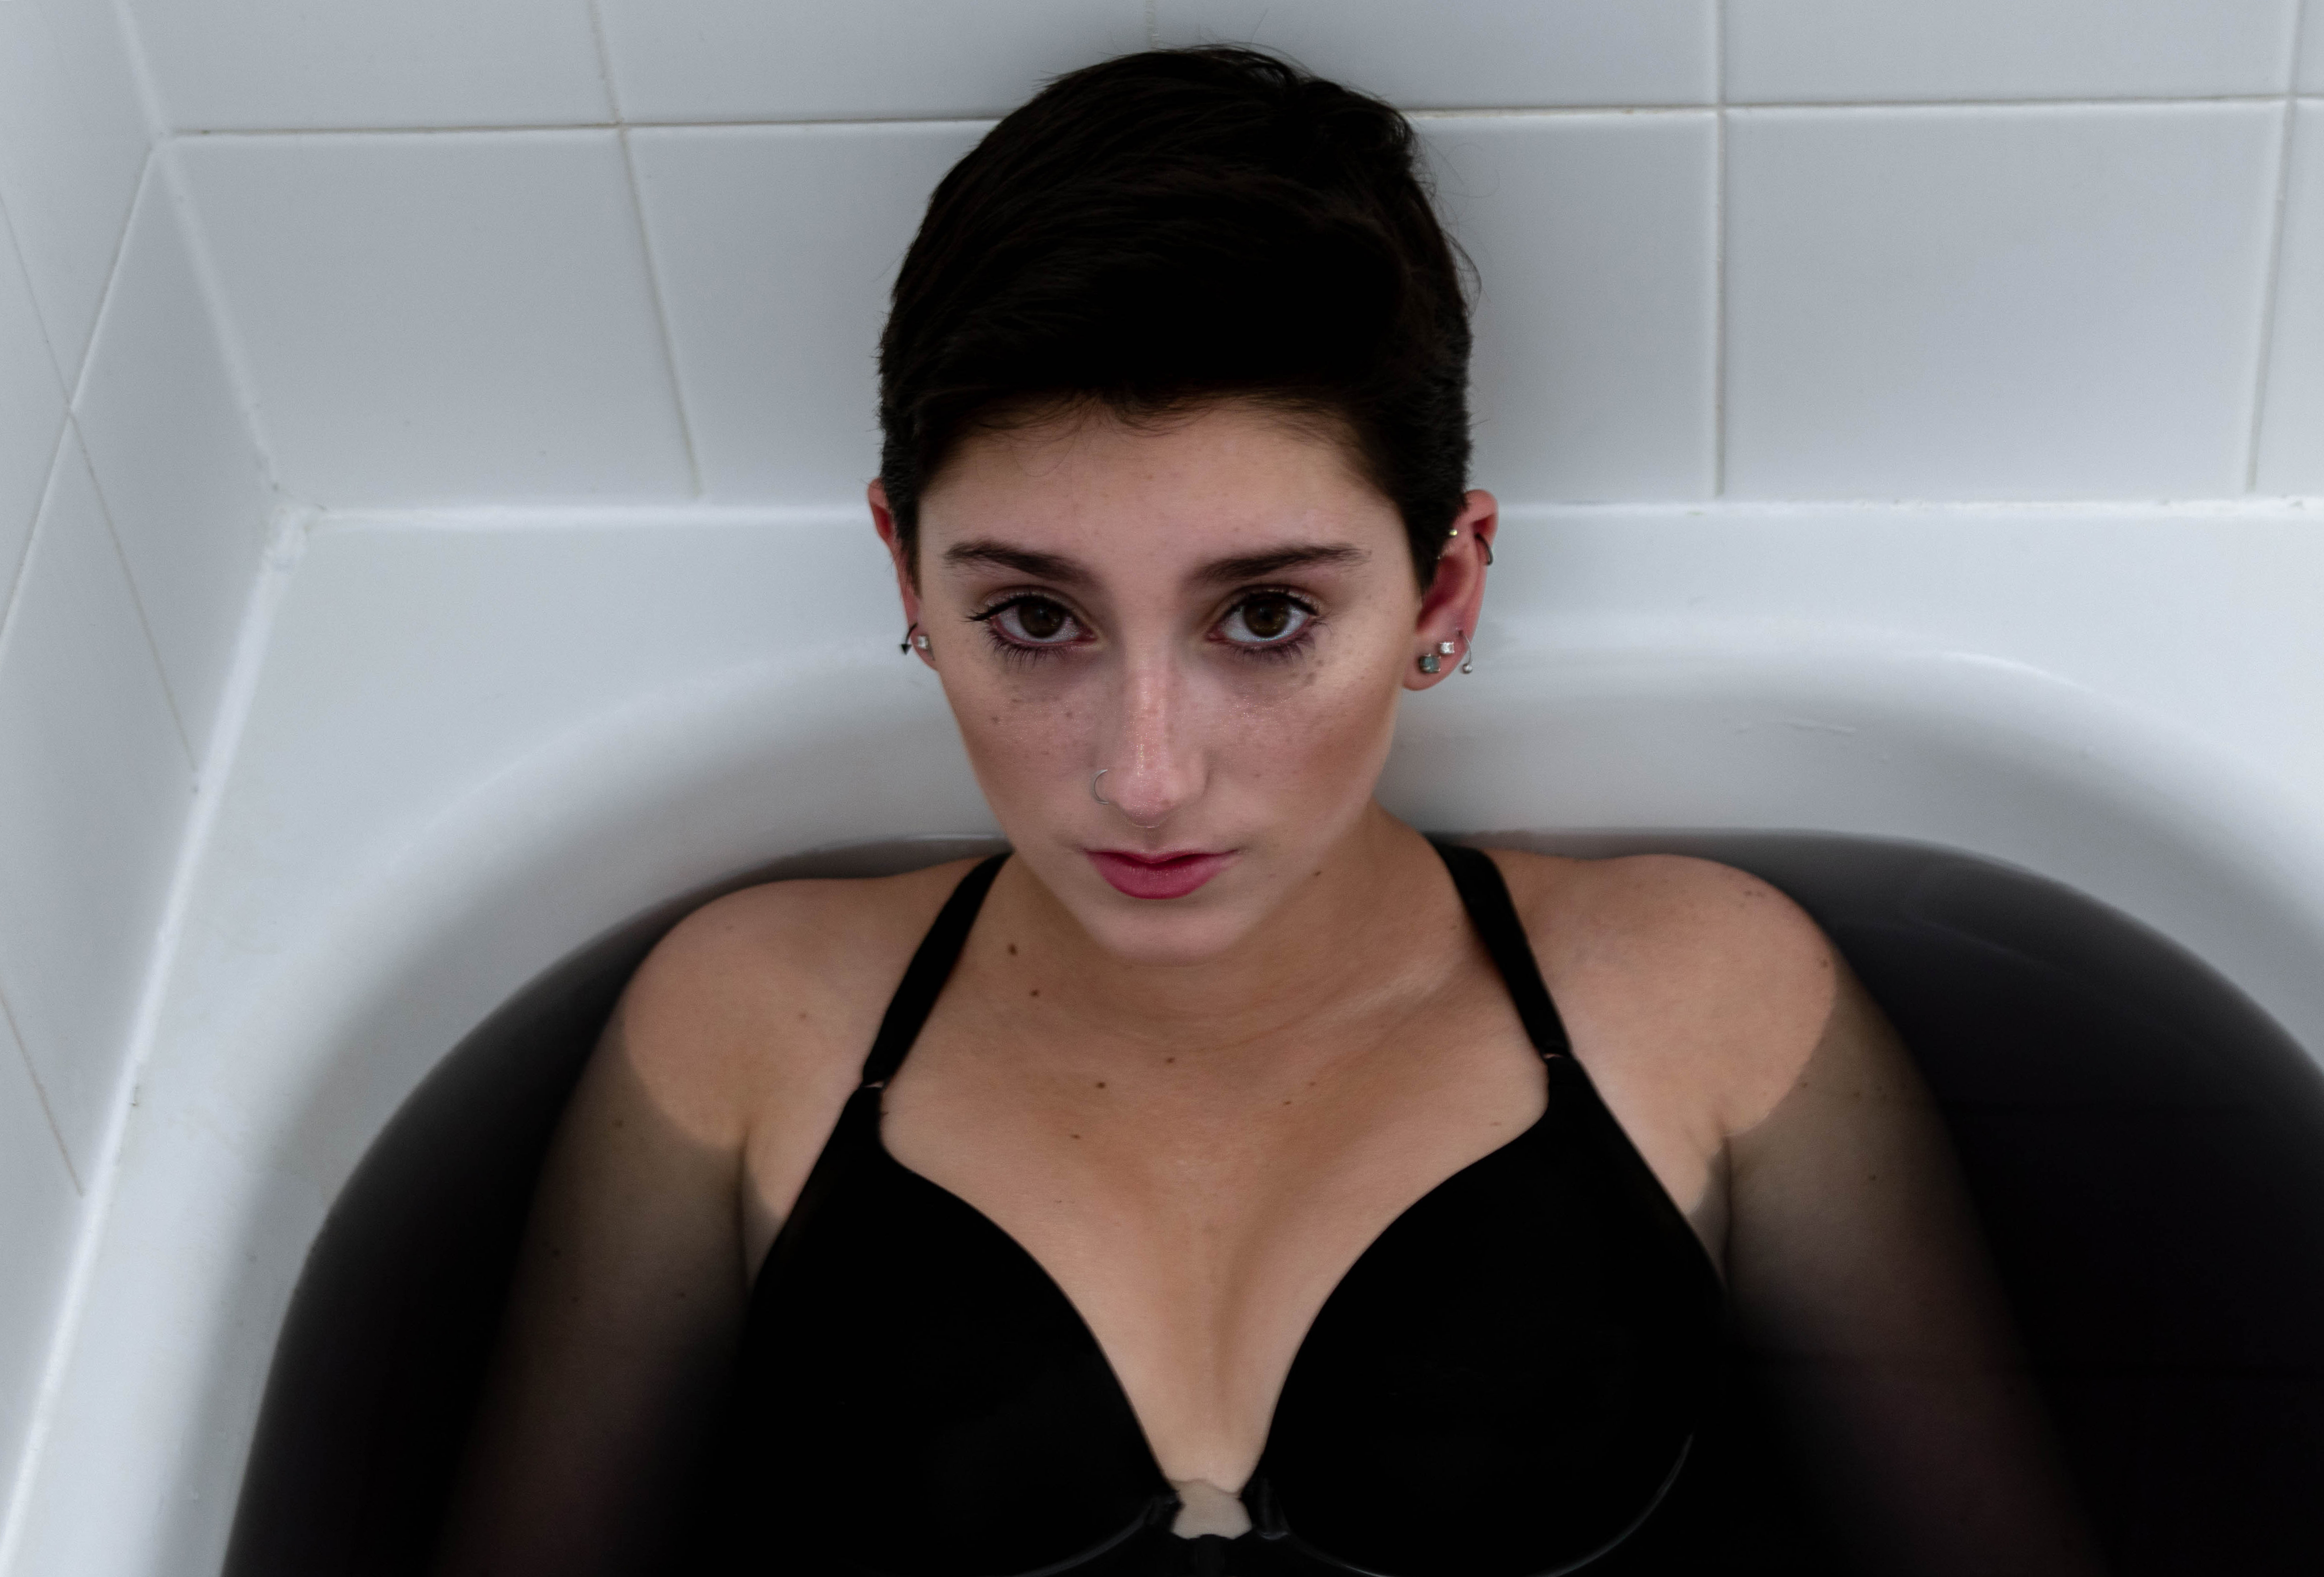
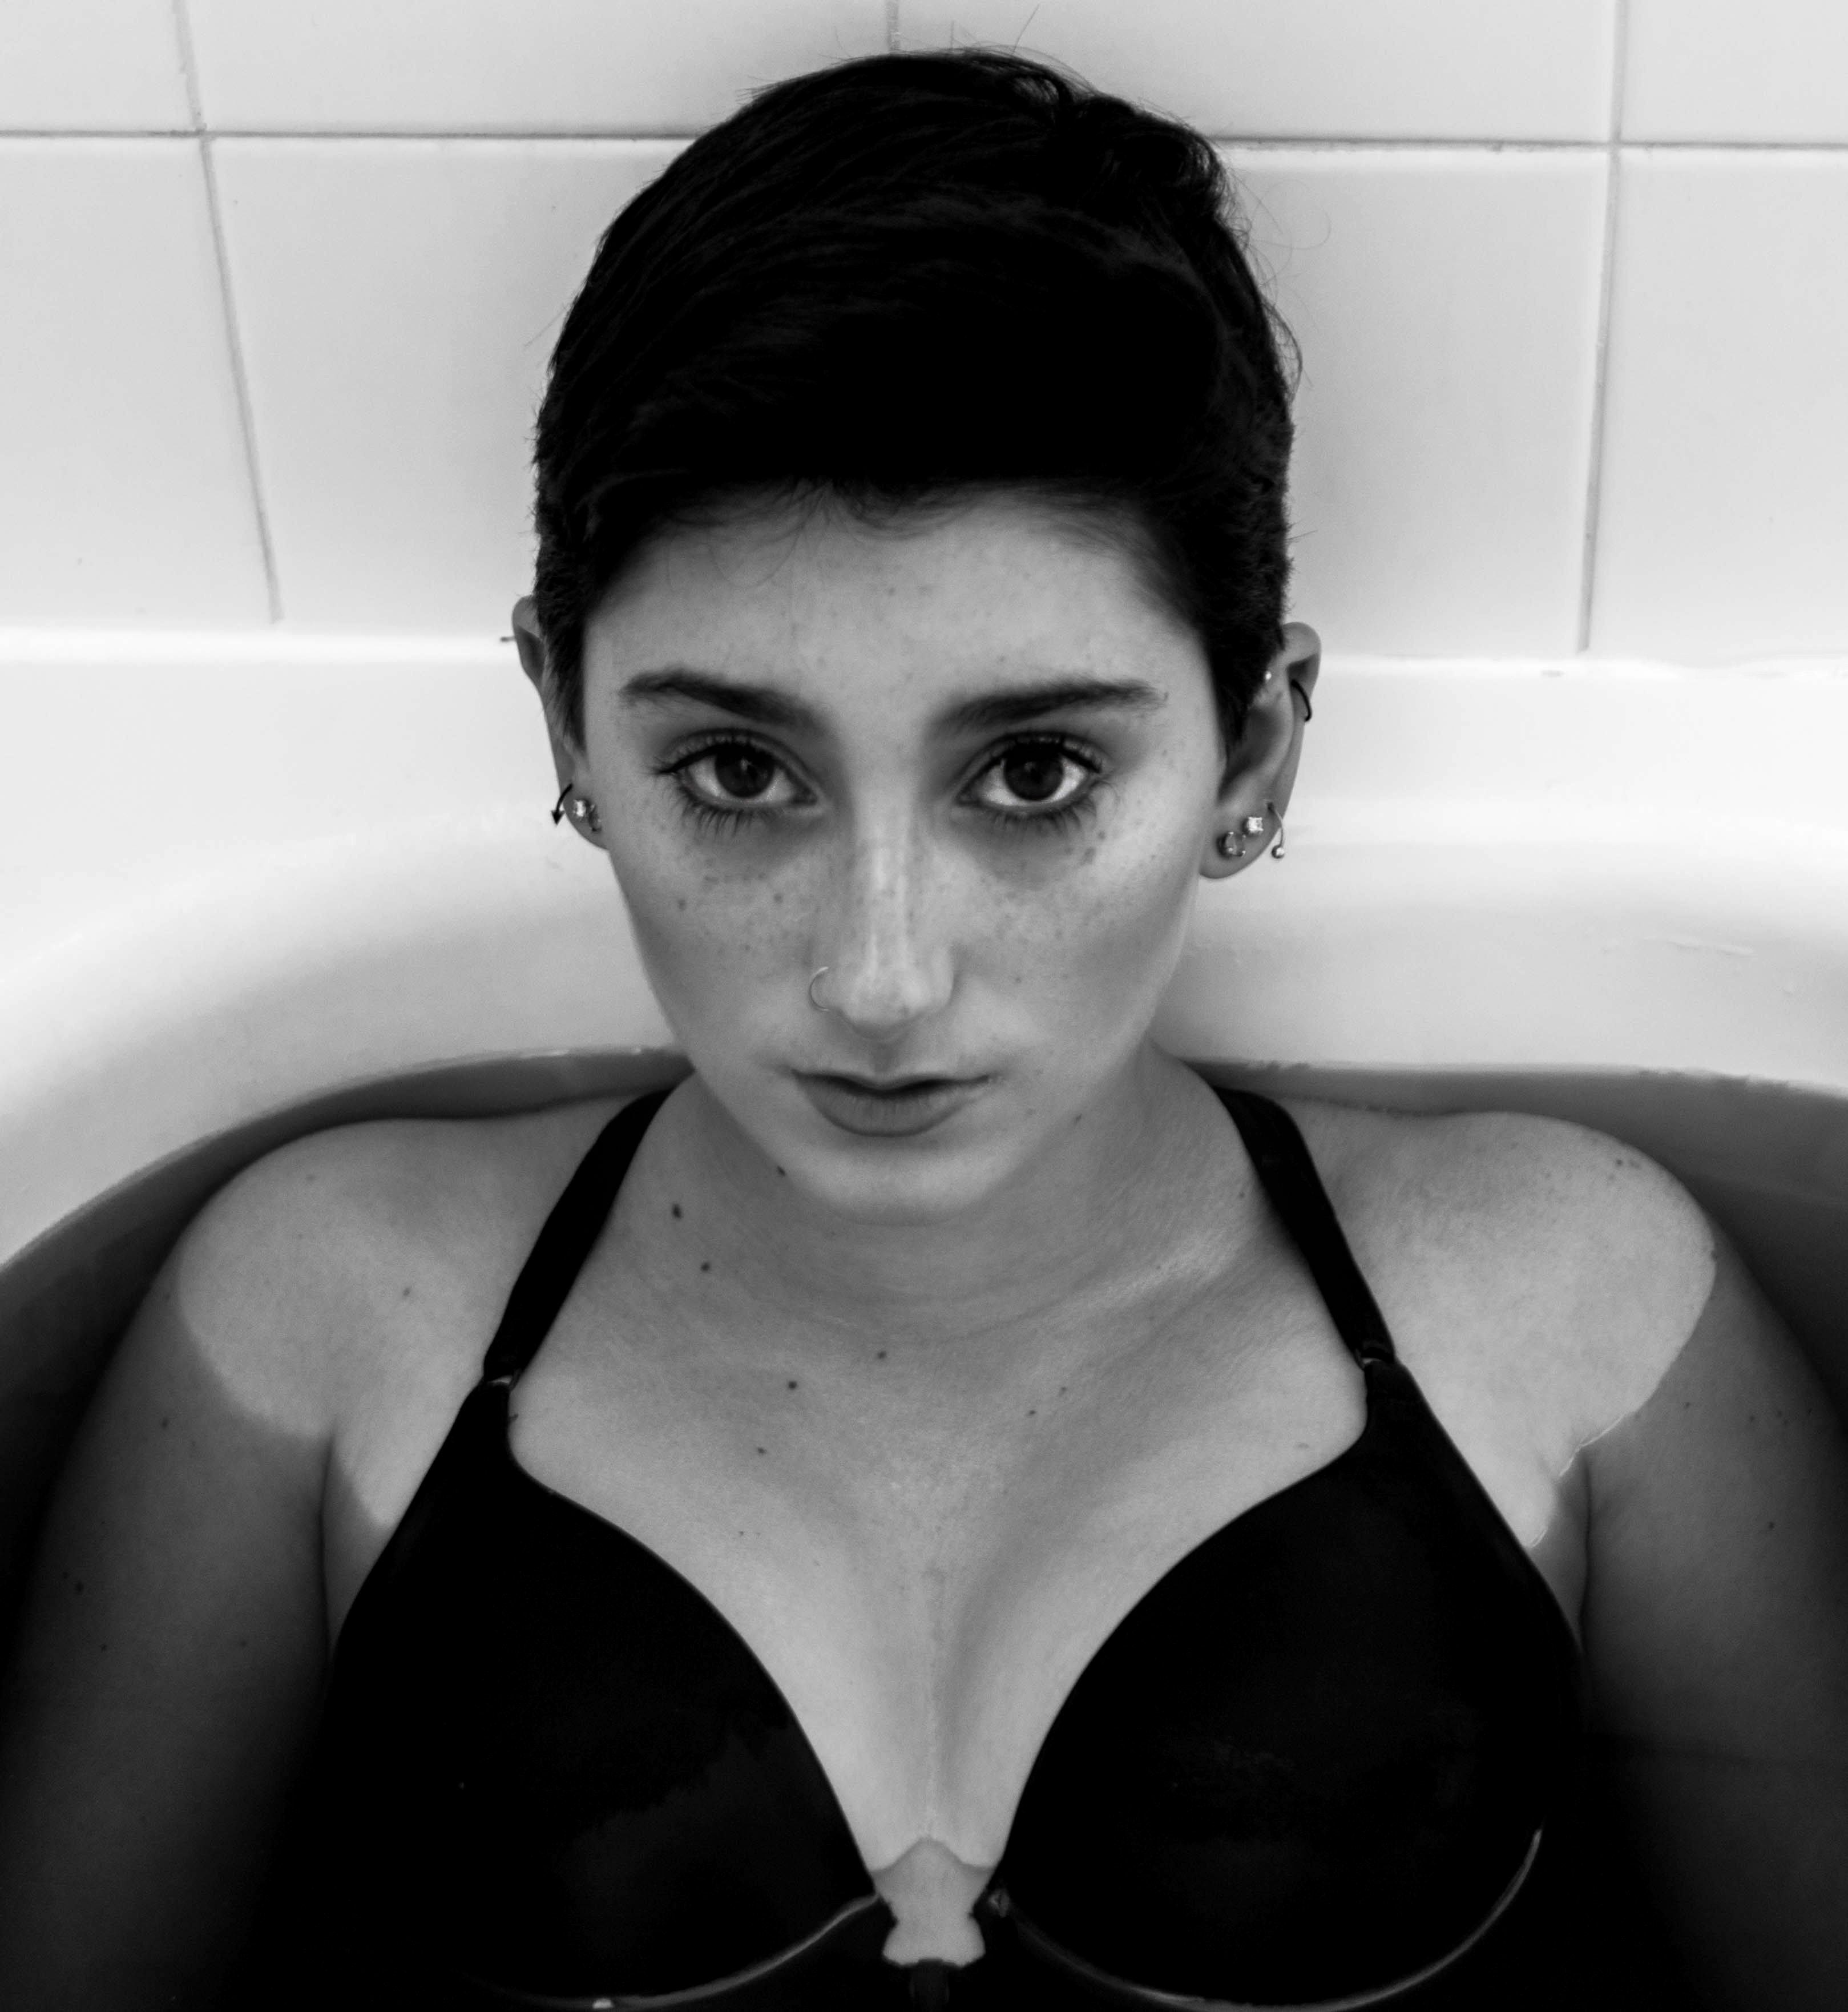
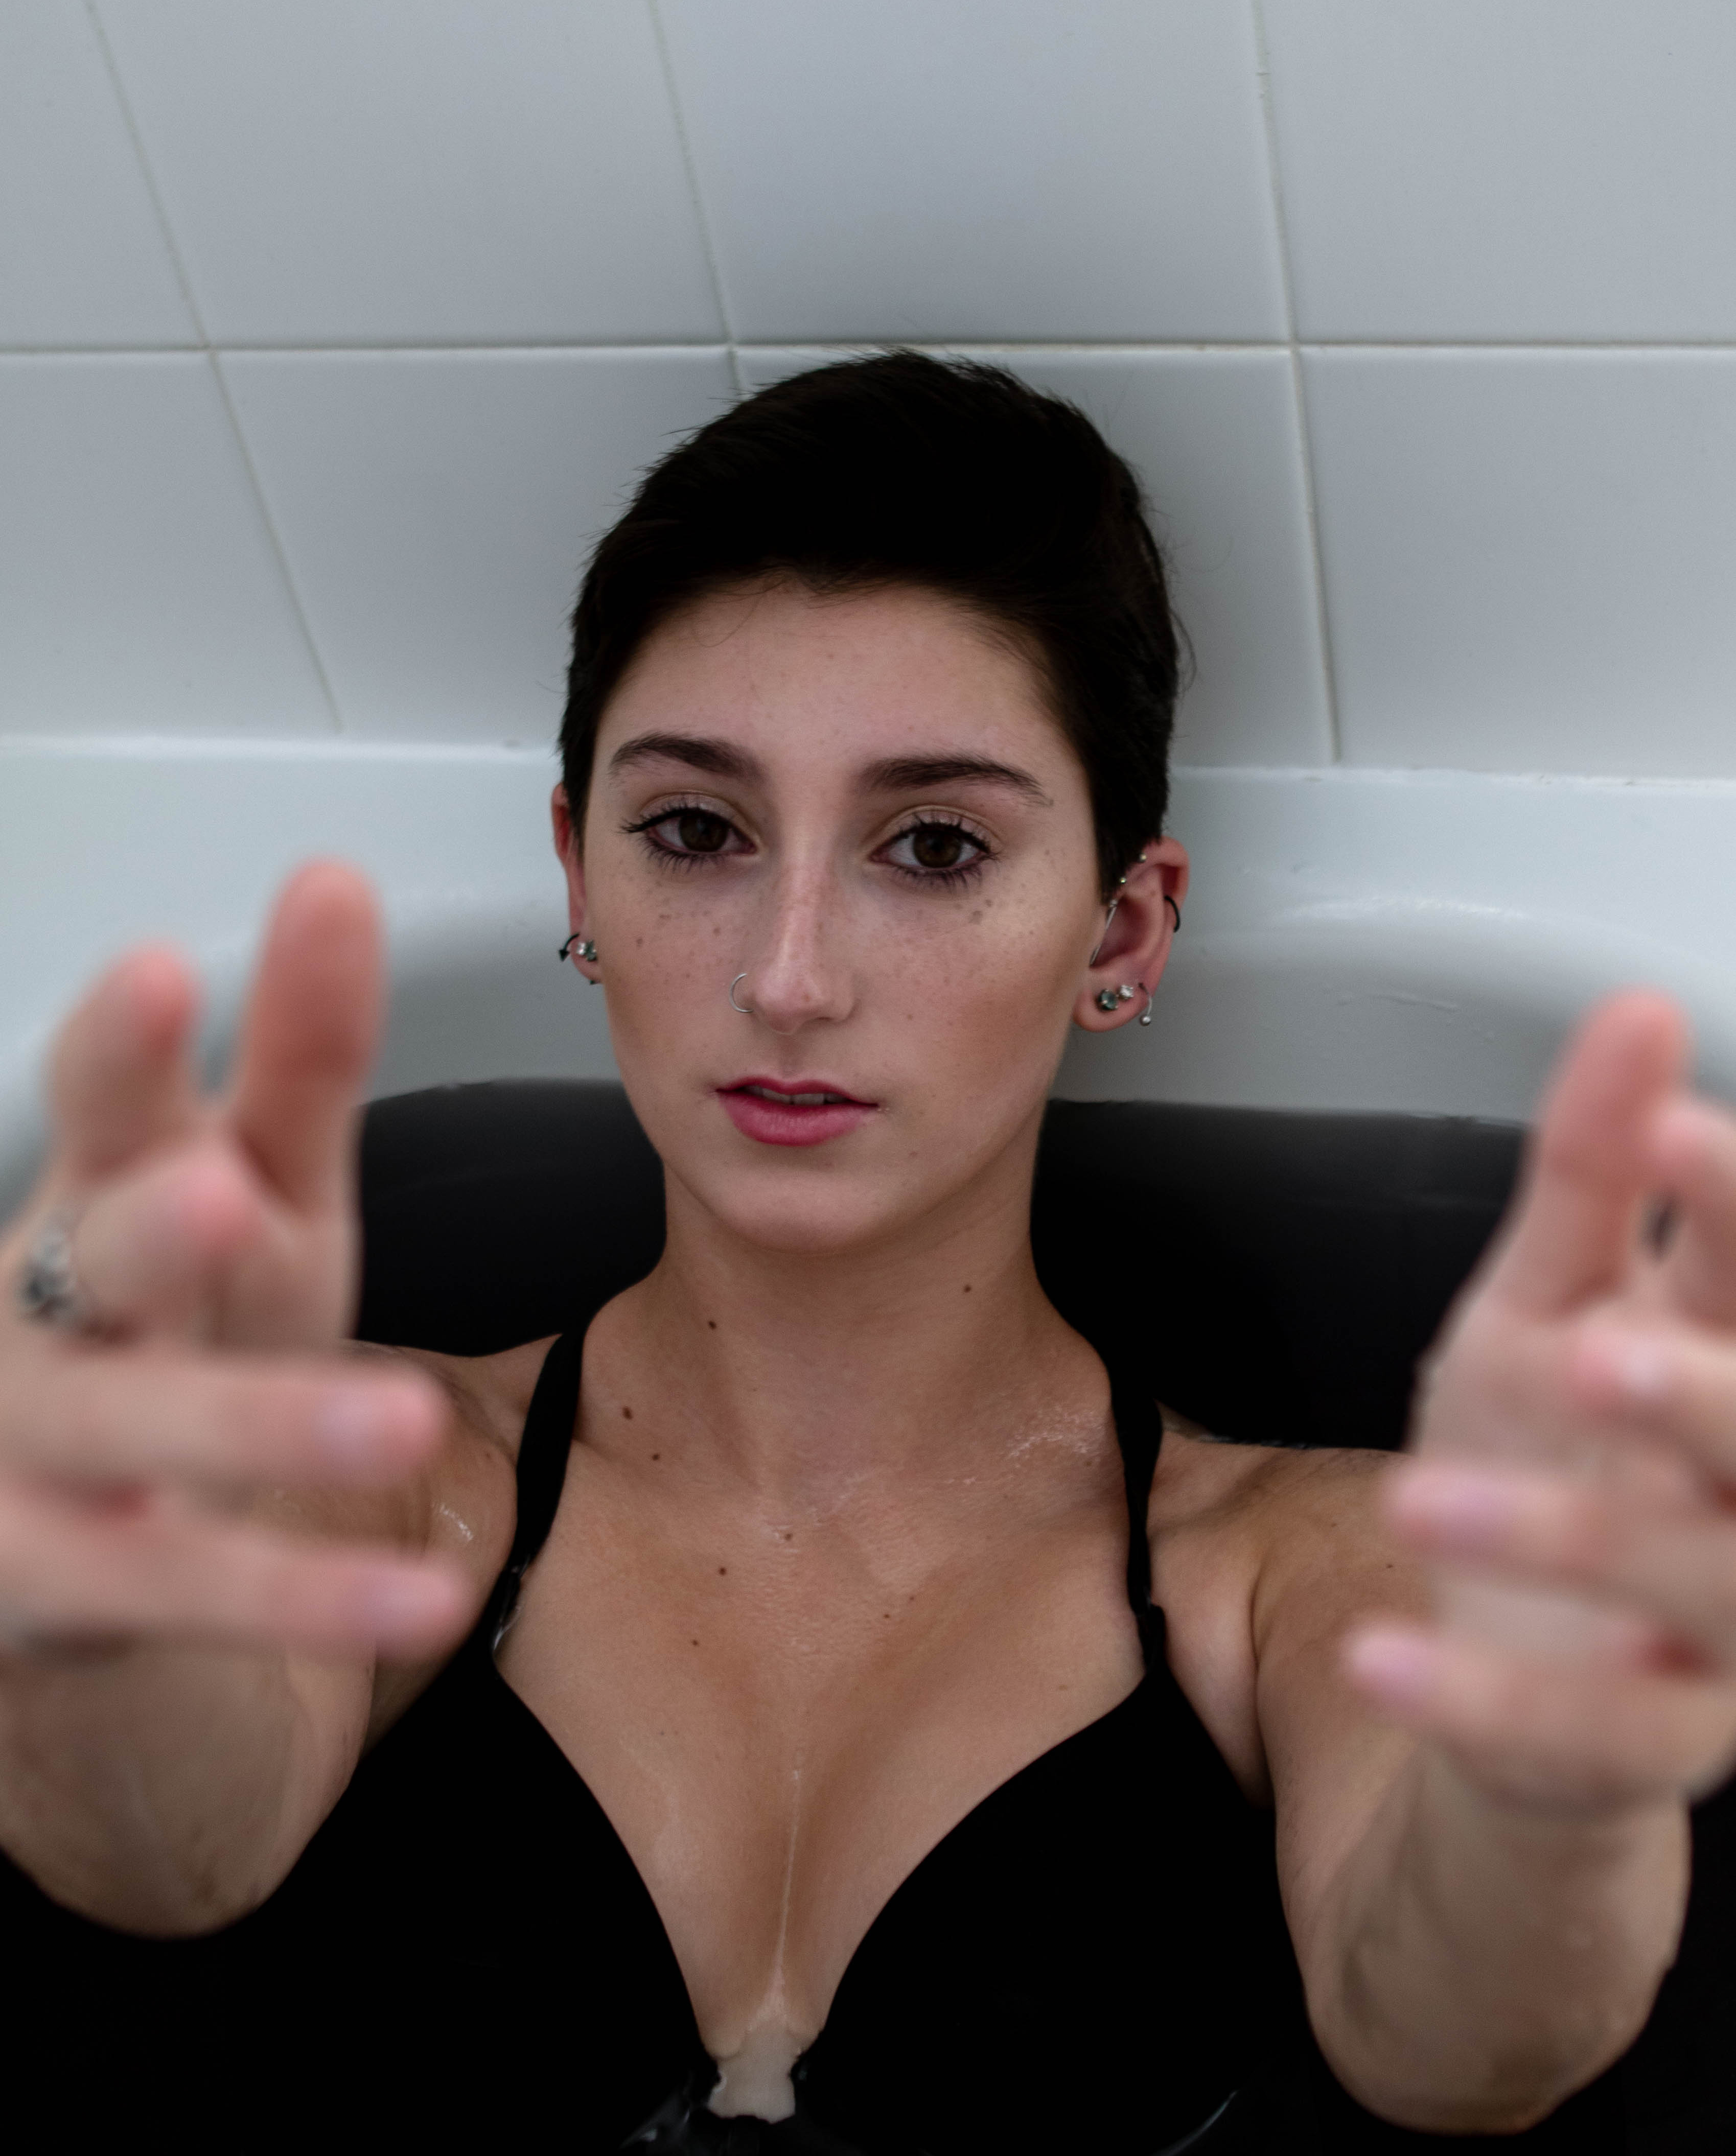
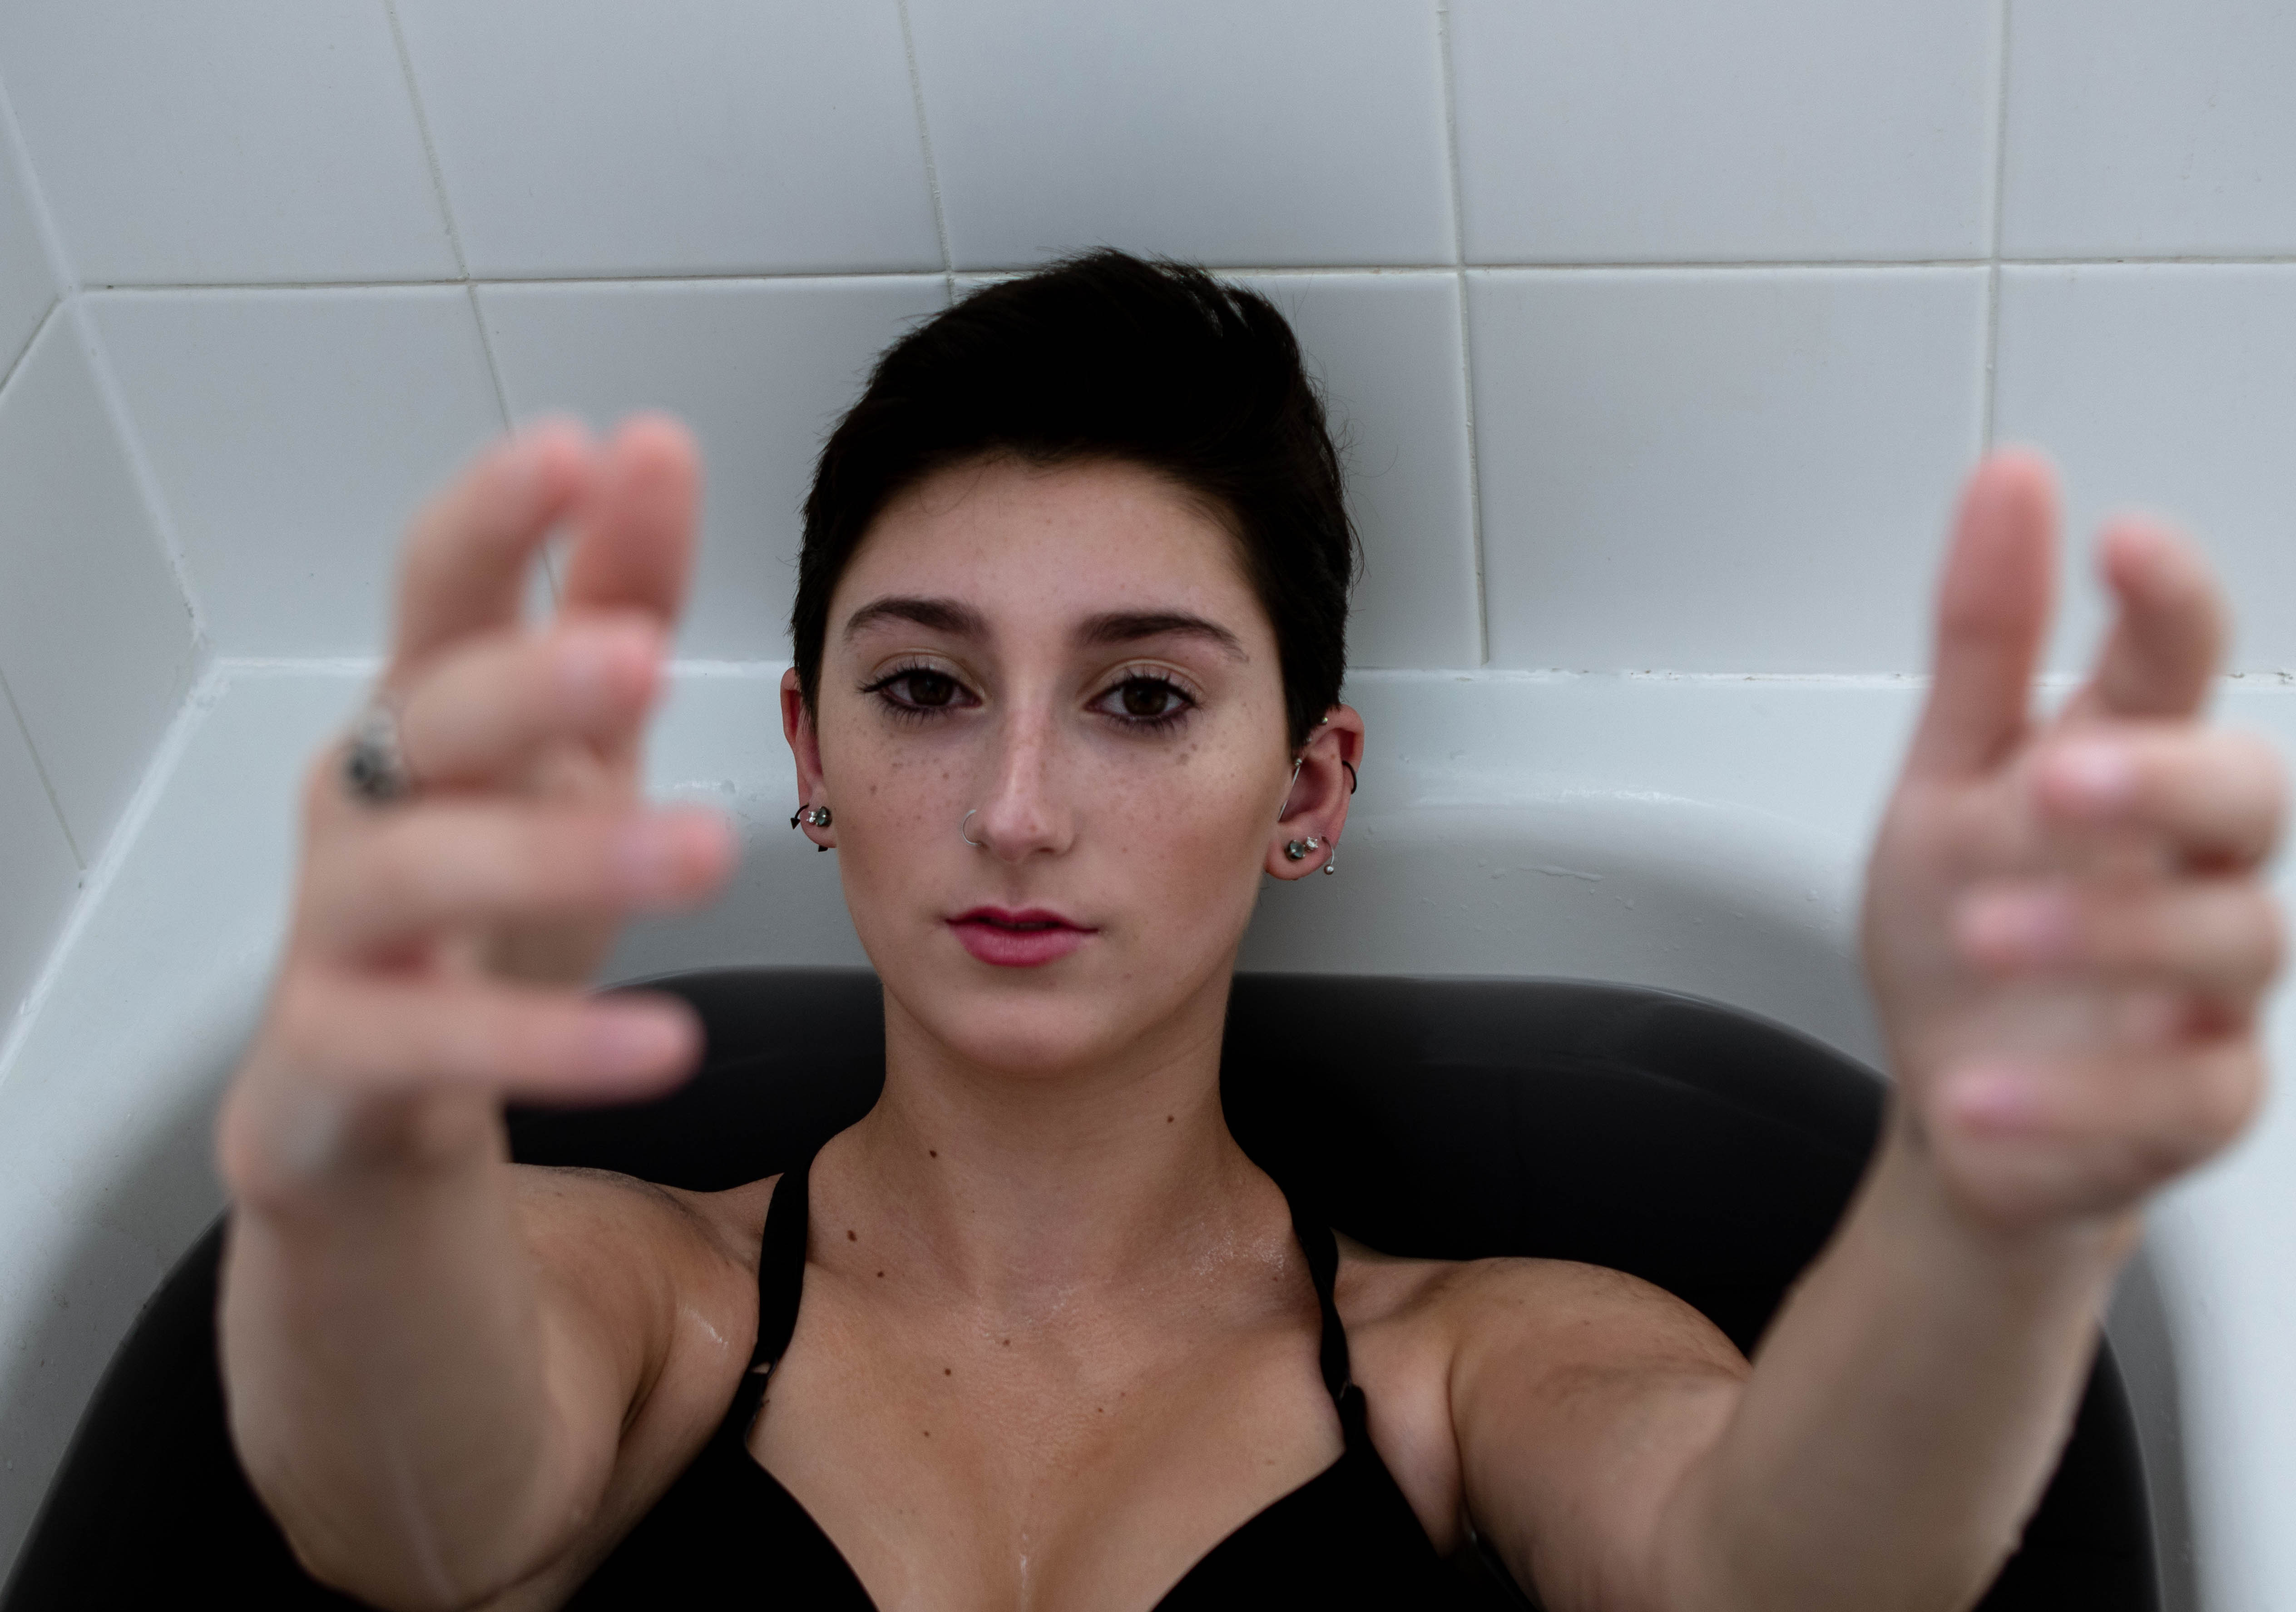
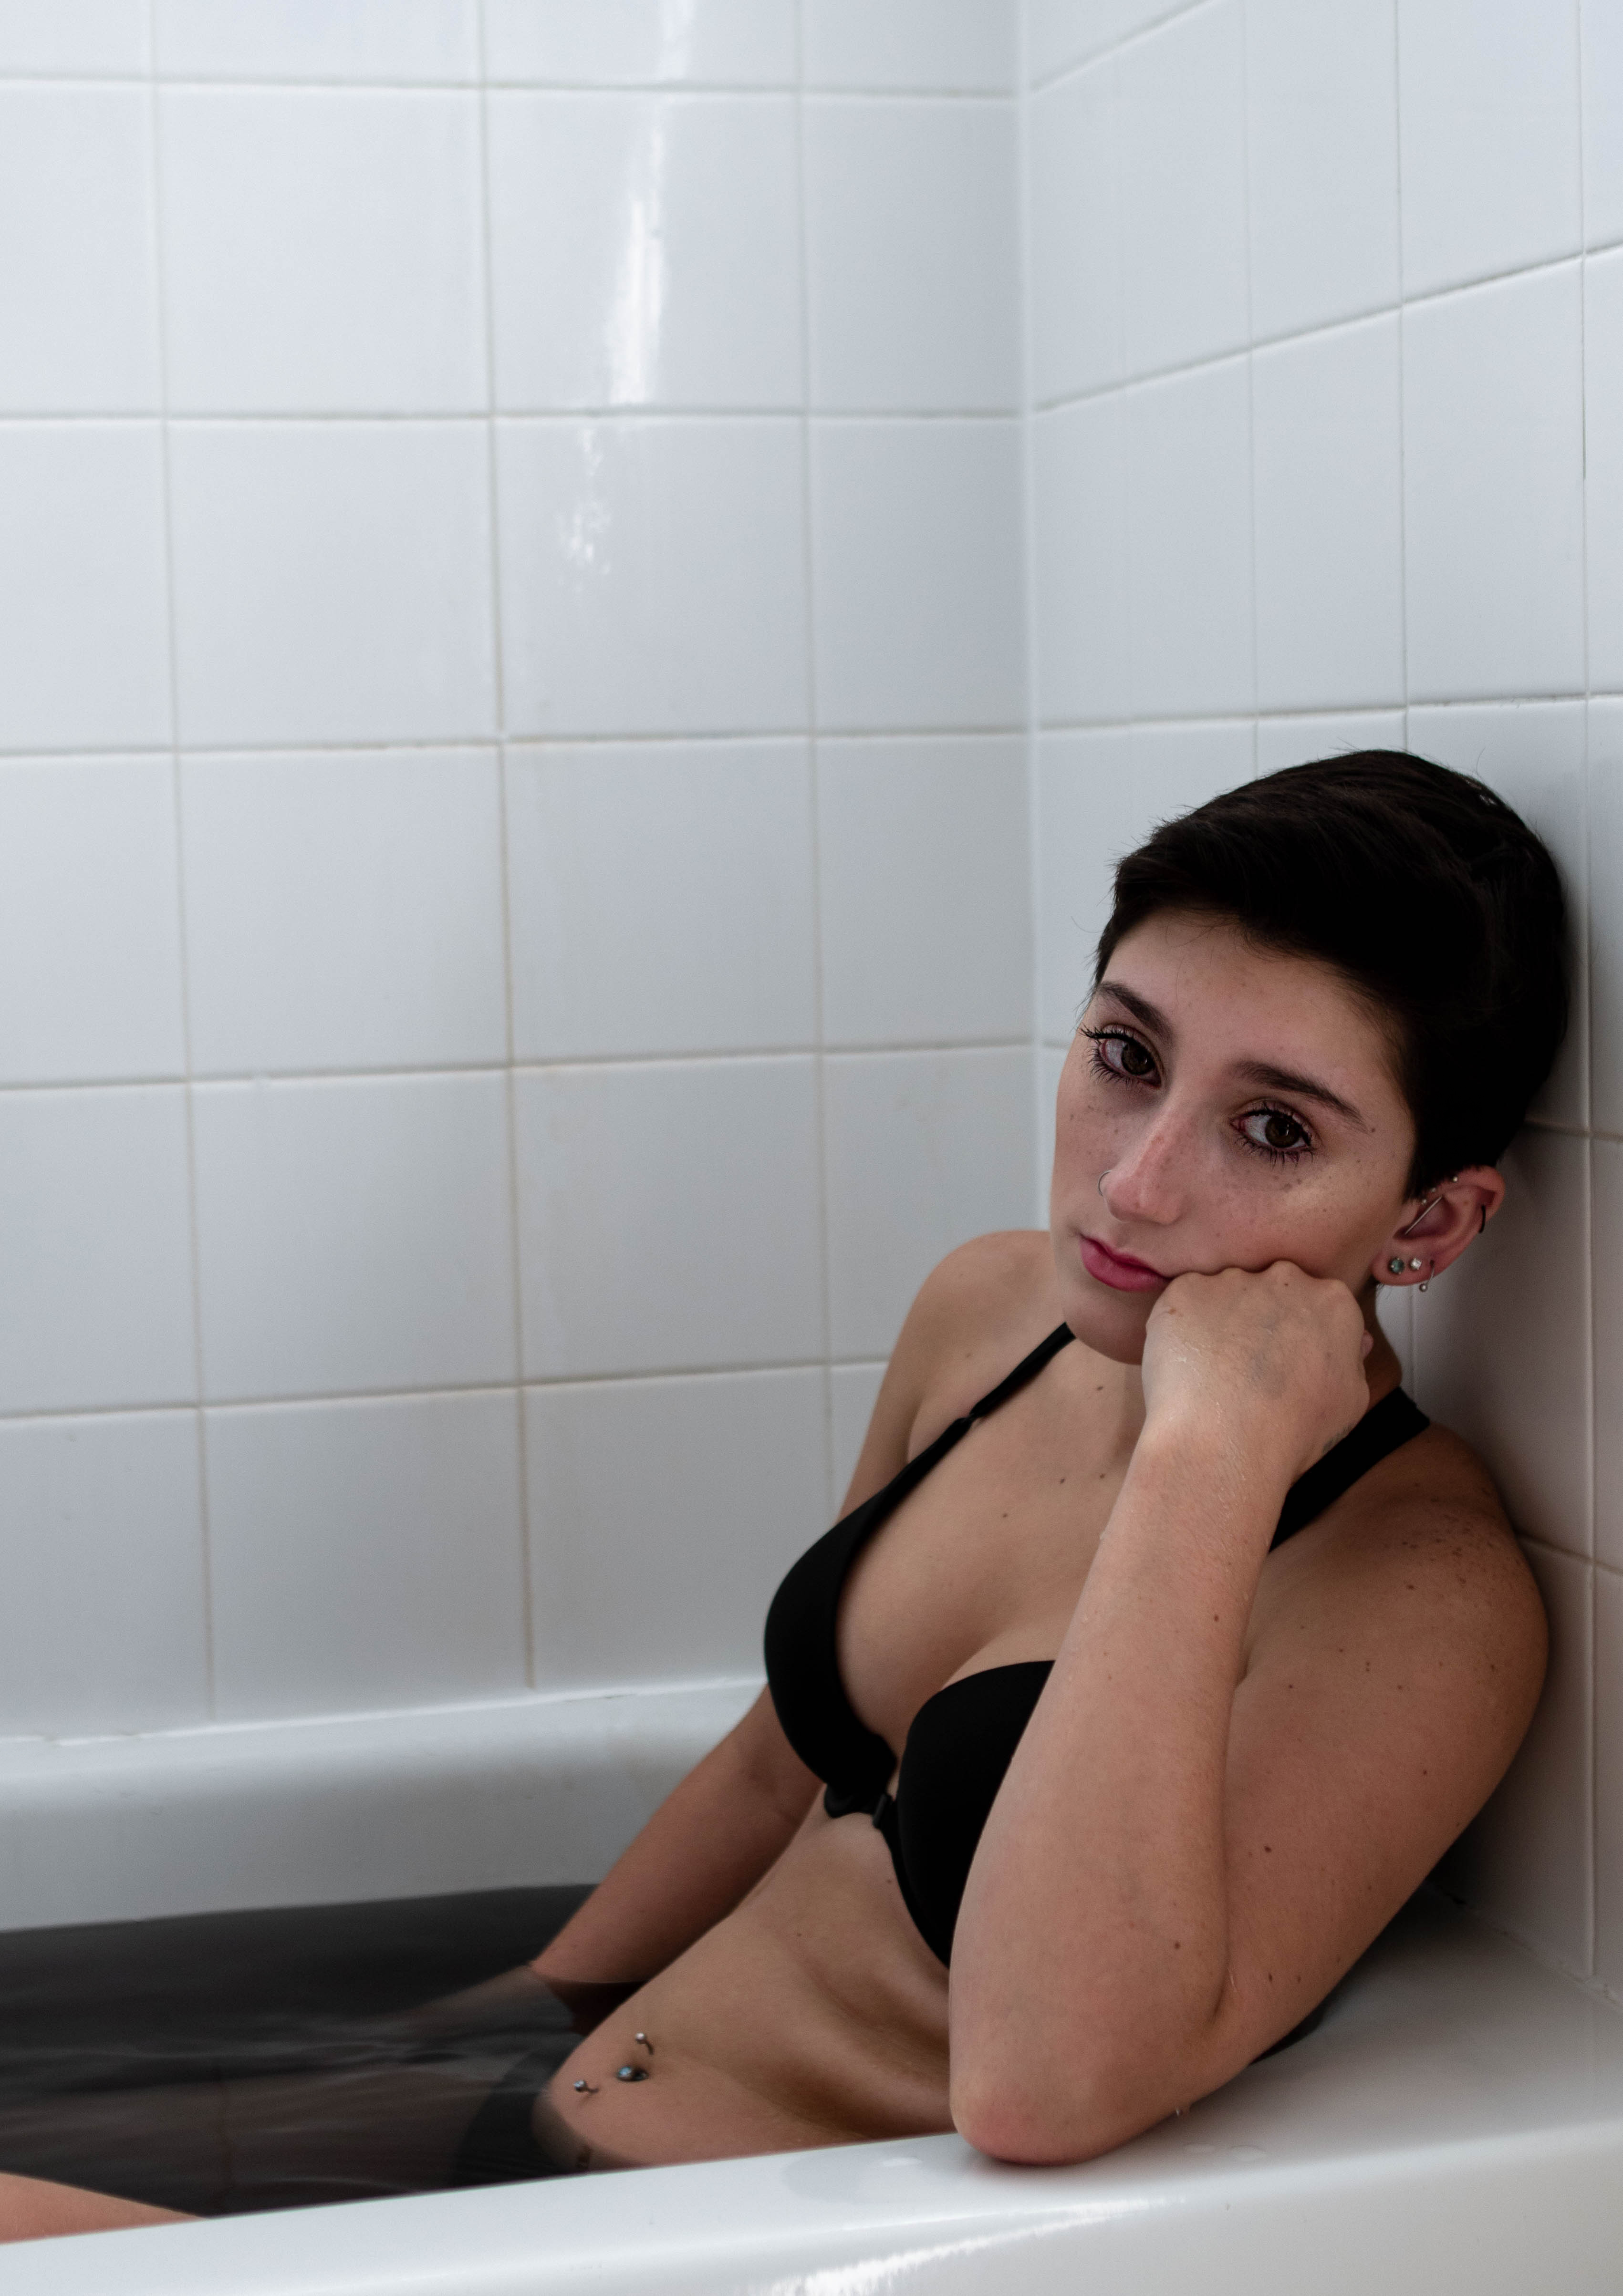

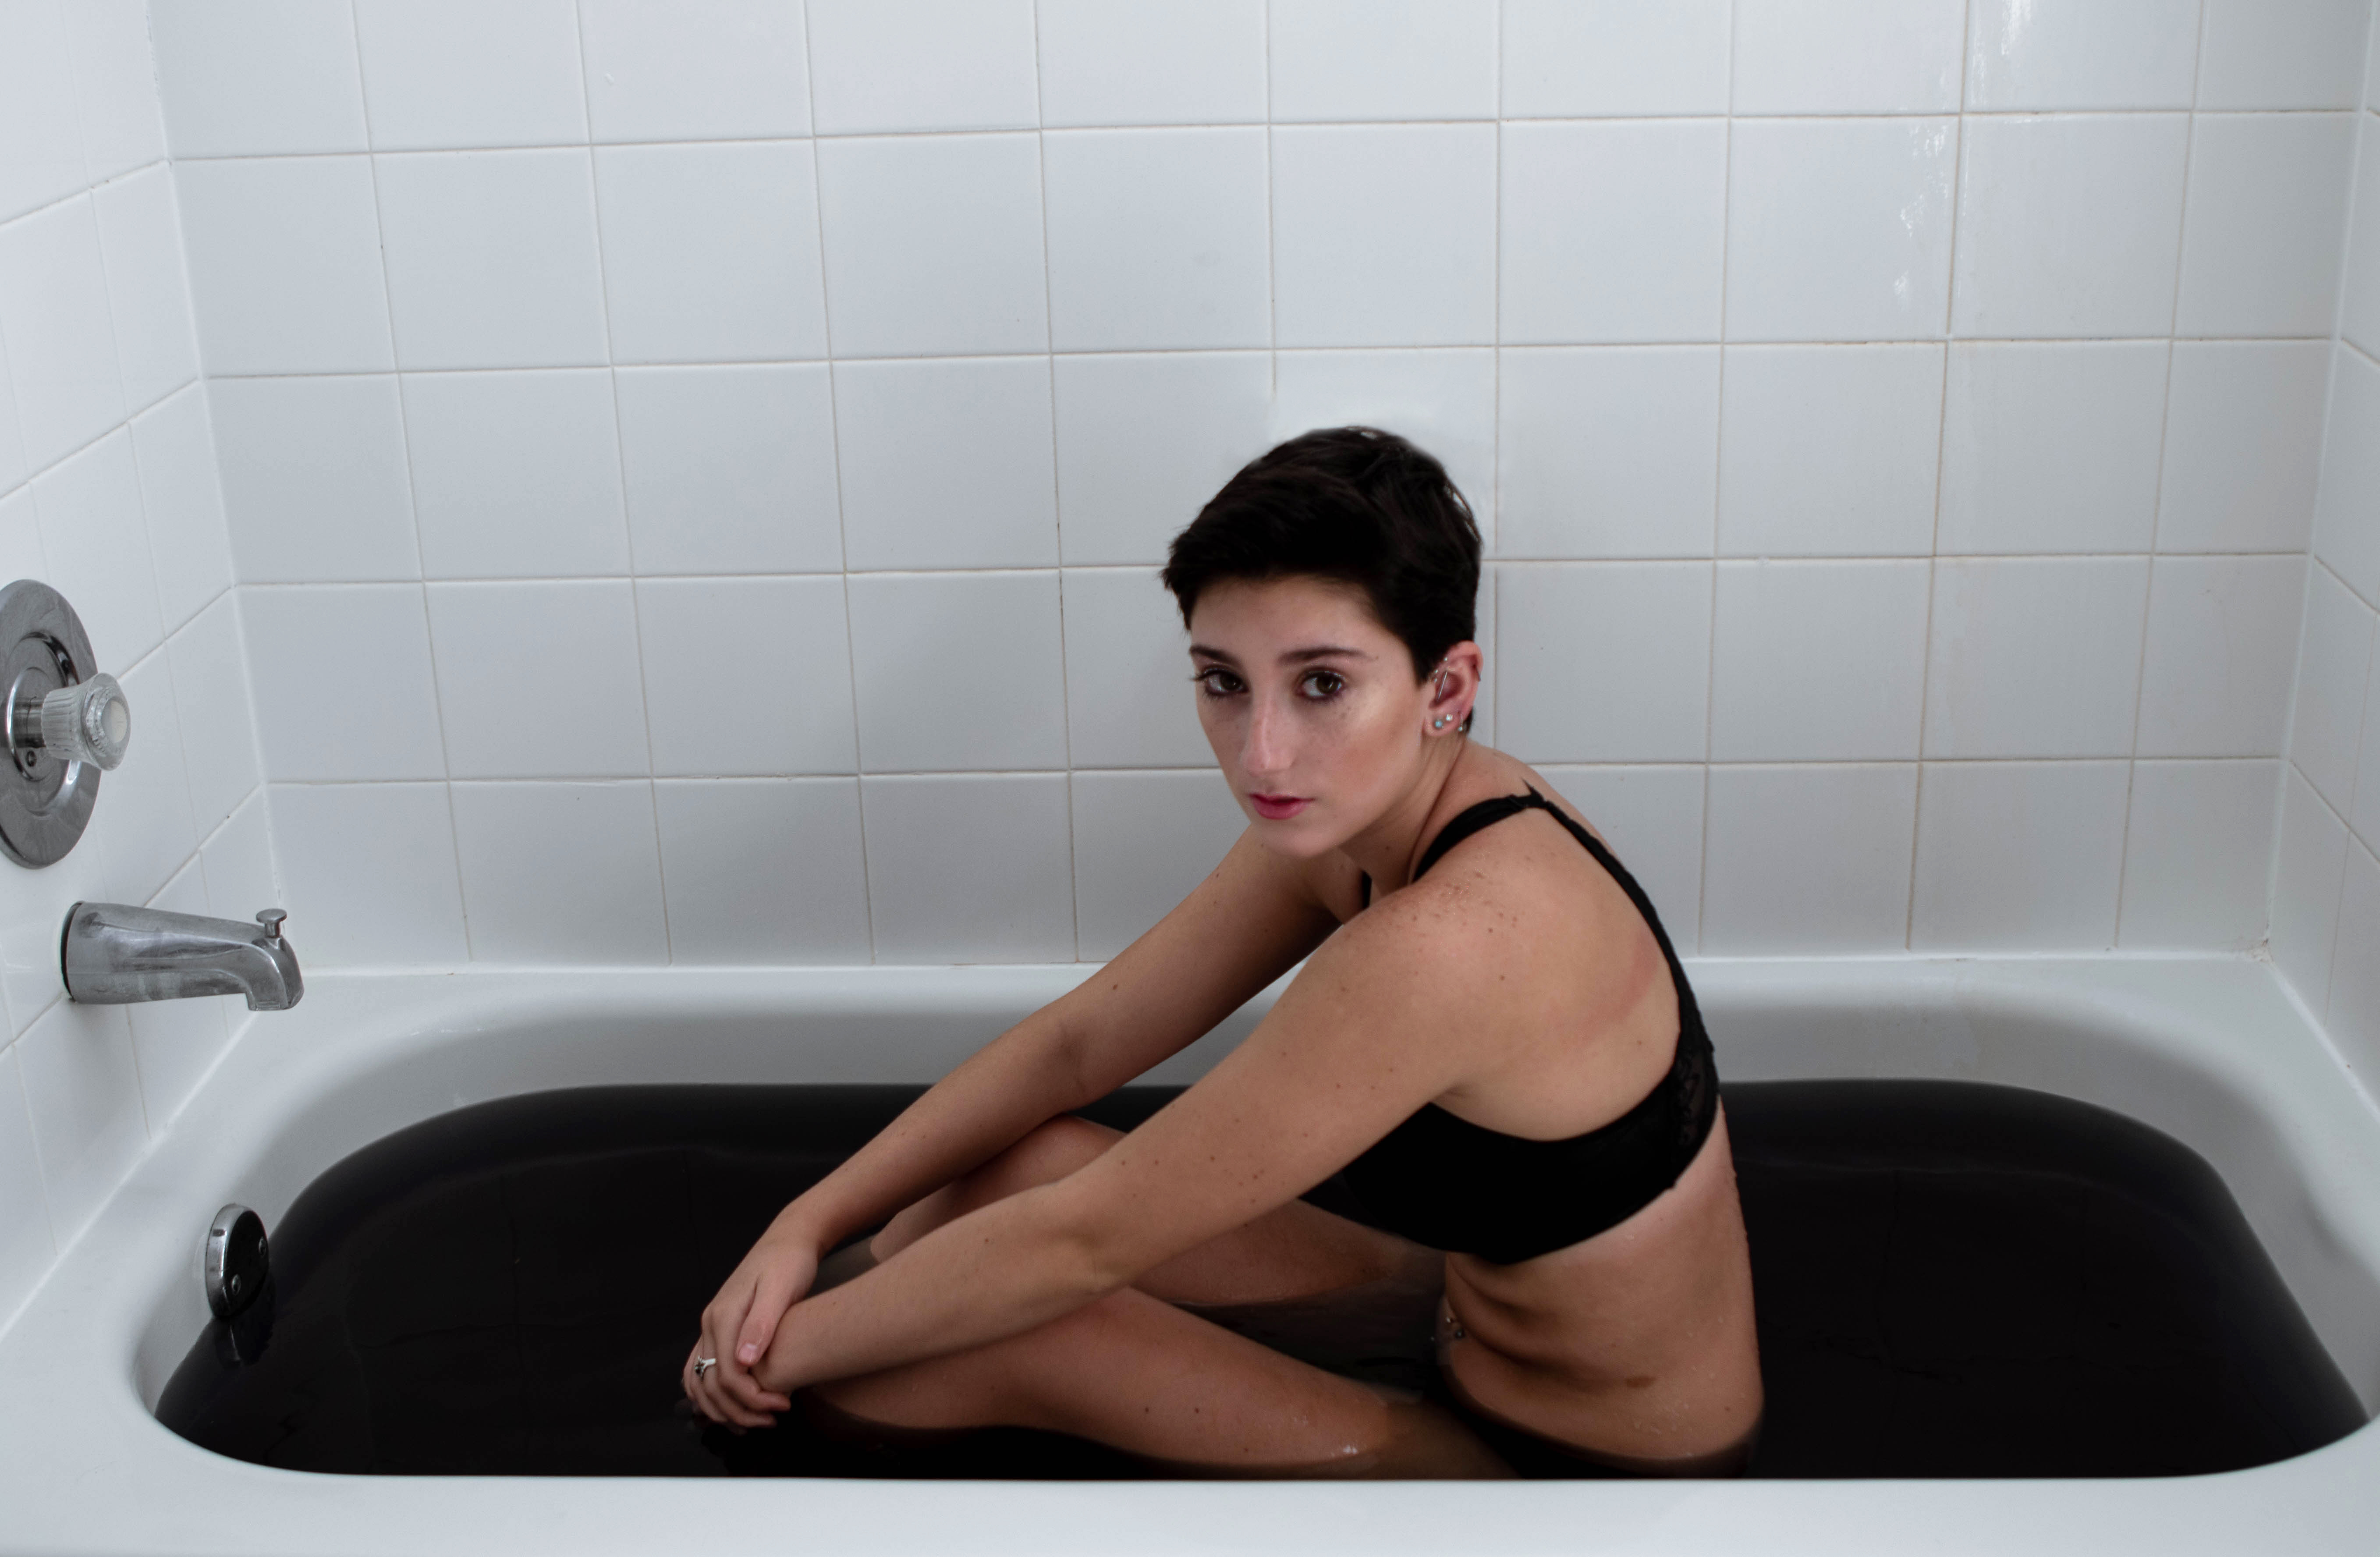

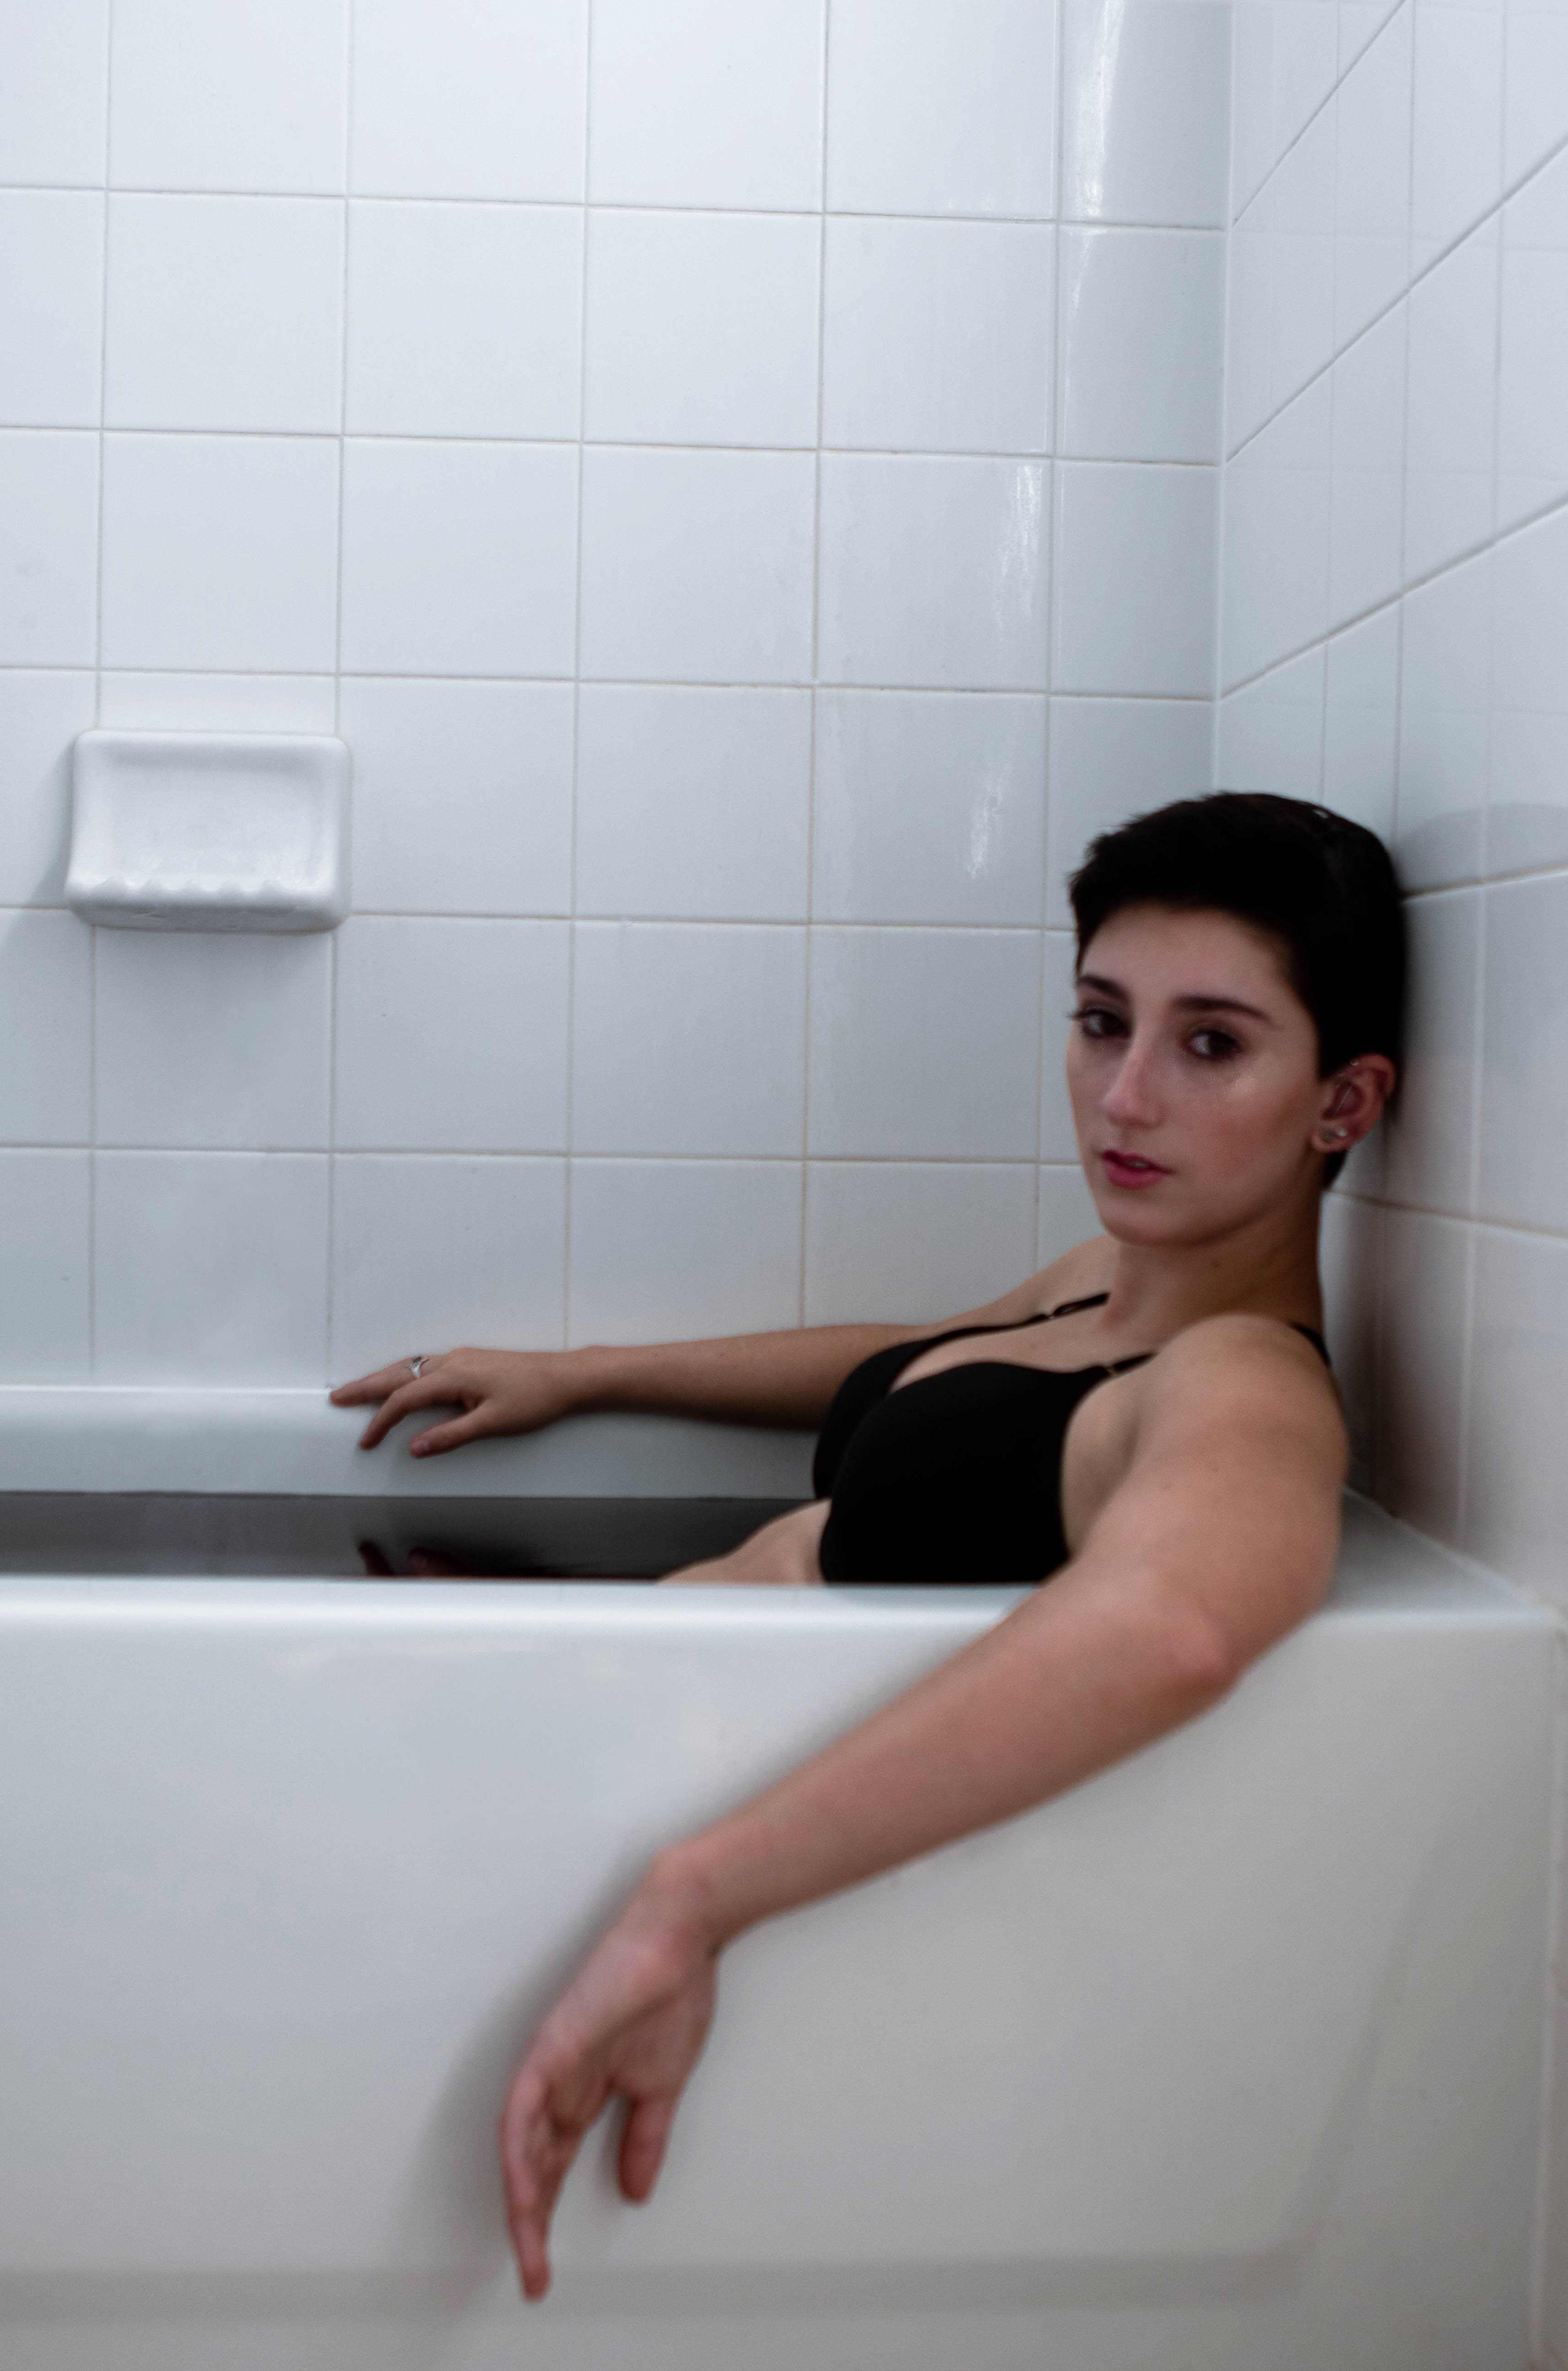


more water portraits
Want to see more of my summer shoots? Click here!
Want to see more of my photography tutorials? Click here to see more!
Want to do a shoot together? Click here for booking and pricing information! or click here to book me for your photography needs!
Instagram: @goodallphotos
Facebook Page: @goodallphotographs
Contact me! goodallphotos1@gmail.com
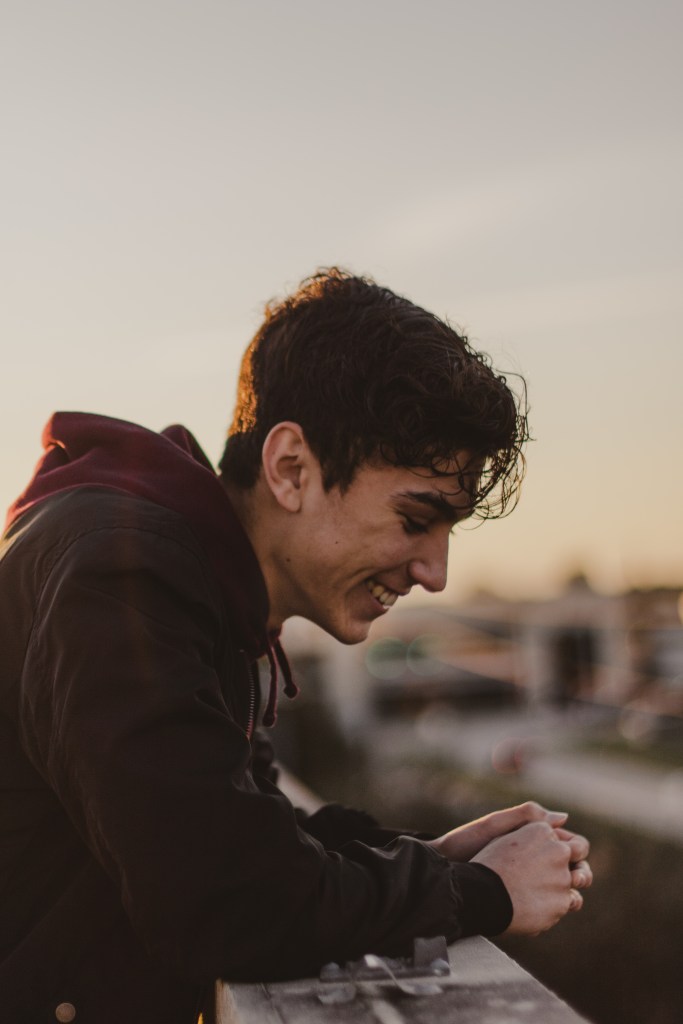
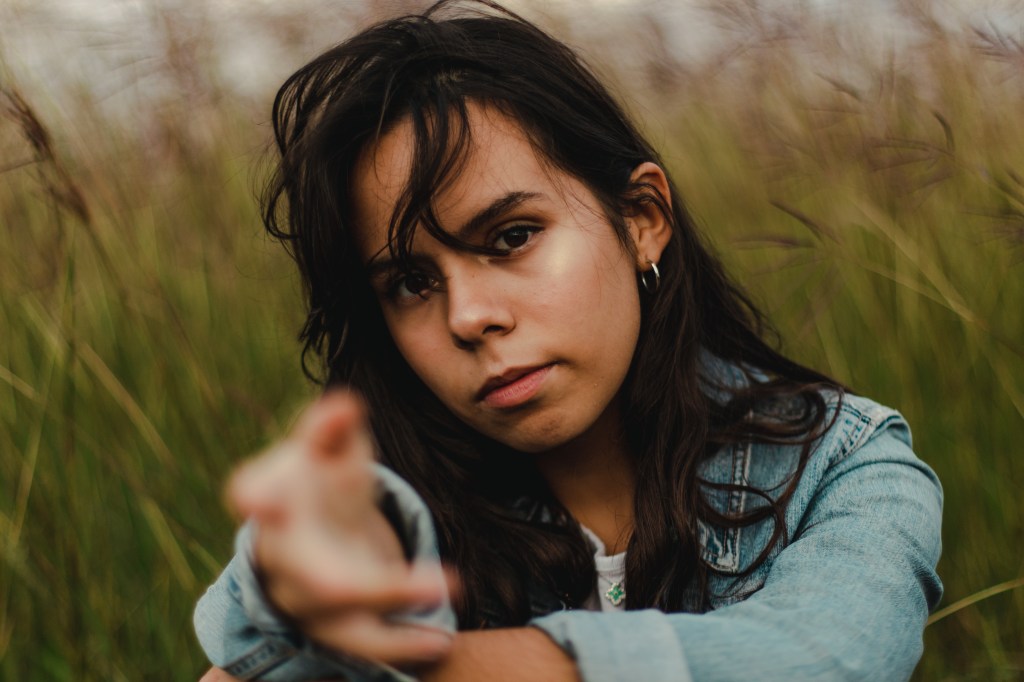
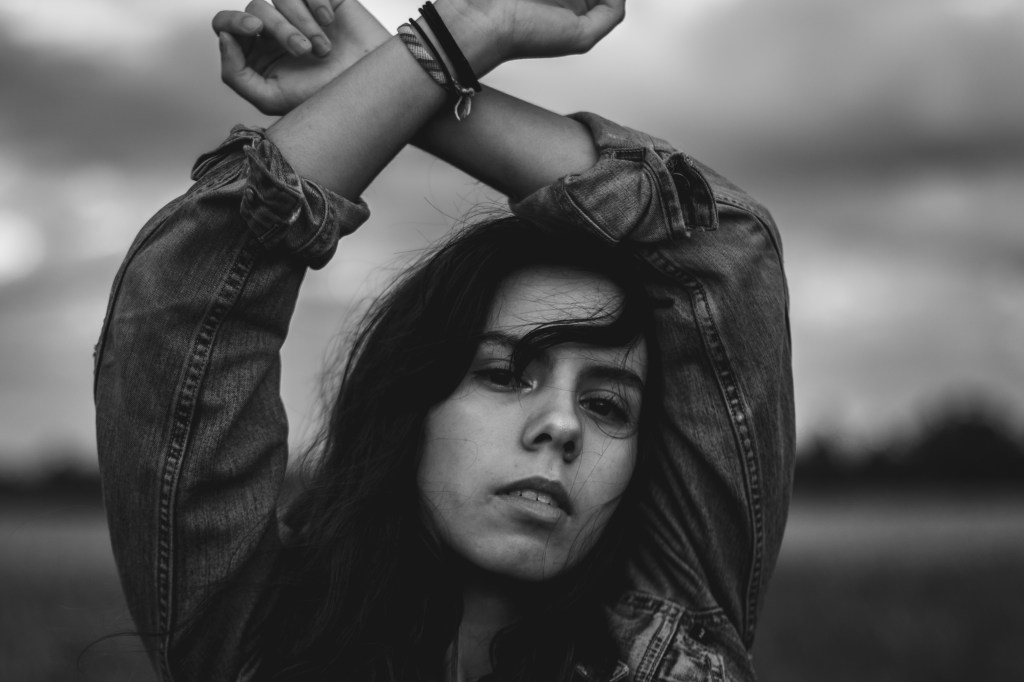
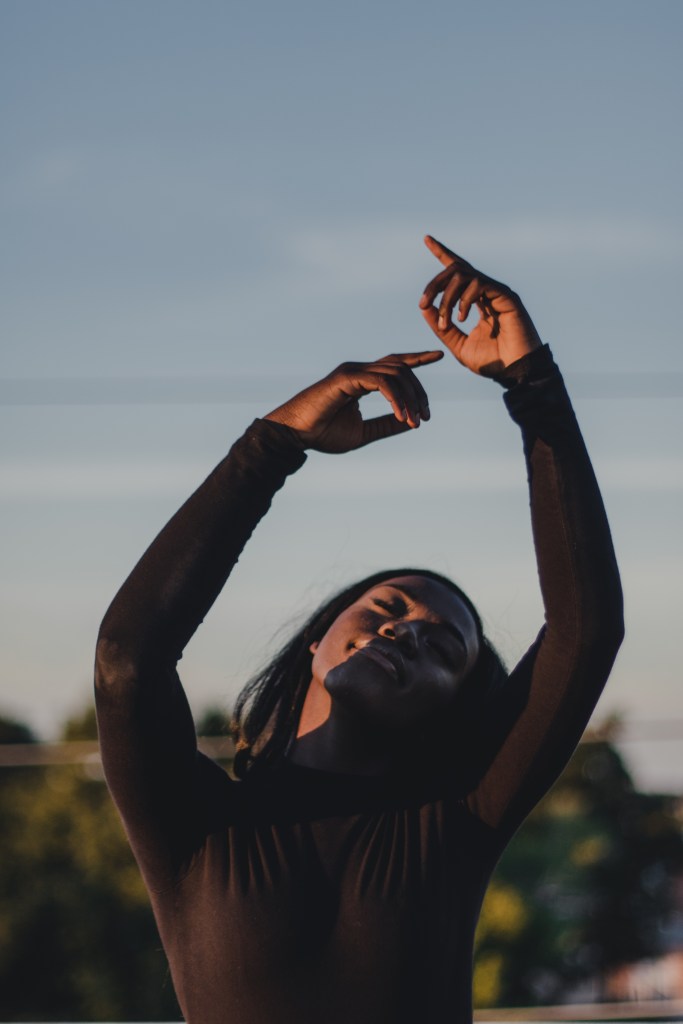
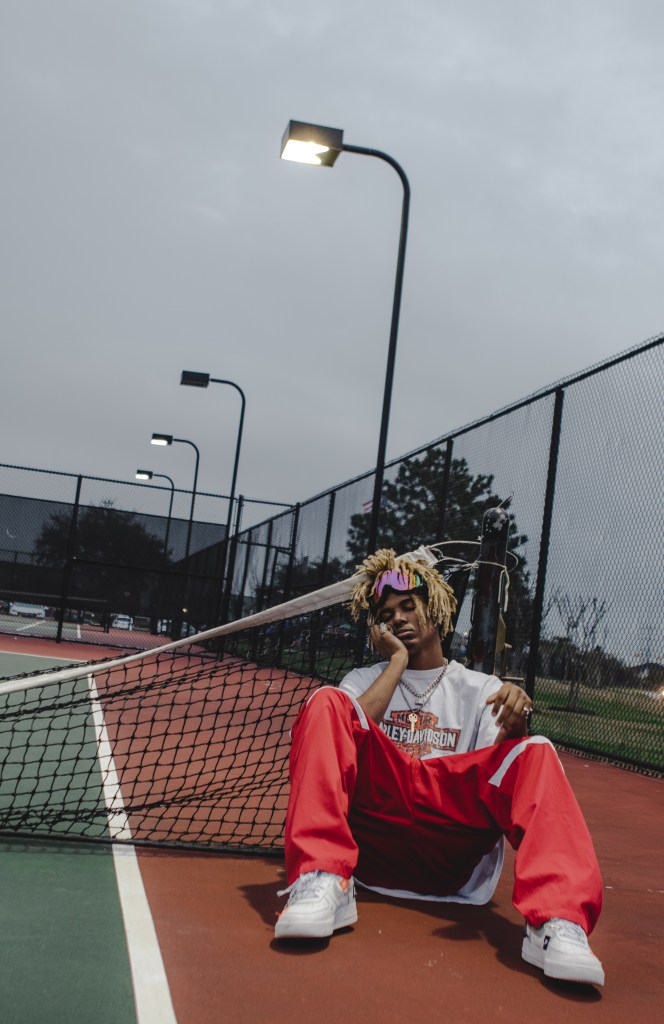
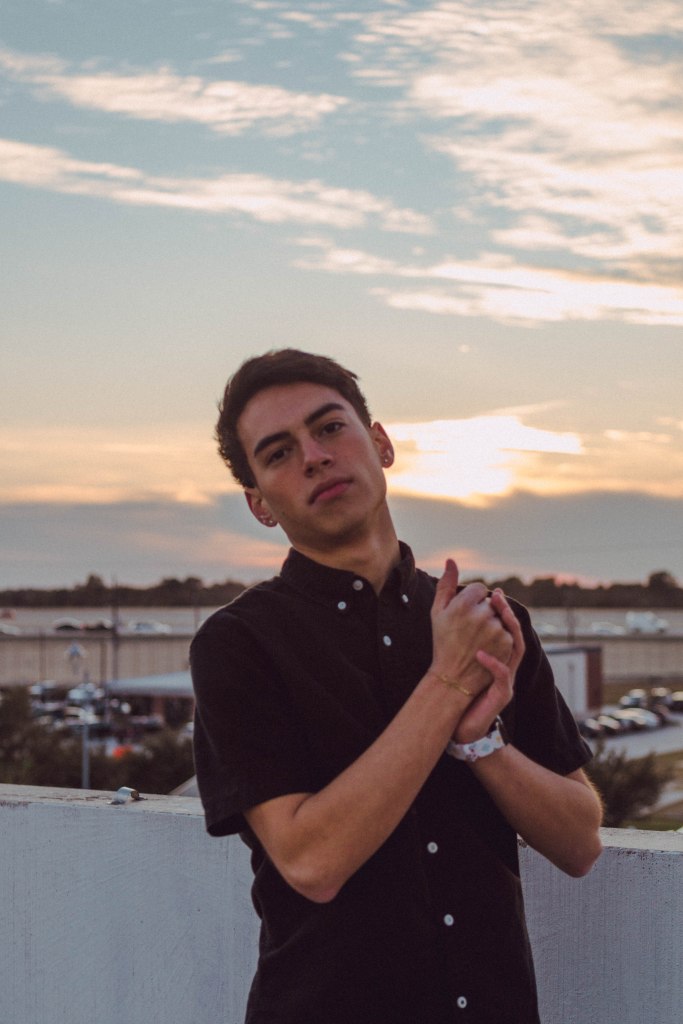
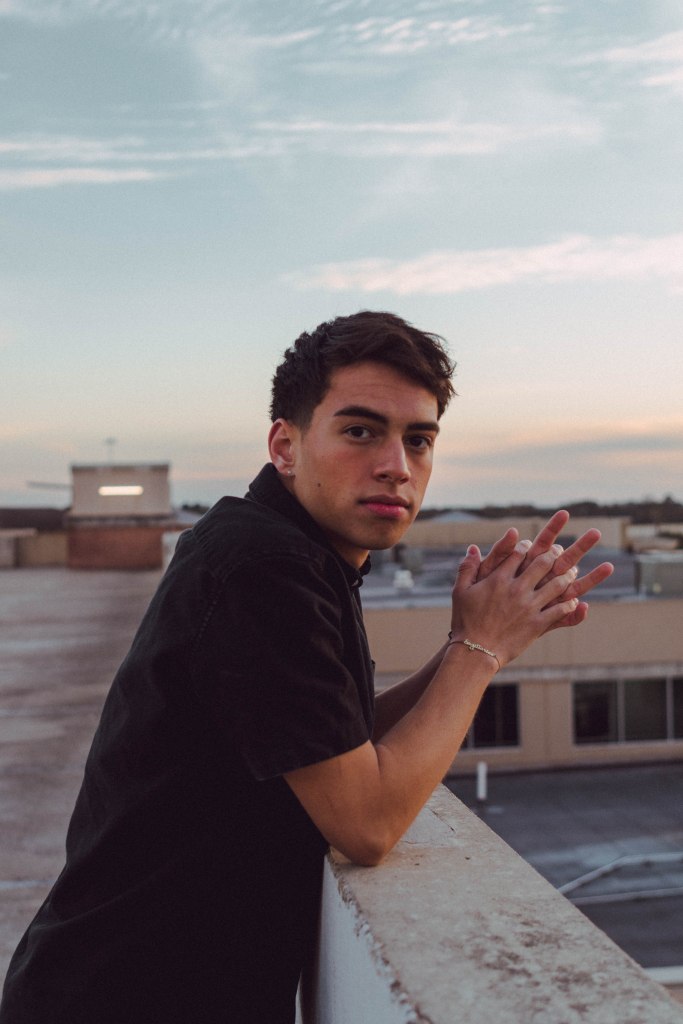
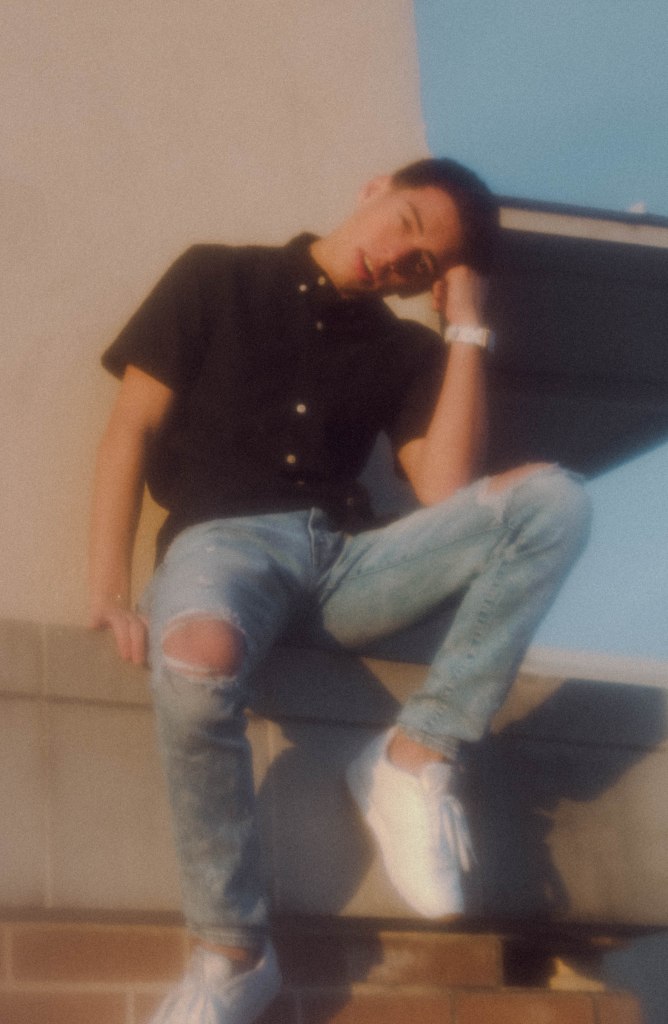
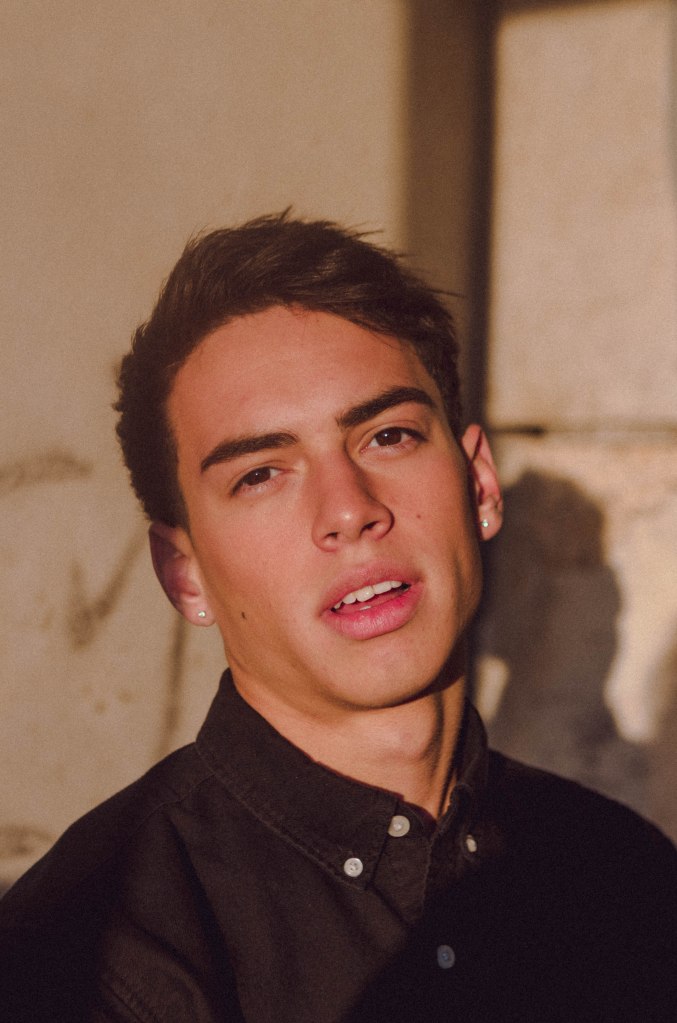
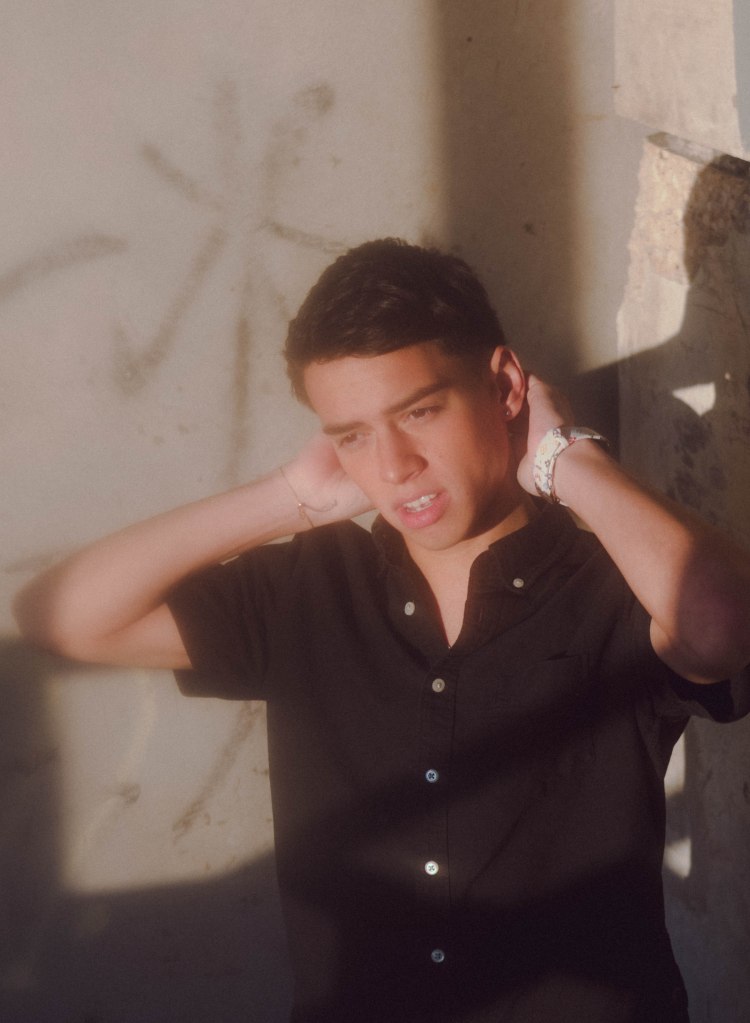
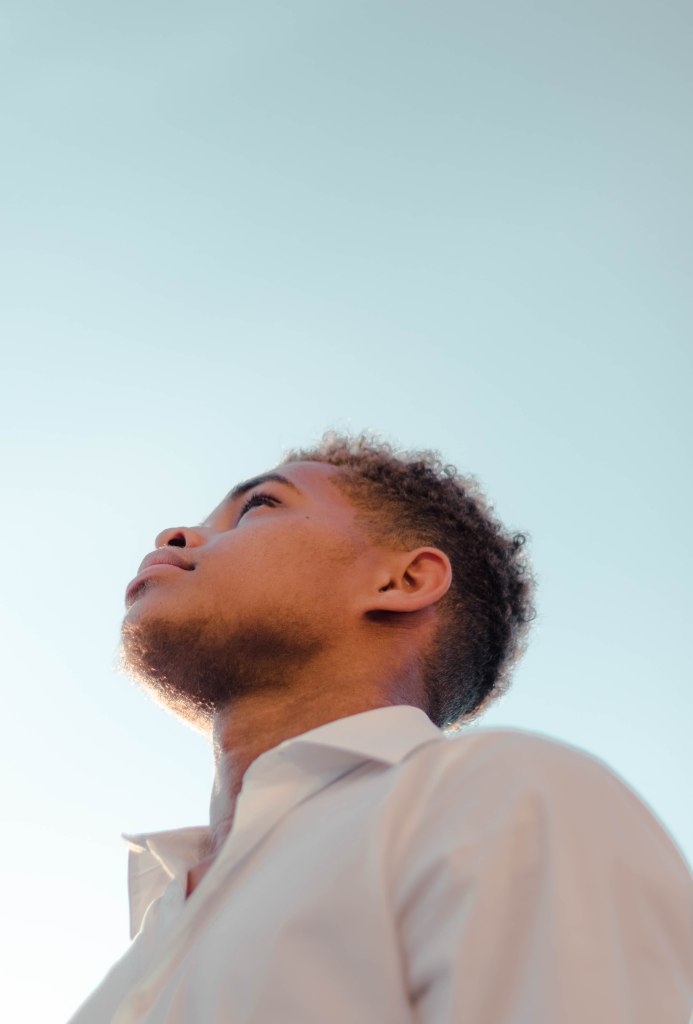
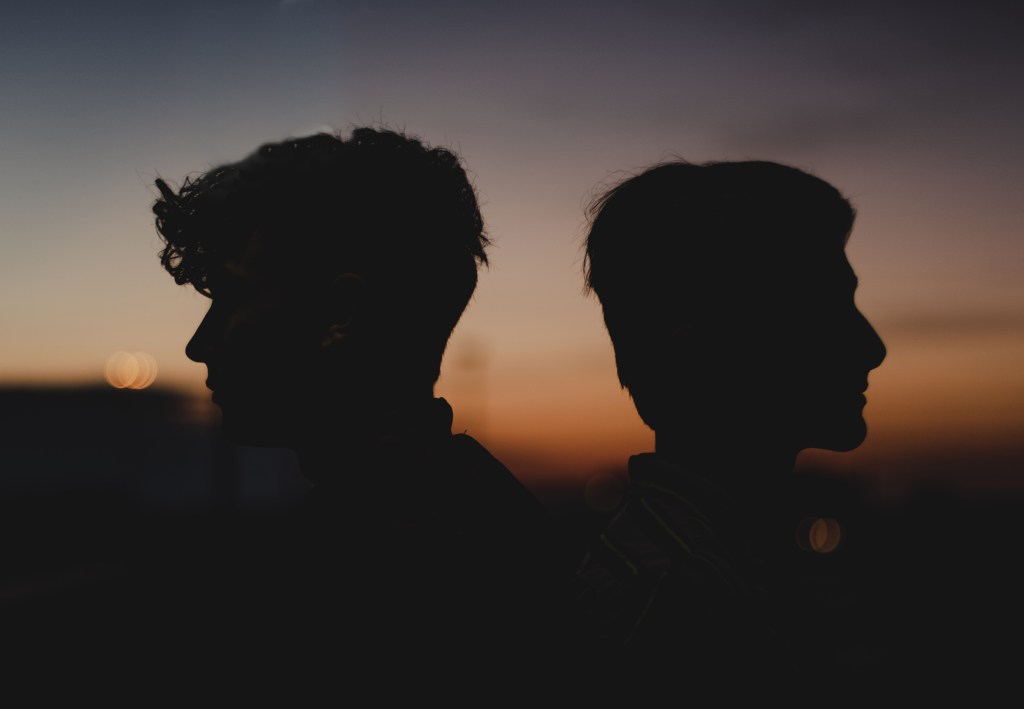
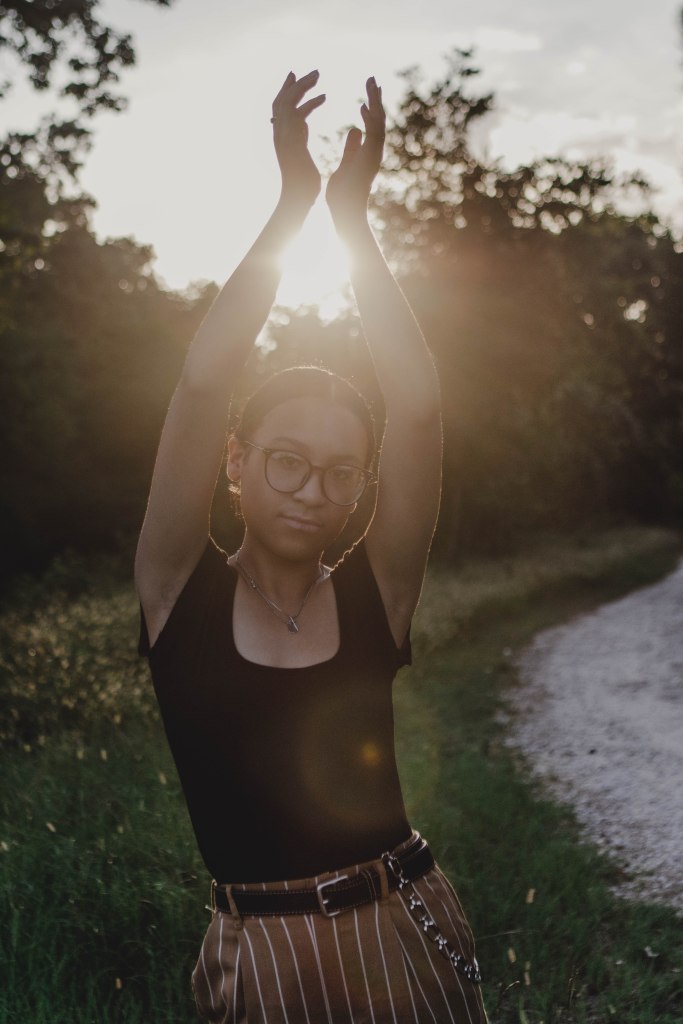
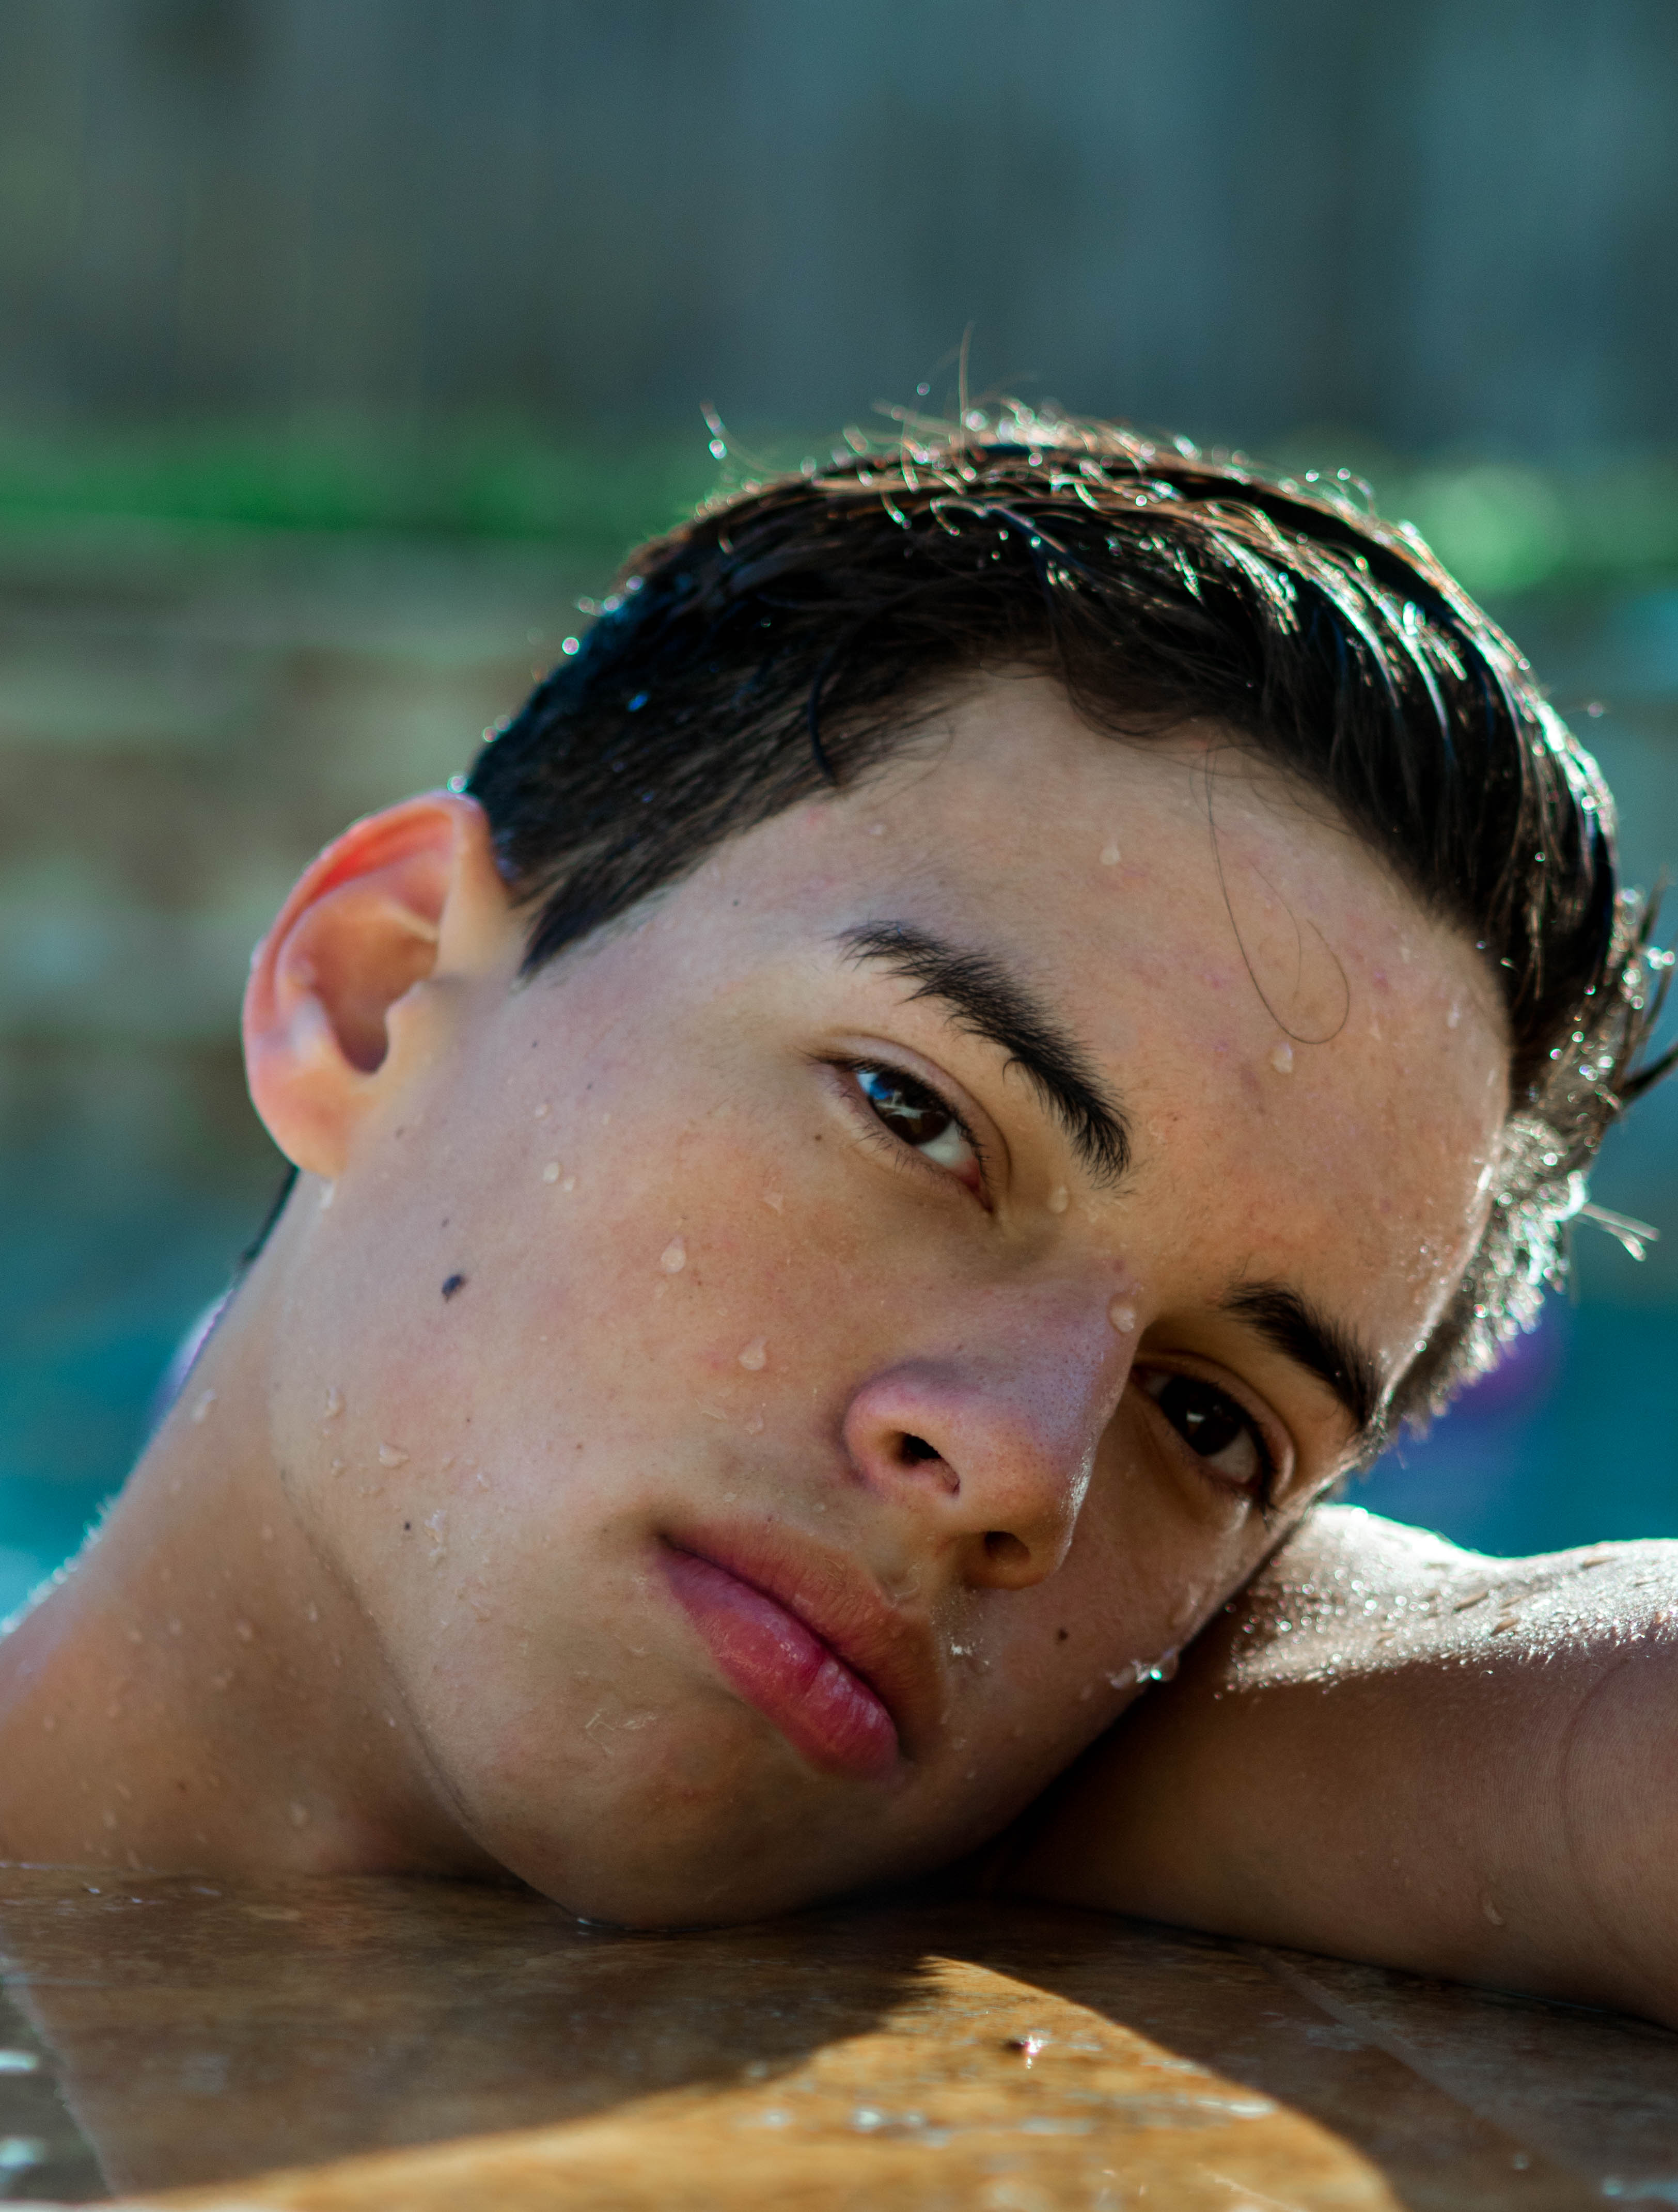
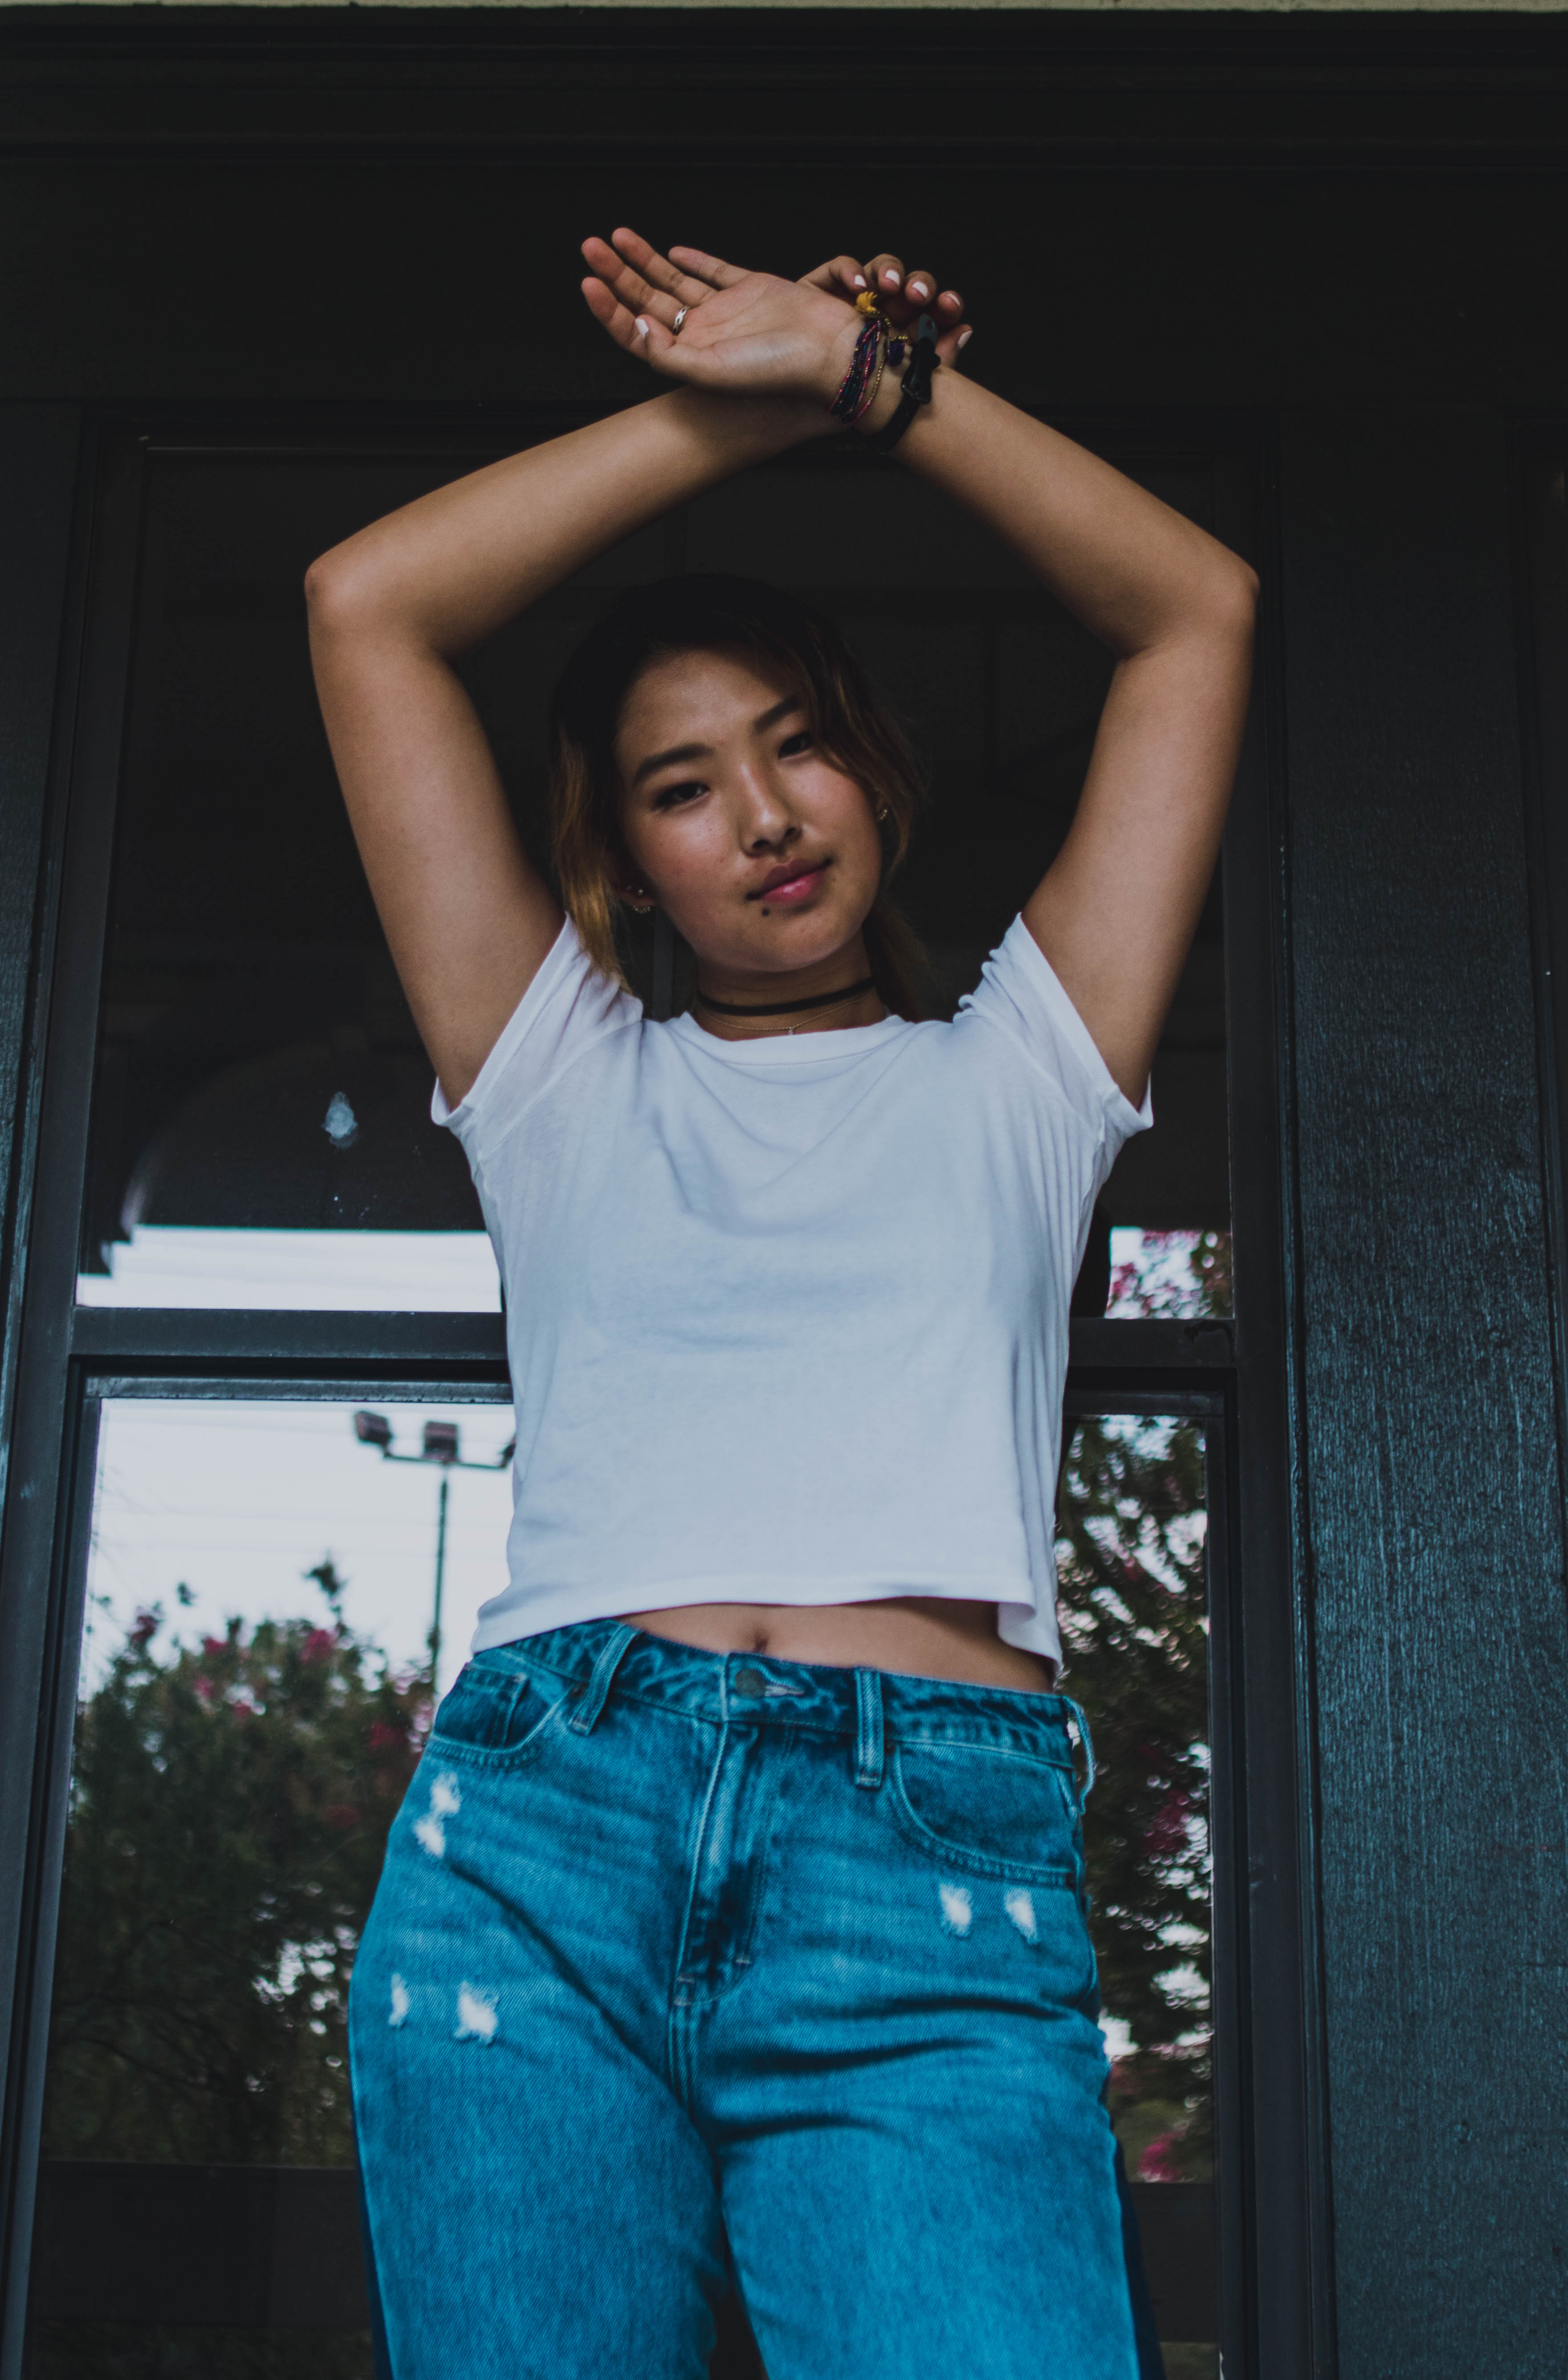
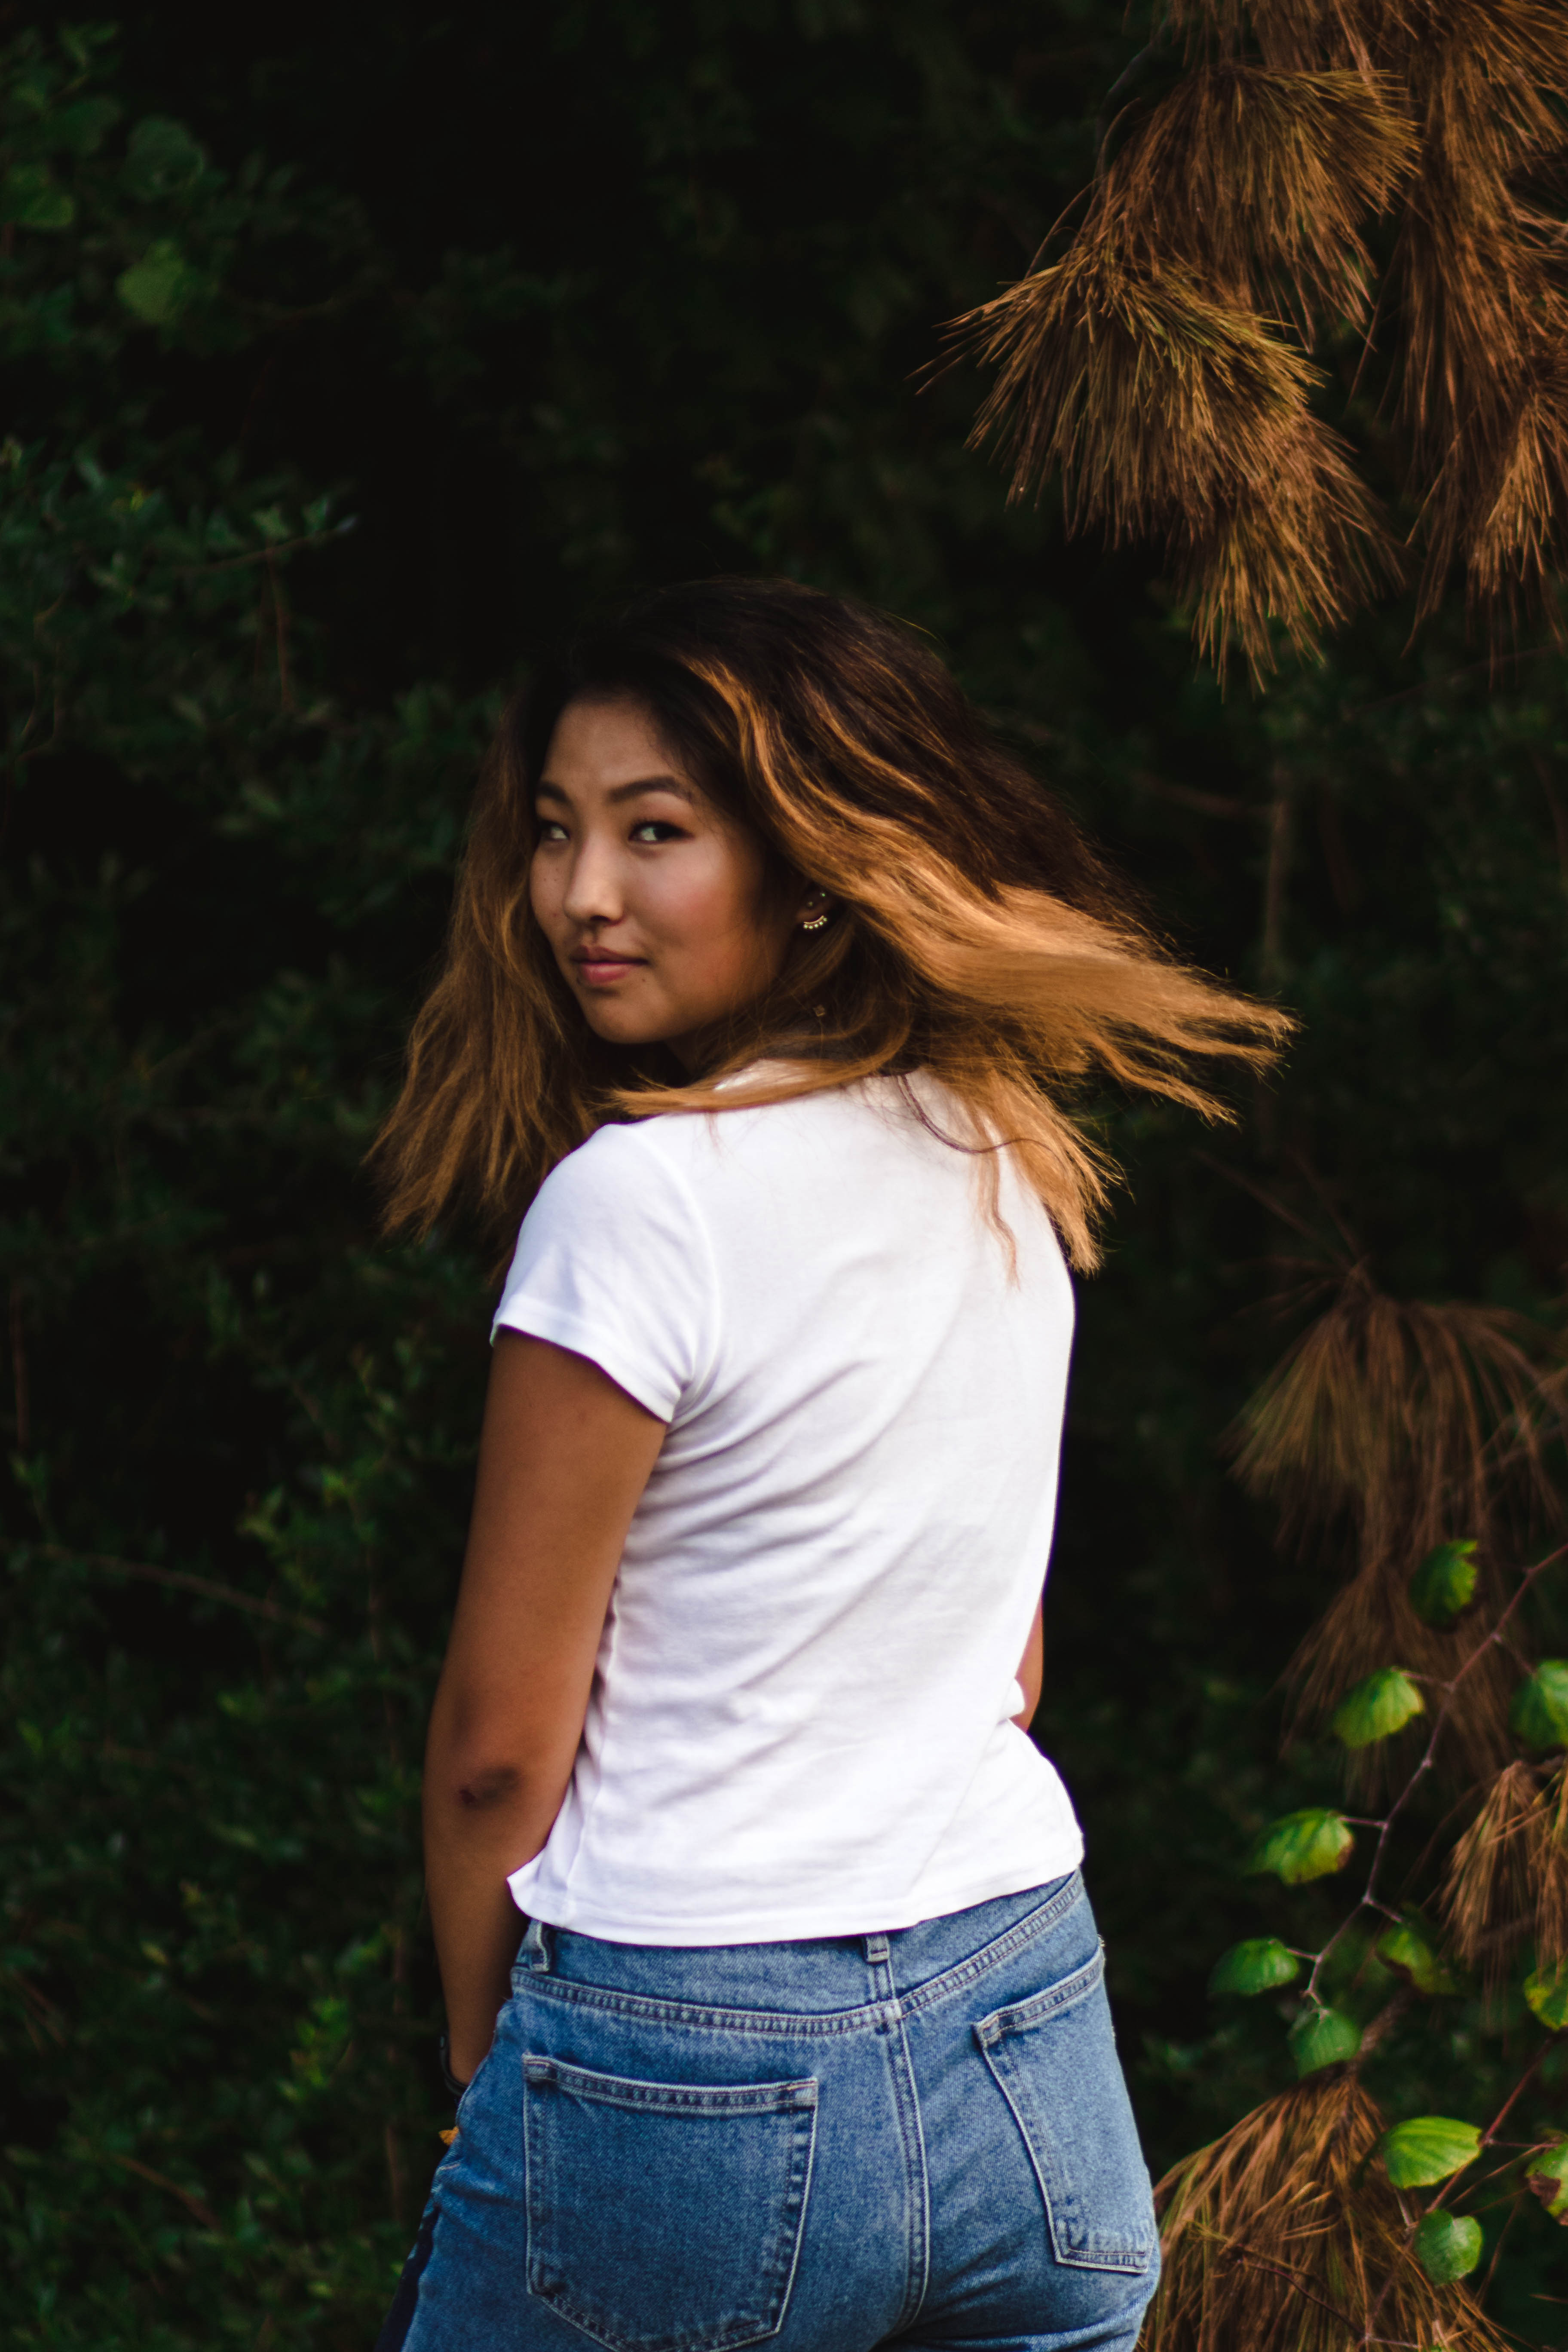
After years of practice, I have perfected shooting at golden hour. Here is the full set of images from my latest session. Enjoy.
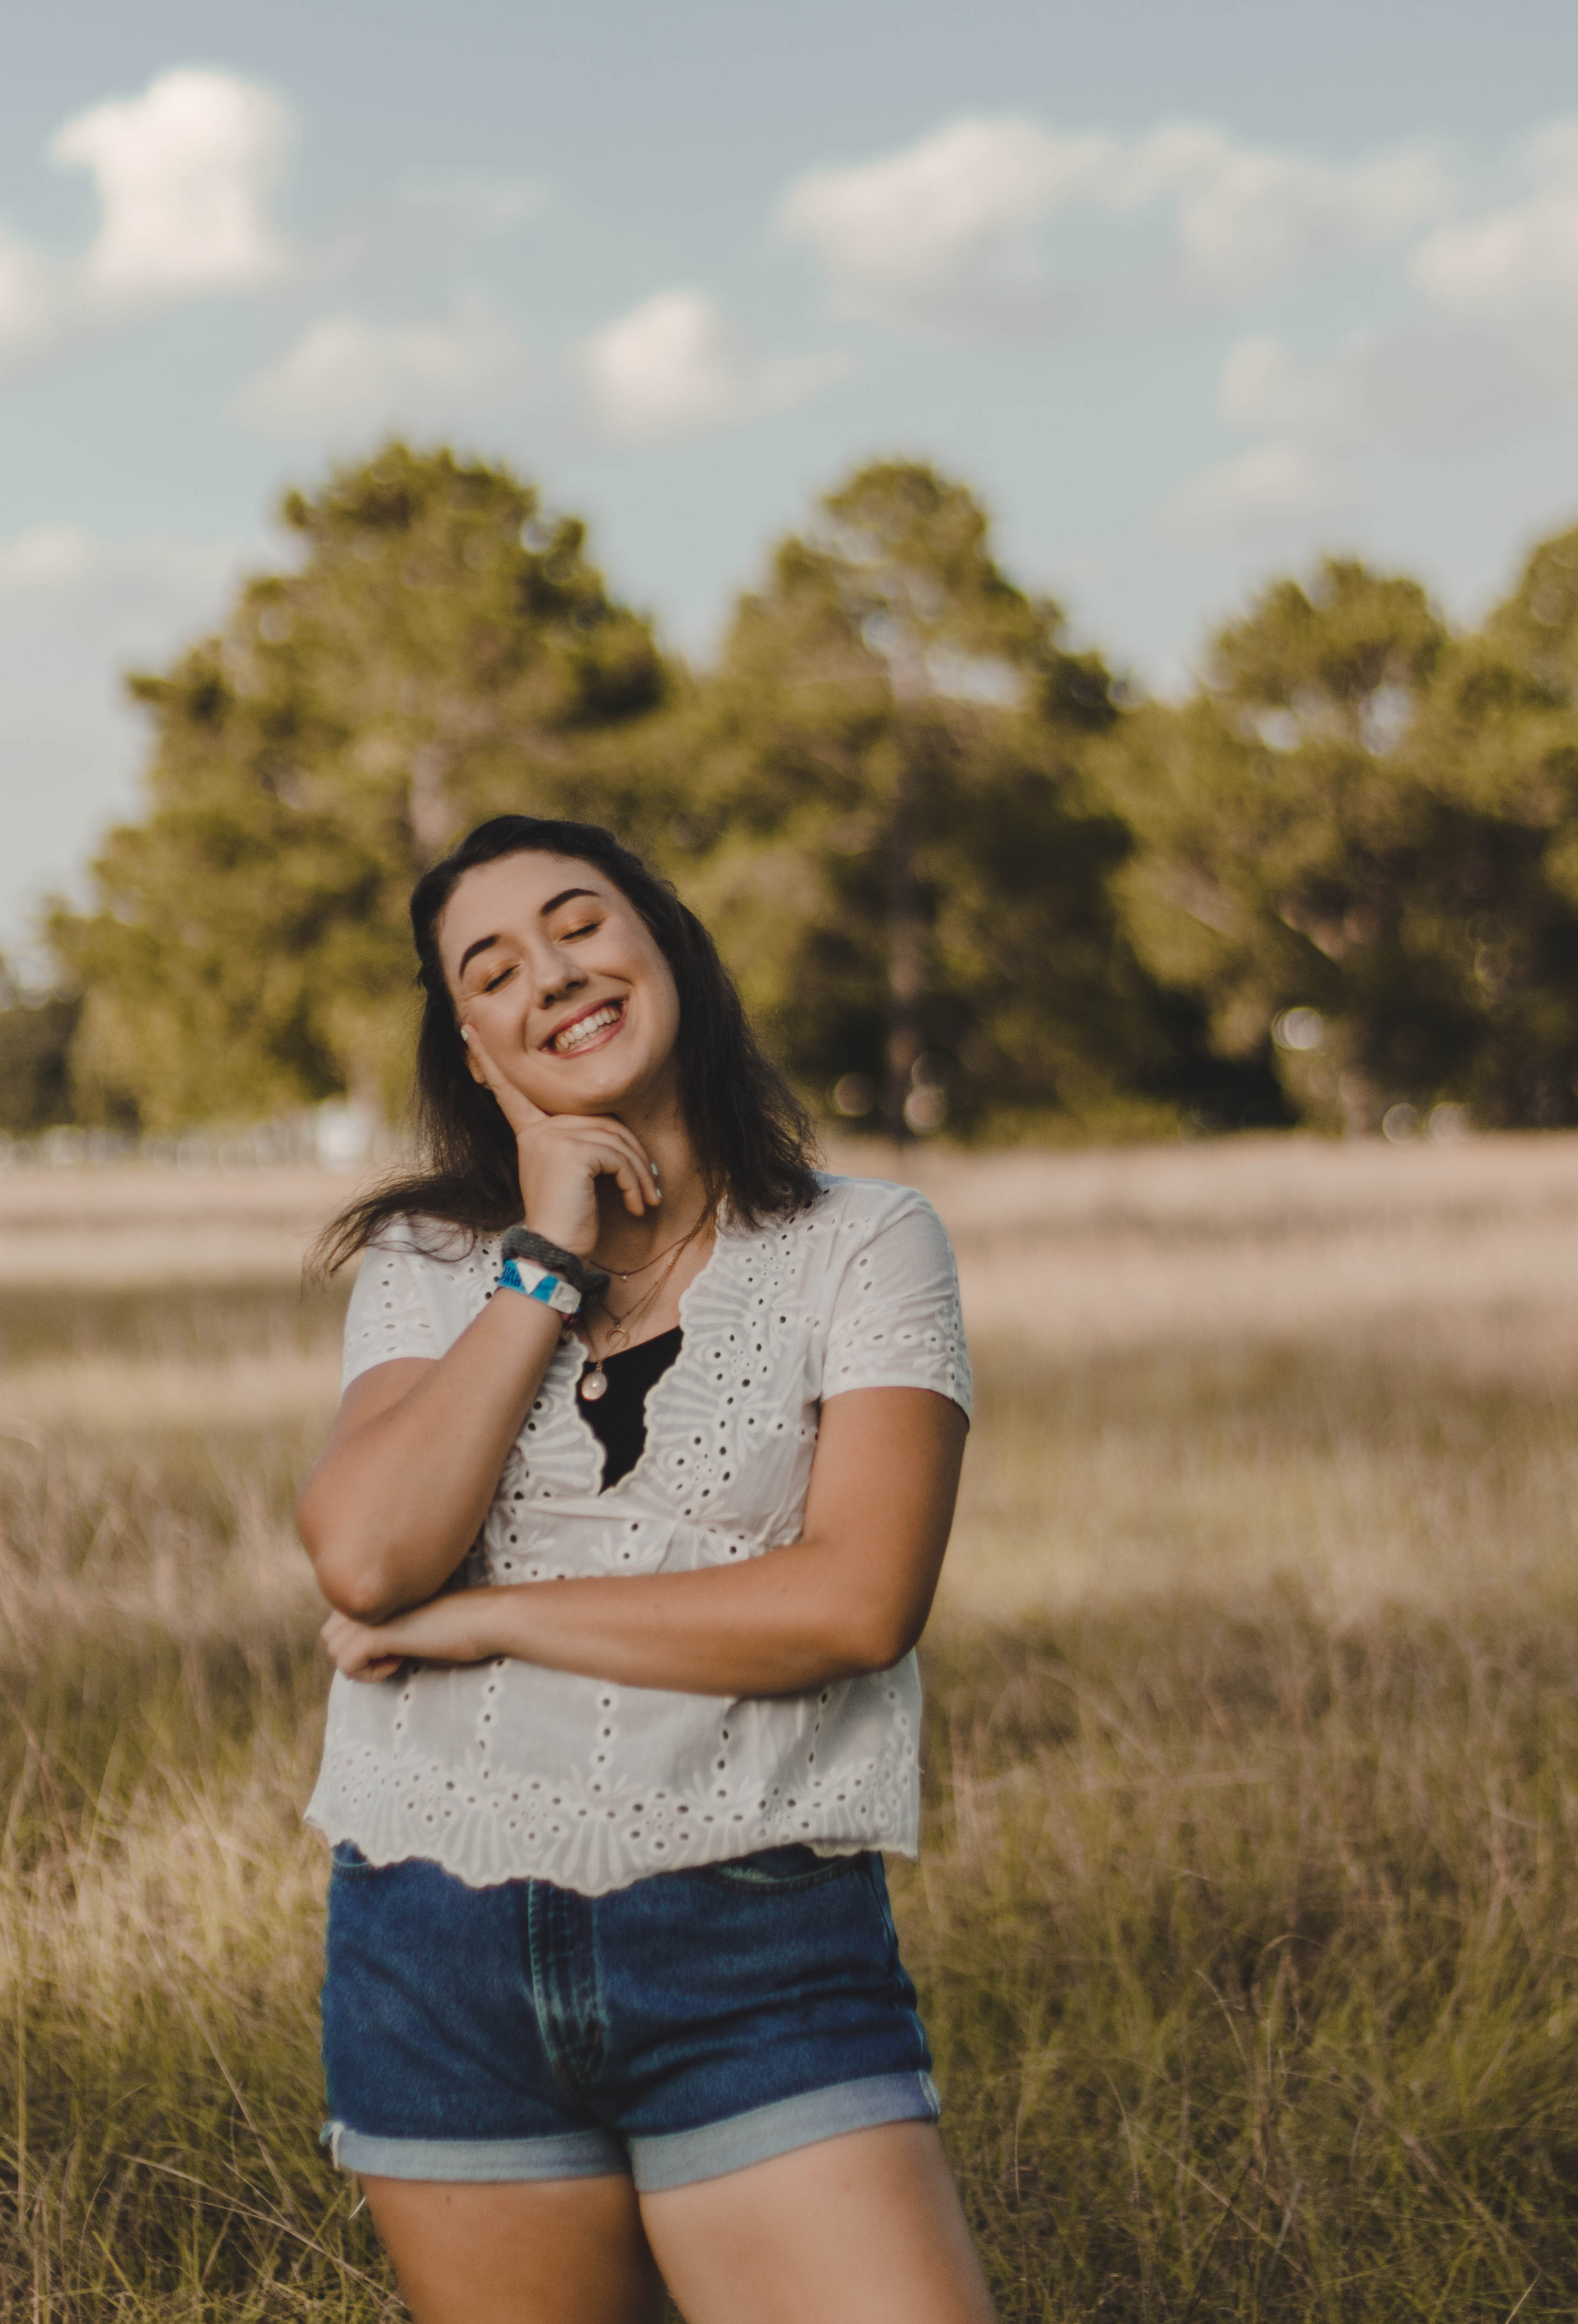
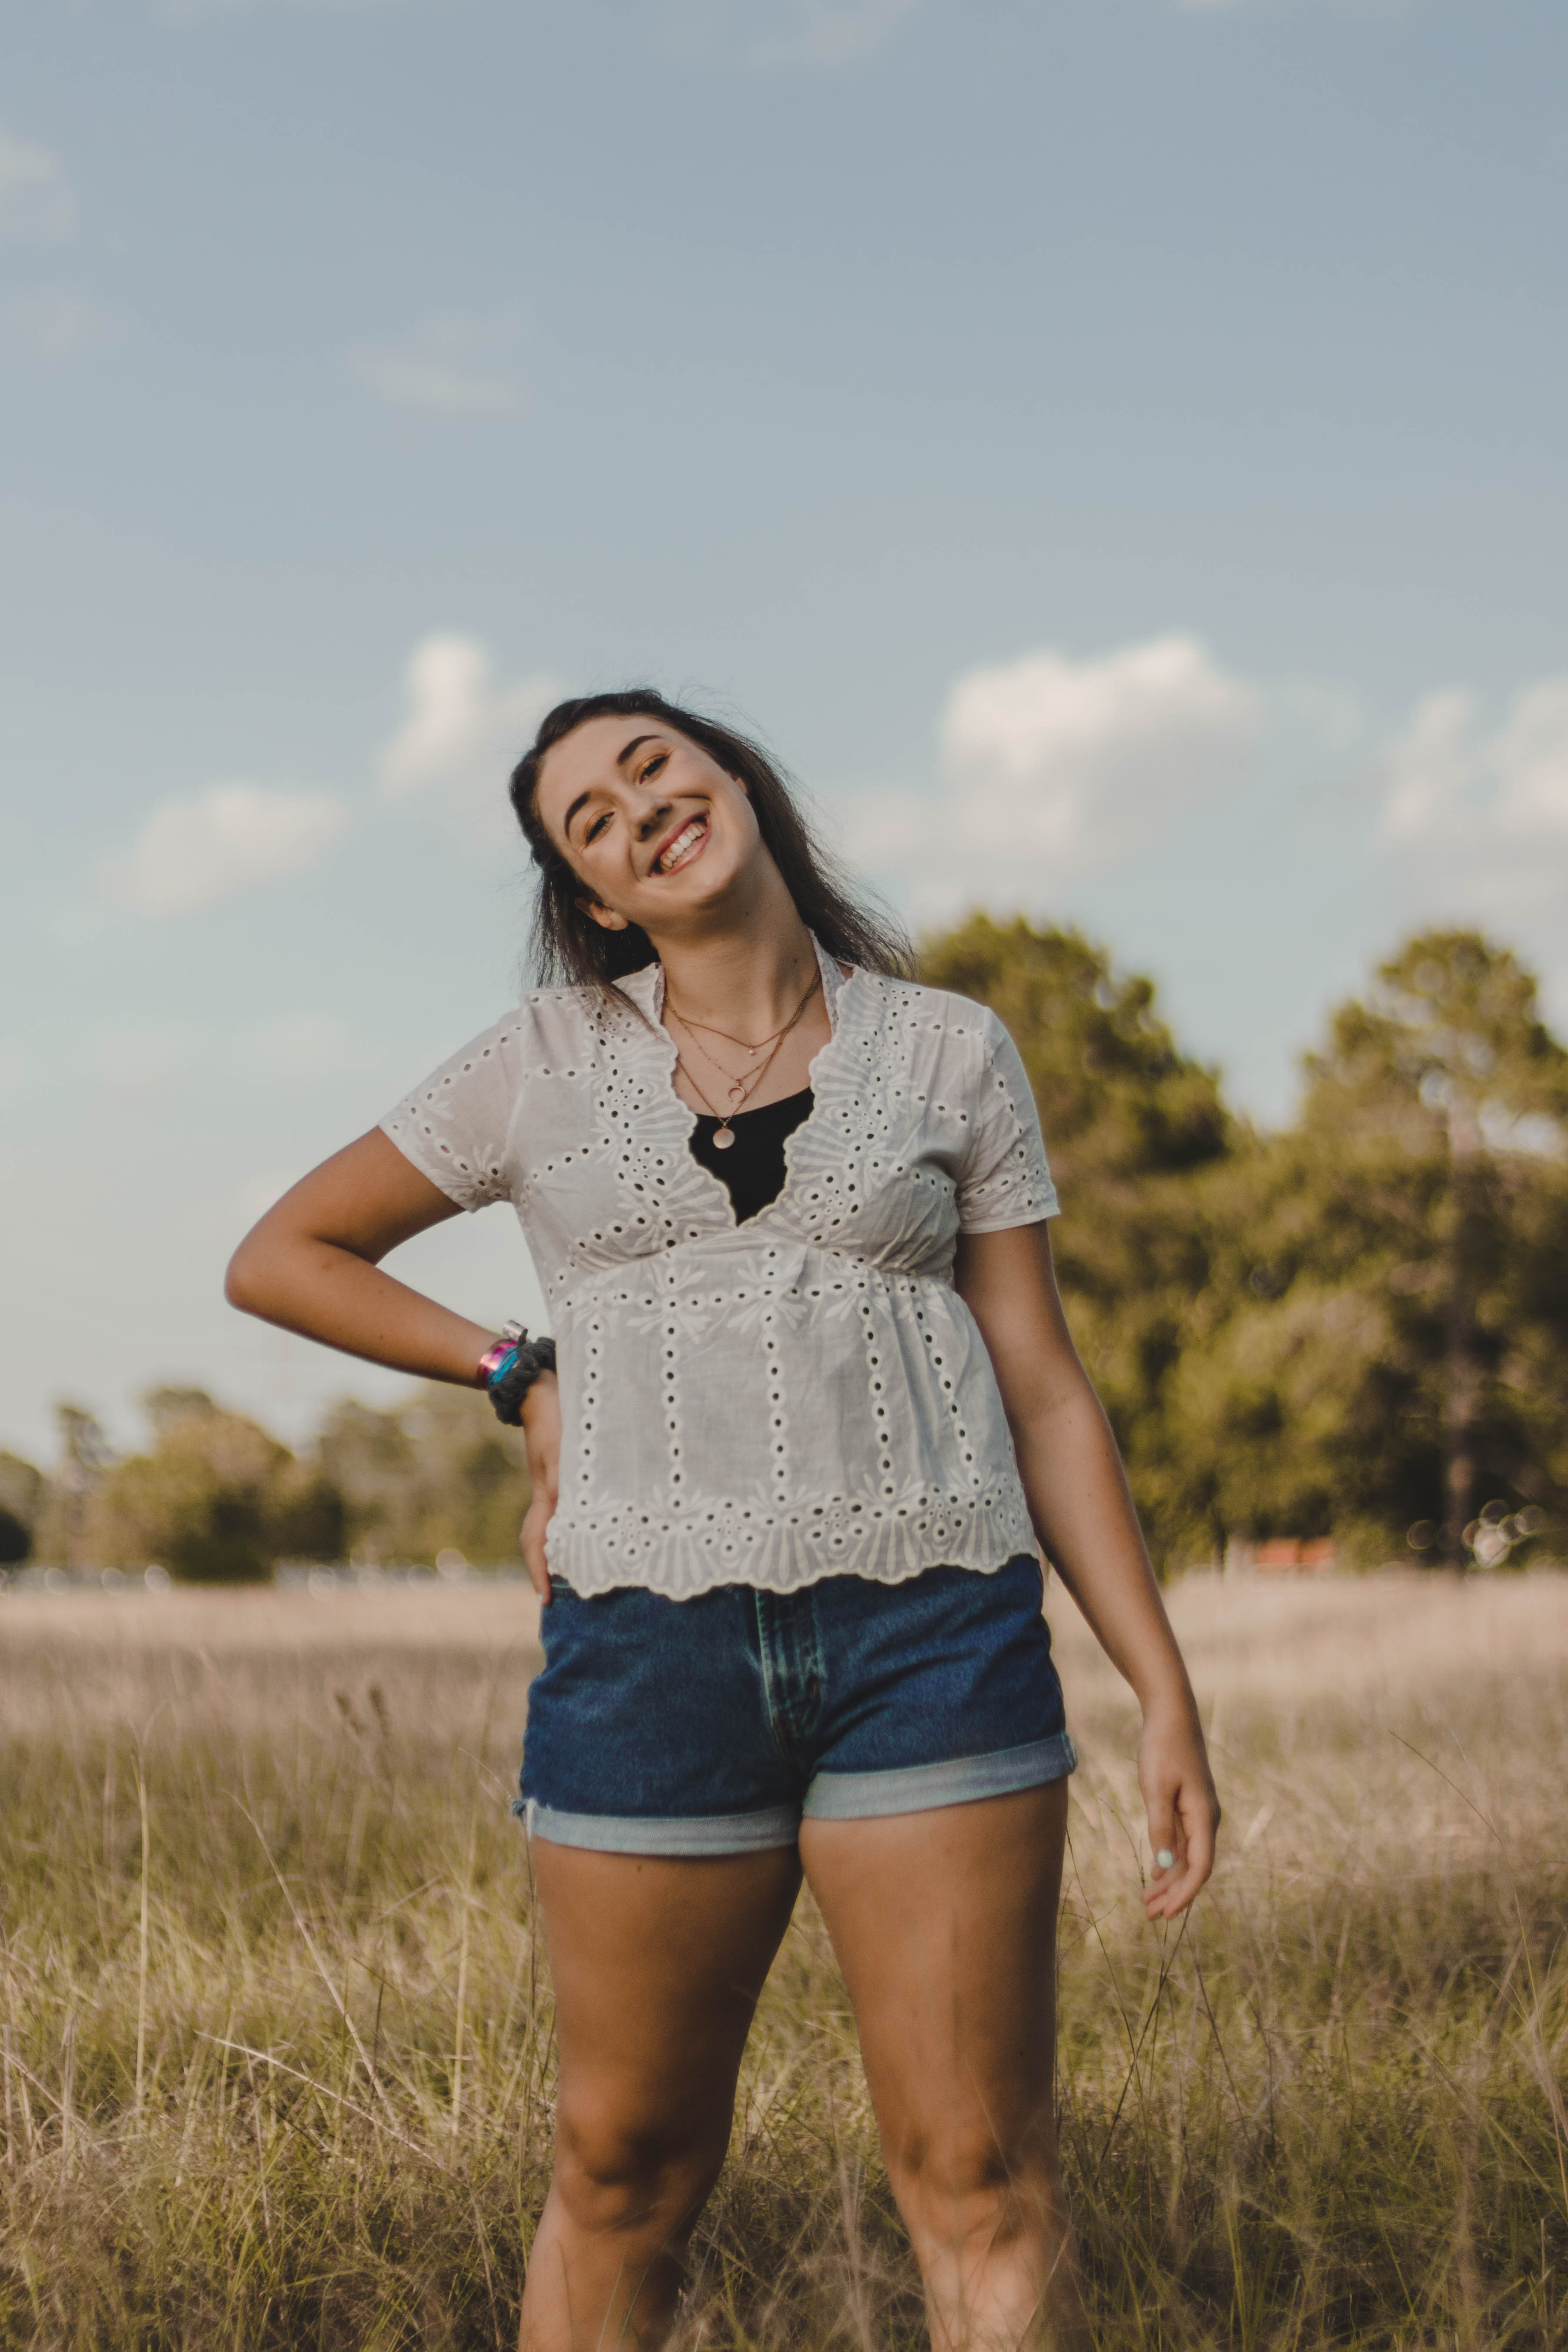
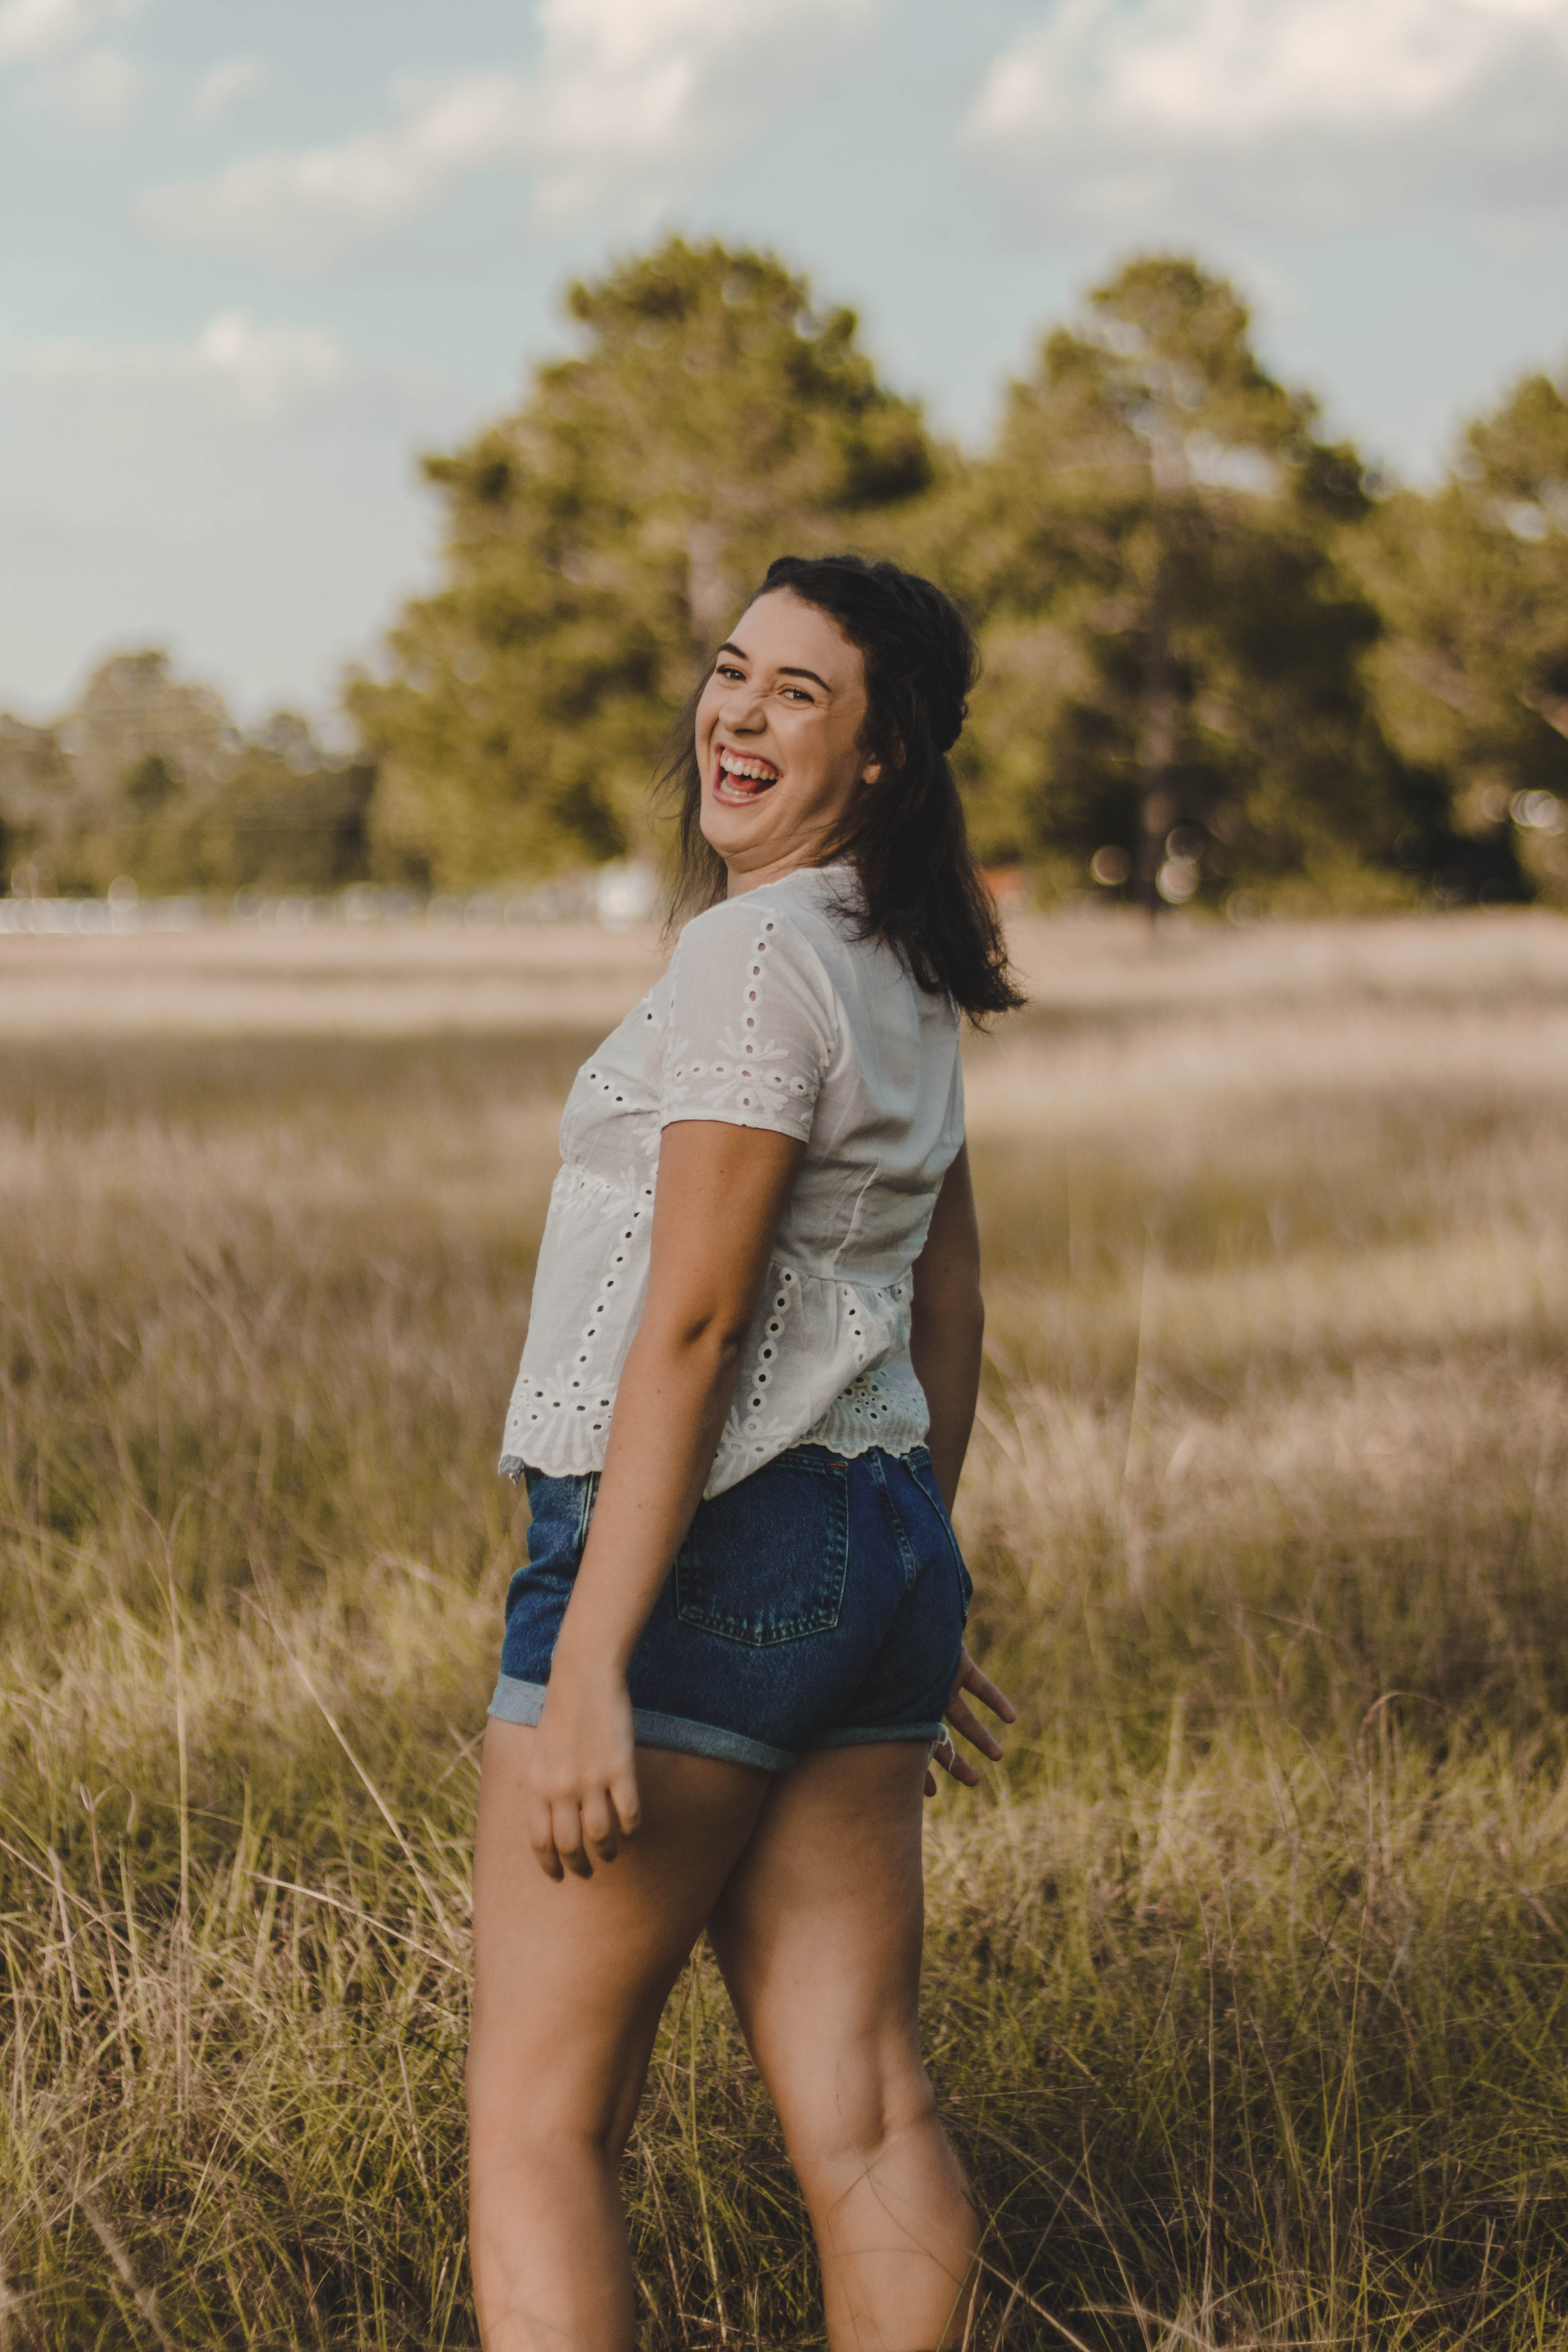
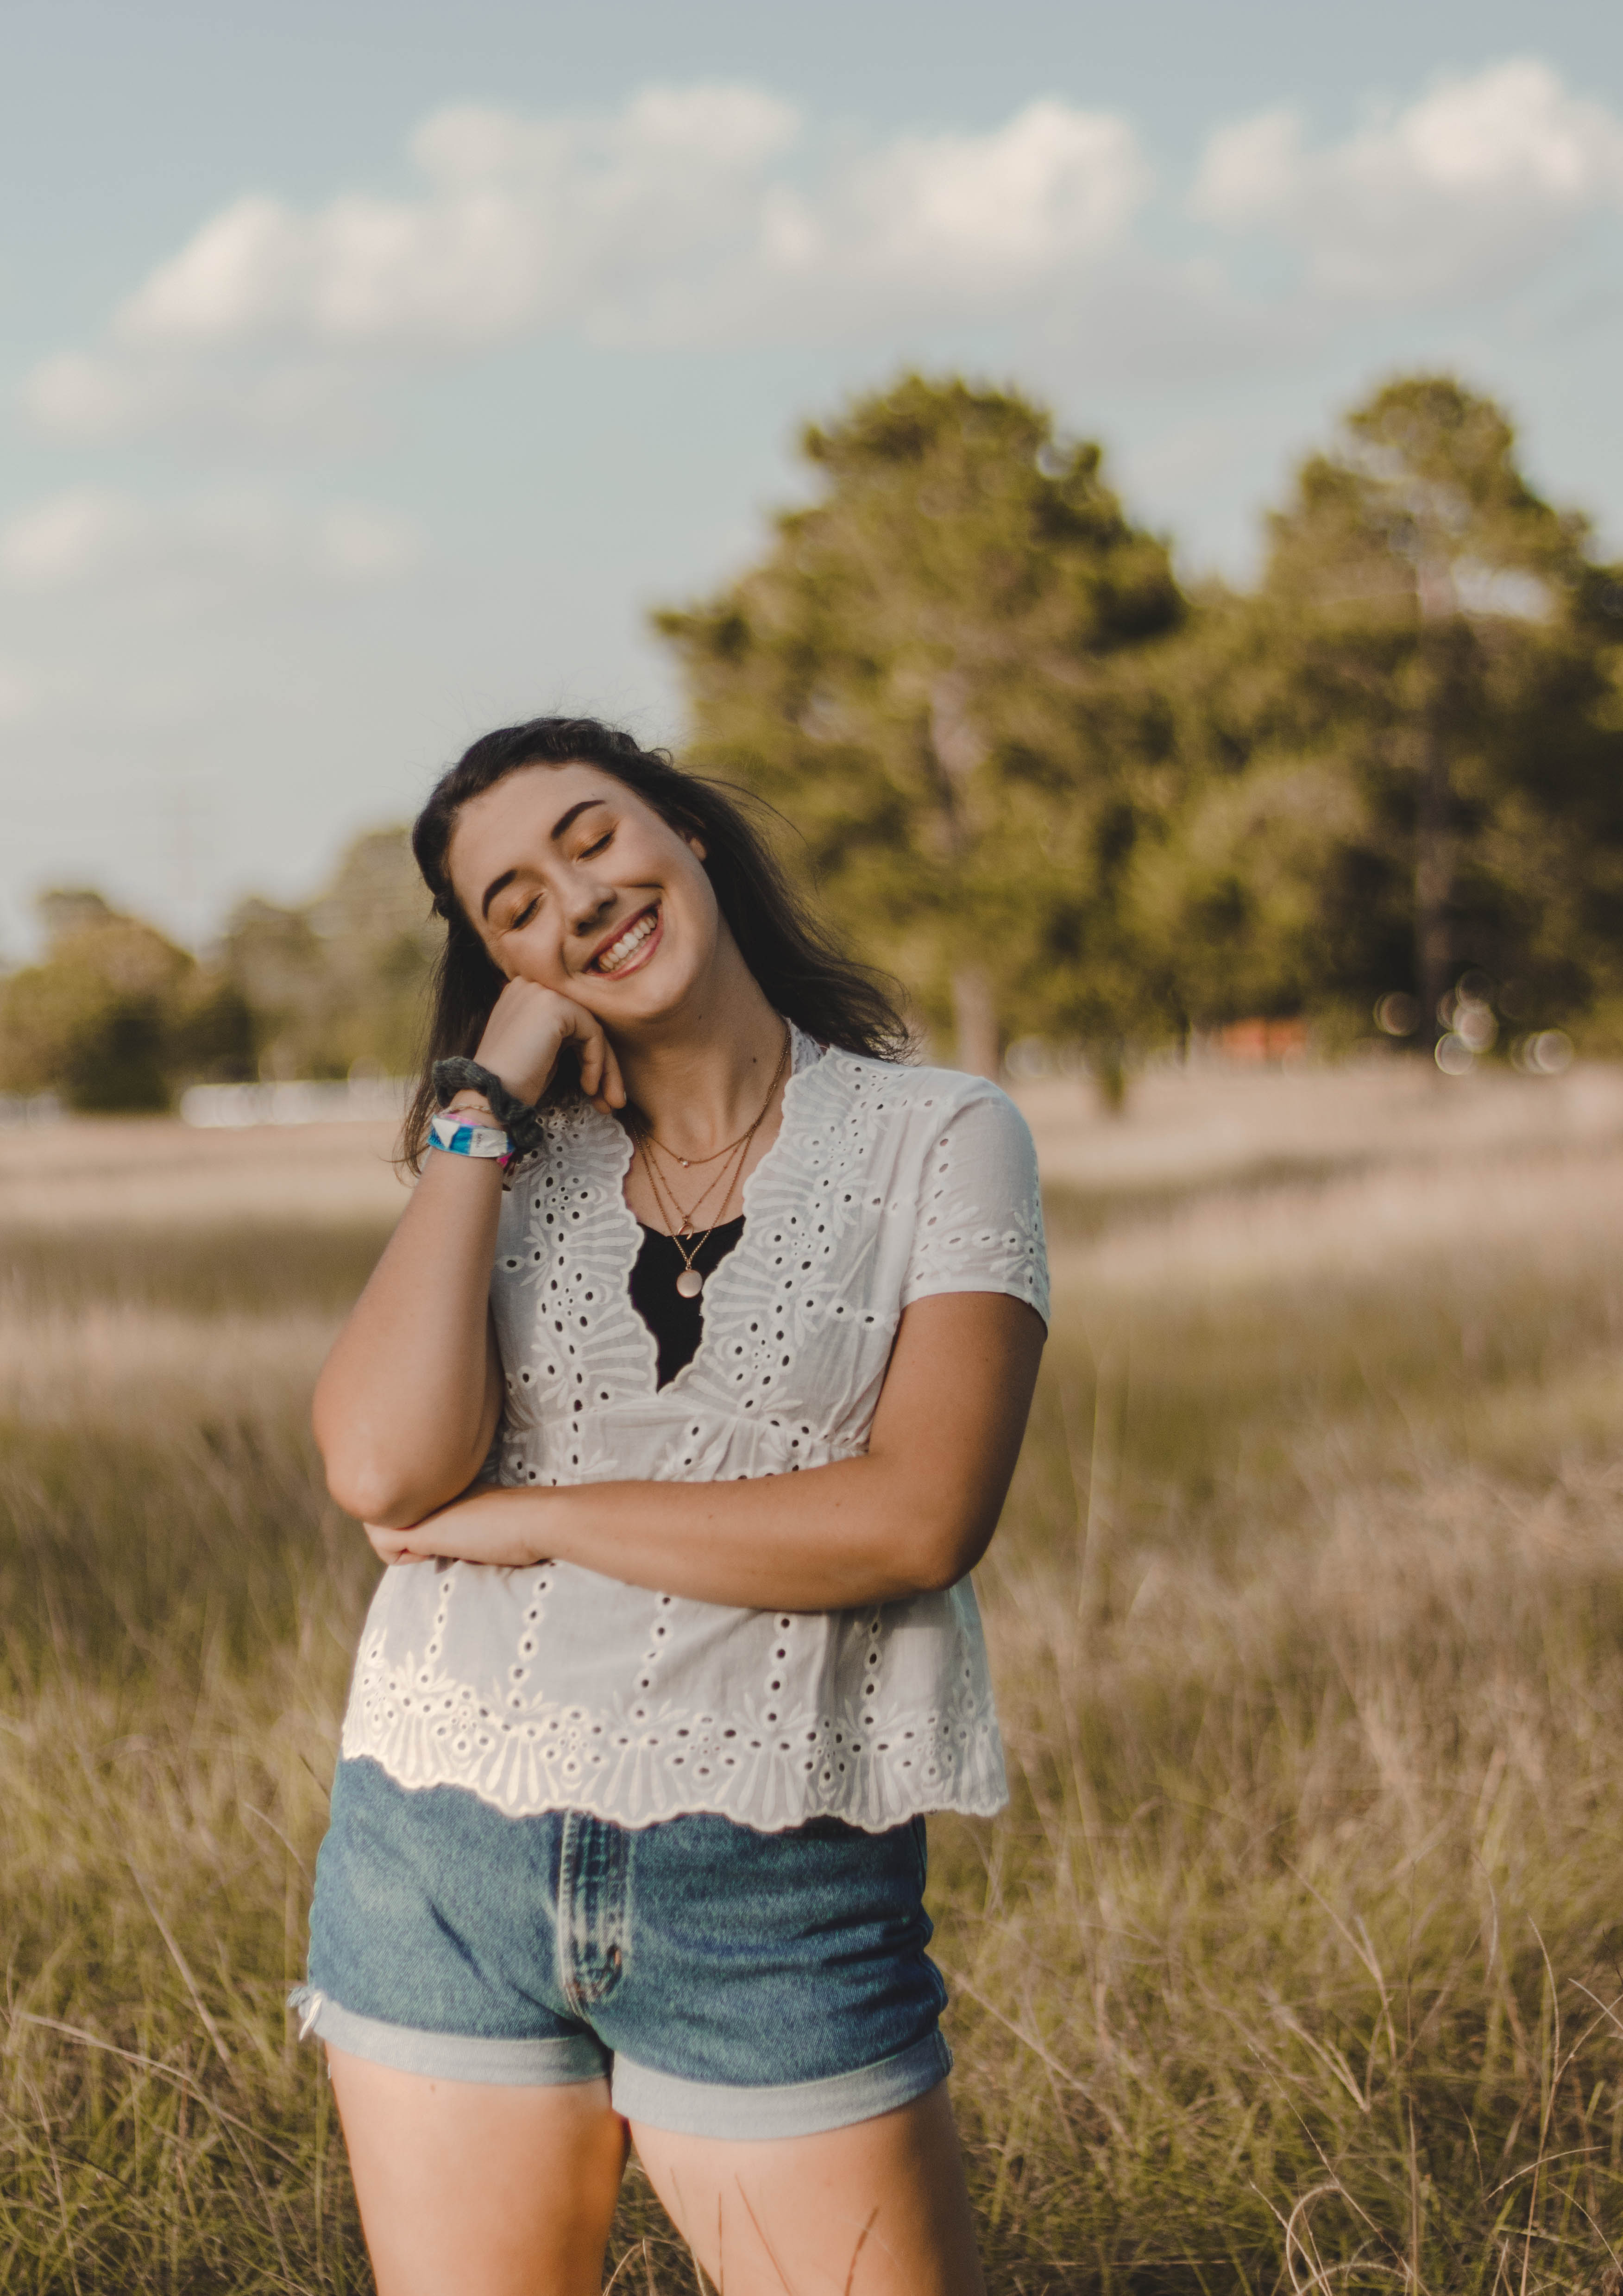
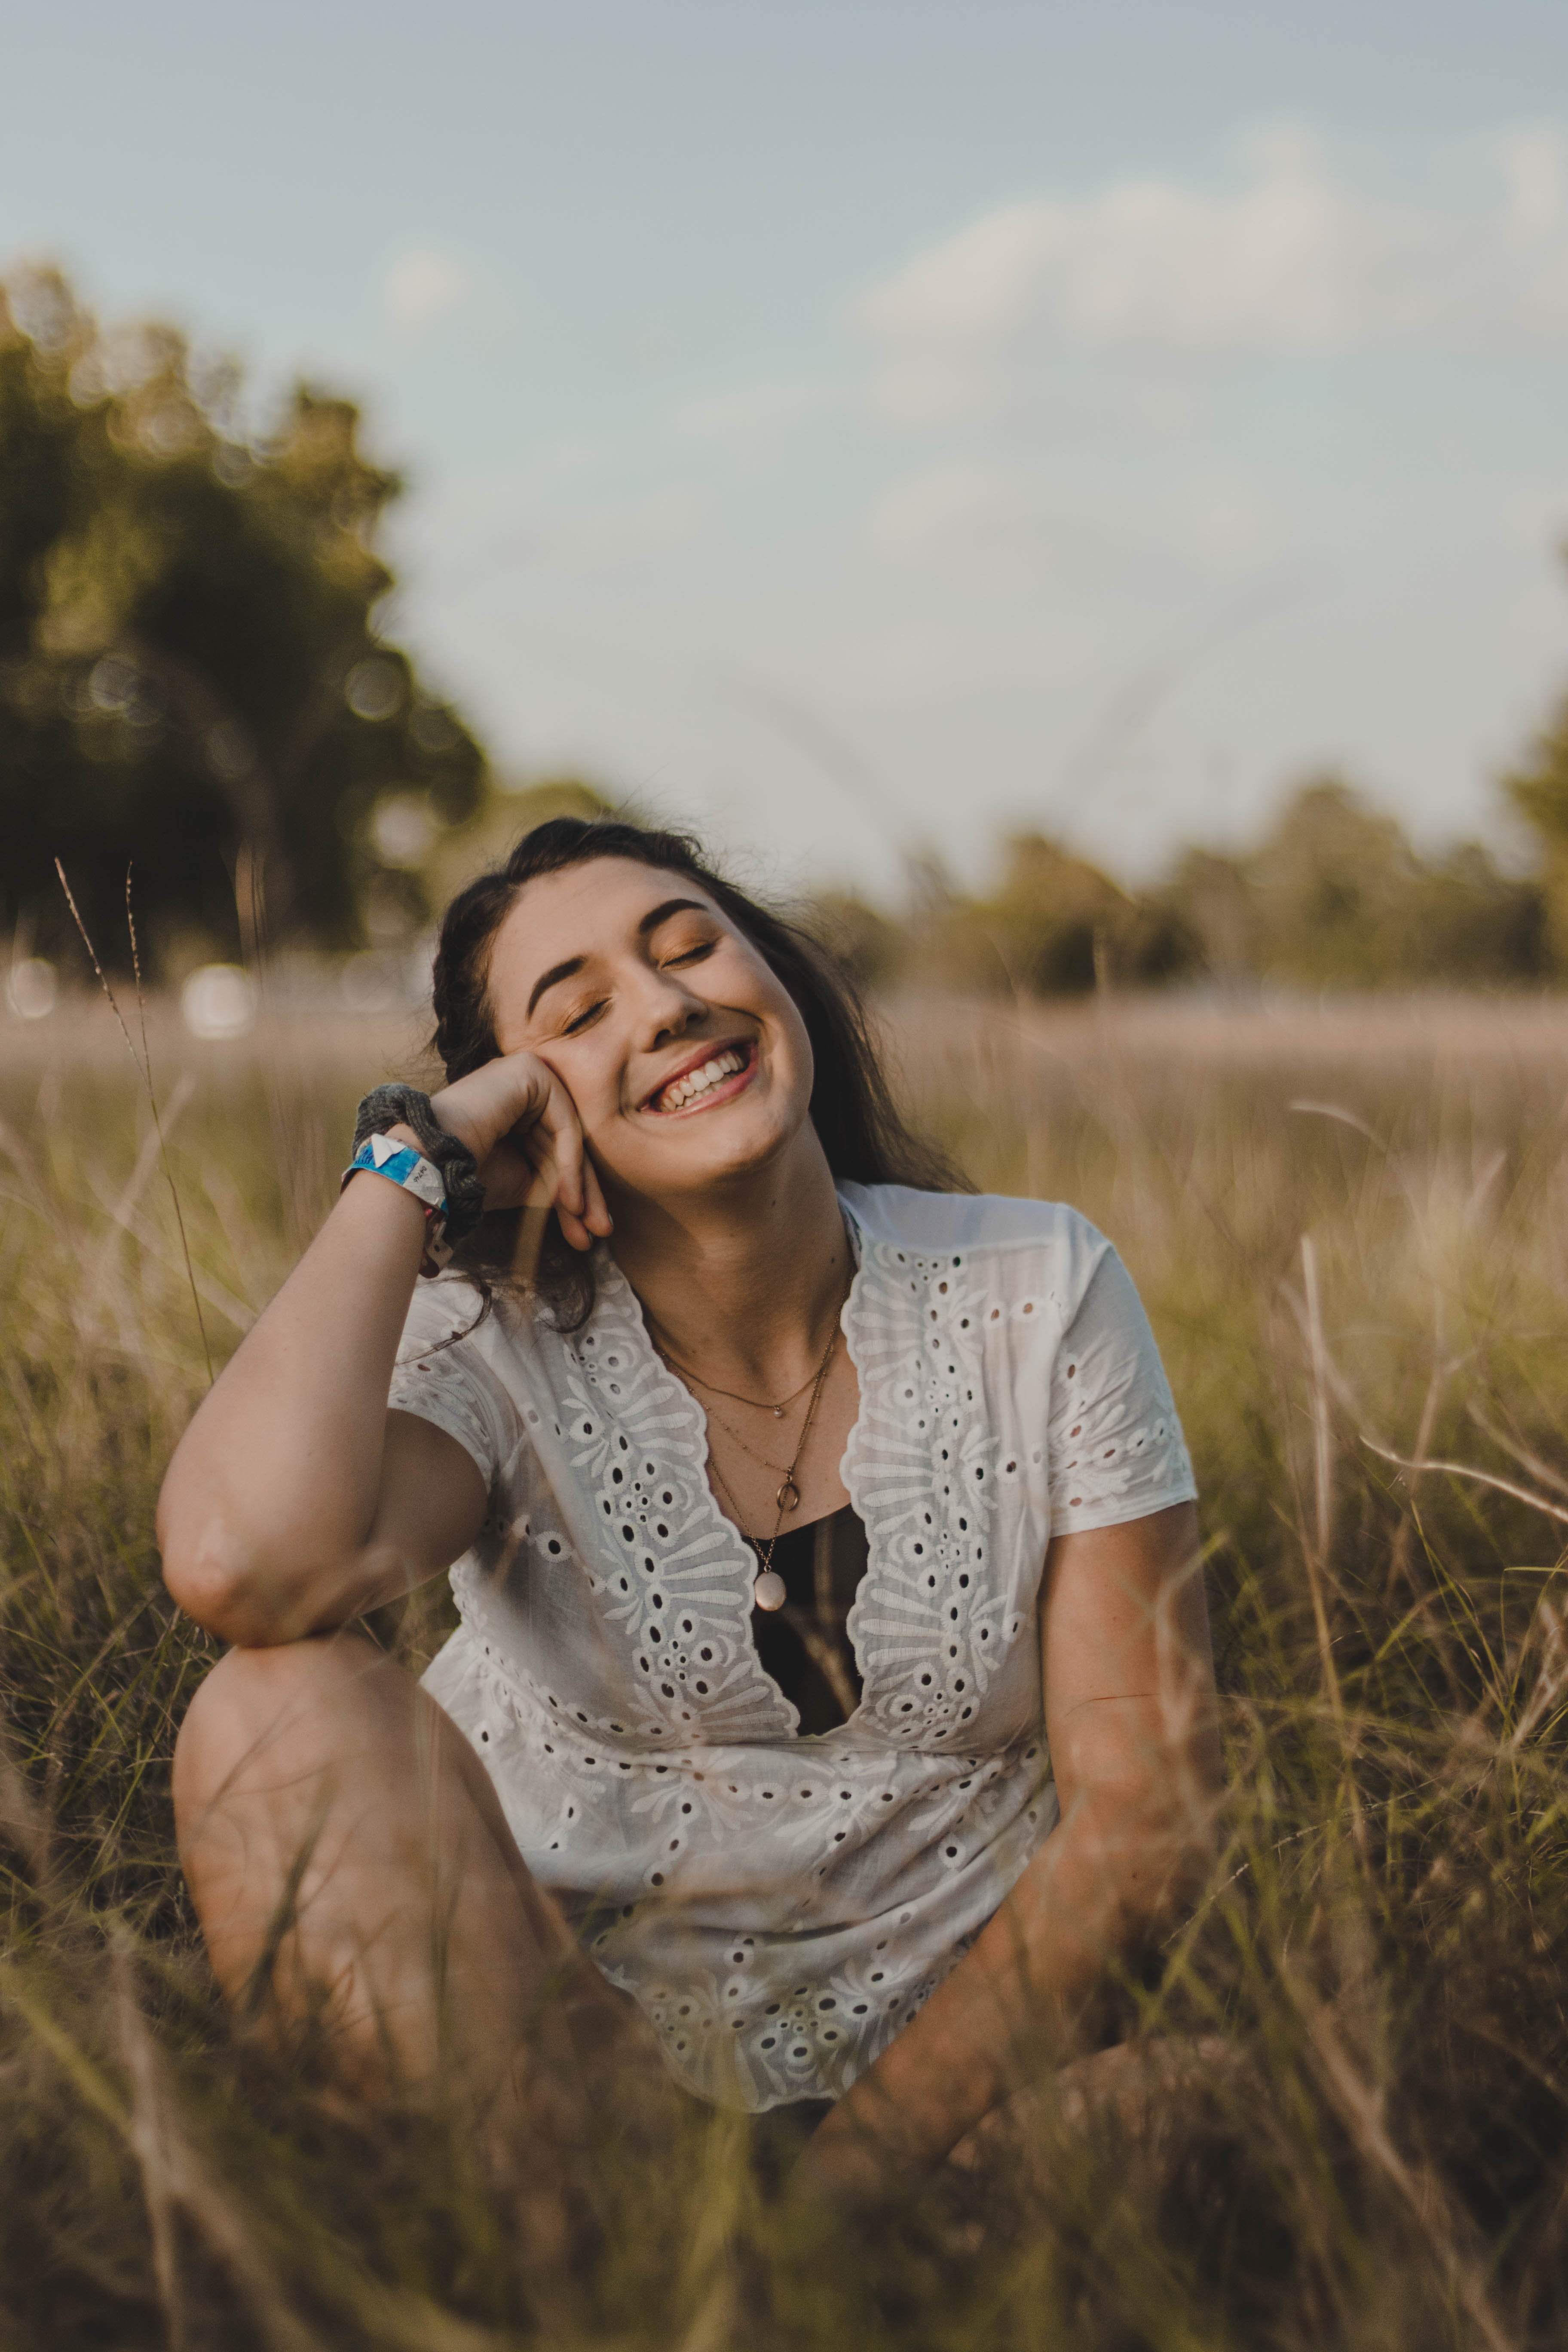
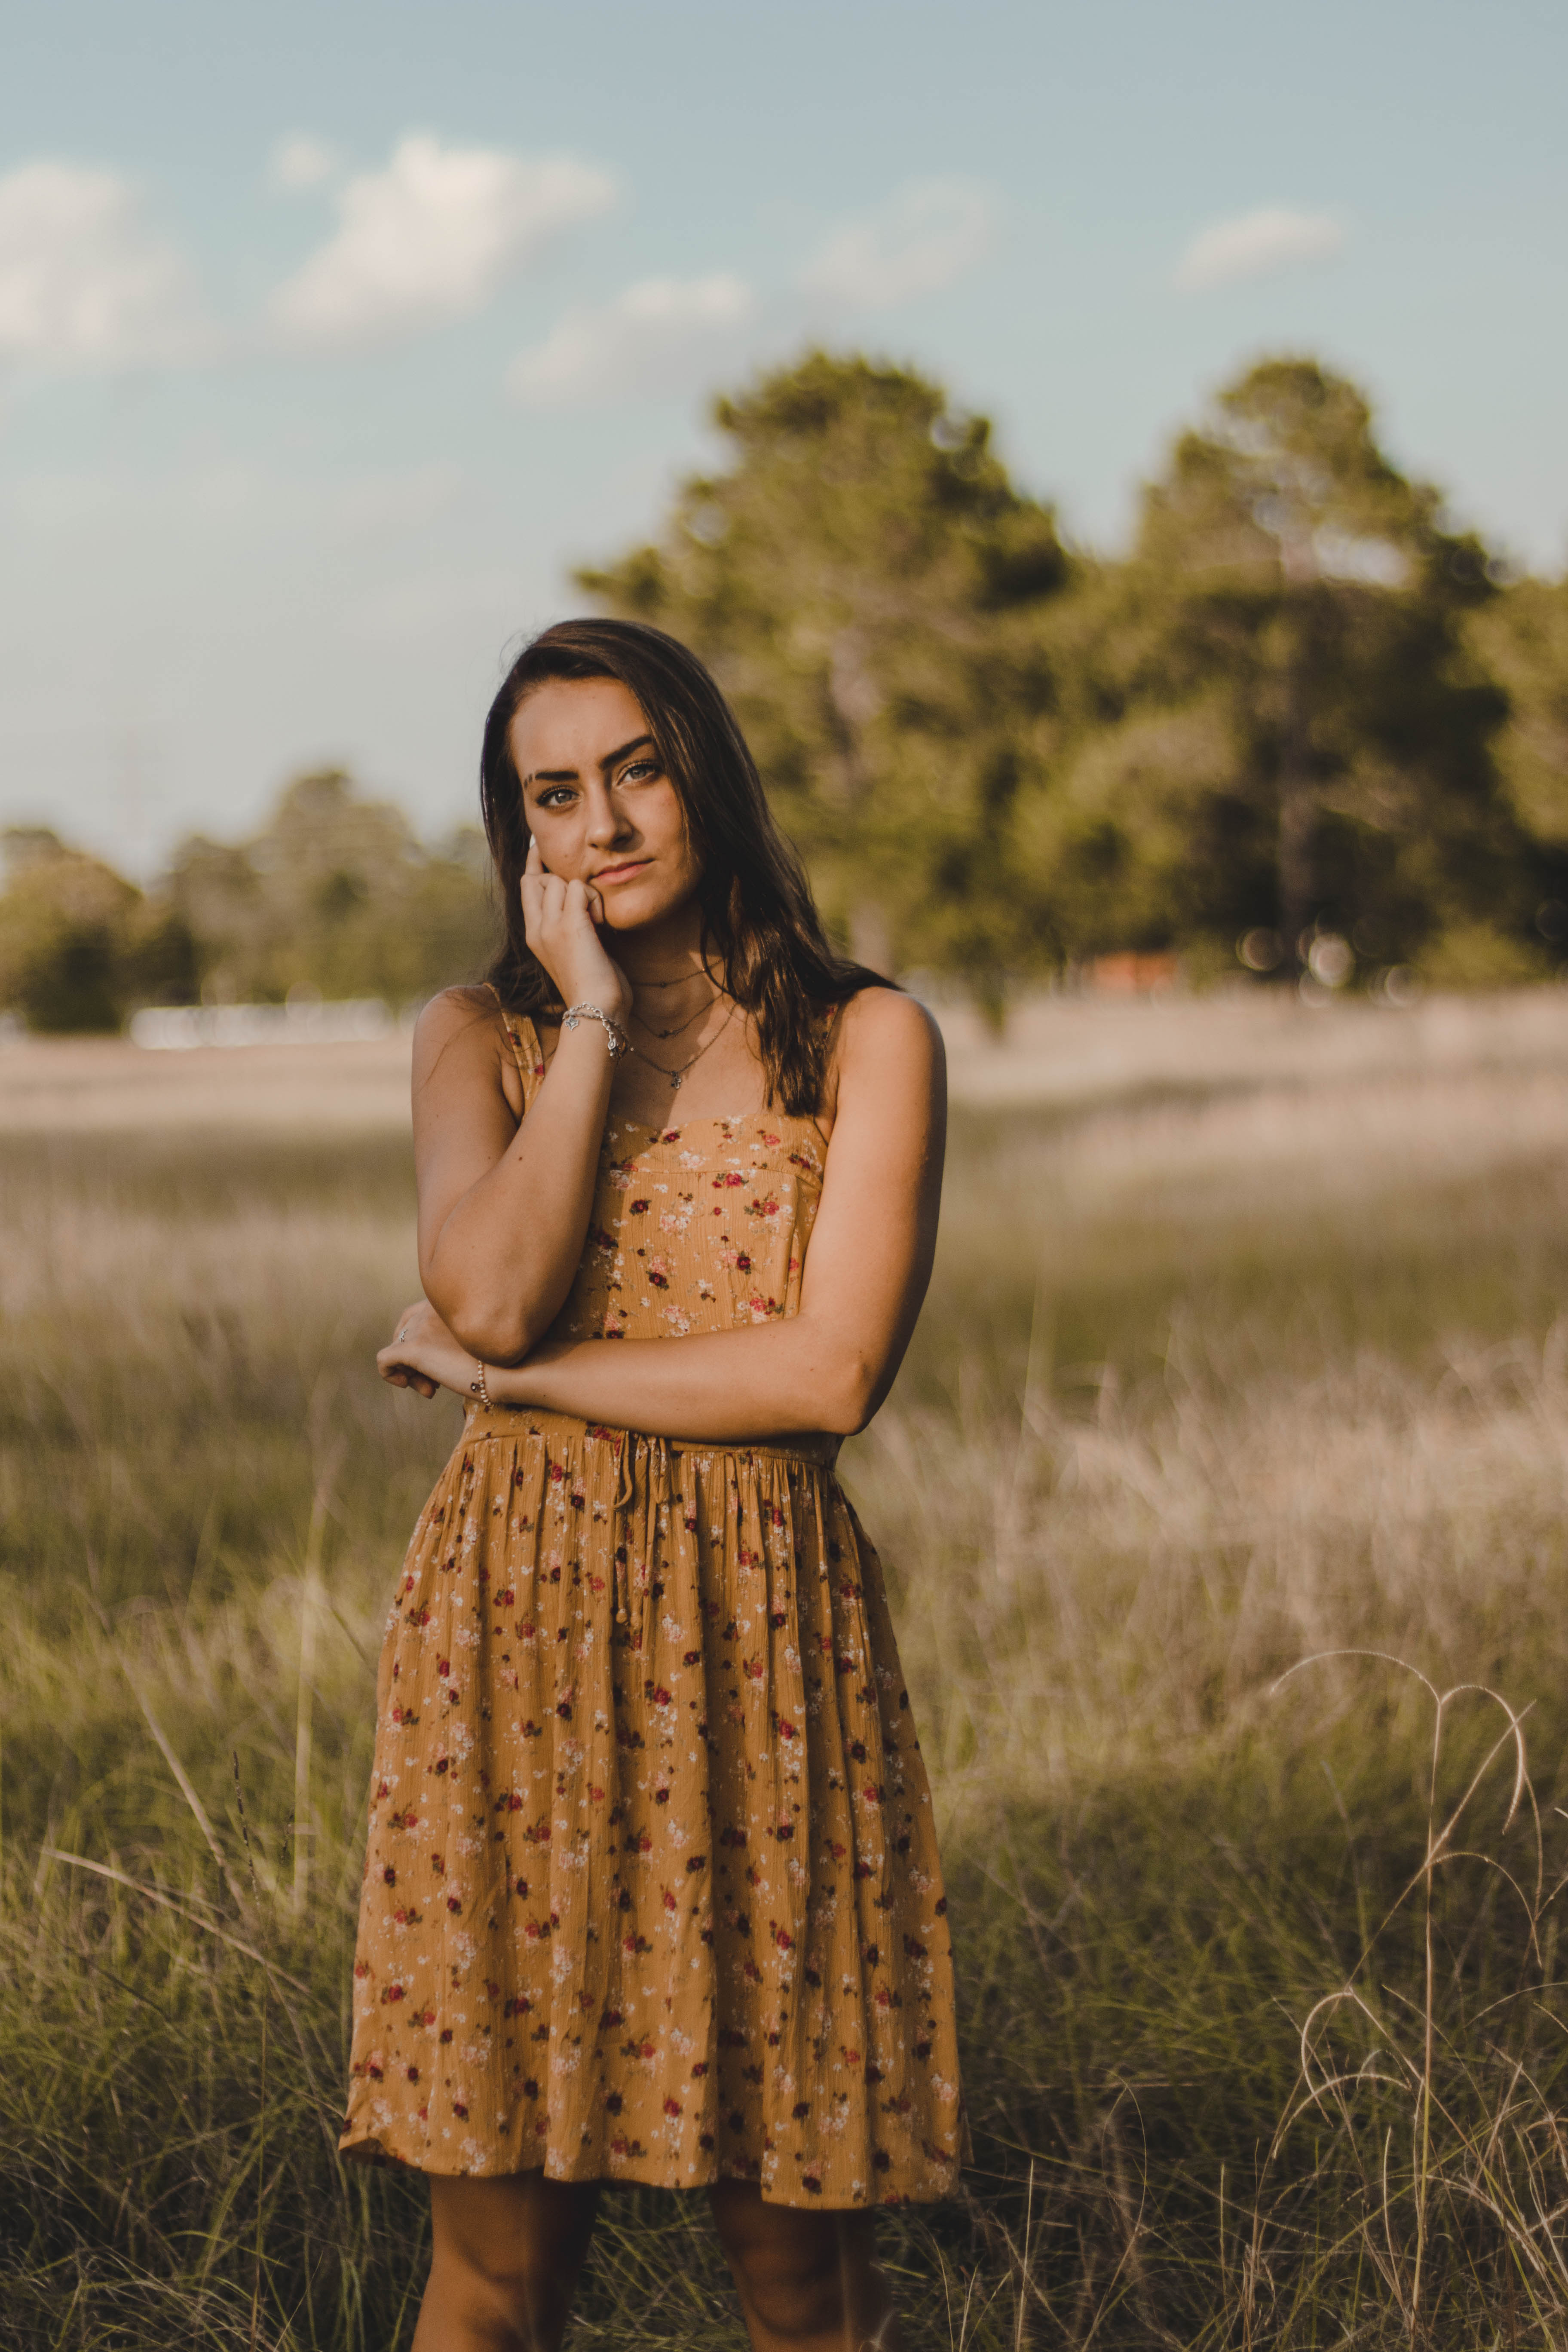
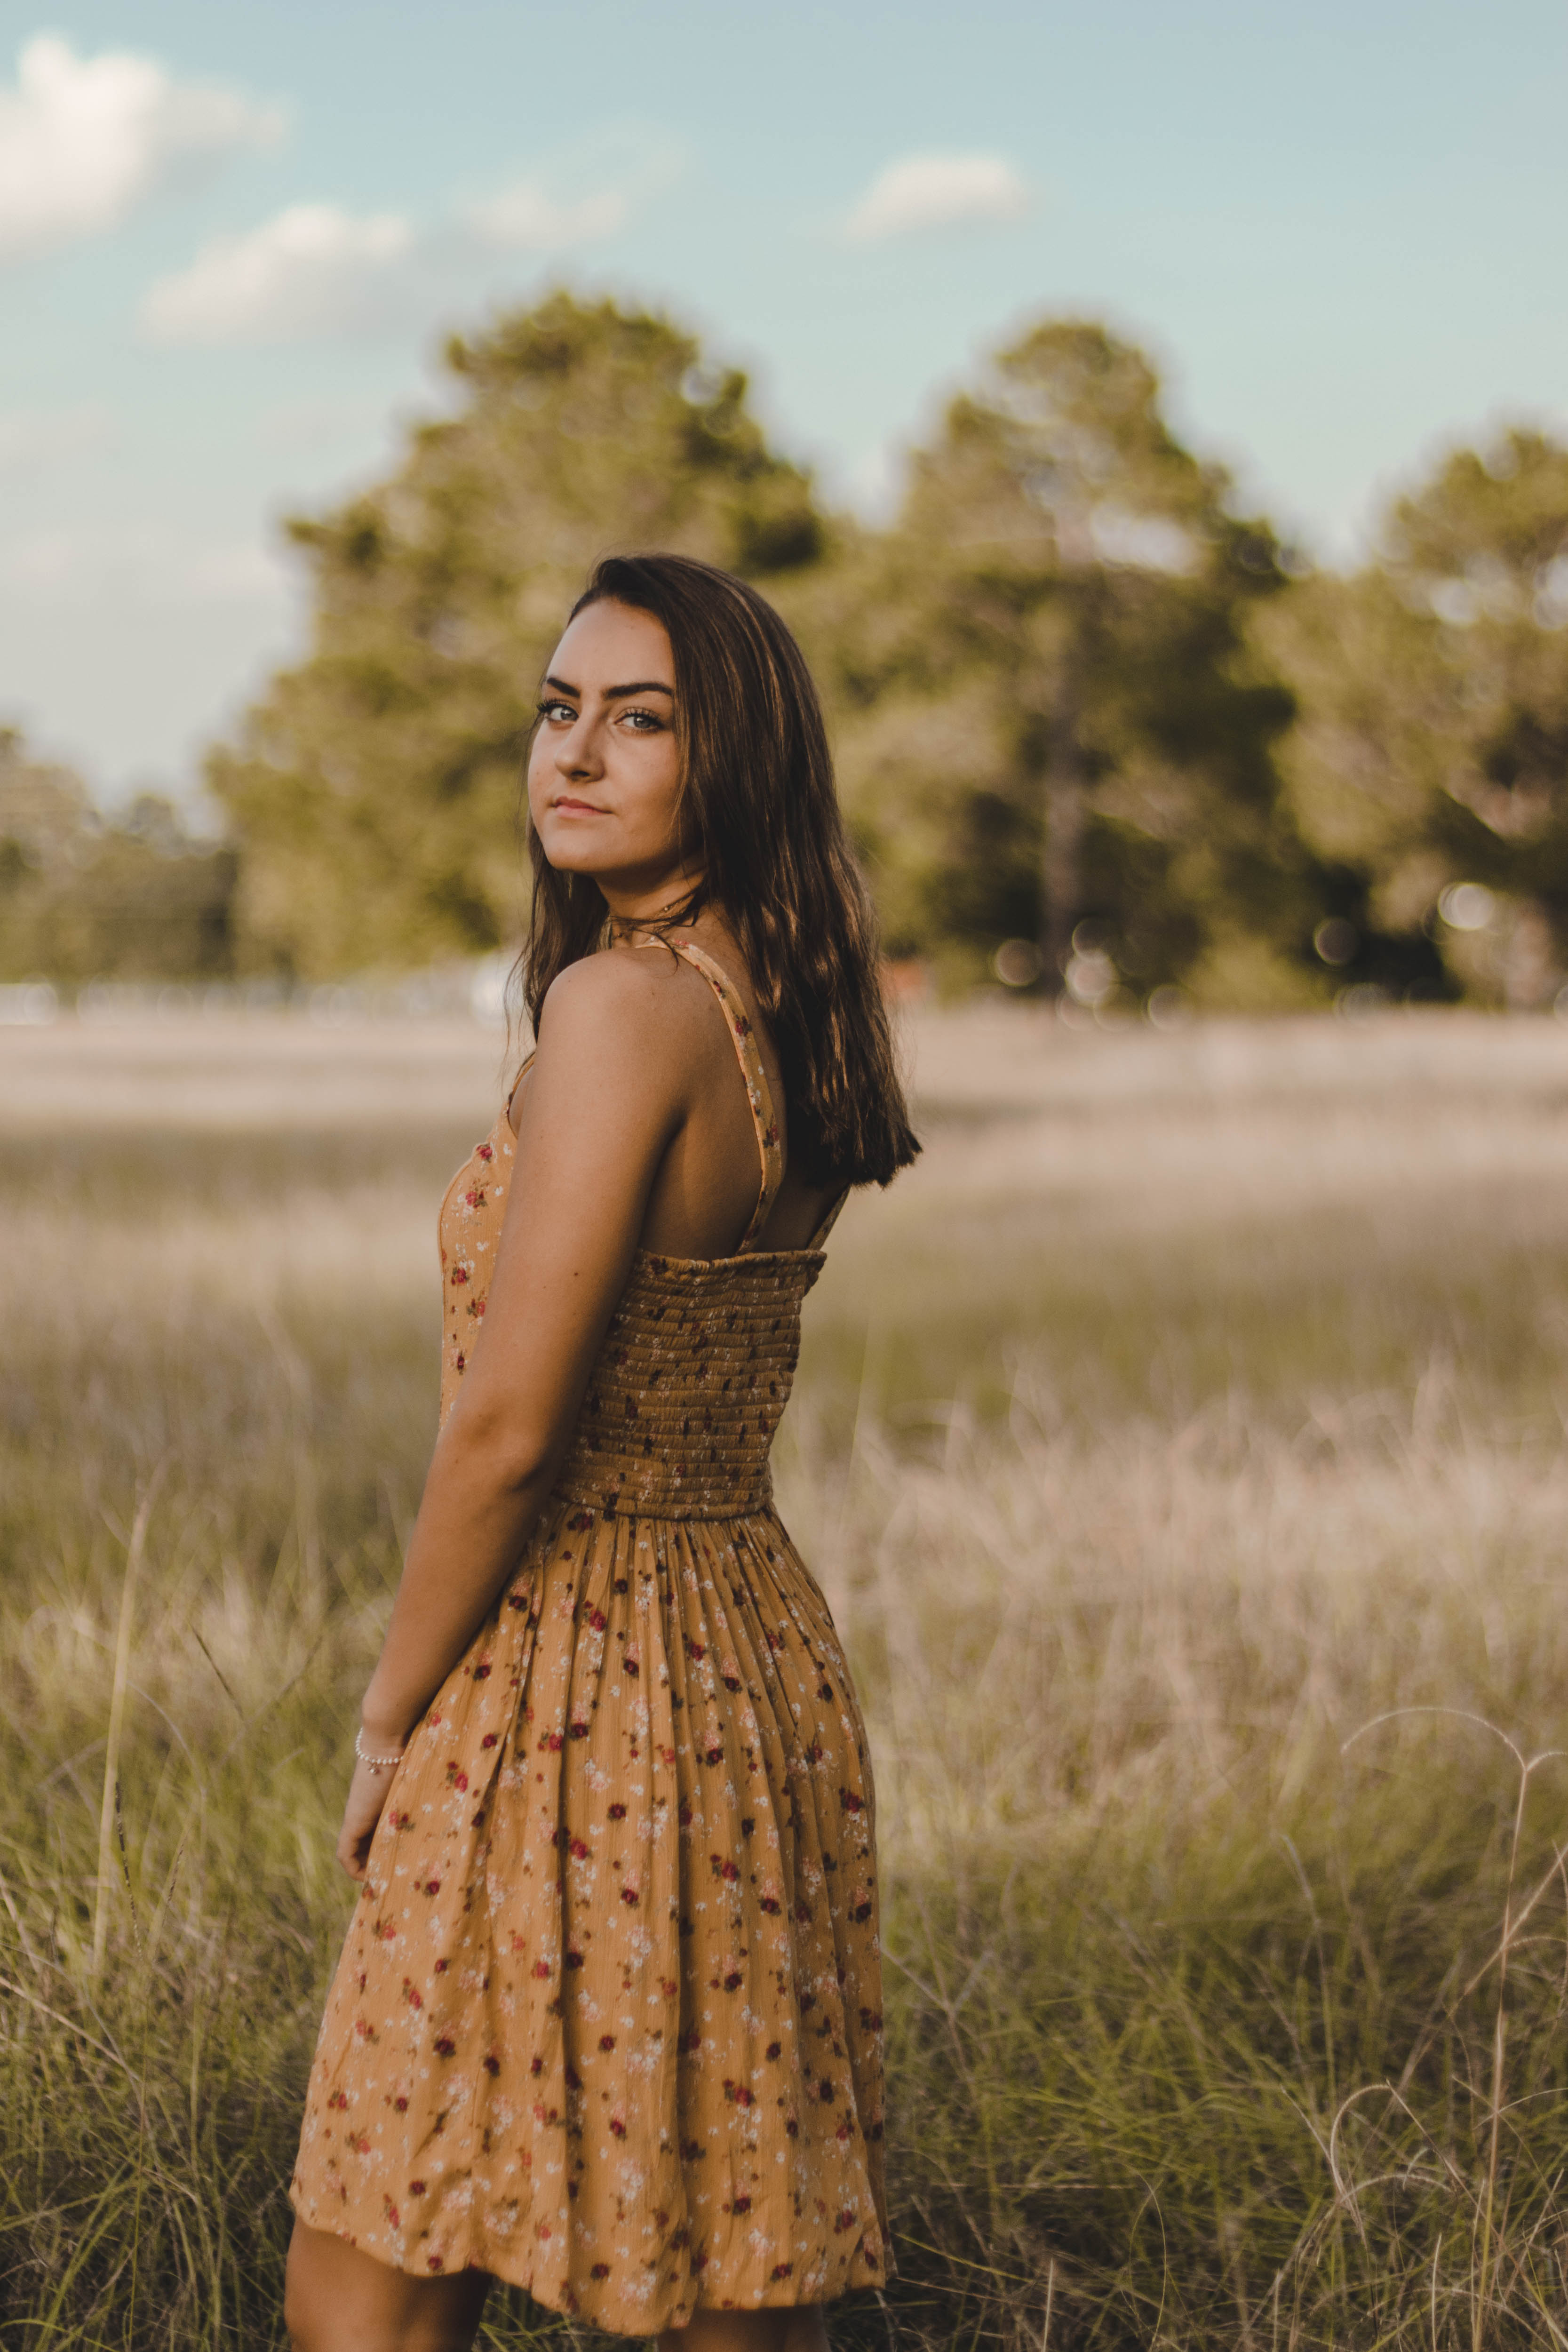
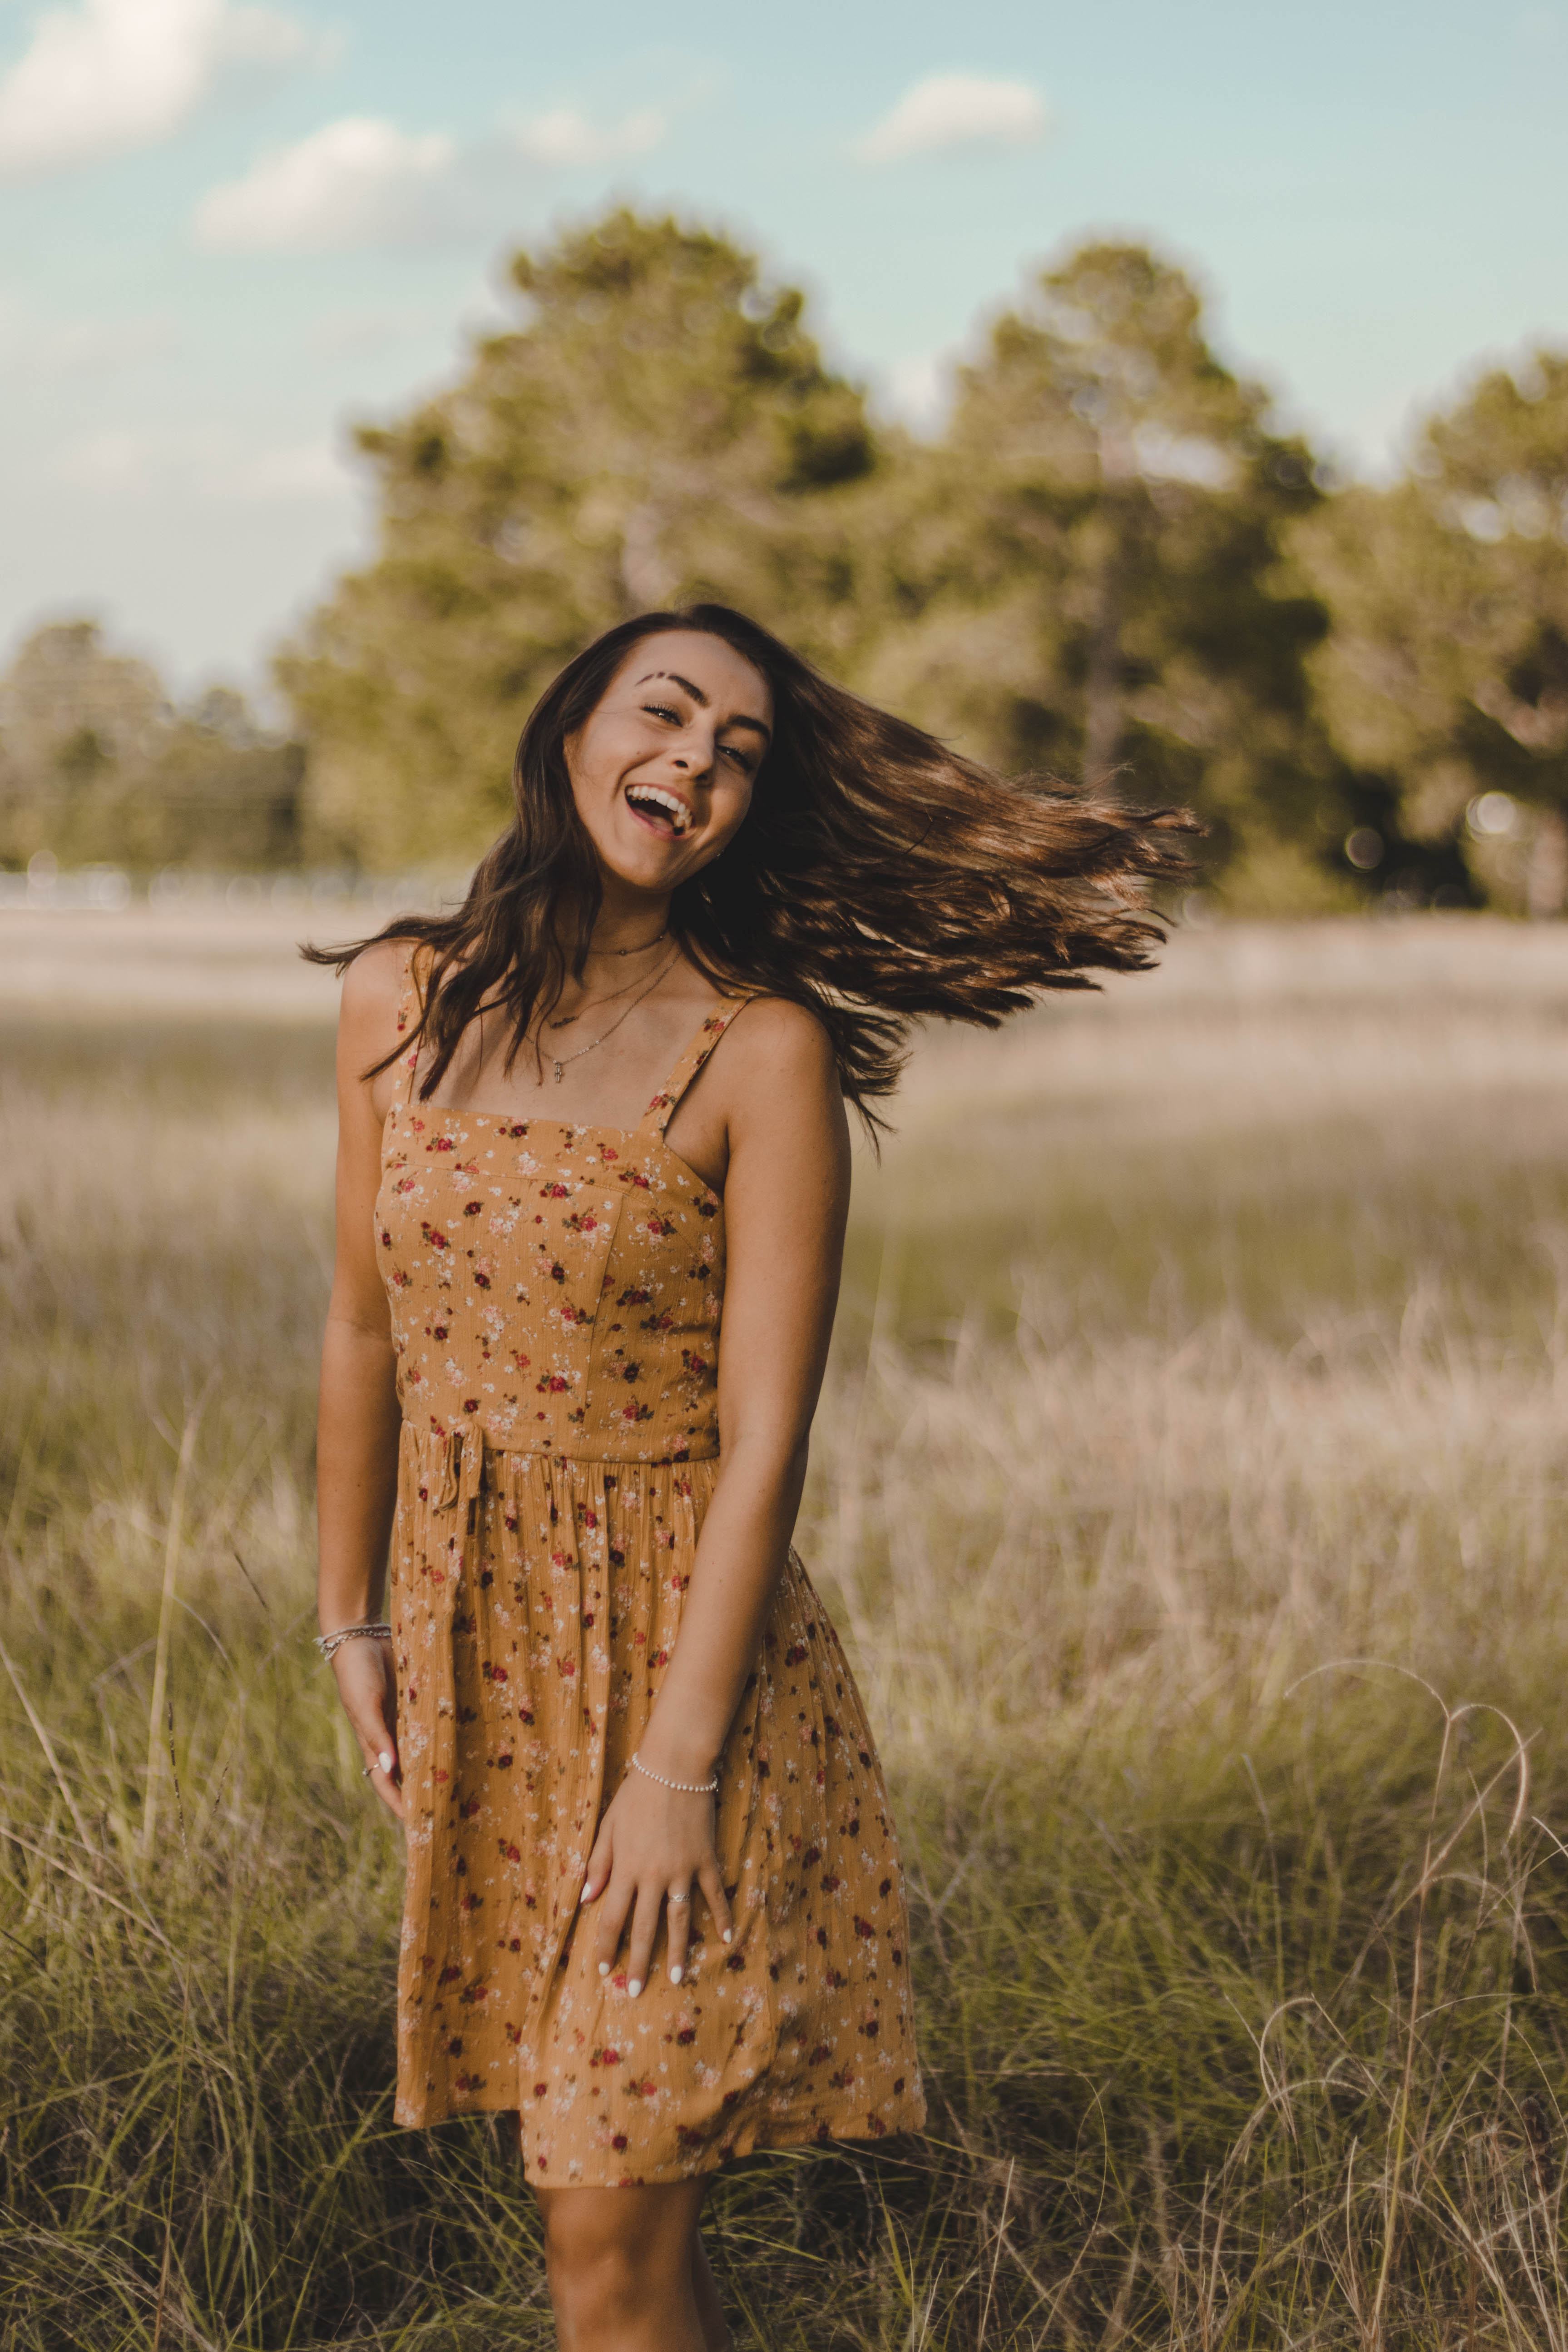
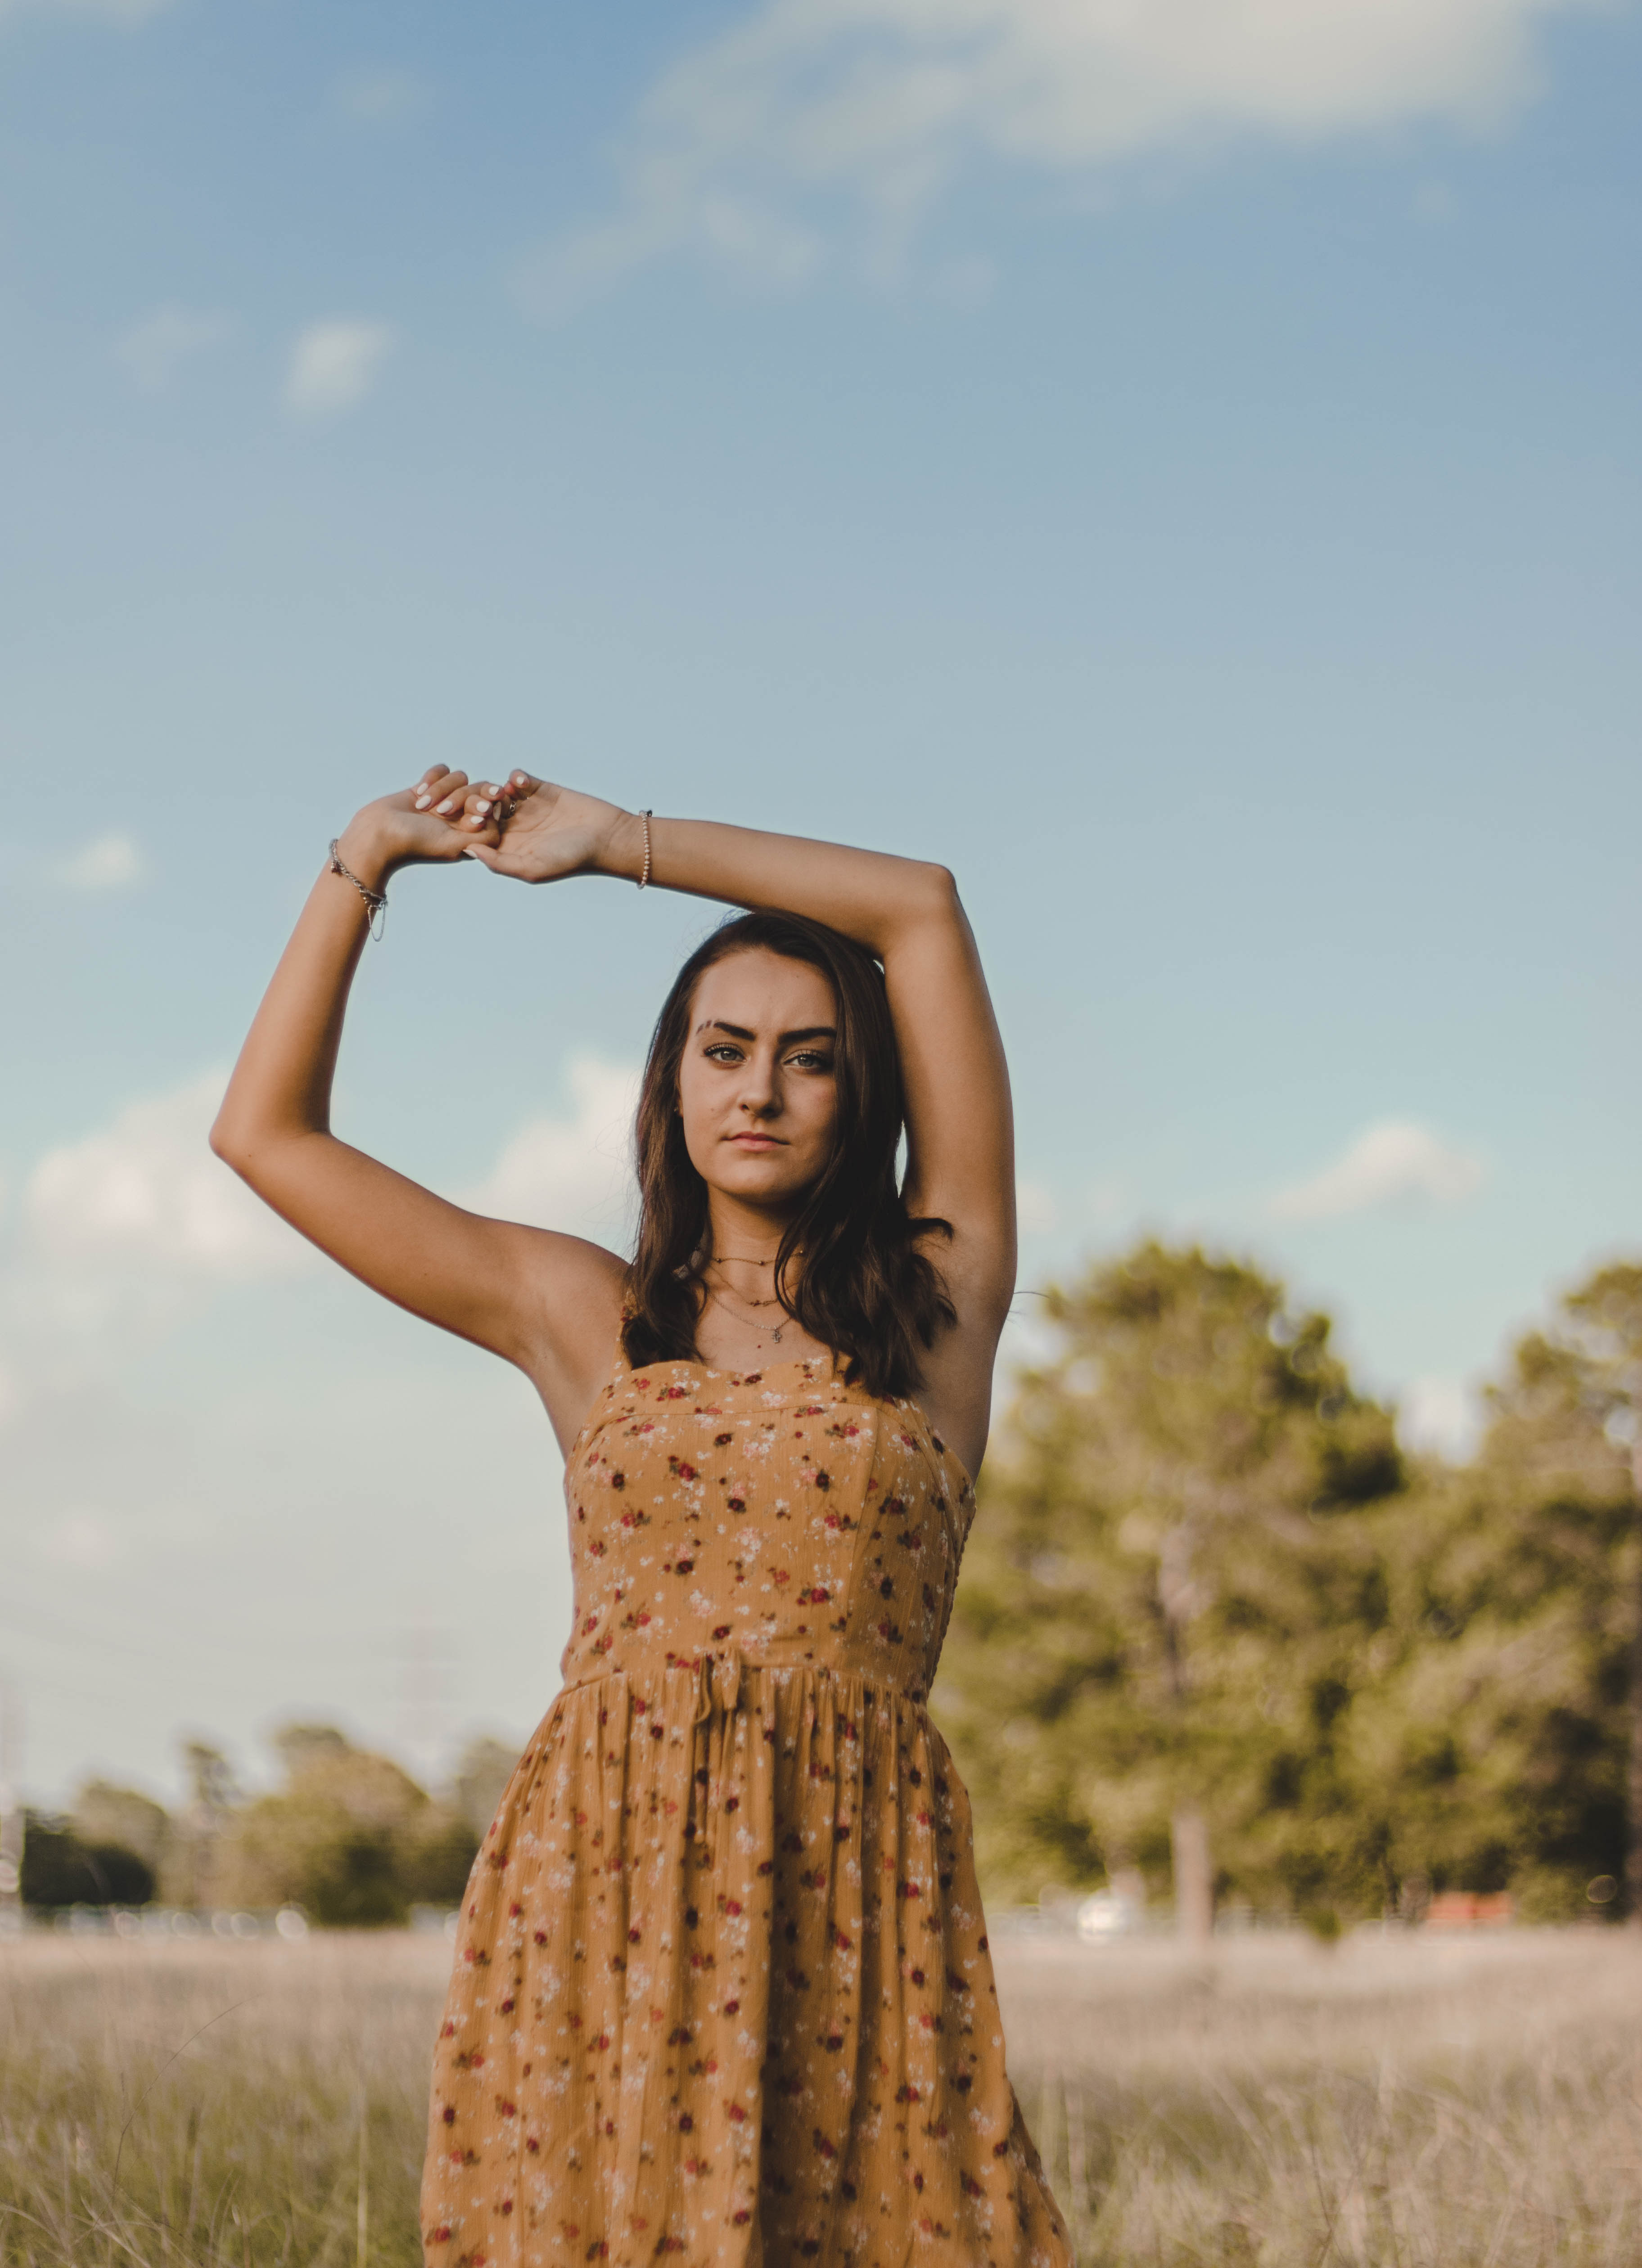

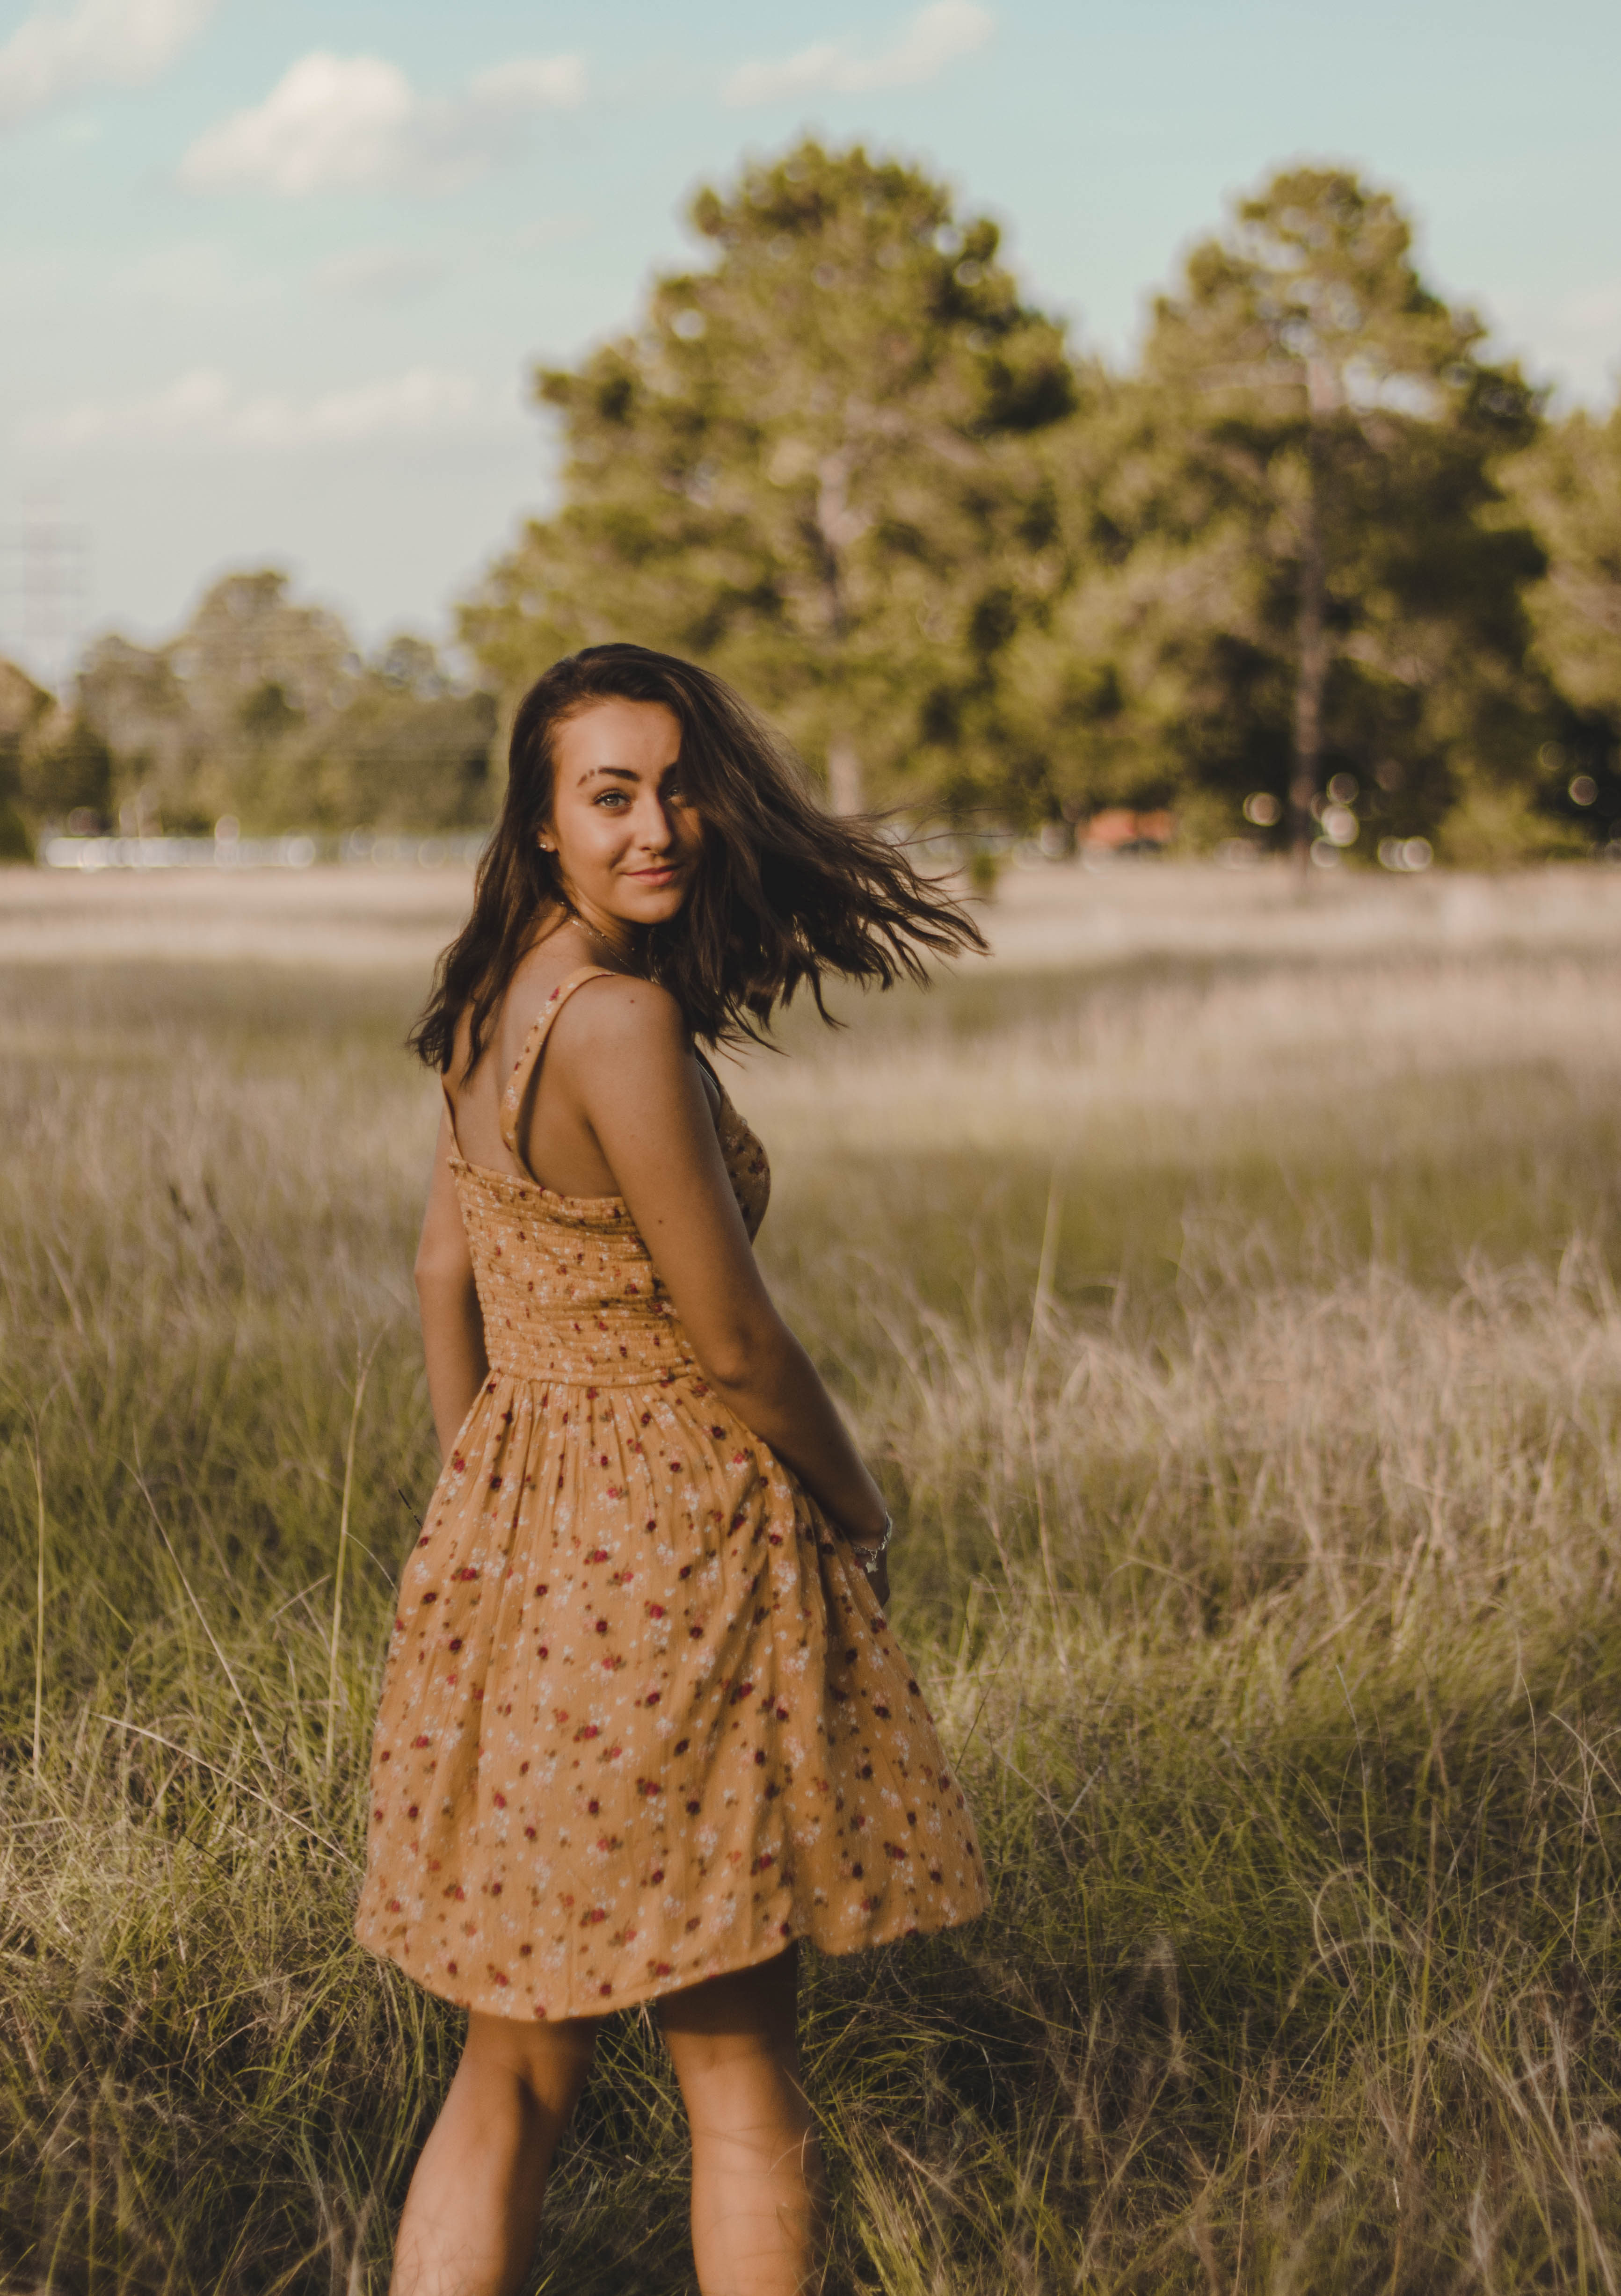
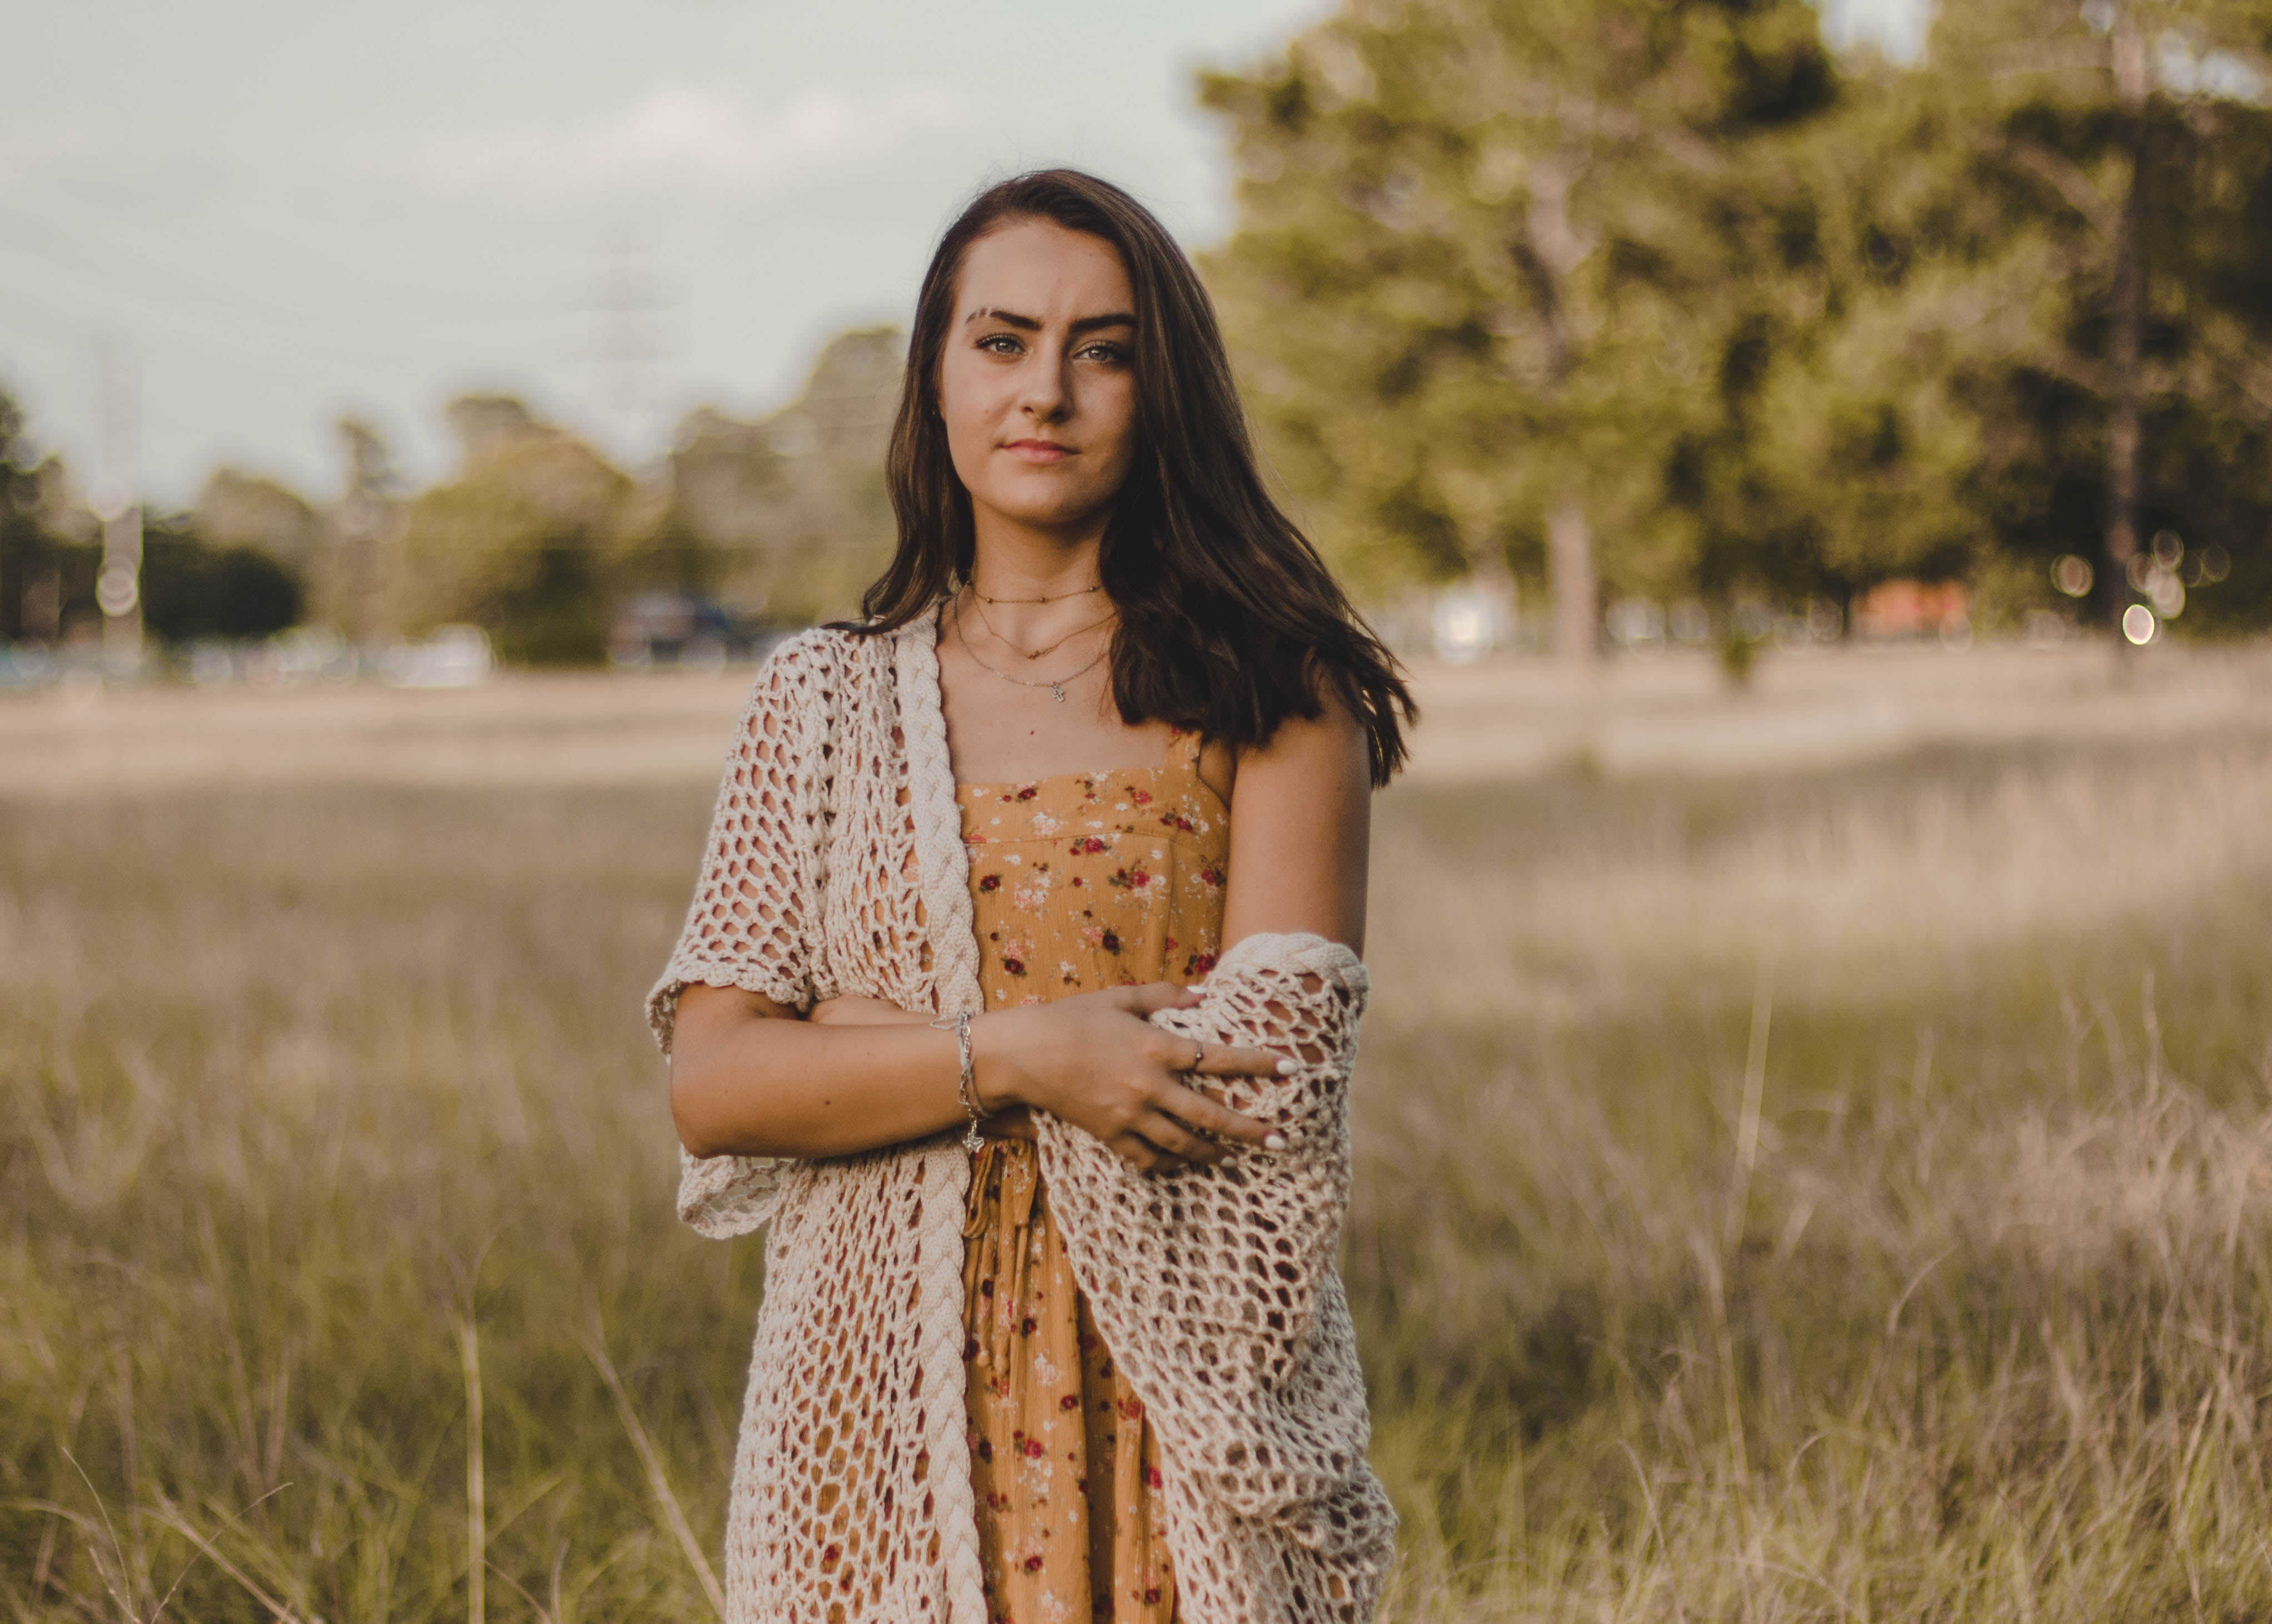
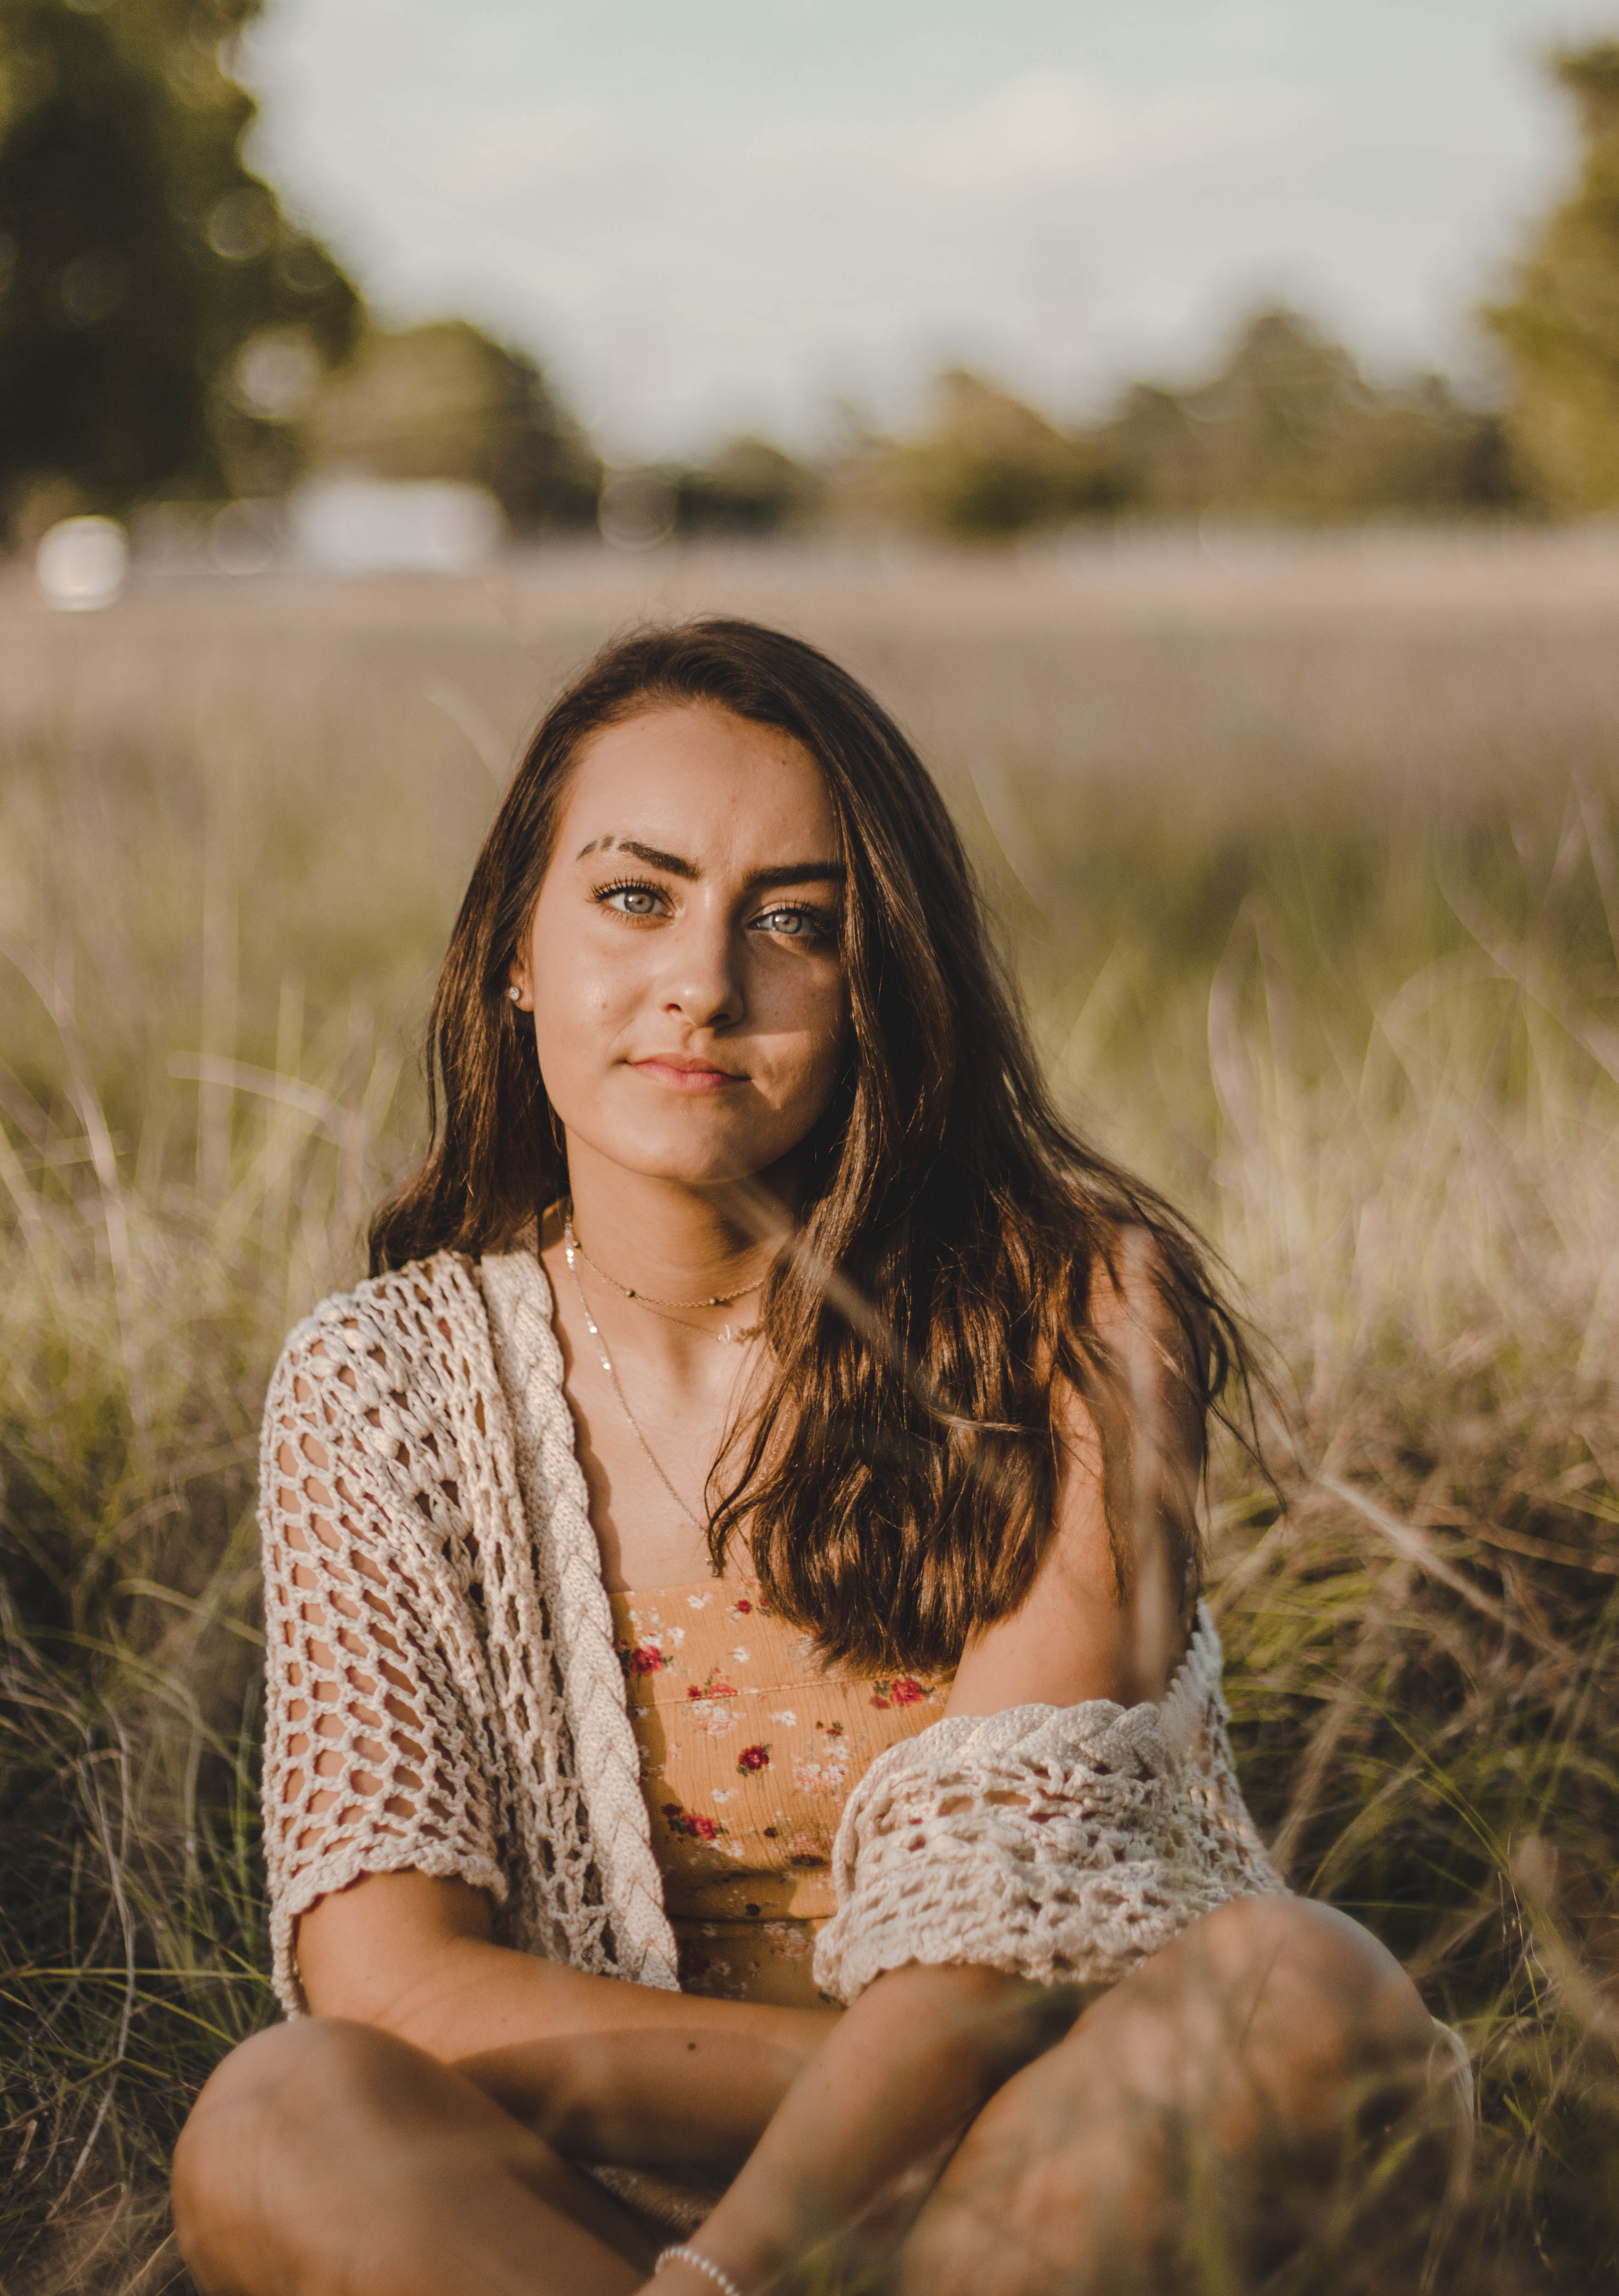
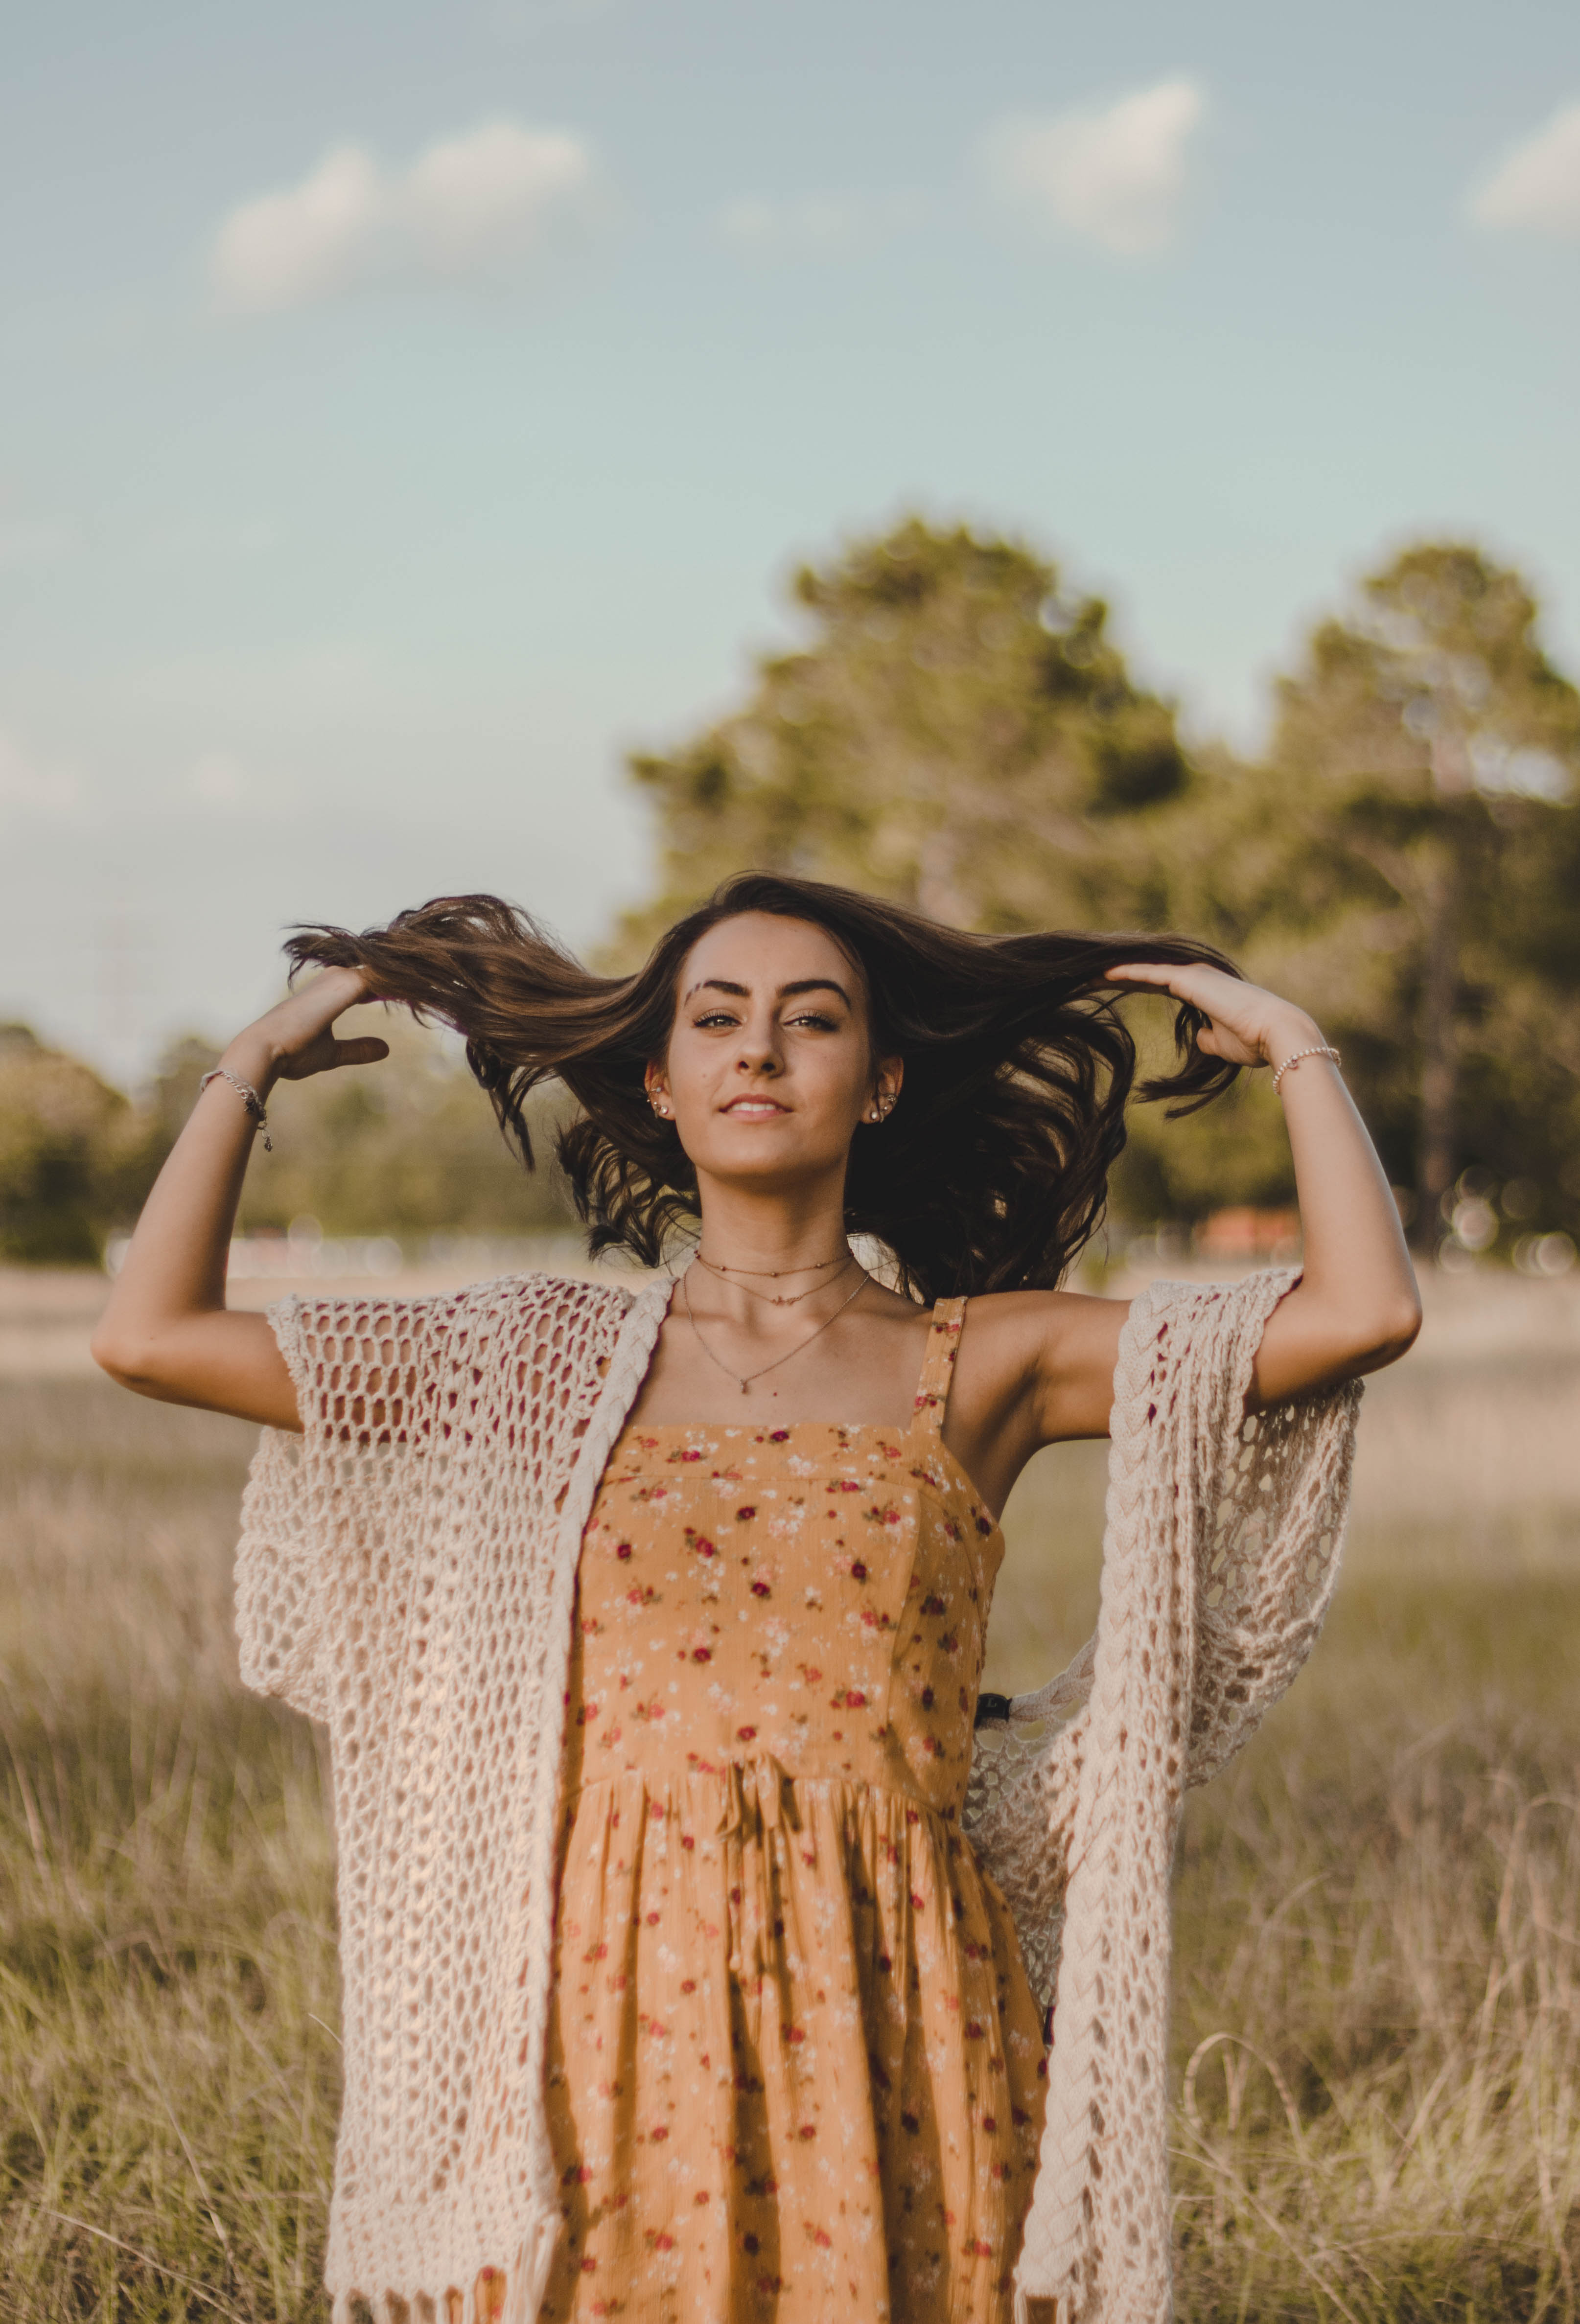
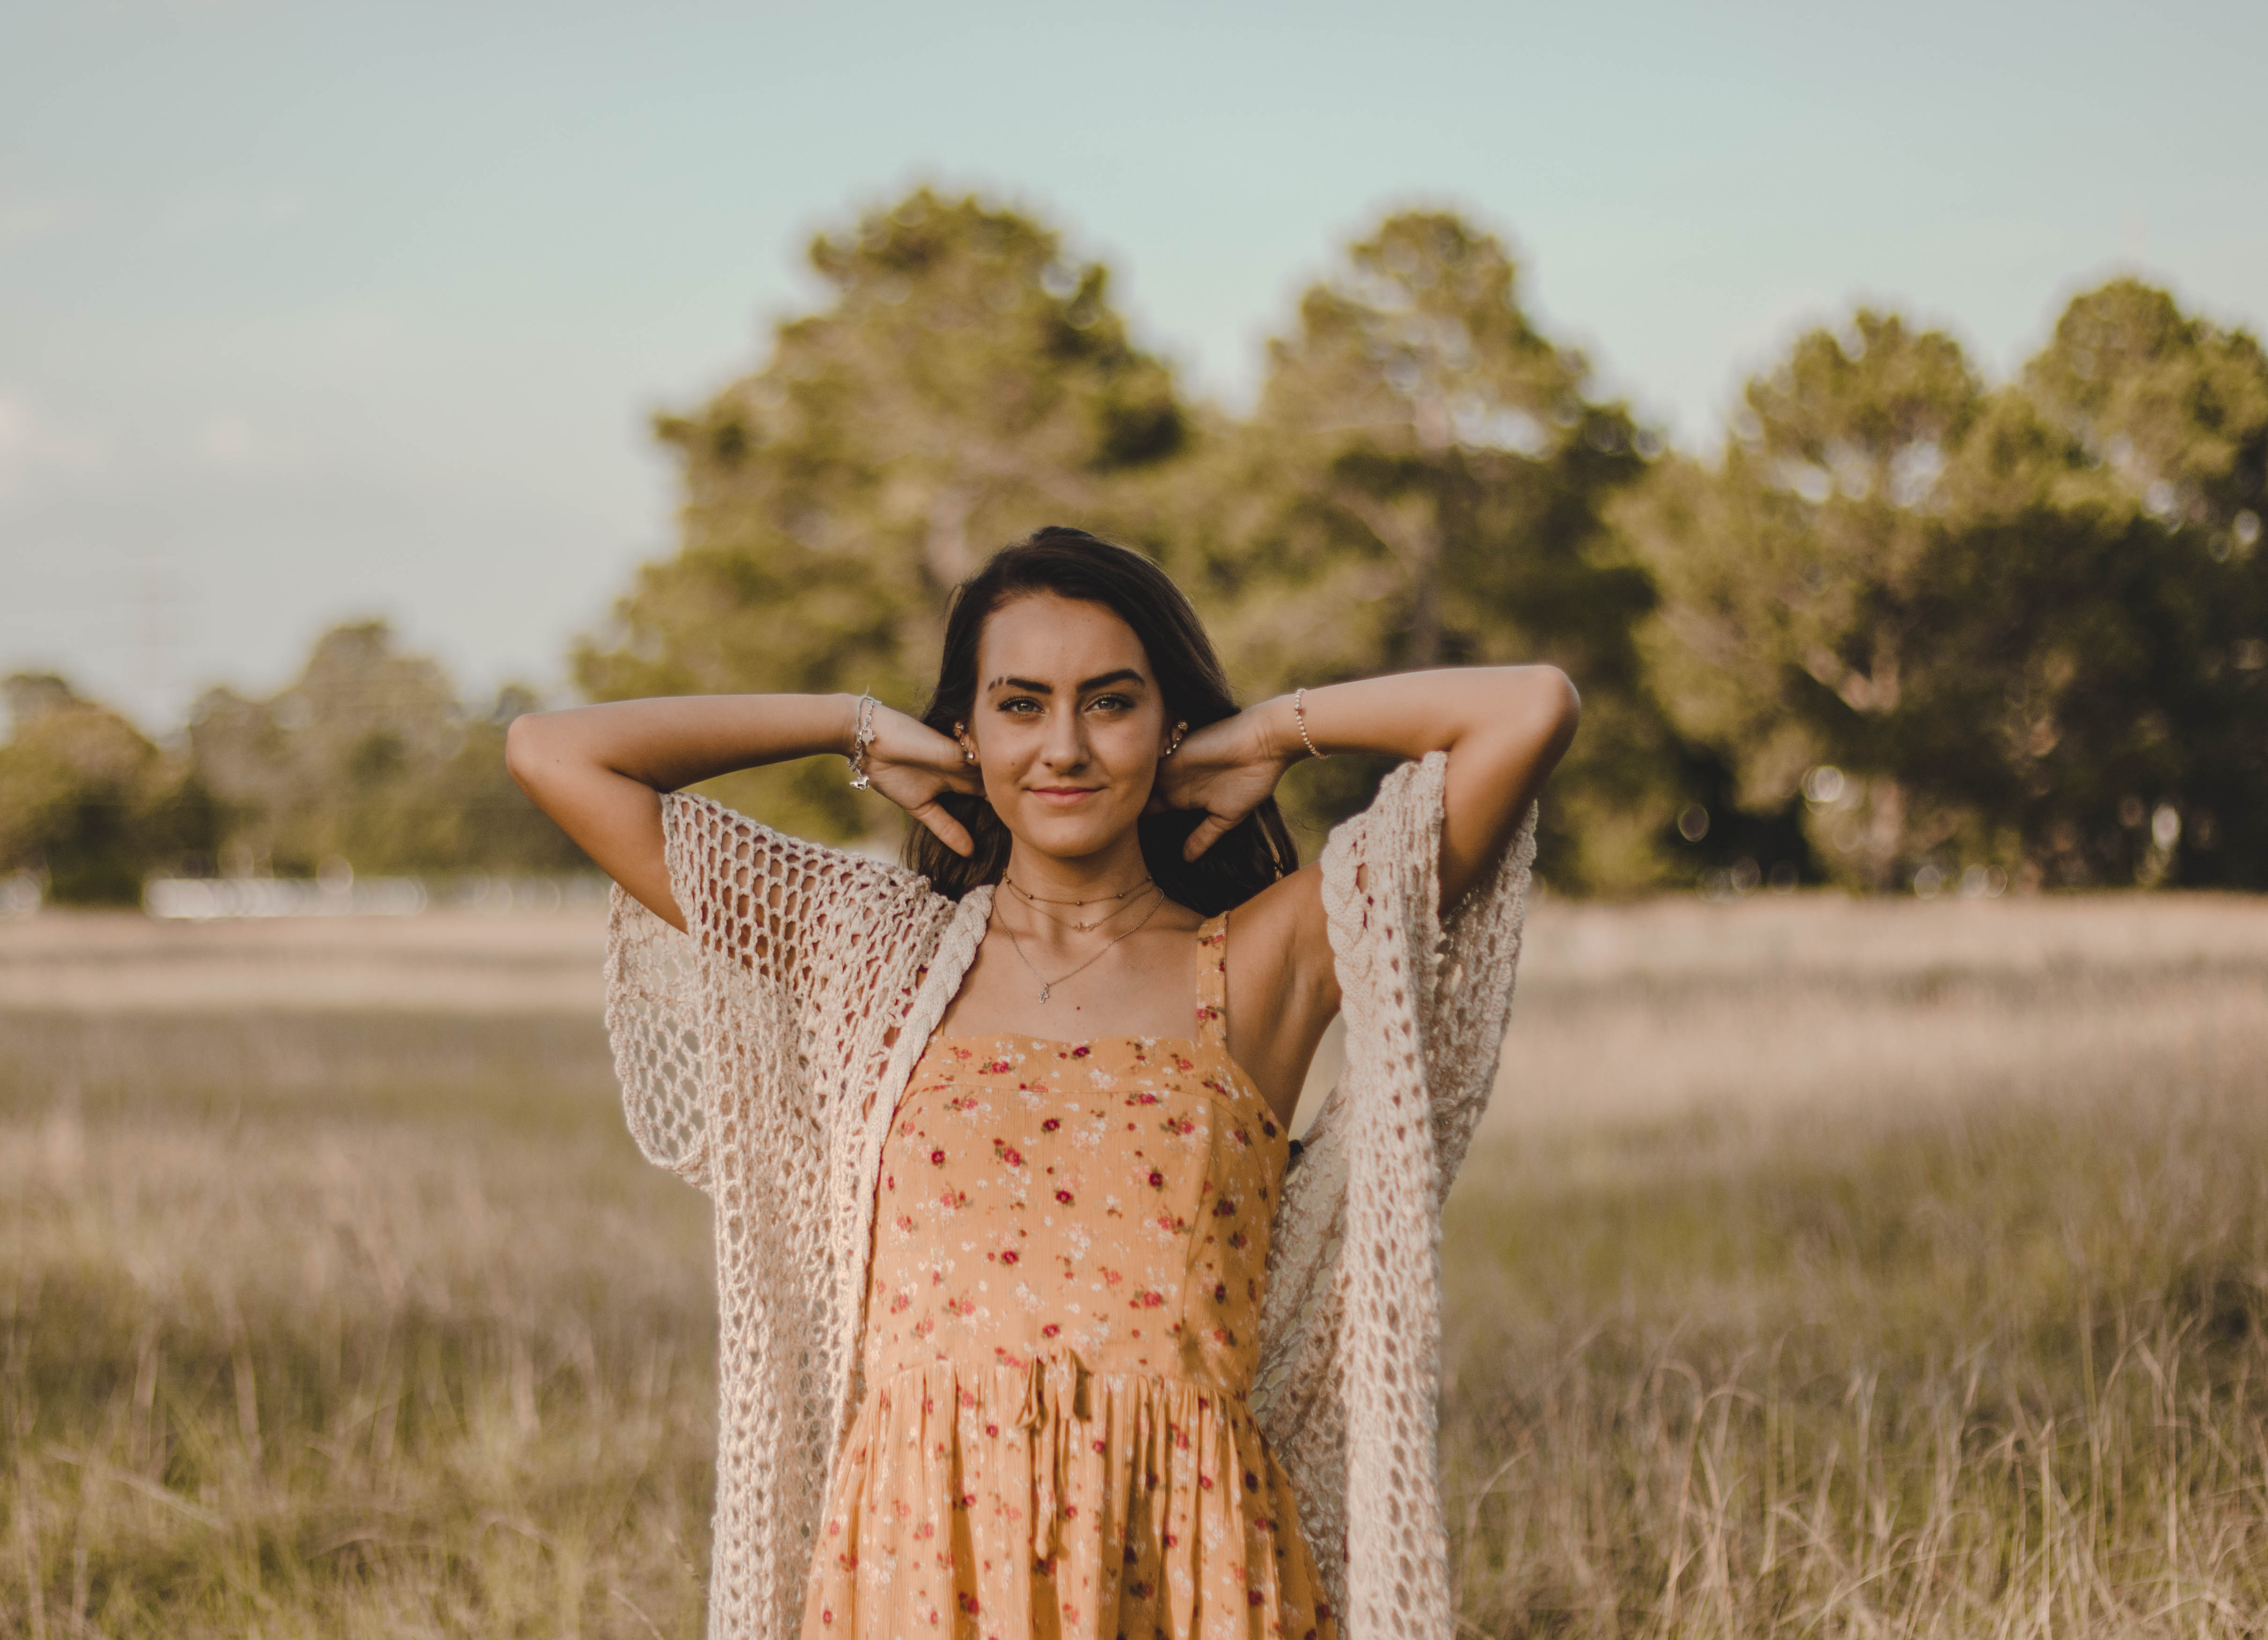
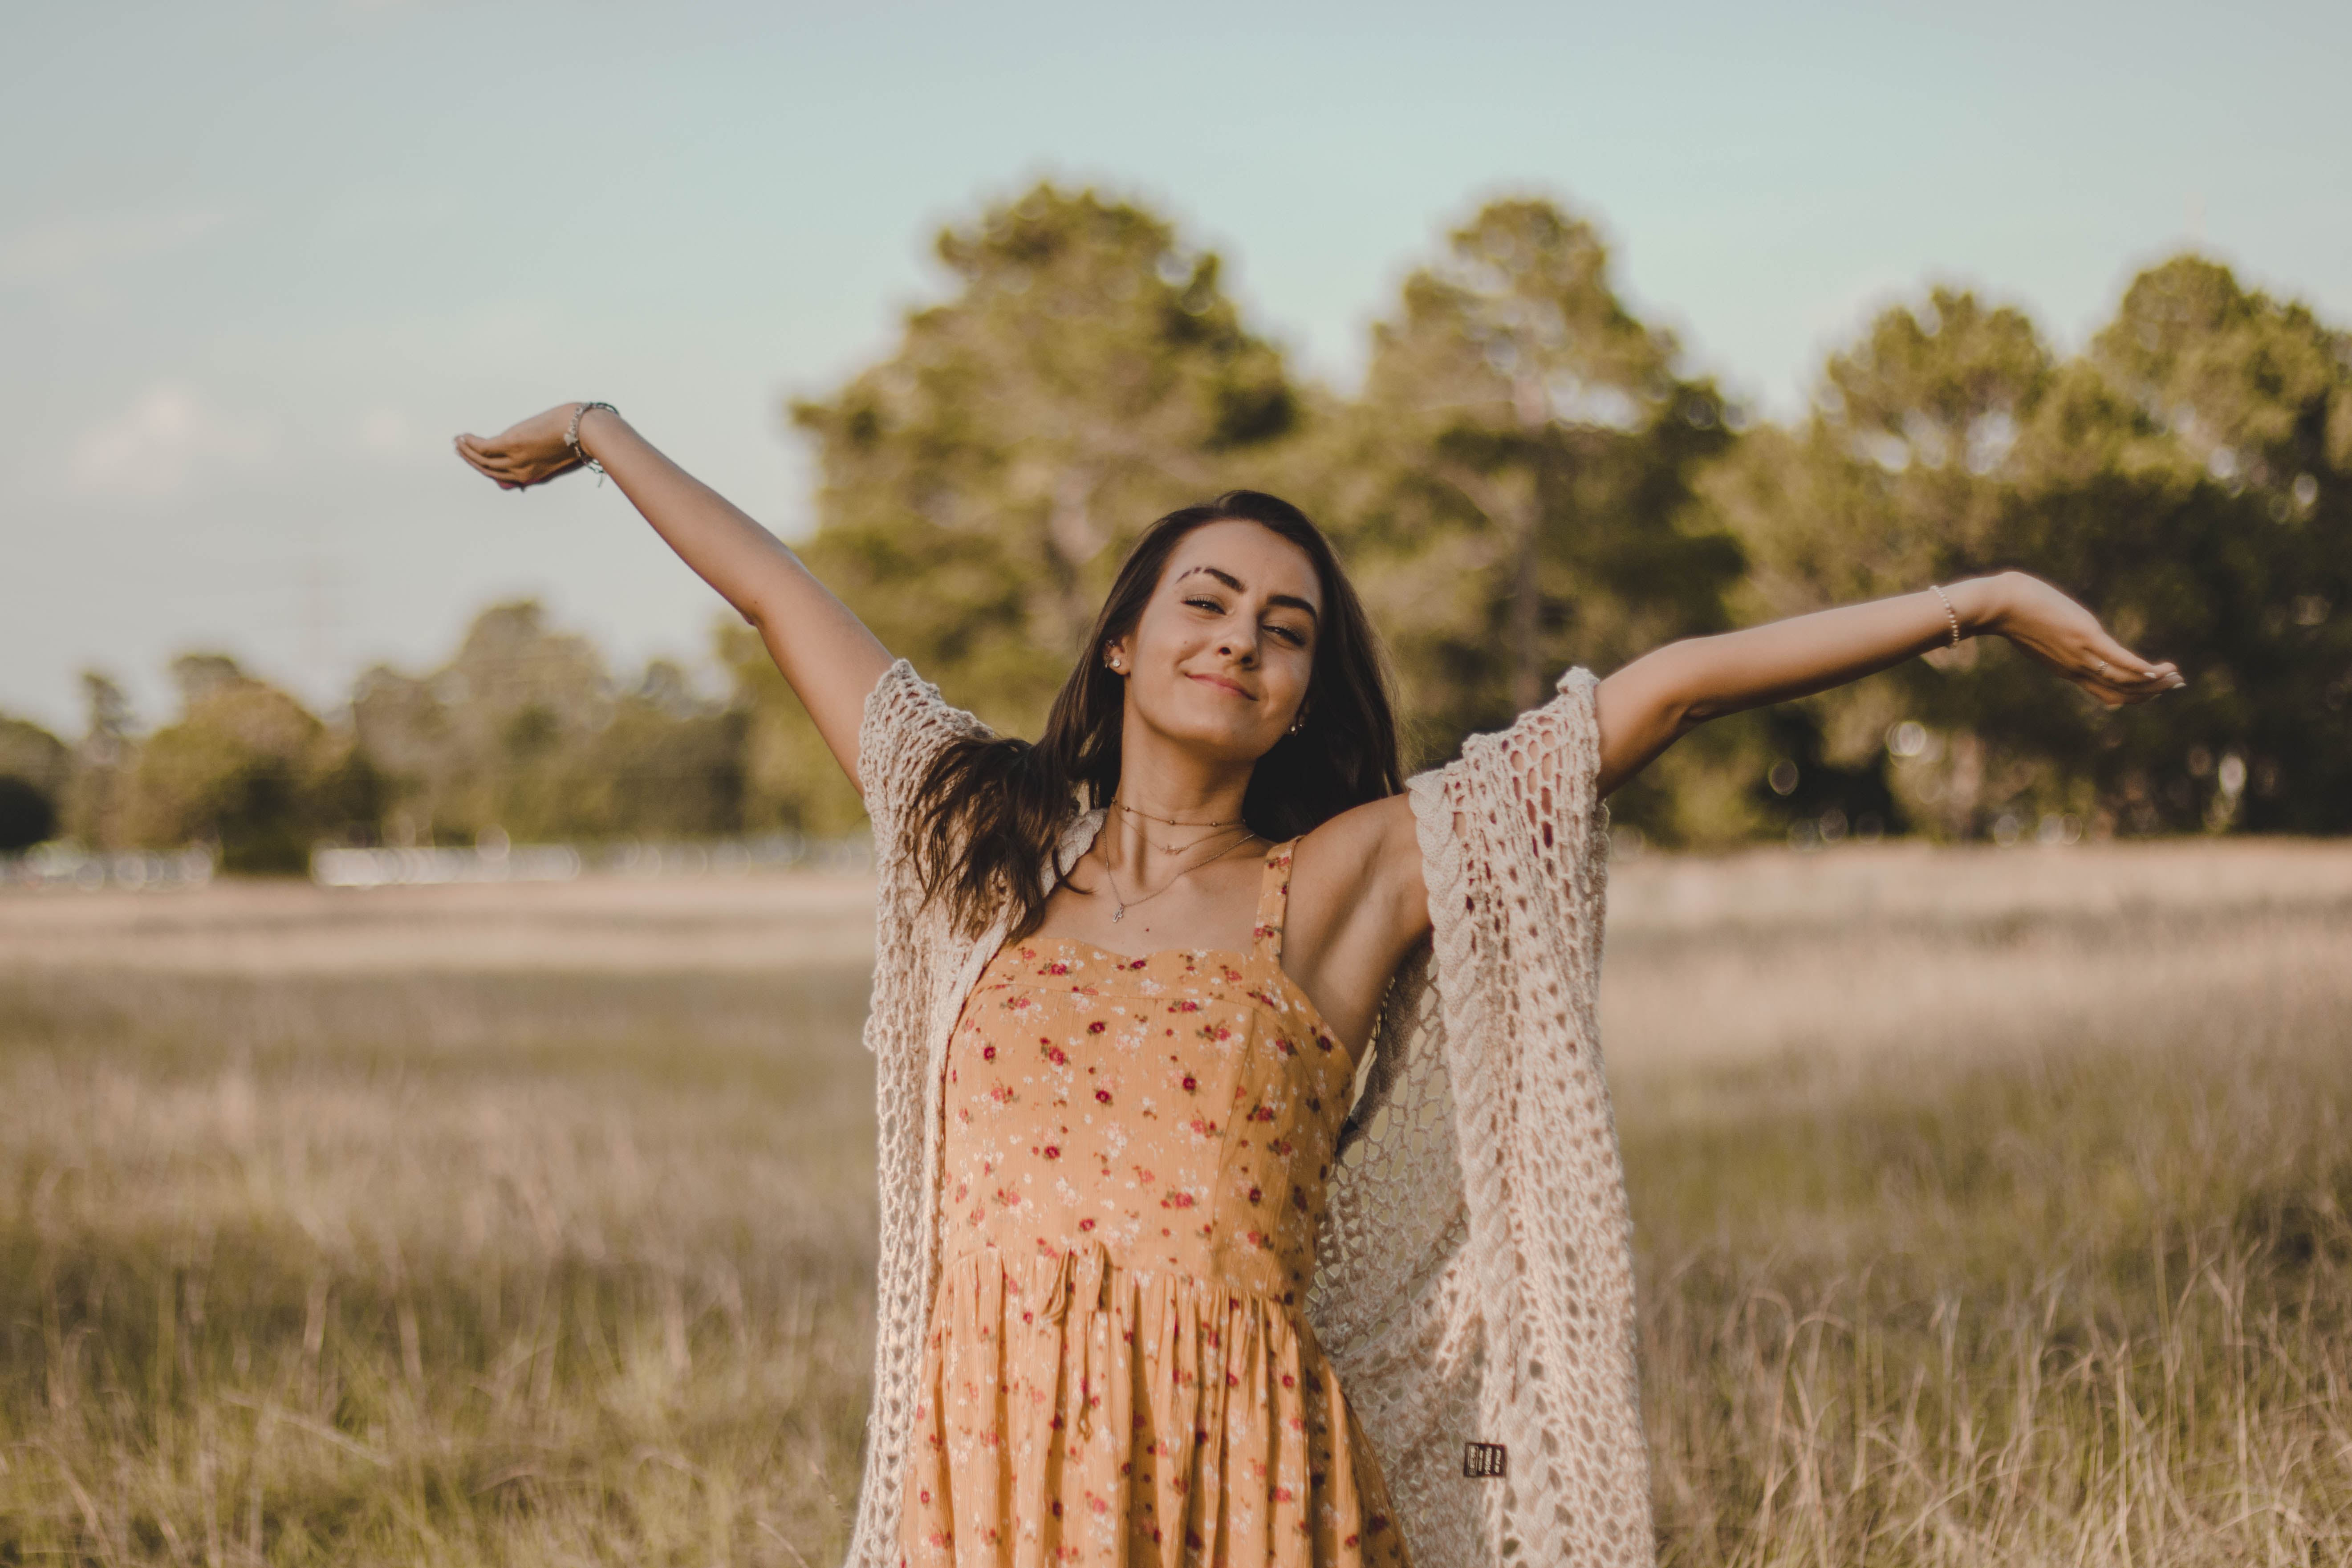
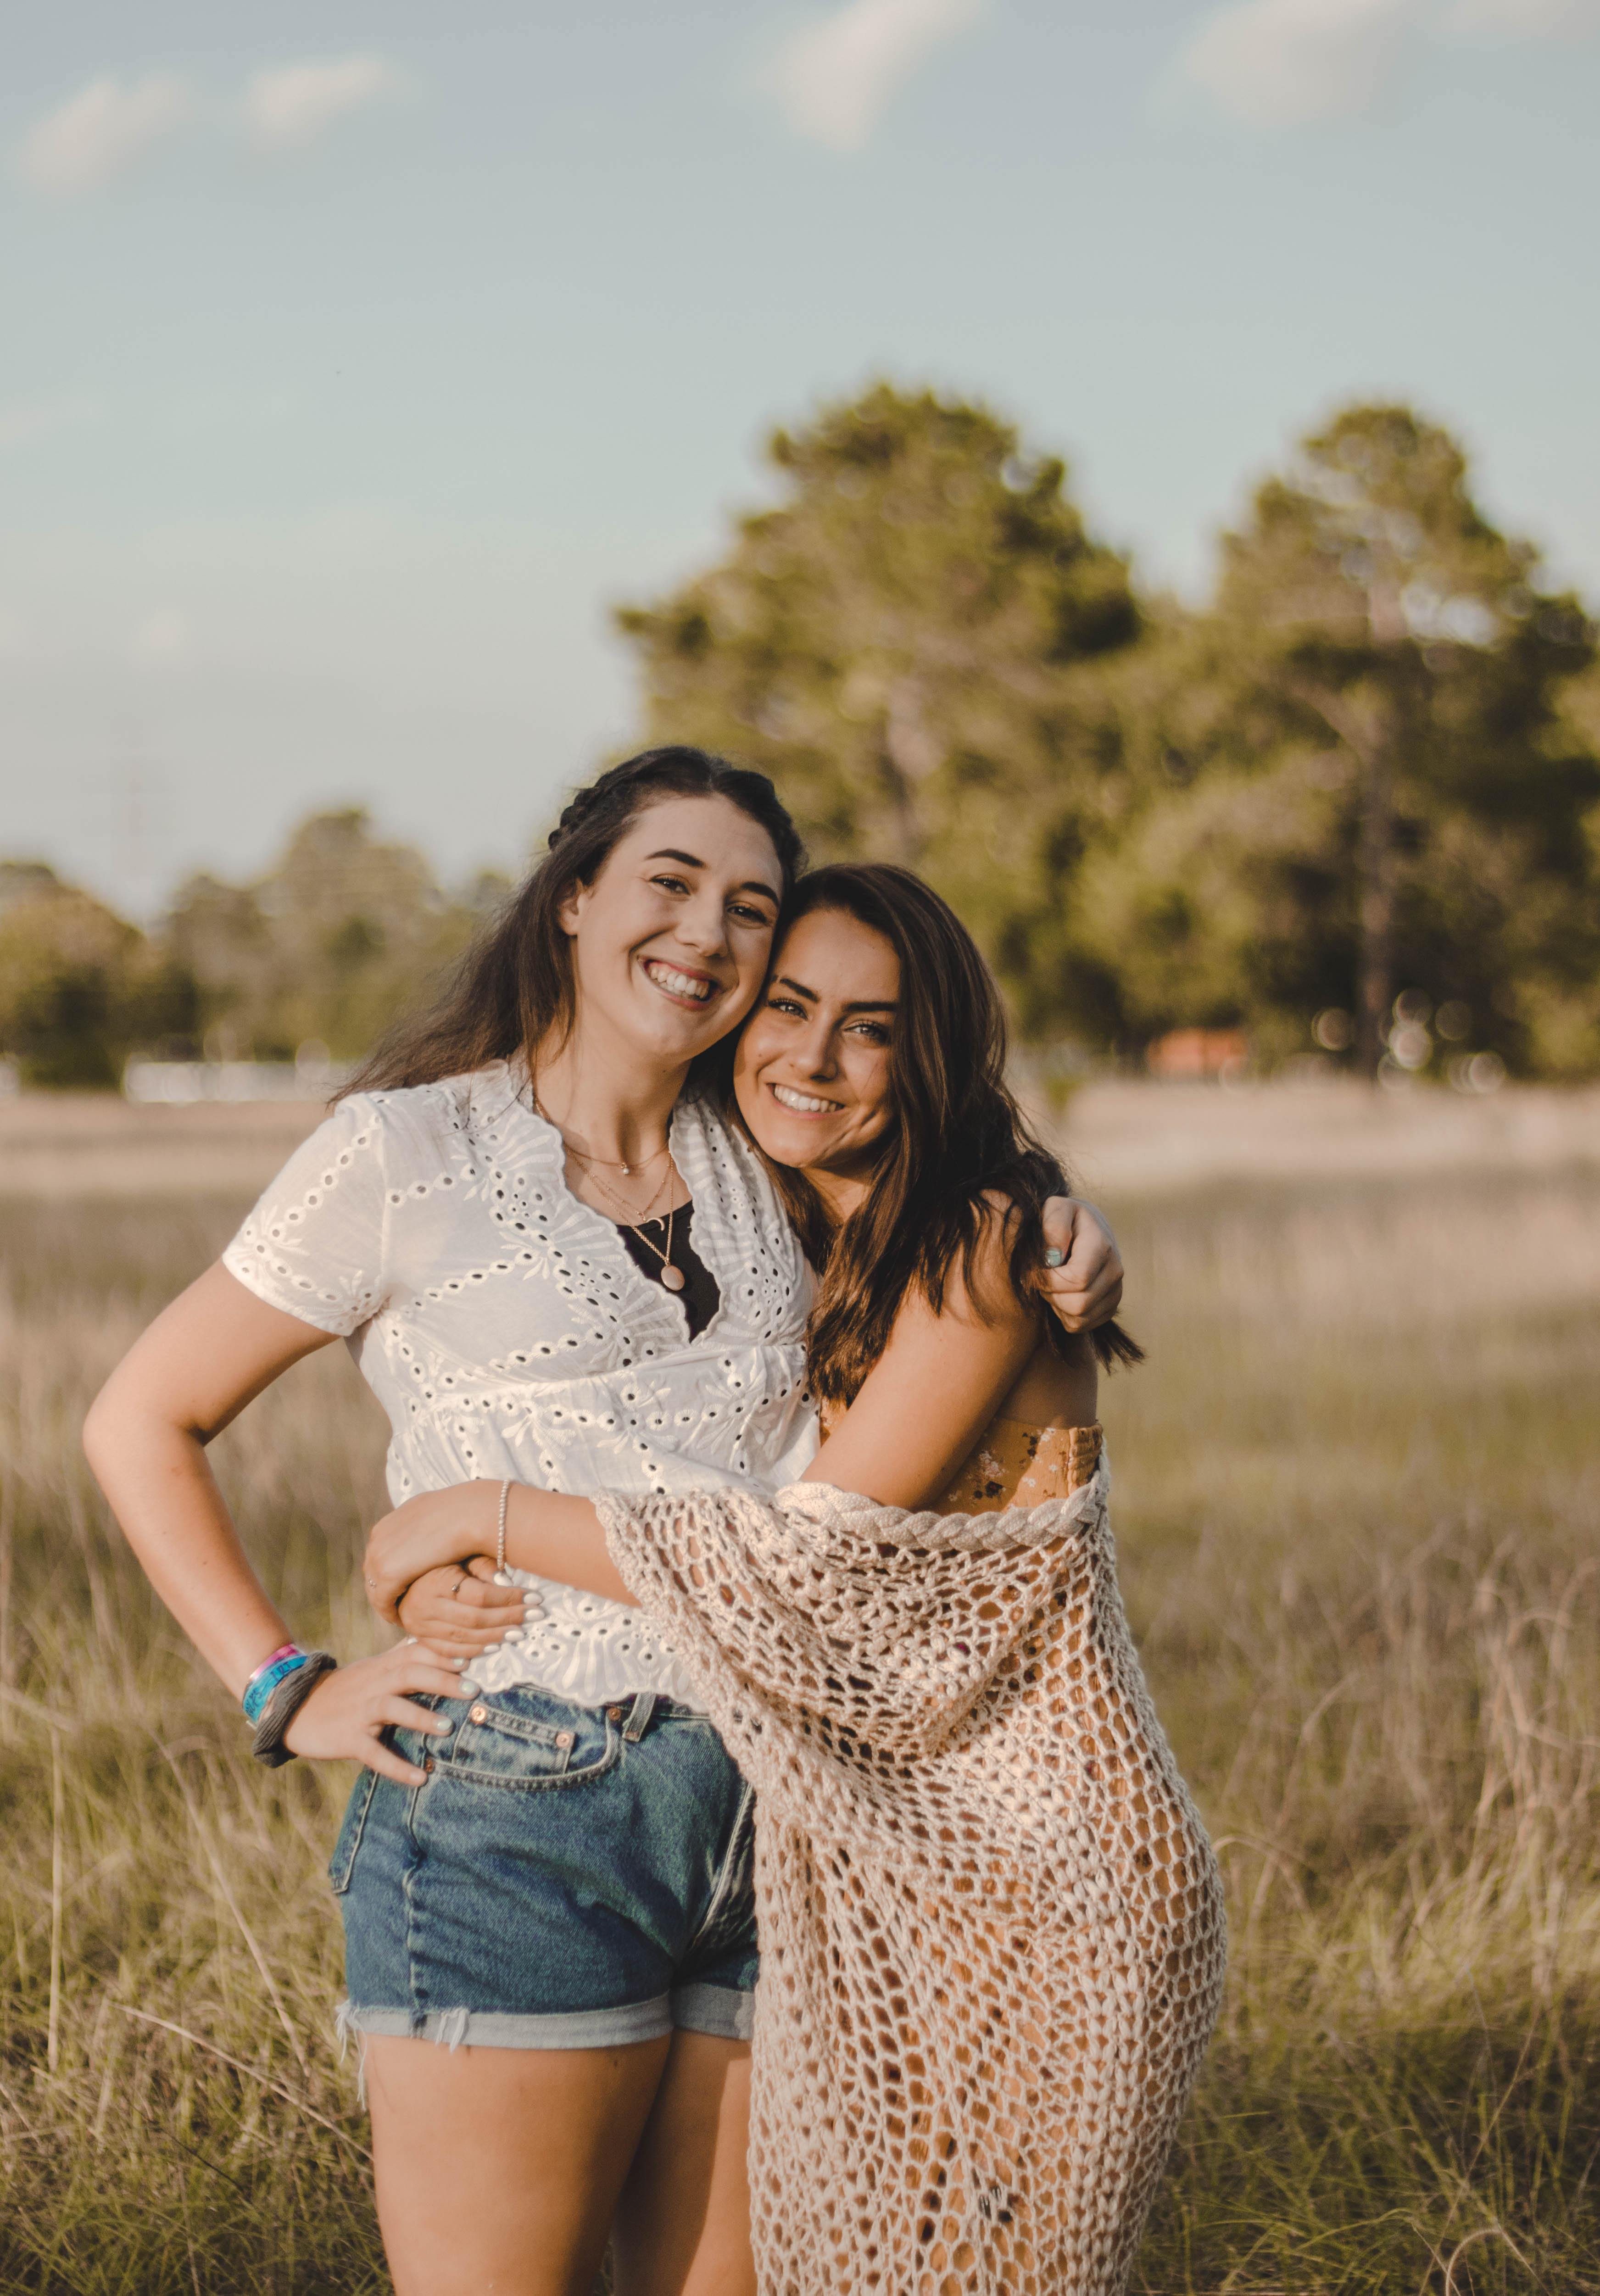

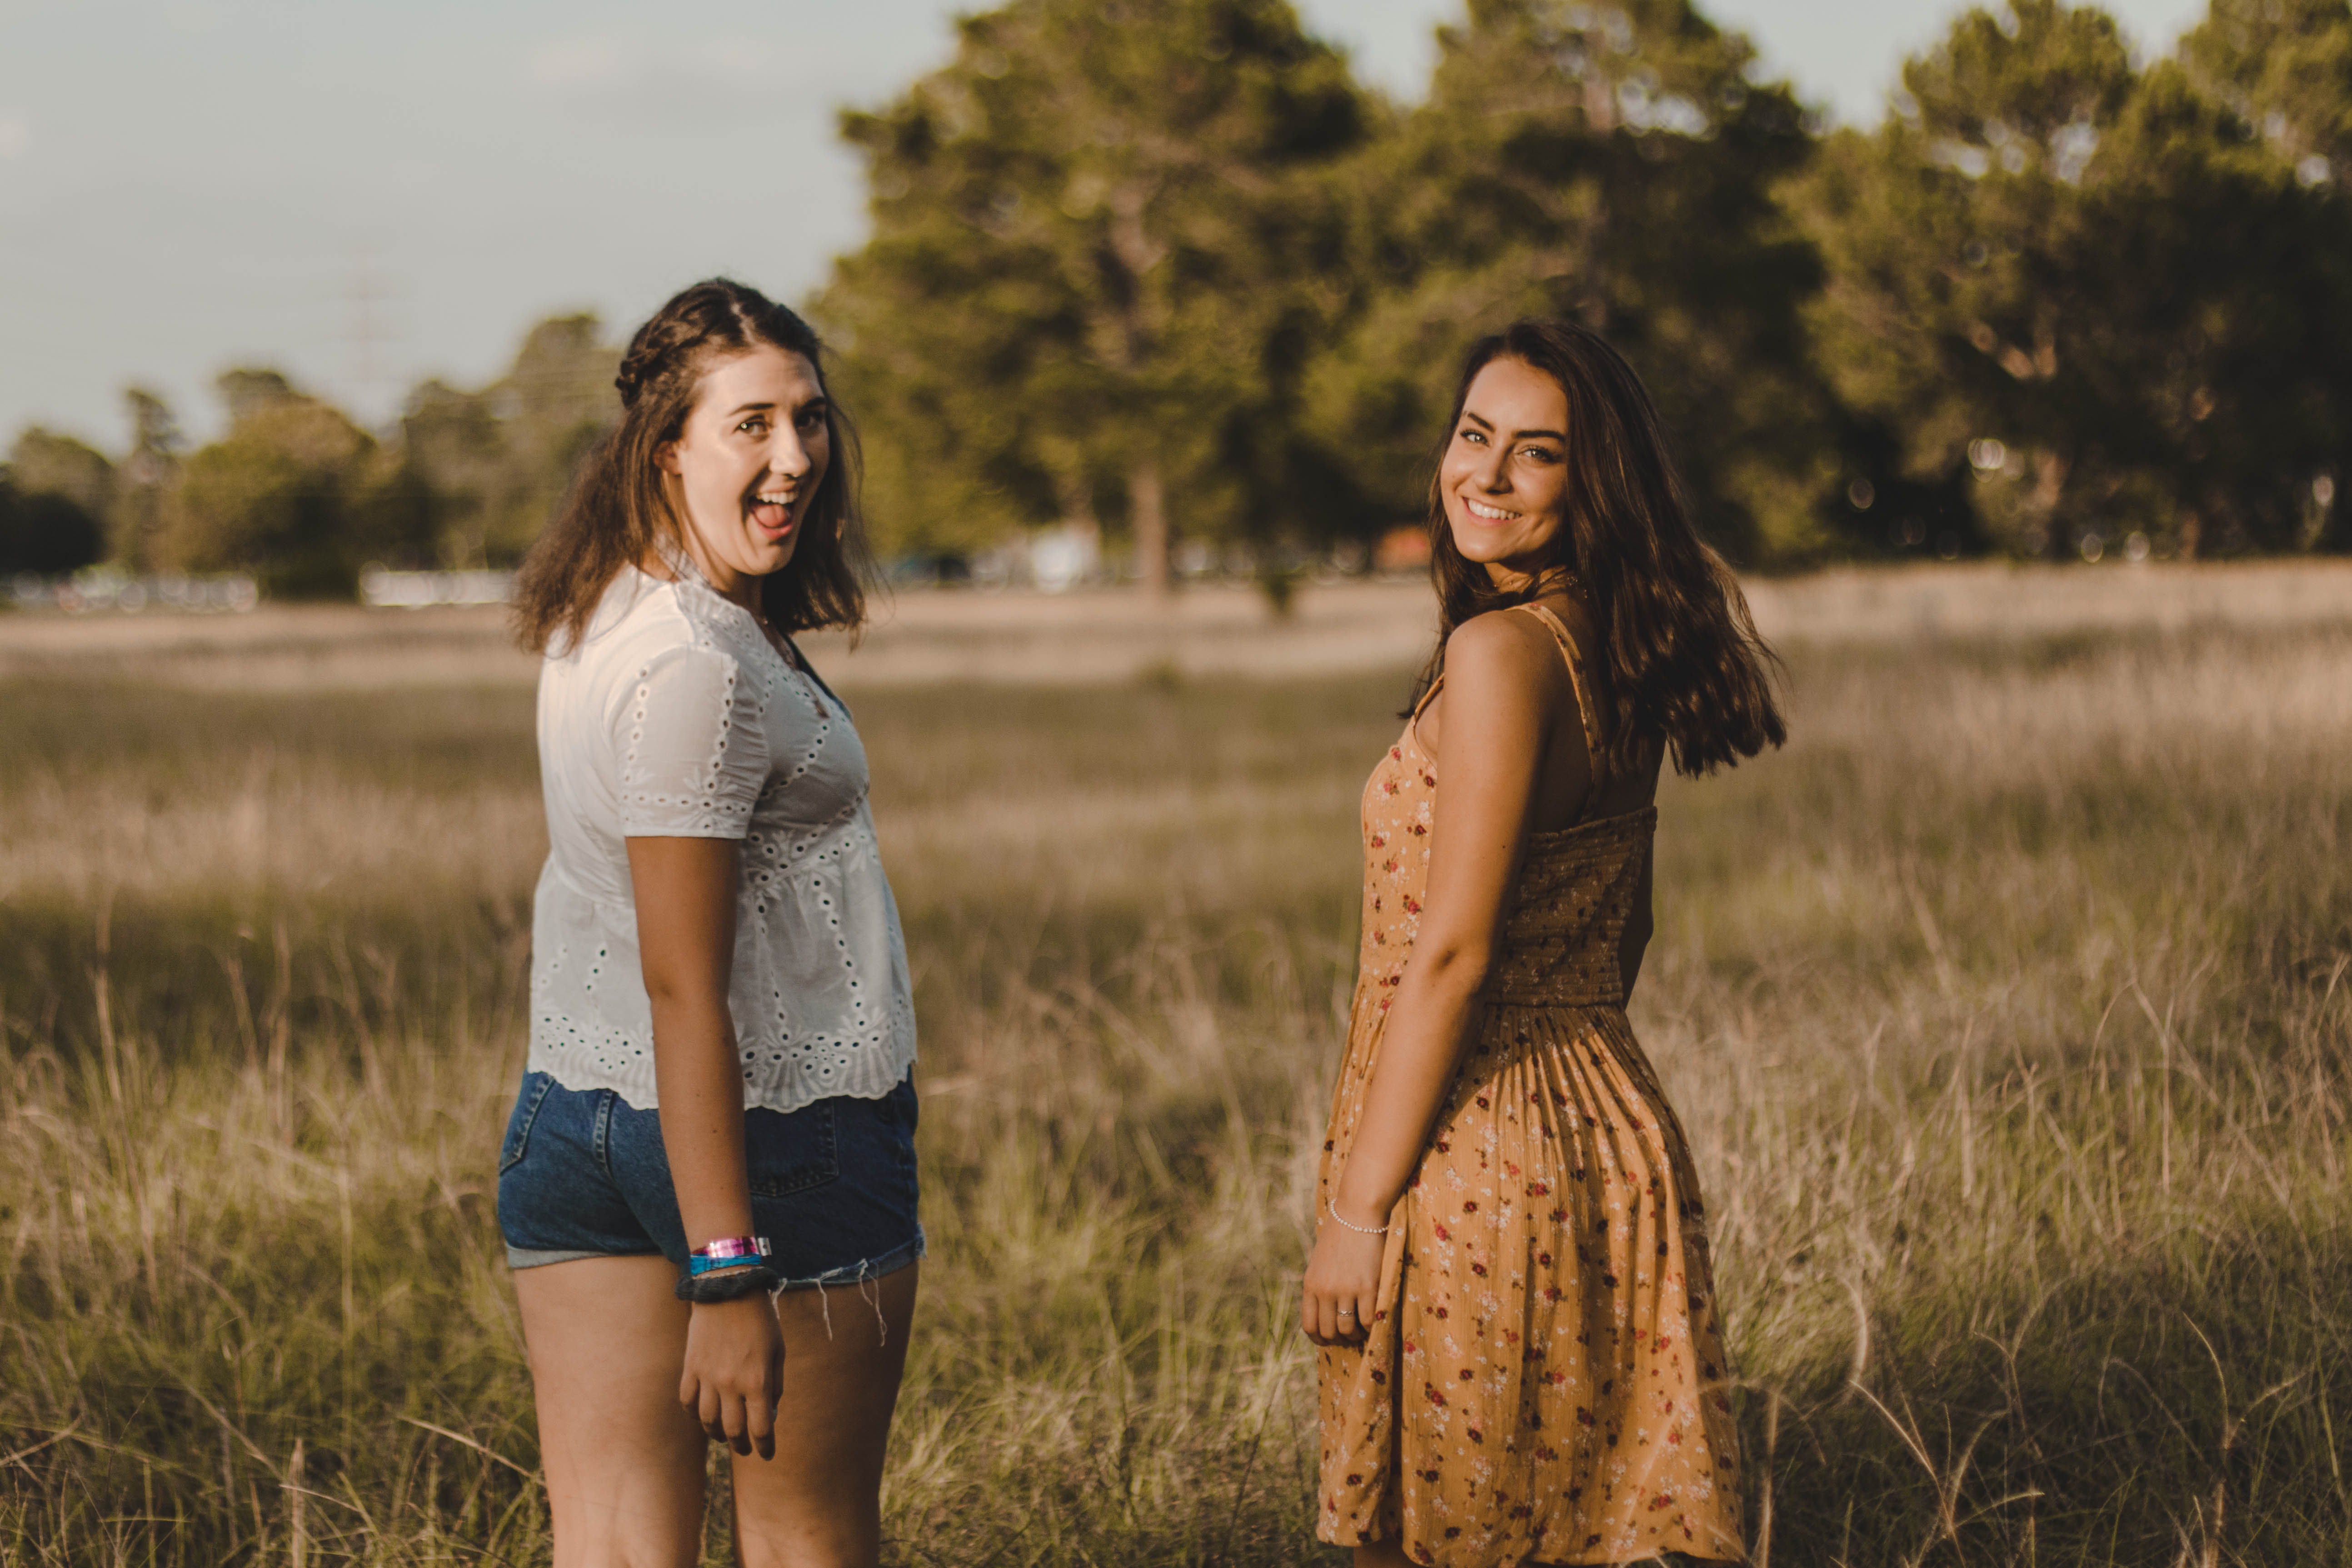
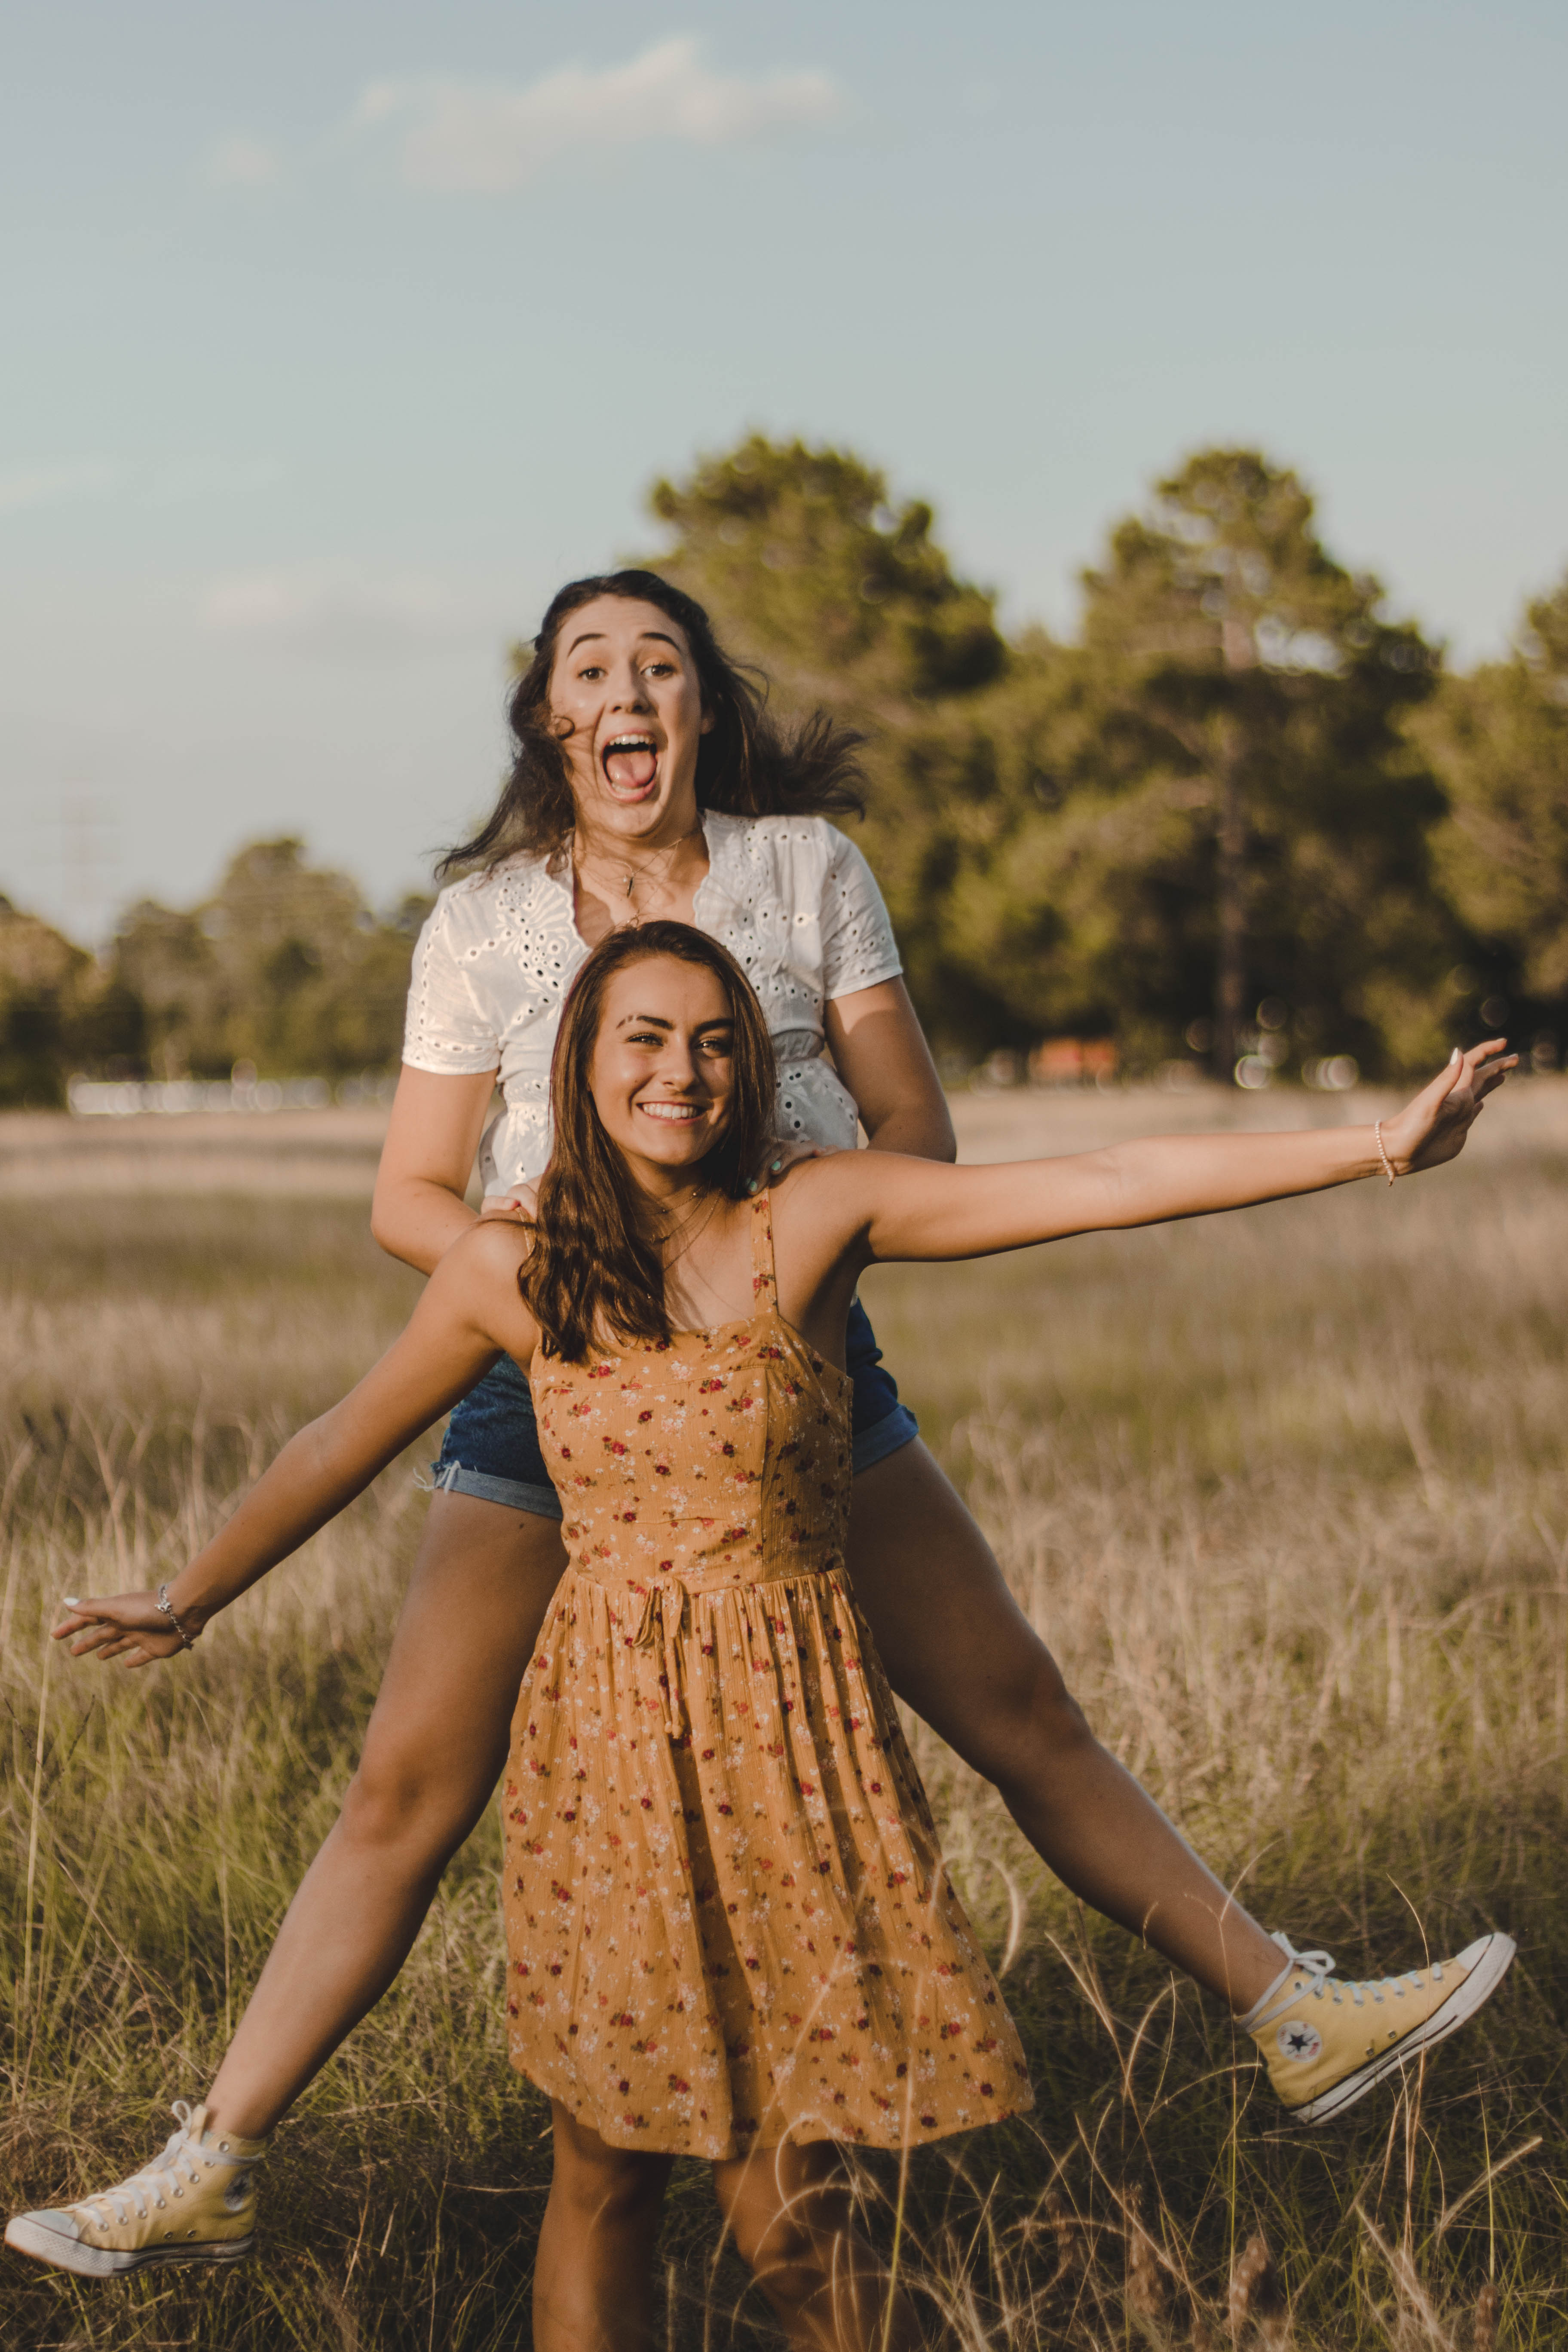
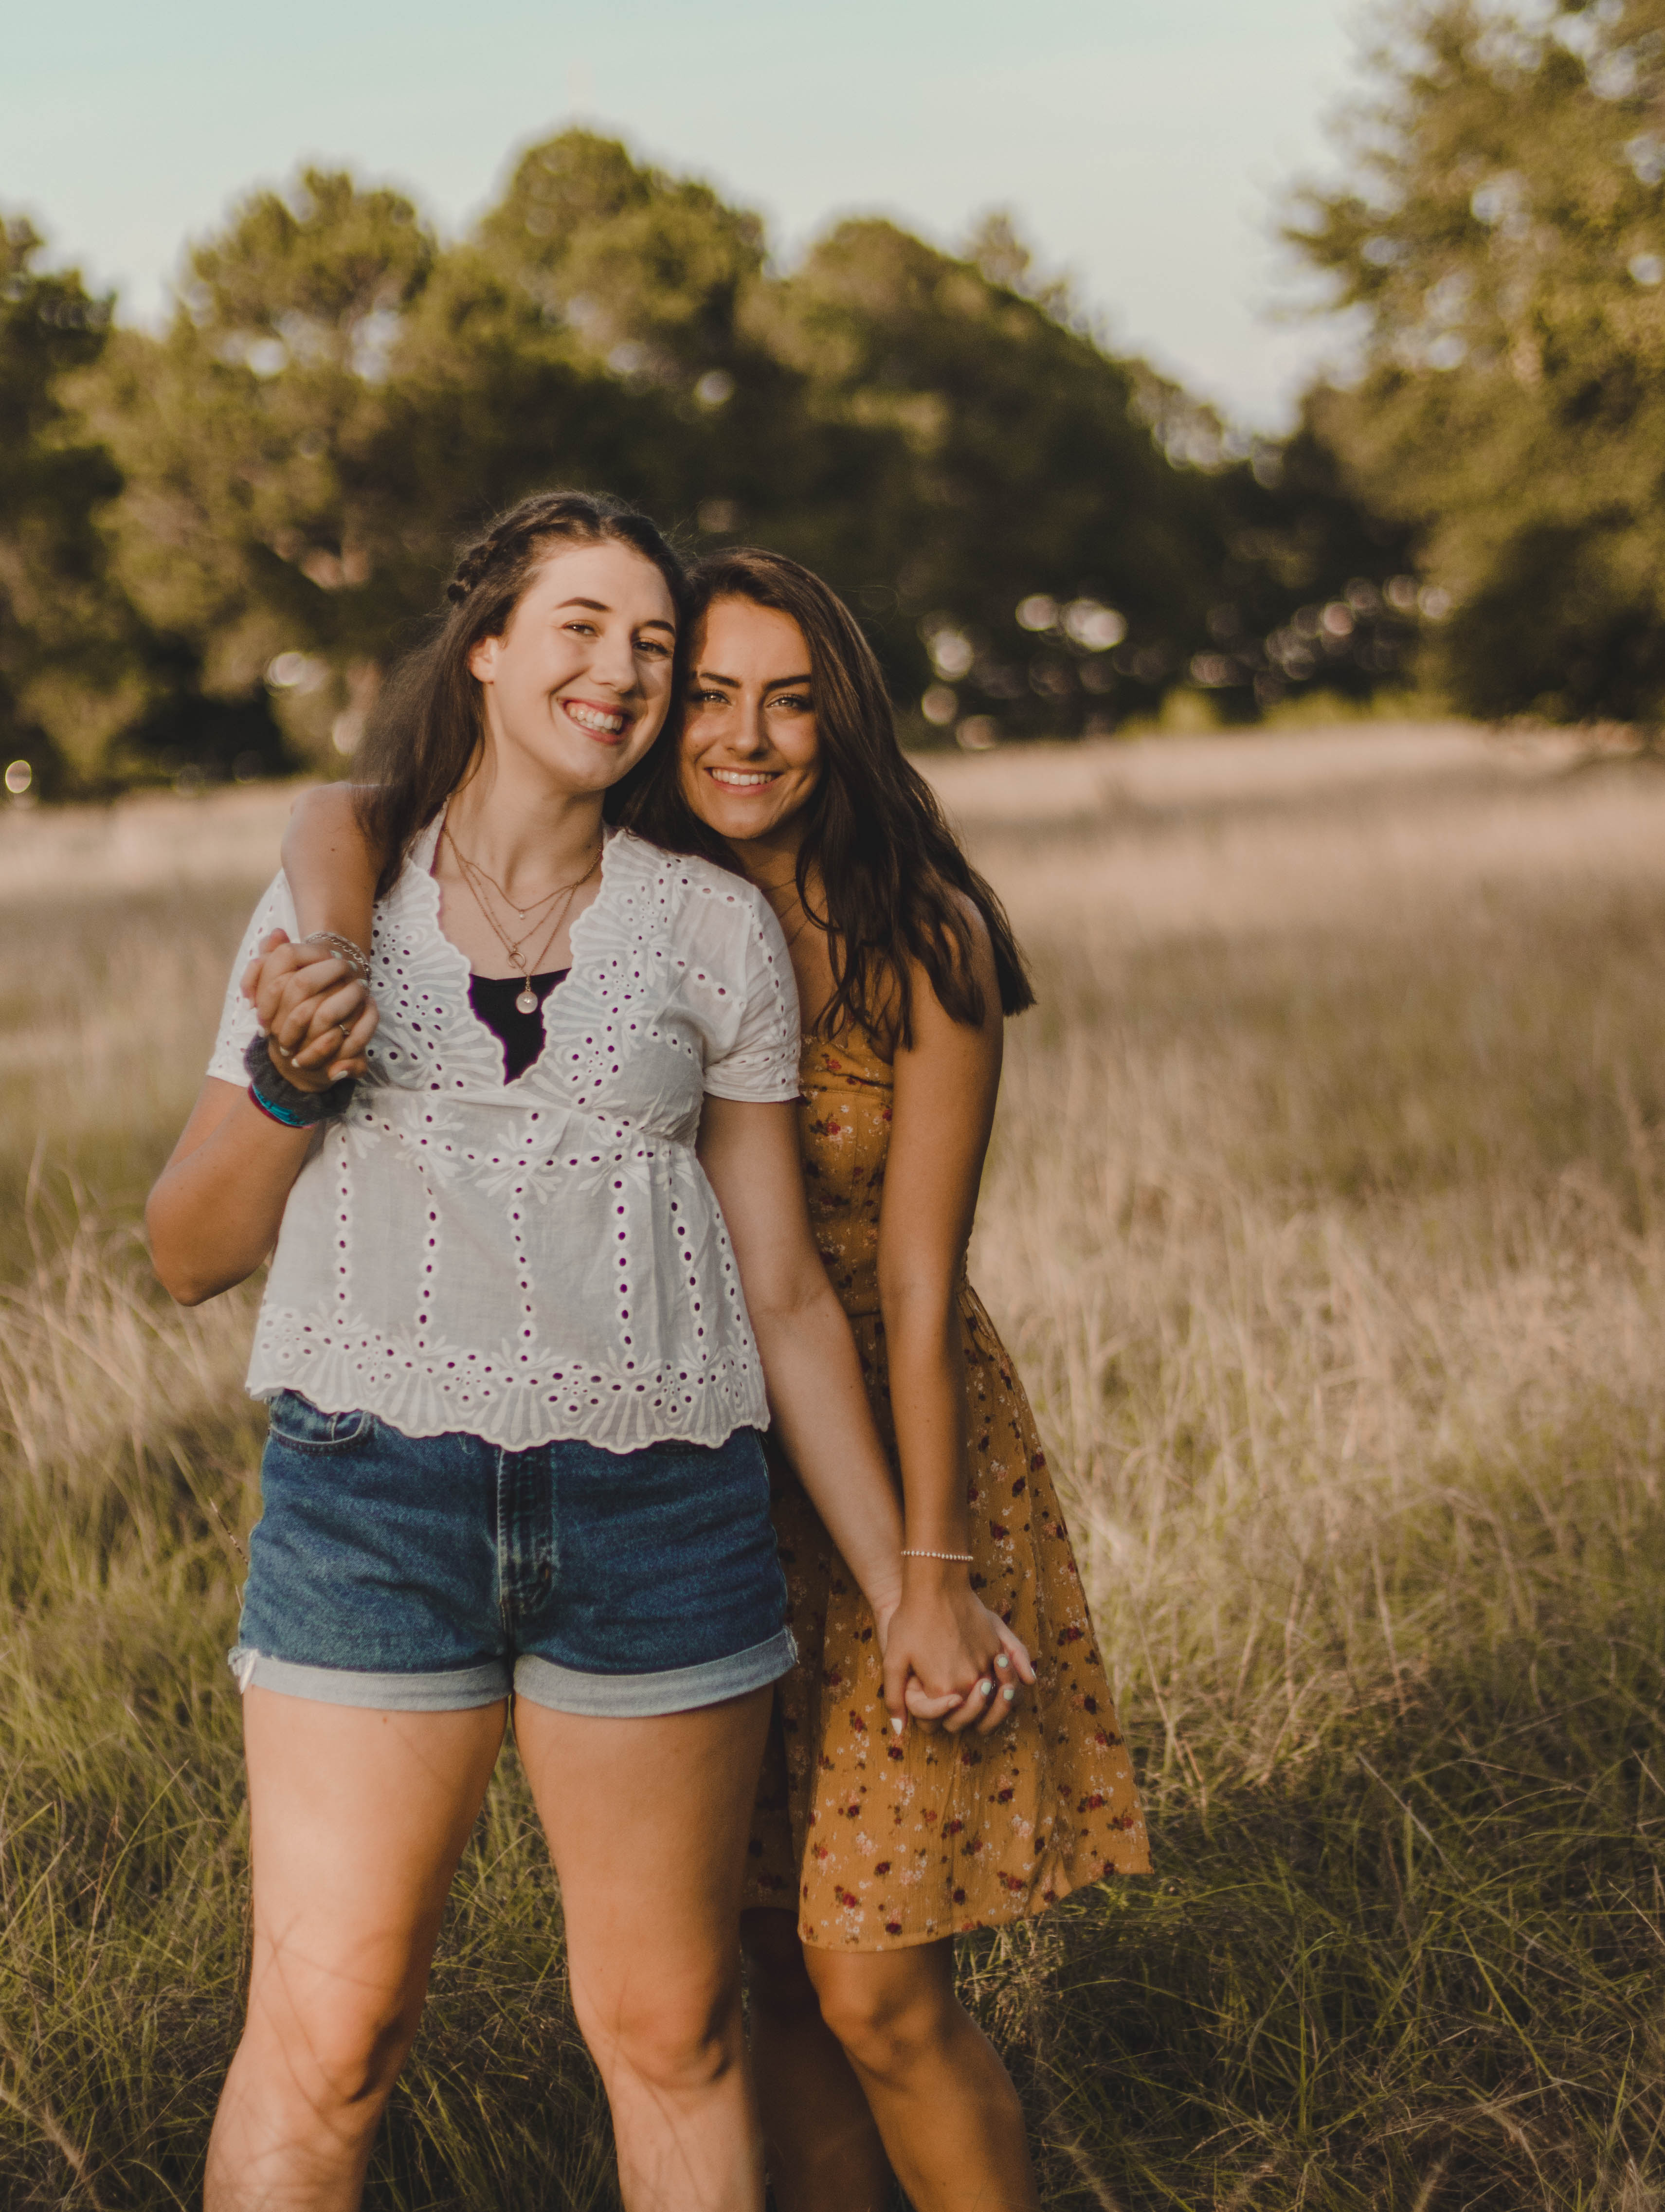
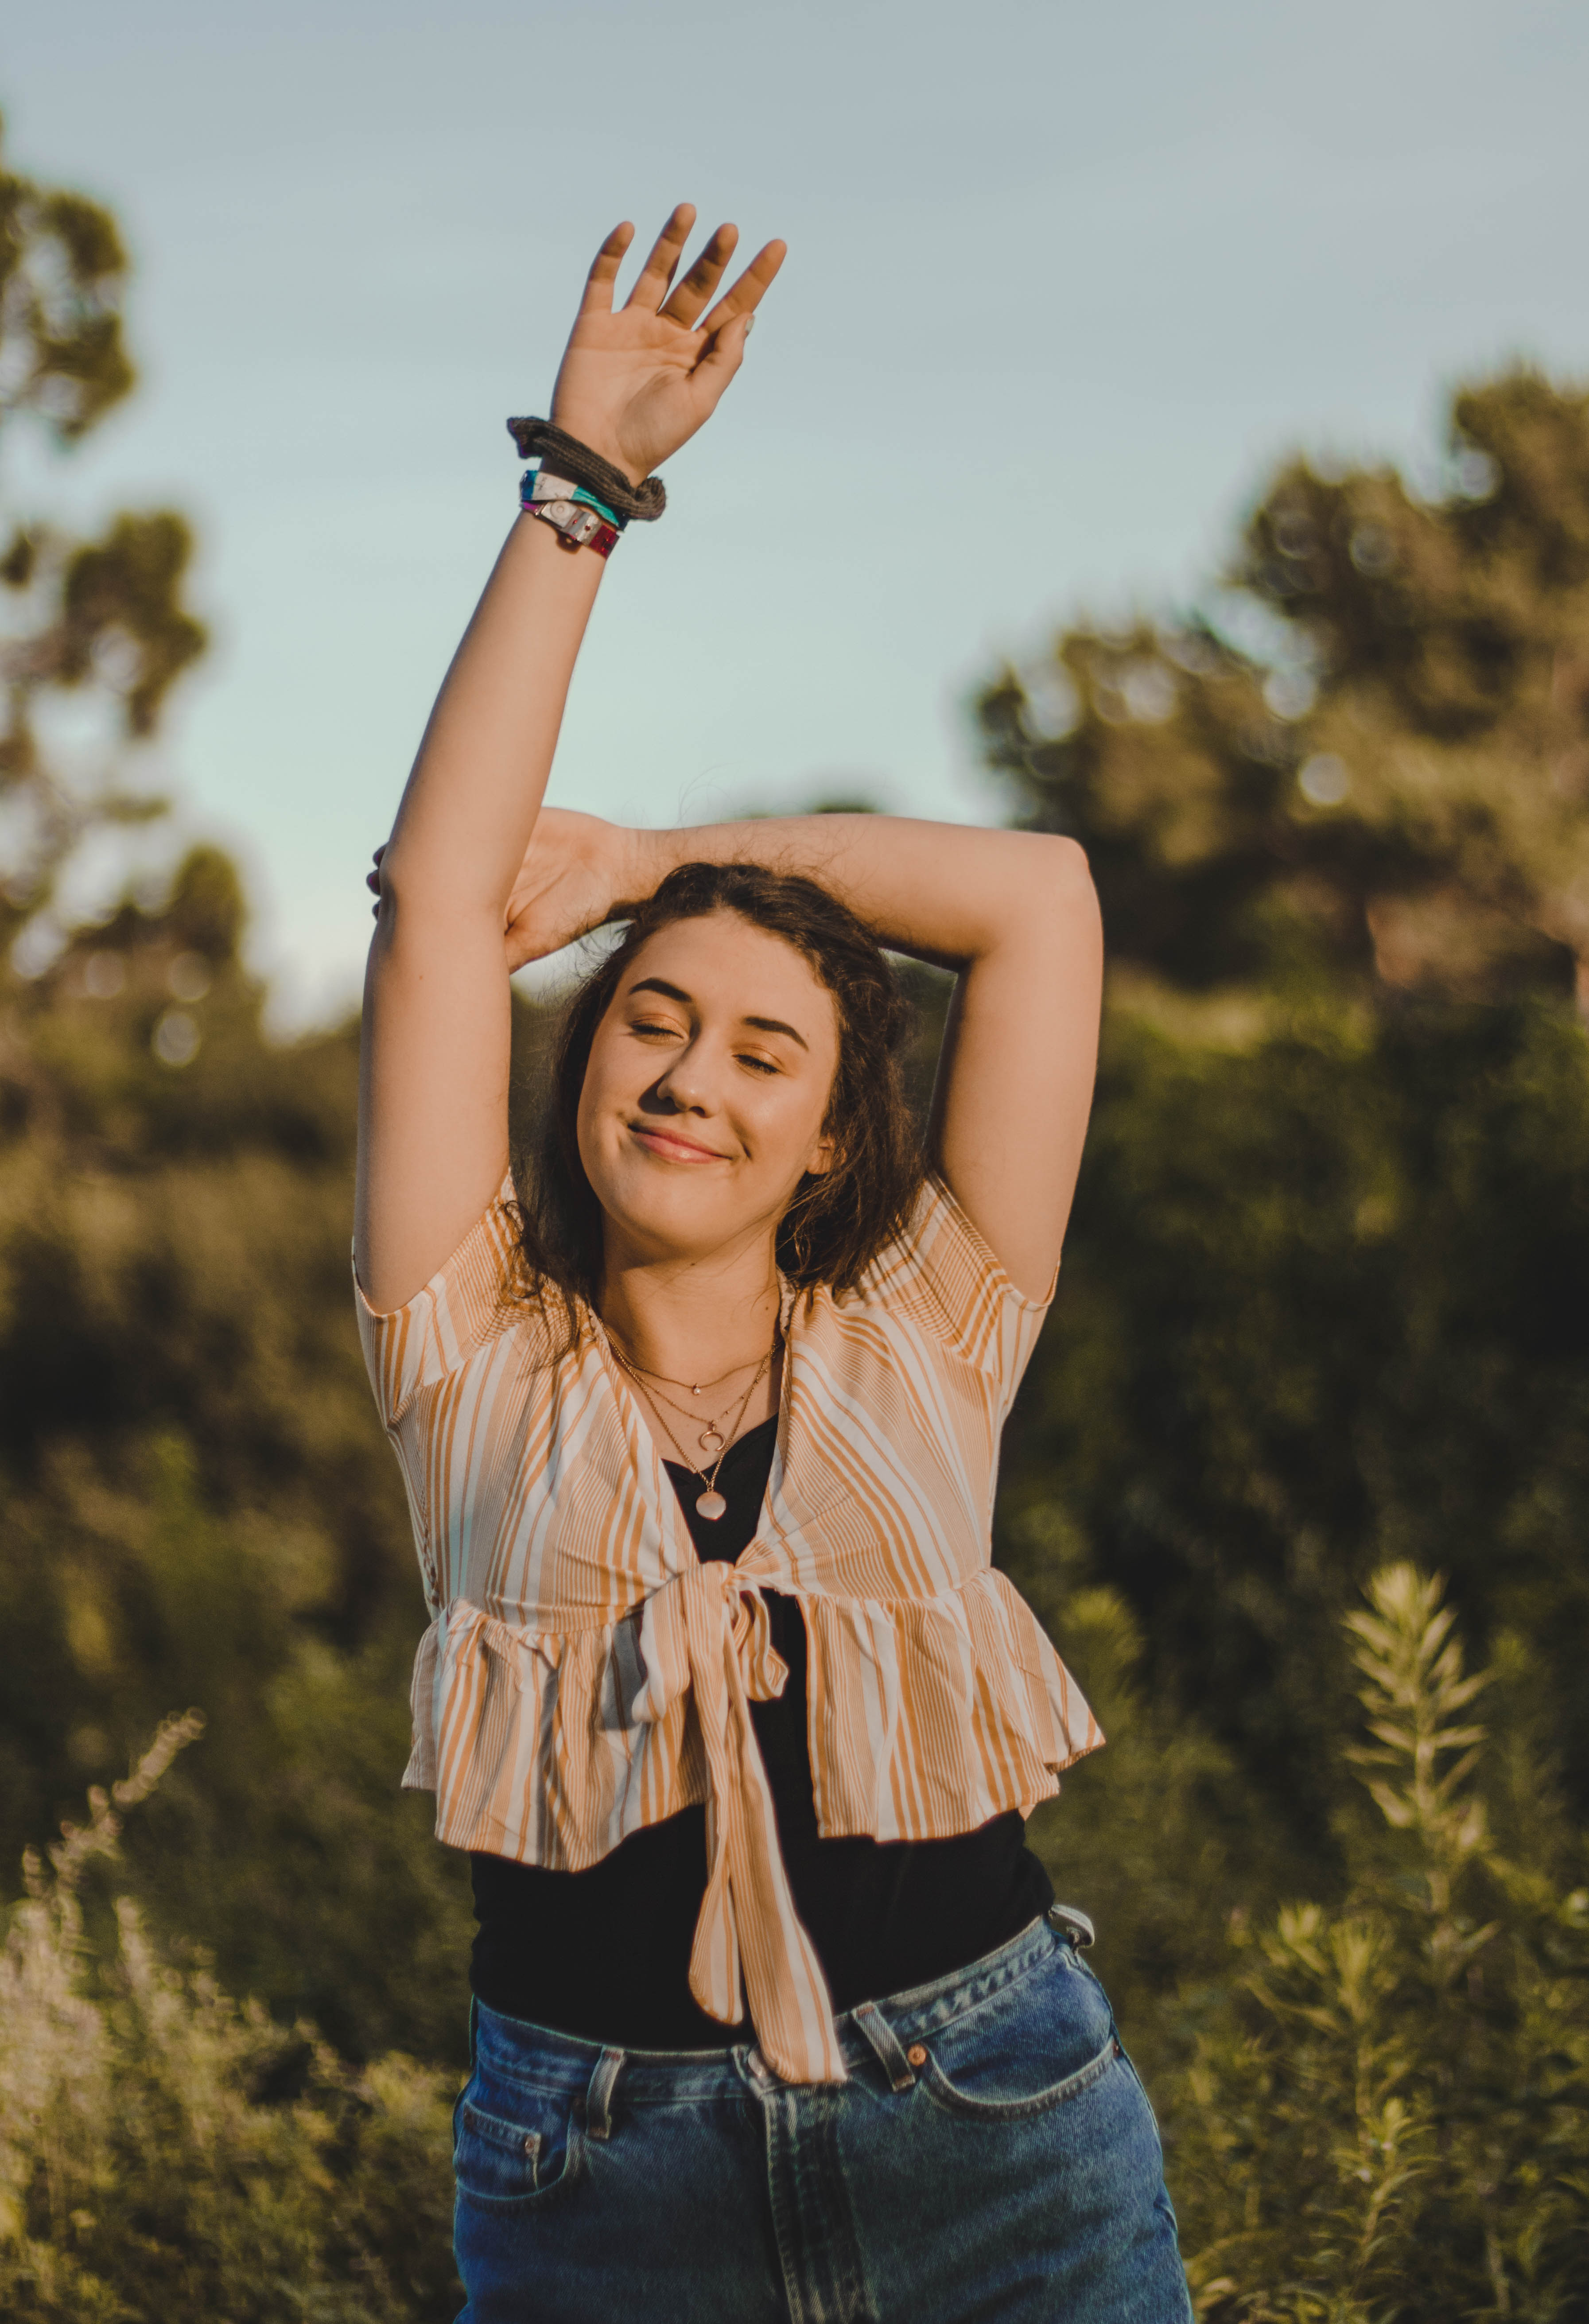
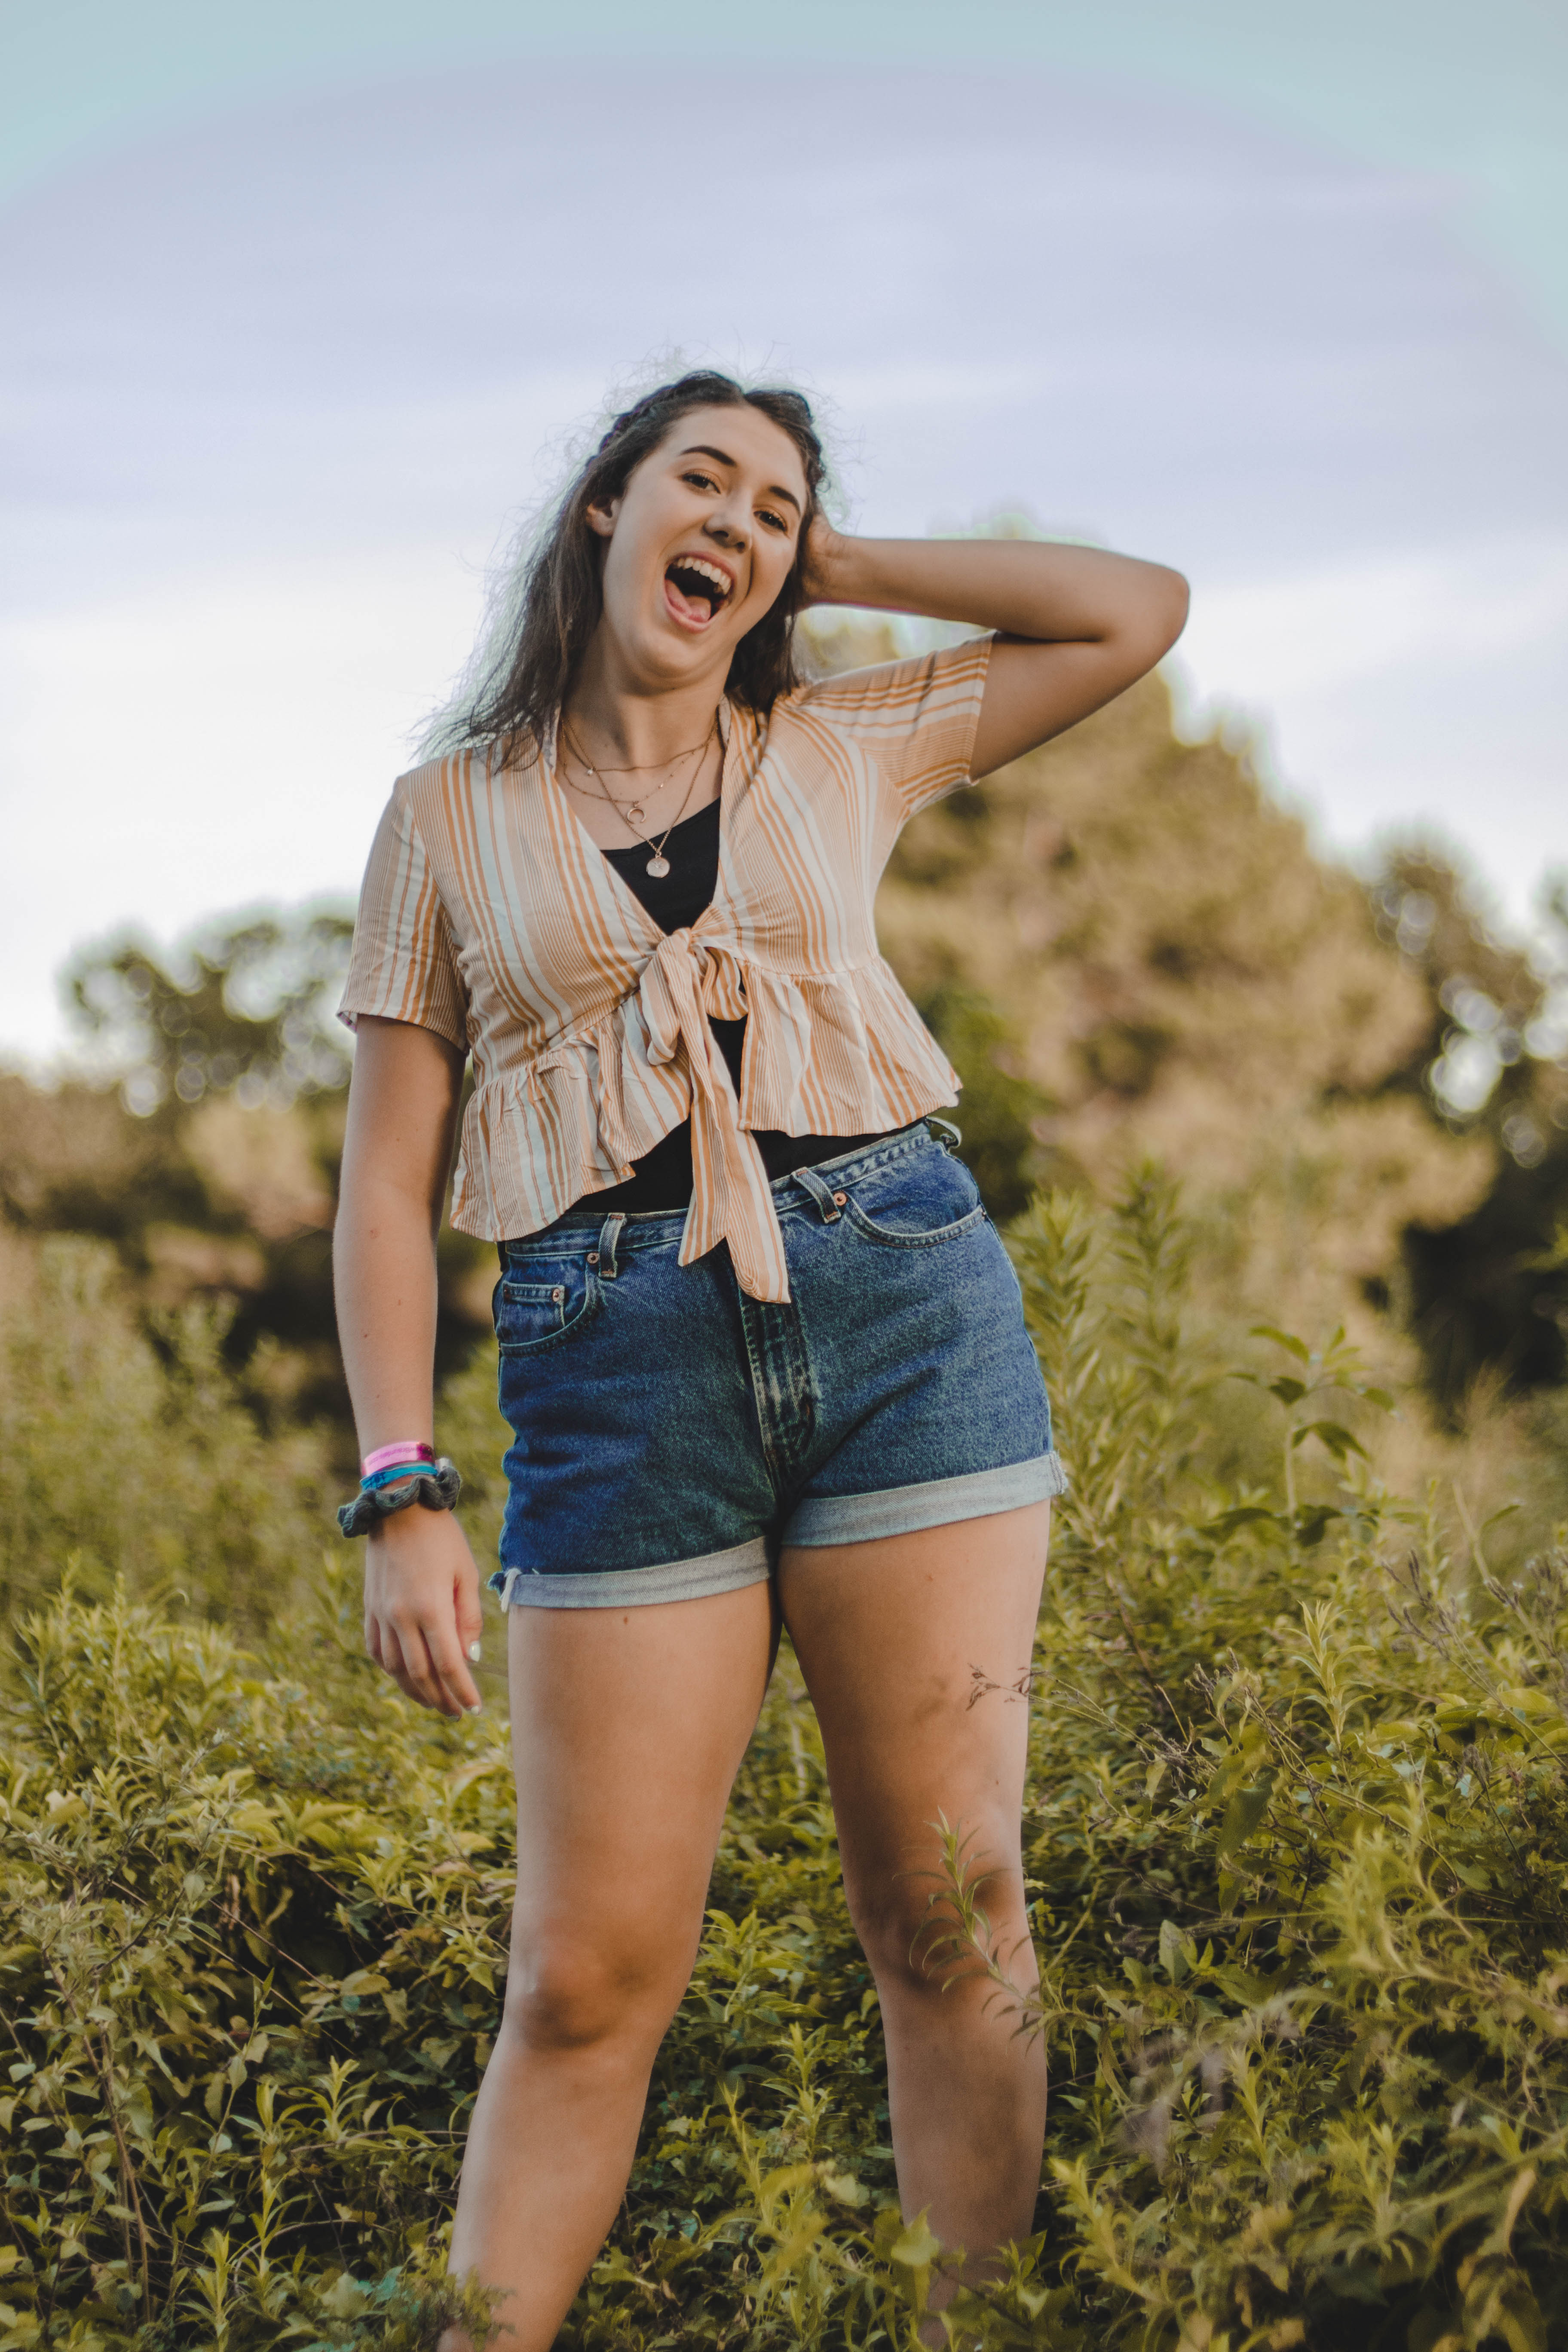
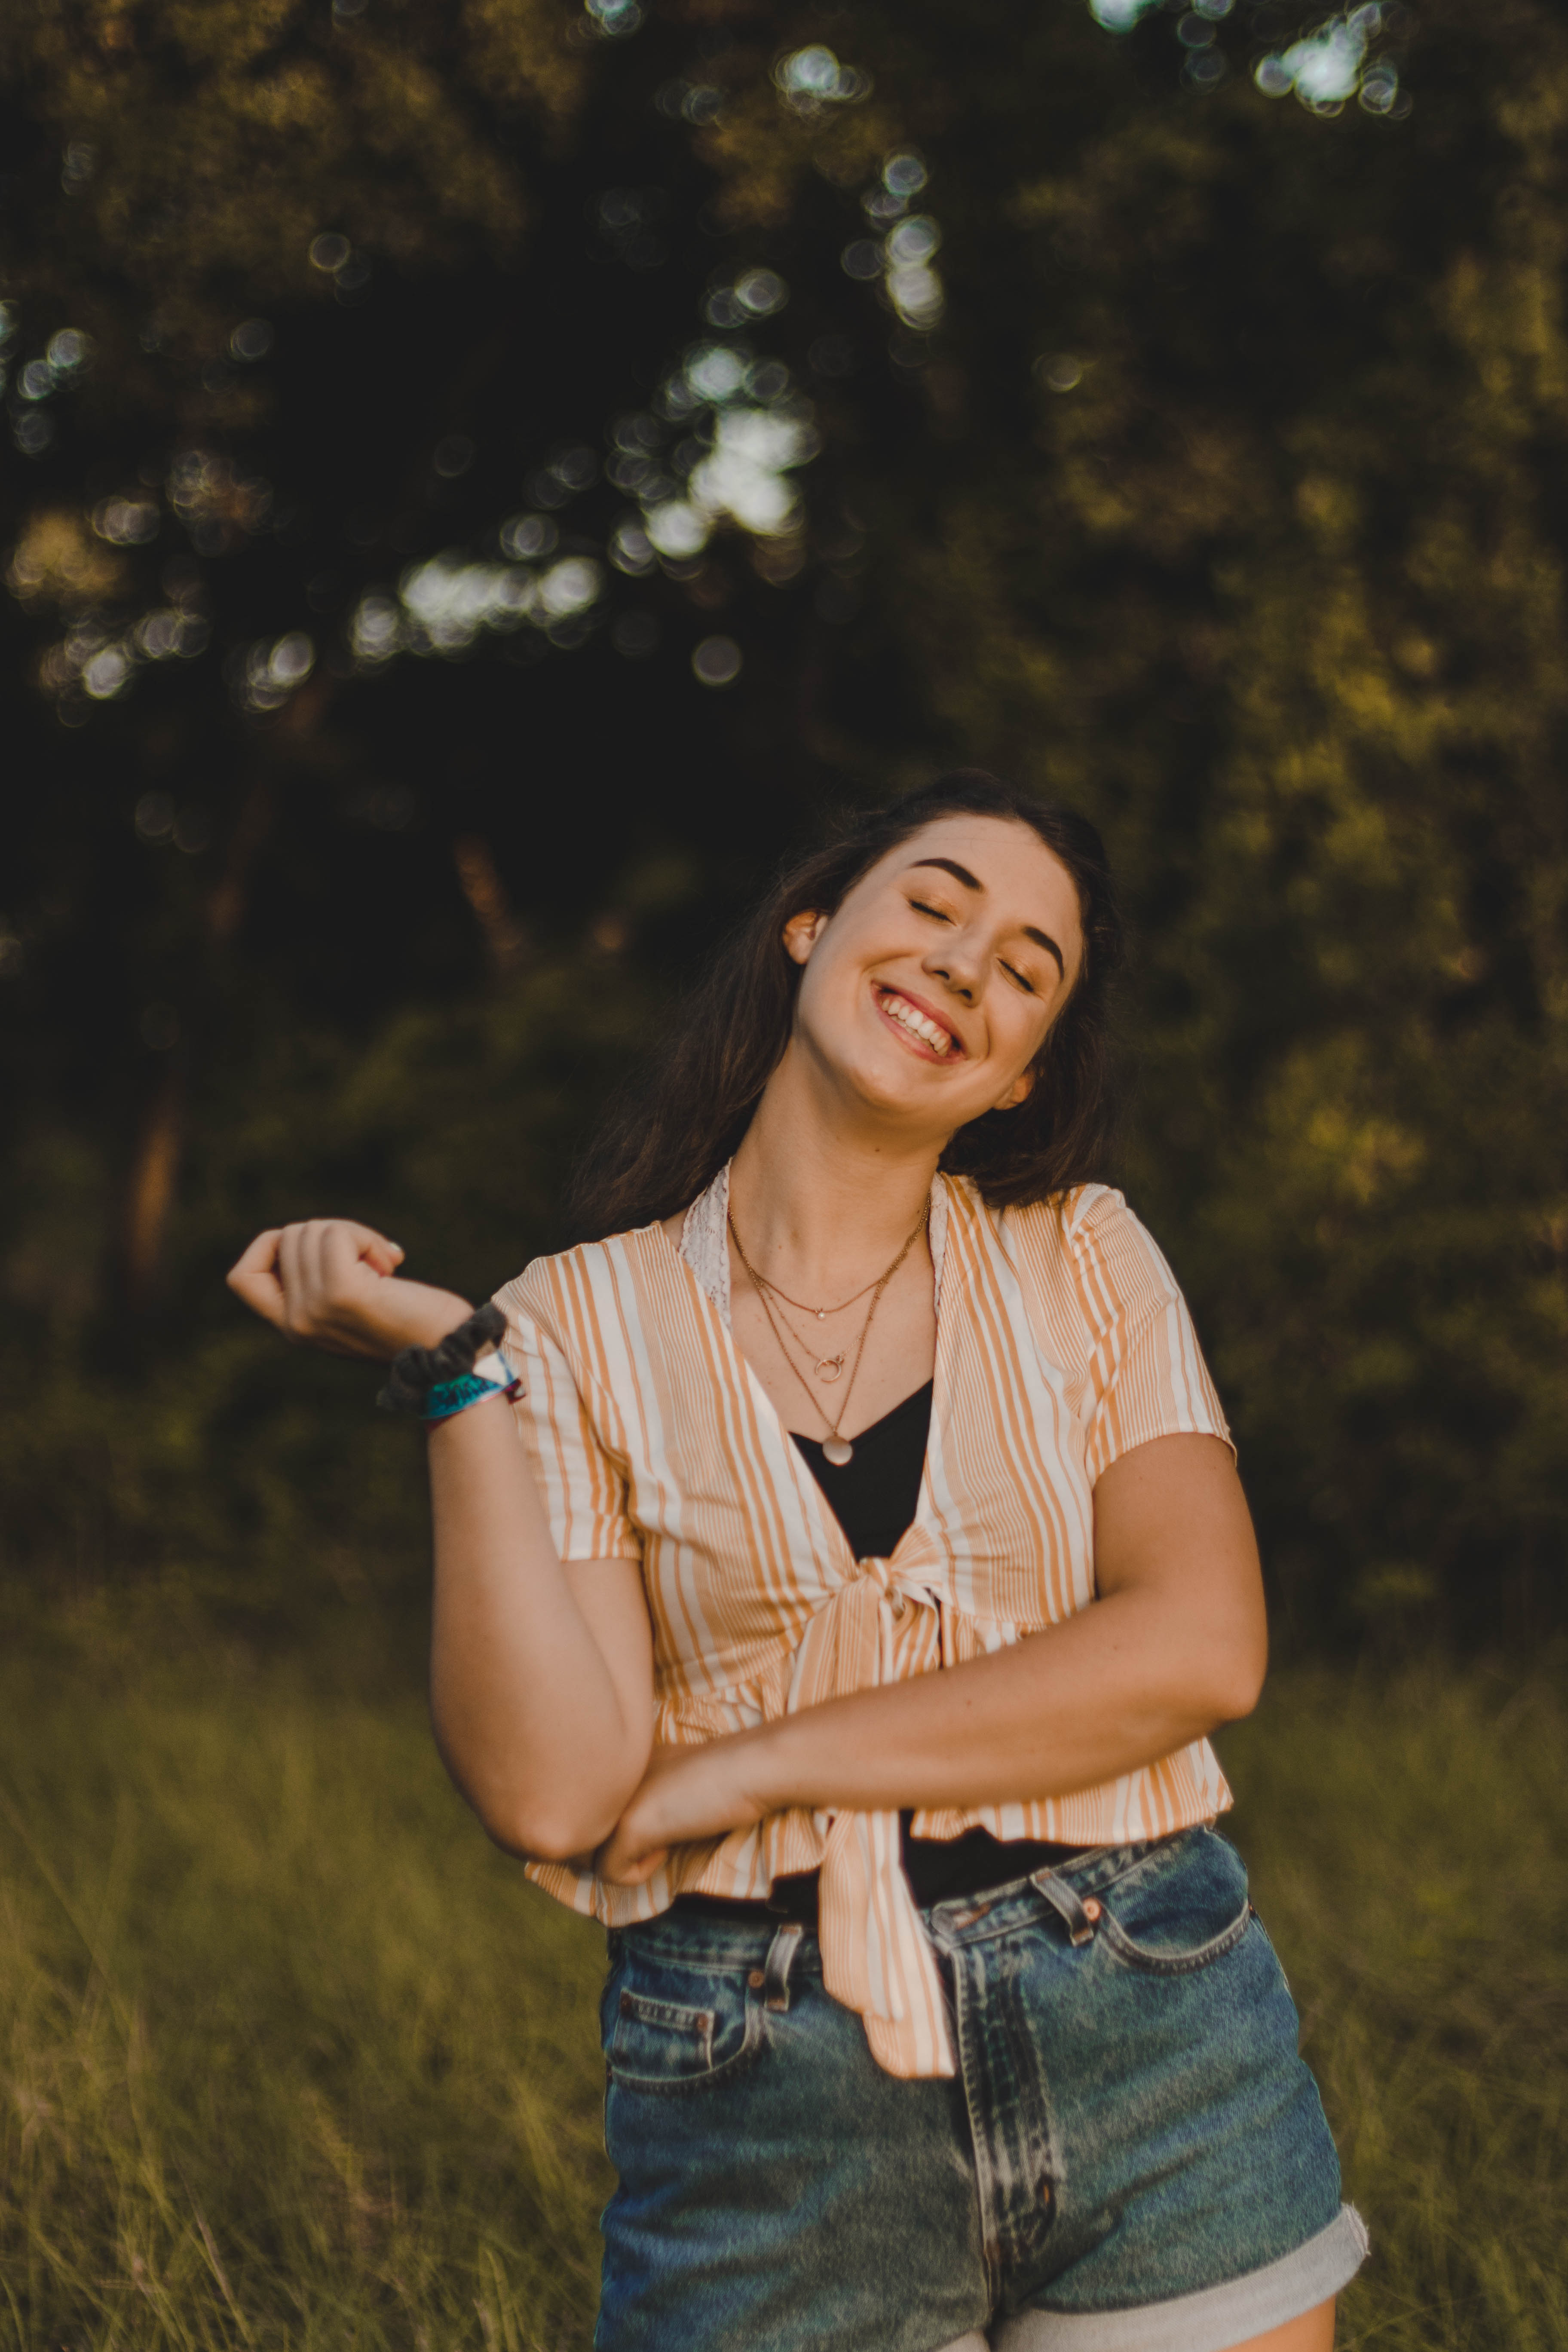

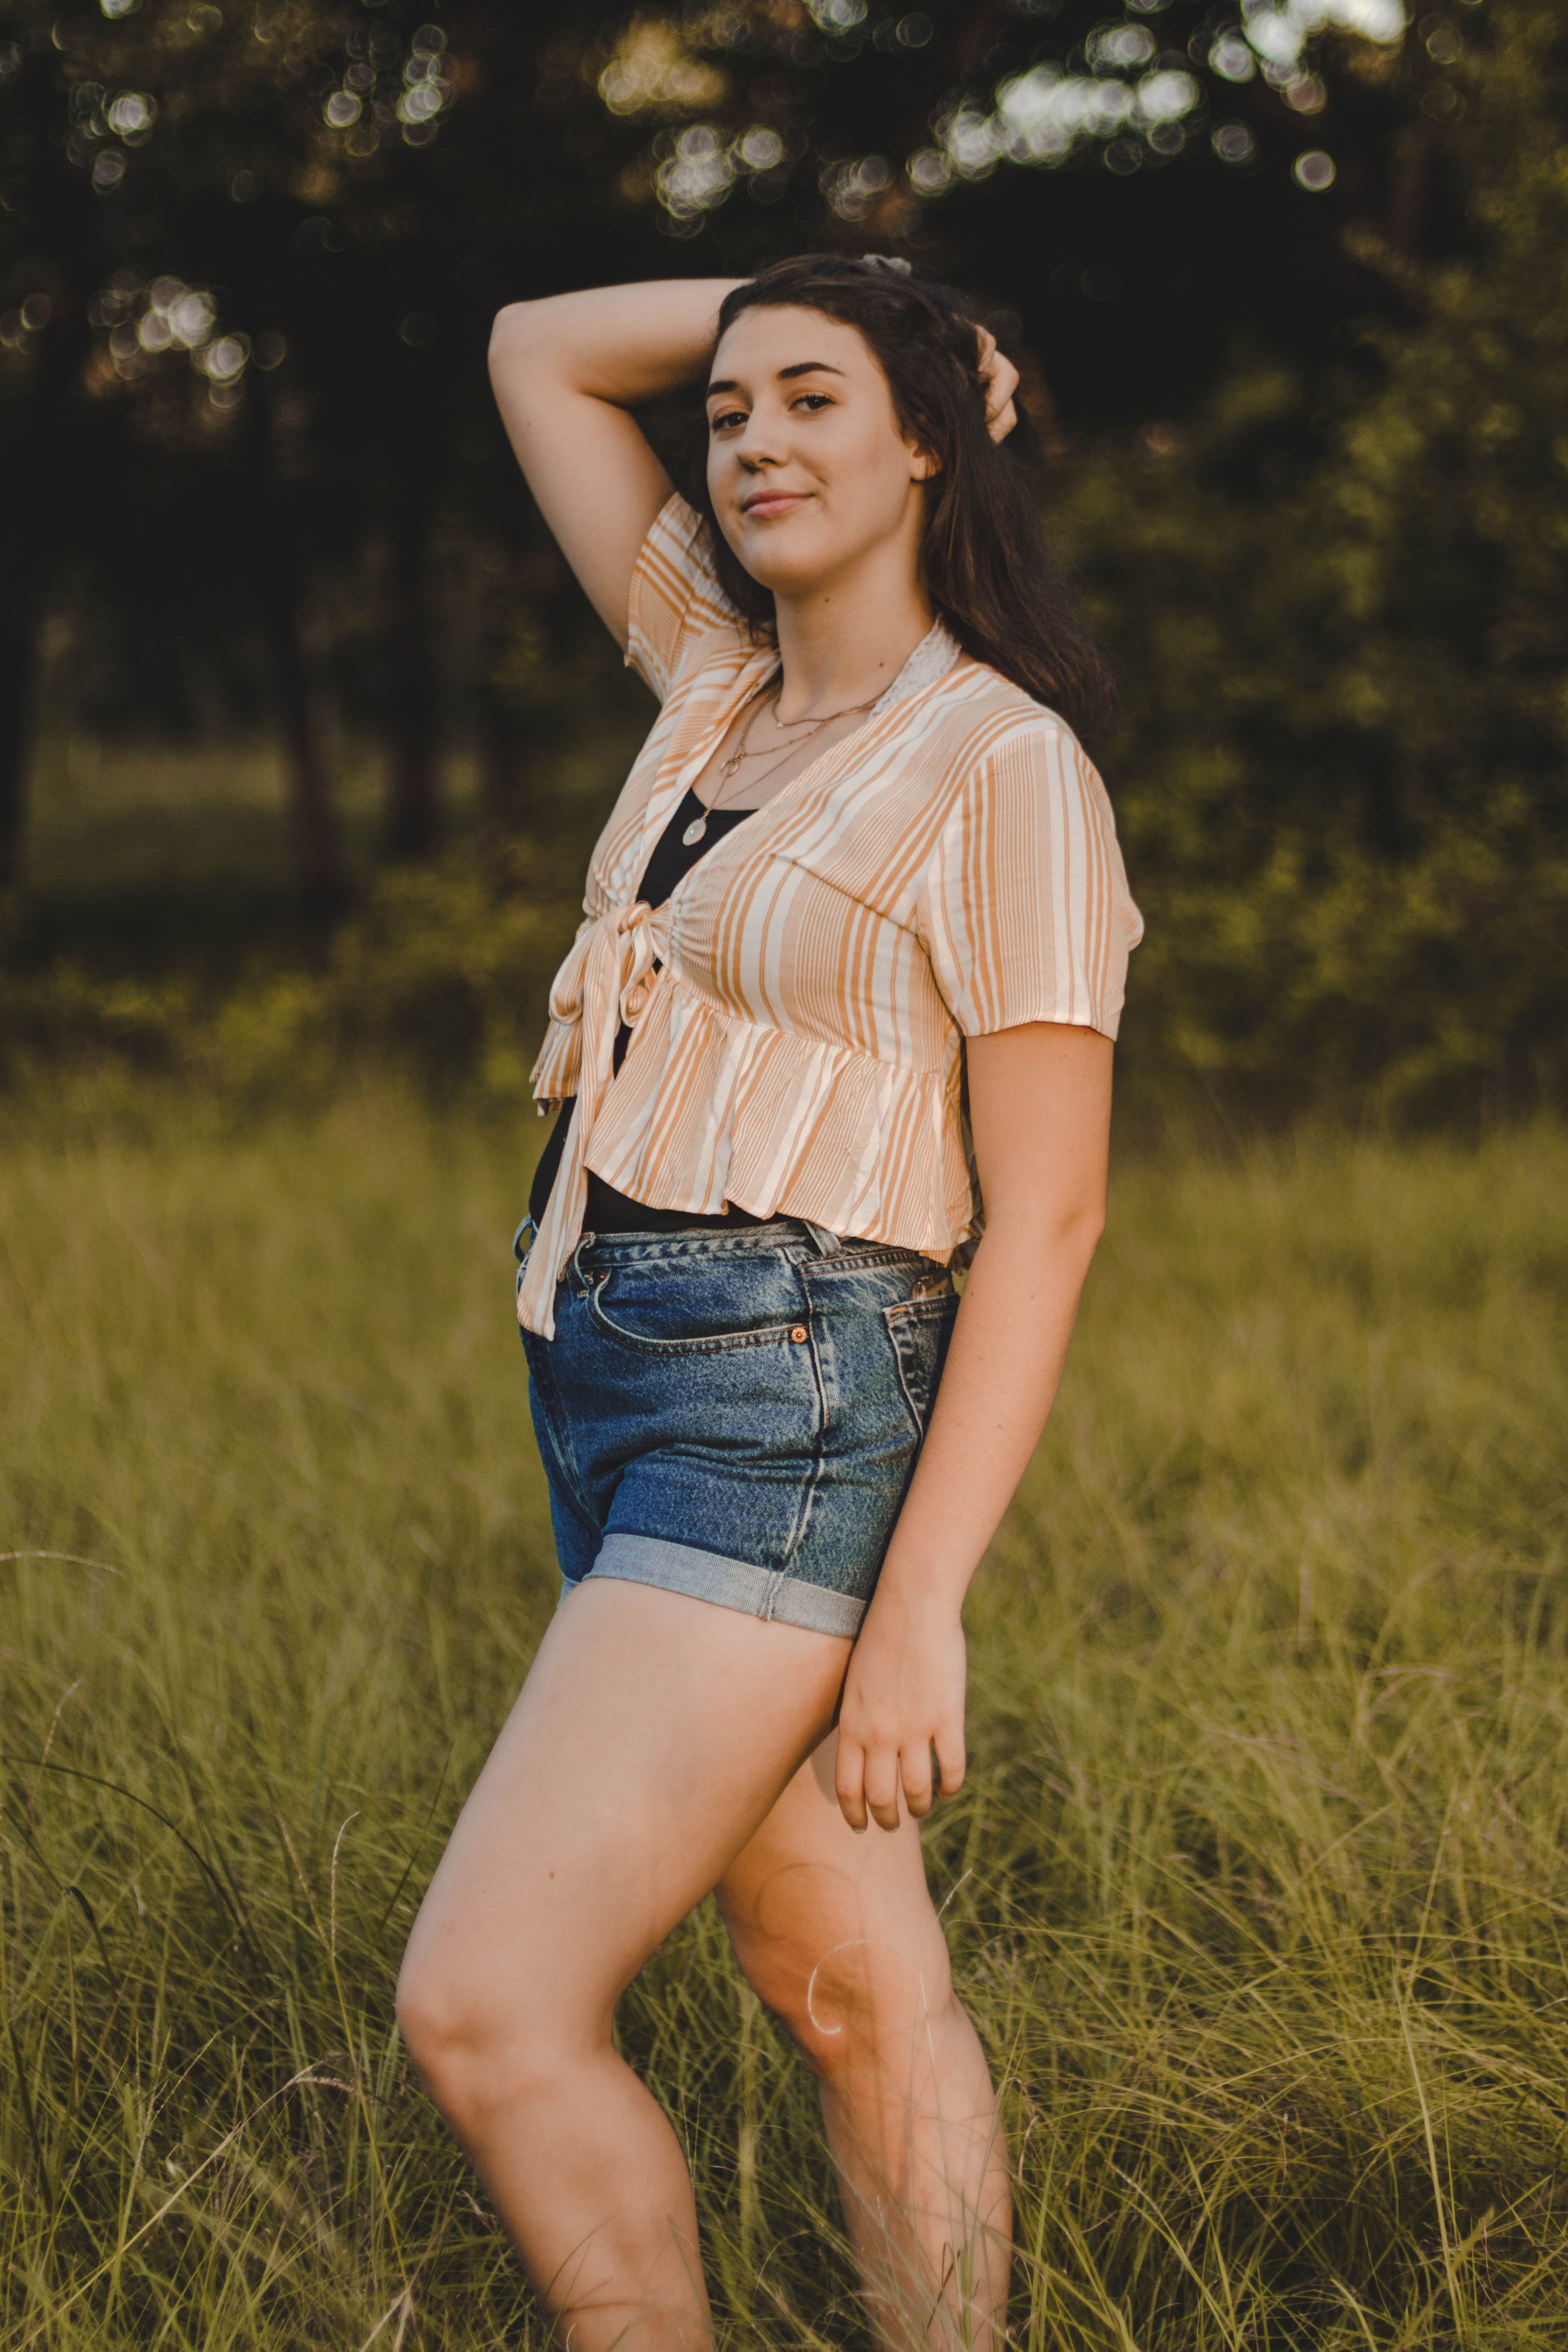
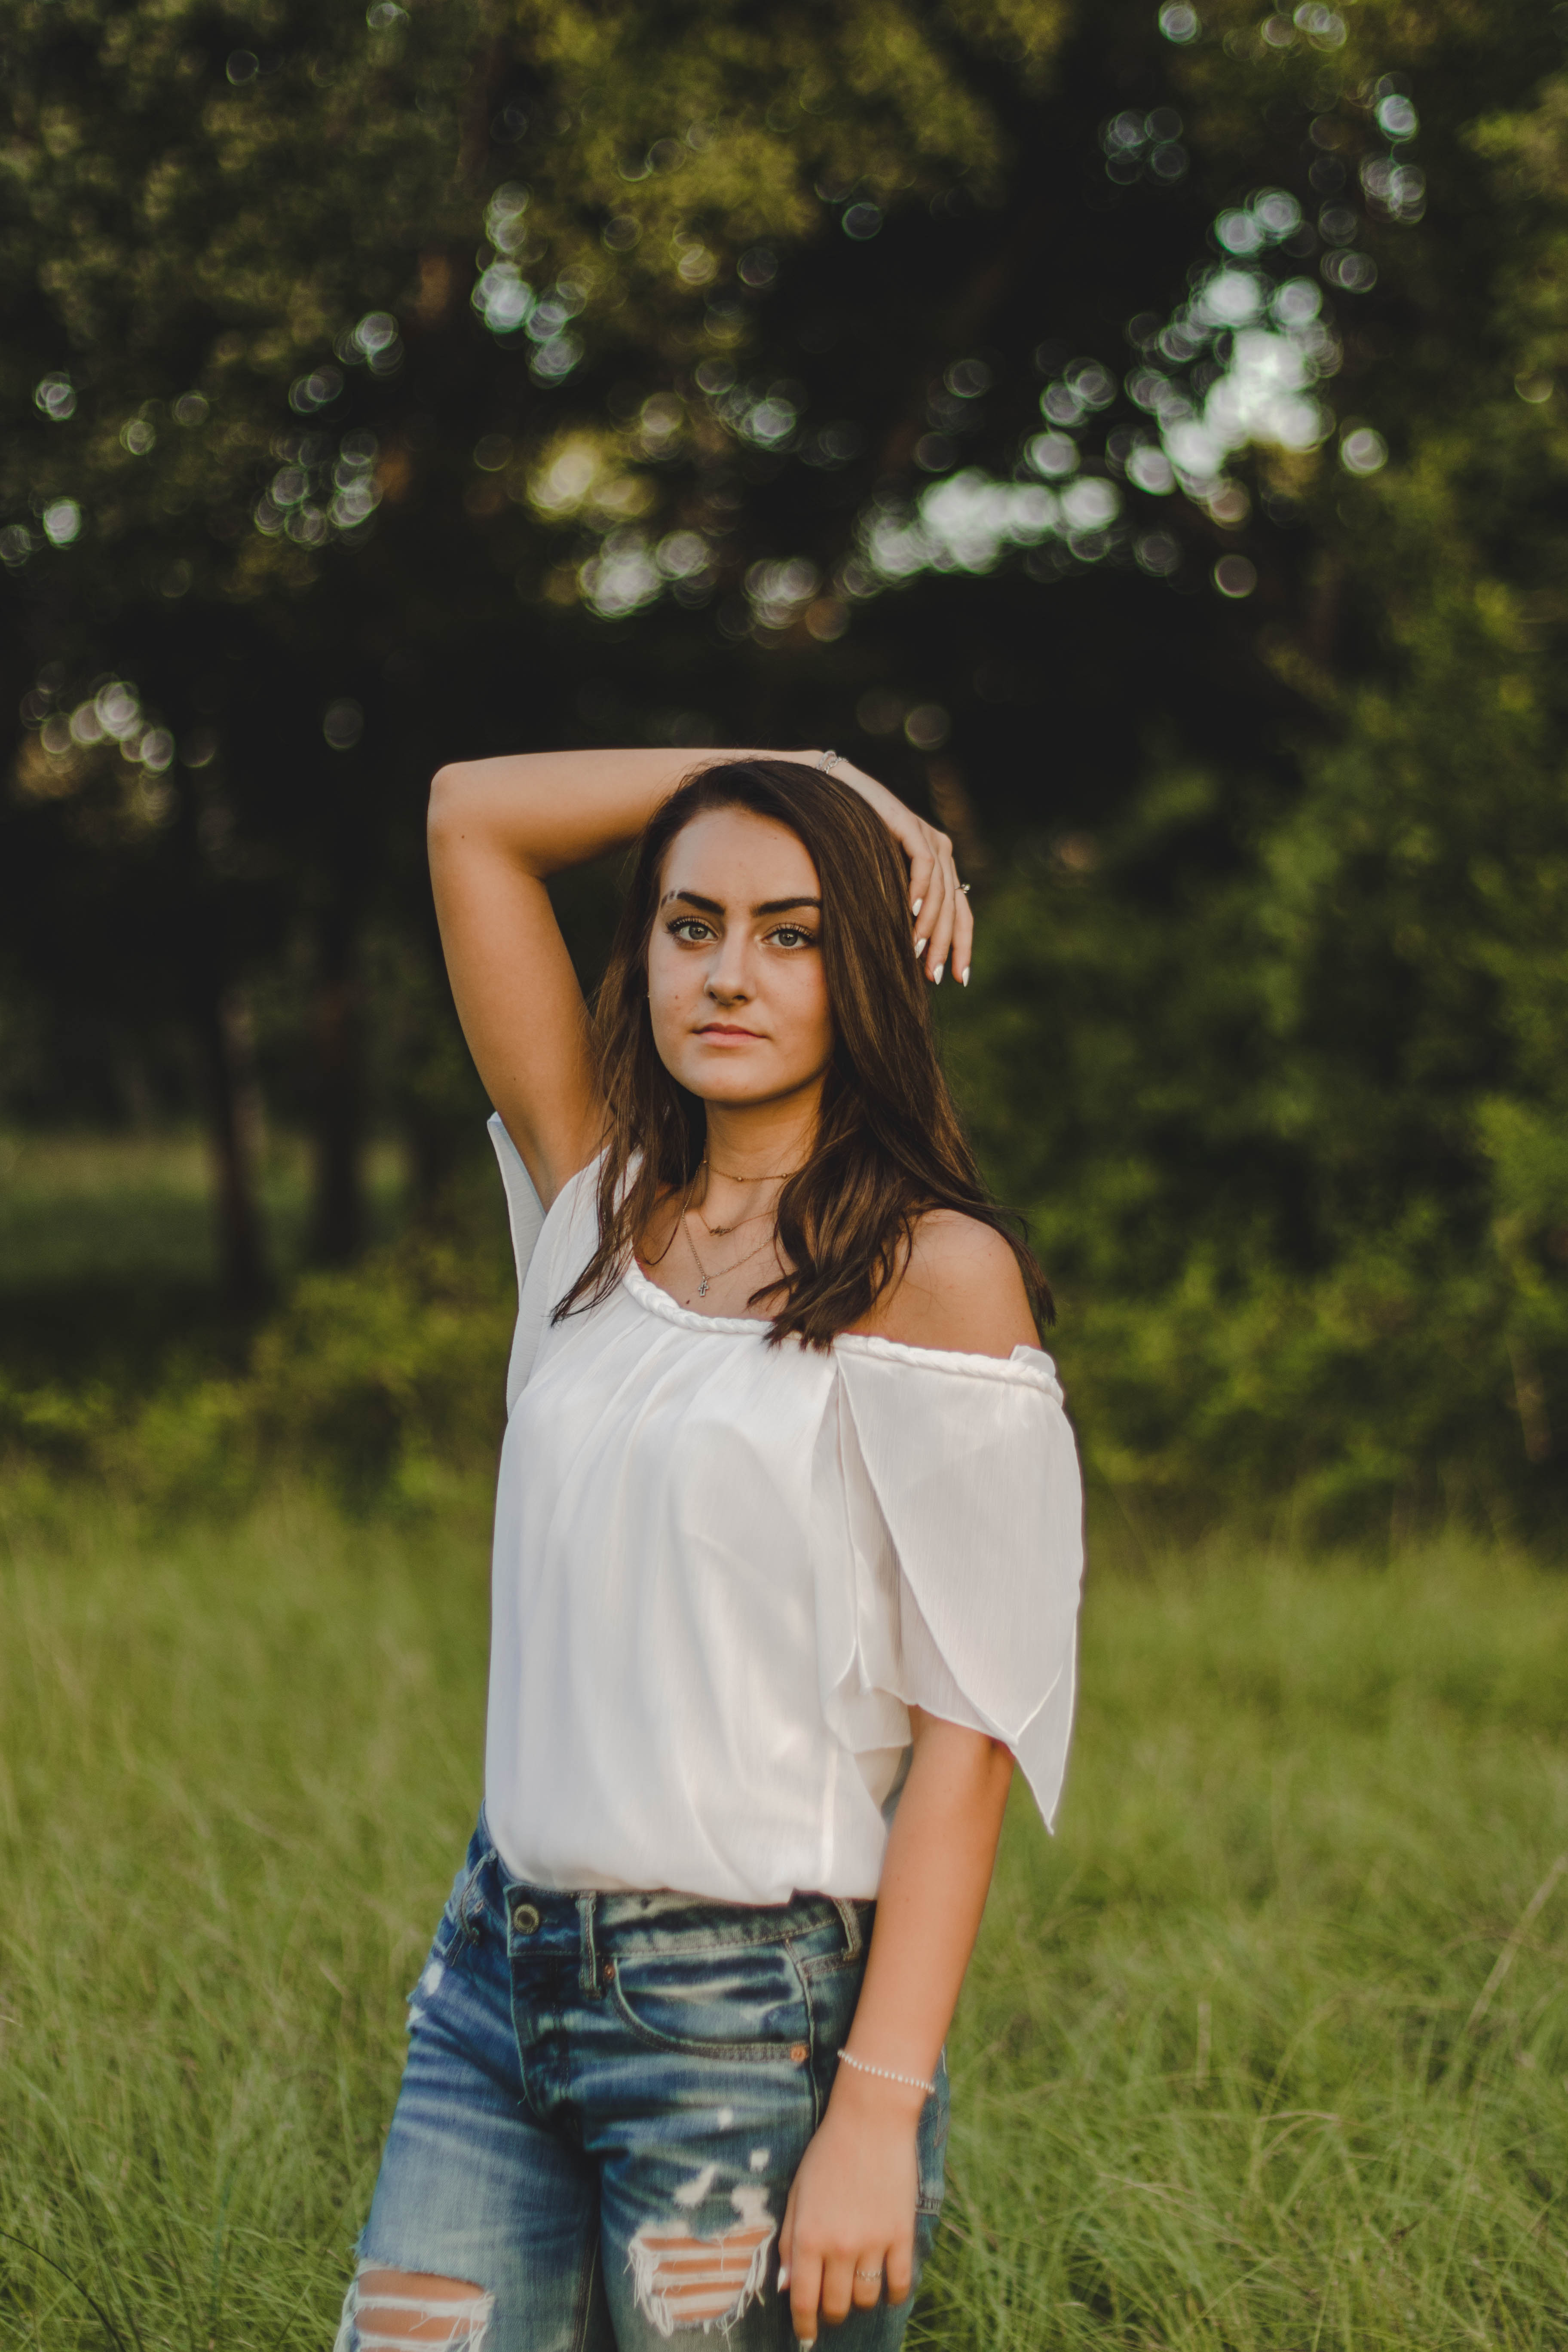
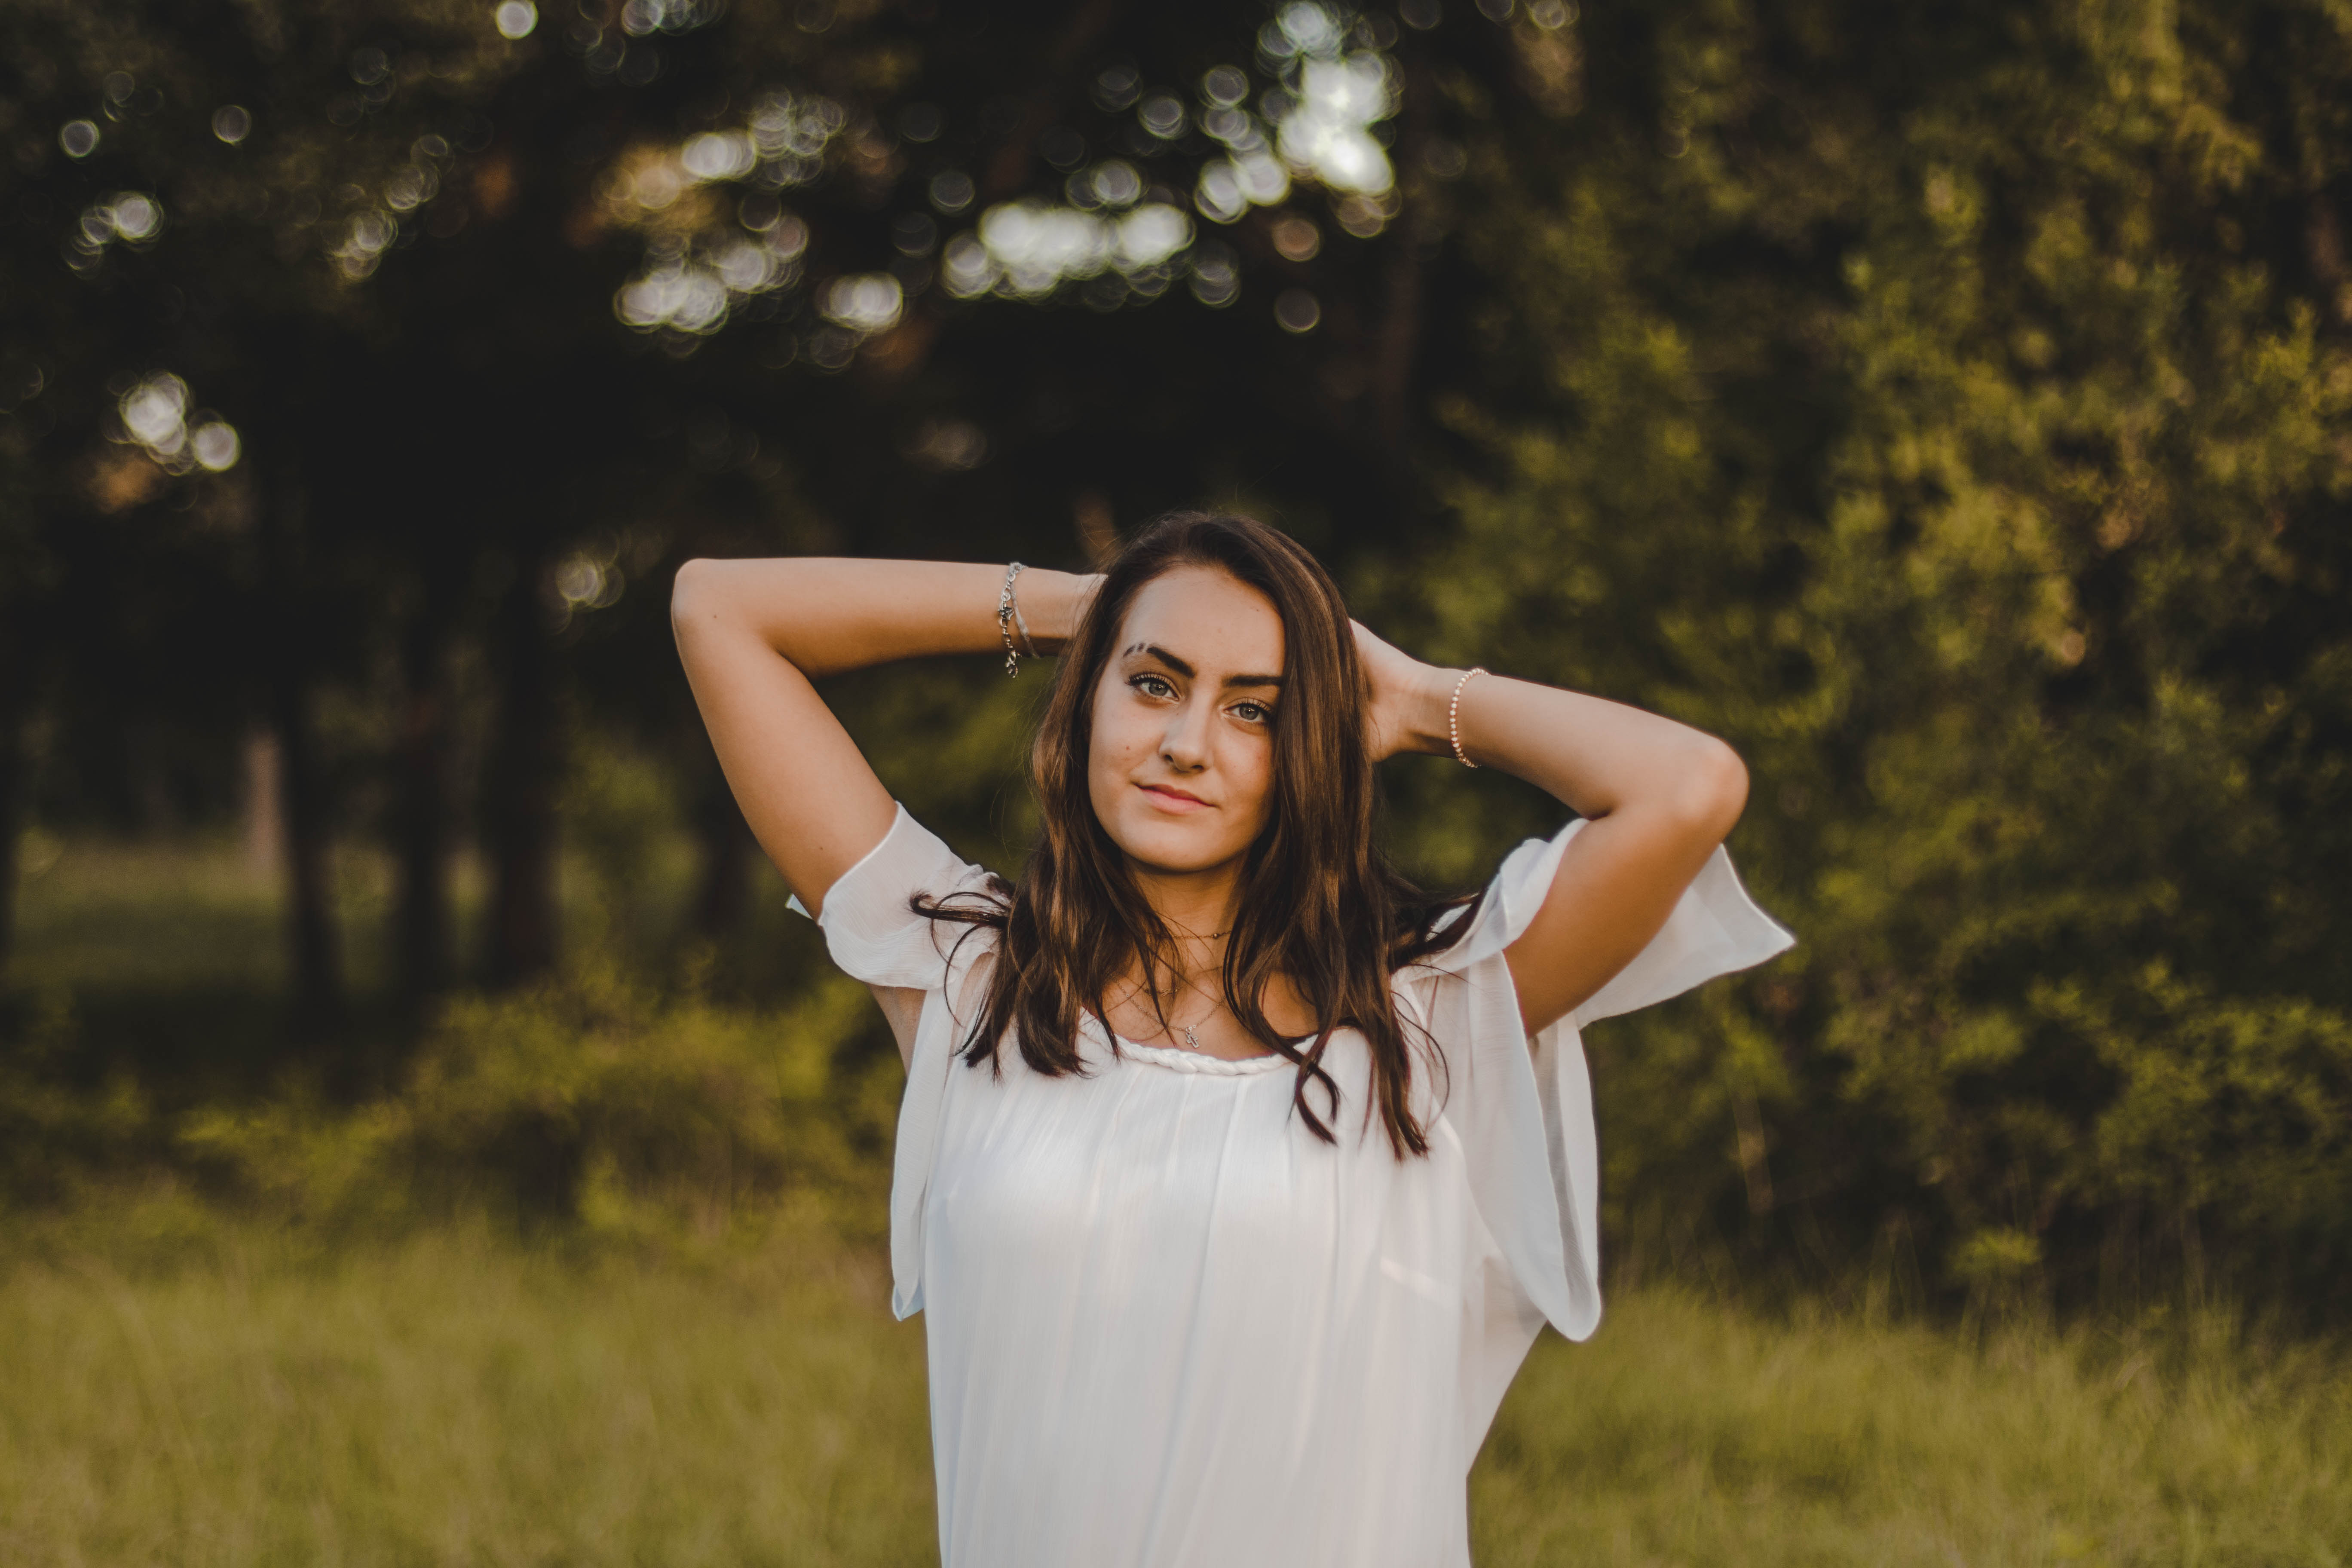
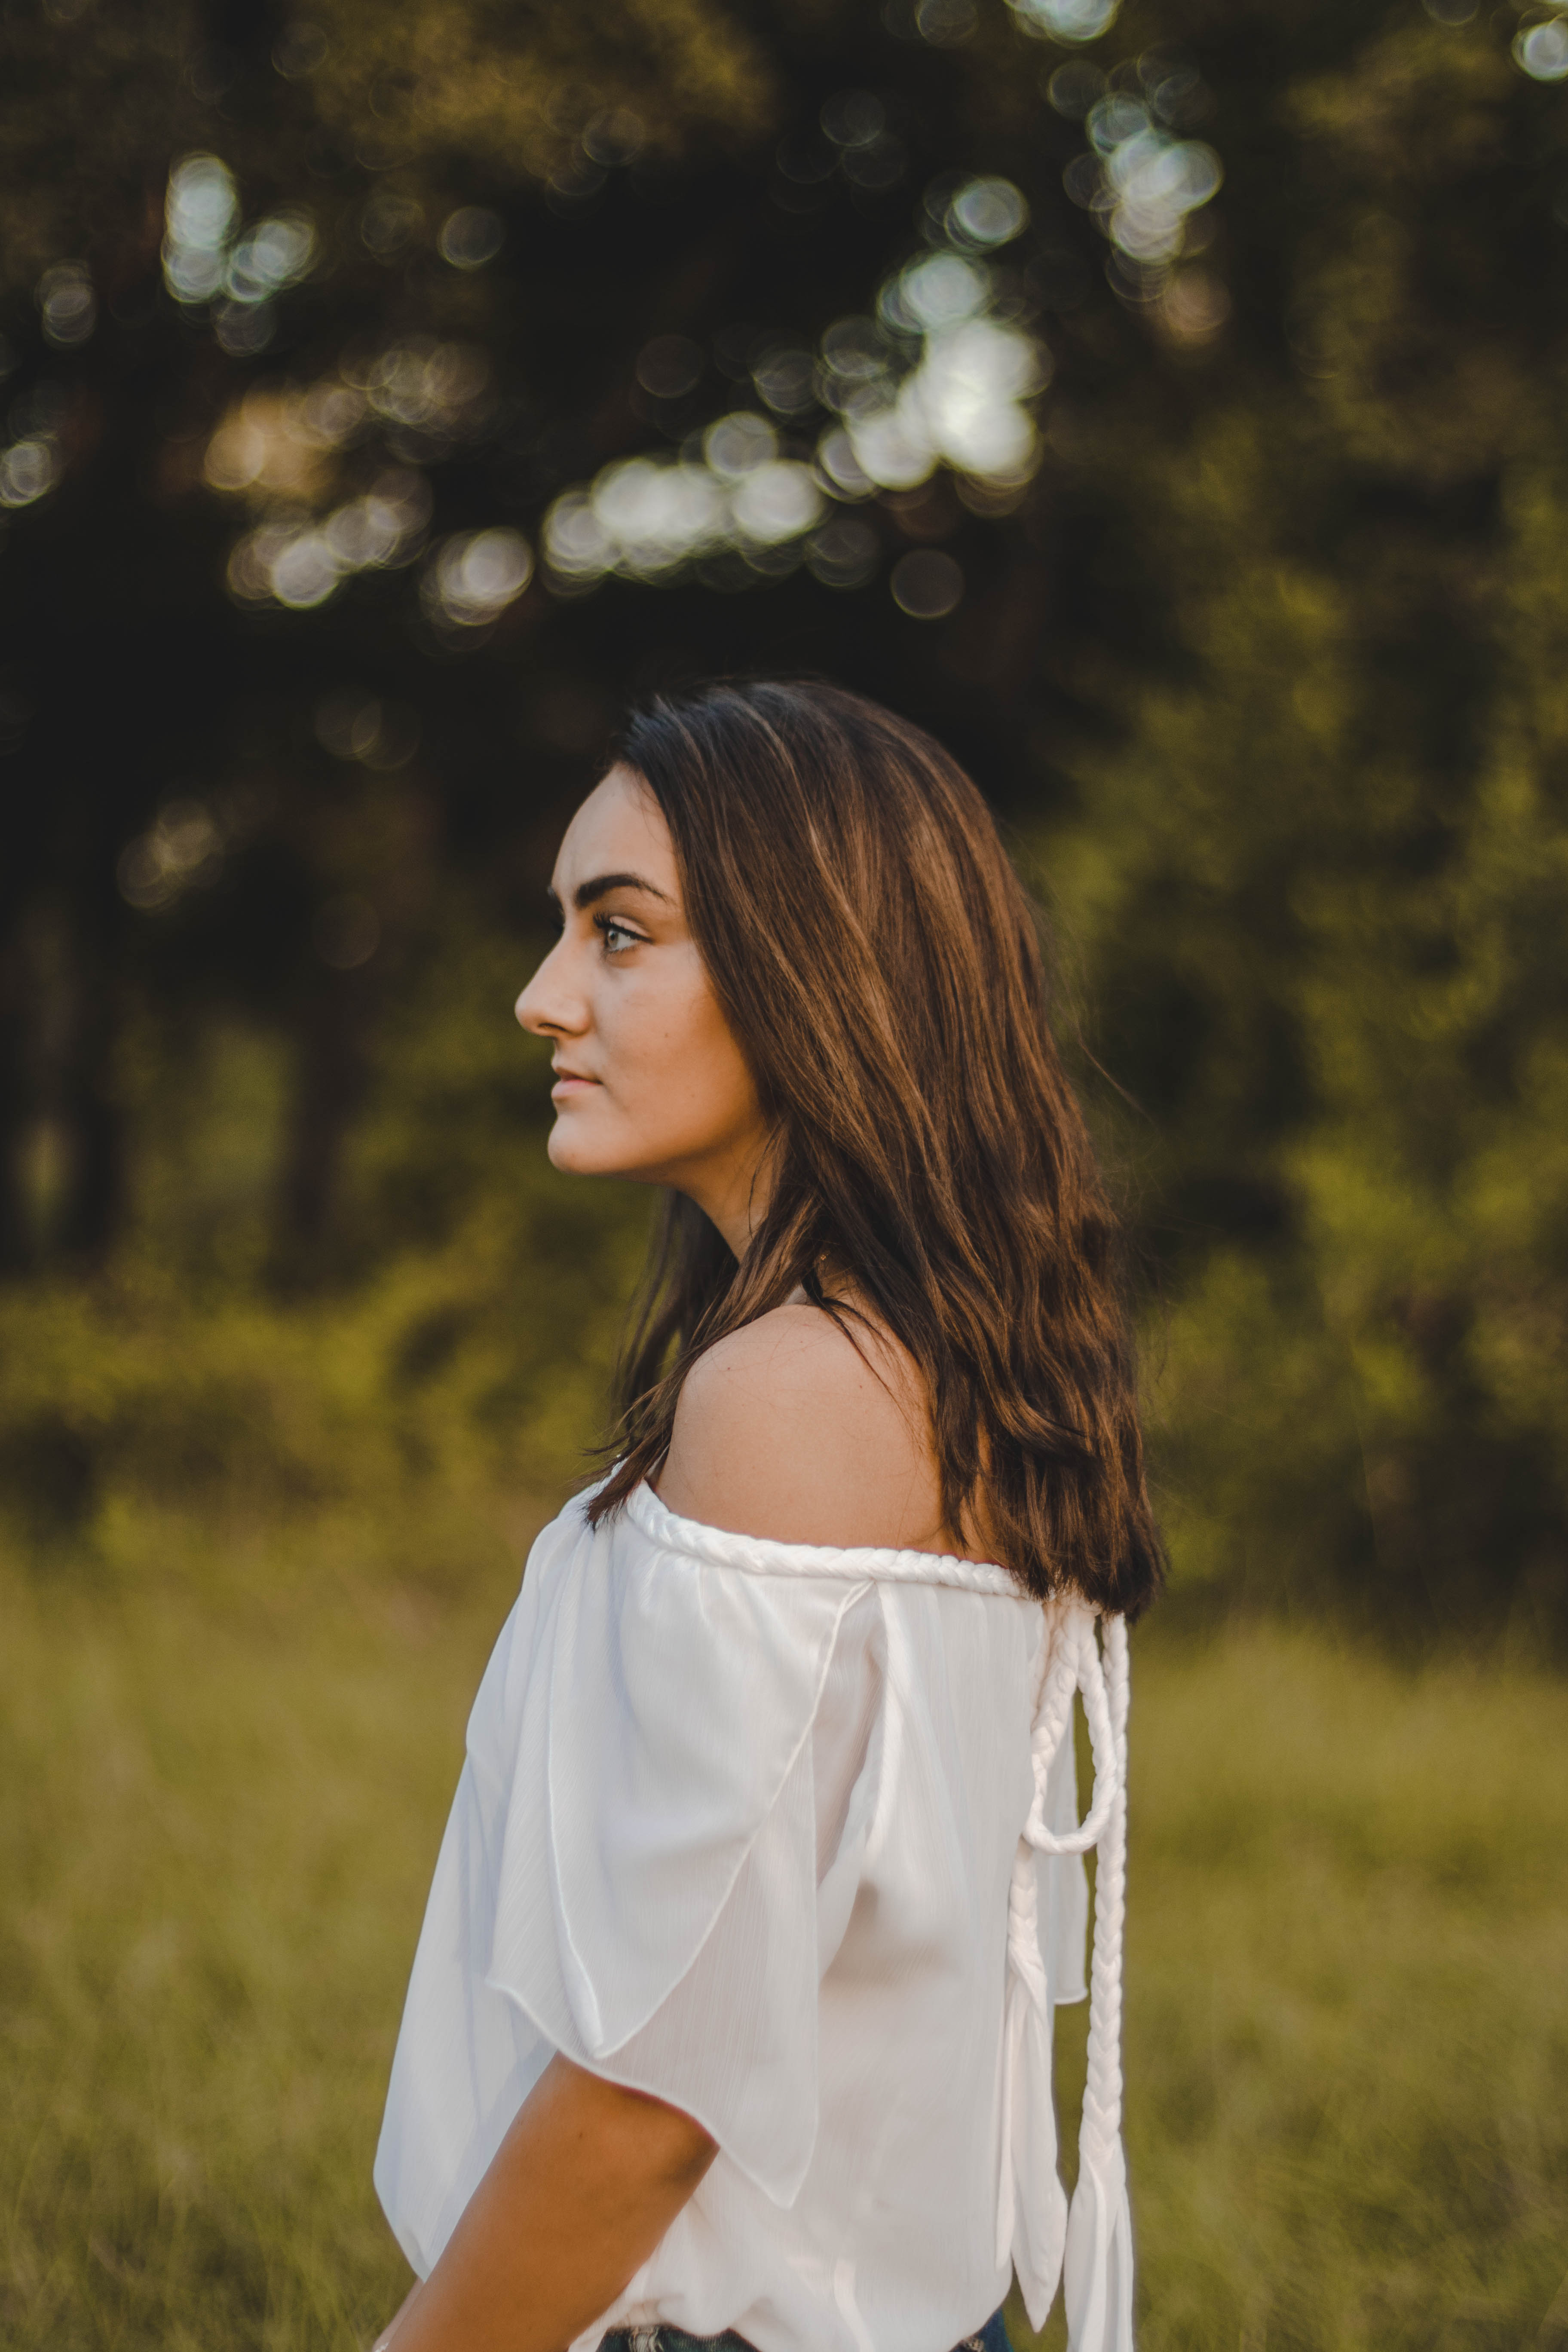
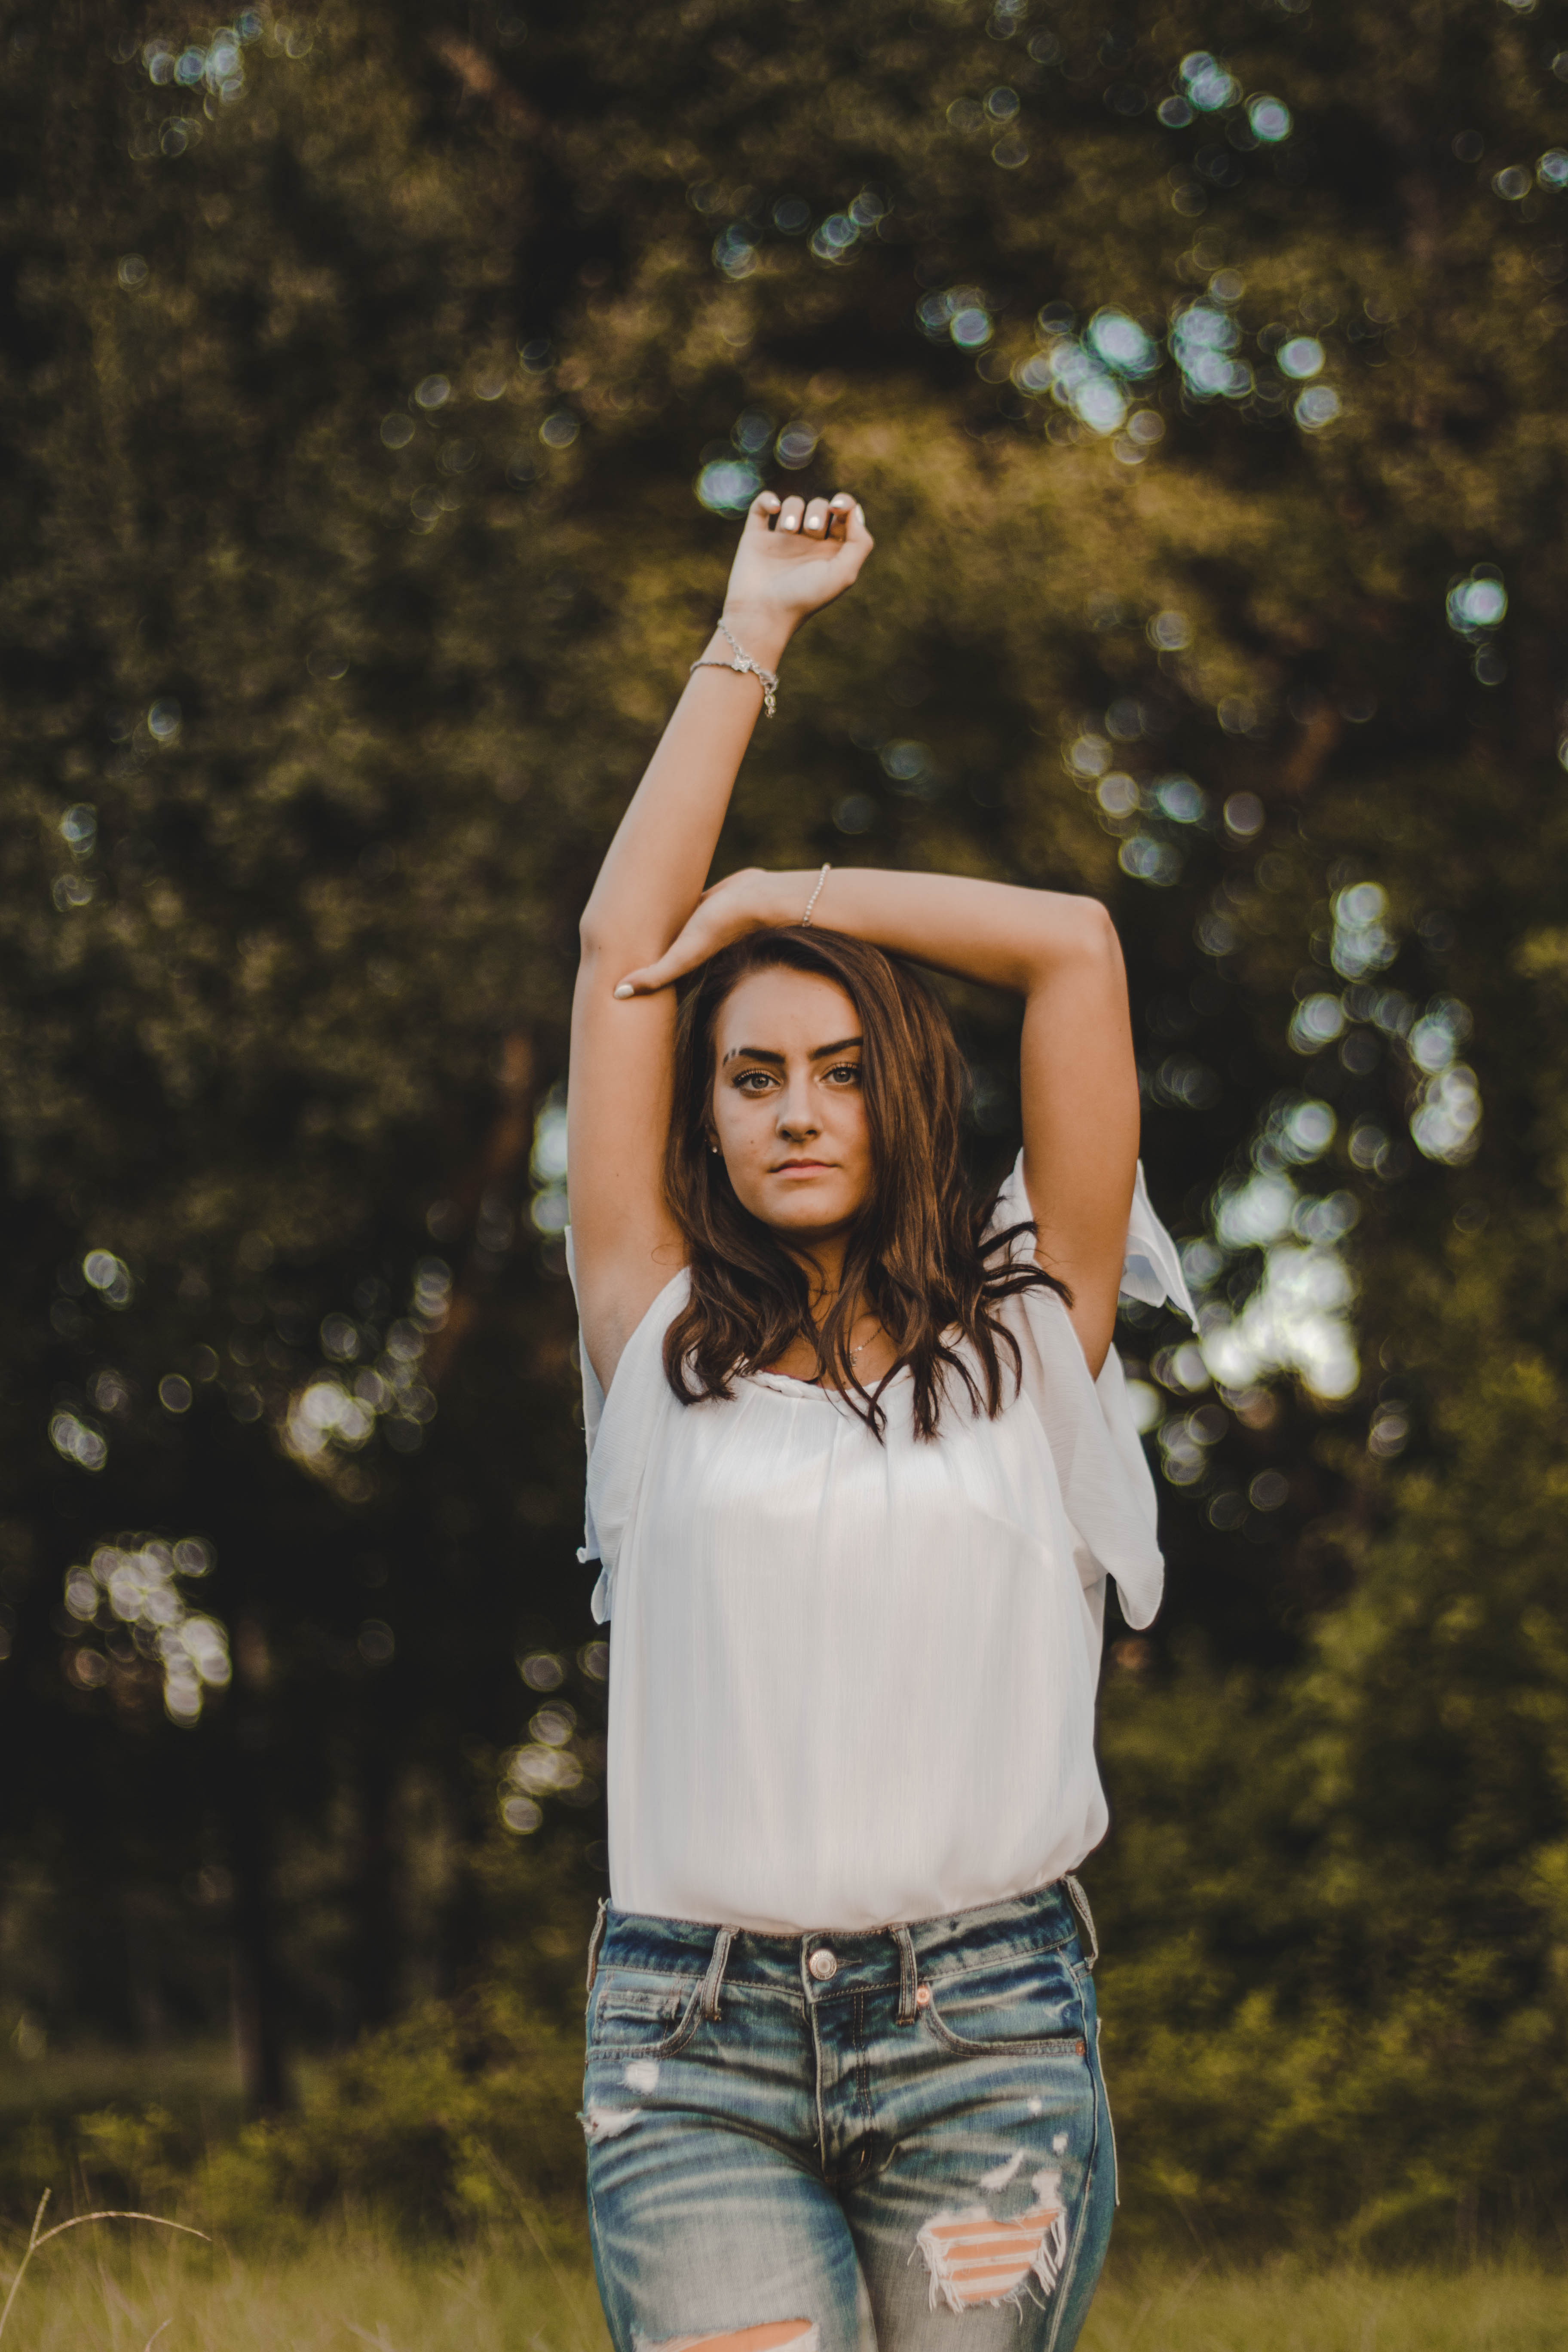

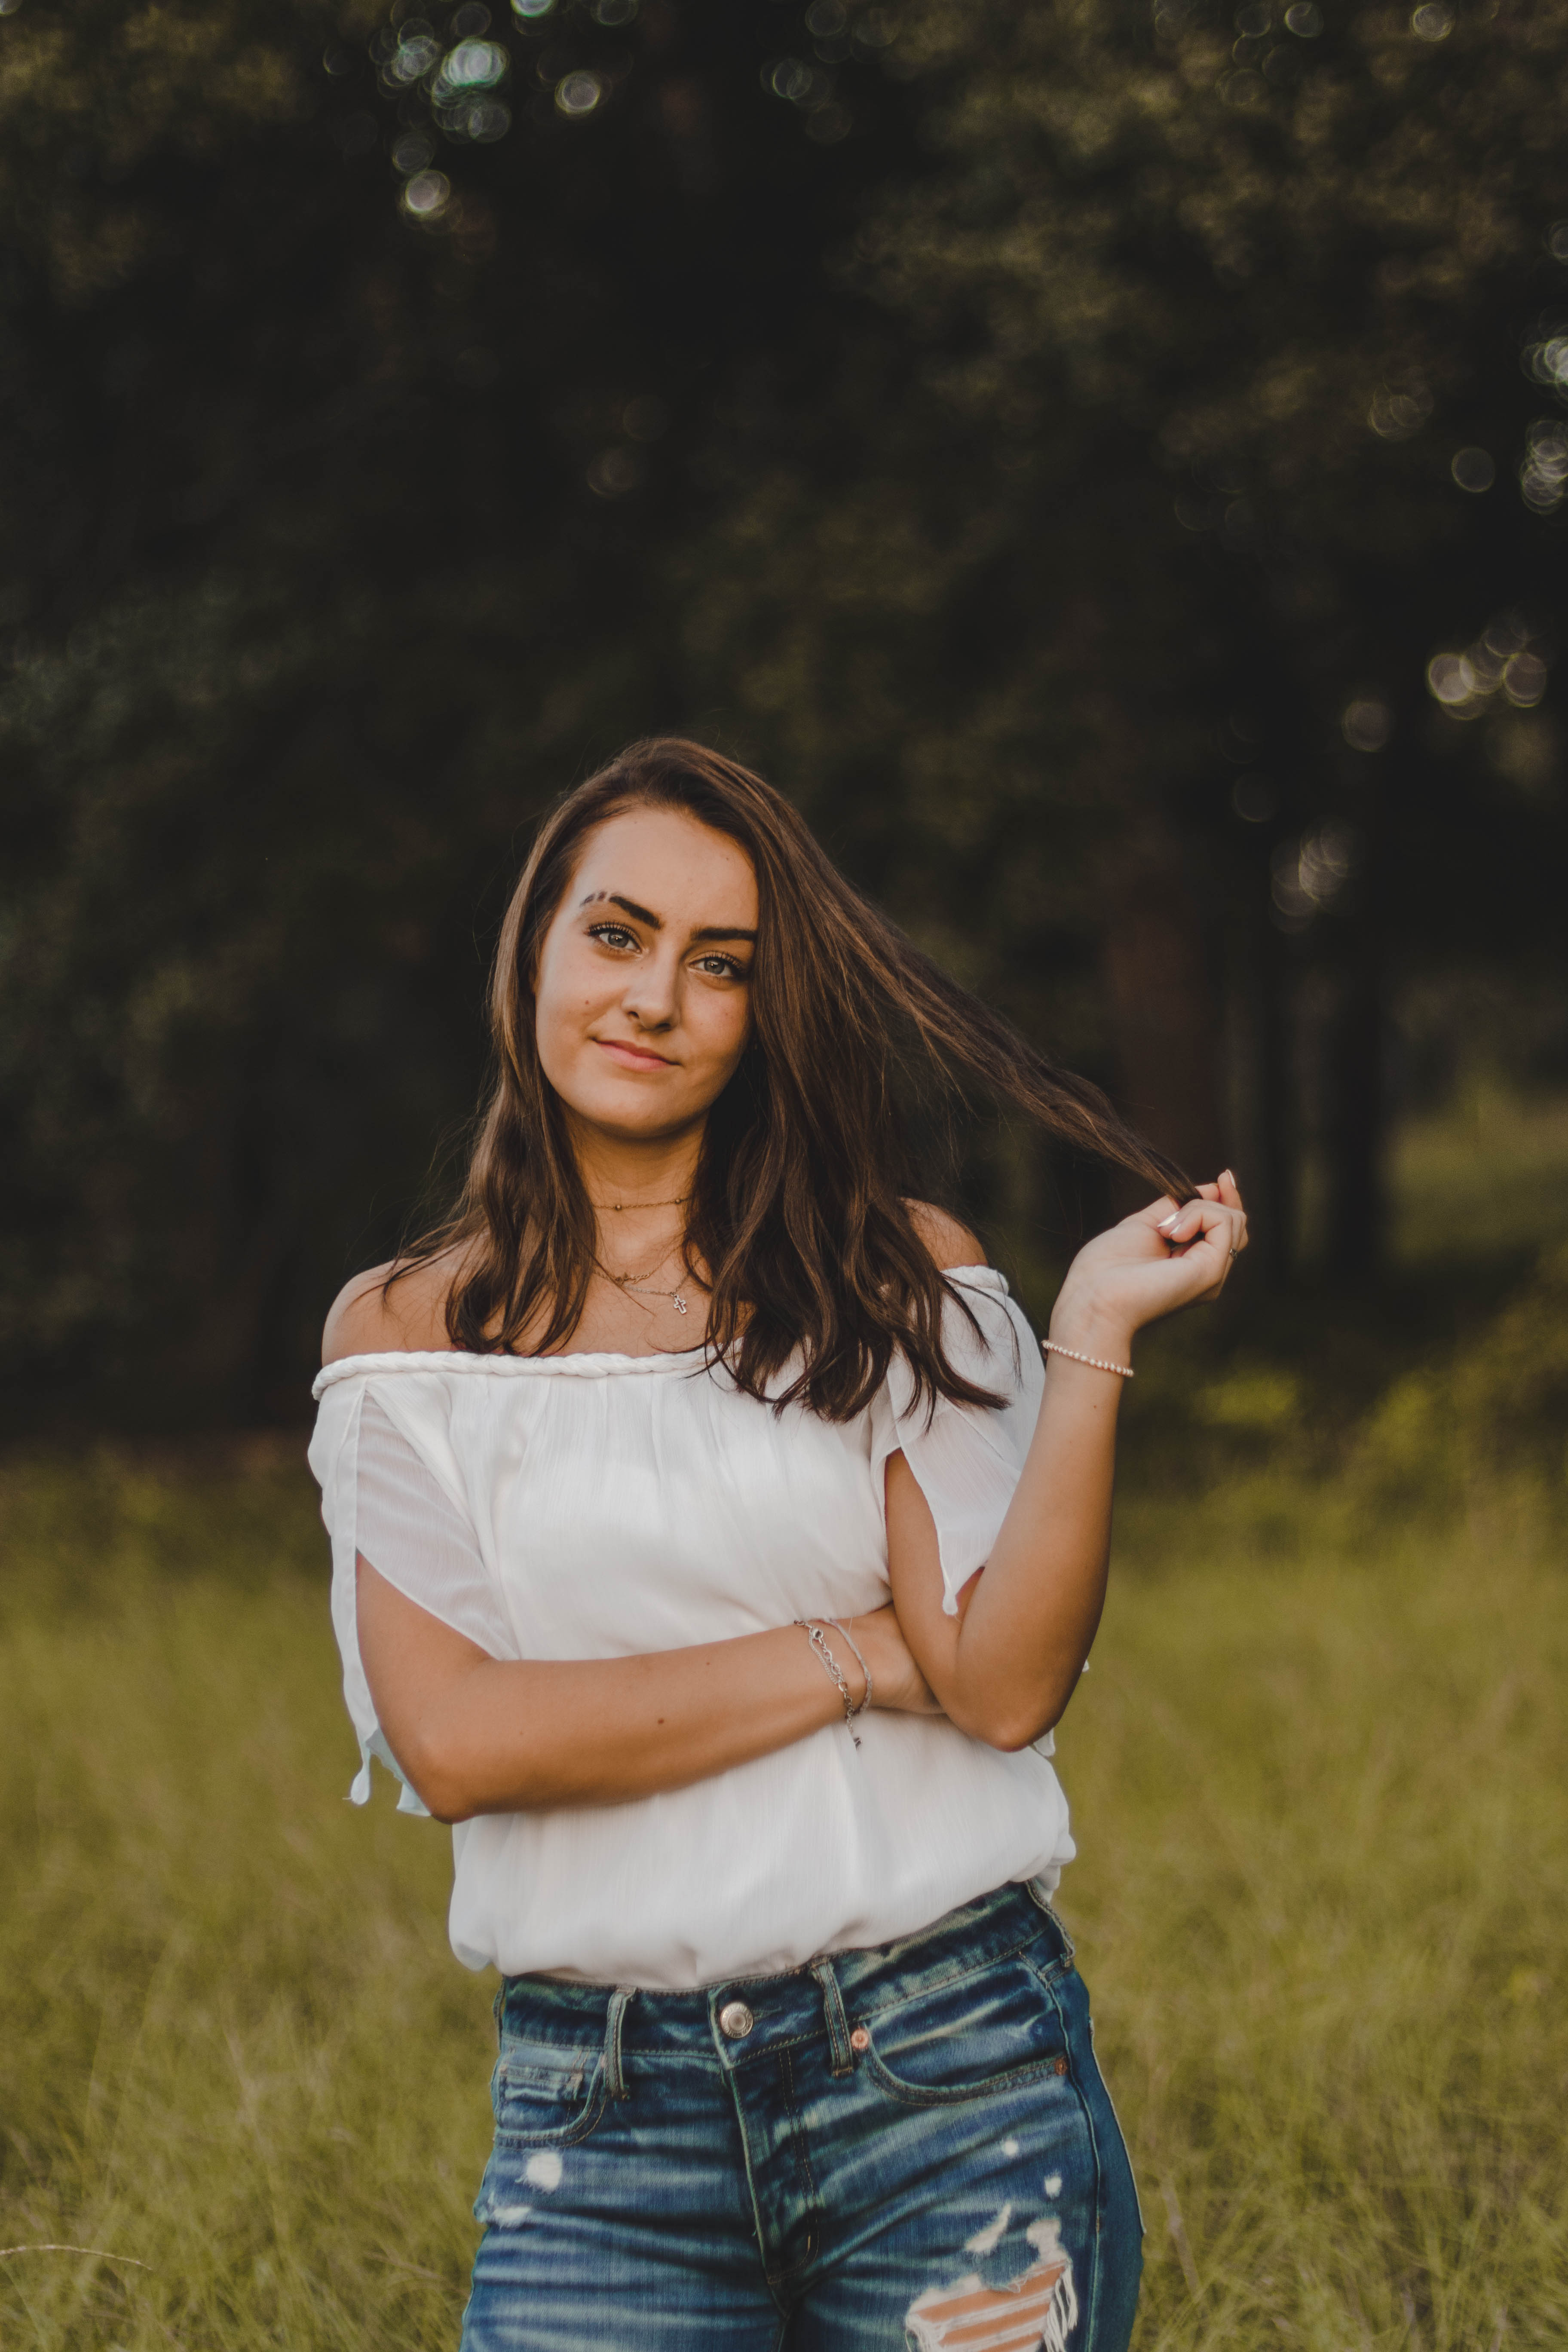
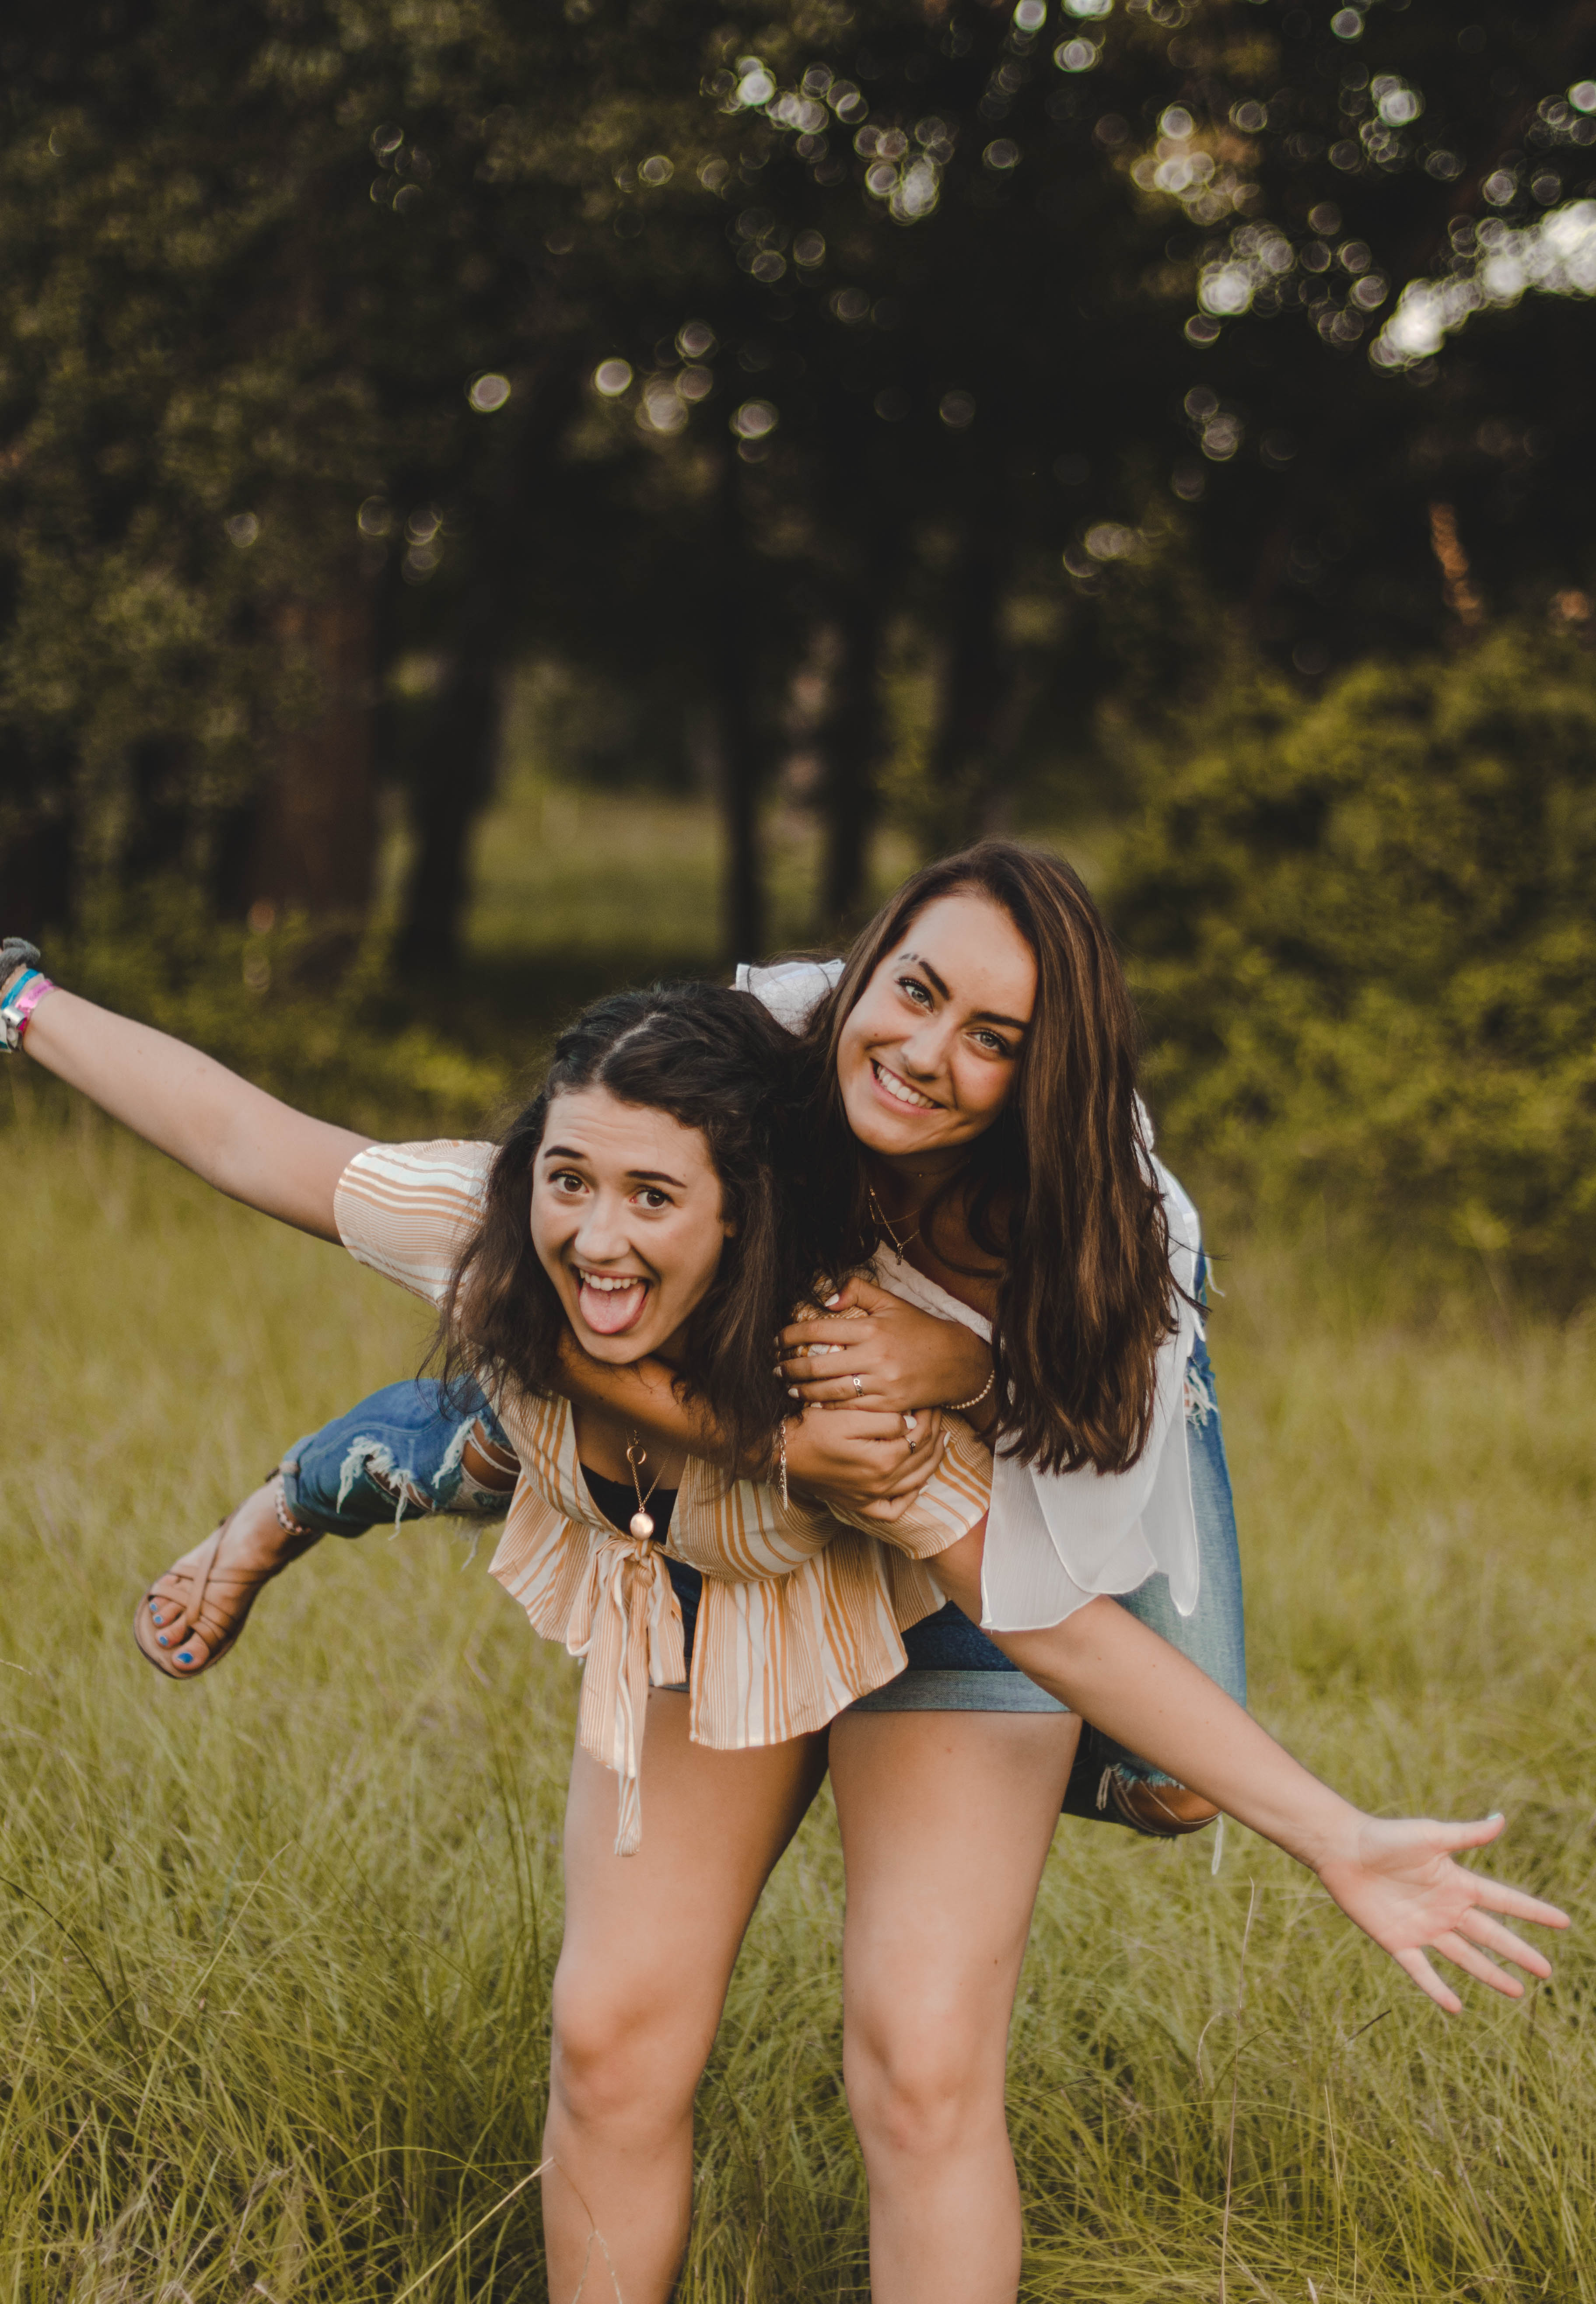
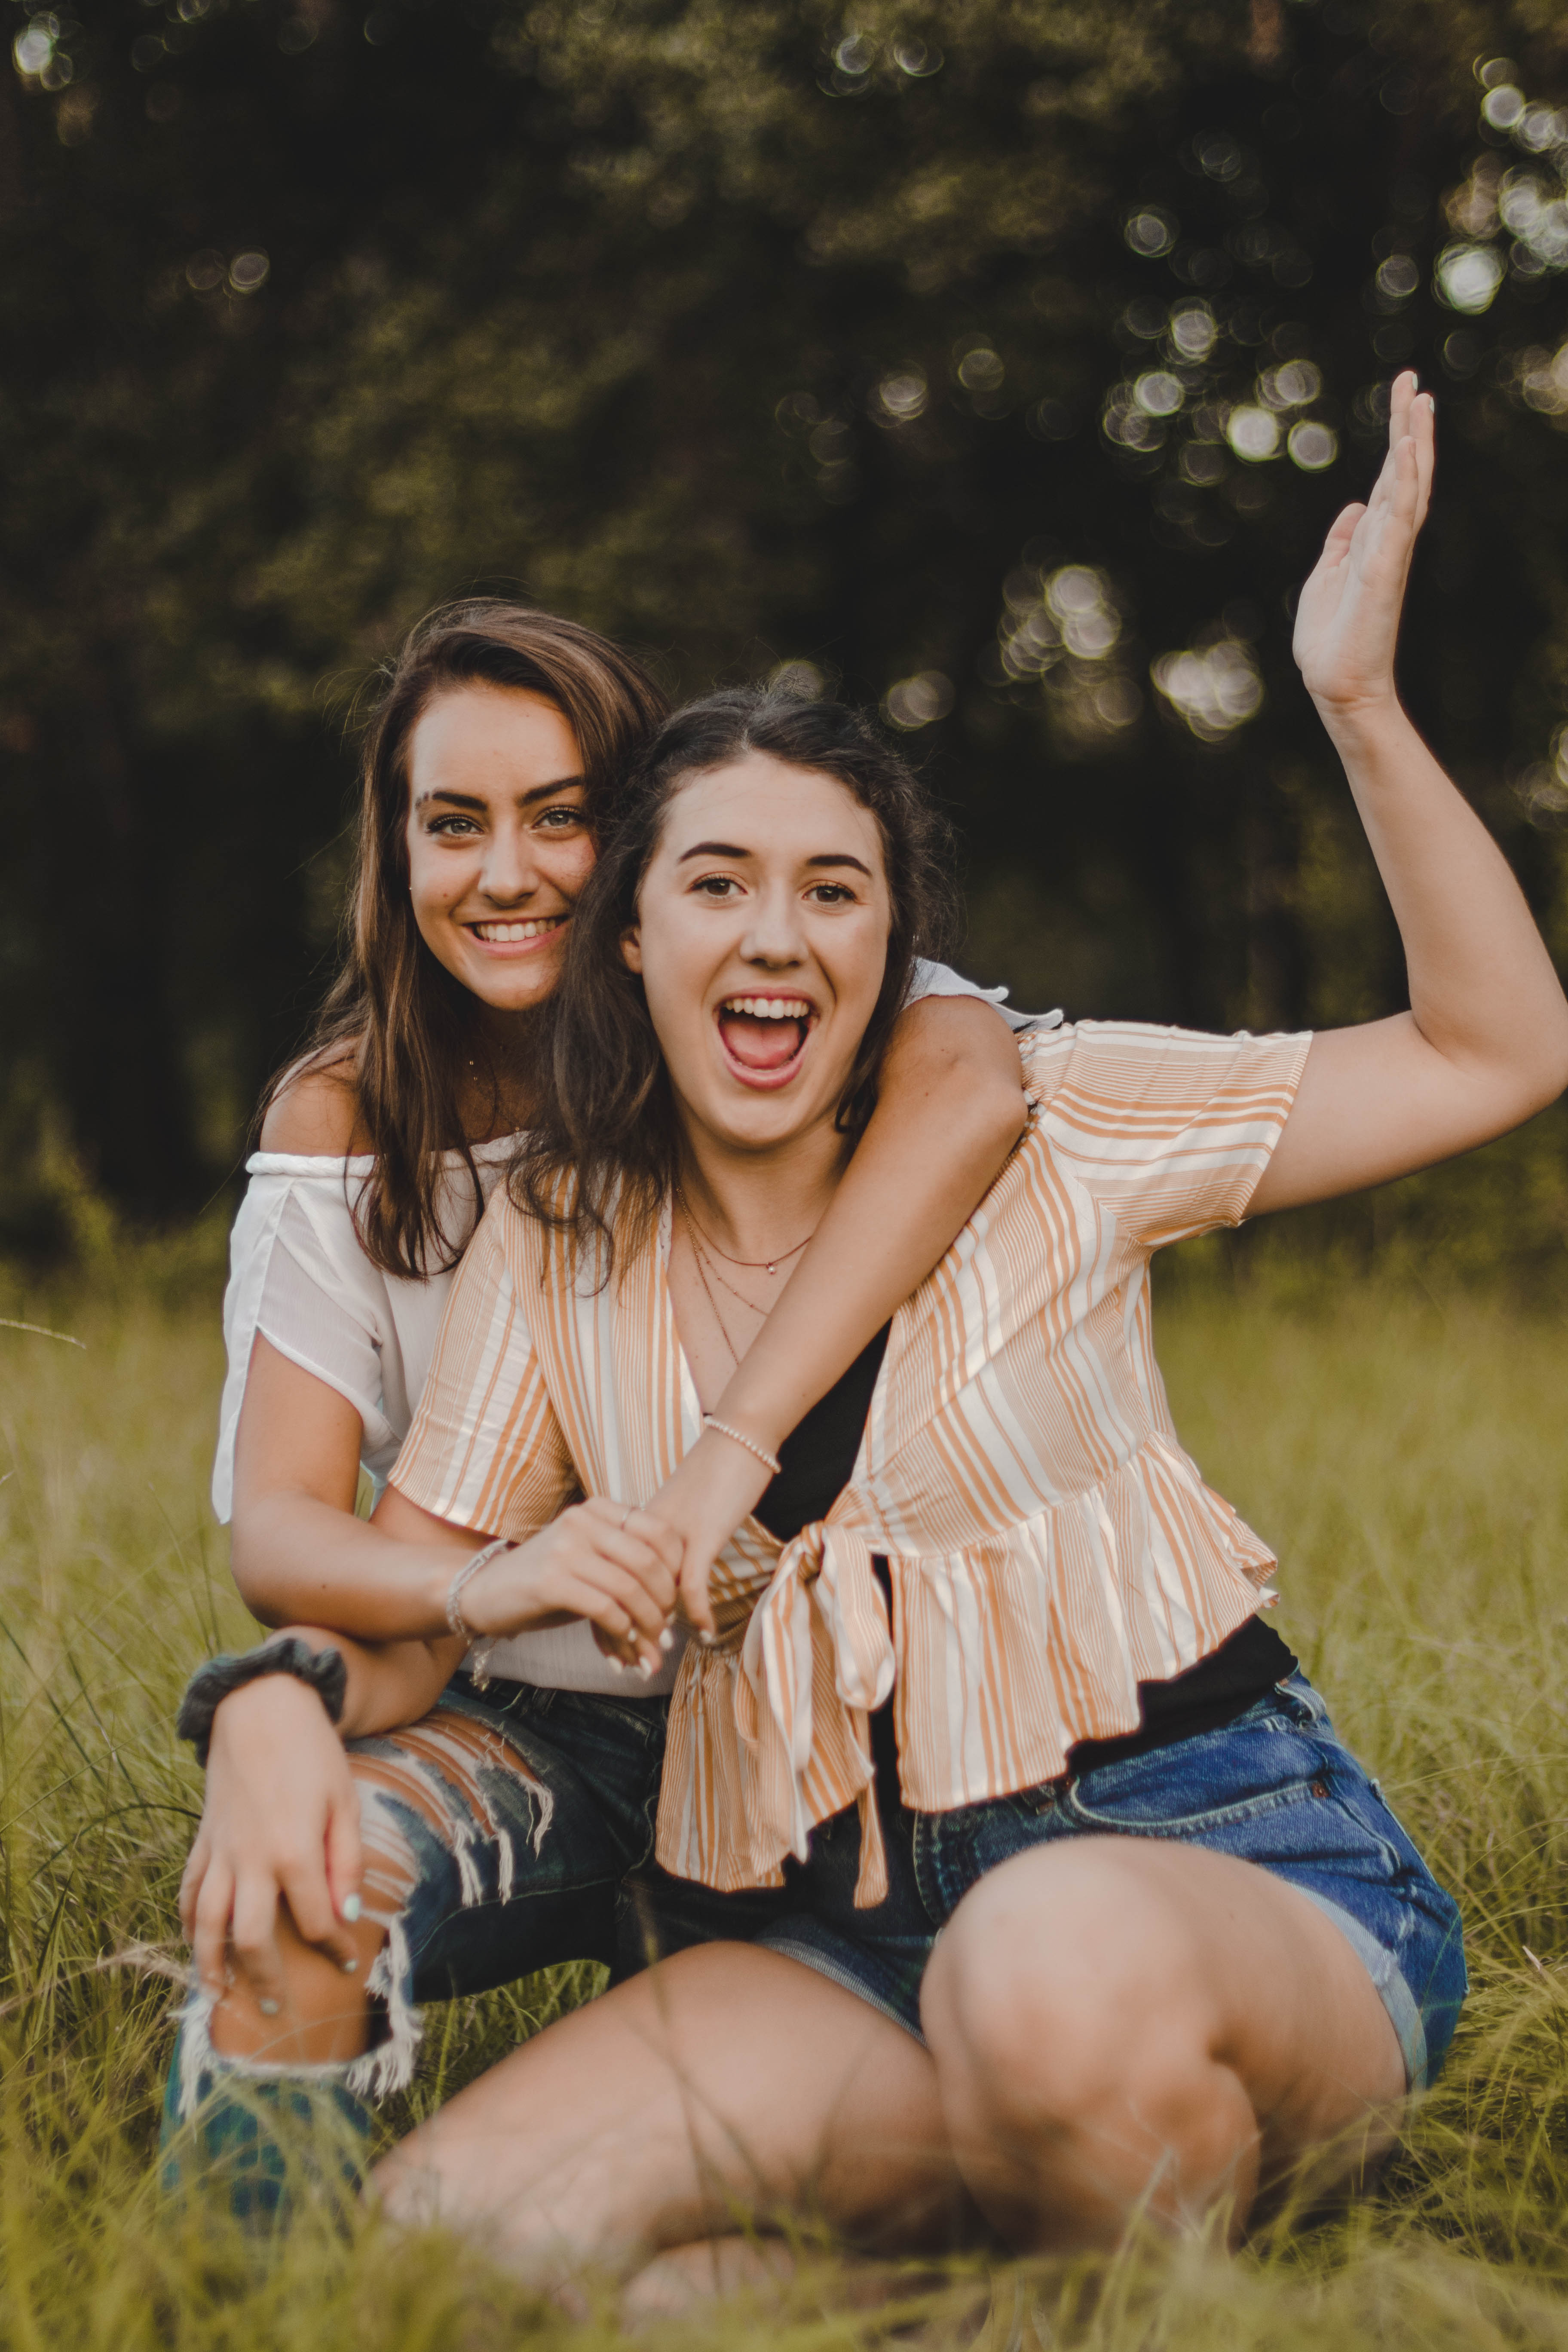
more golden hour shoots: golden hour portraits + hipster portraits
Want to see more of my summer shoots? Click here!
Want to see more of my photography tutorials? Click here to see more!
Want to do a shoot together? Click here for booking and pricing information! or click here to book me for your photography needs!
Instagram: @goodallphotos
Facebook Page: @goodallphotographs

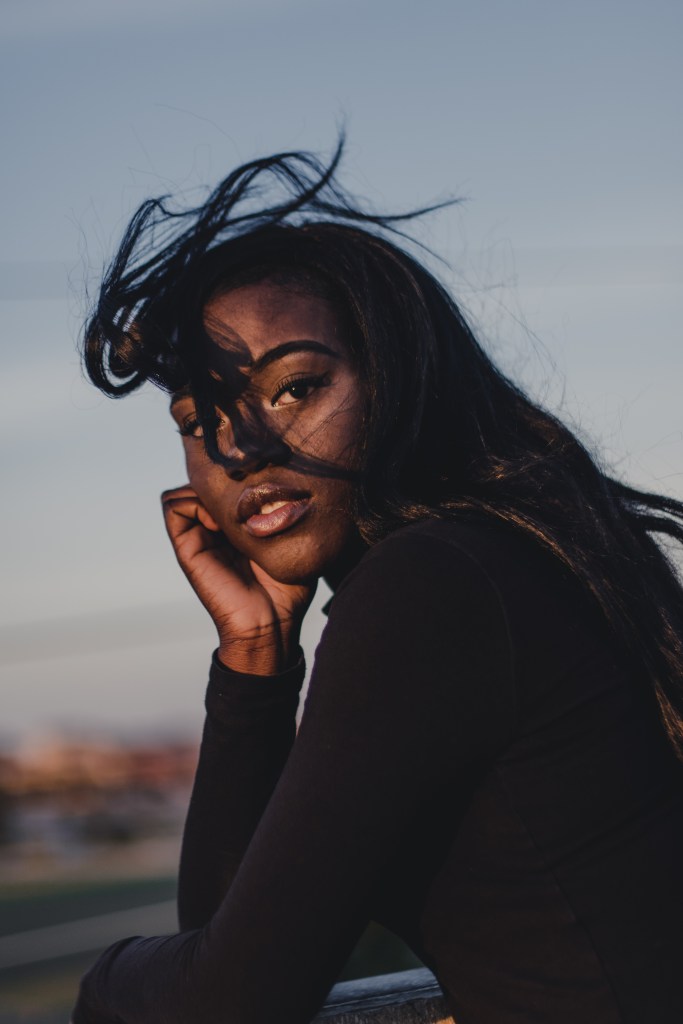
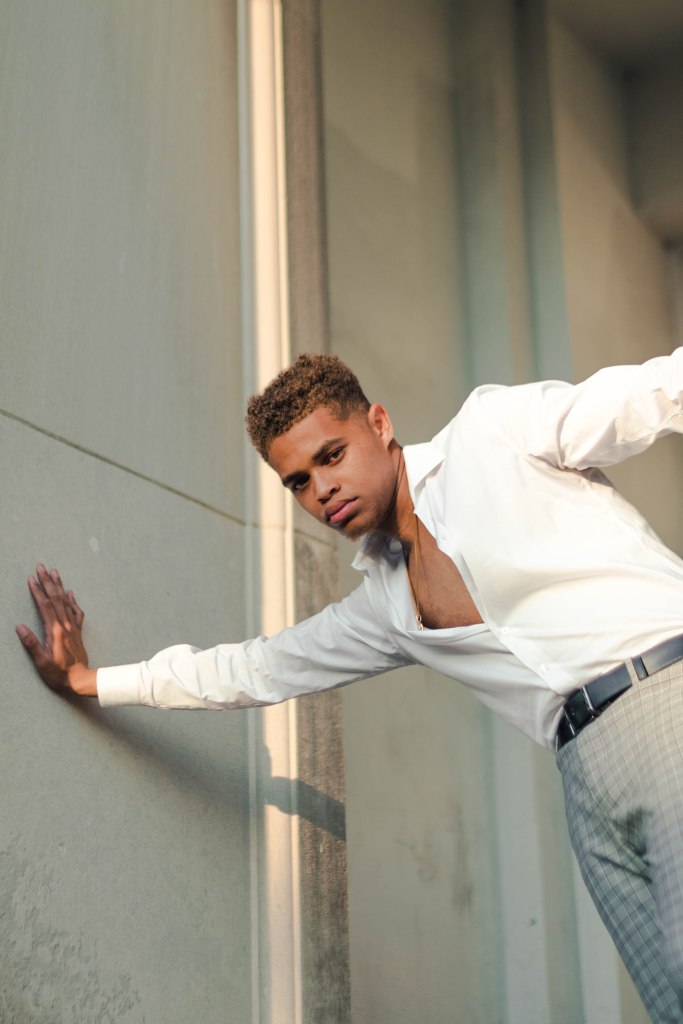
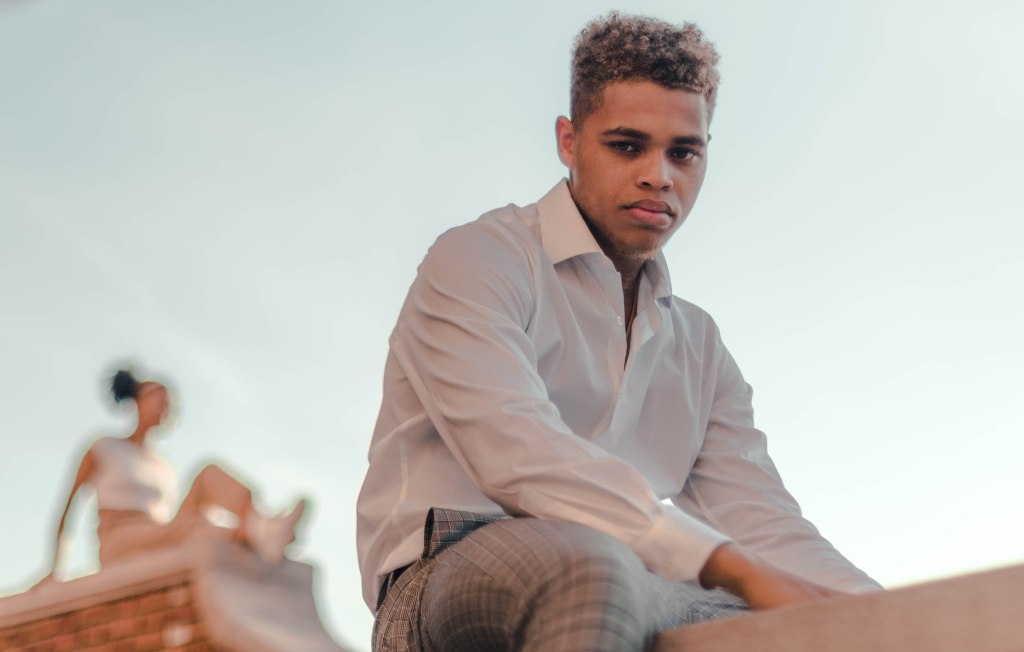
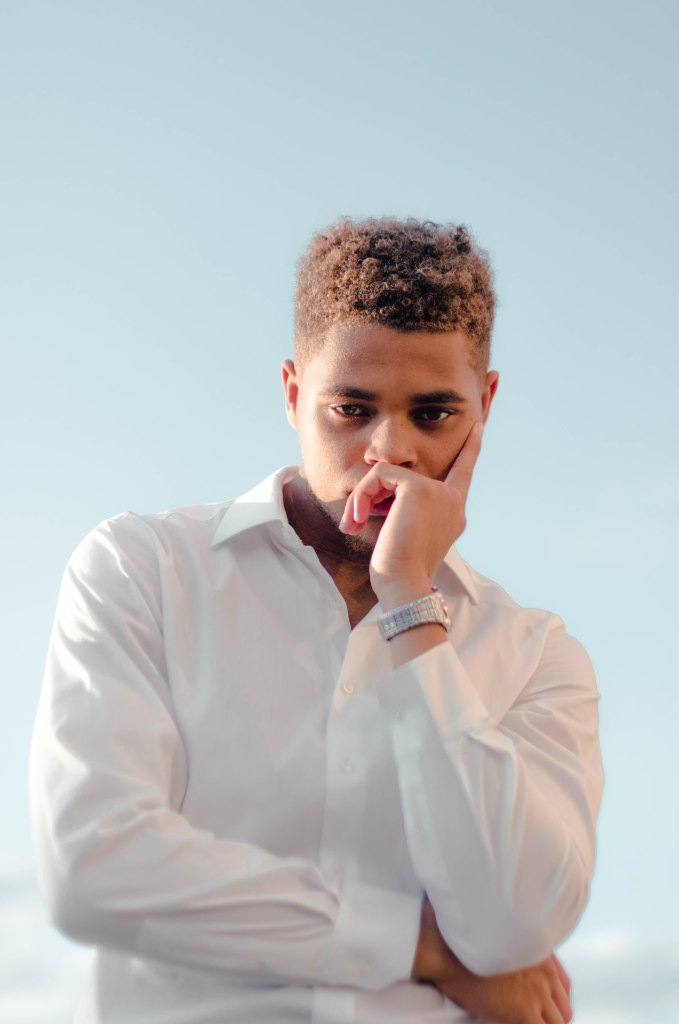
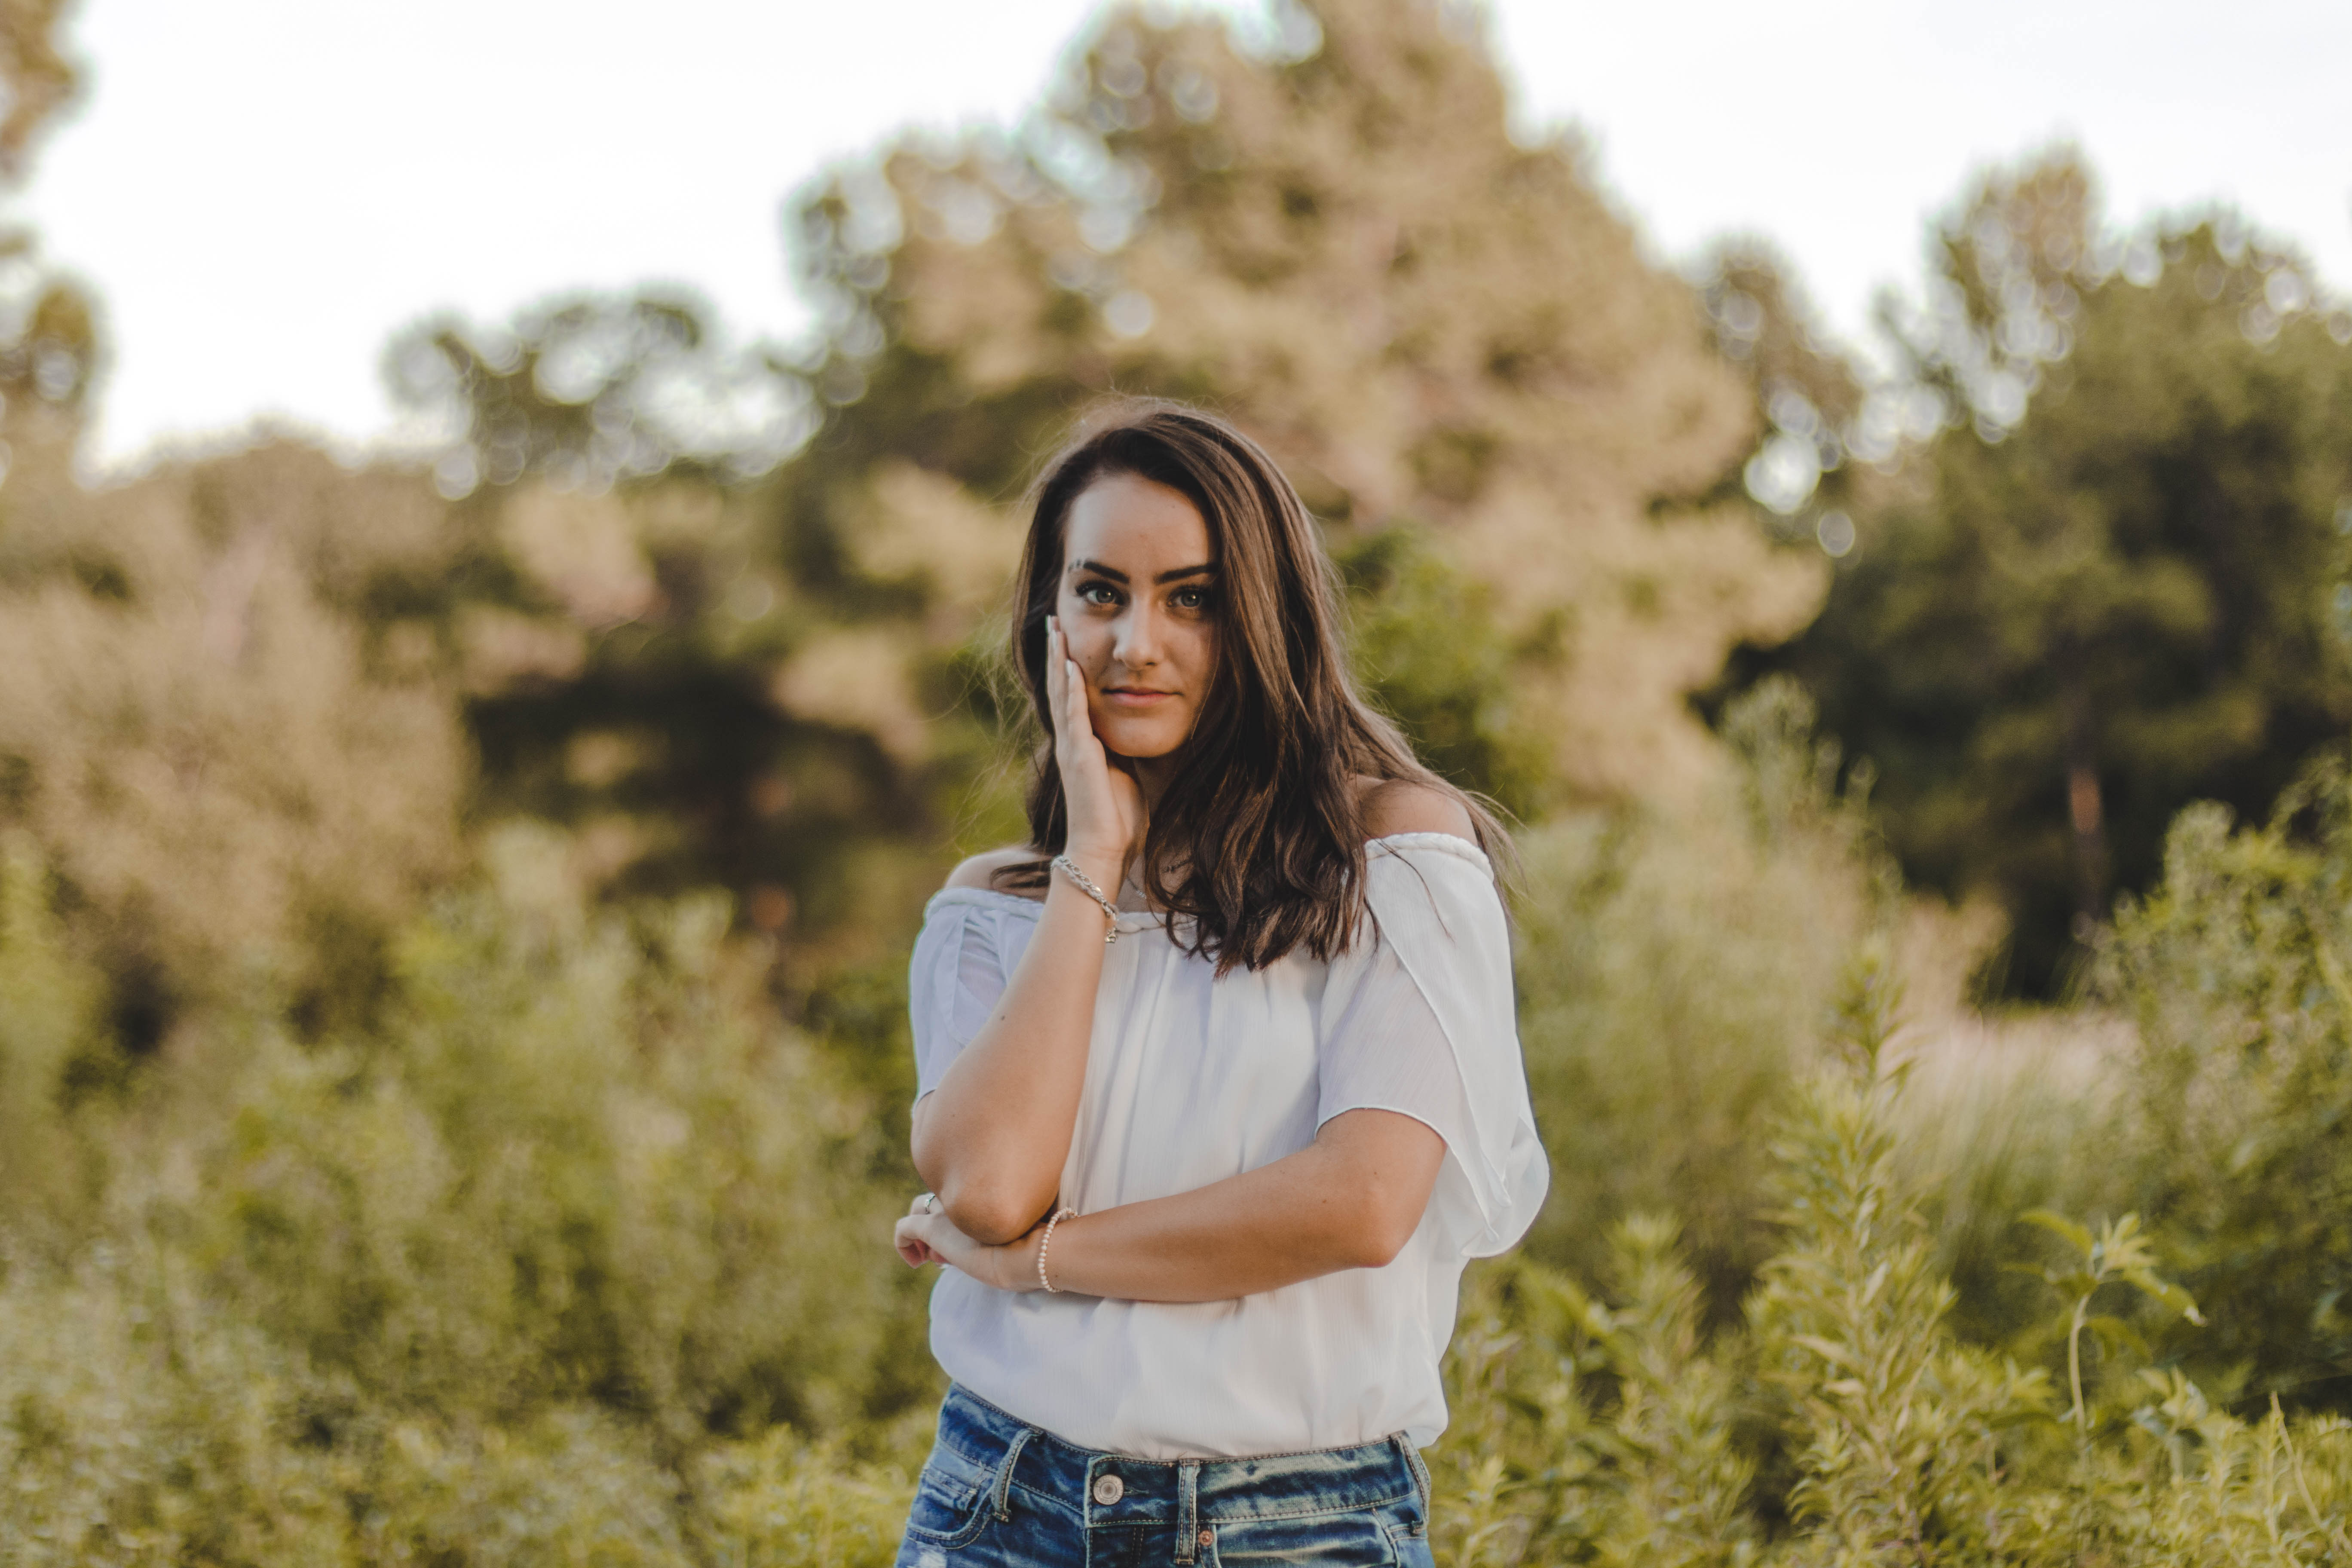
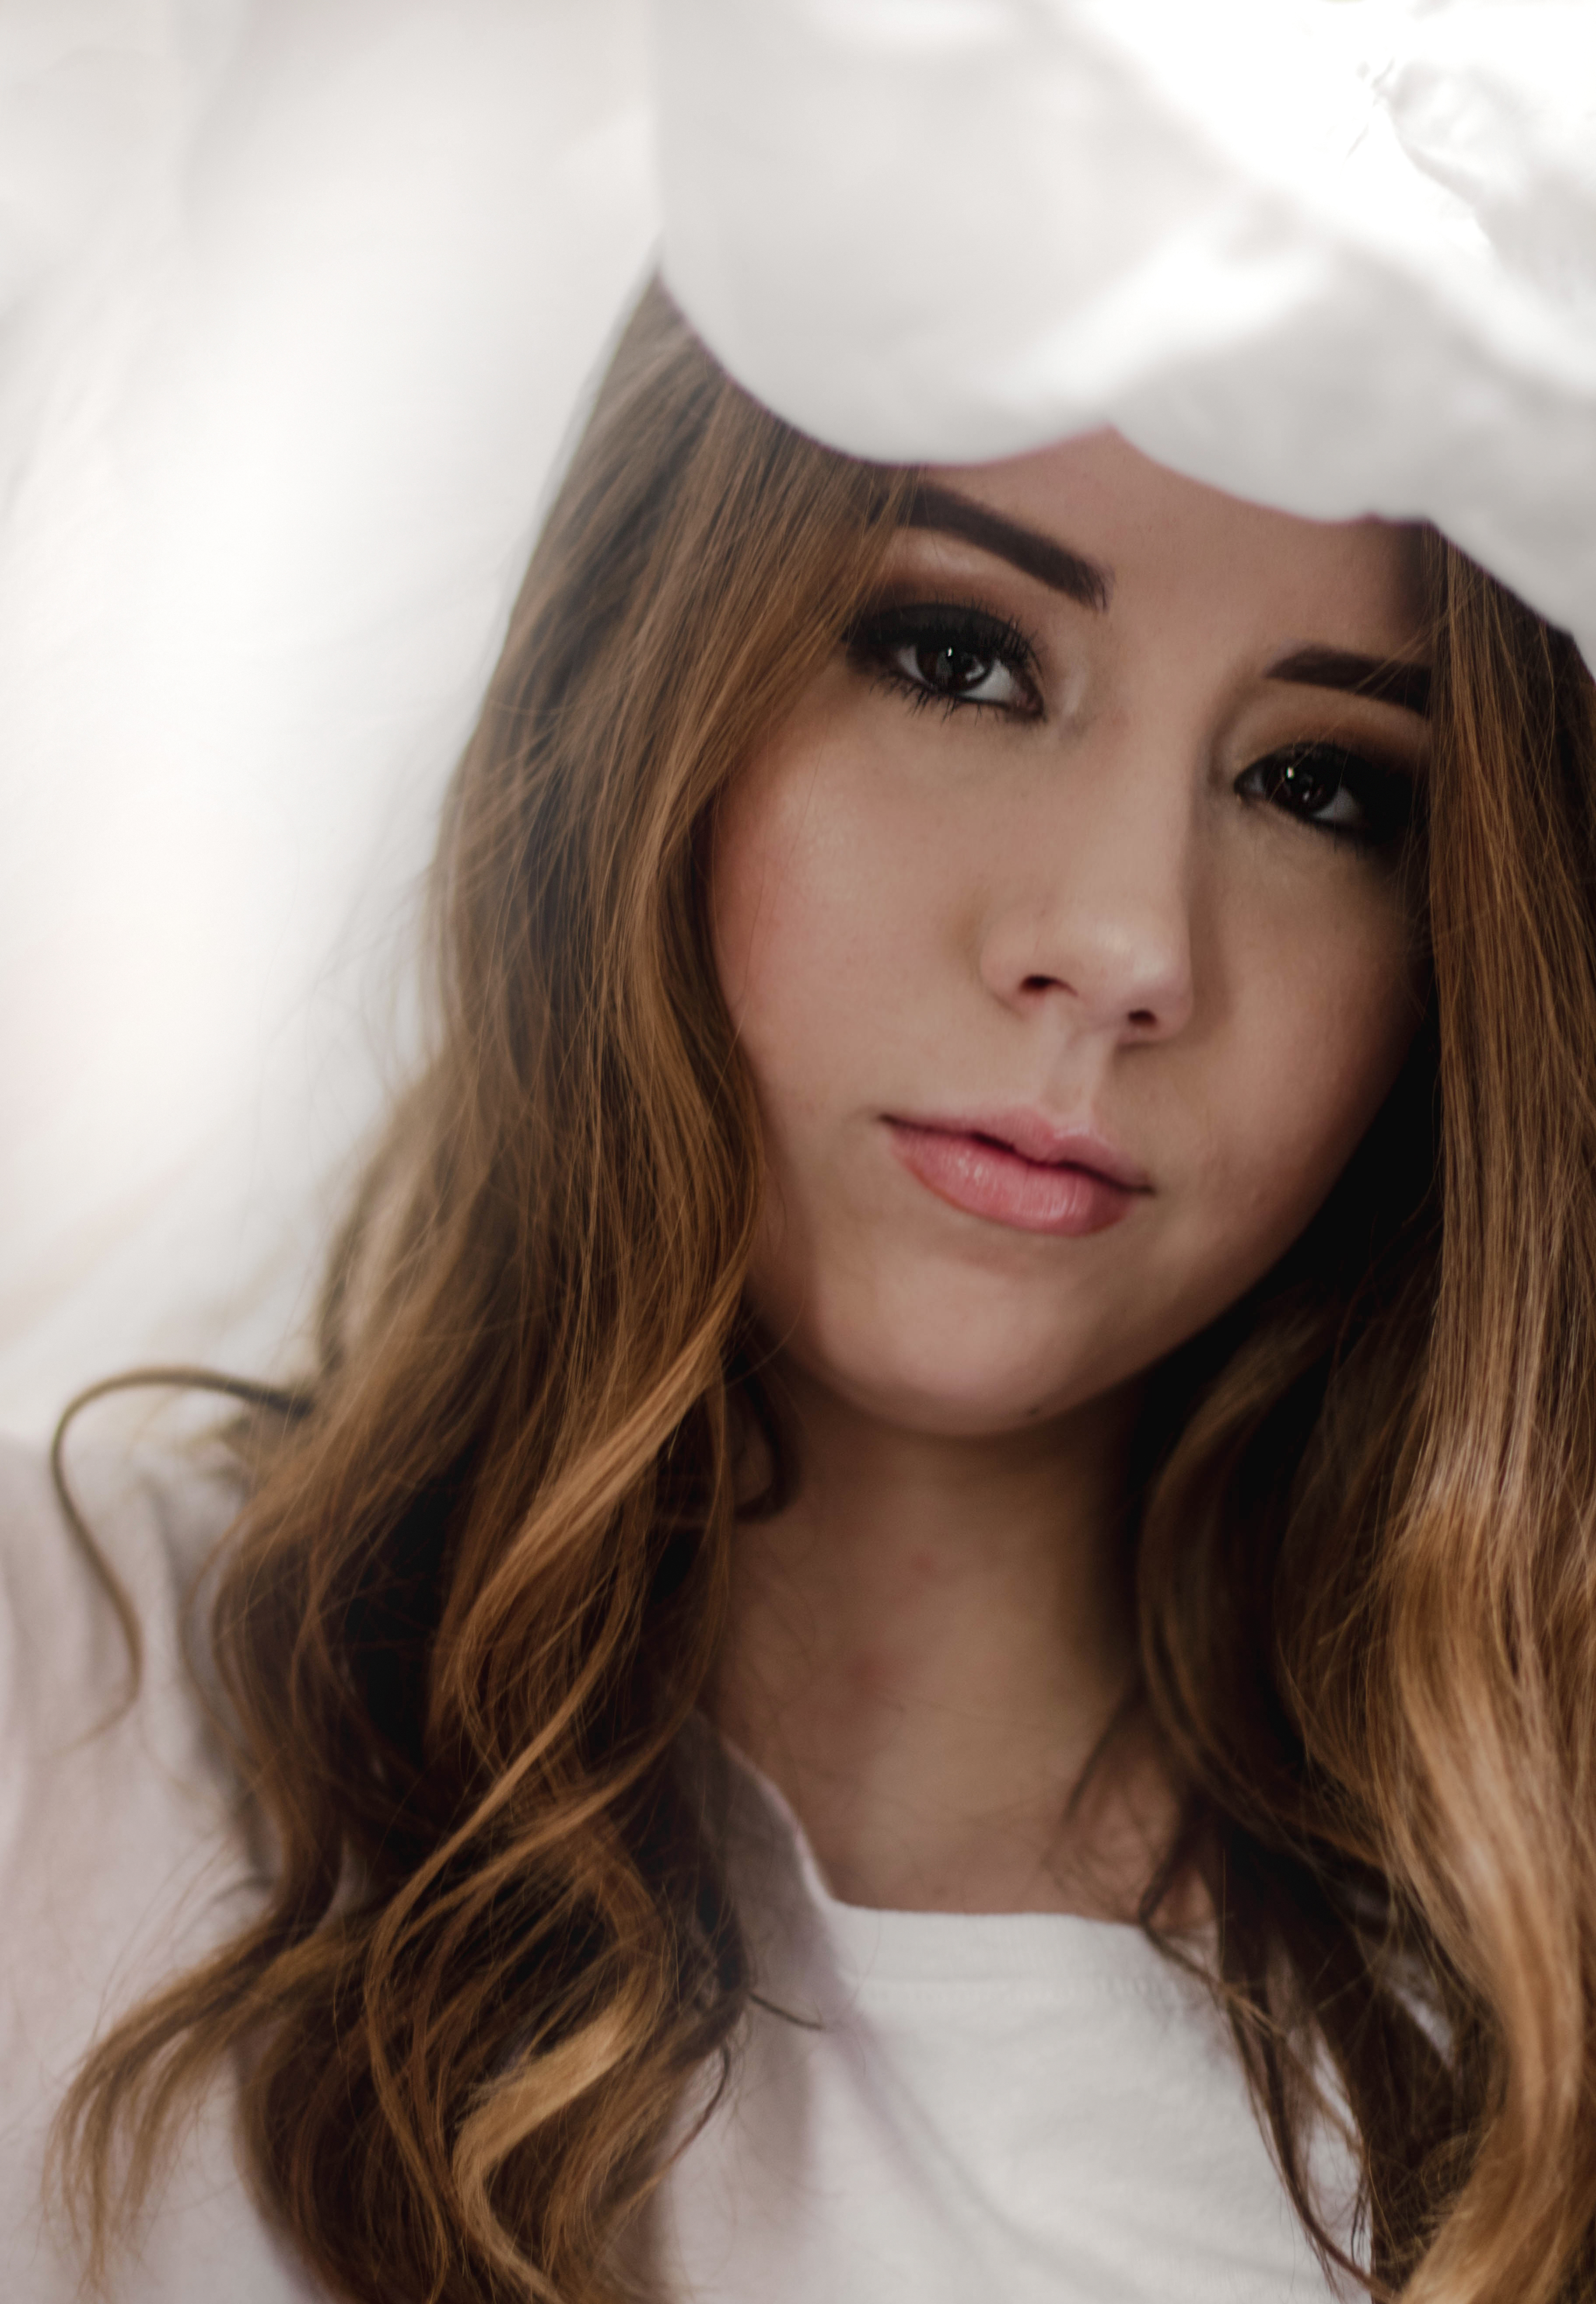
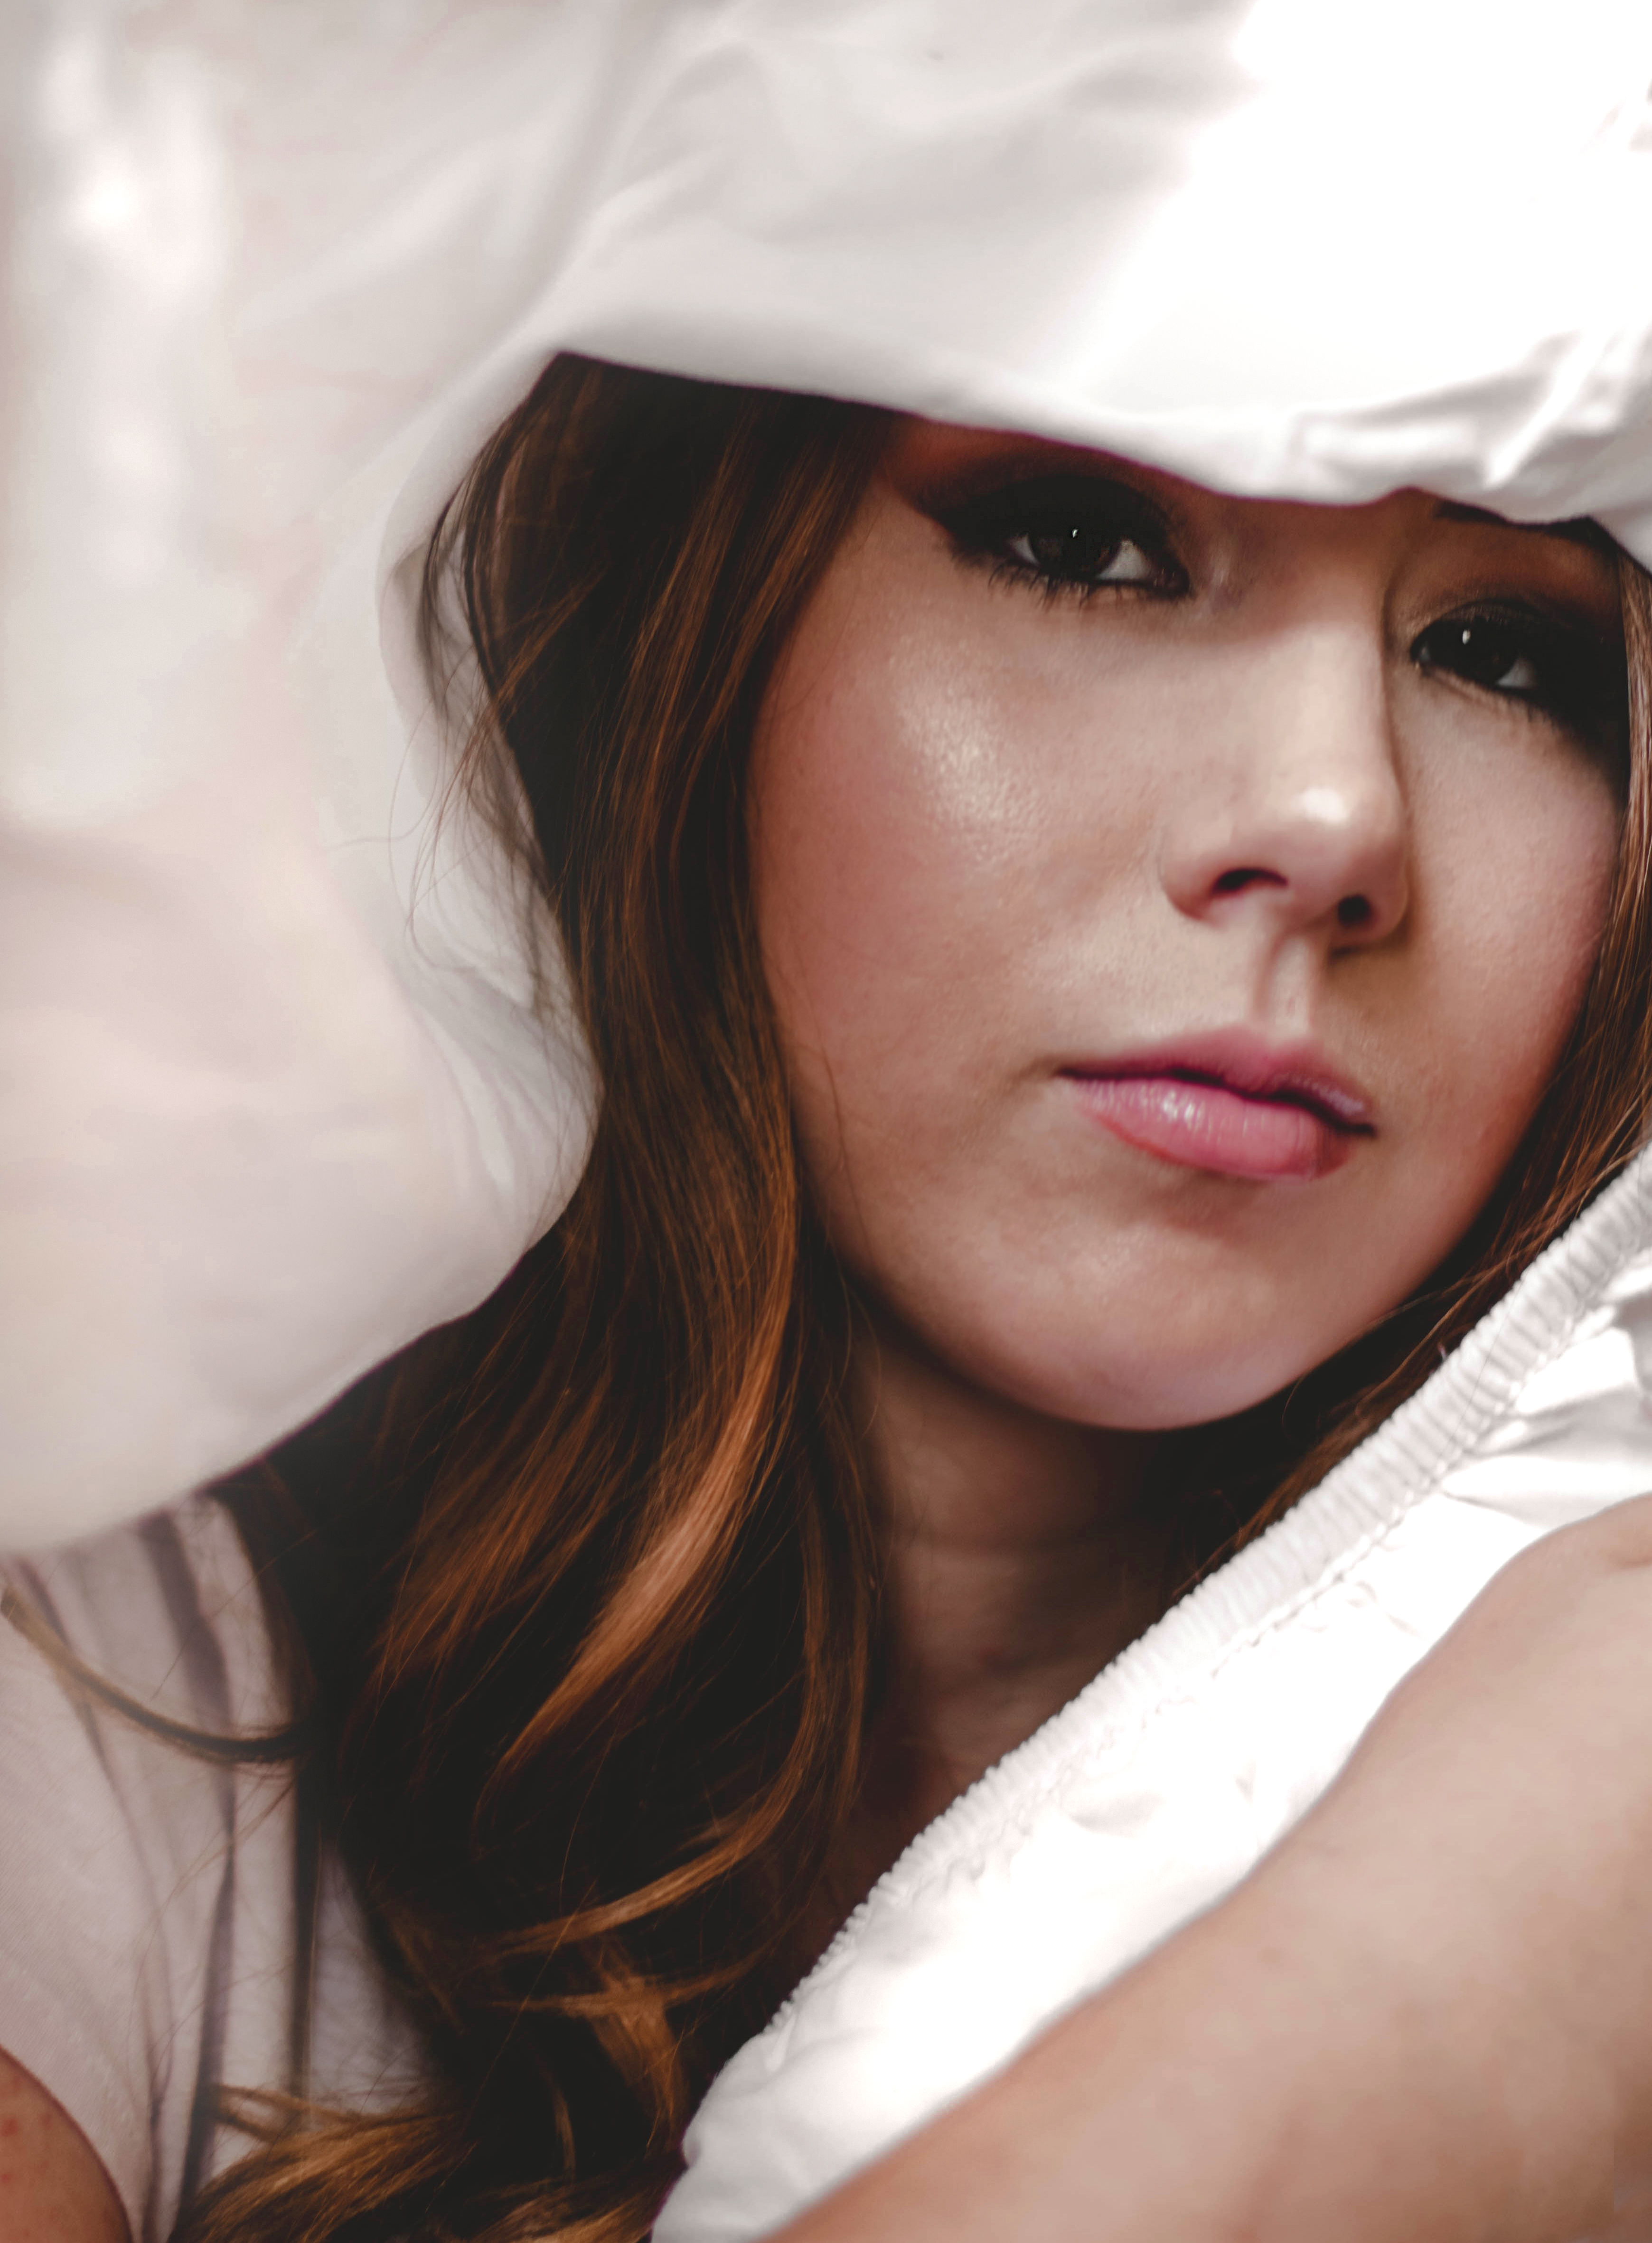
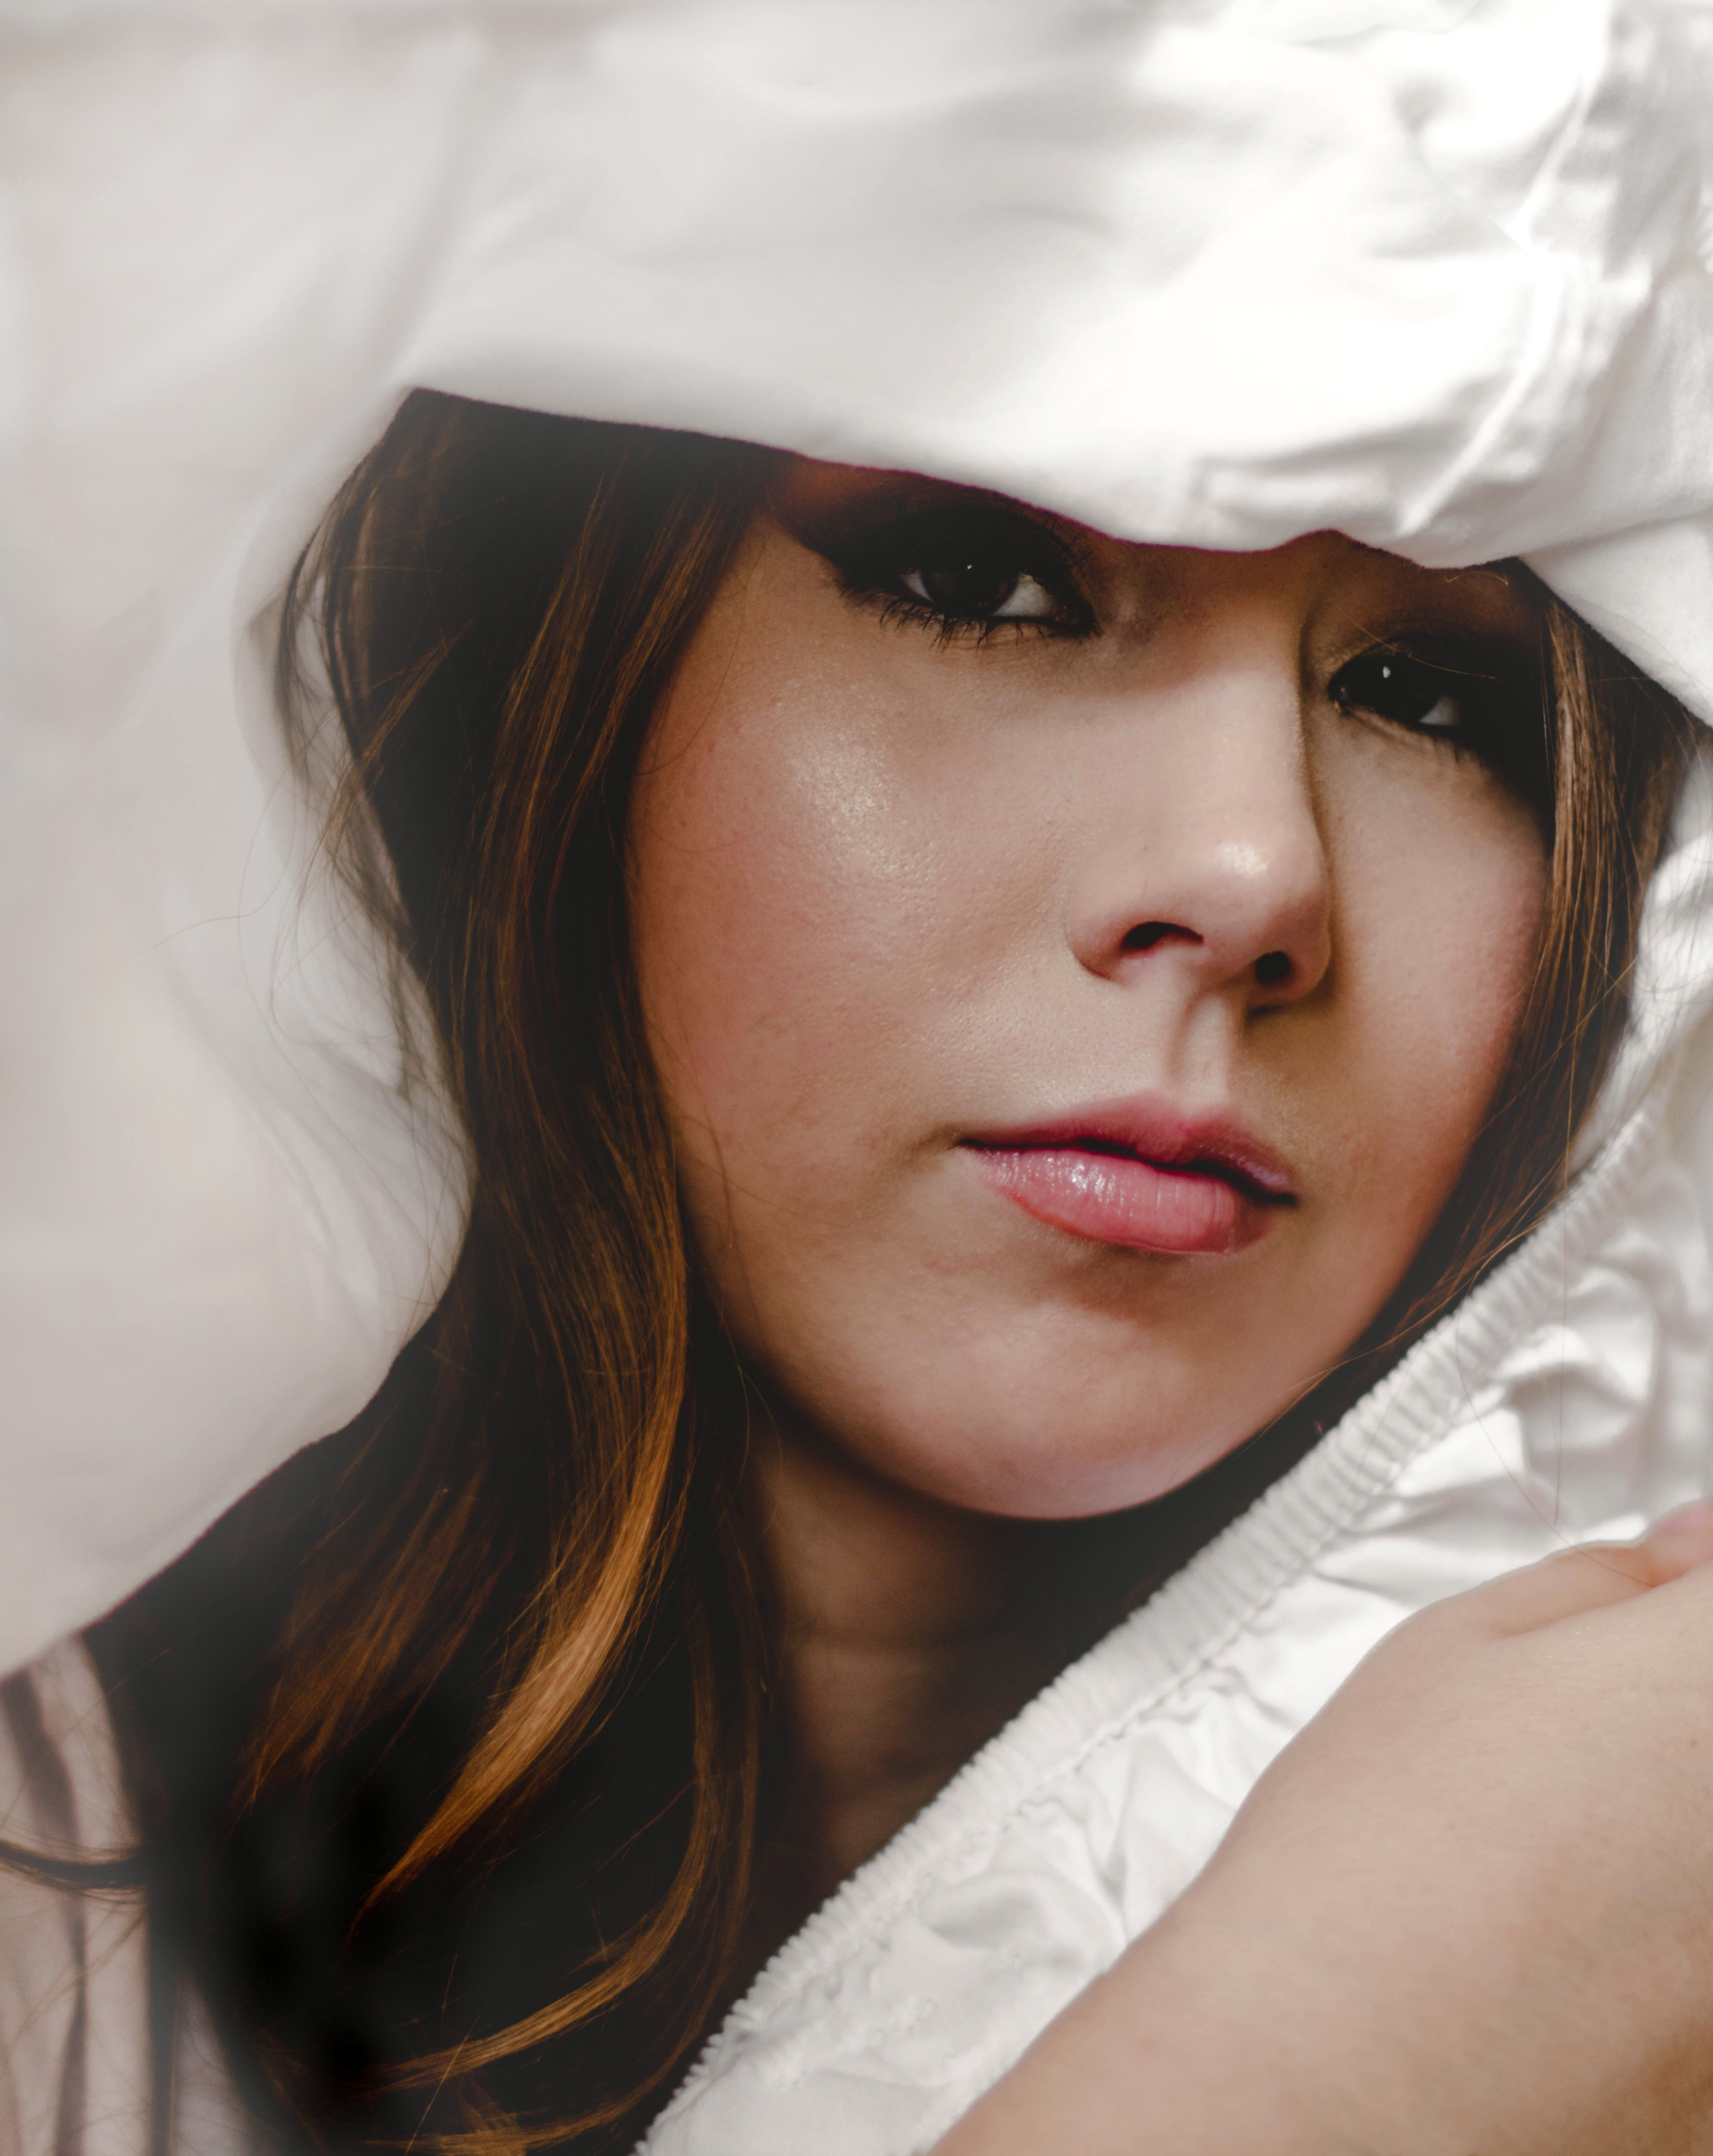
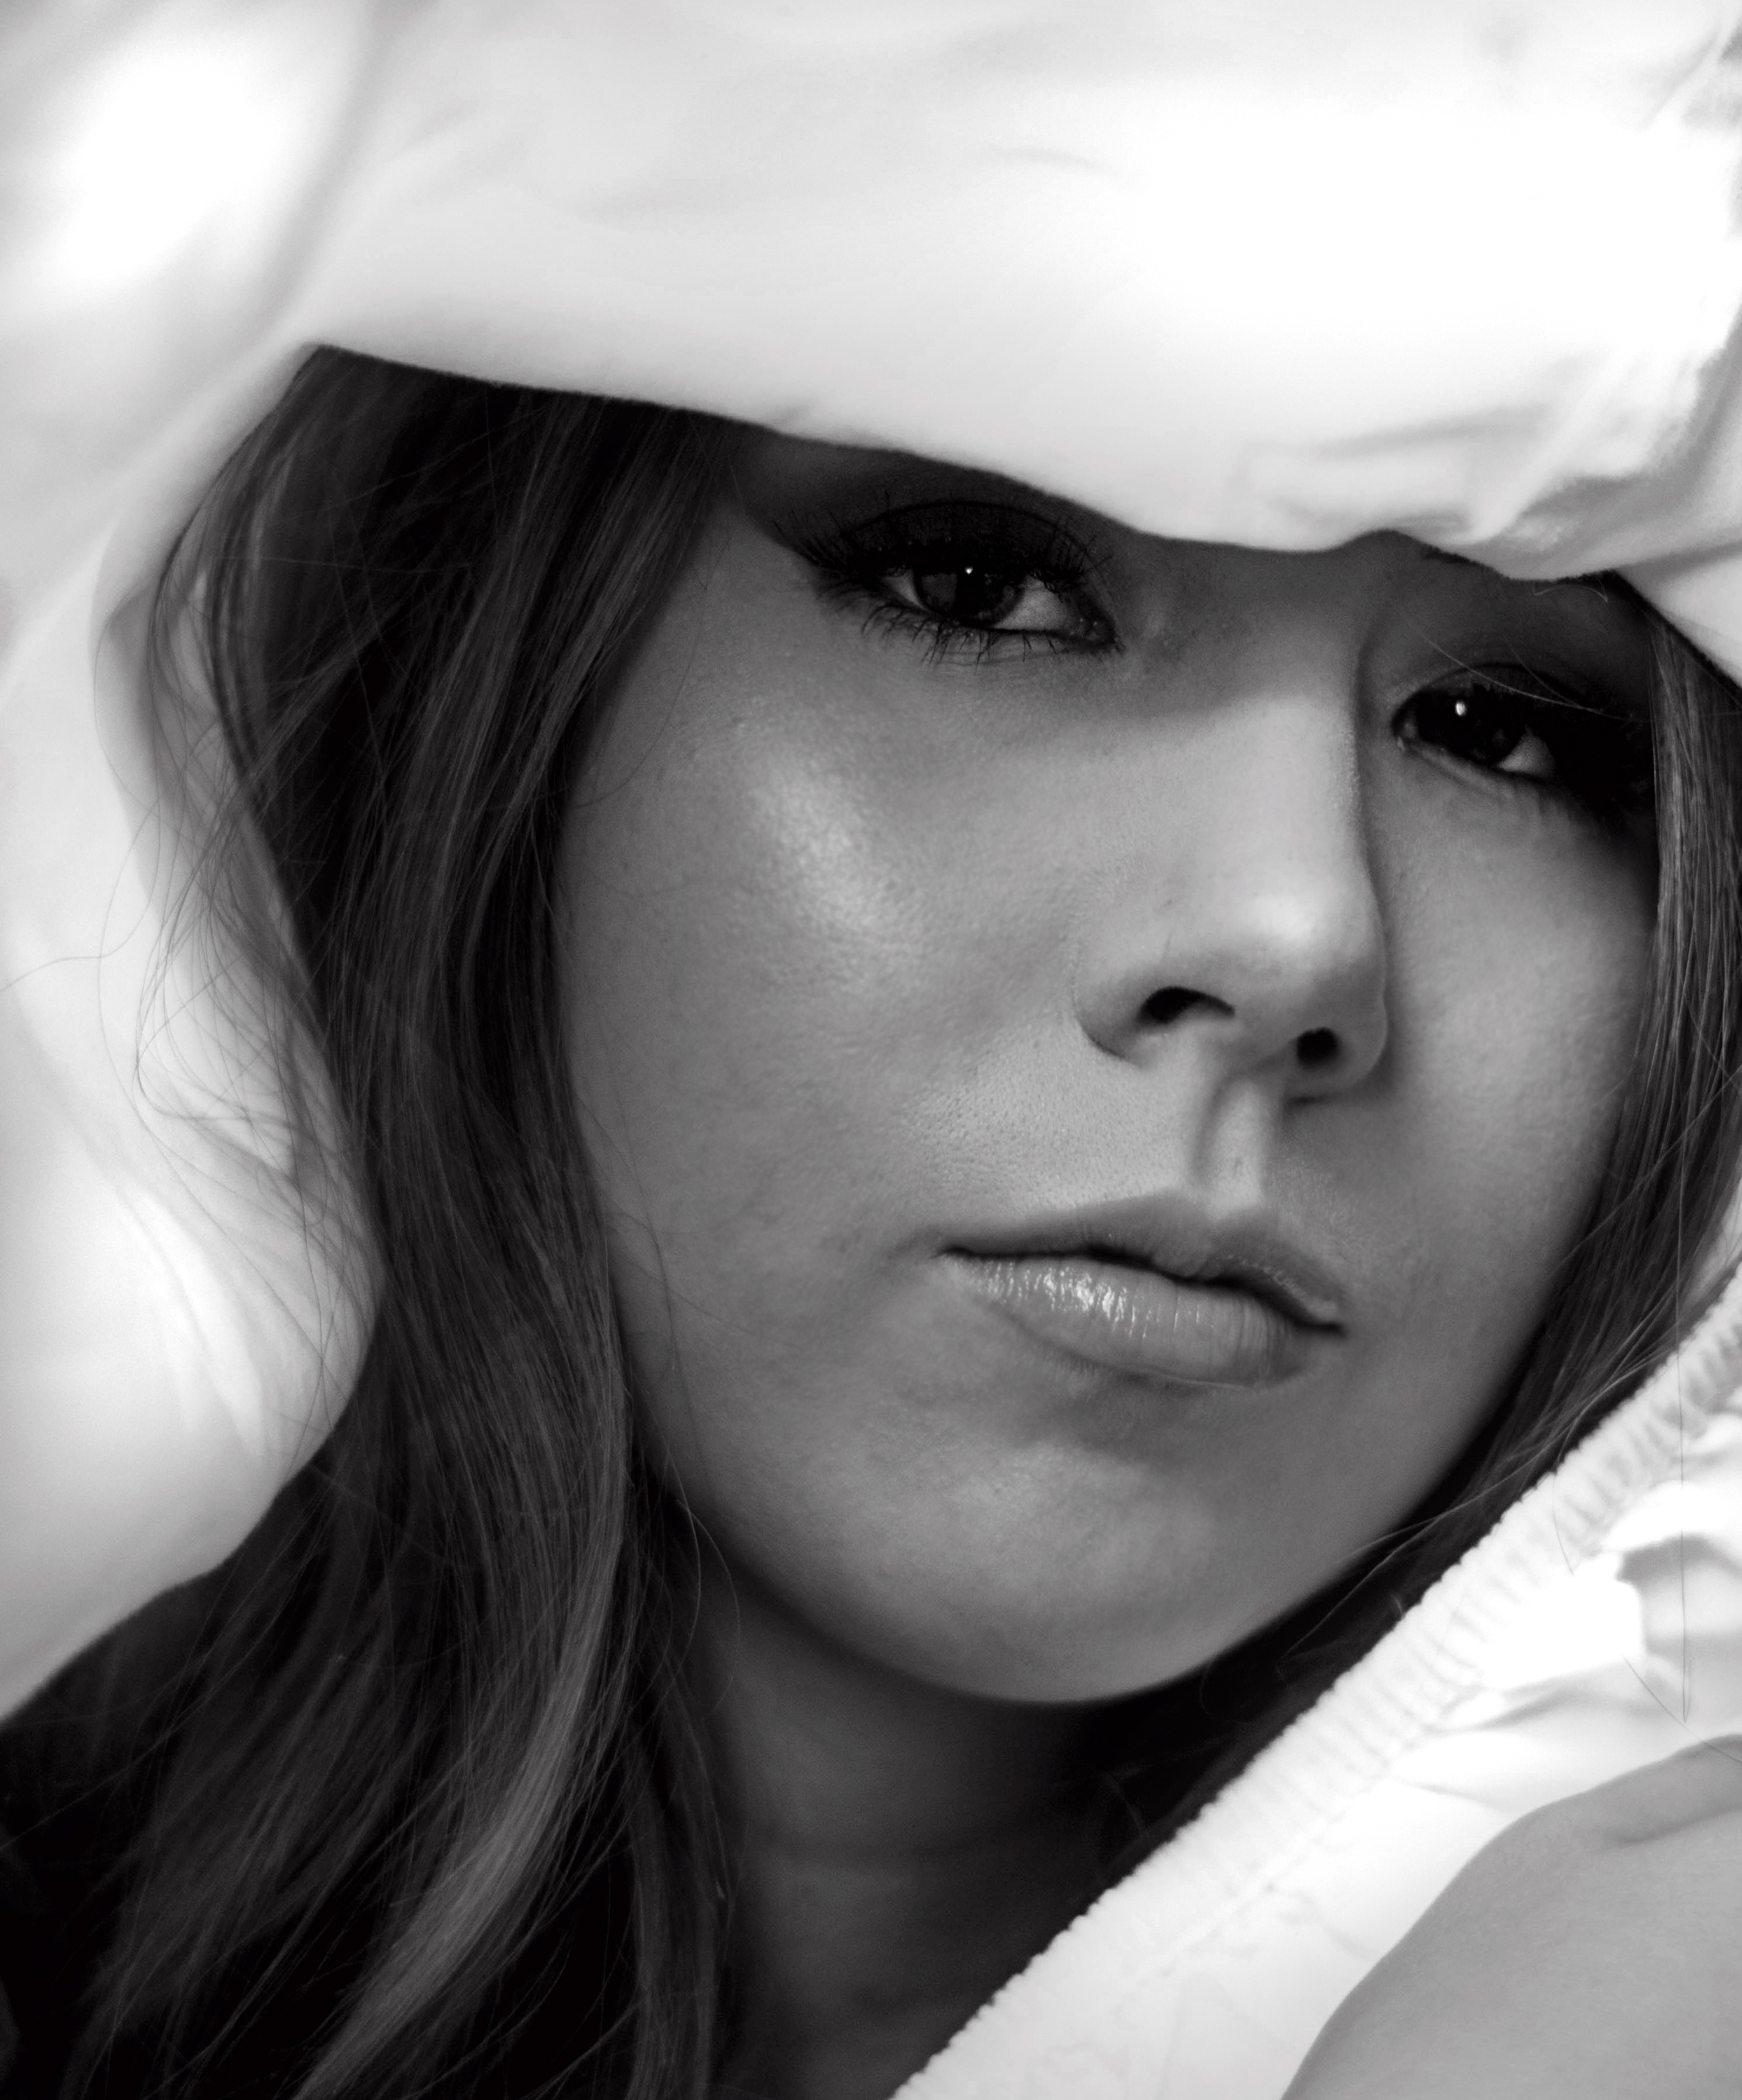
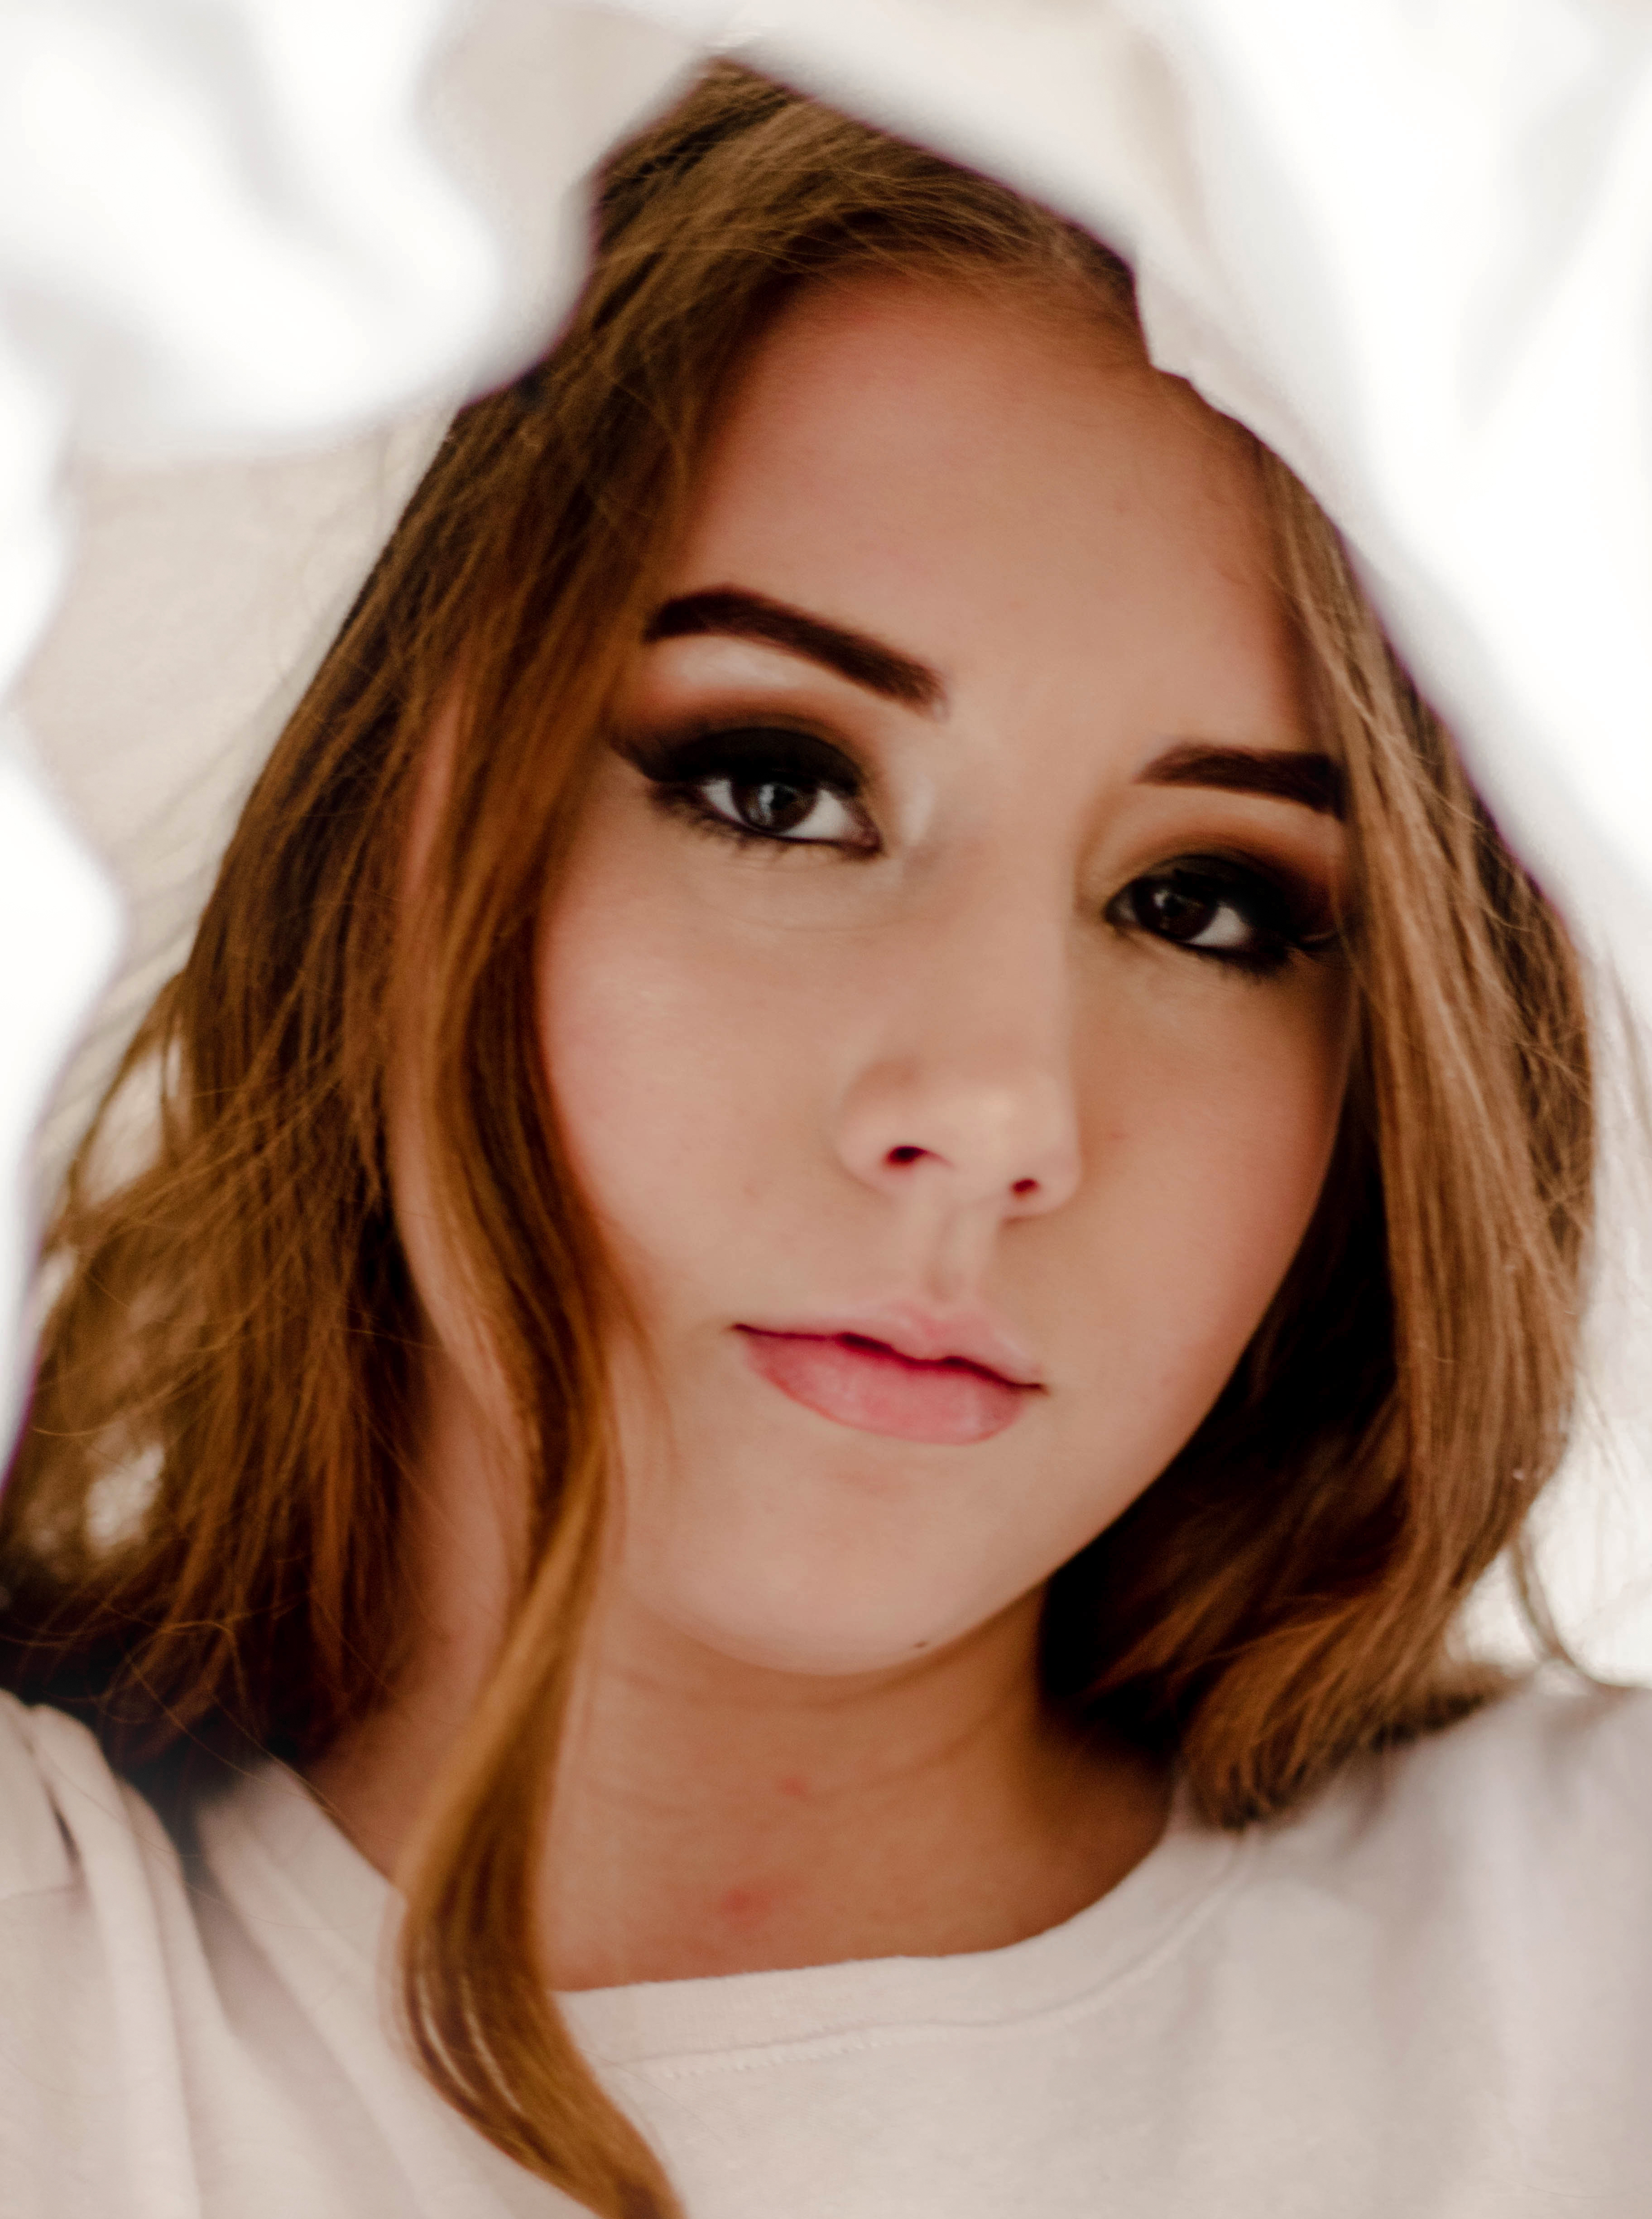
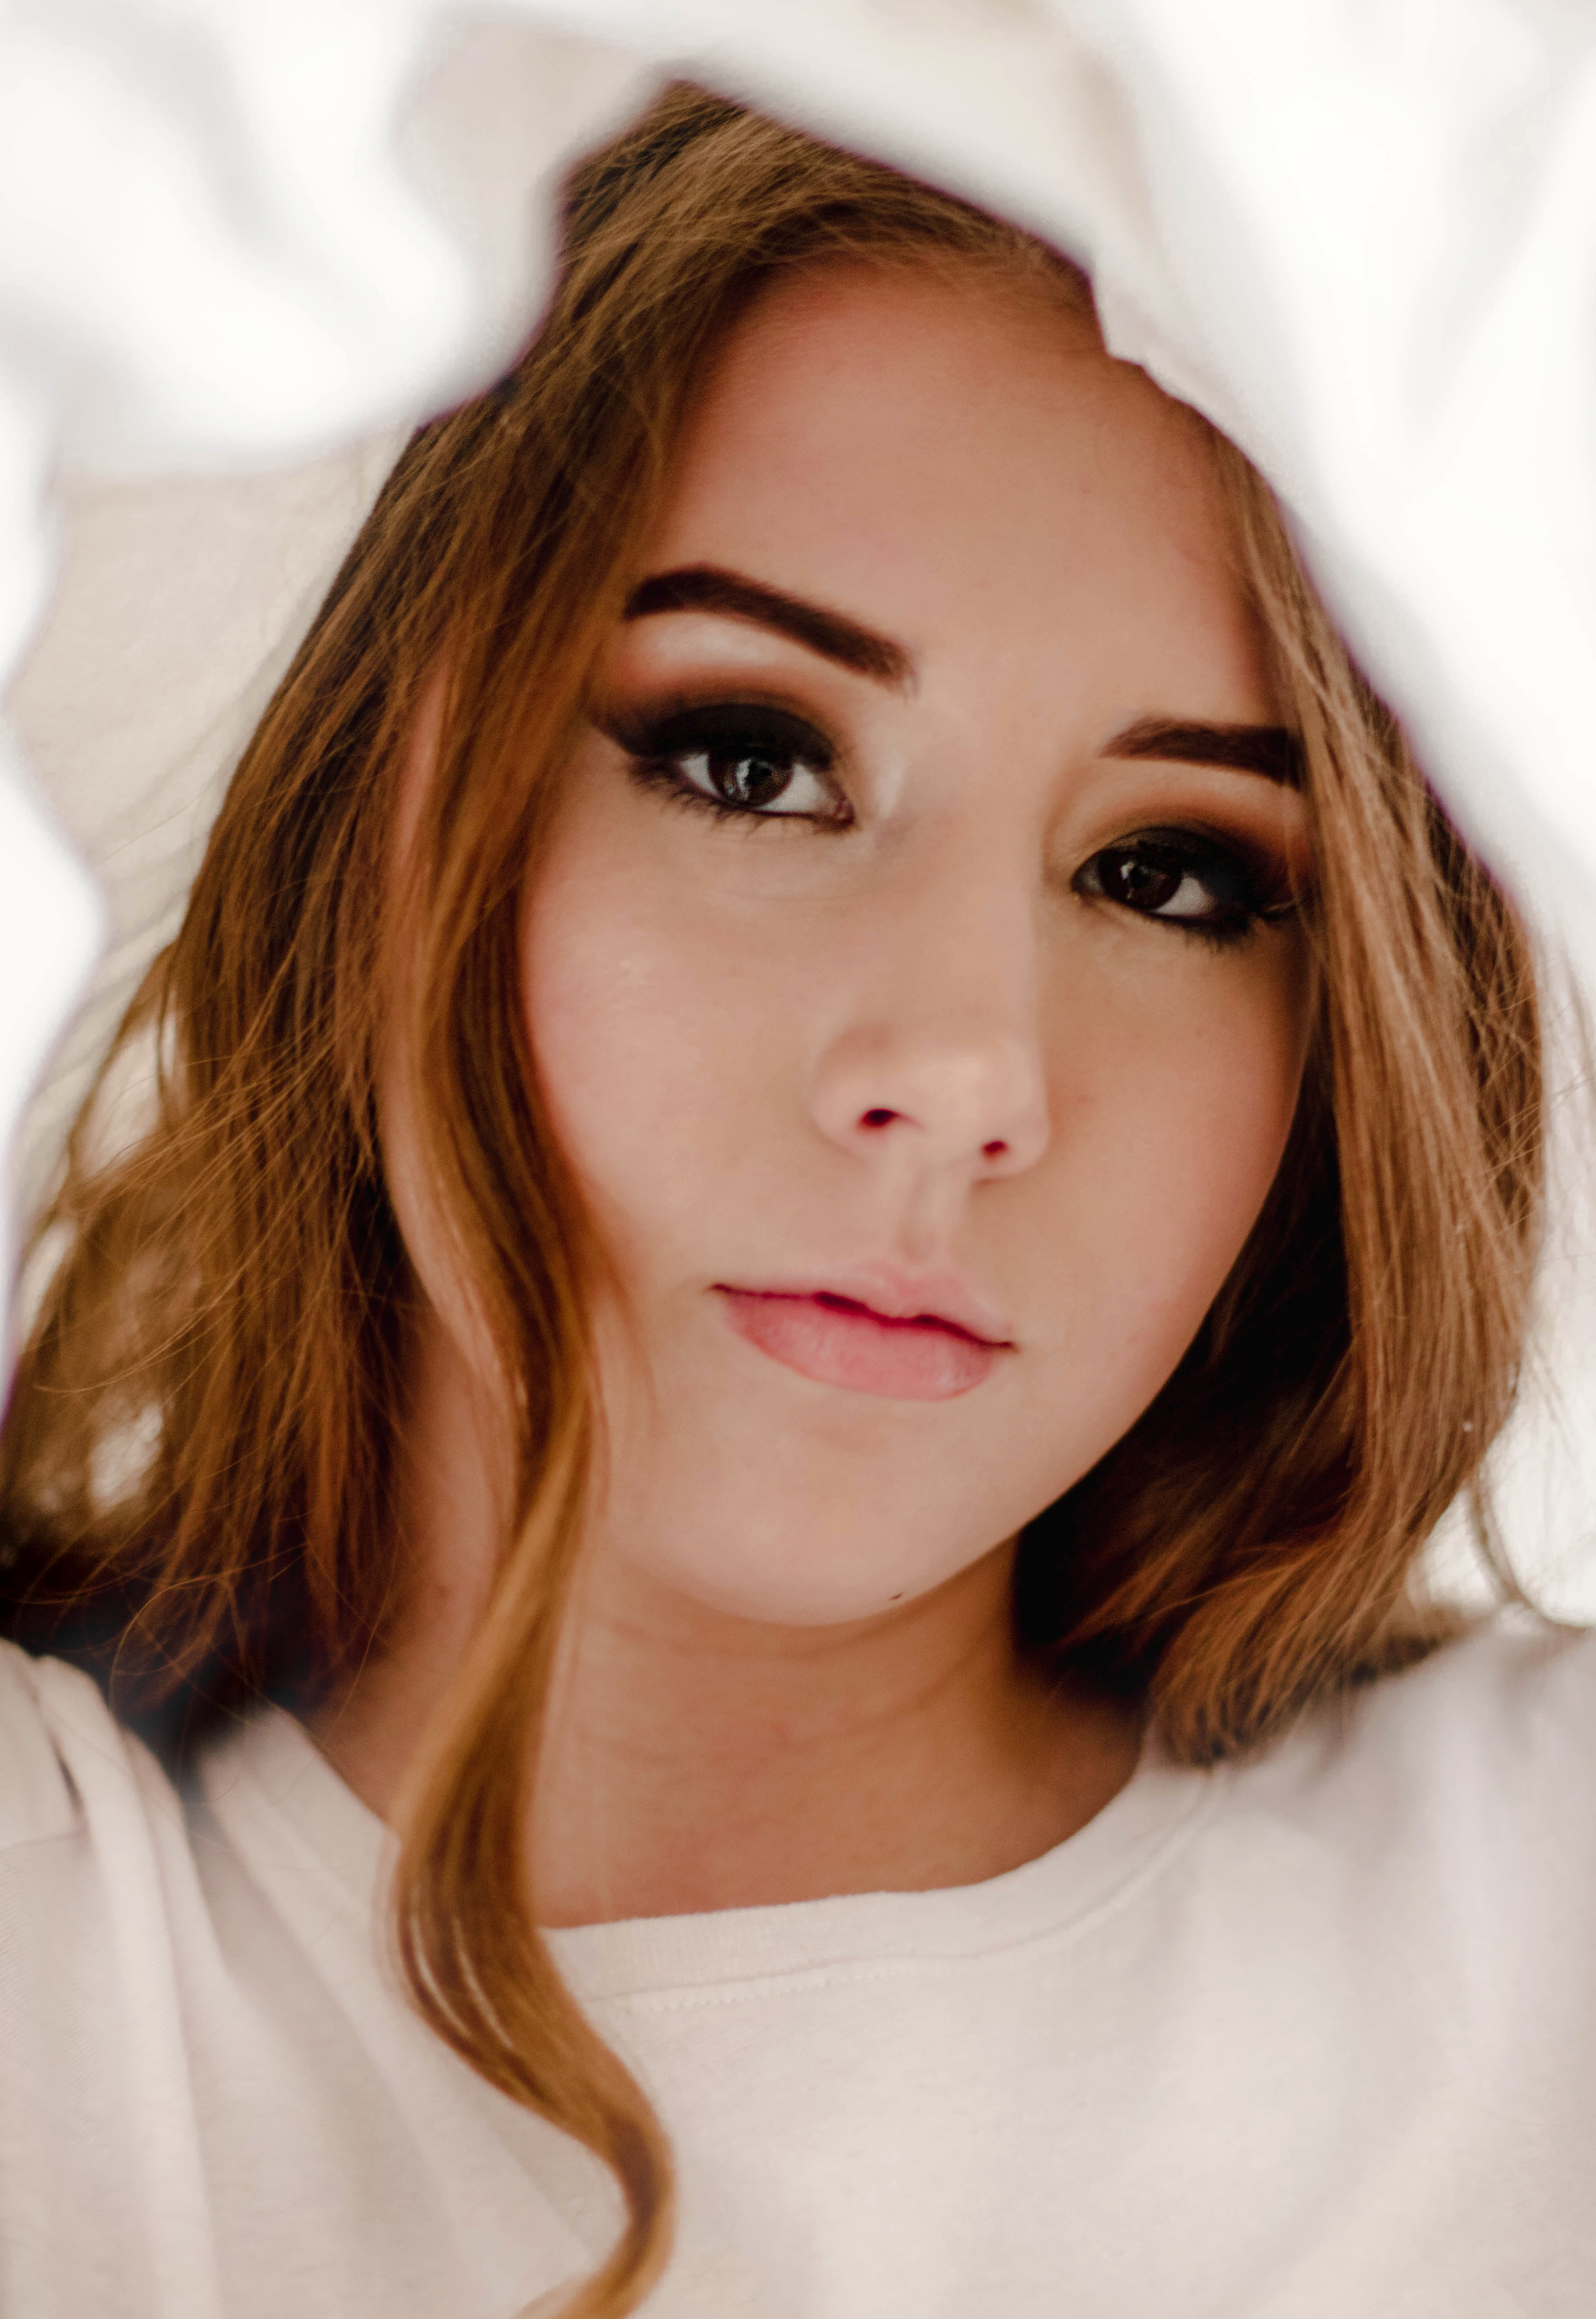
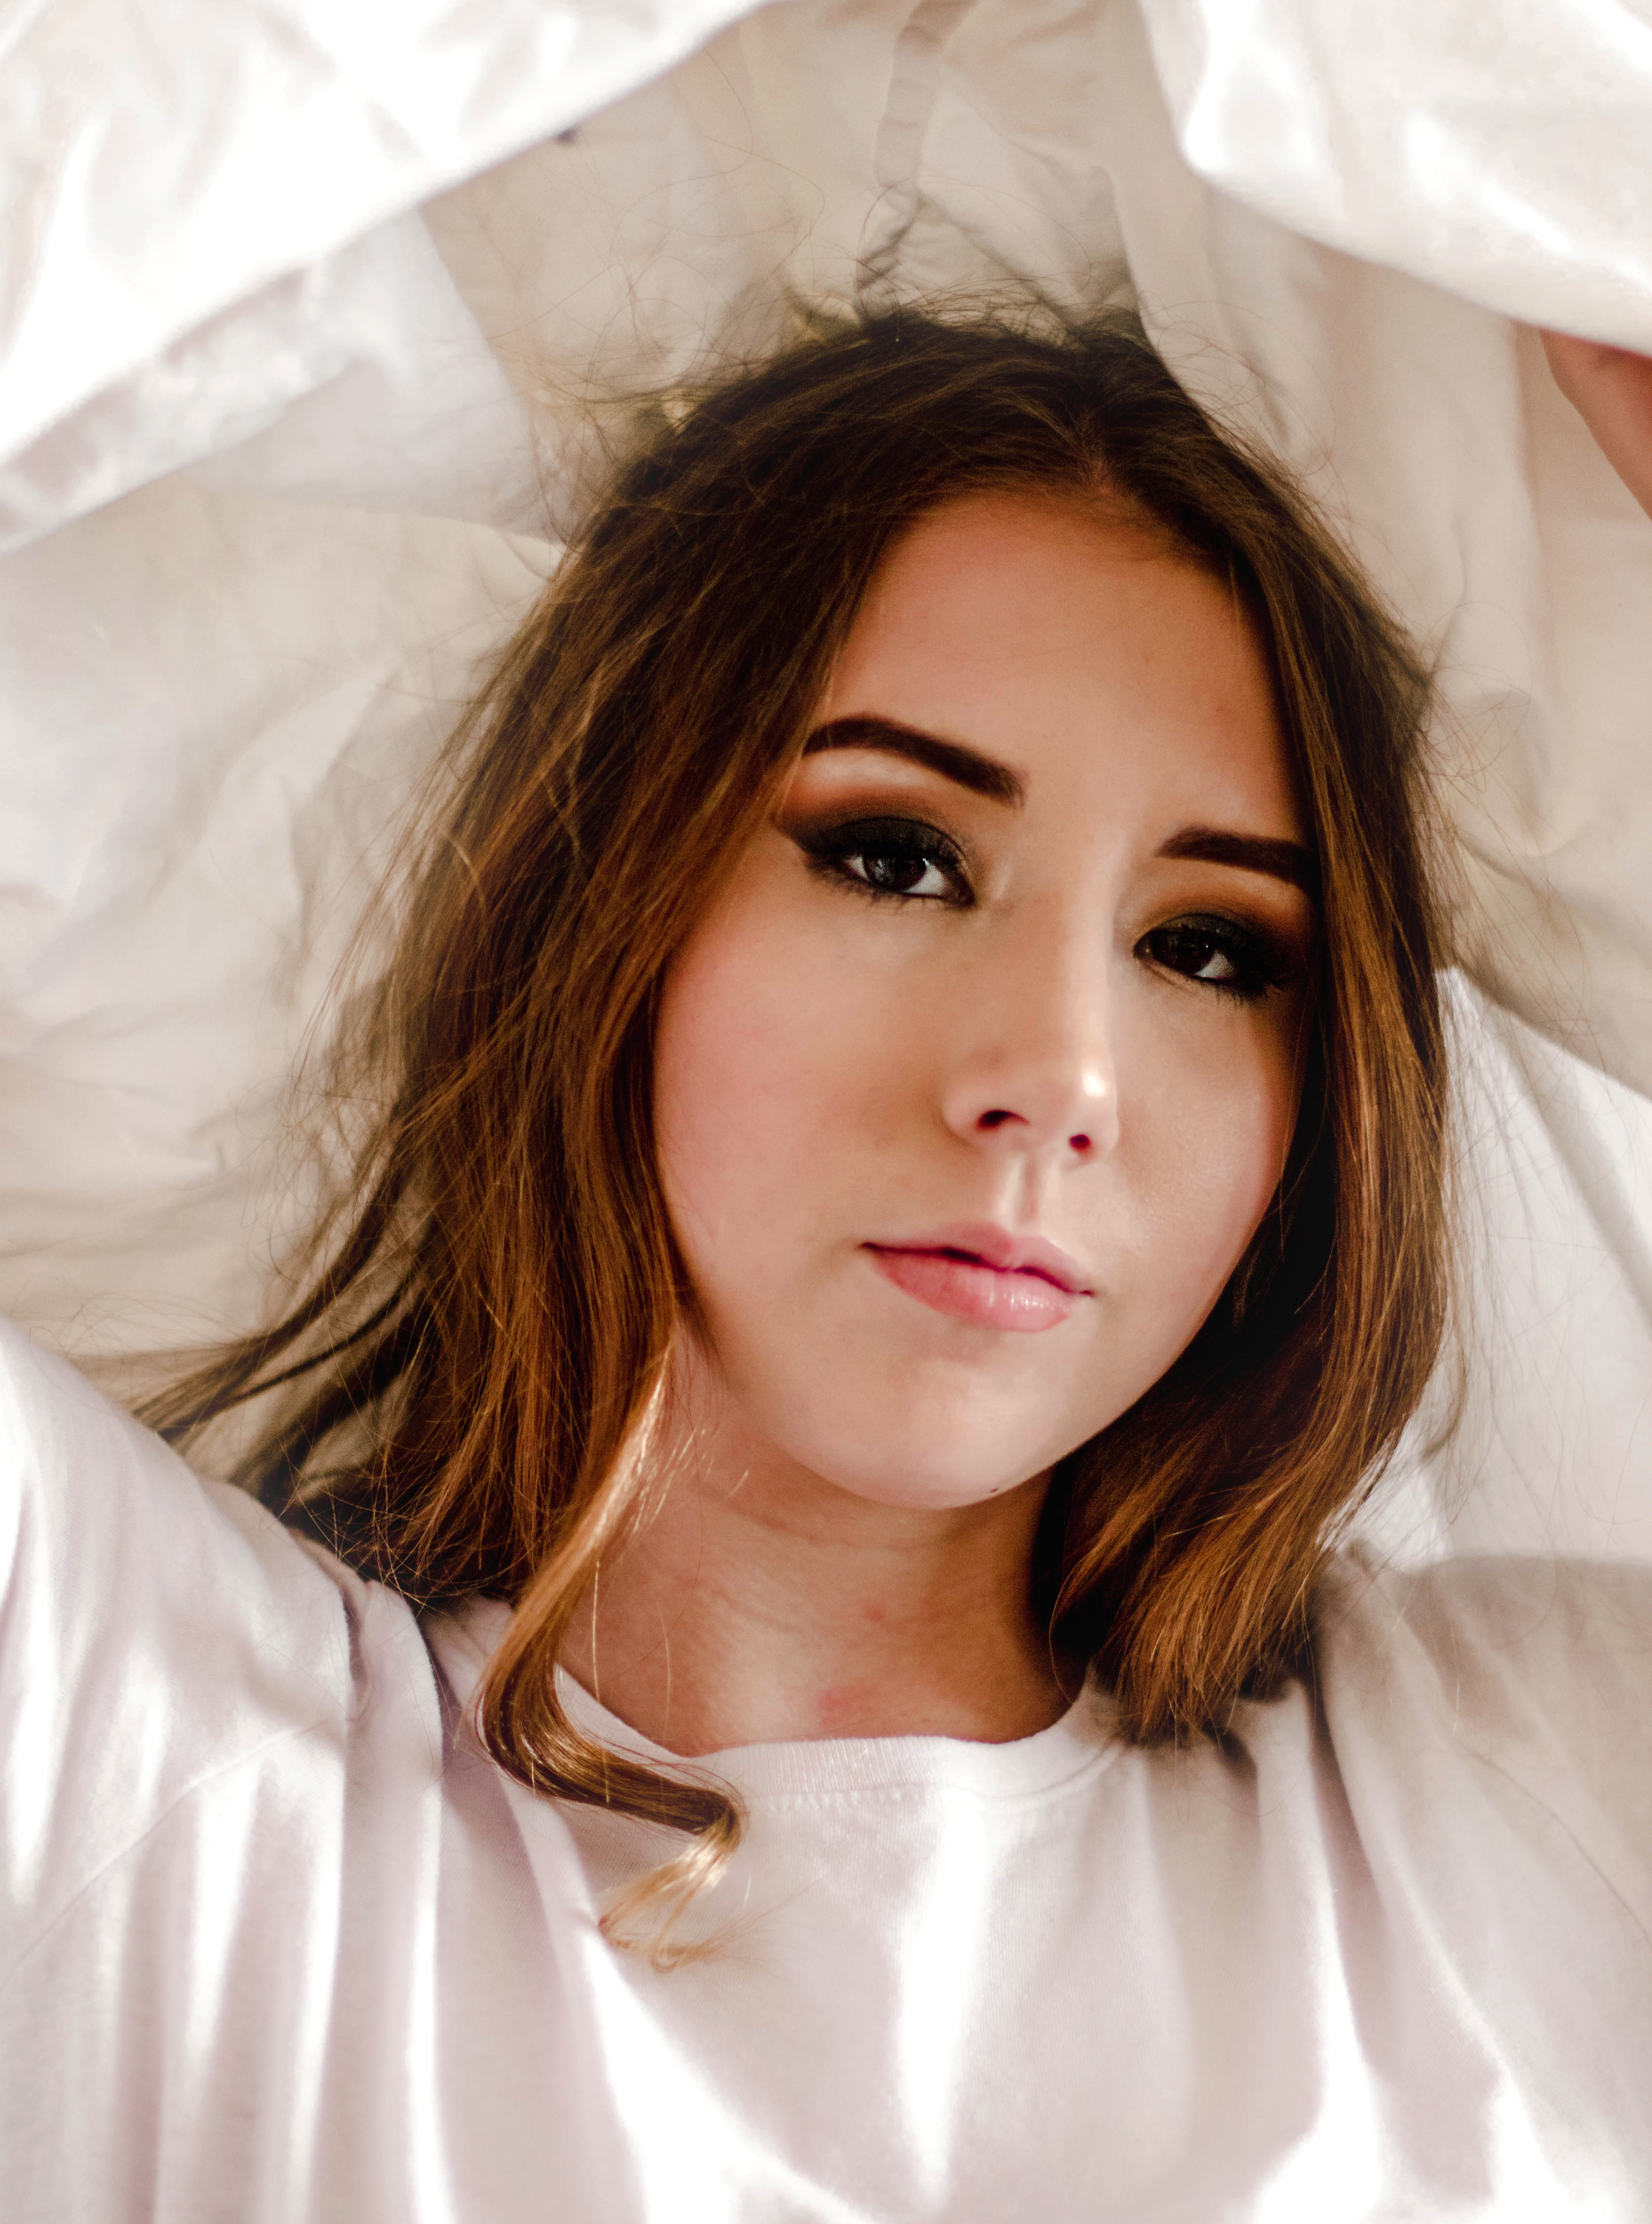
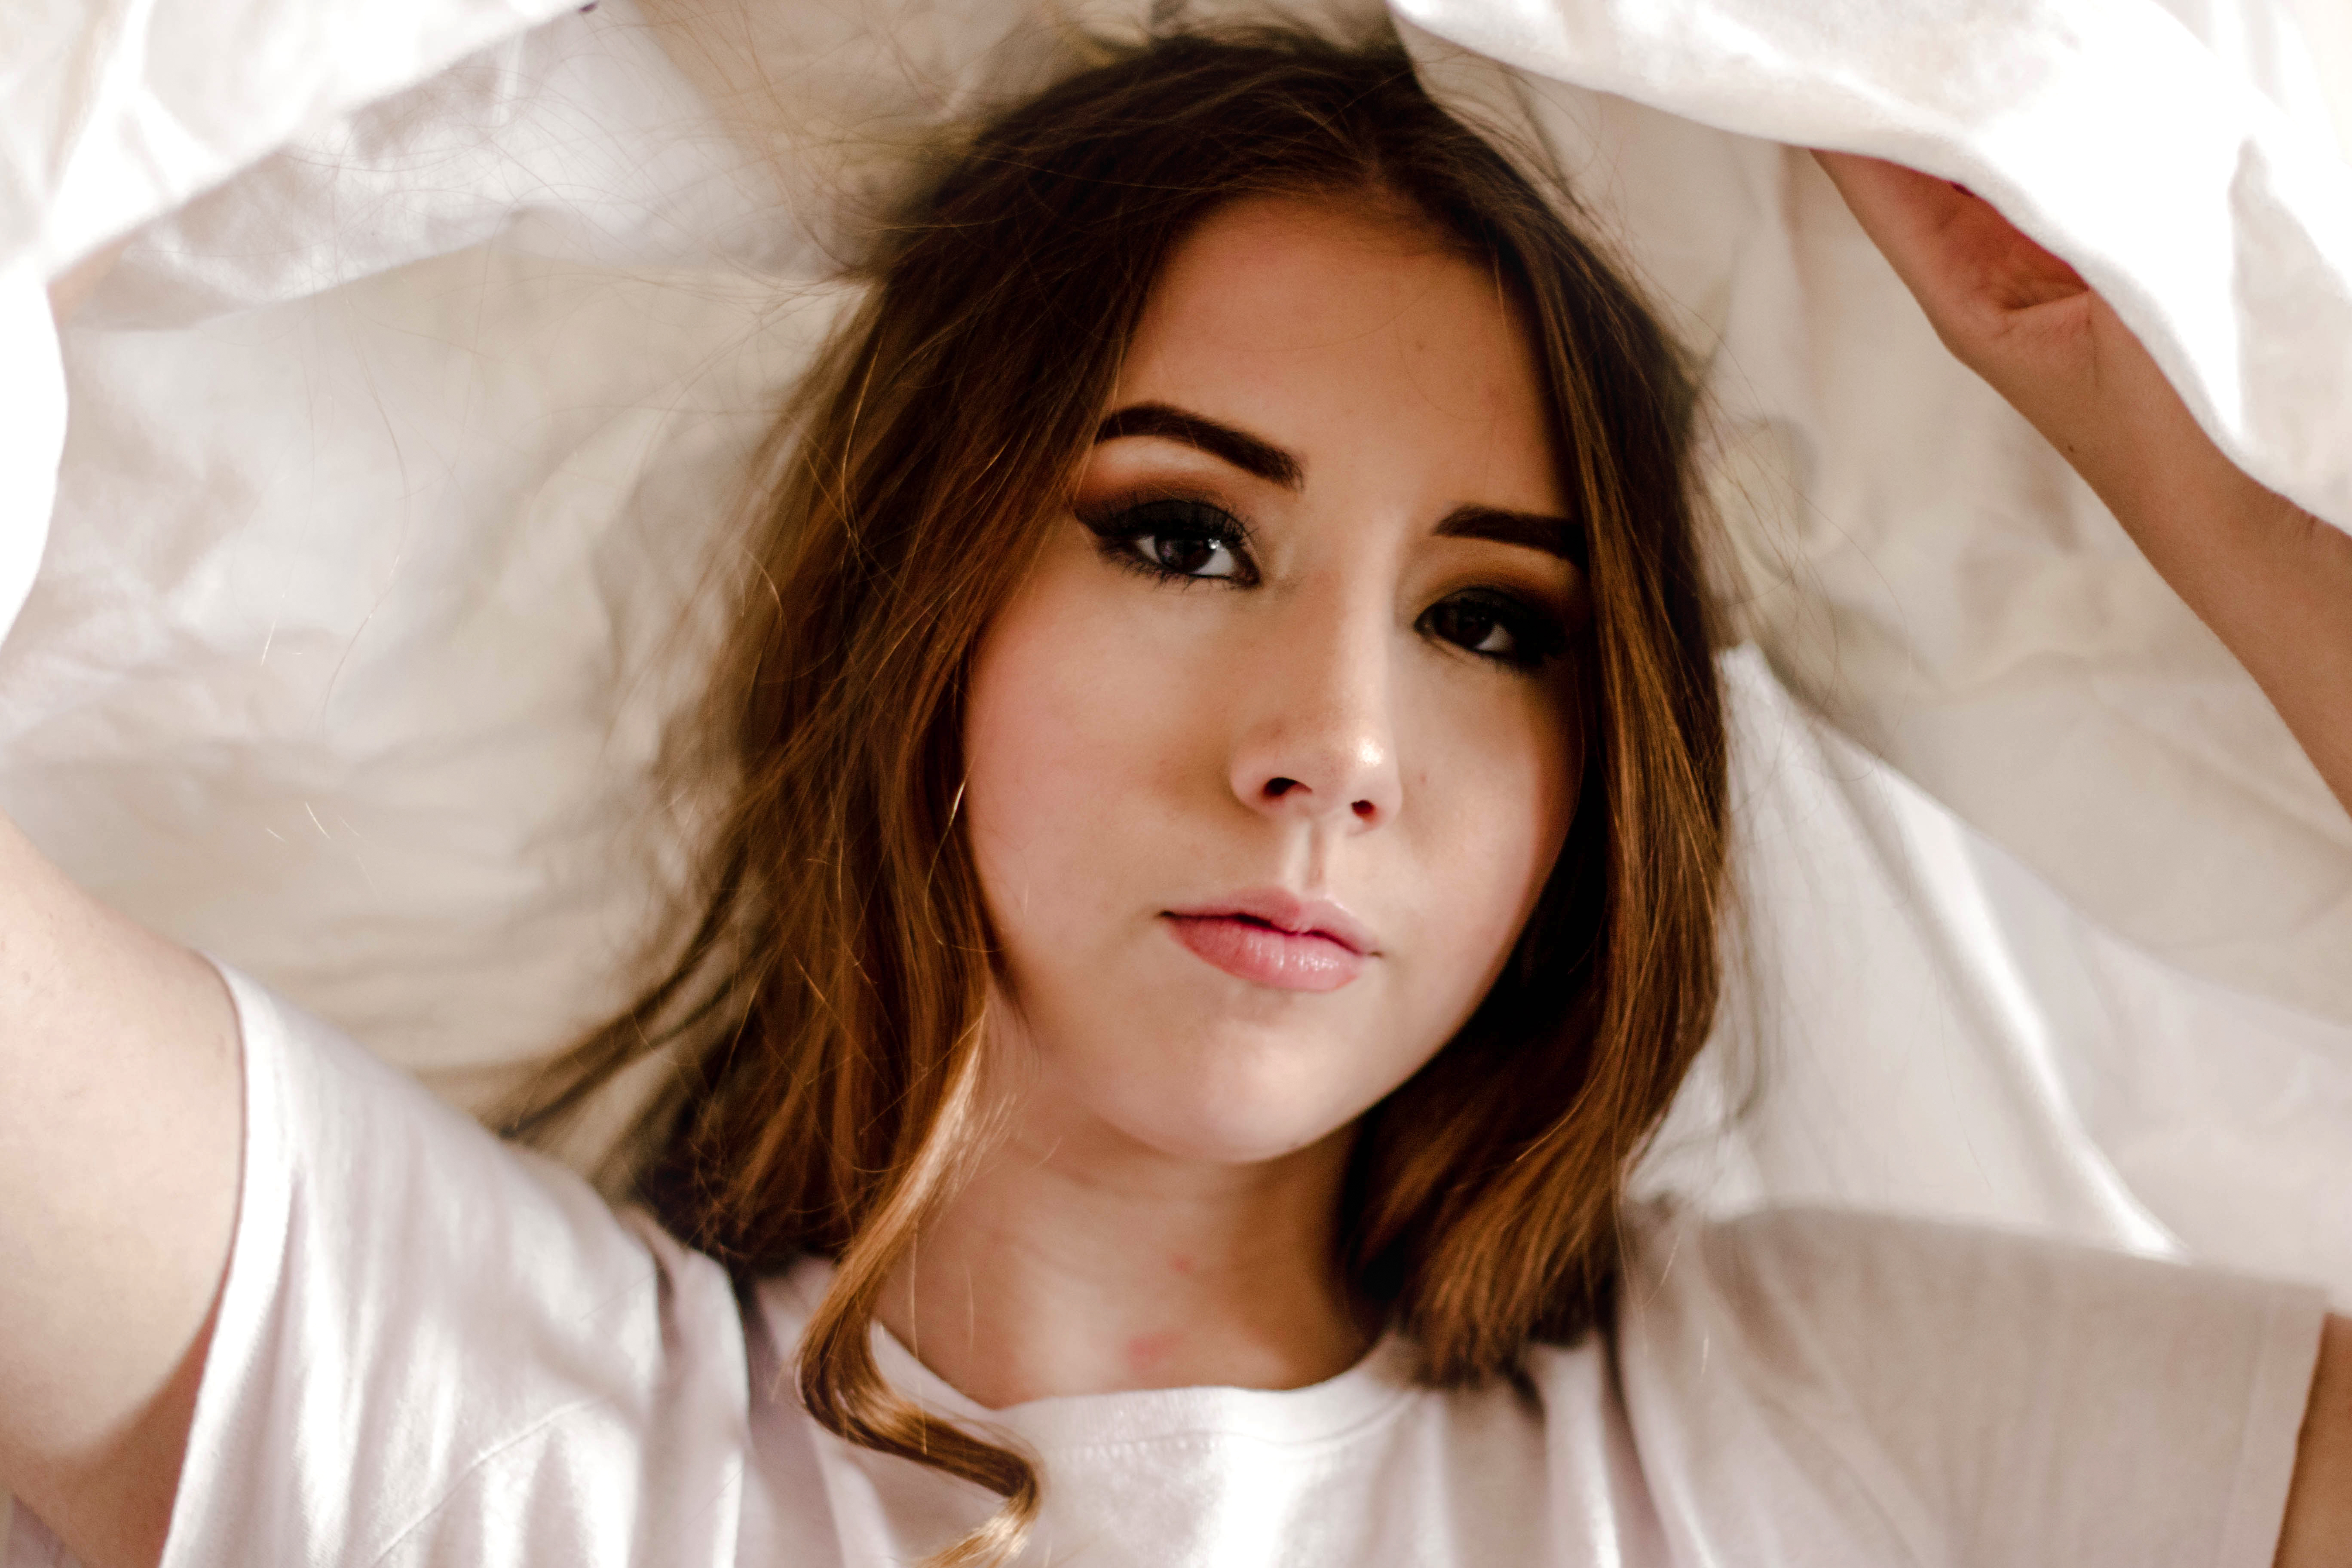
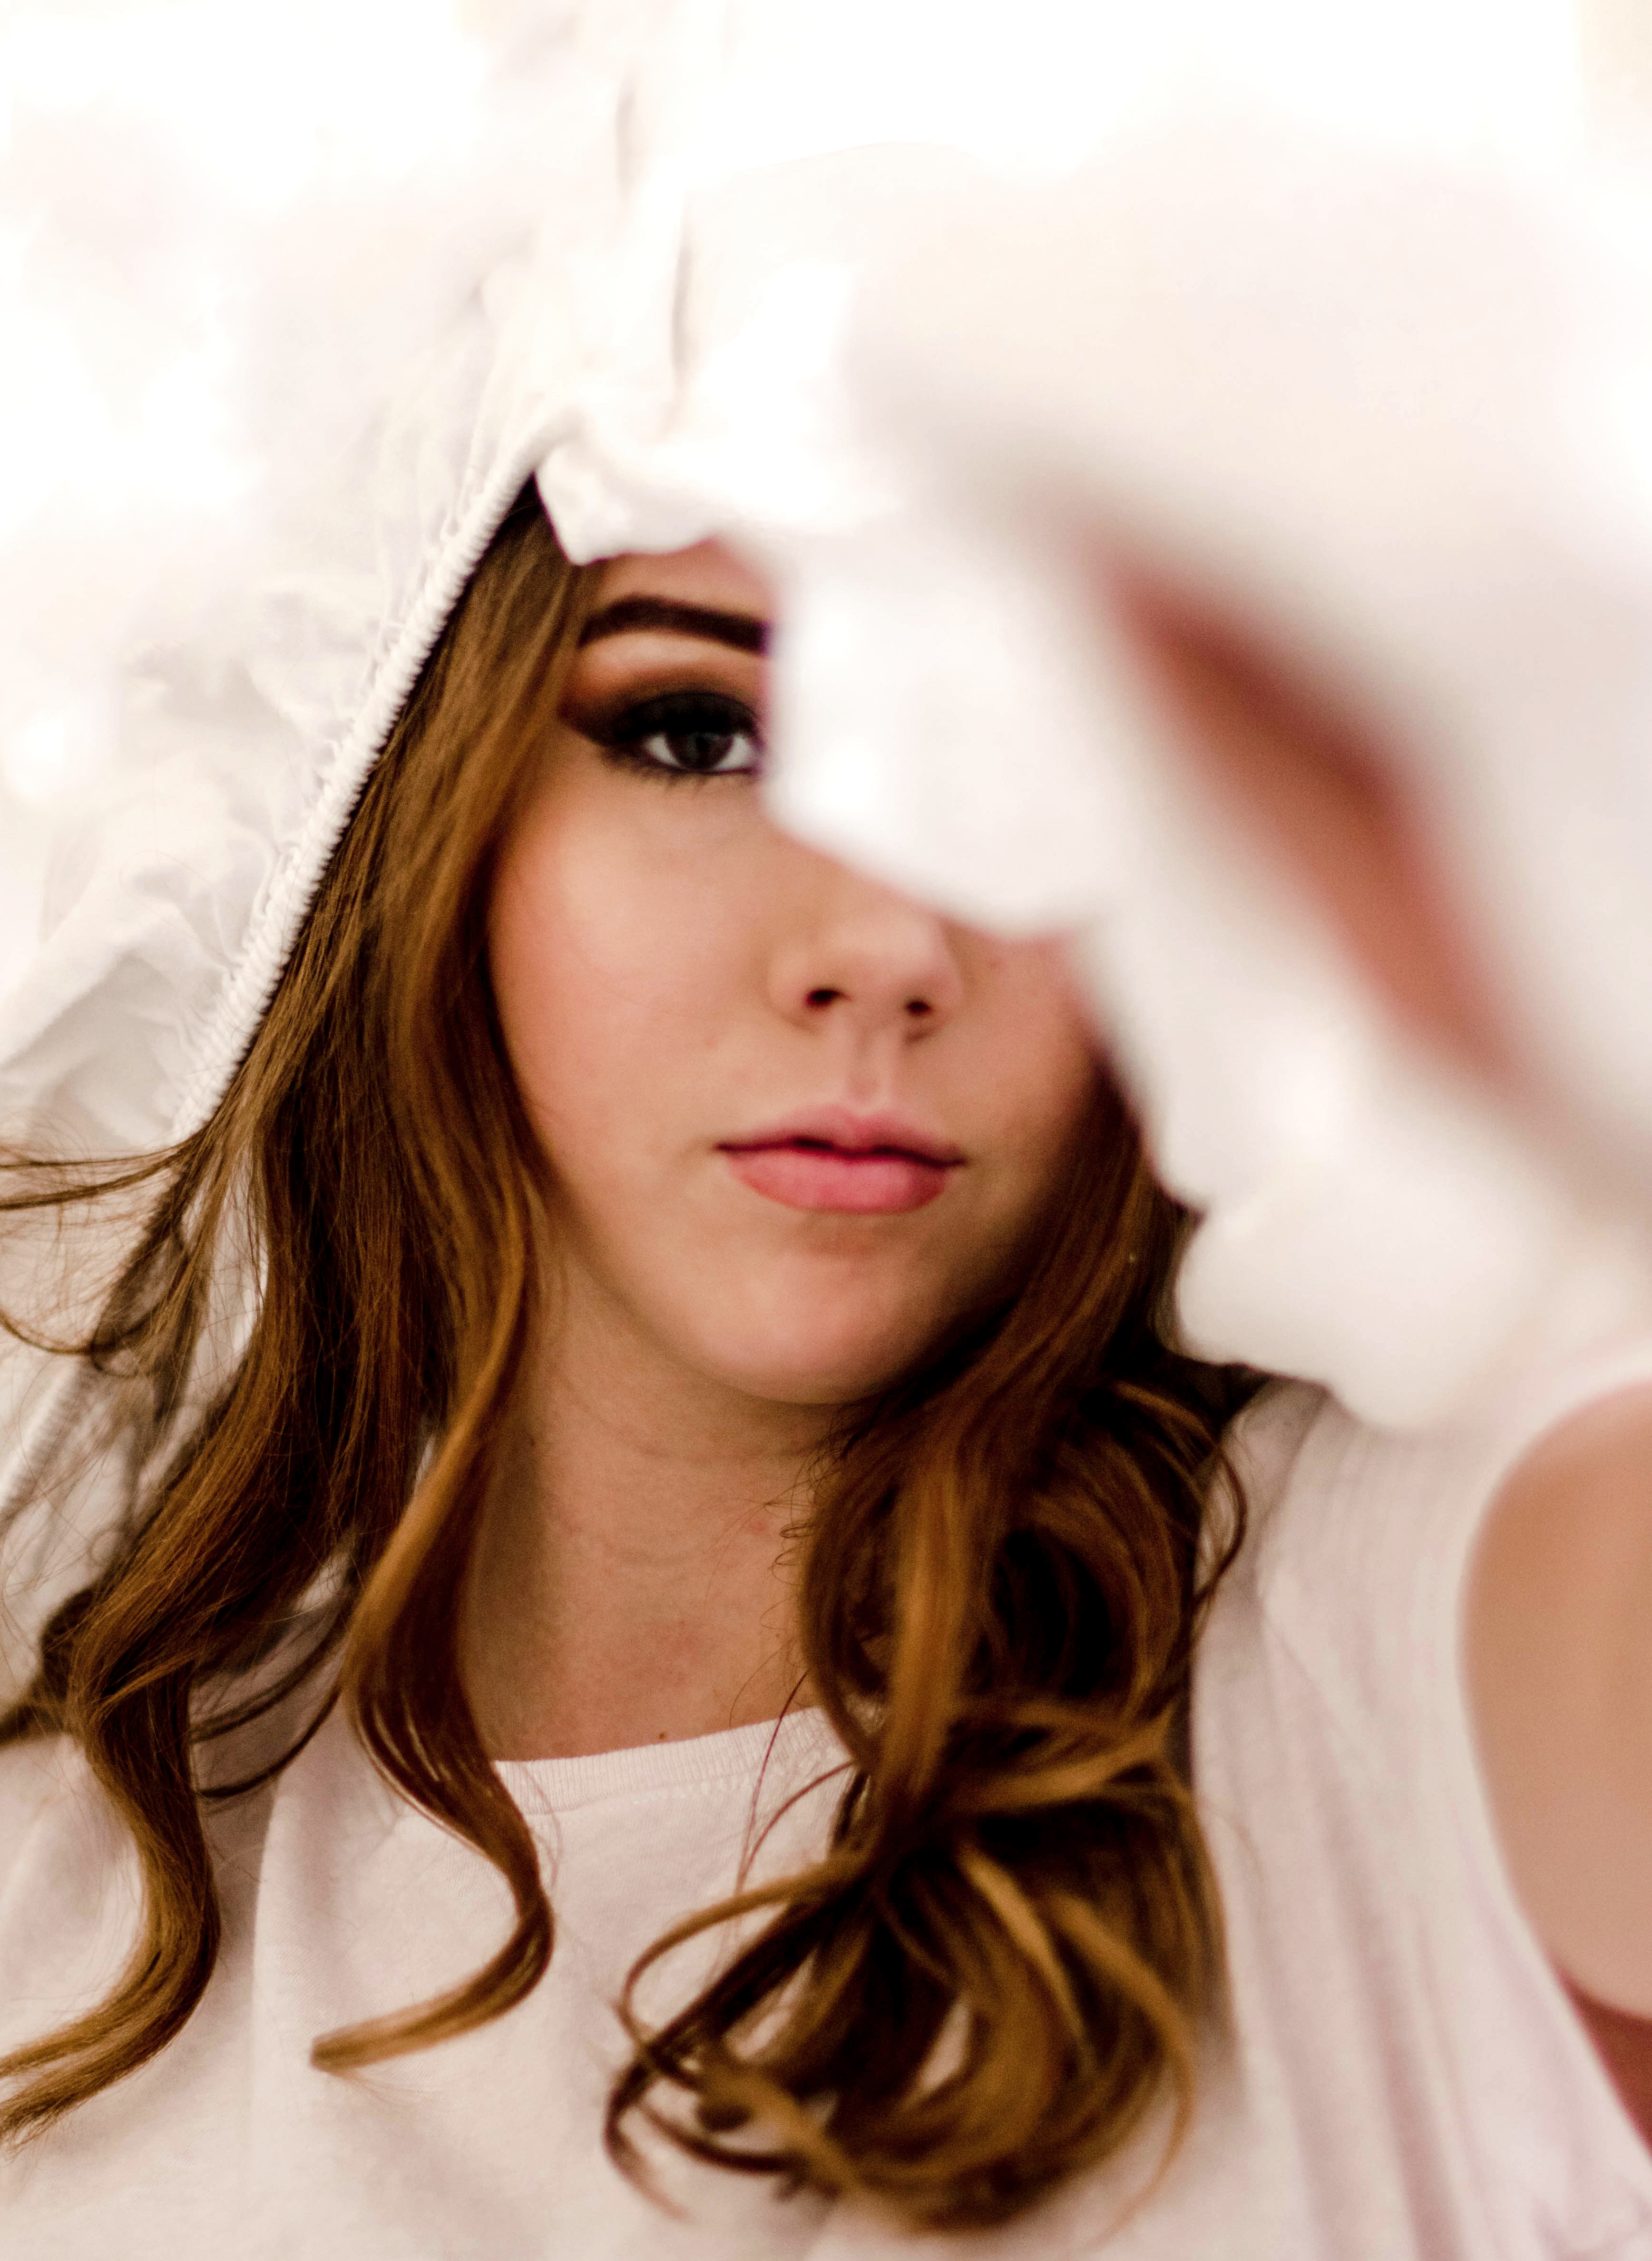
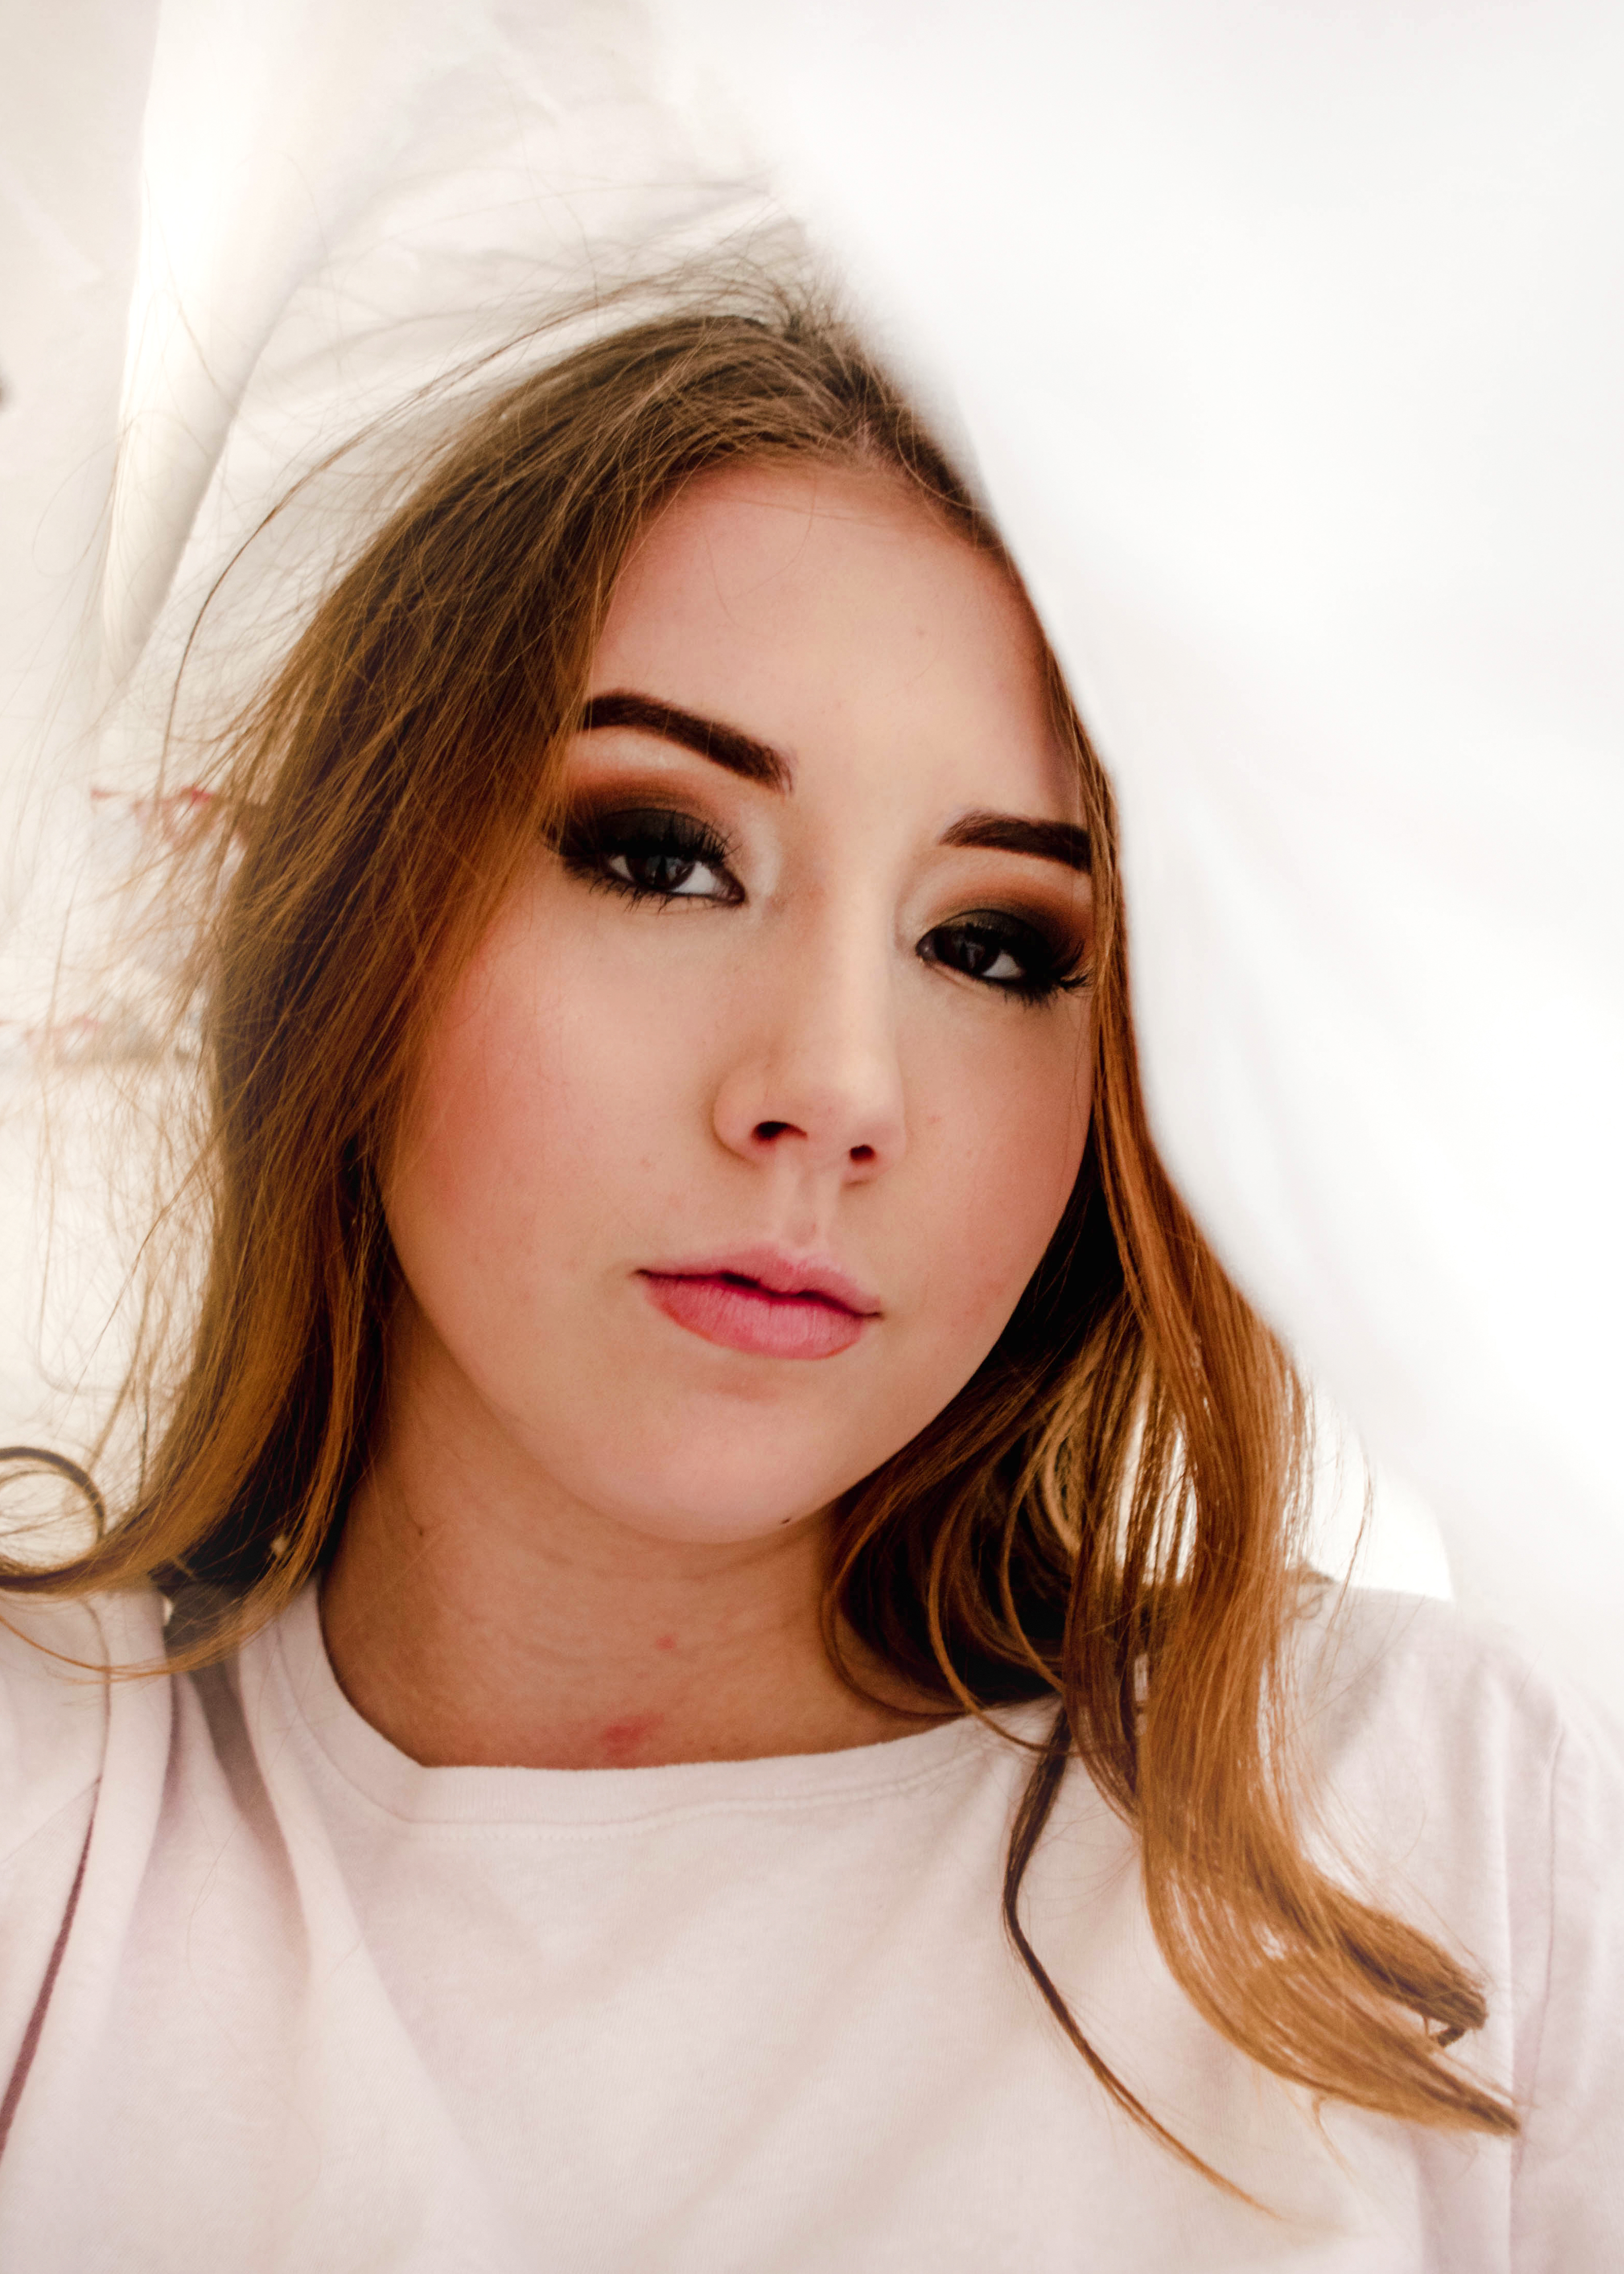
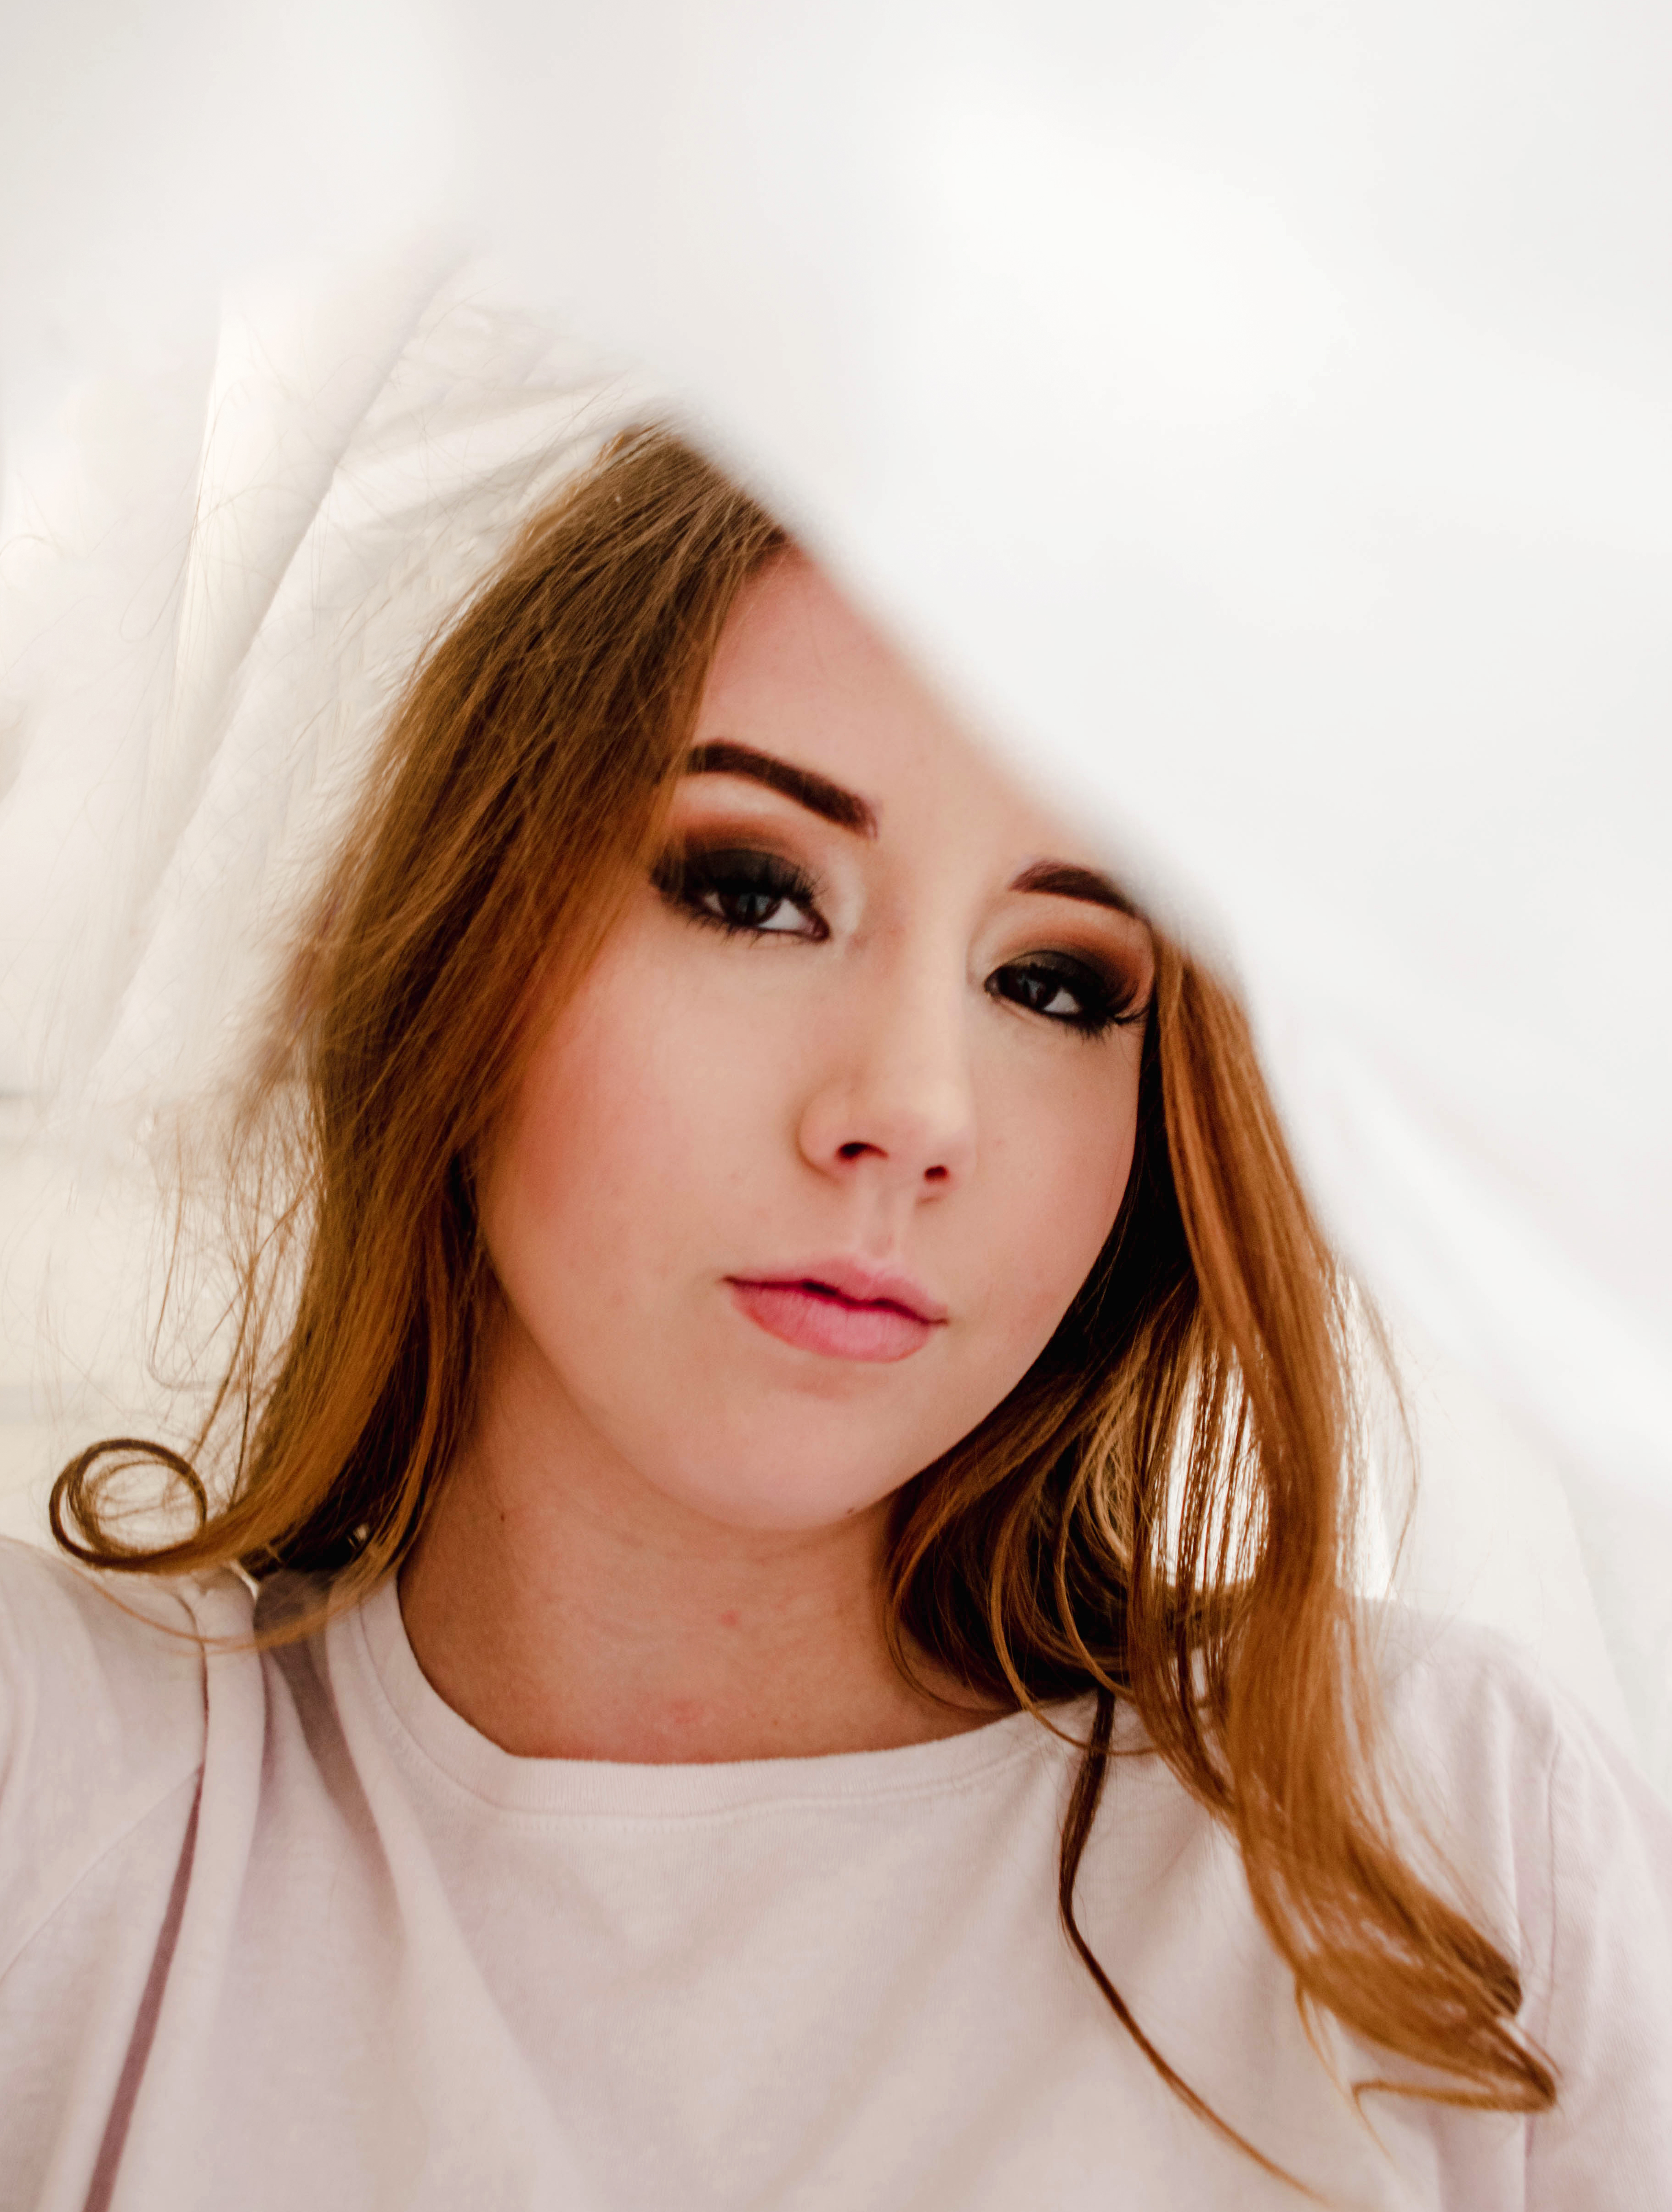
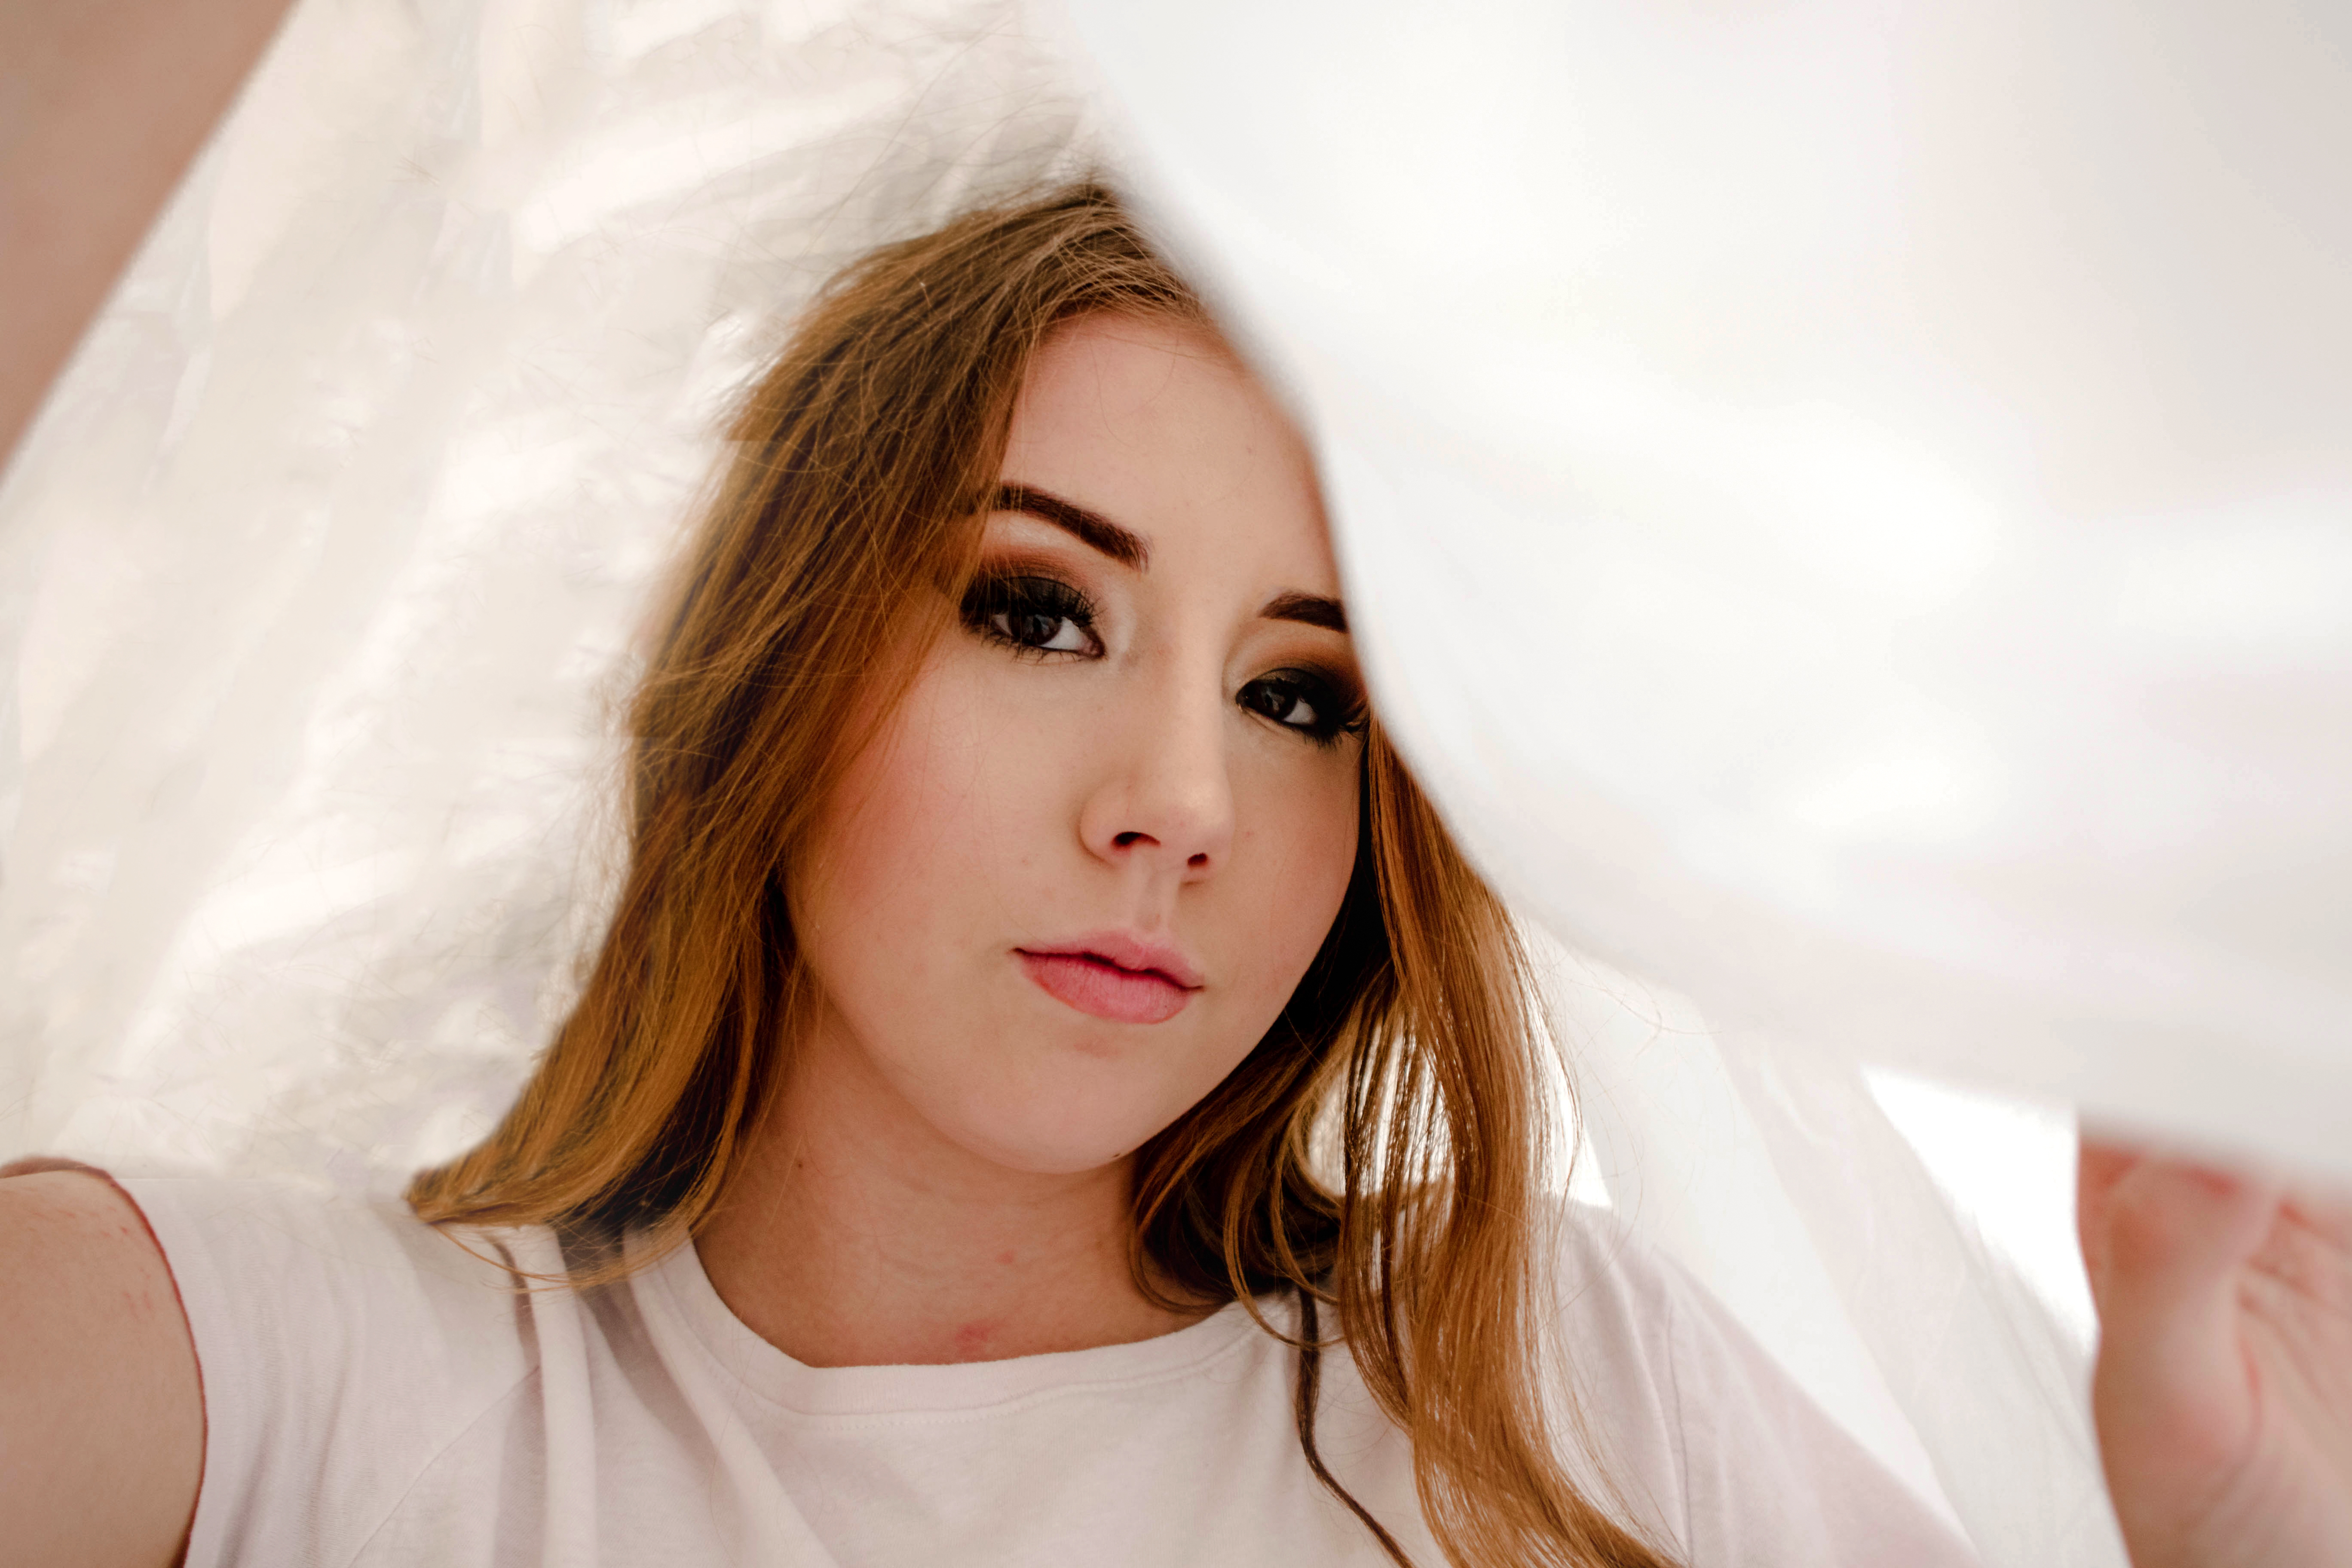
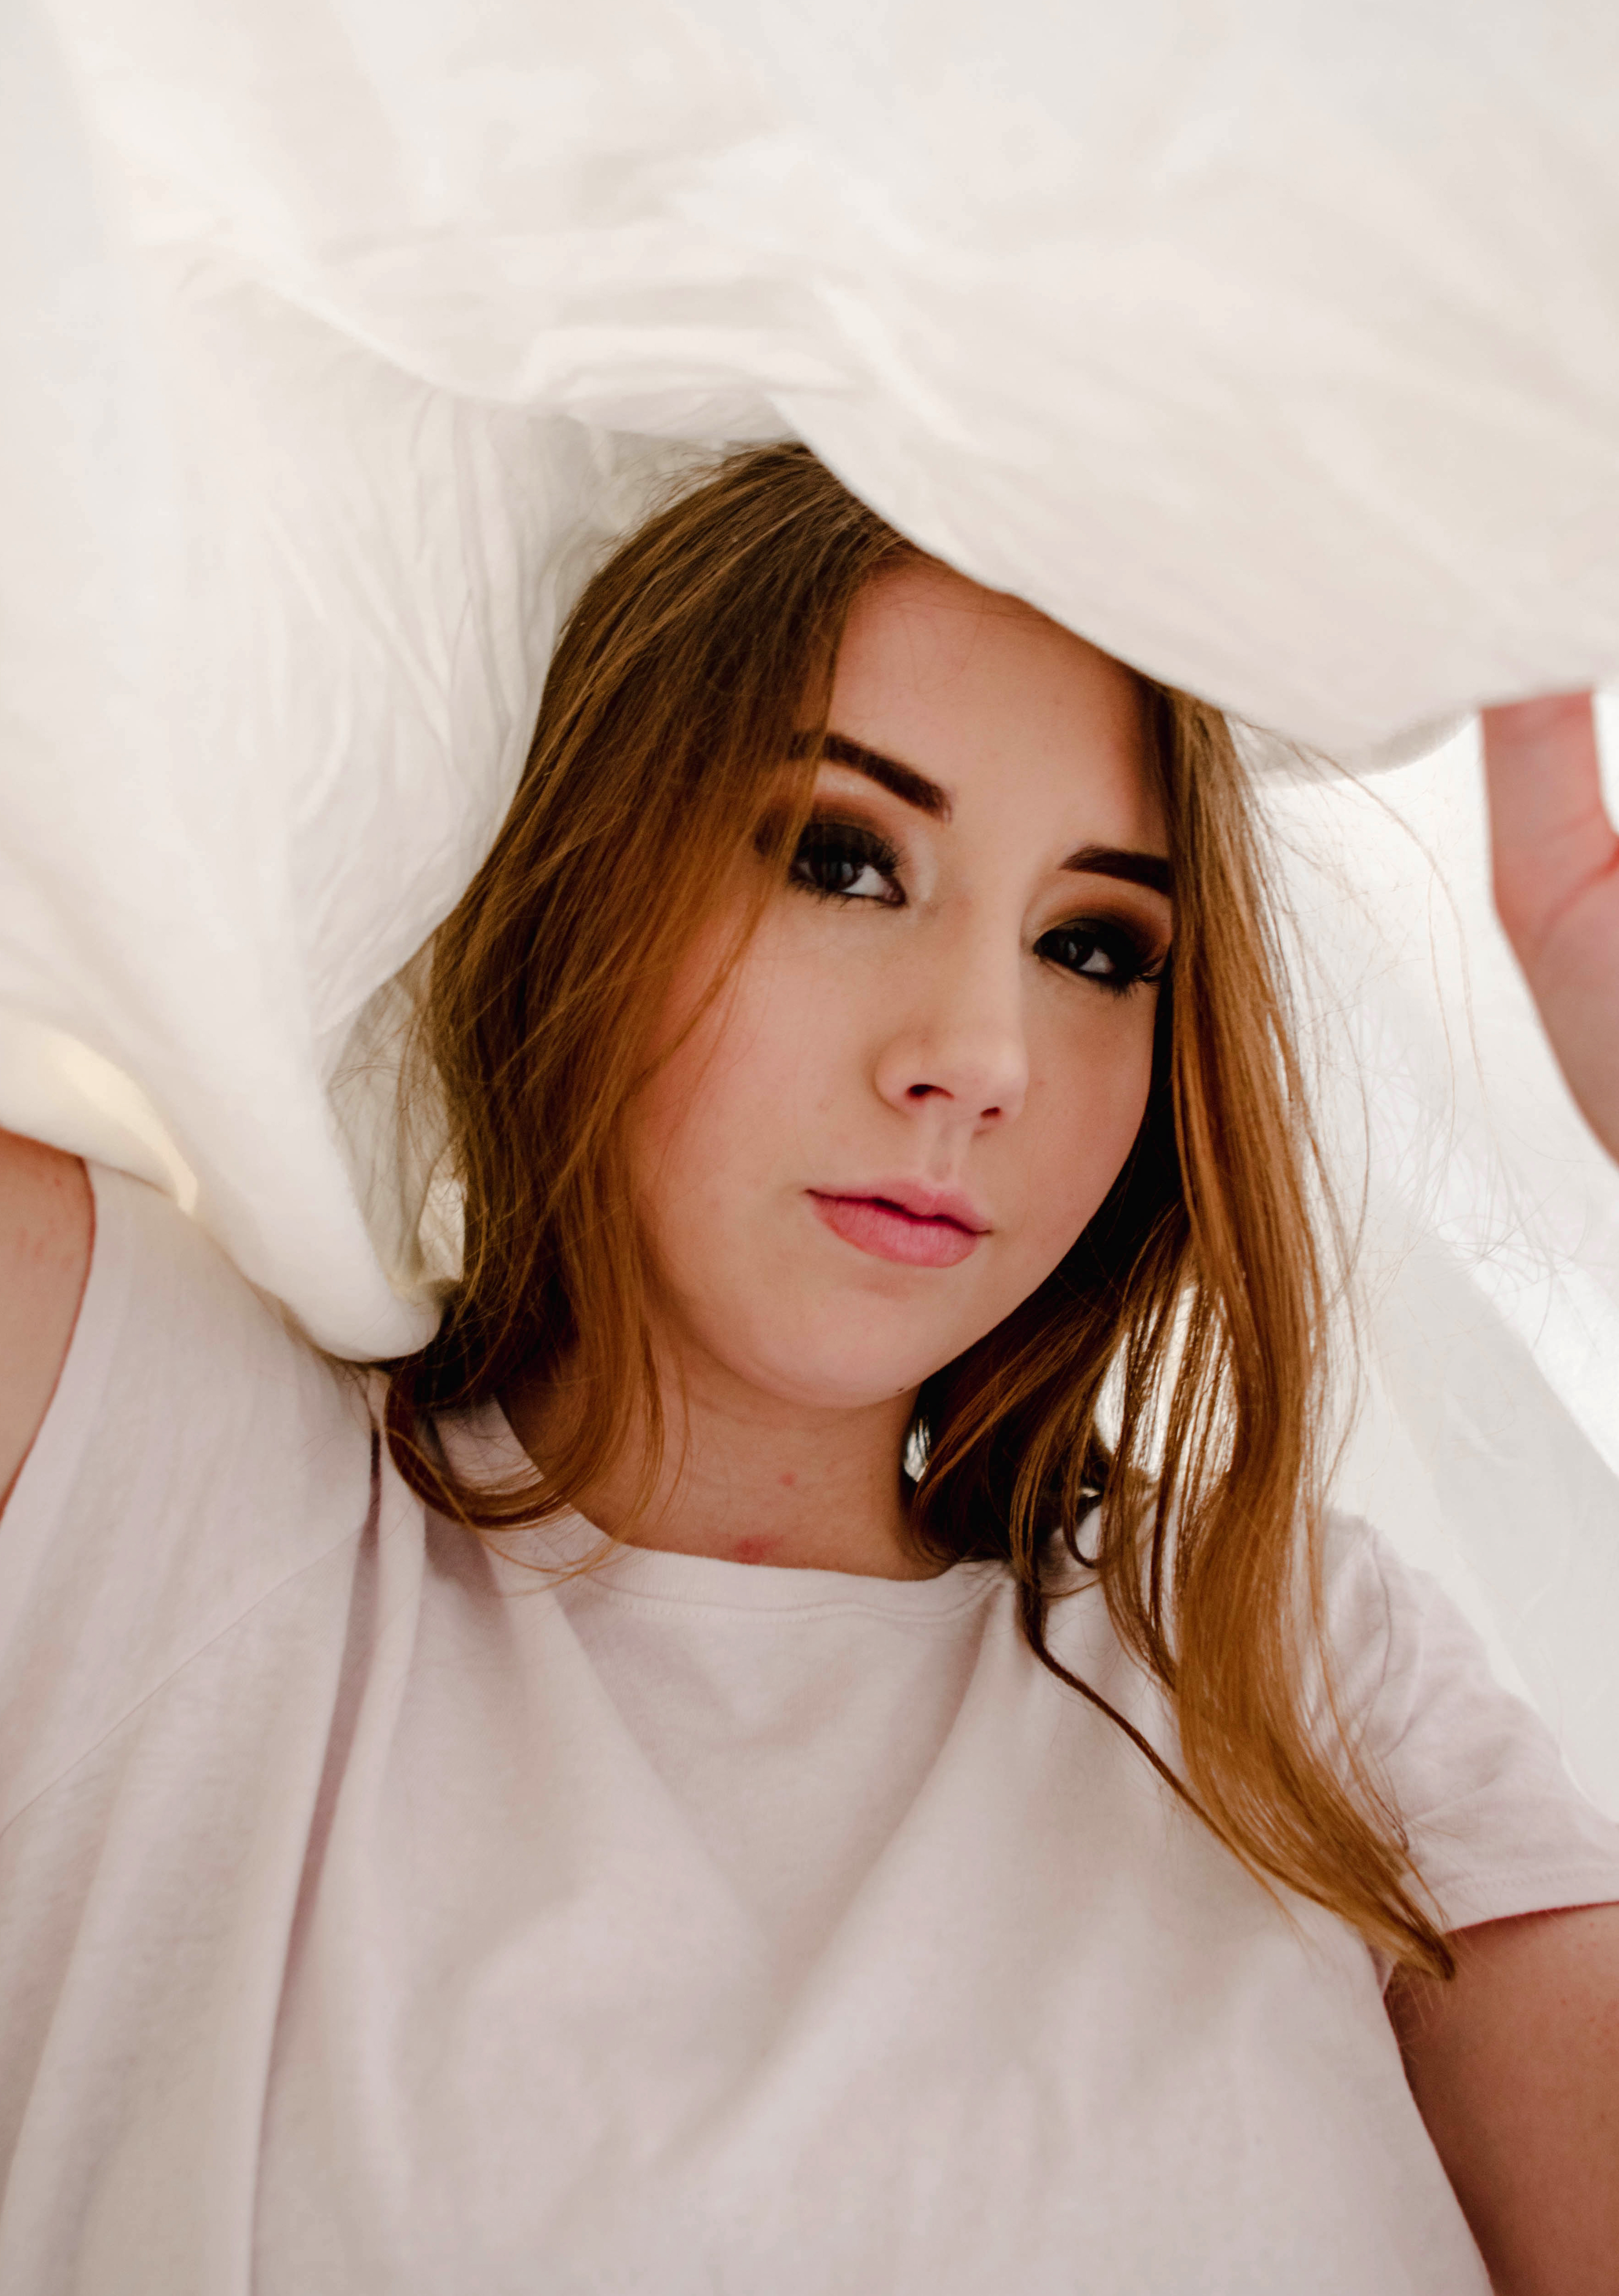
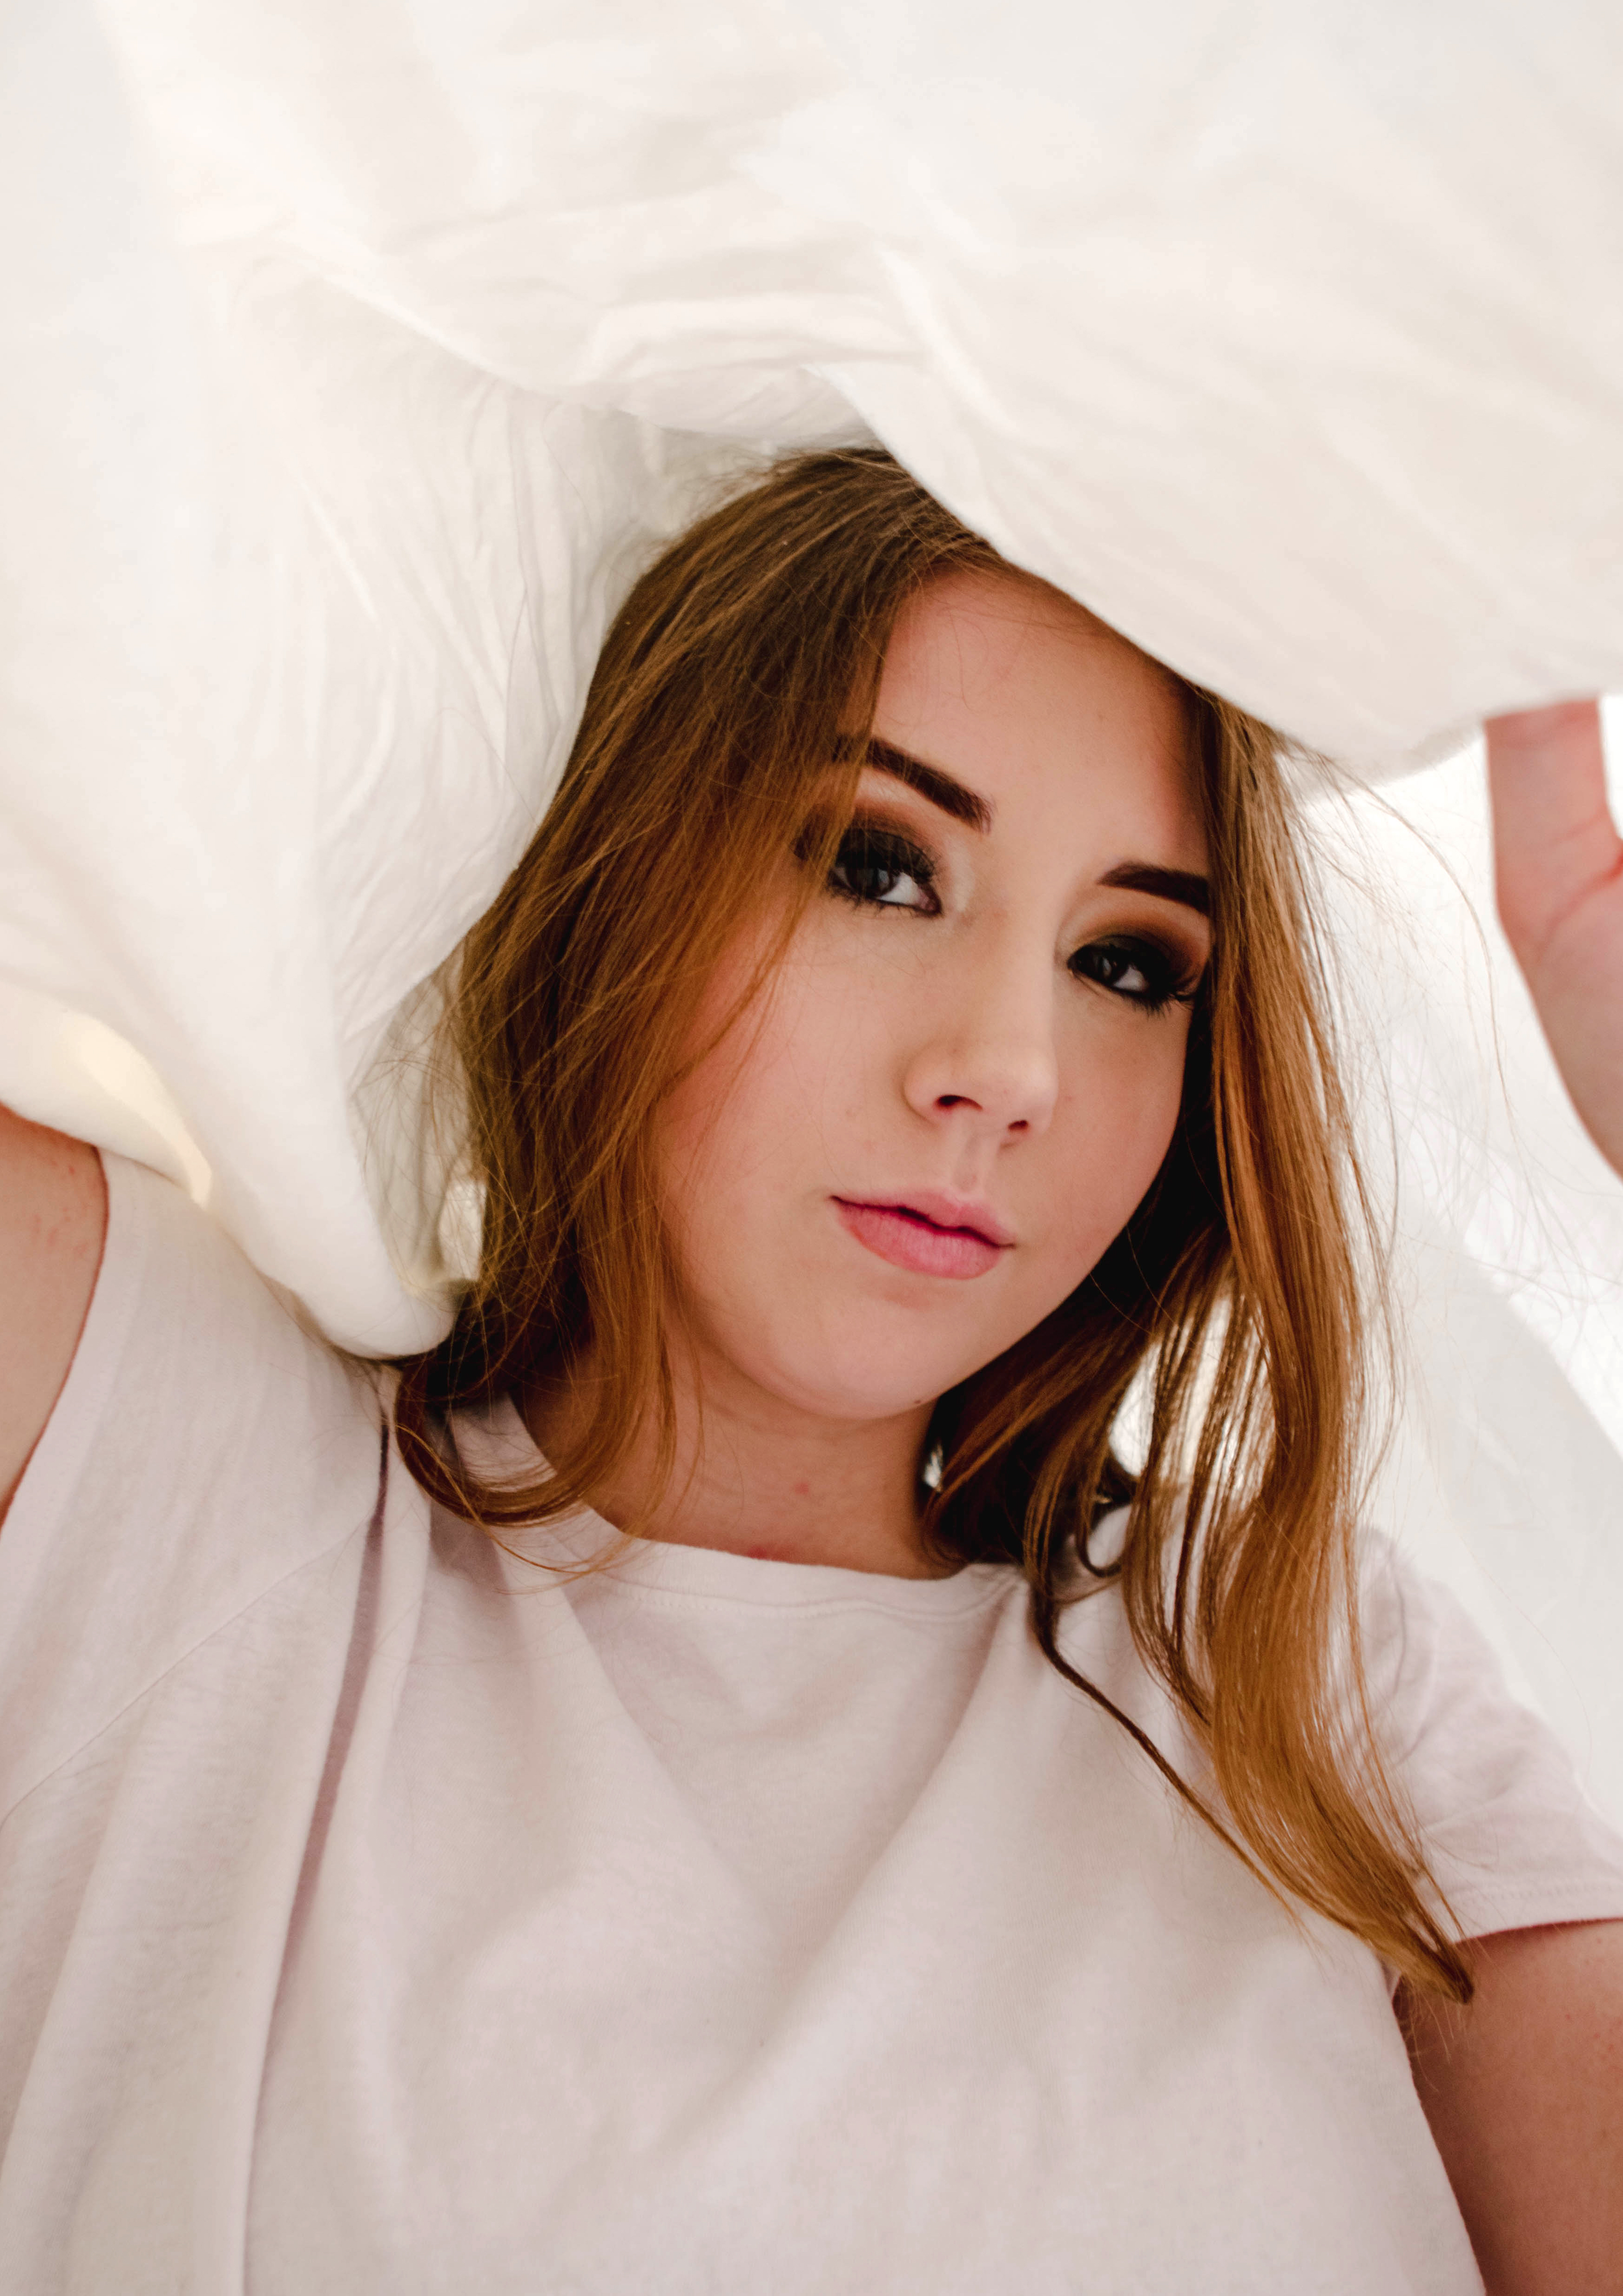
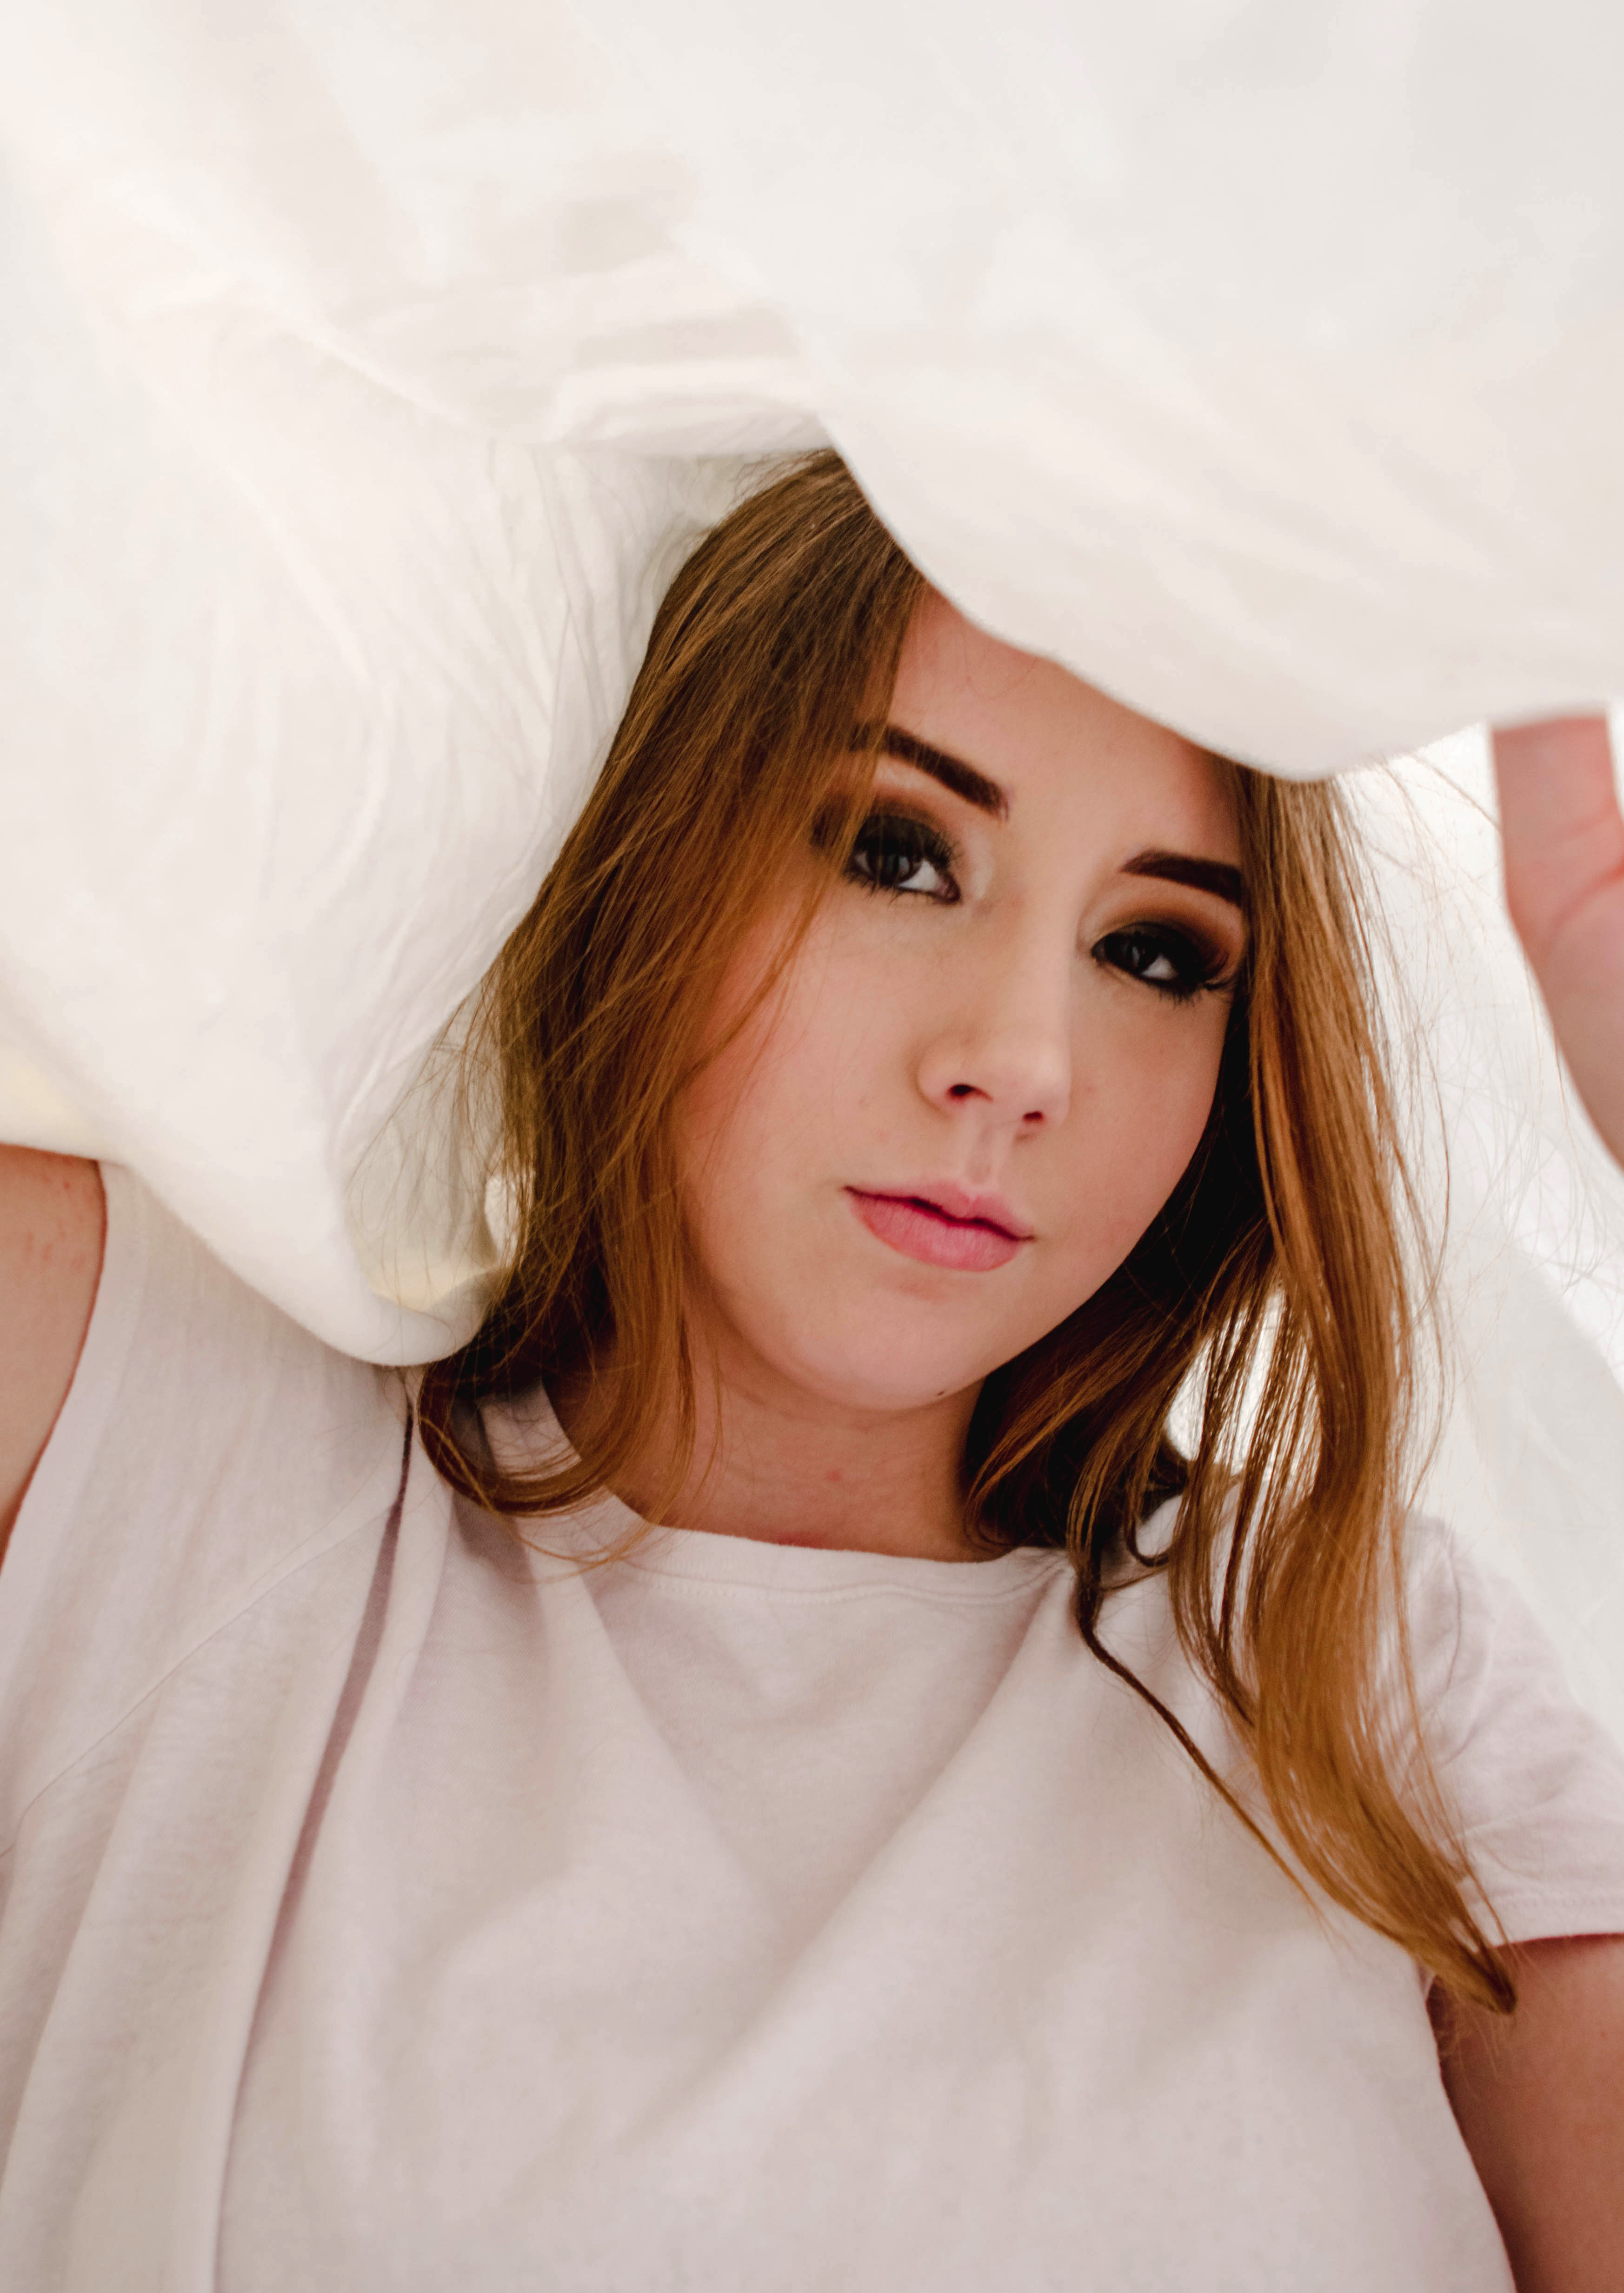
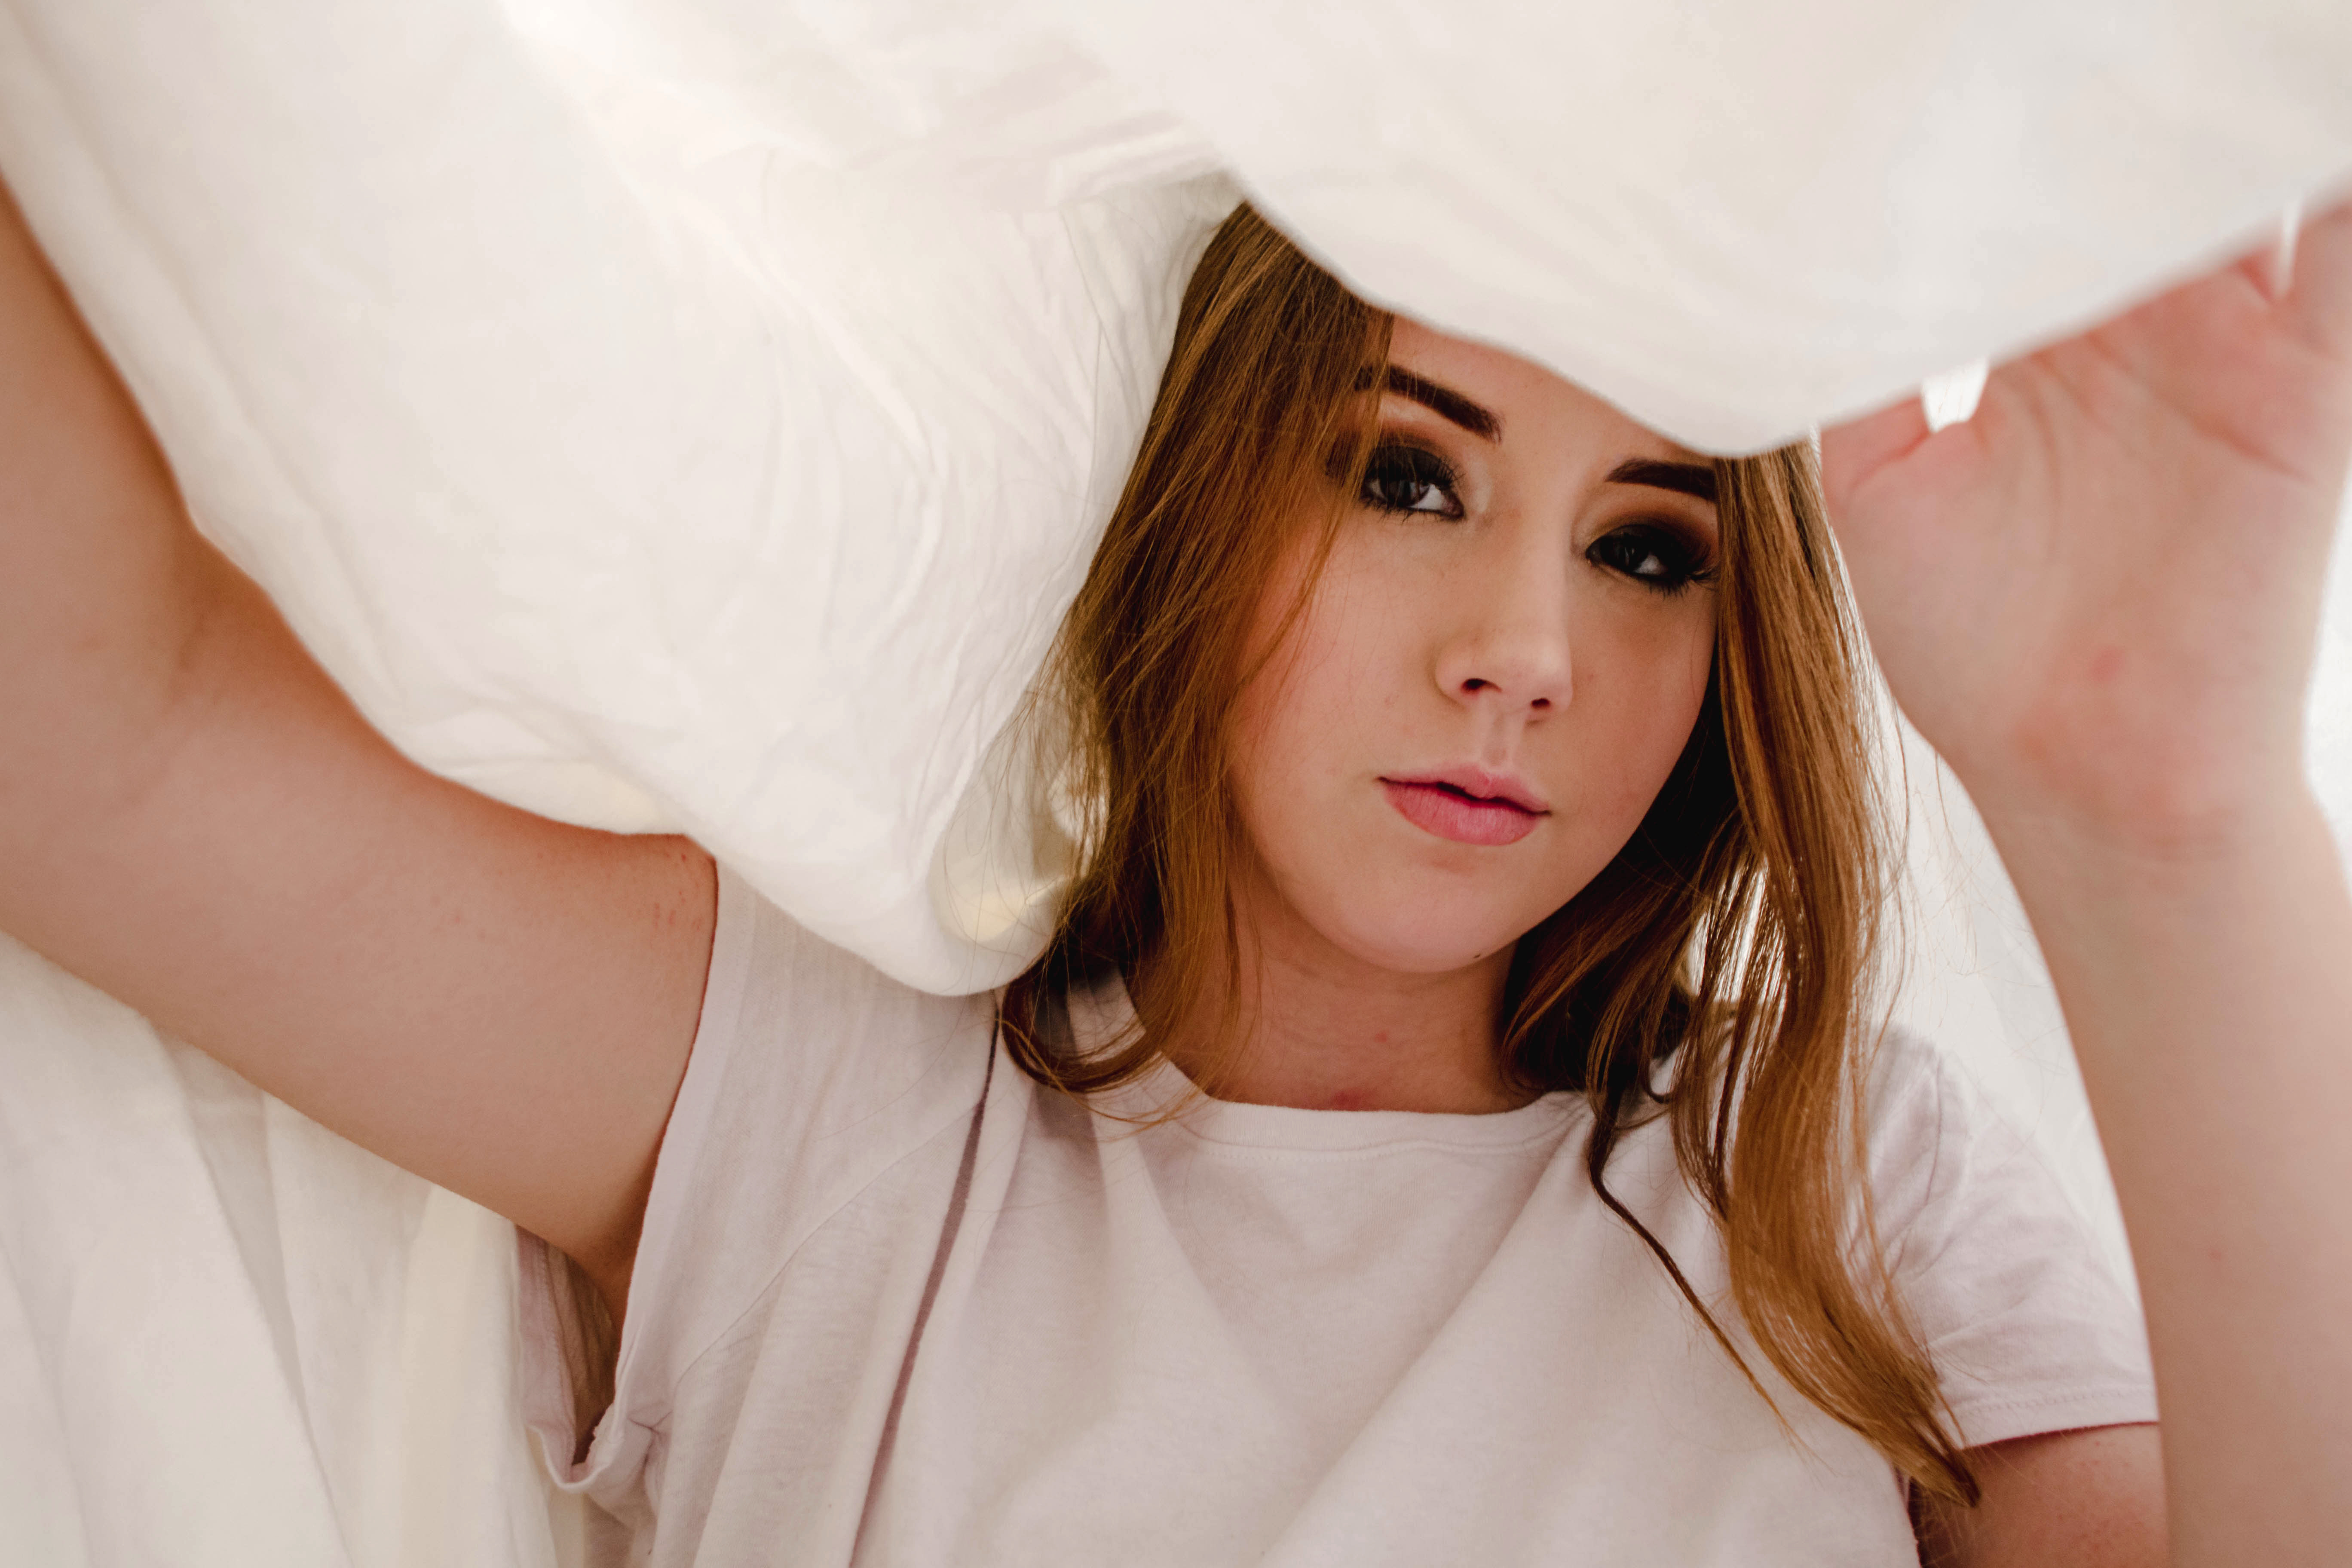
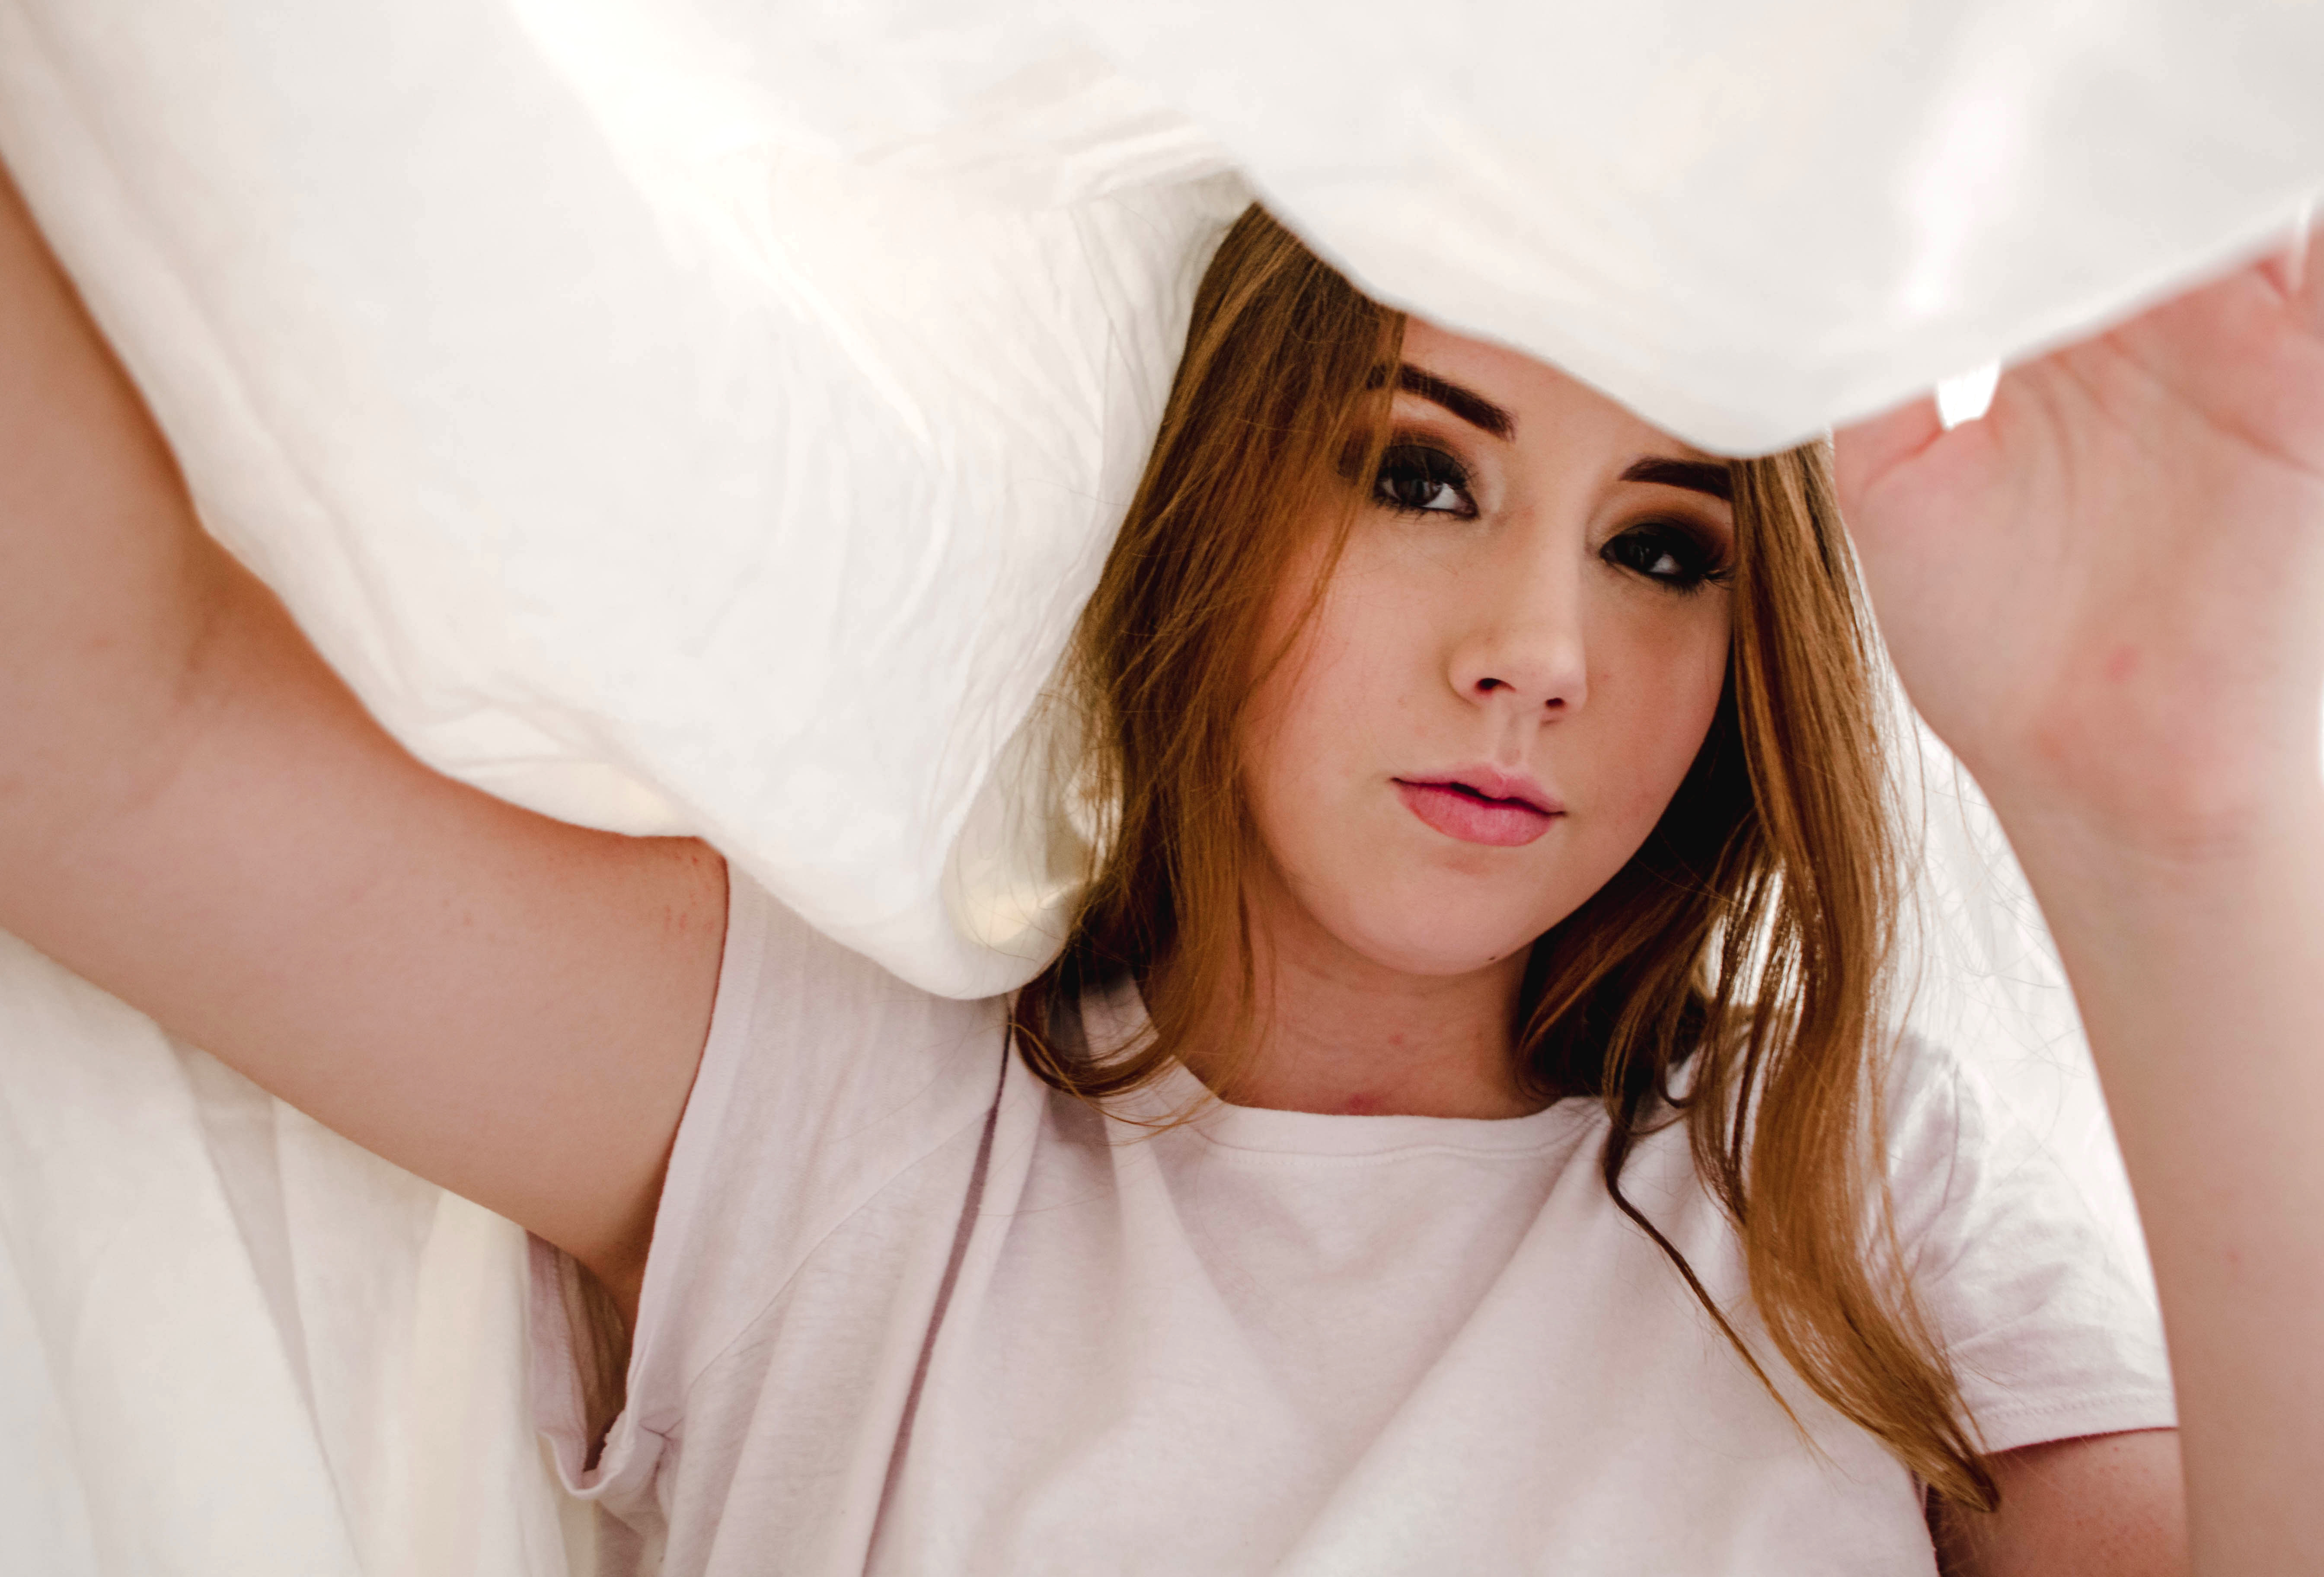
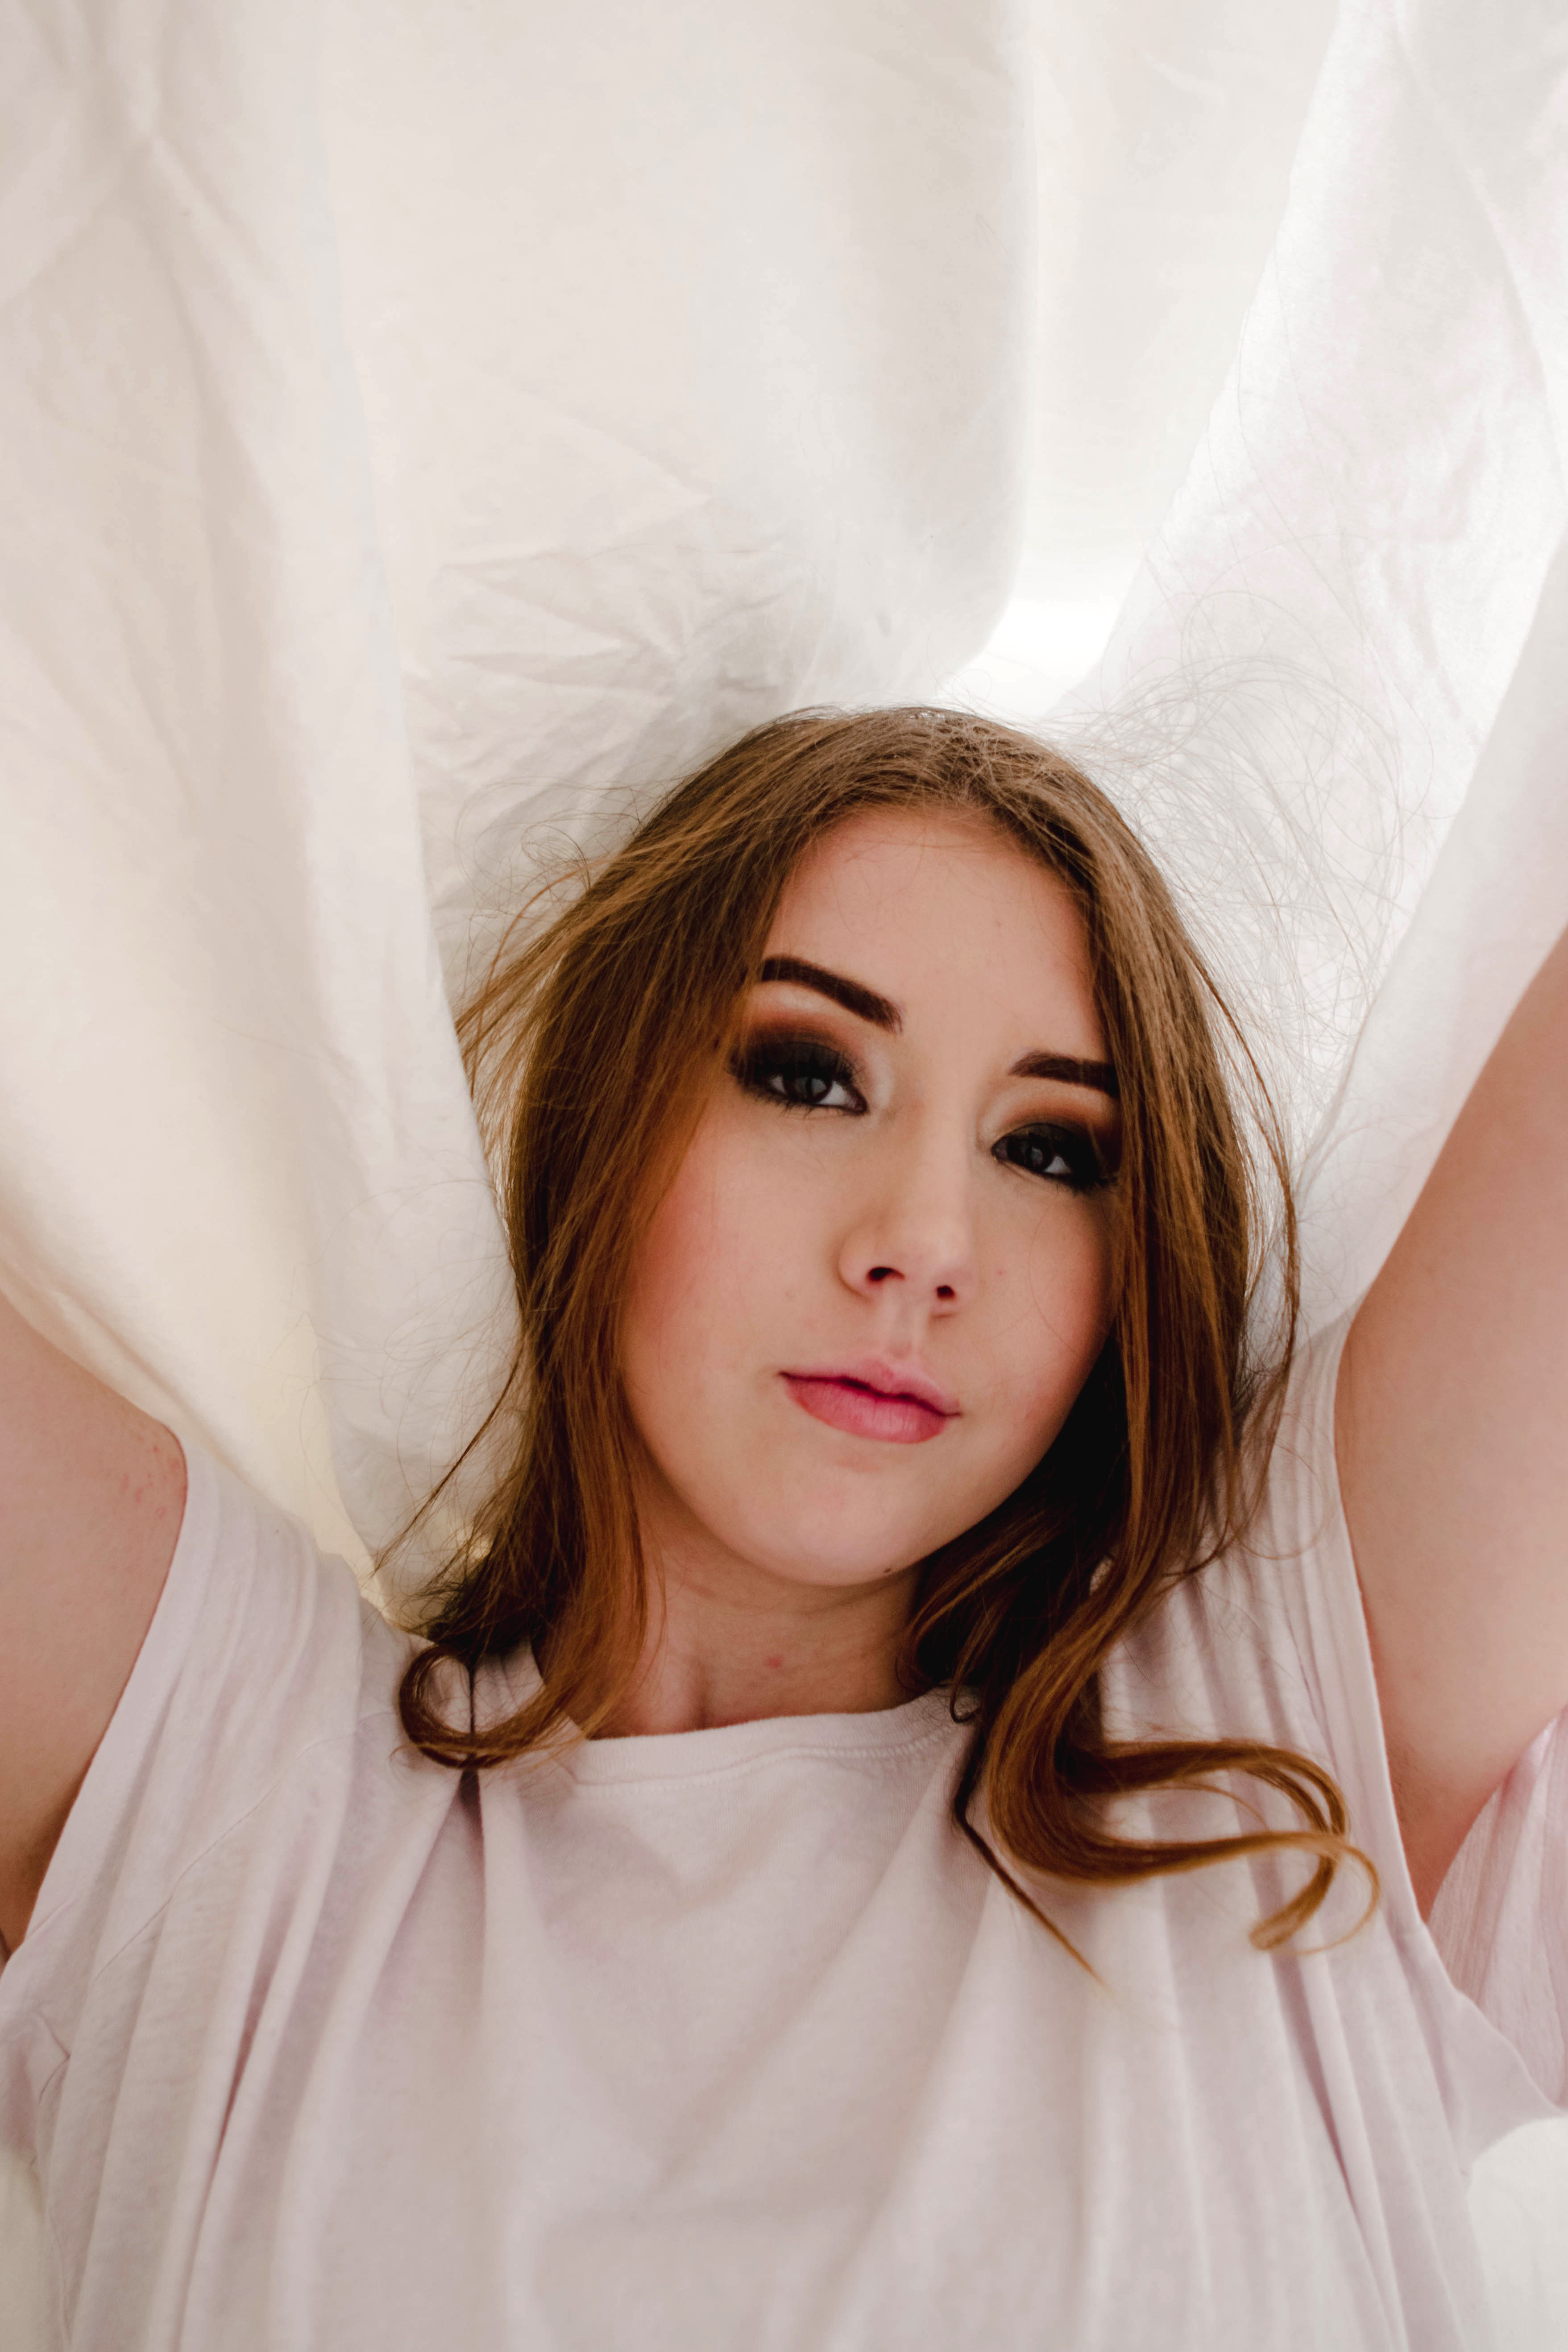
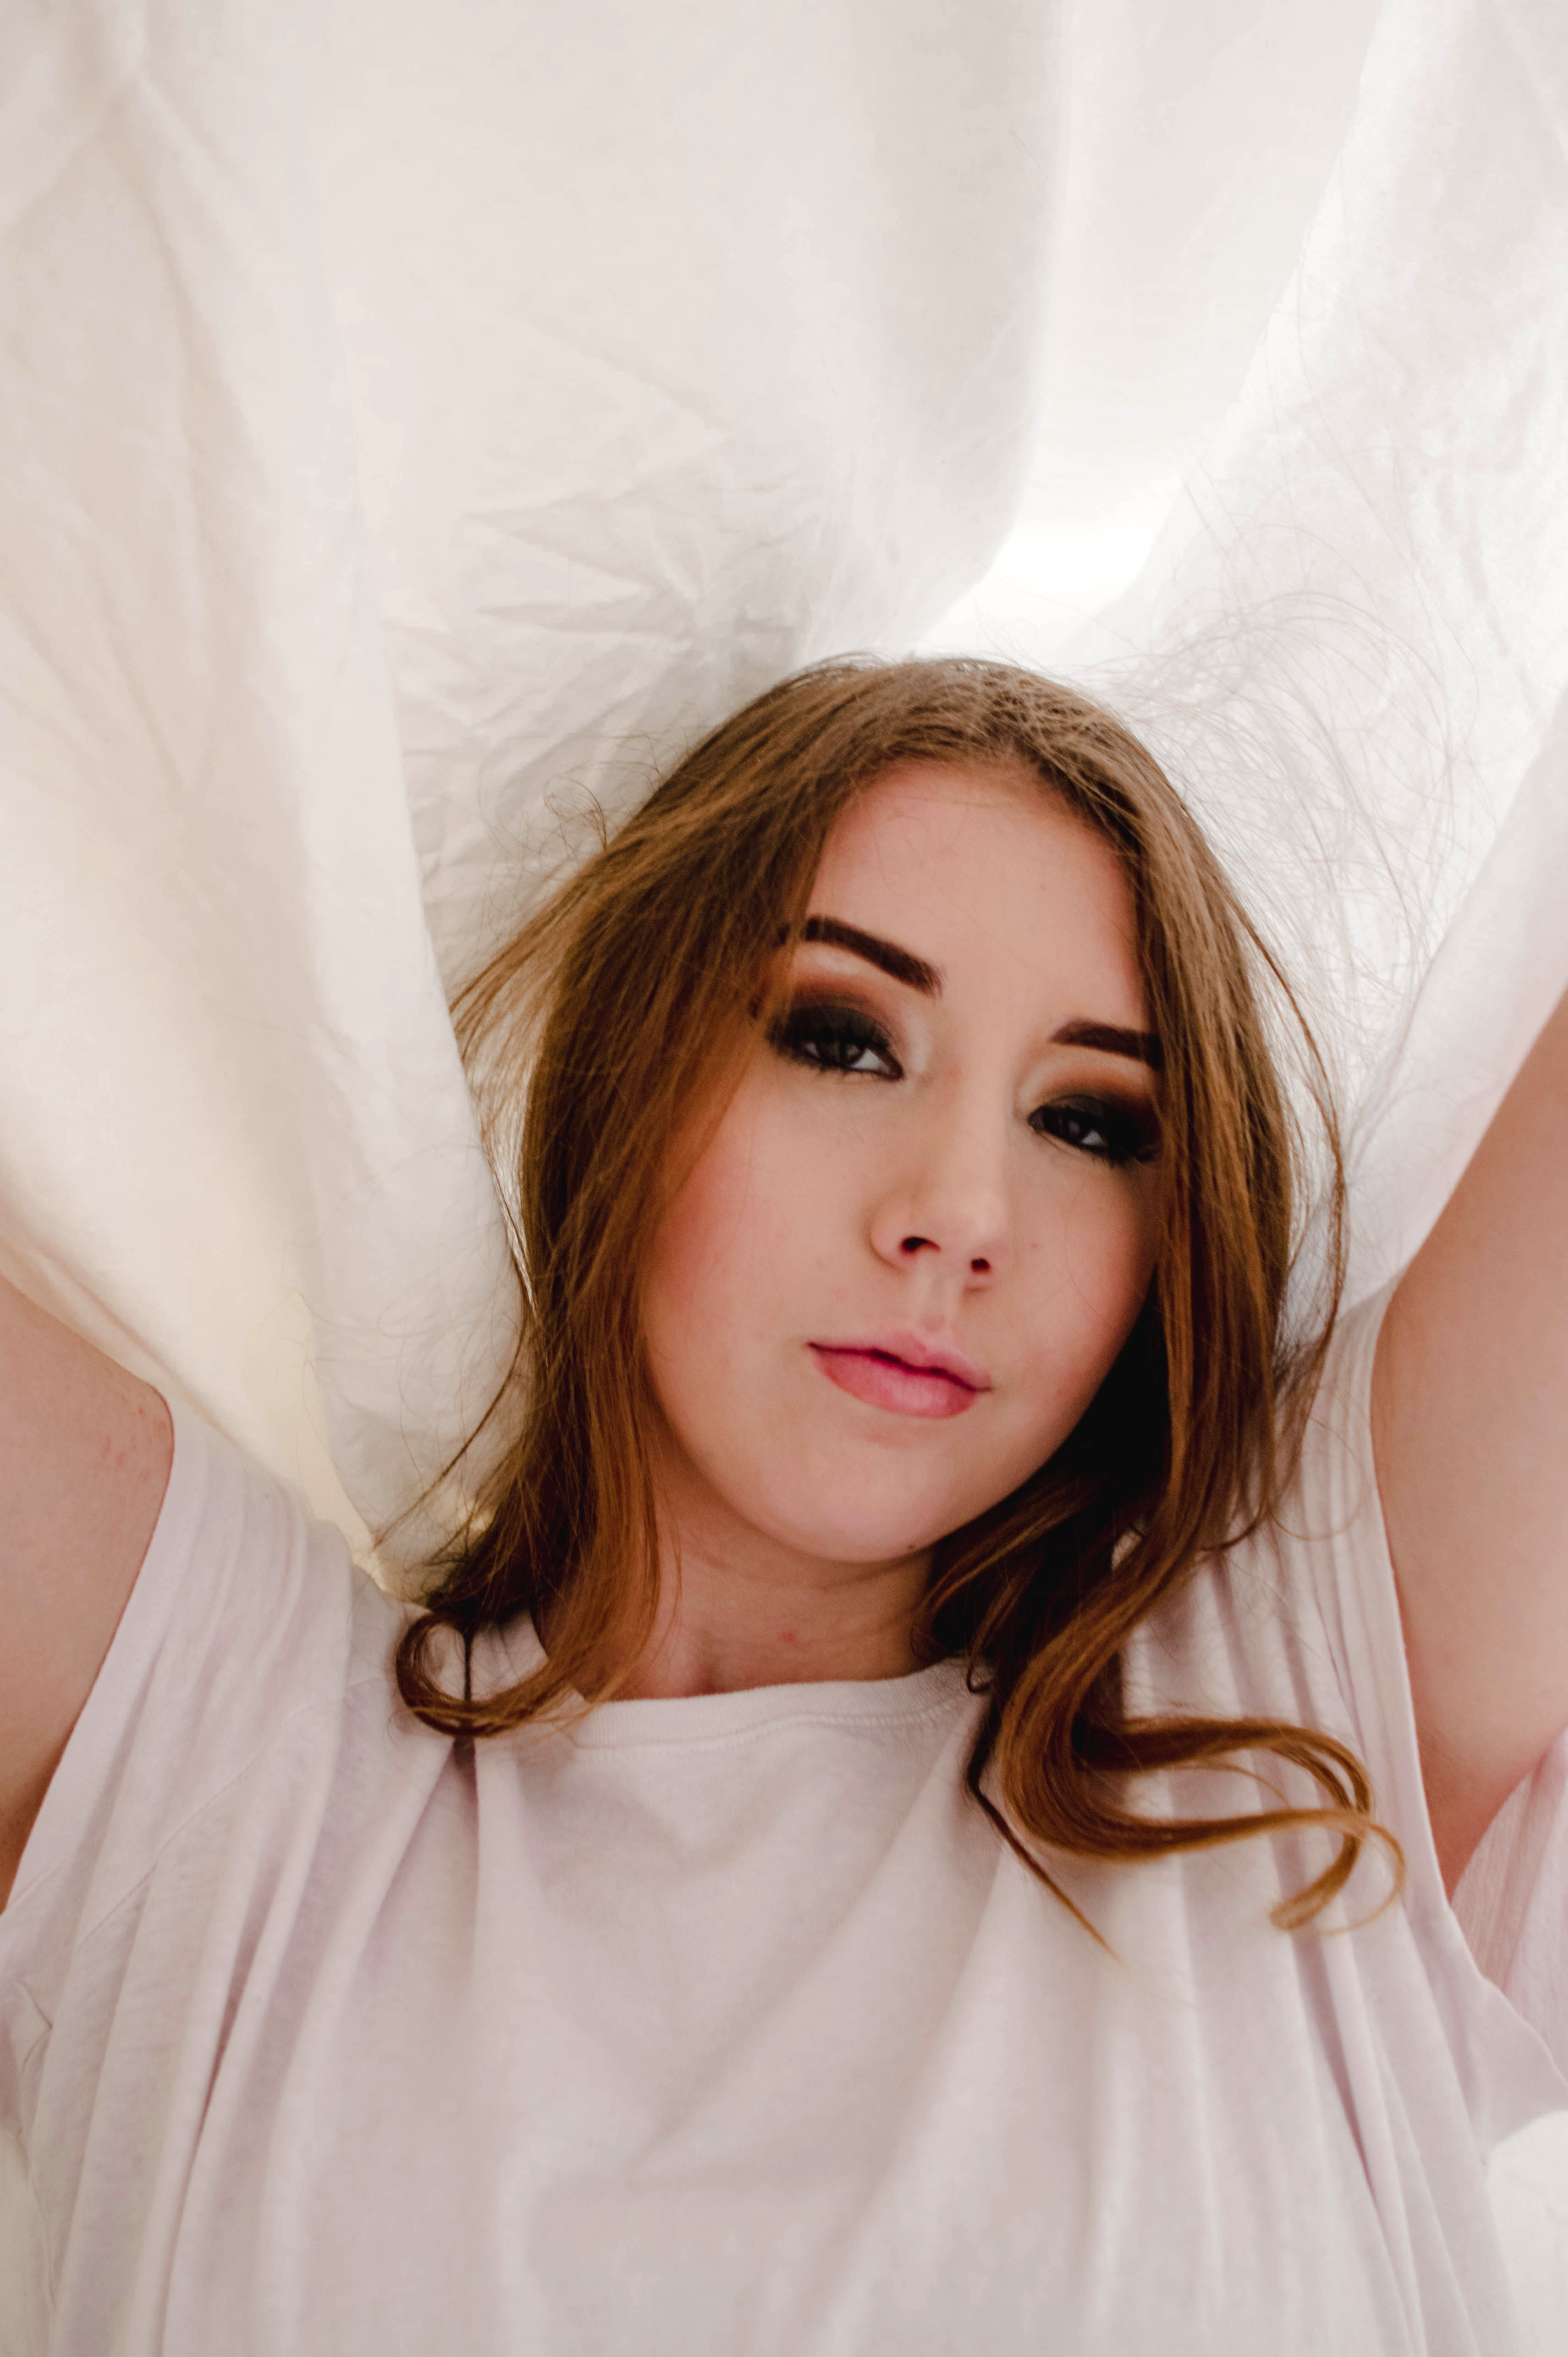
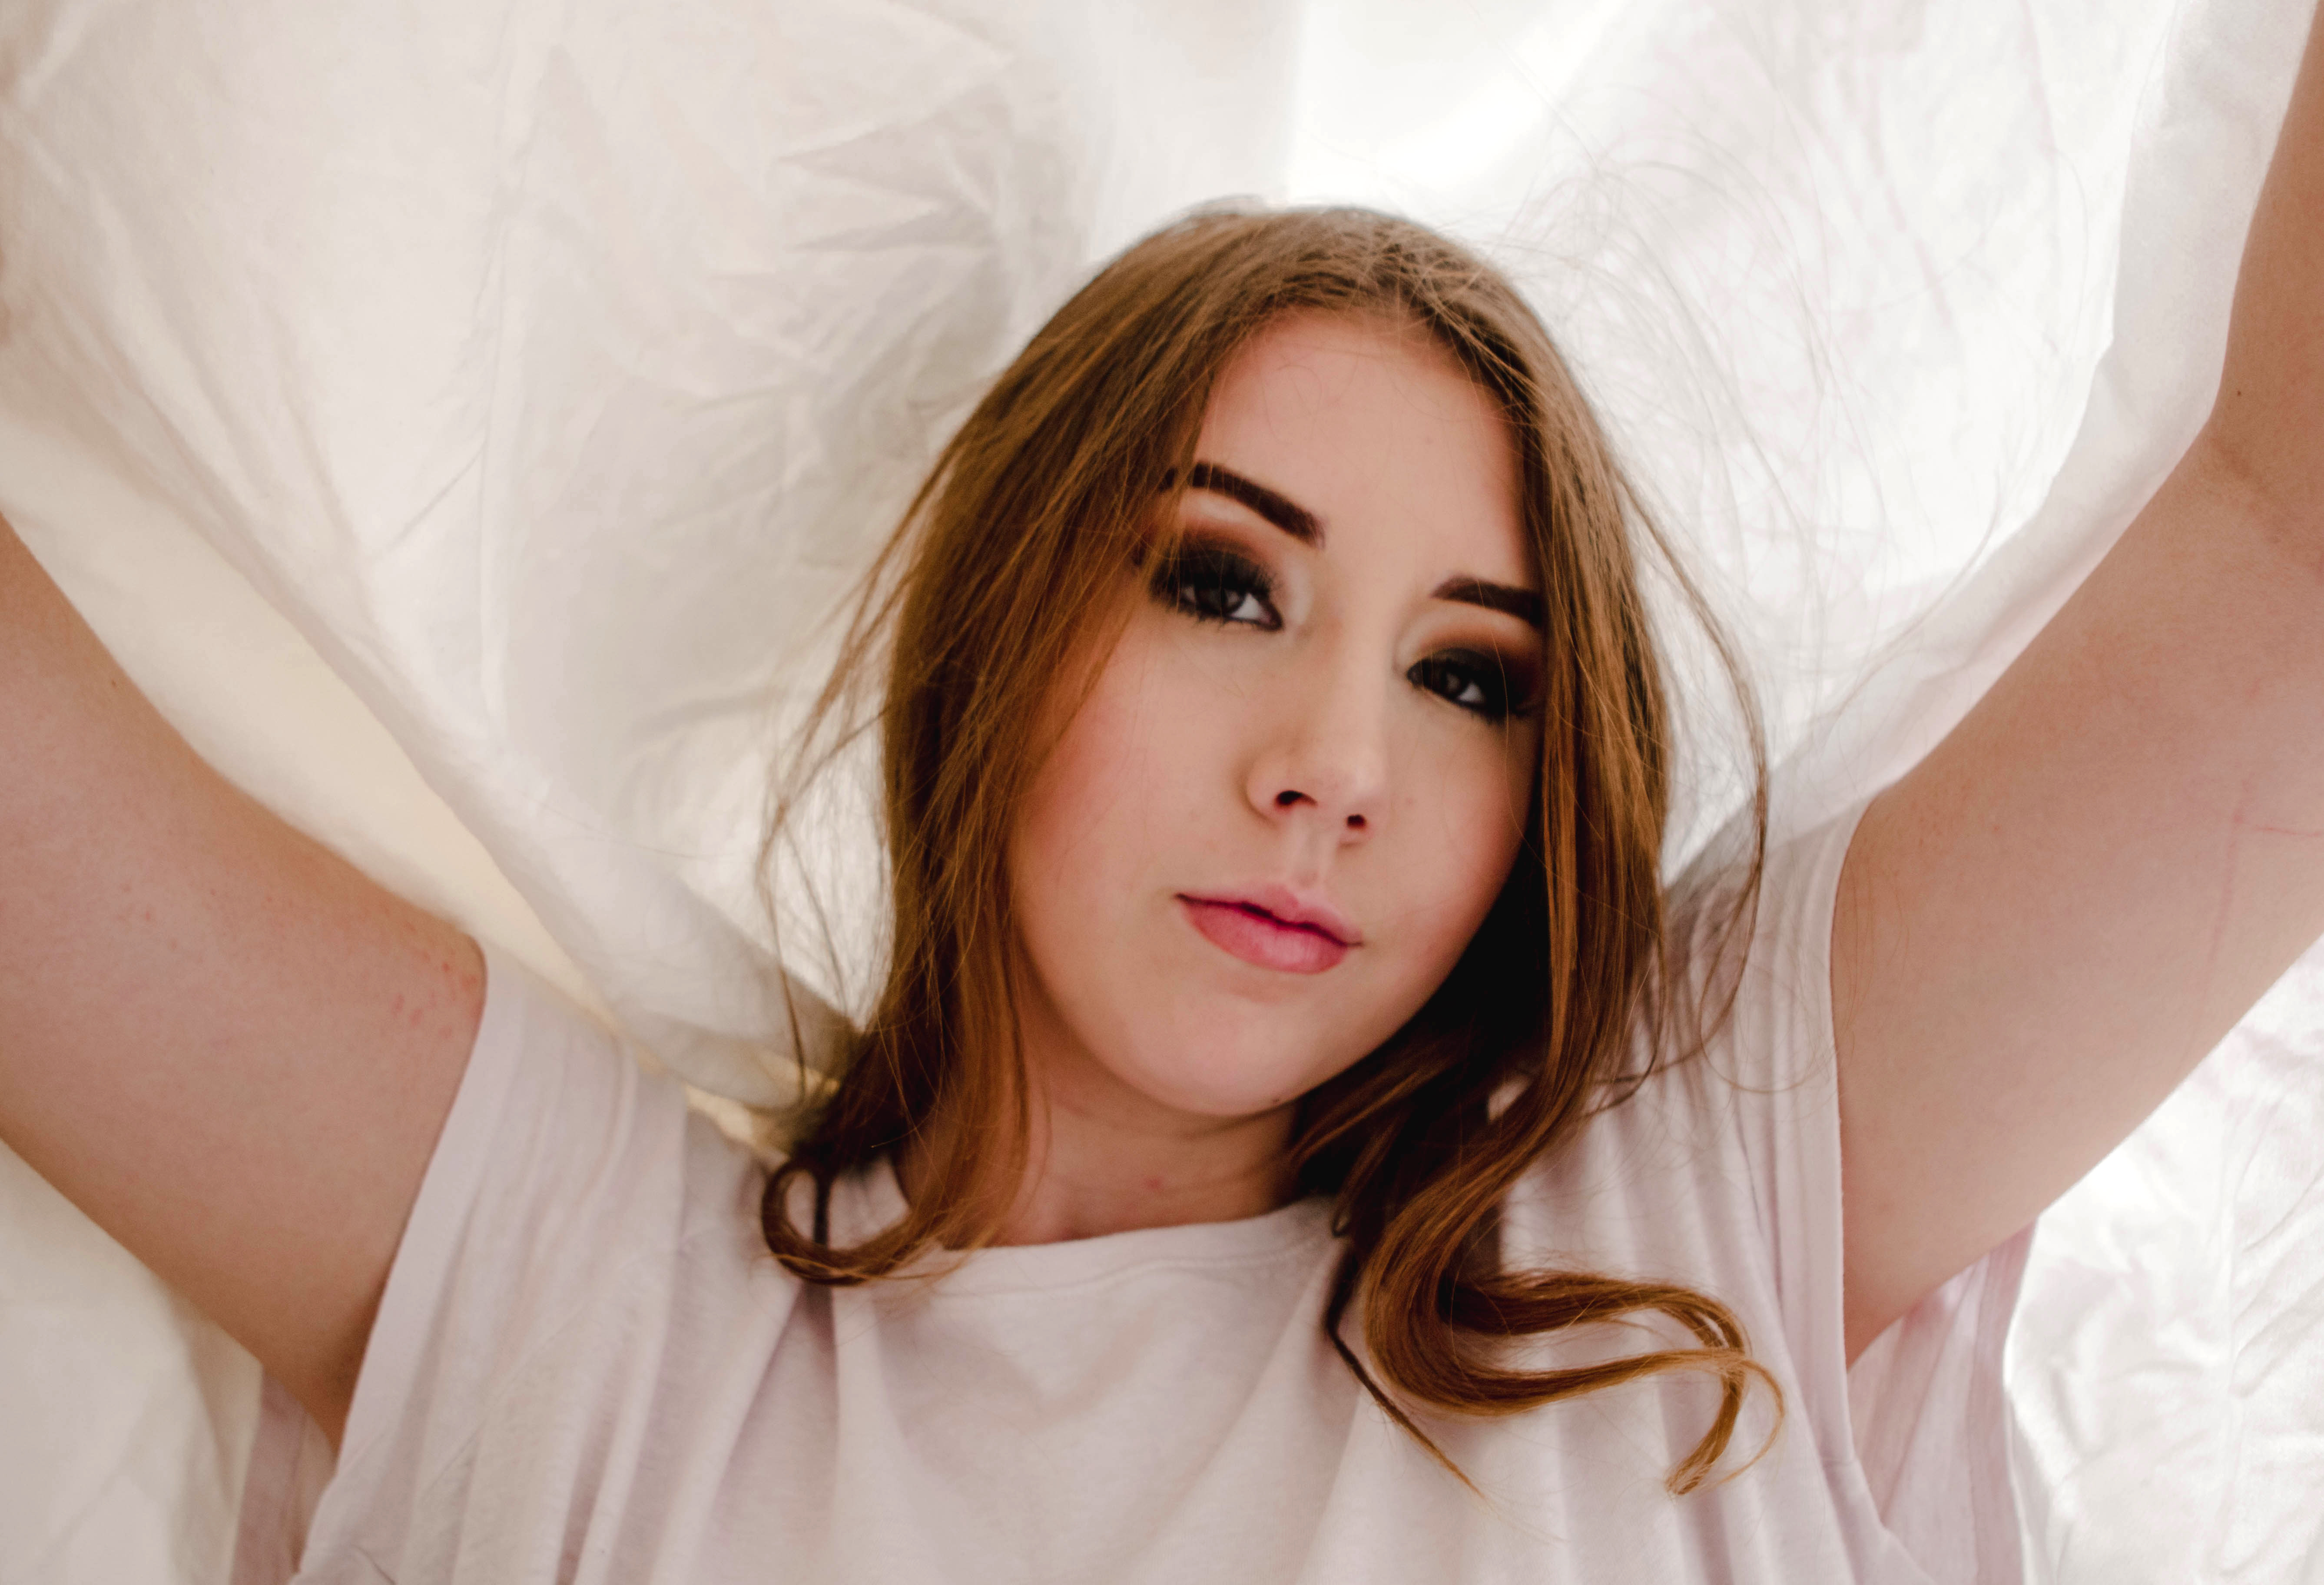
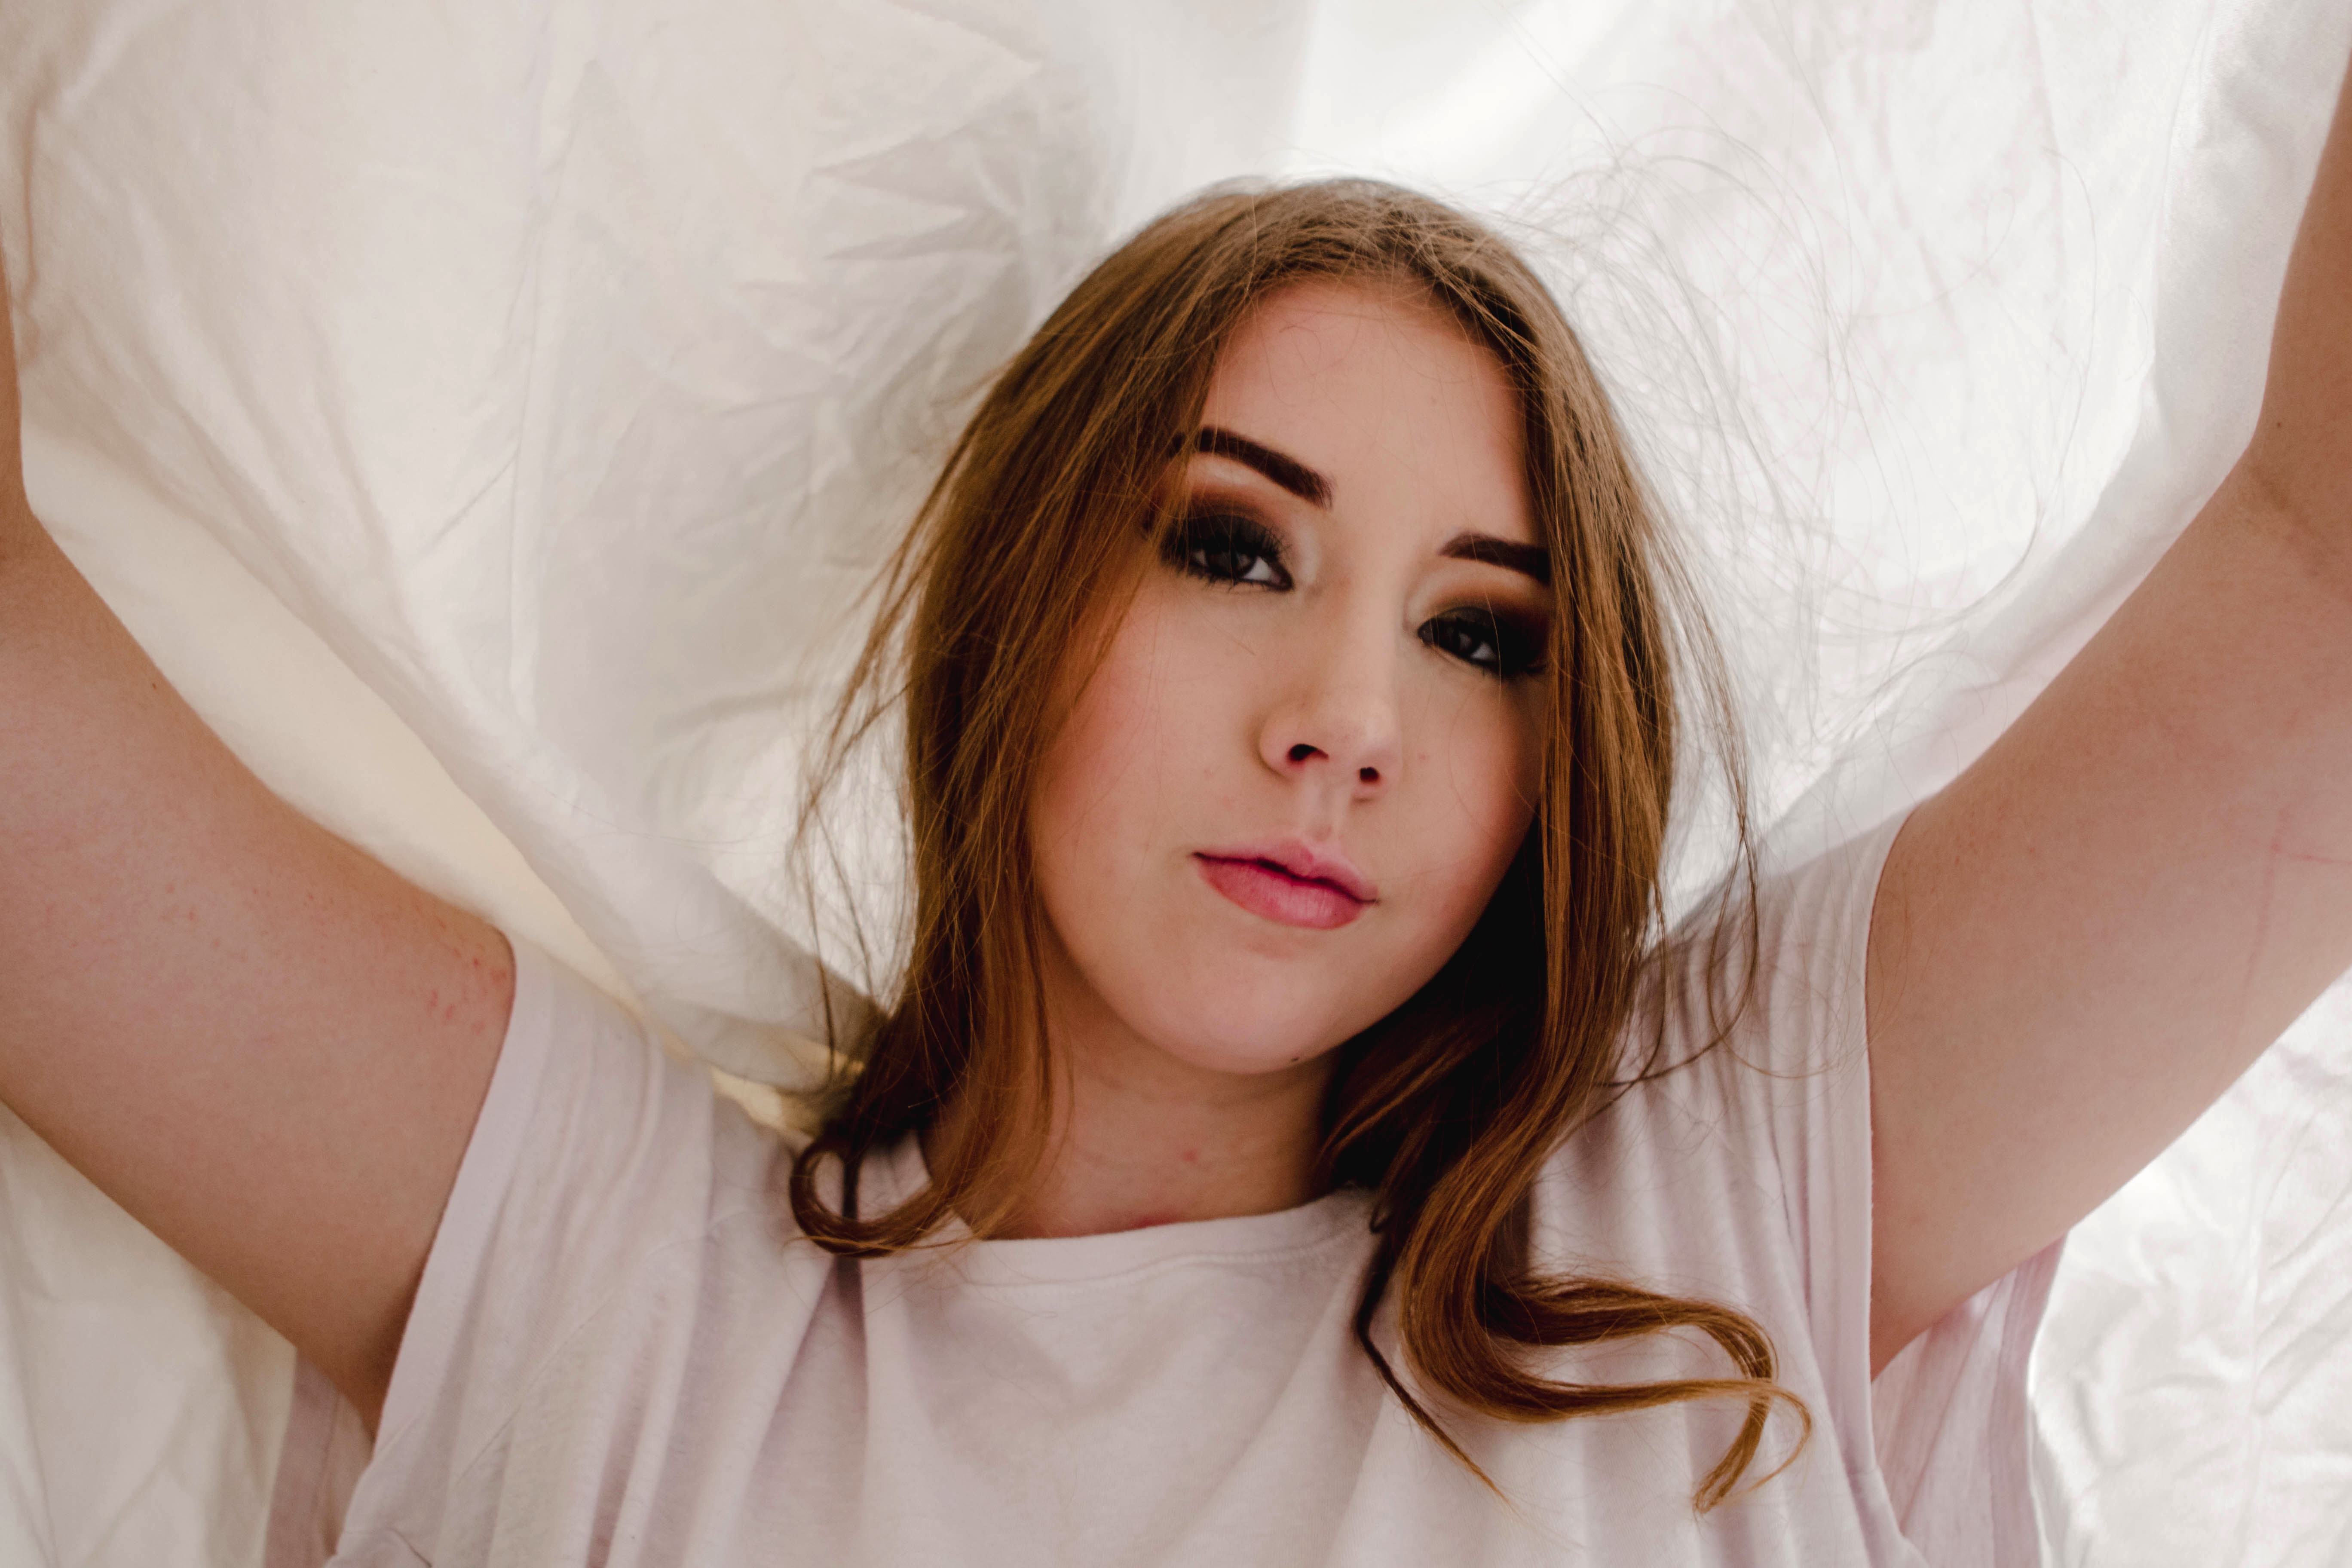
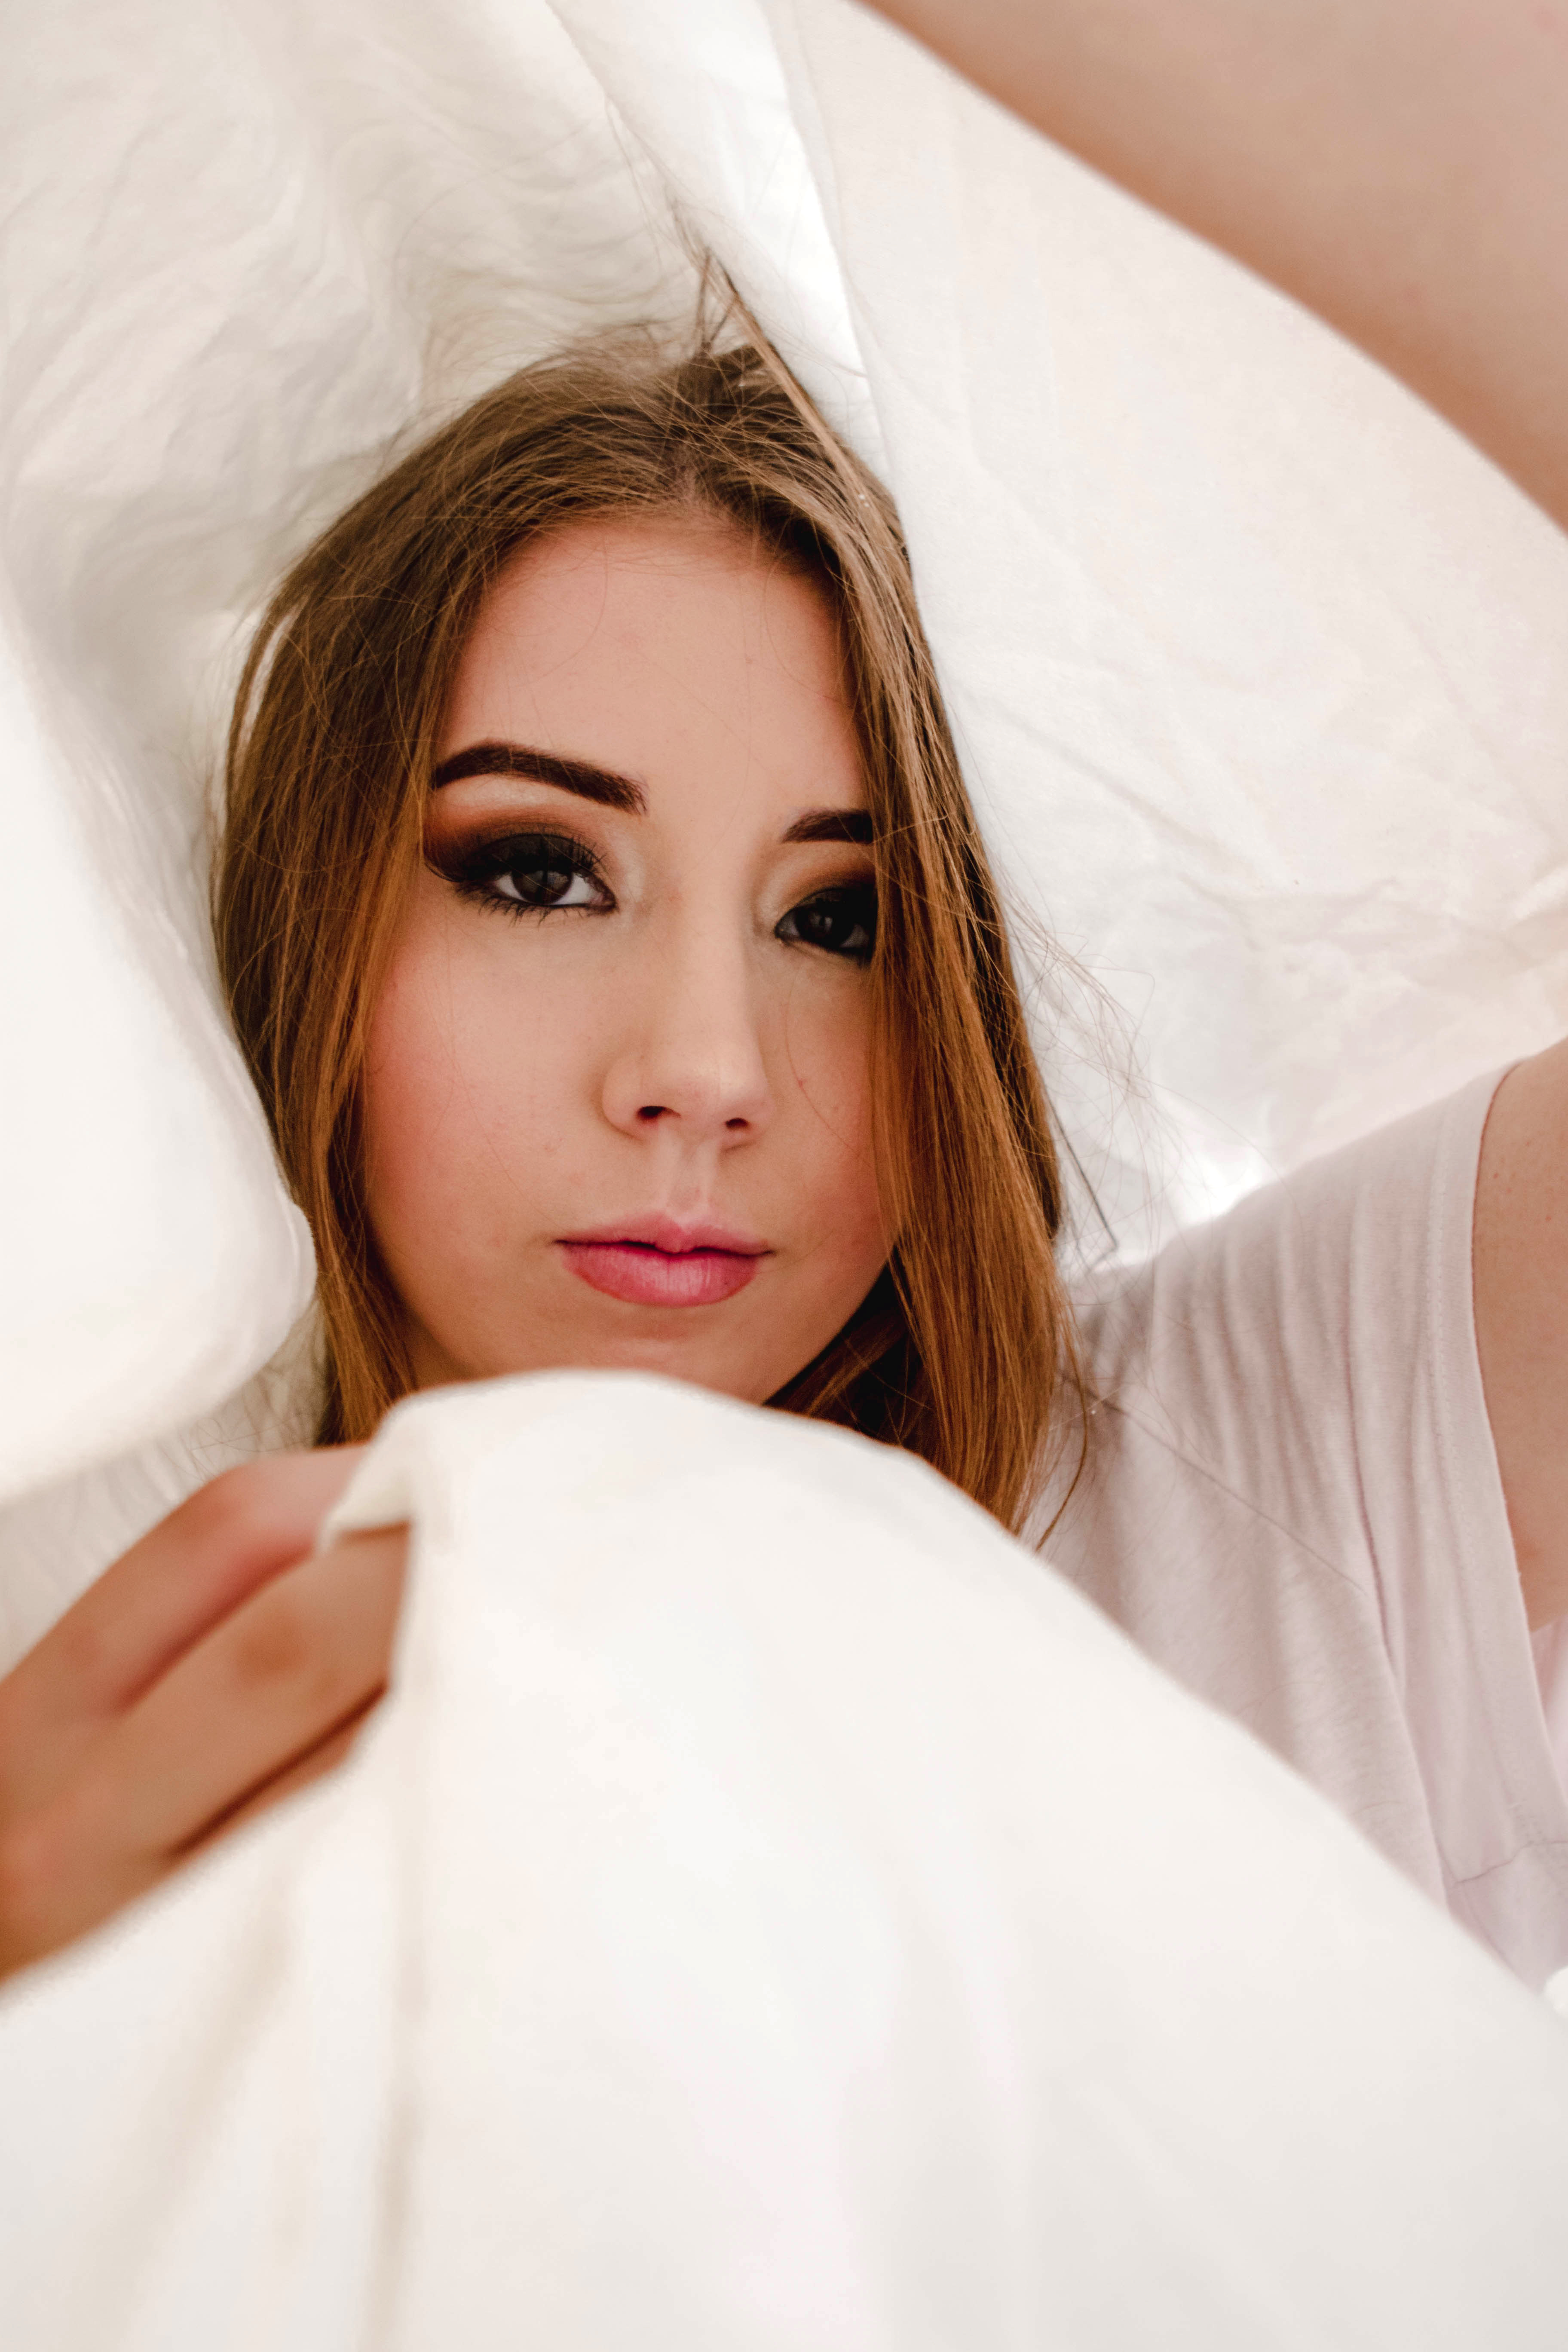
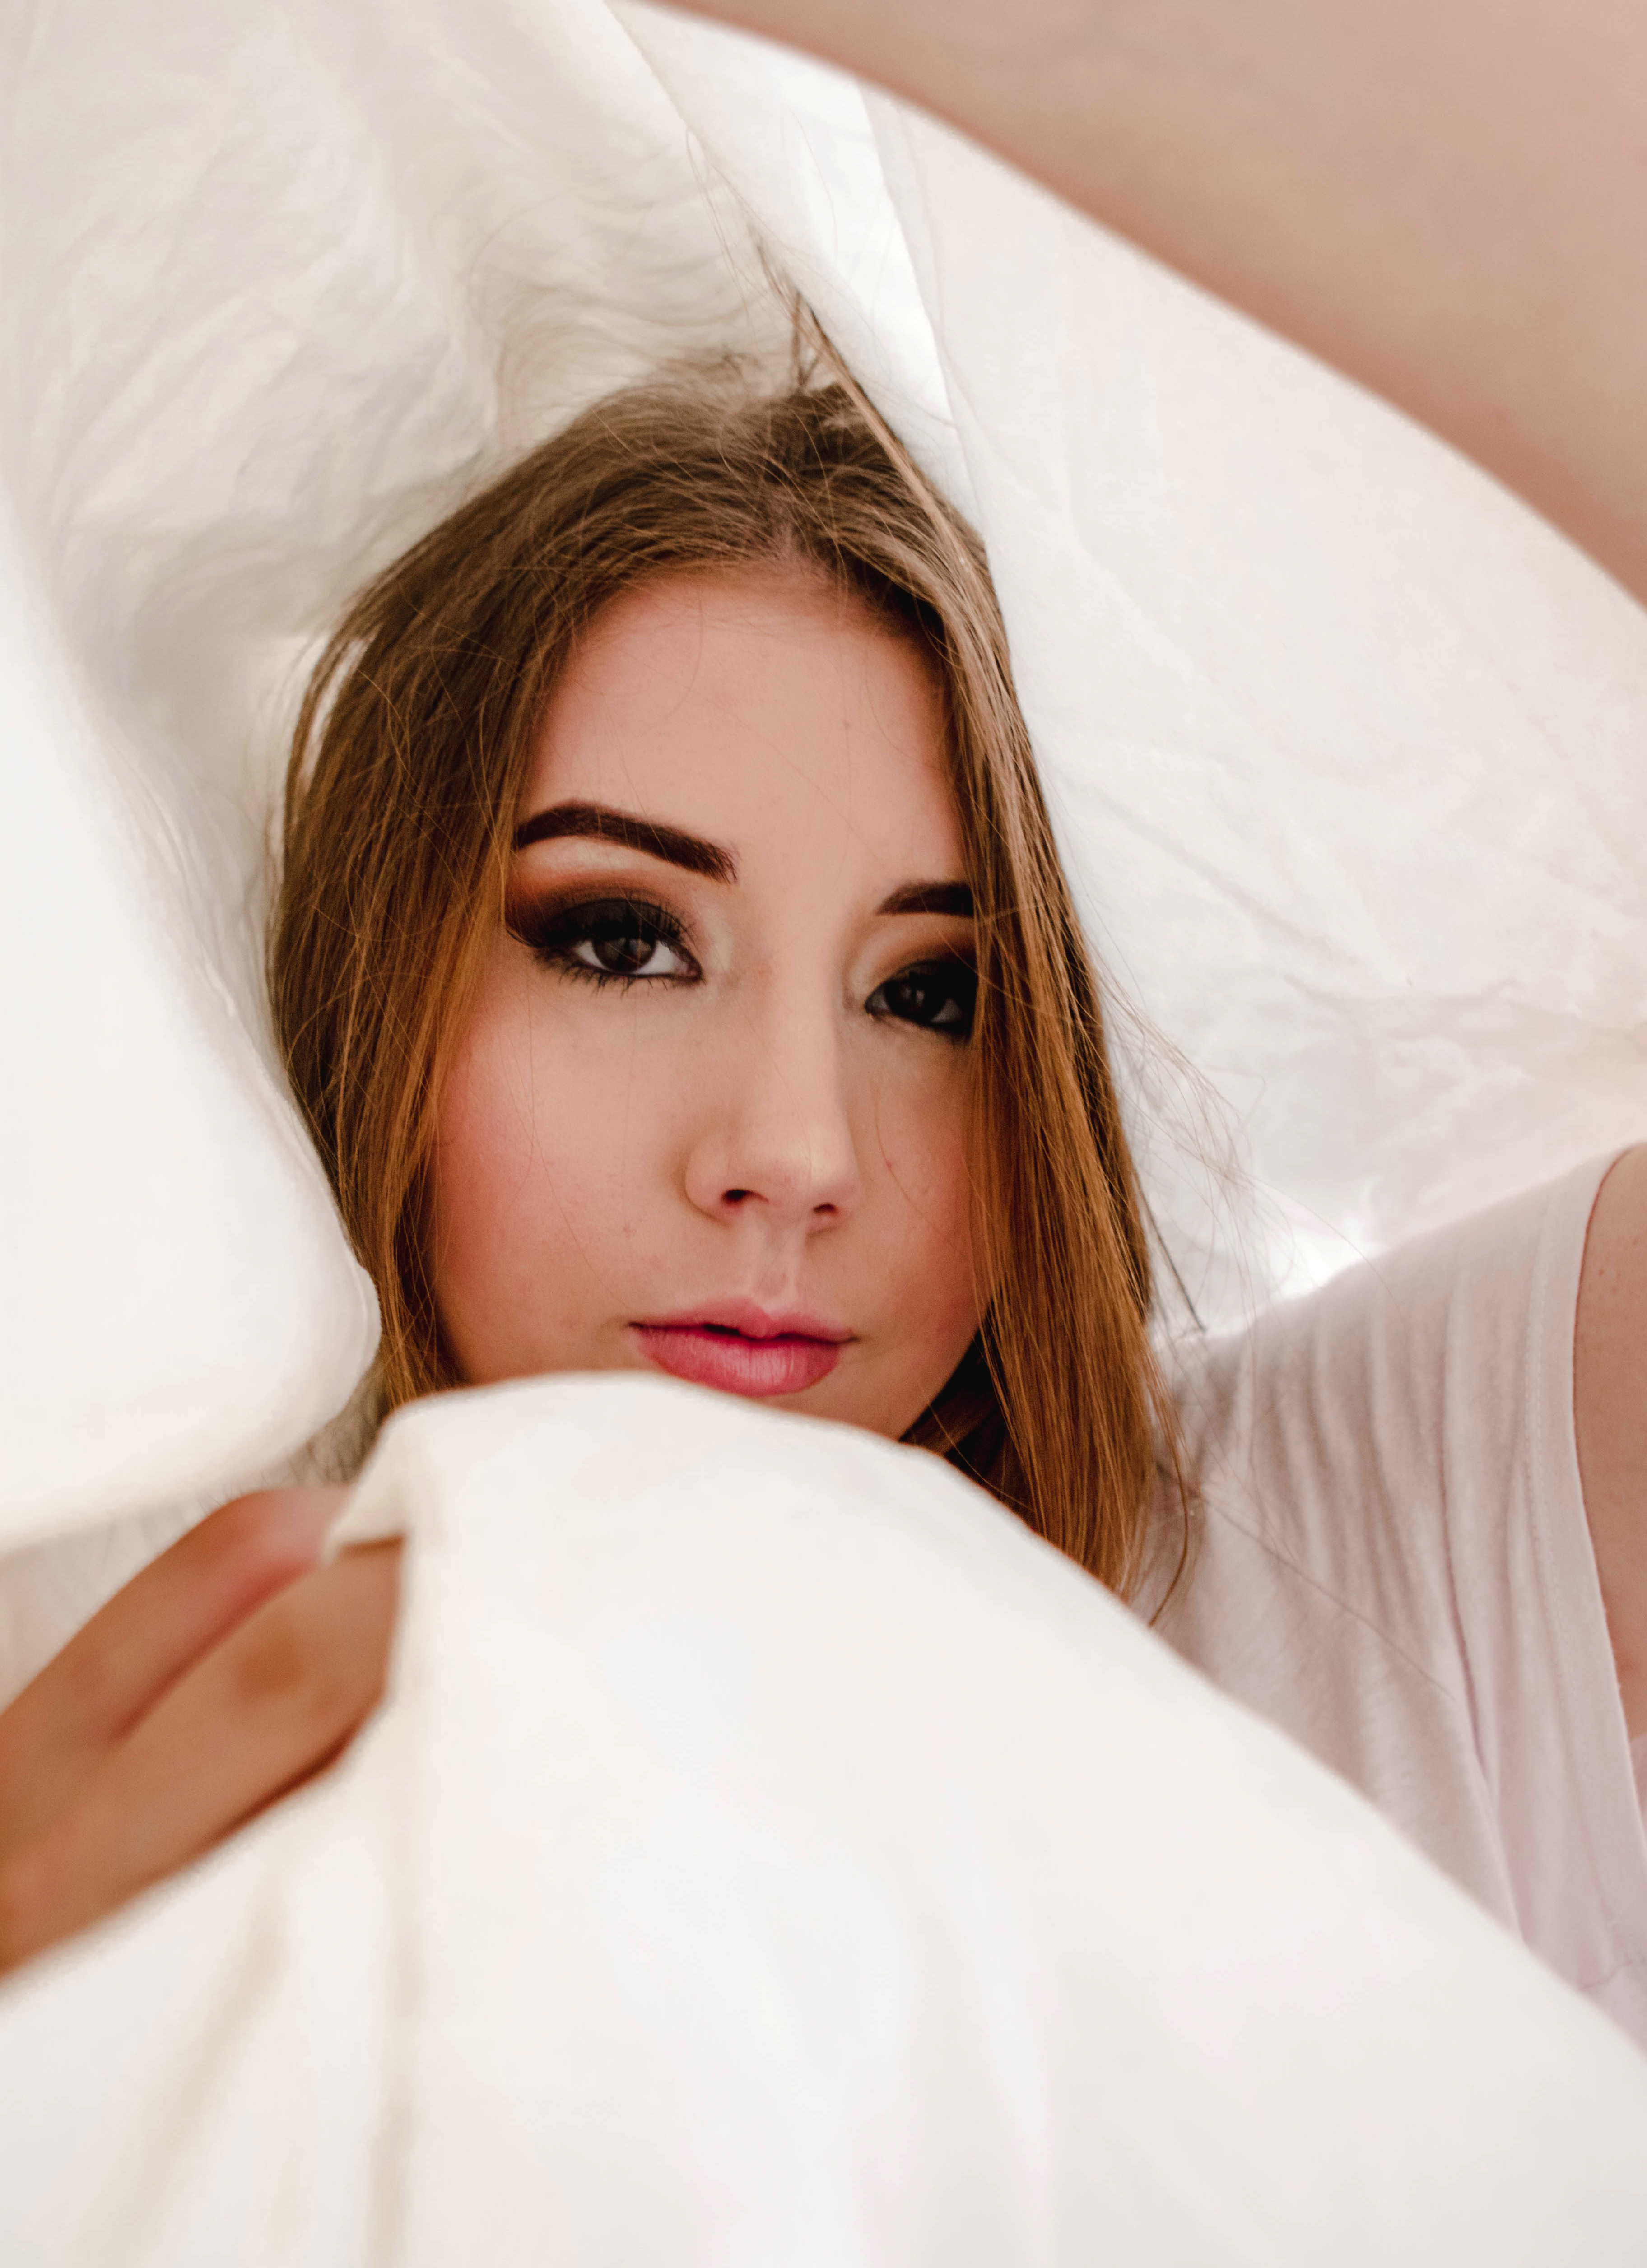
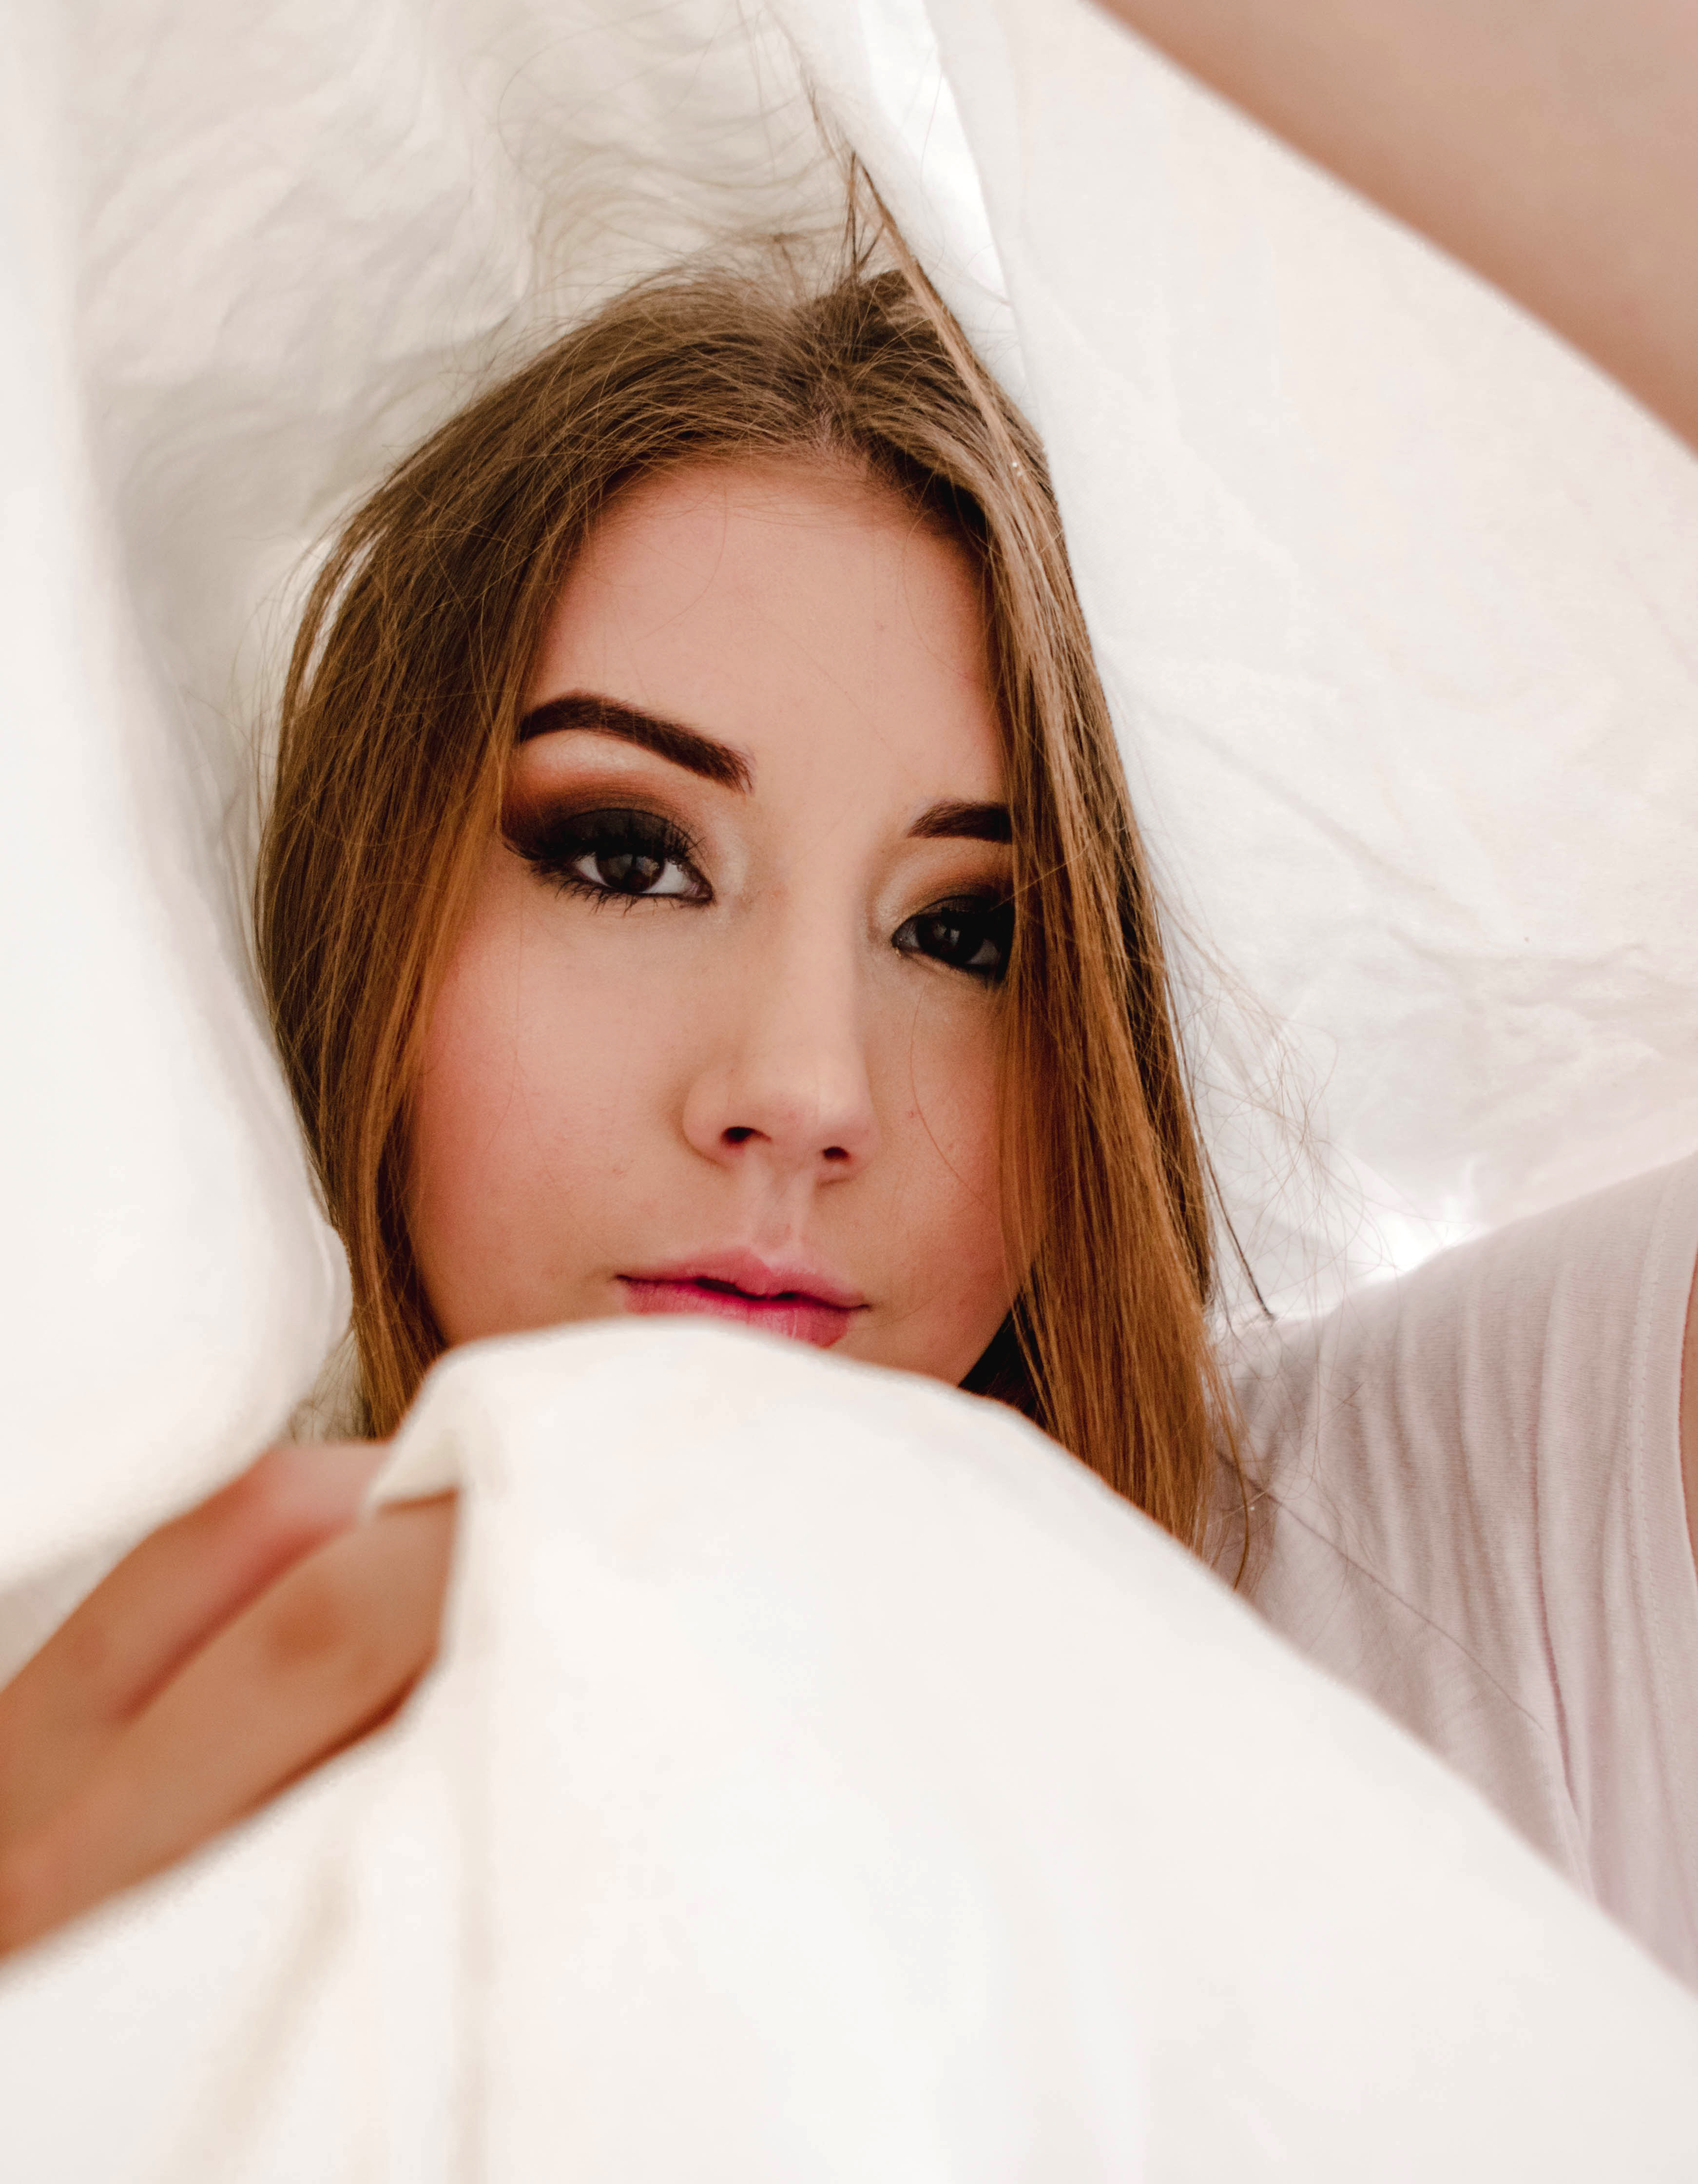
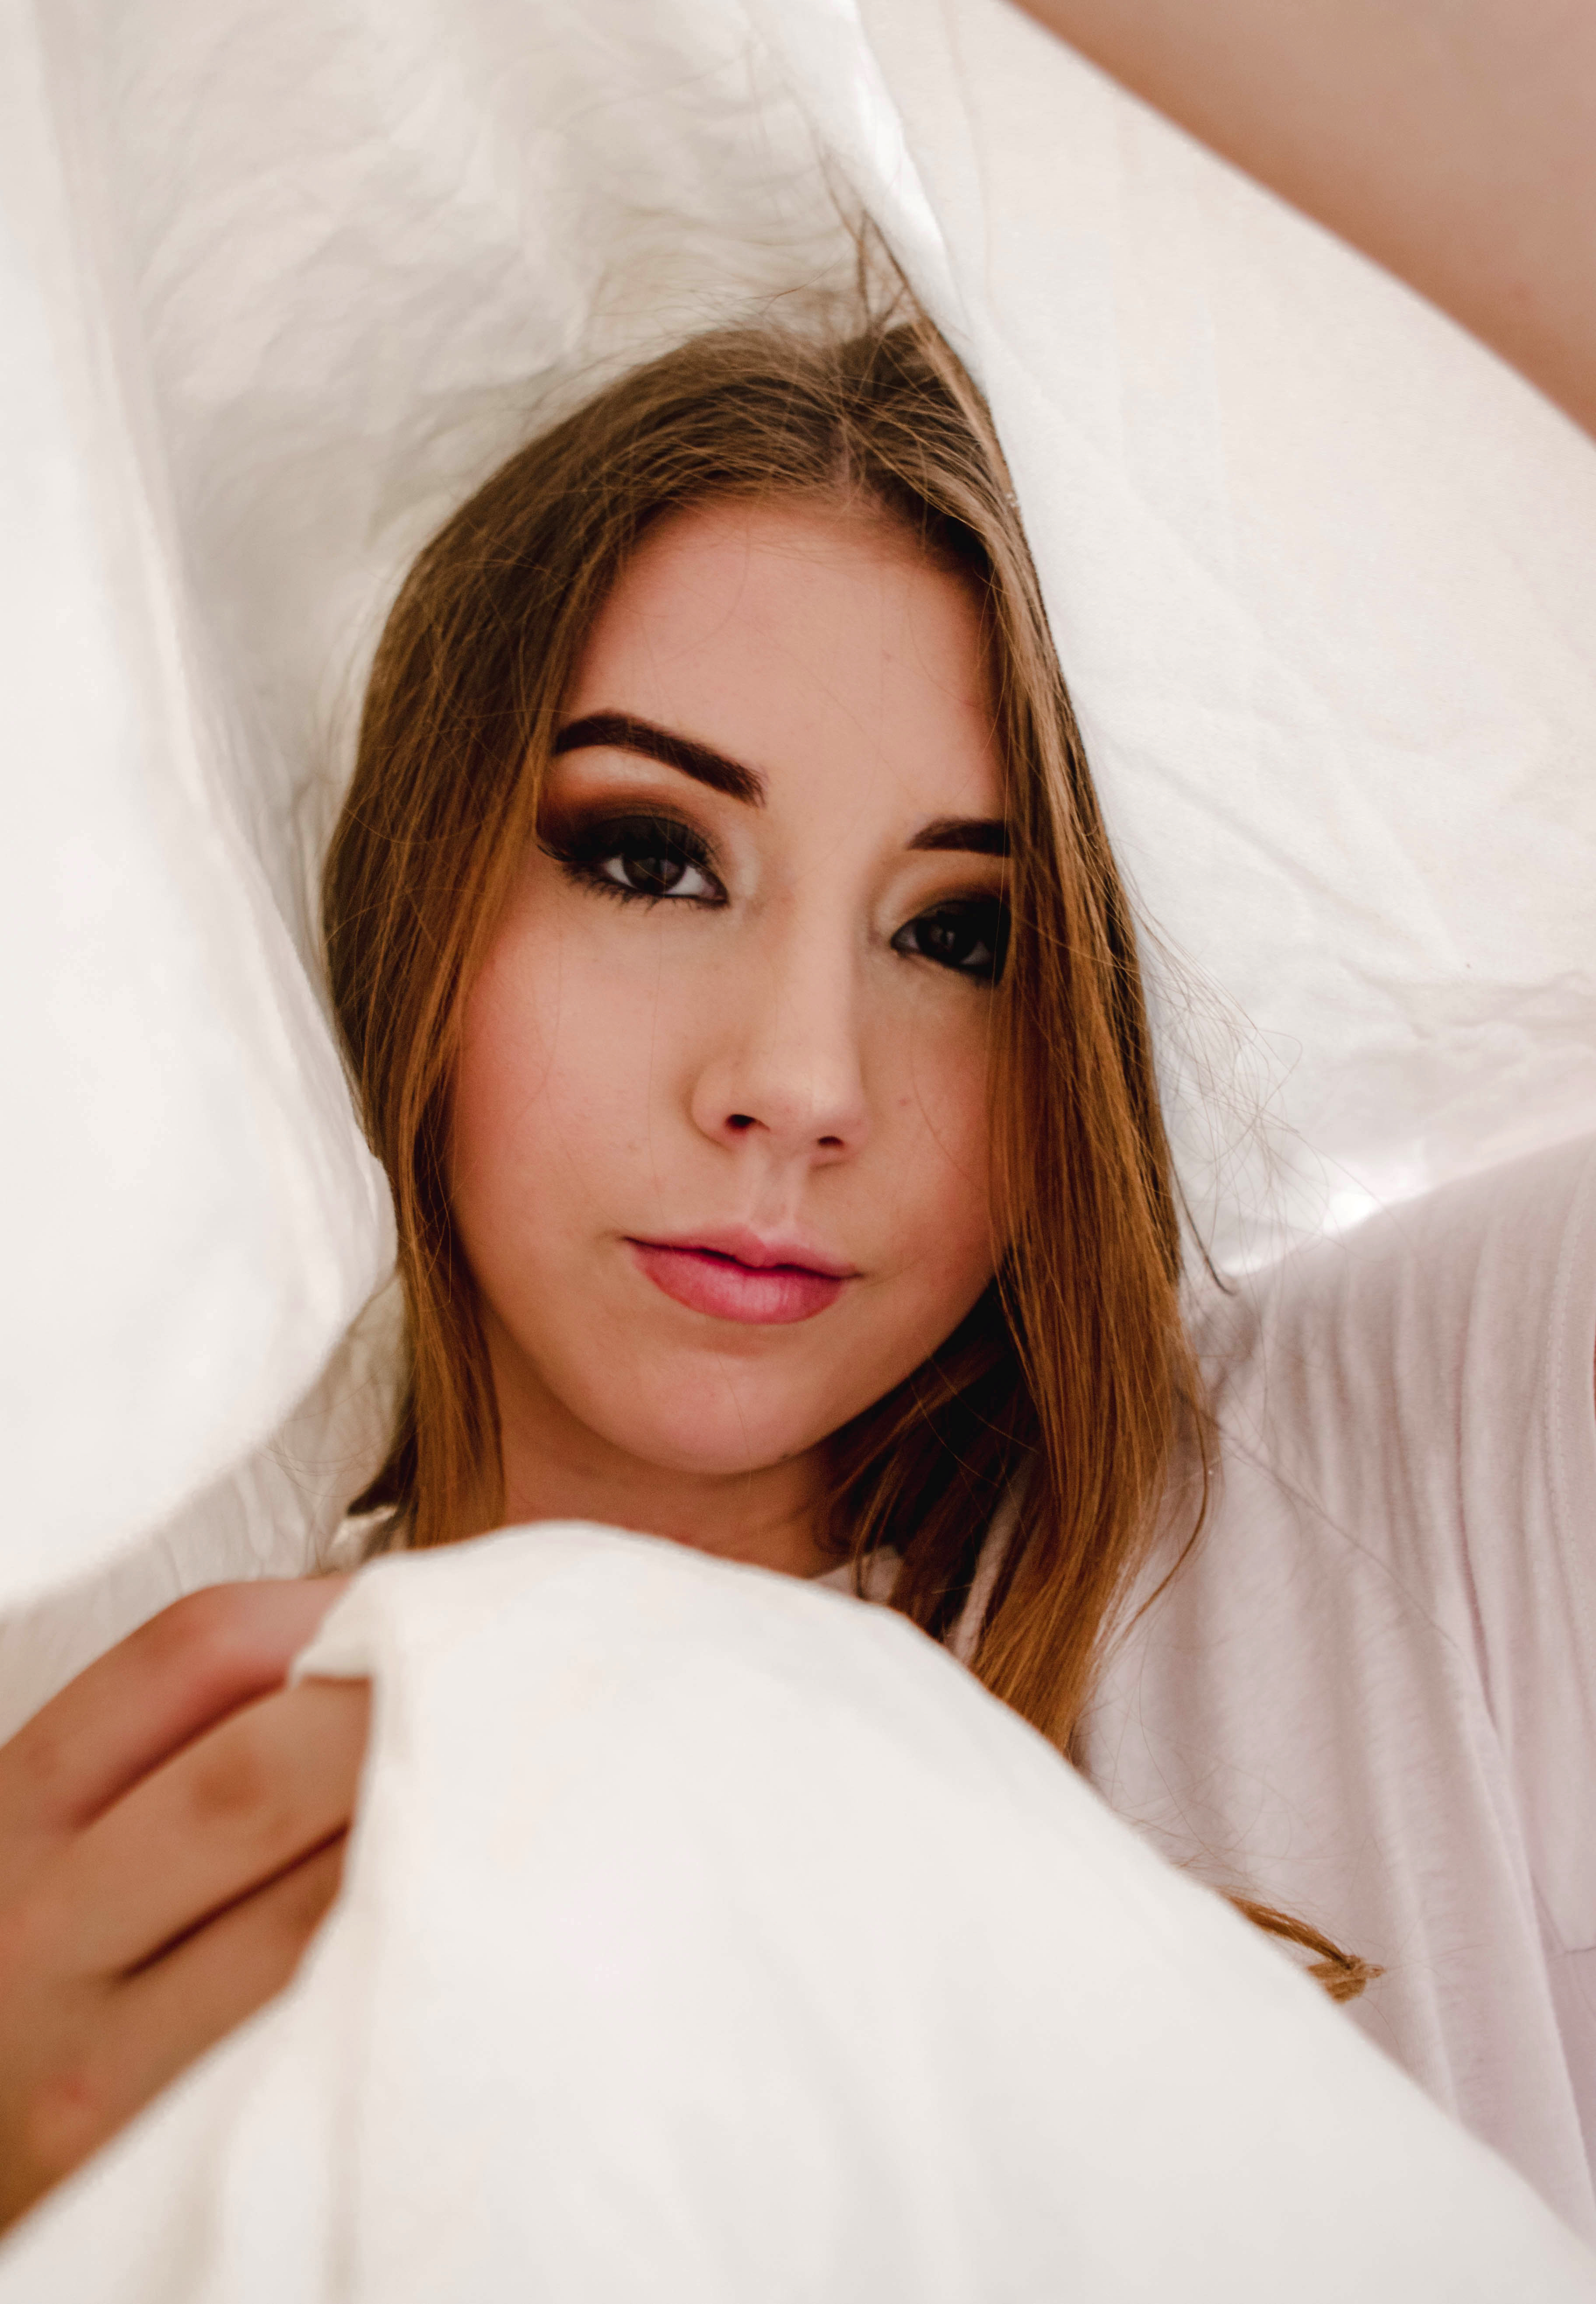
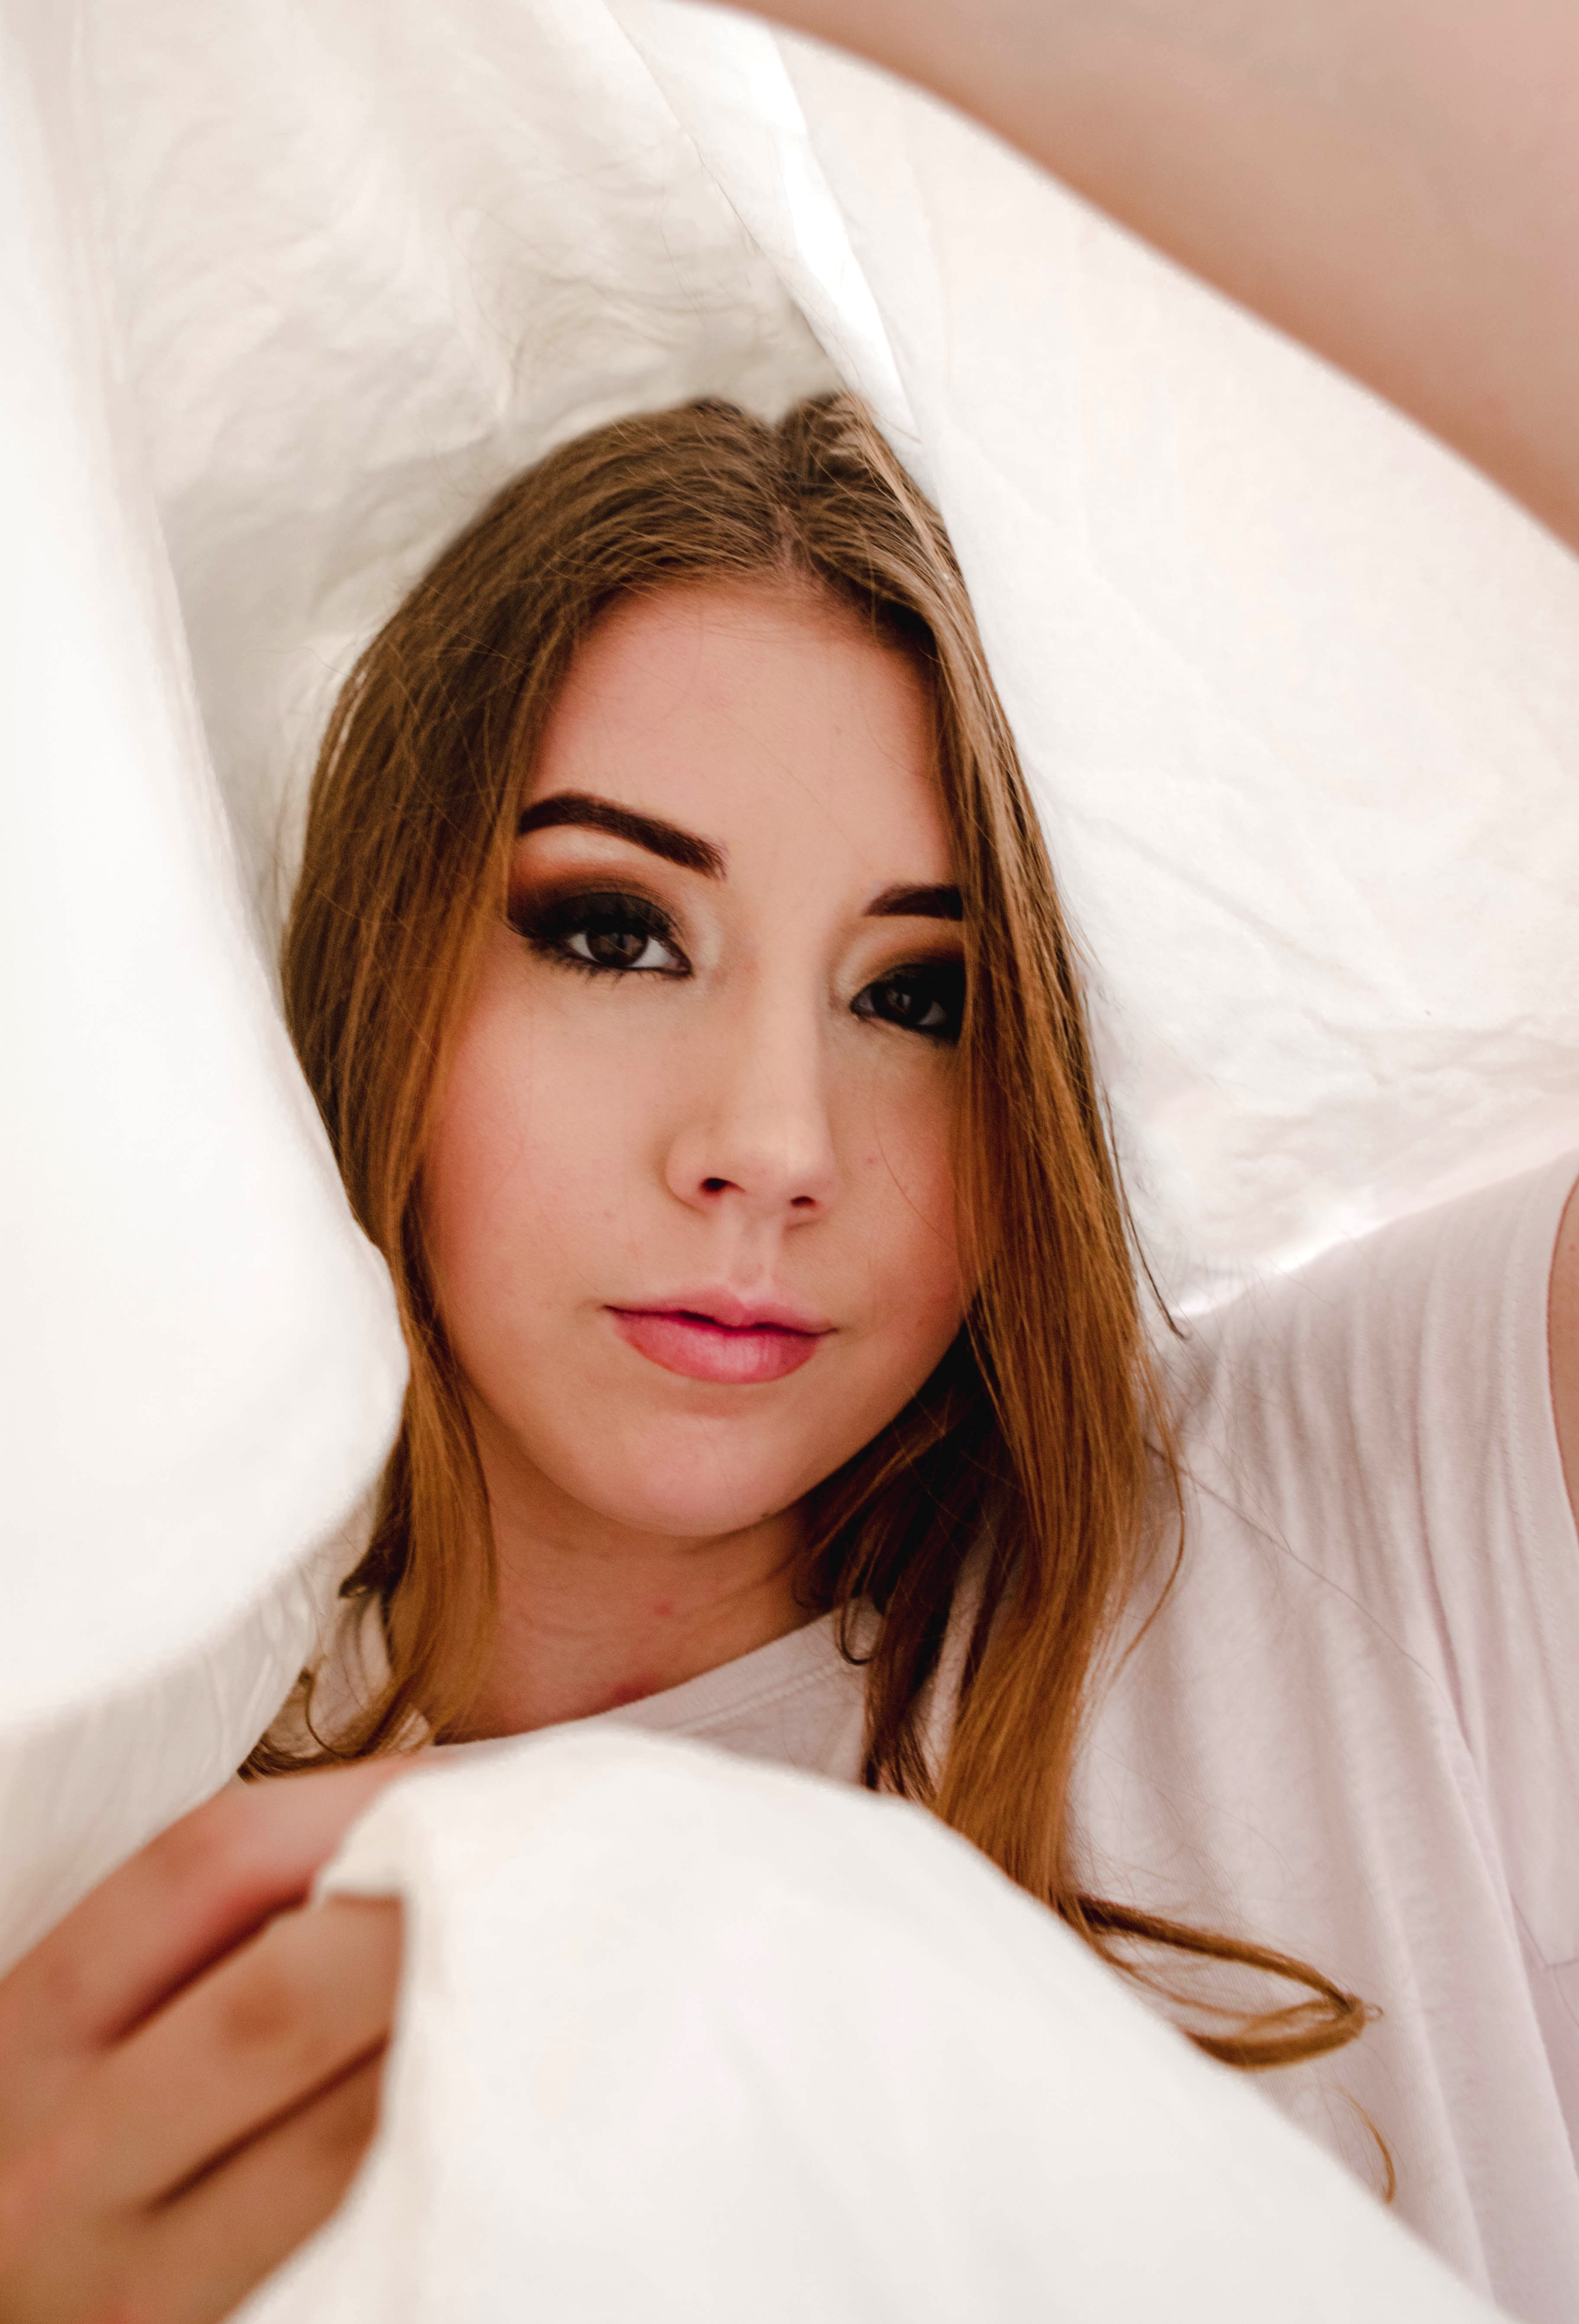
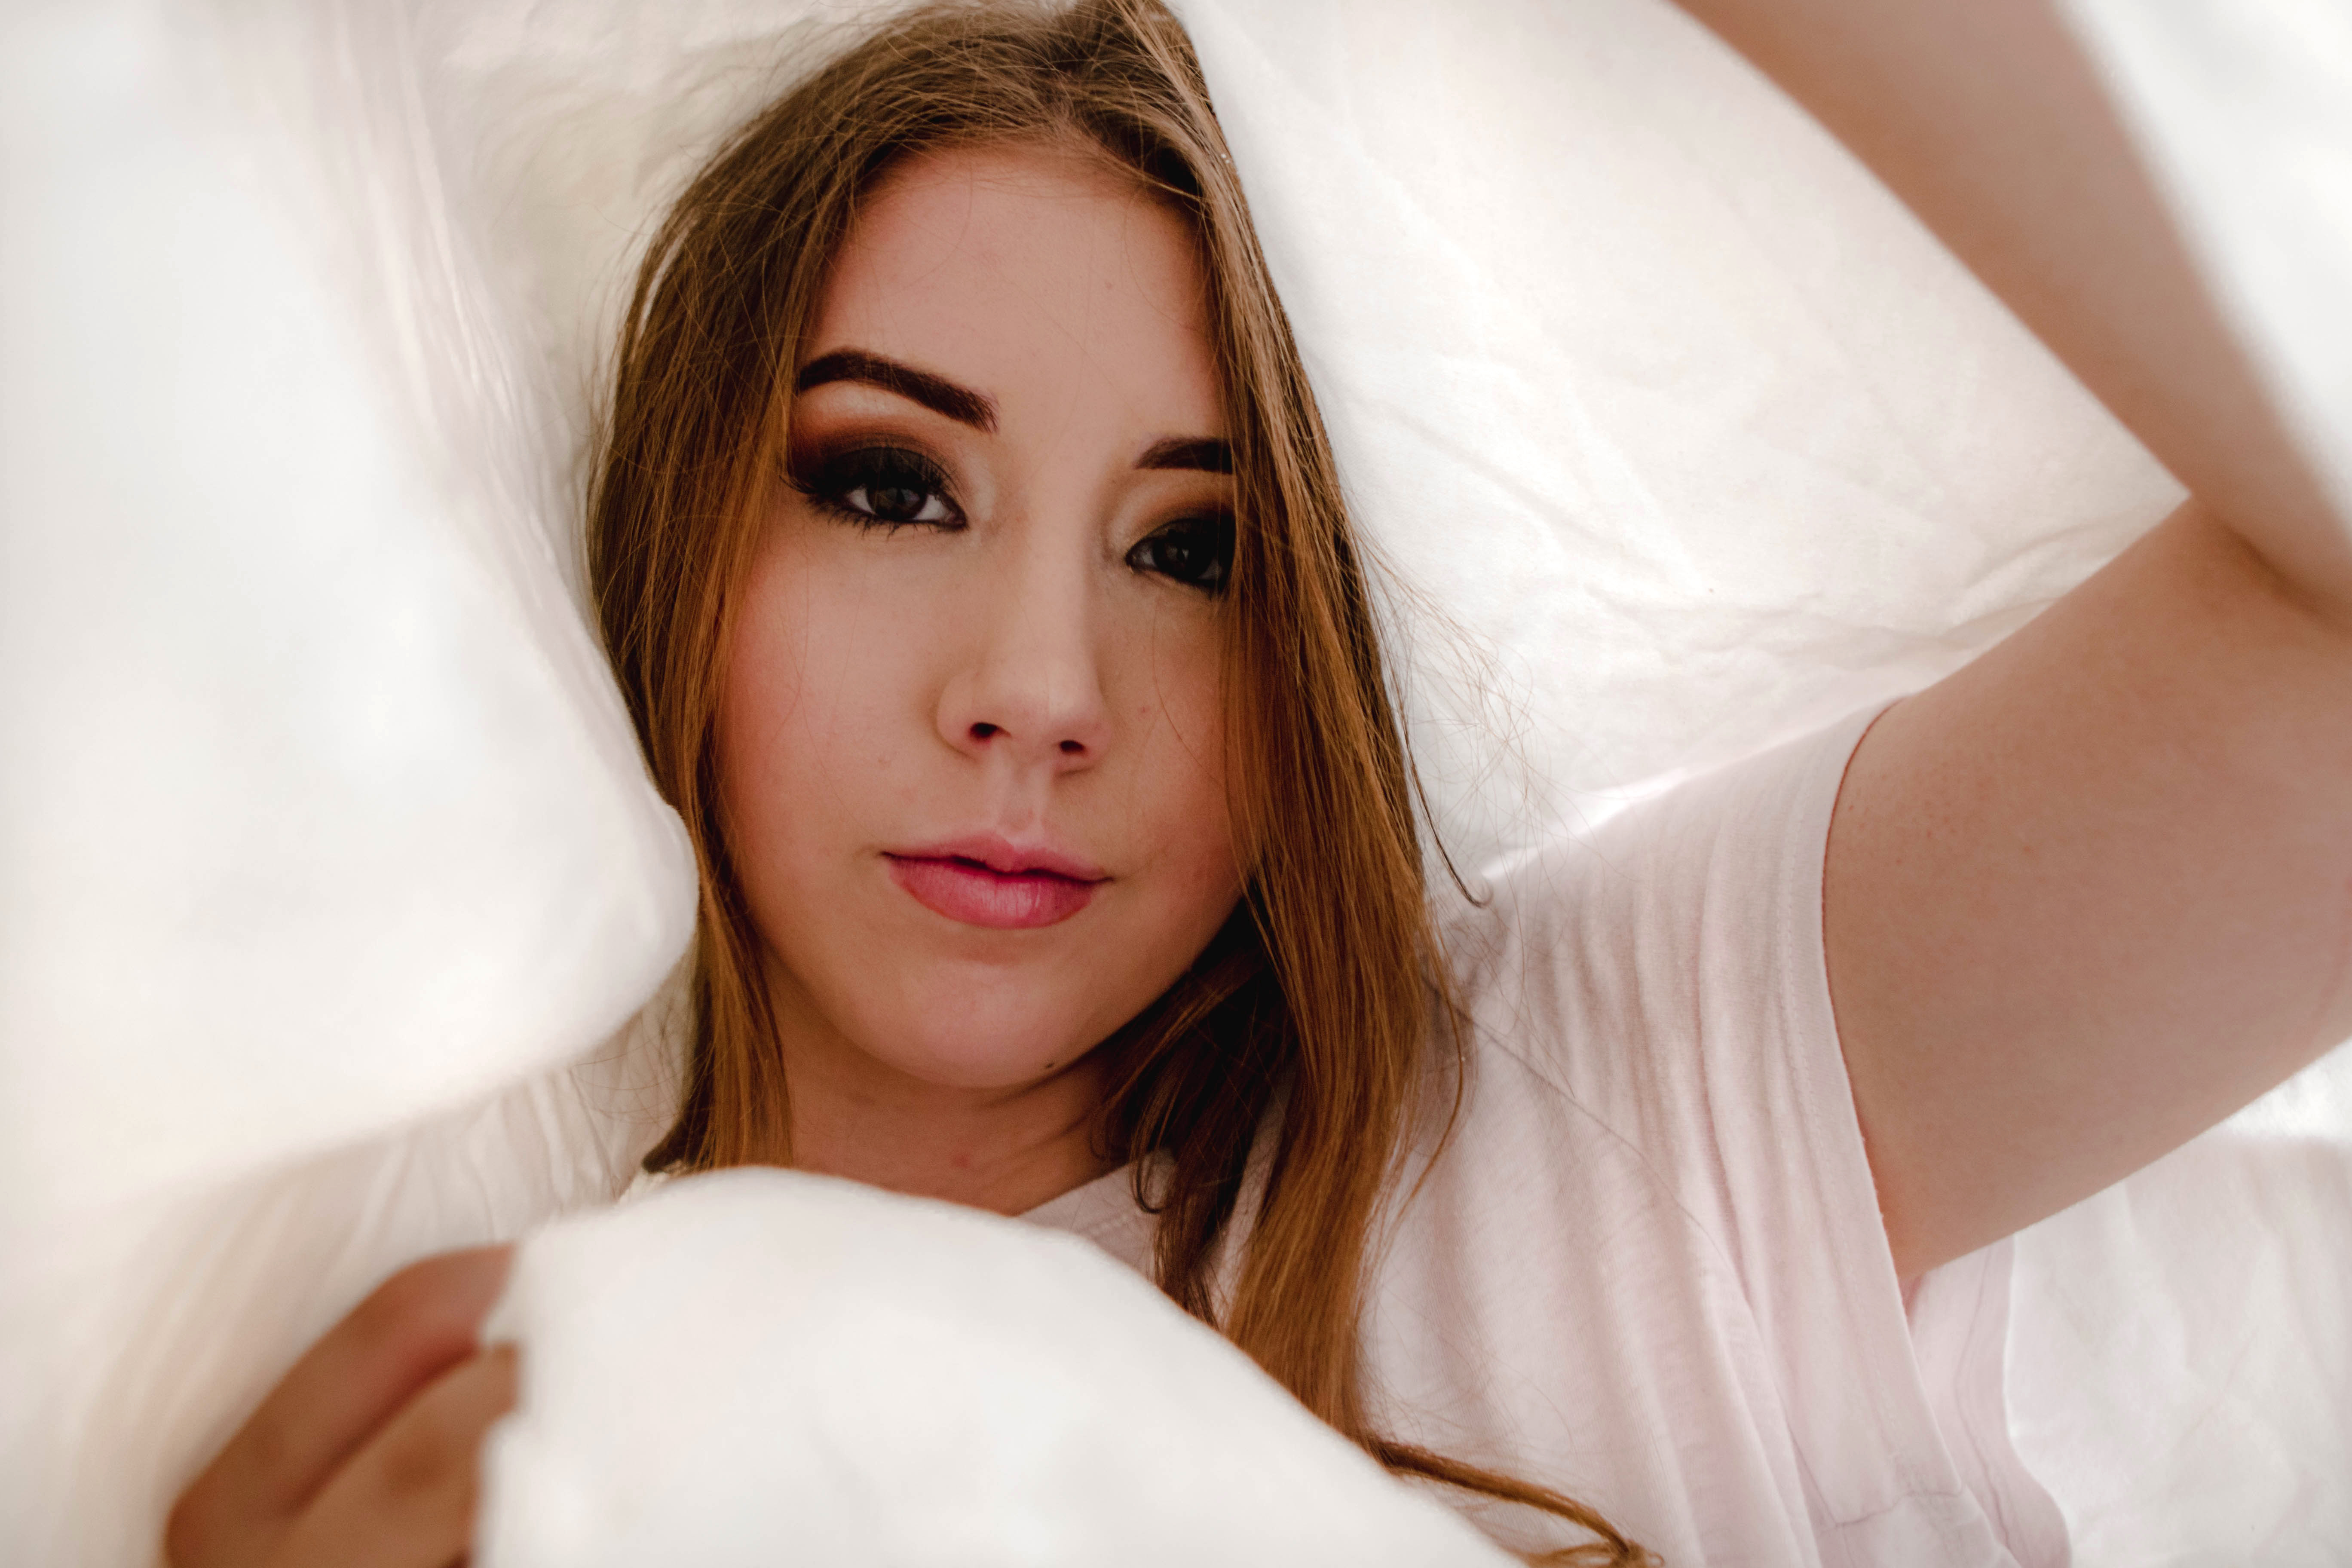
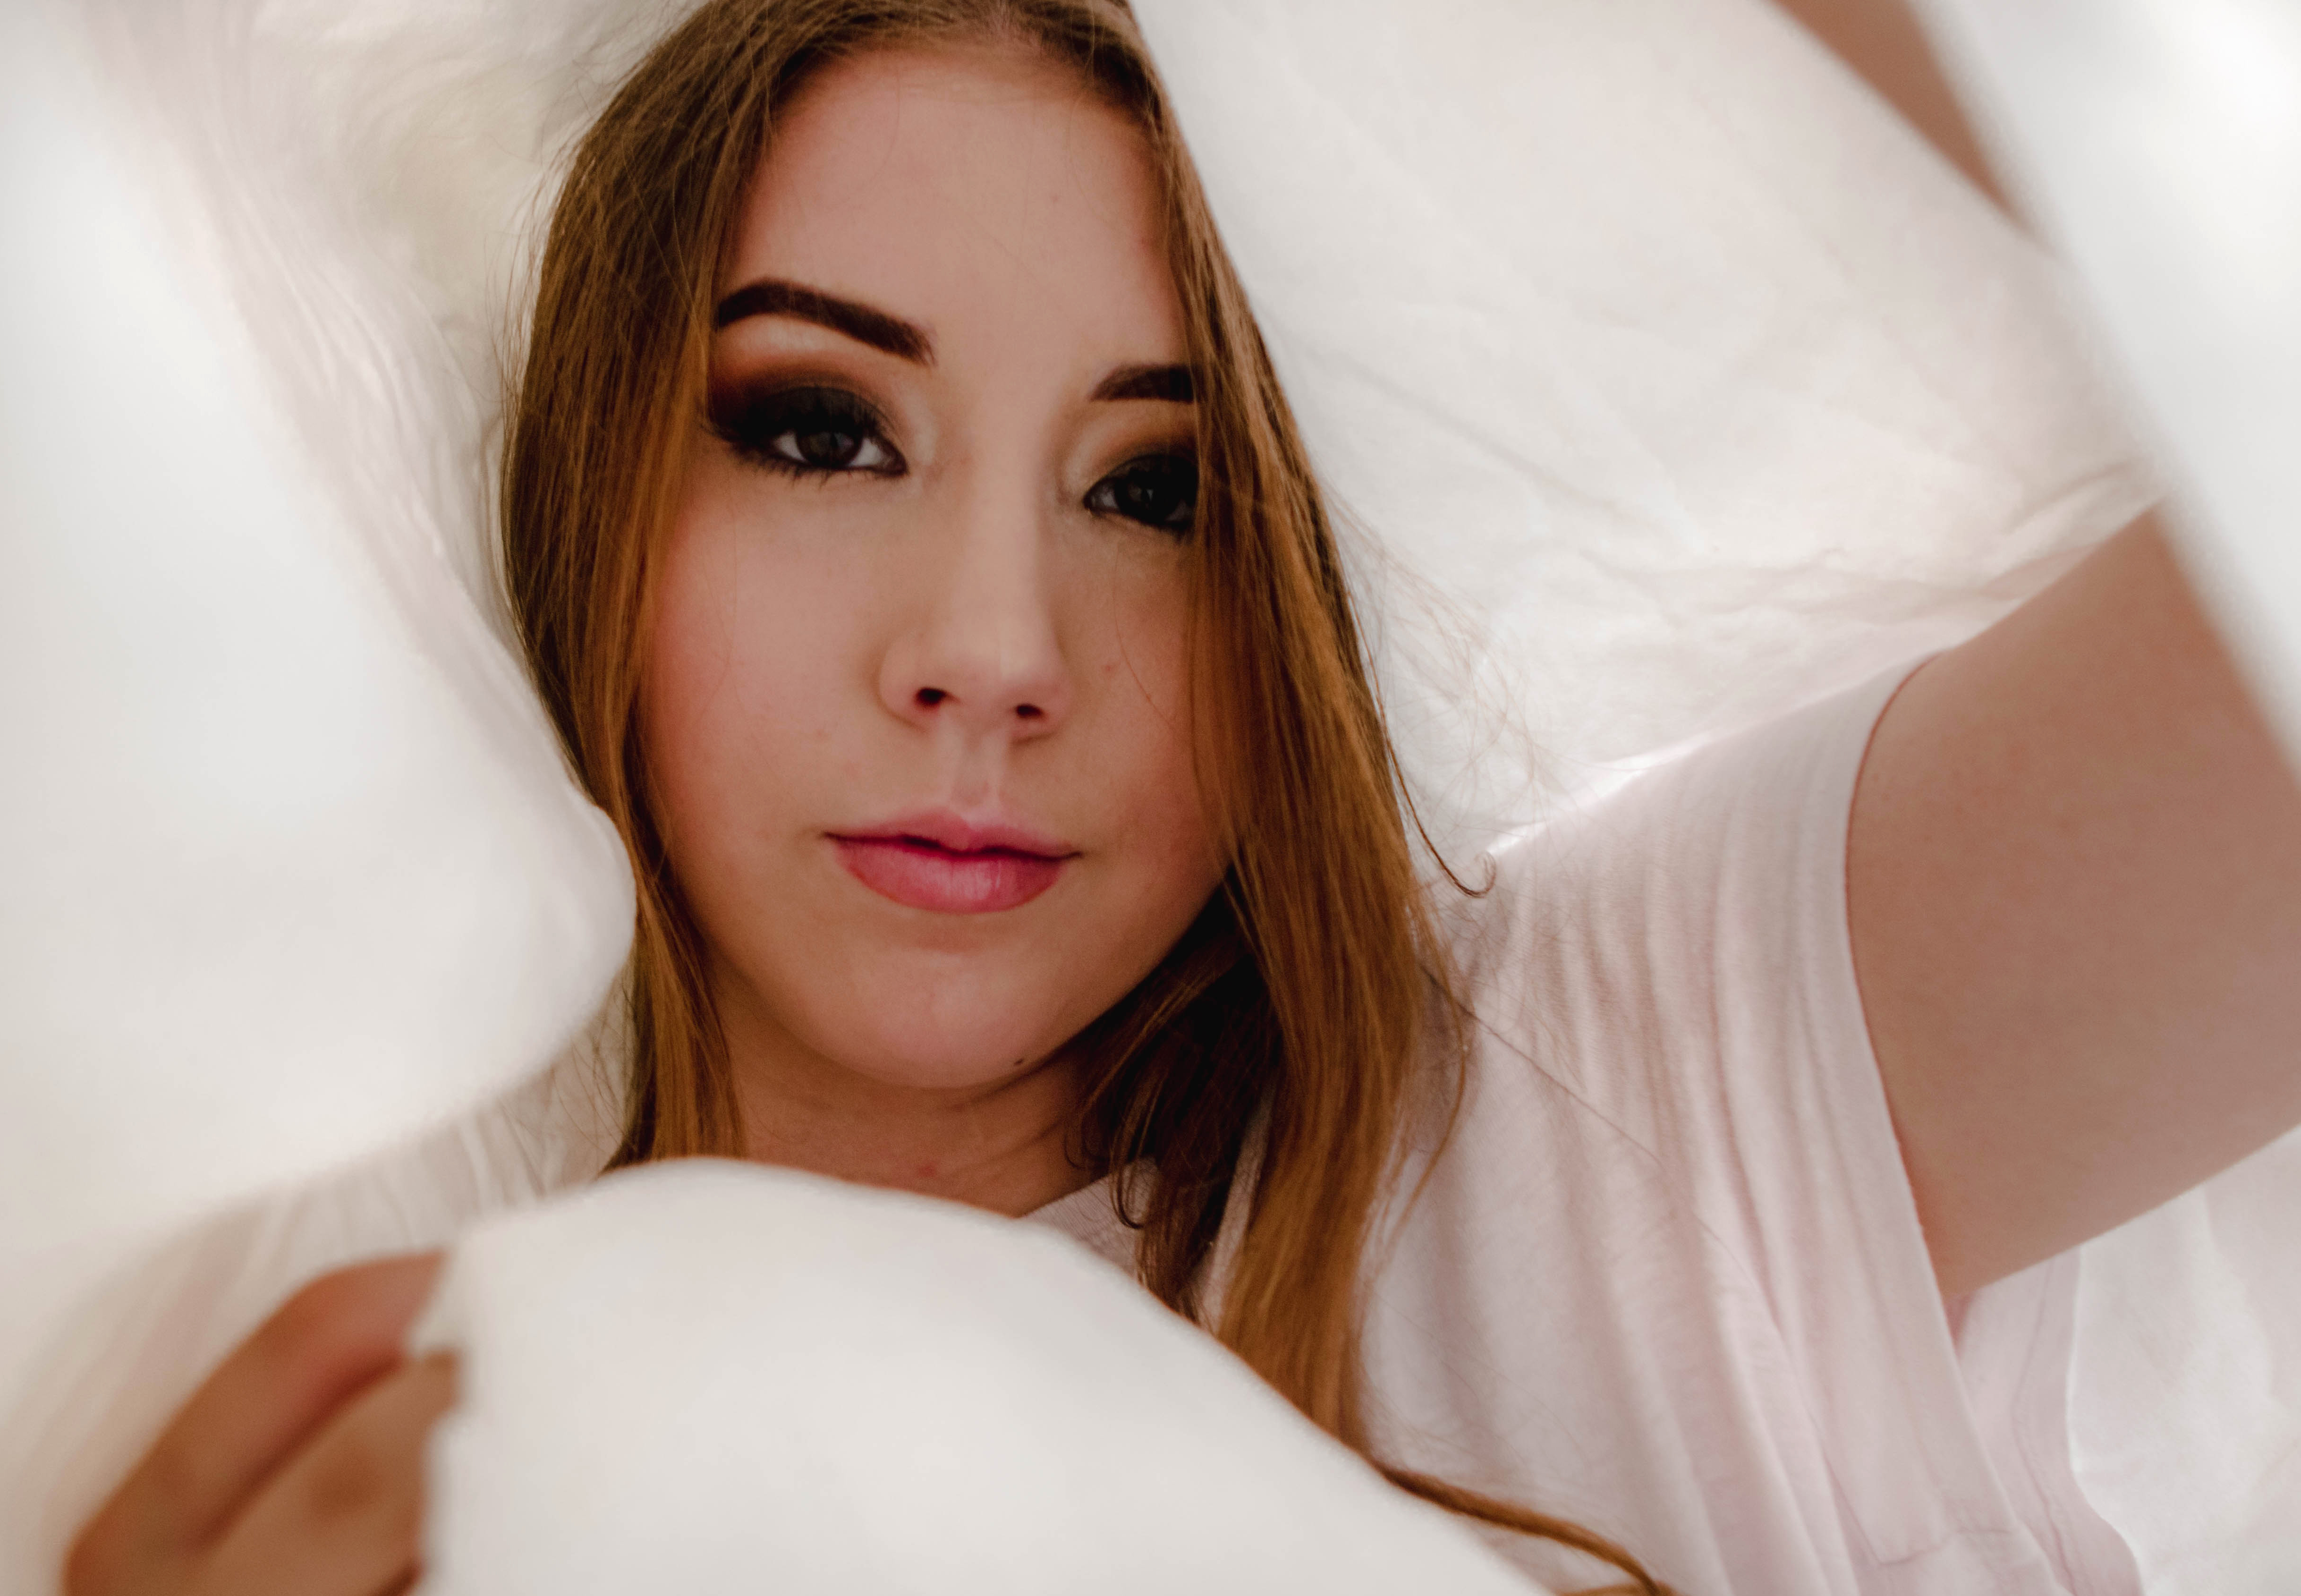
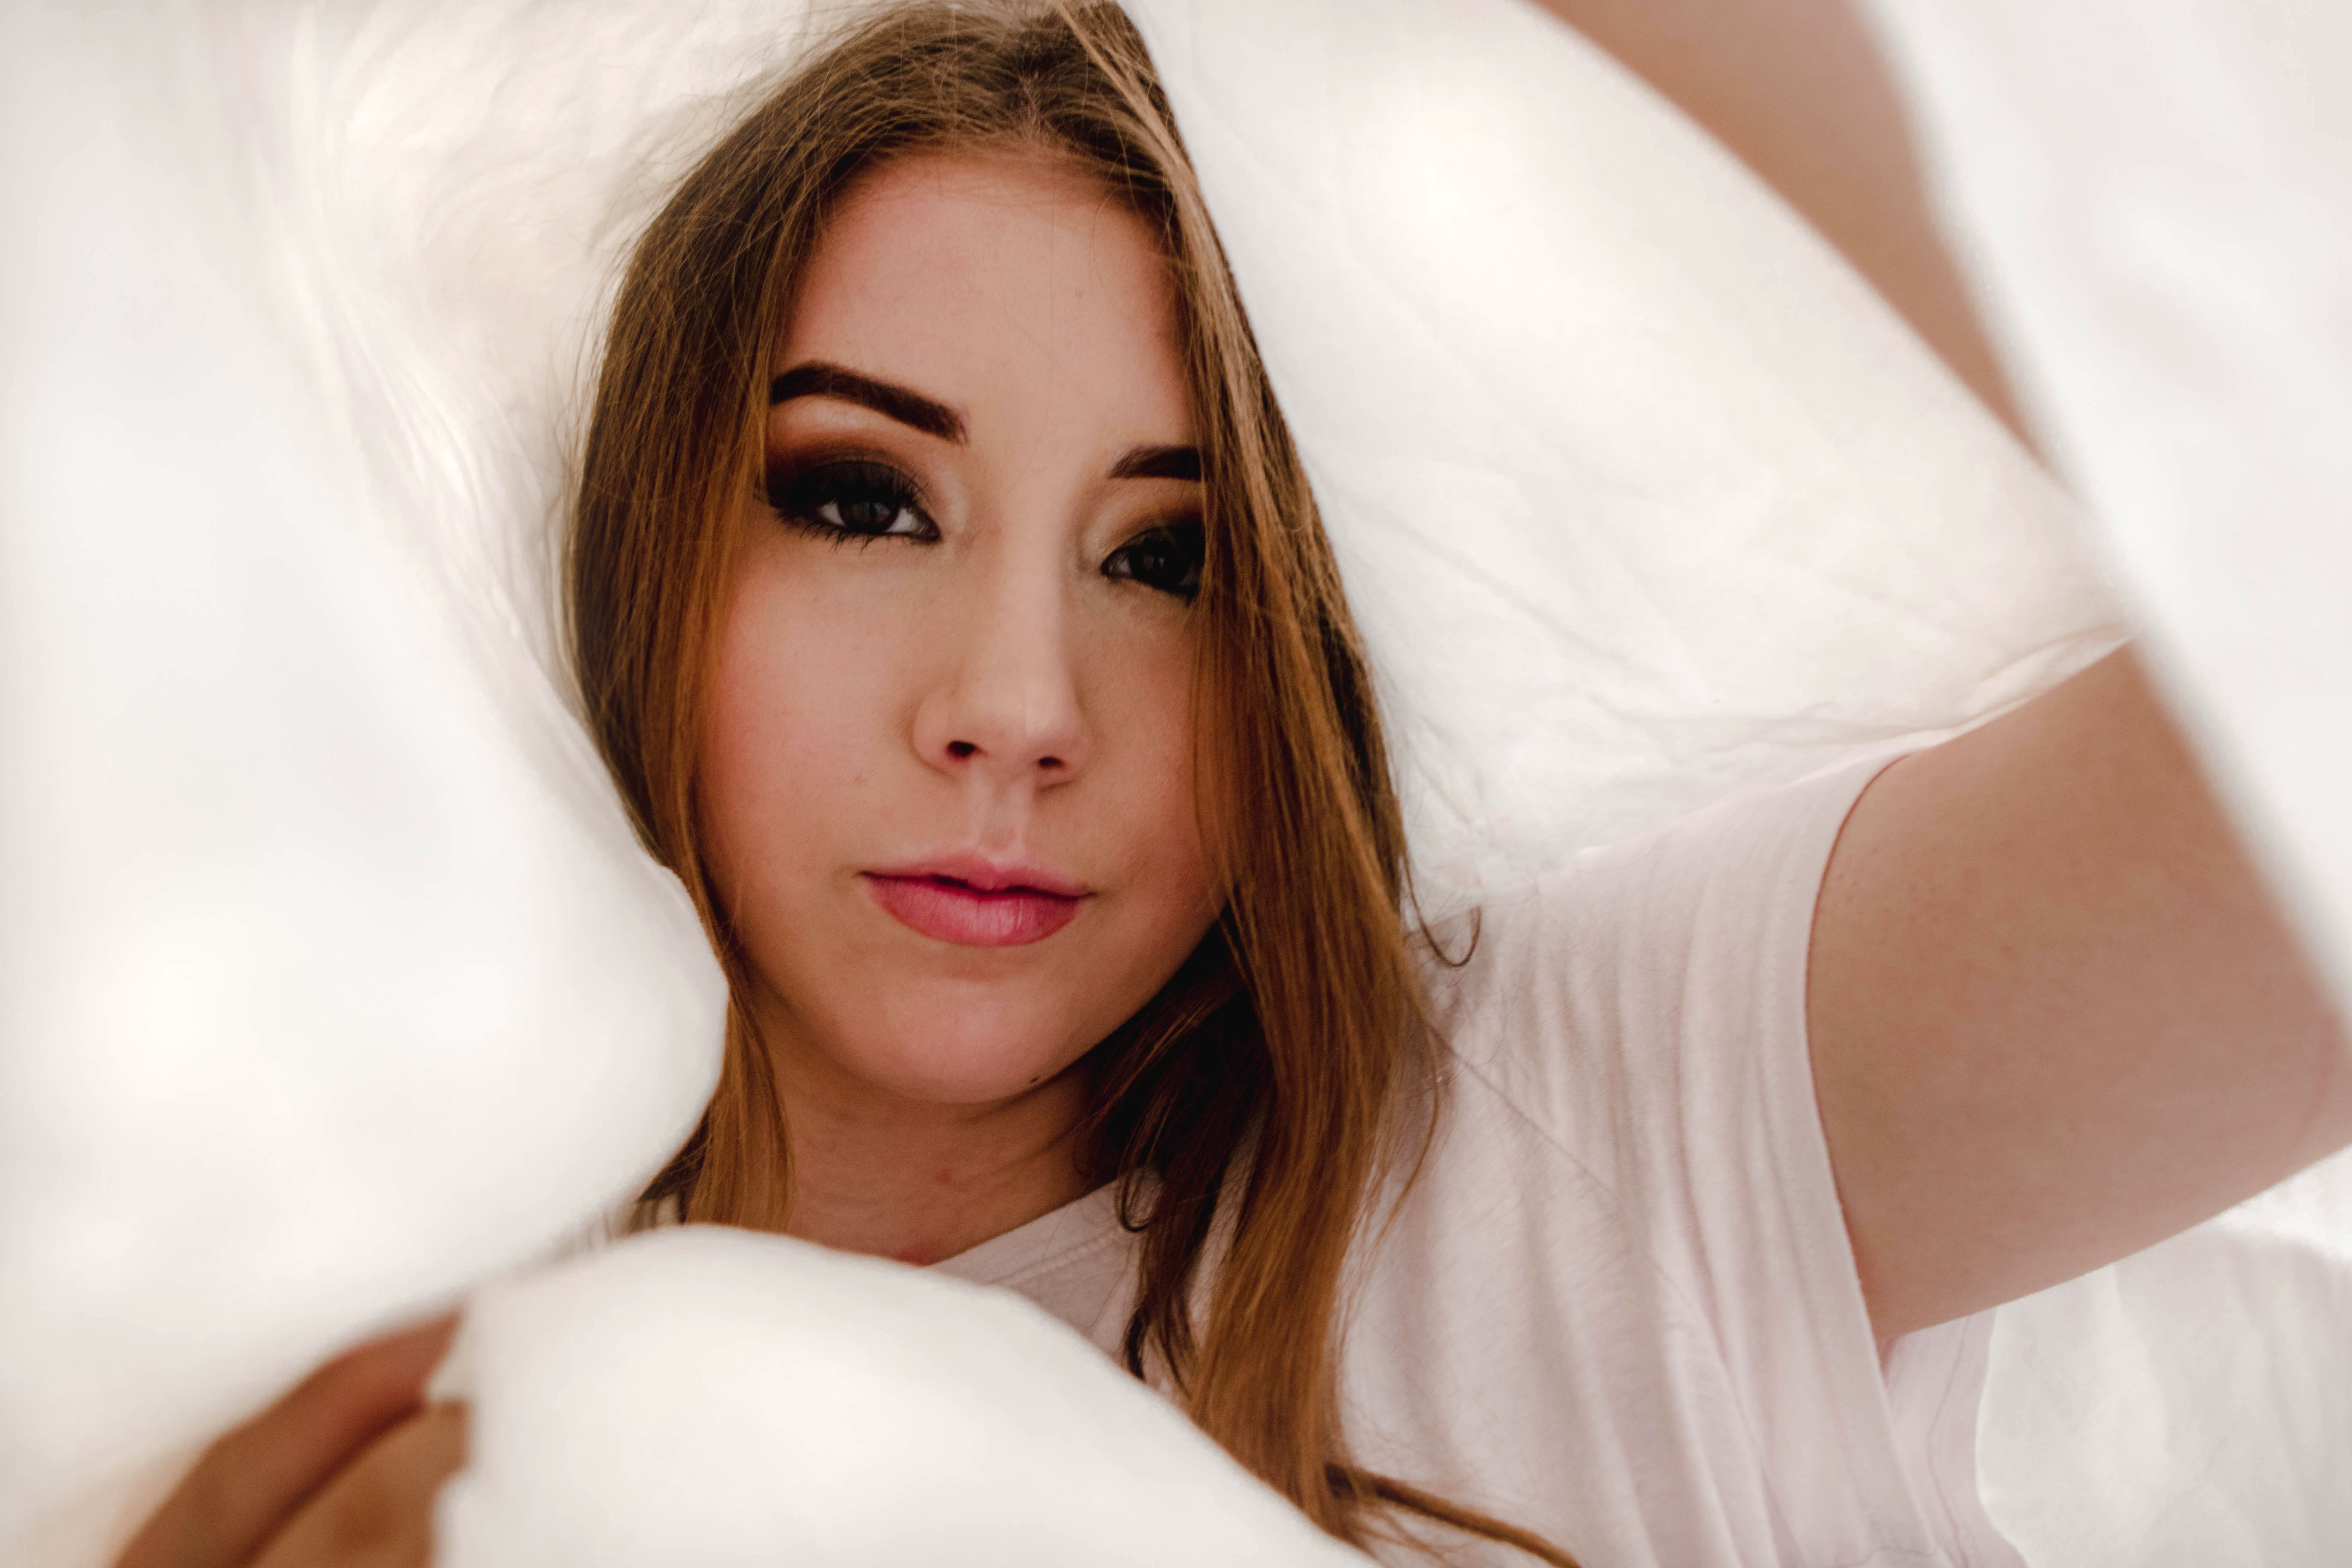
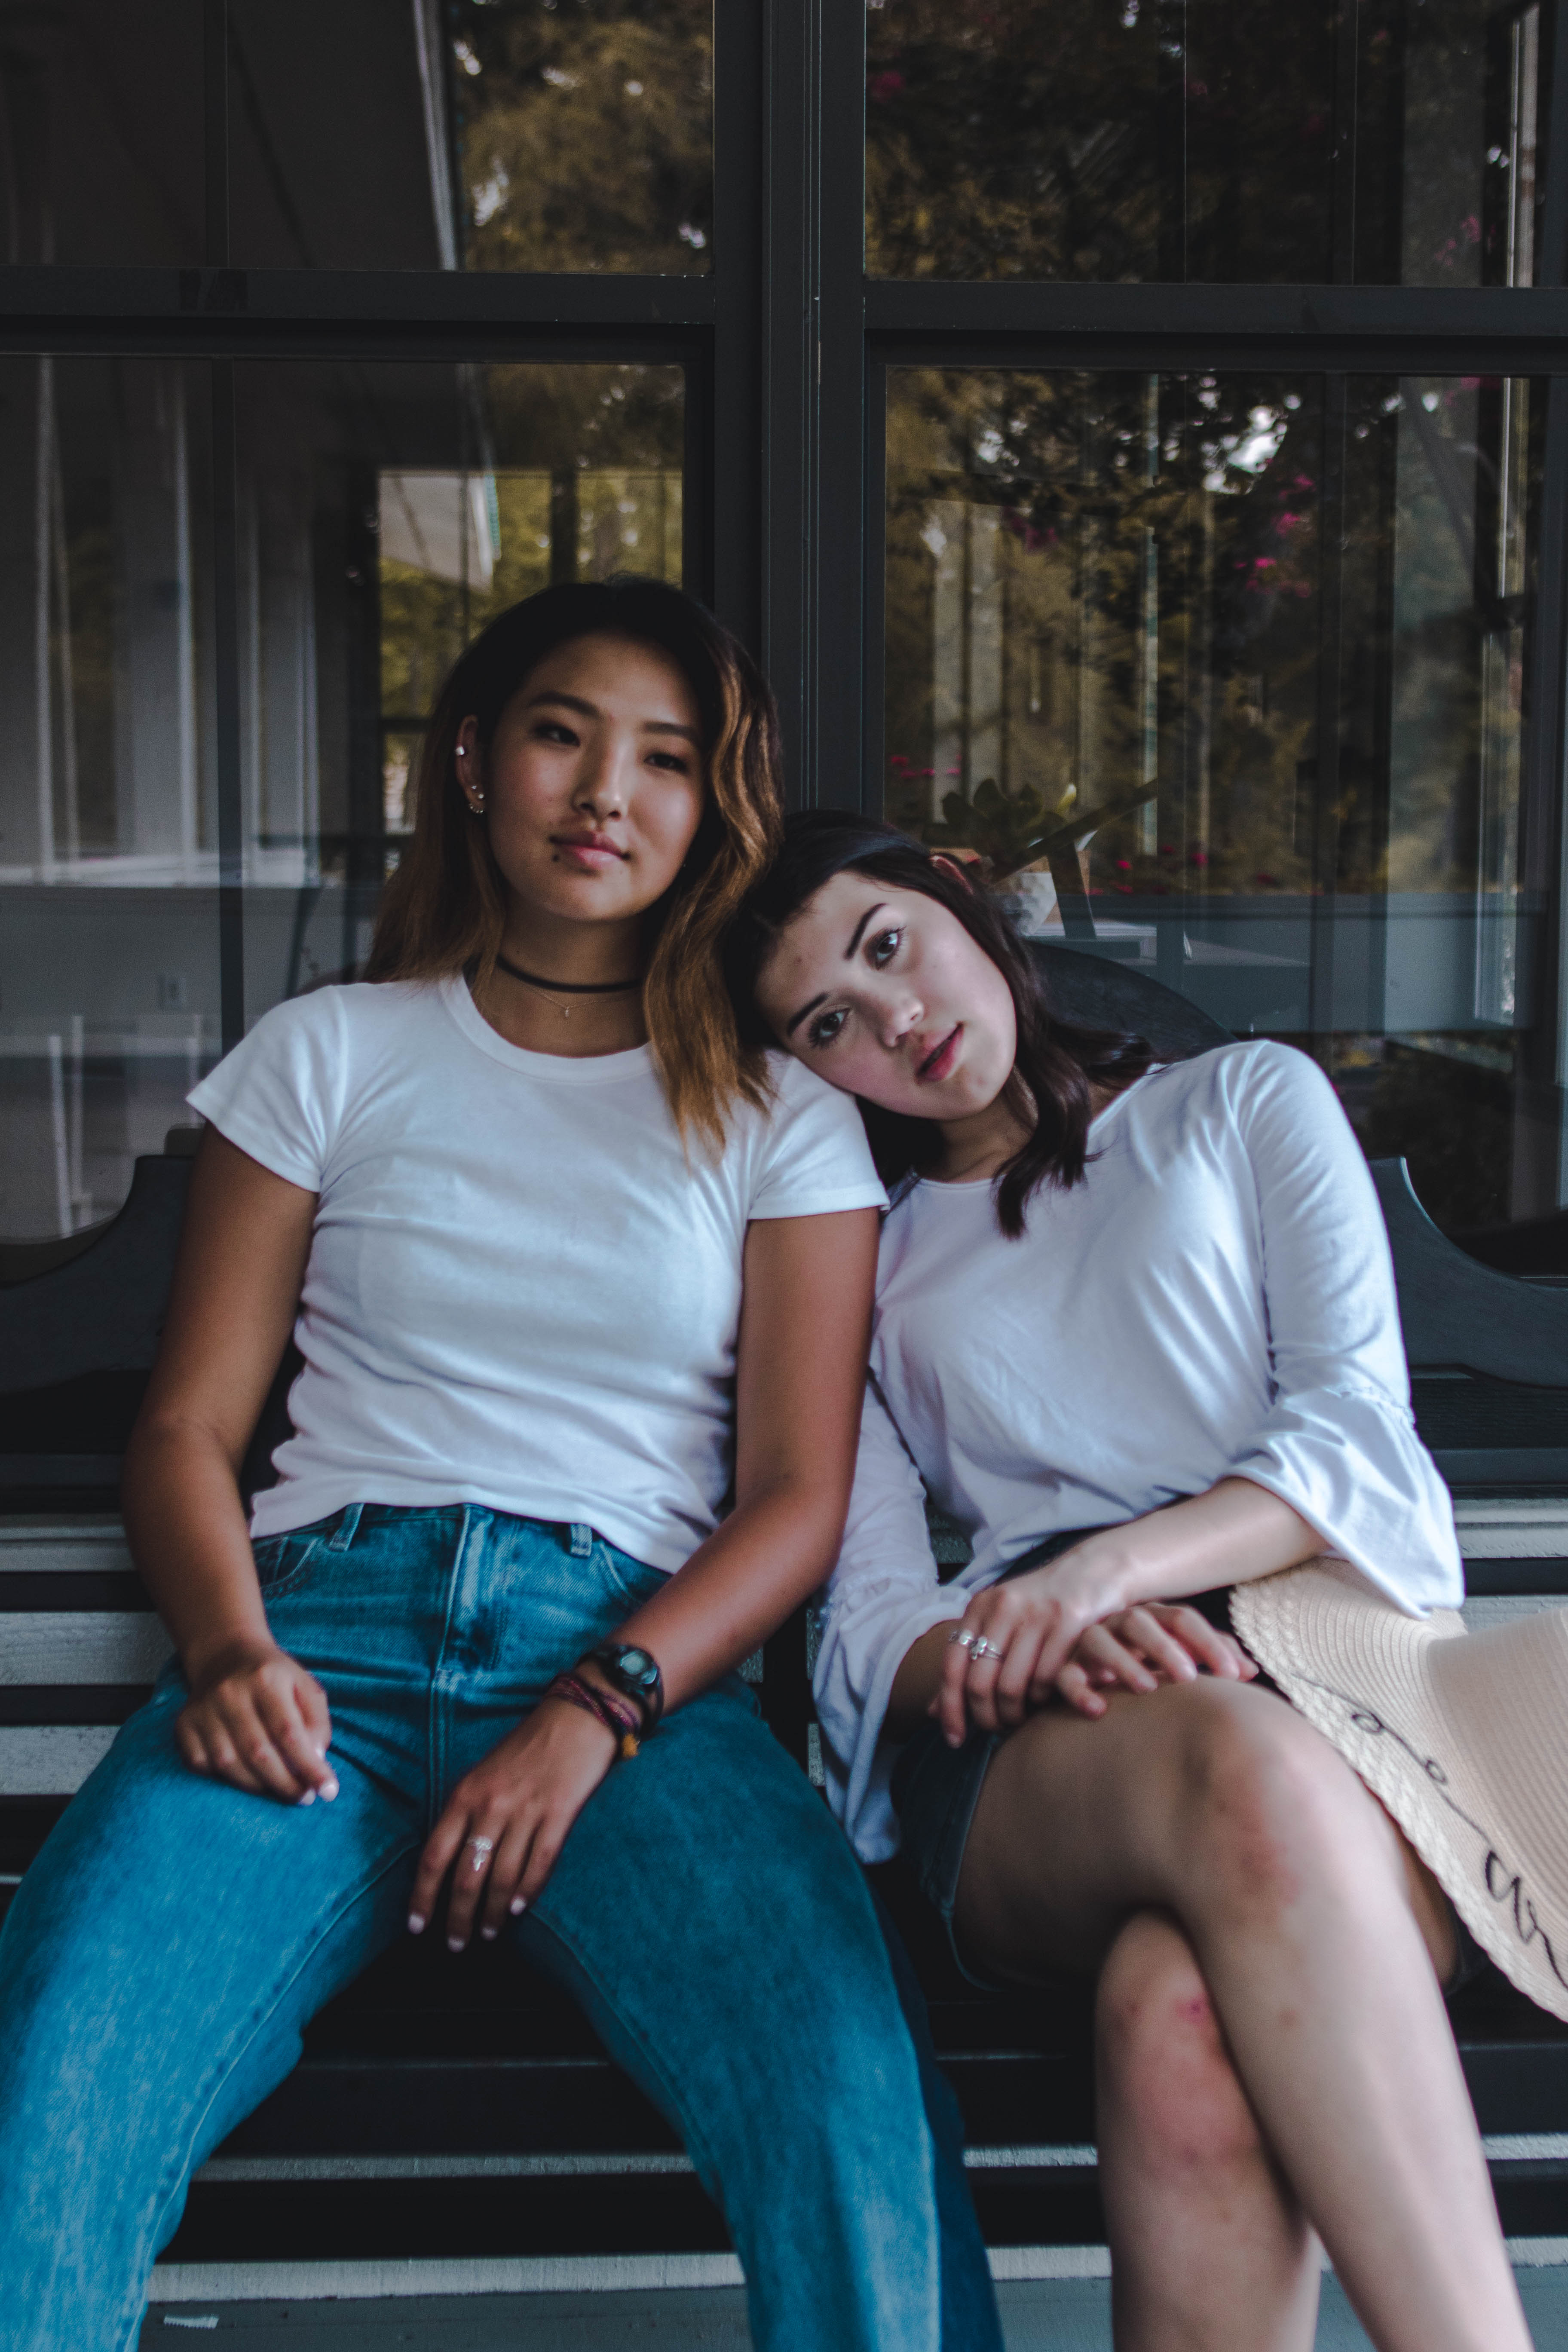
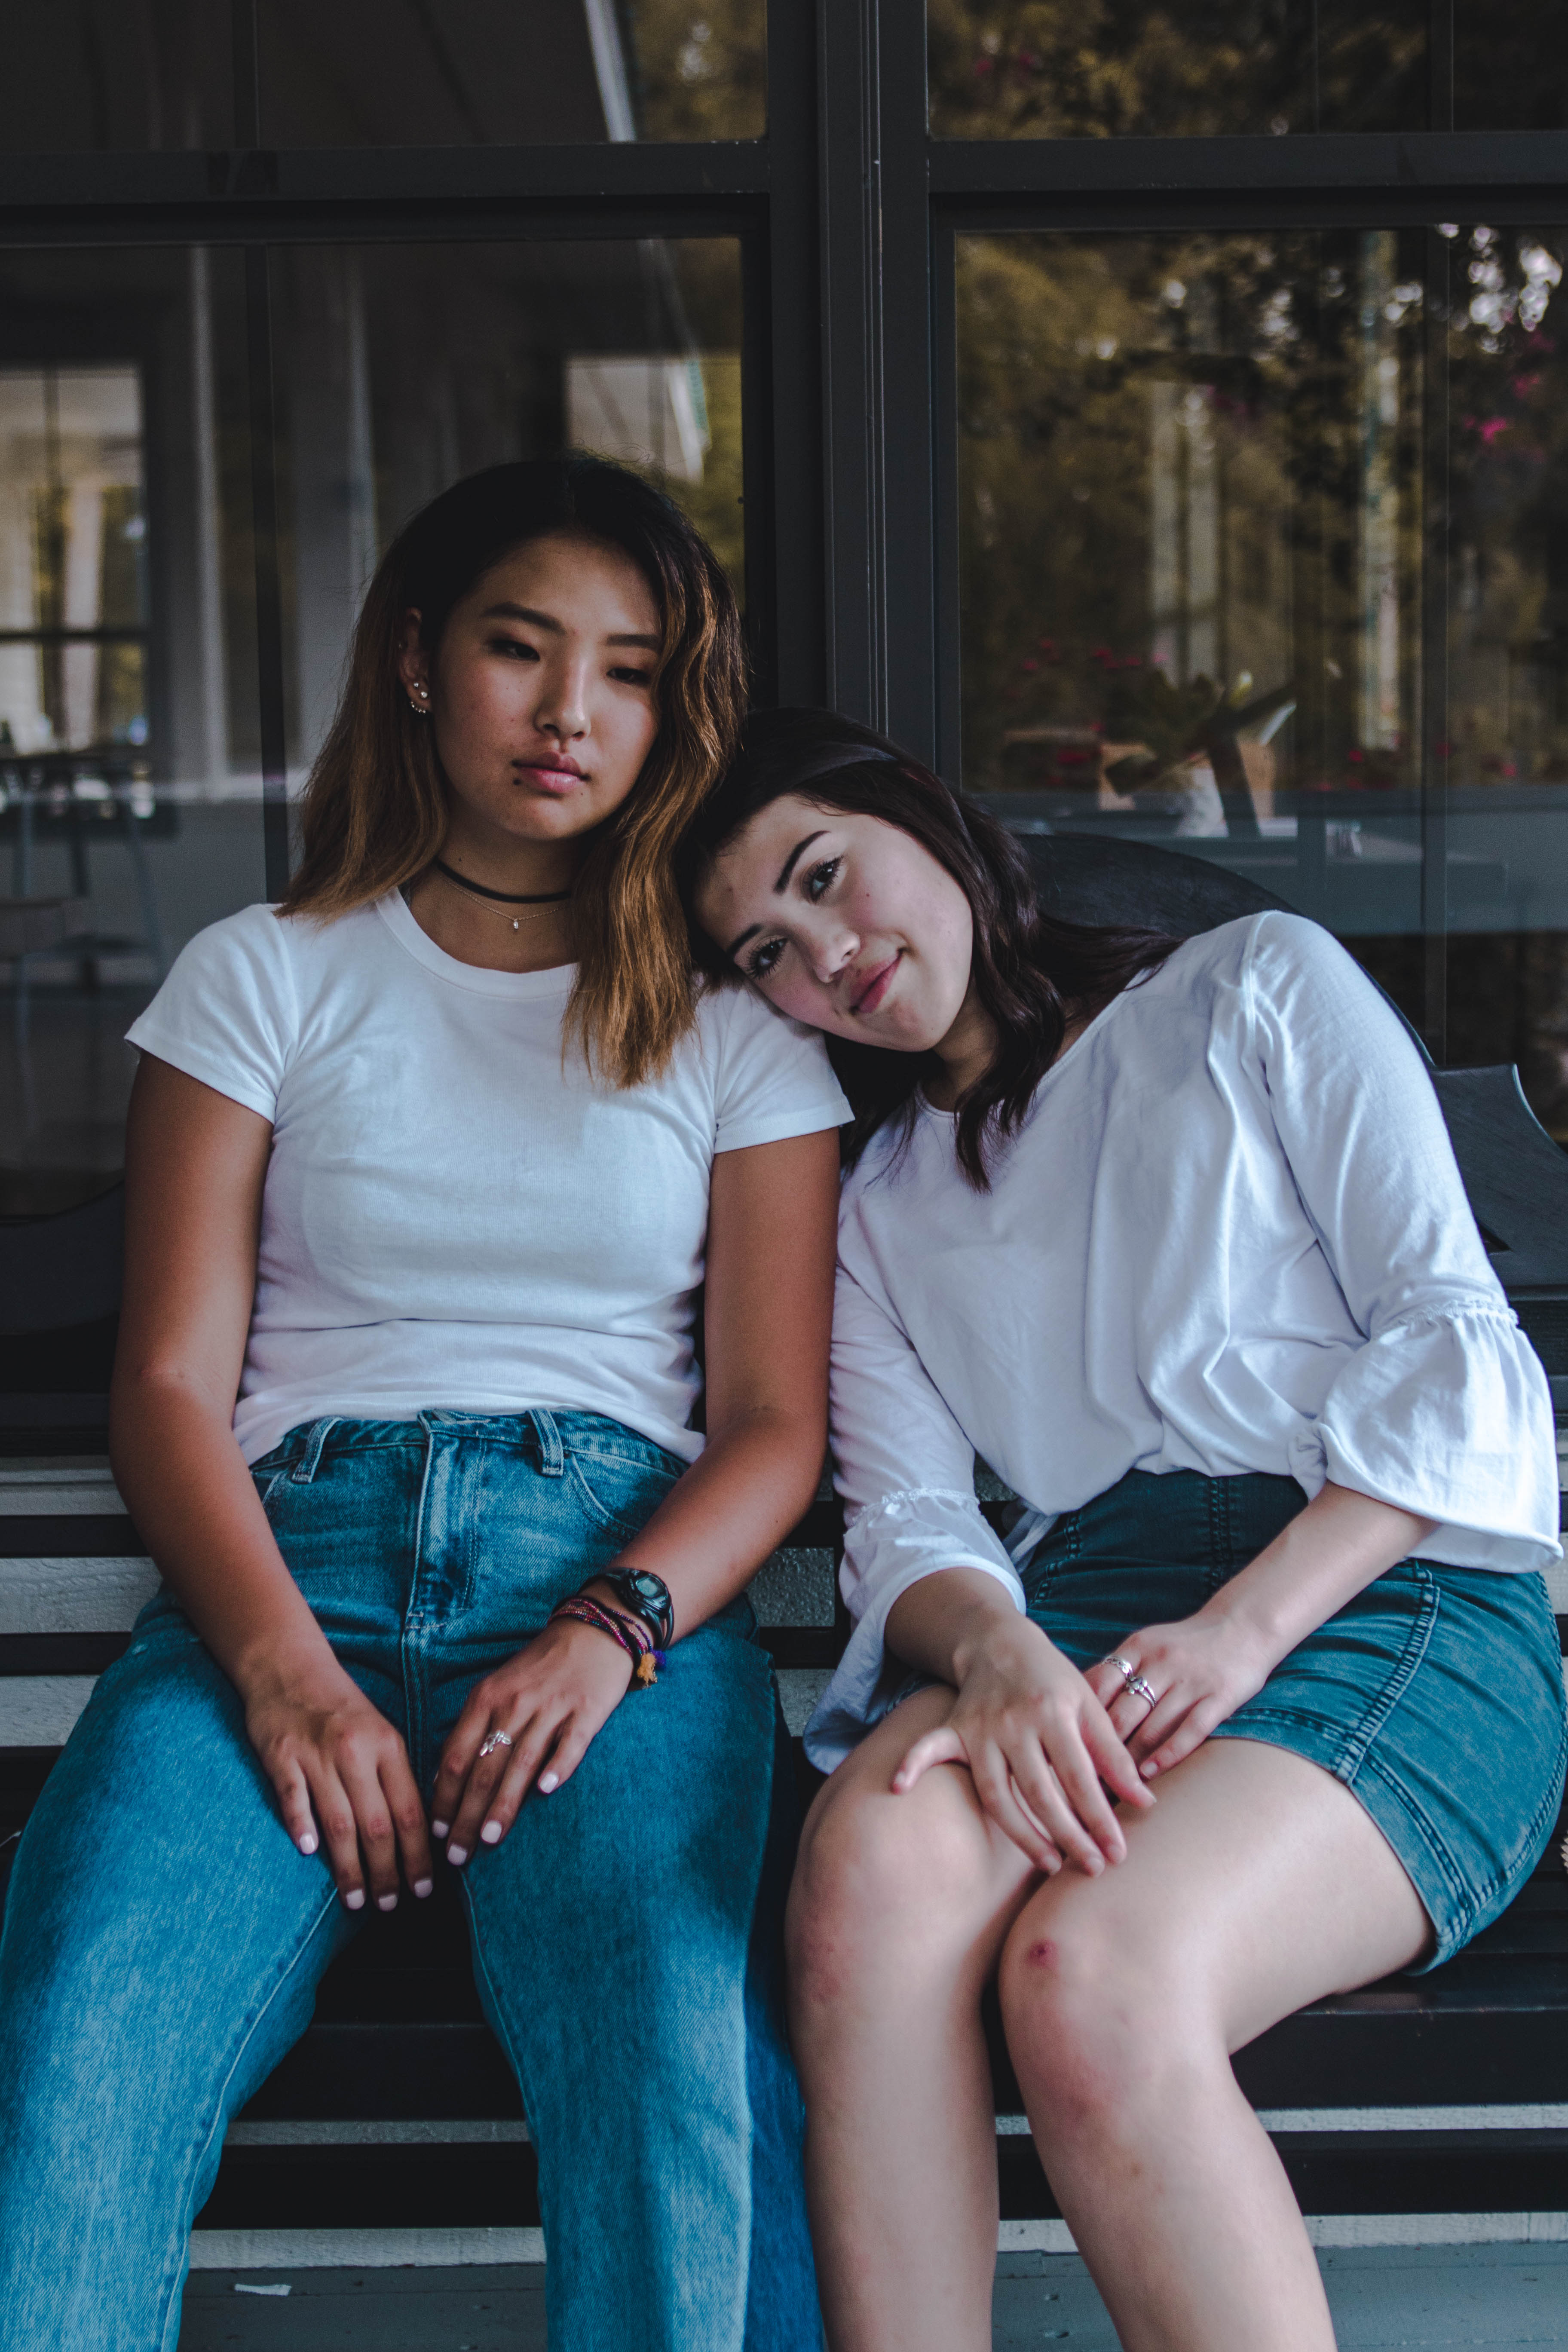
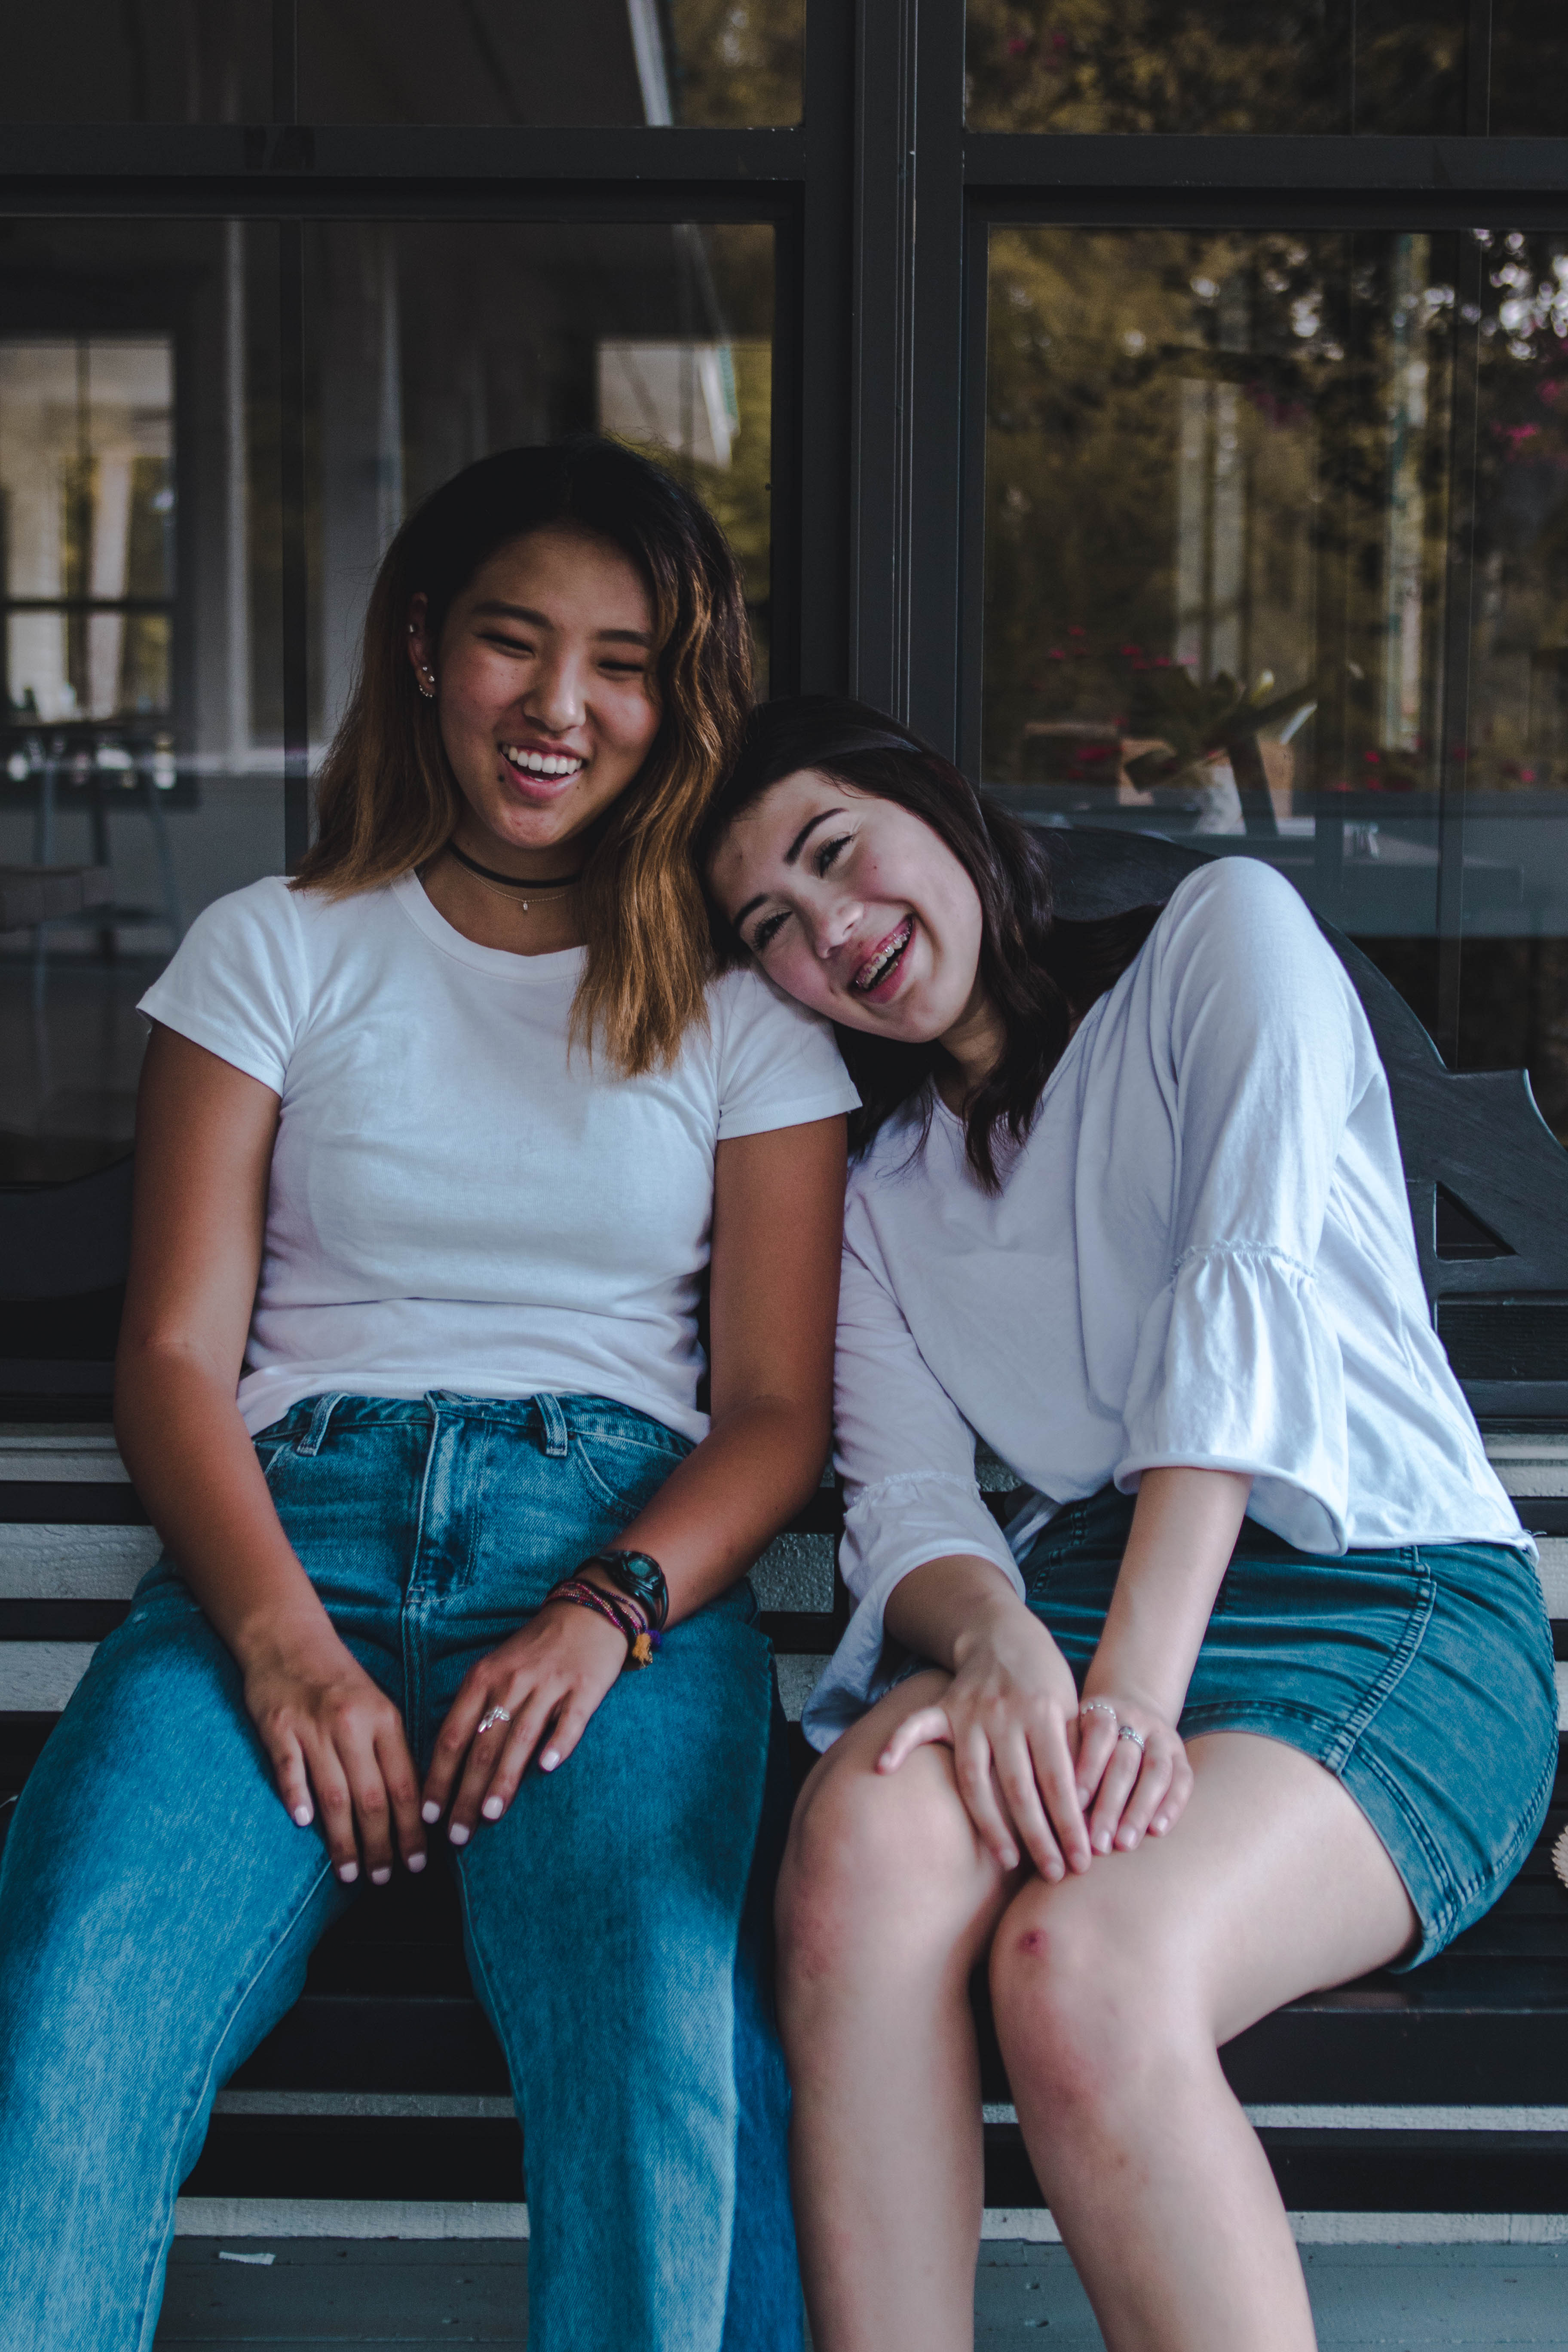
I was recently inspired by the breathtaking image taken by Sorelle Amore in her latest video and I had the idea to do a full shoot with an angelic or innocent quality in mind. To accomplish this, I styled my model in all white with bold makeup and made the background and surrounding area completely white and airy as well. I also edited them all to have a very light and contrasty feel to them to add both the innocent and light quality but preserving a fine art quality to each image. Here is the full set of dreamy portraits!


Want to see more of my summer shoots? Click here!
Want to see some photography tutorials? Click here to see more!
Want to do a shoot together? Click here to book me! or click here for booking and pricing information!
Instagram: @goodallphotos
Facebook Page: @goodallphotographs
Contact me! goodallphotos1@gmail.com

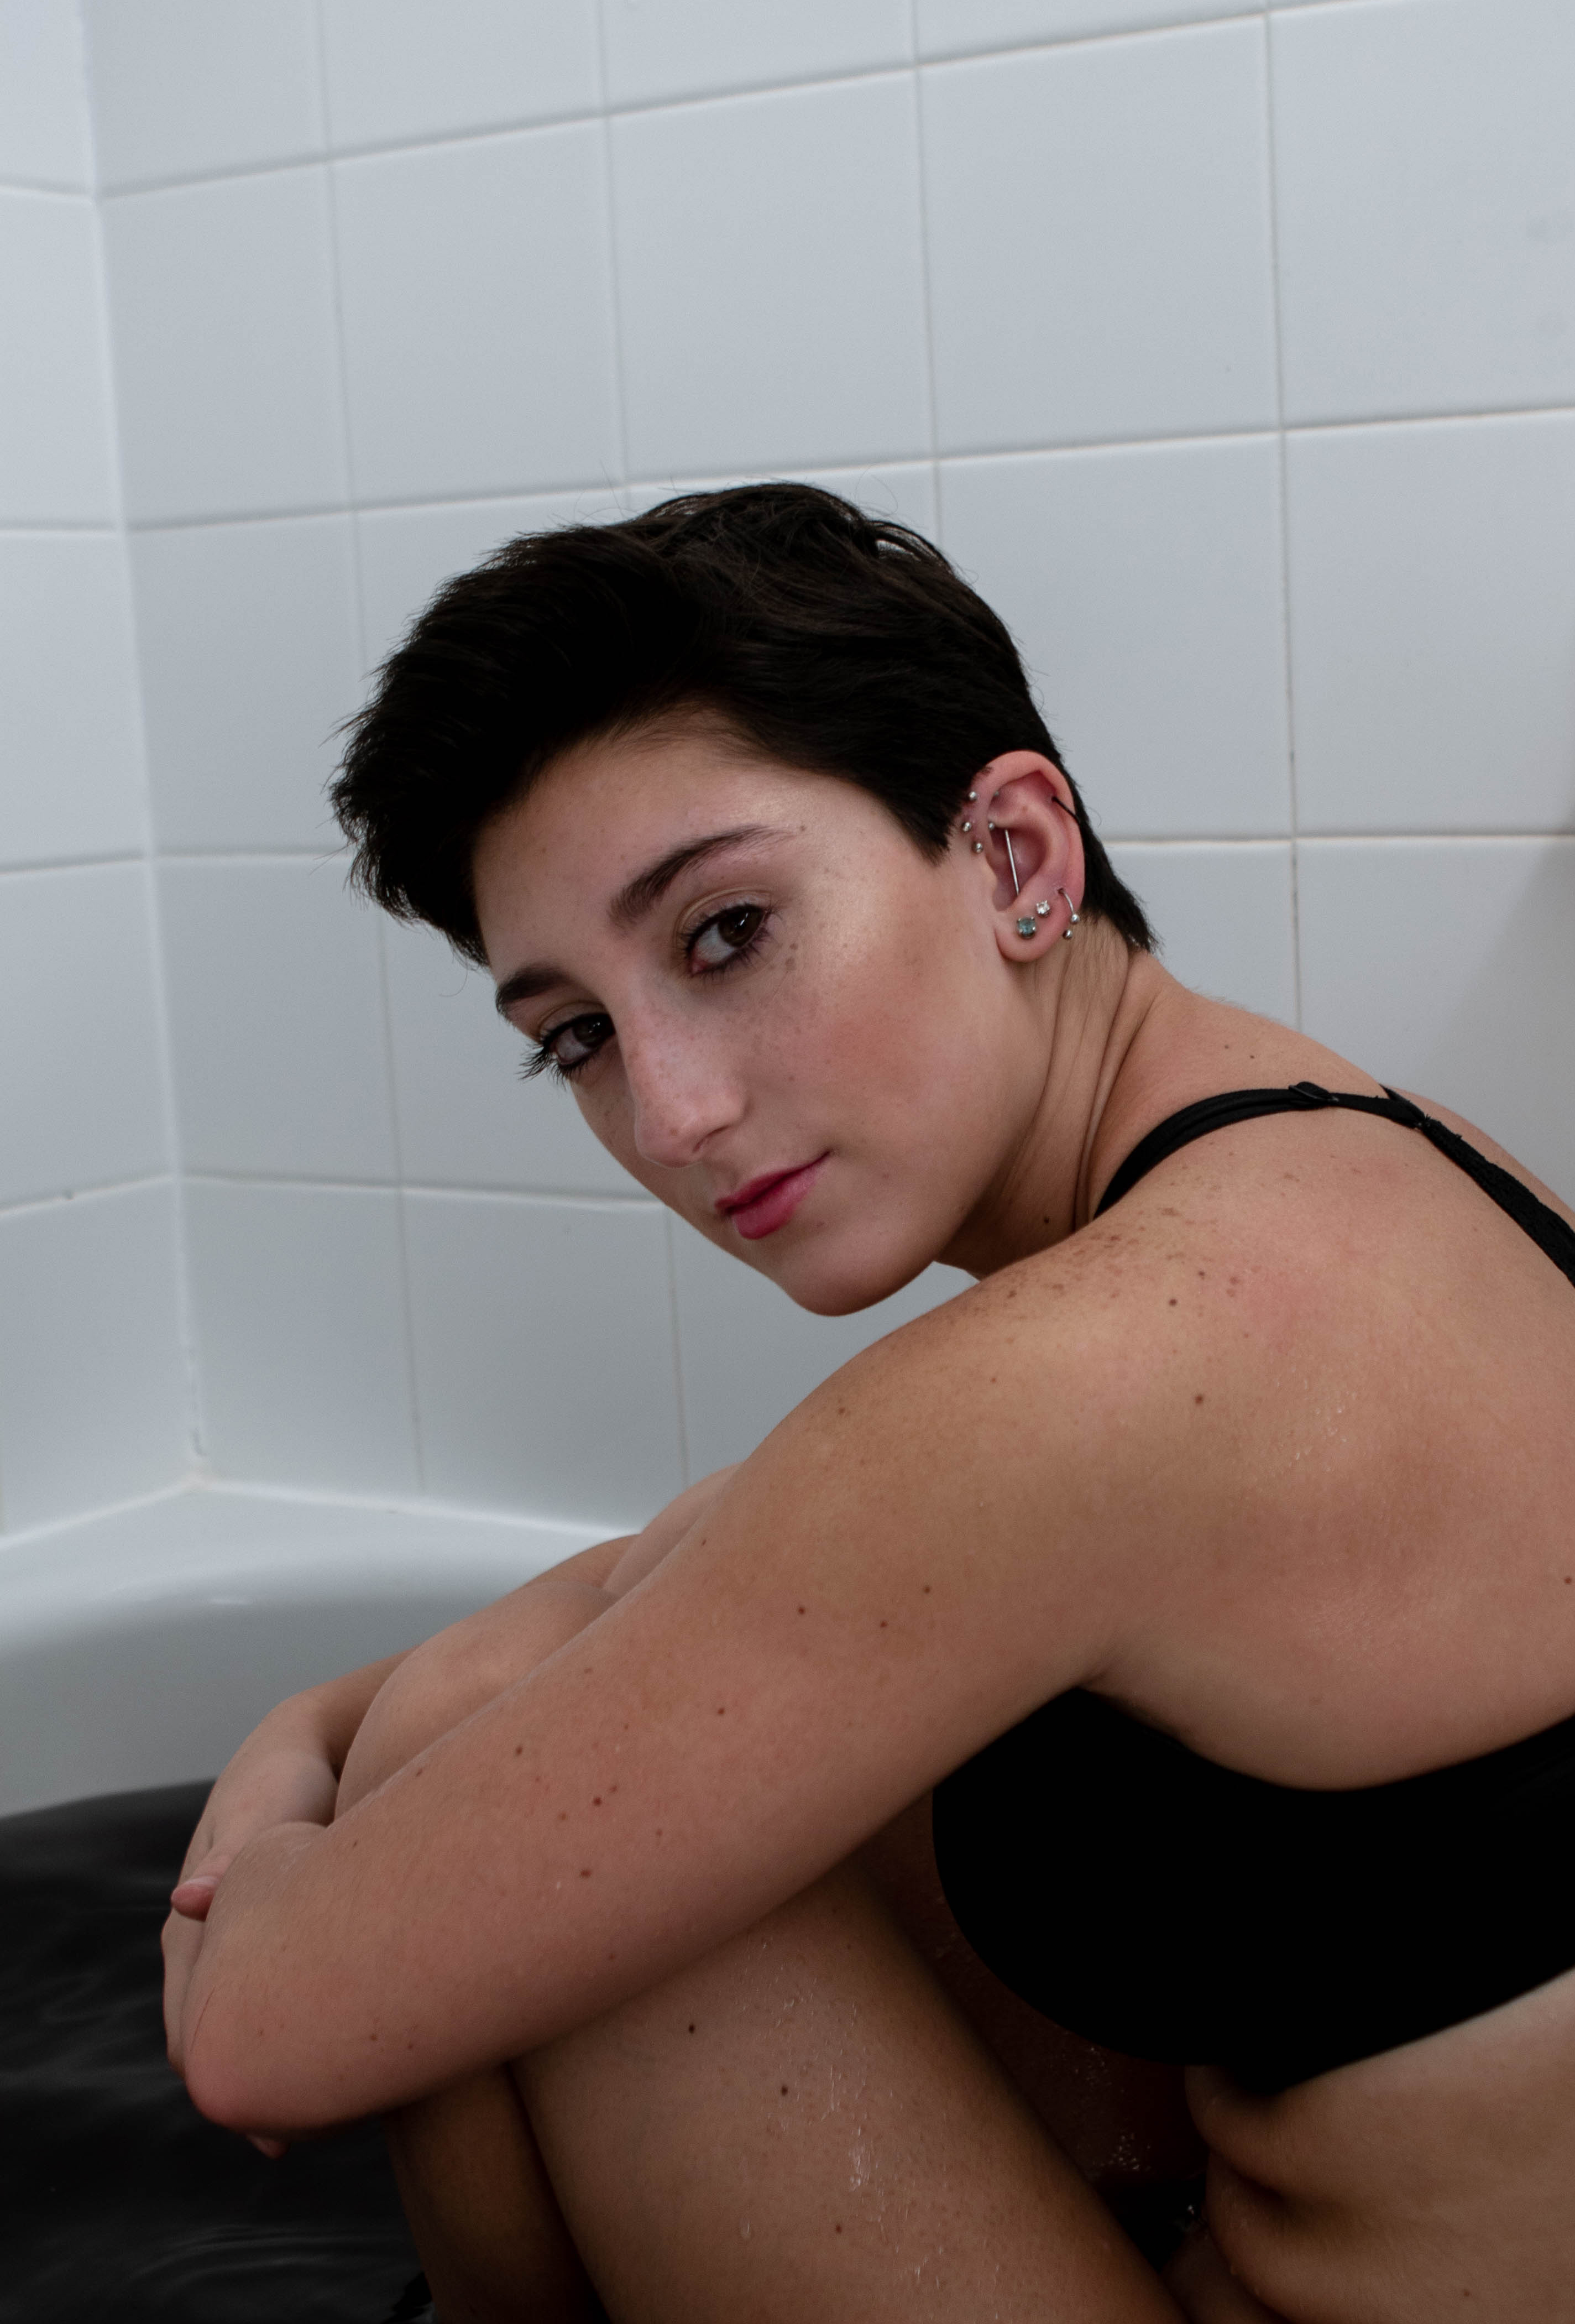
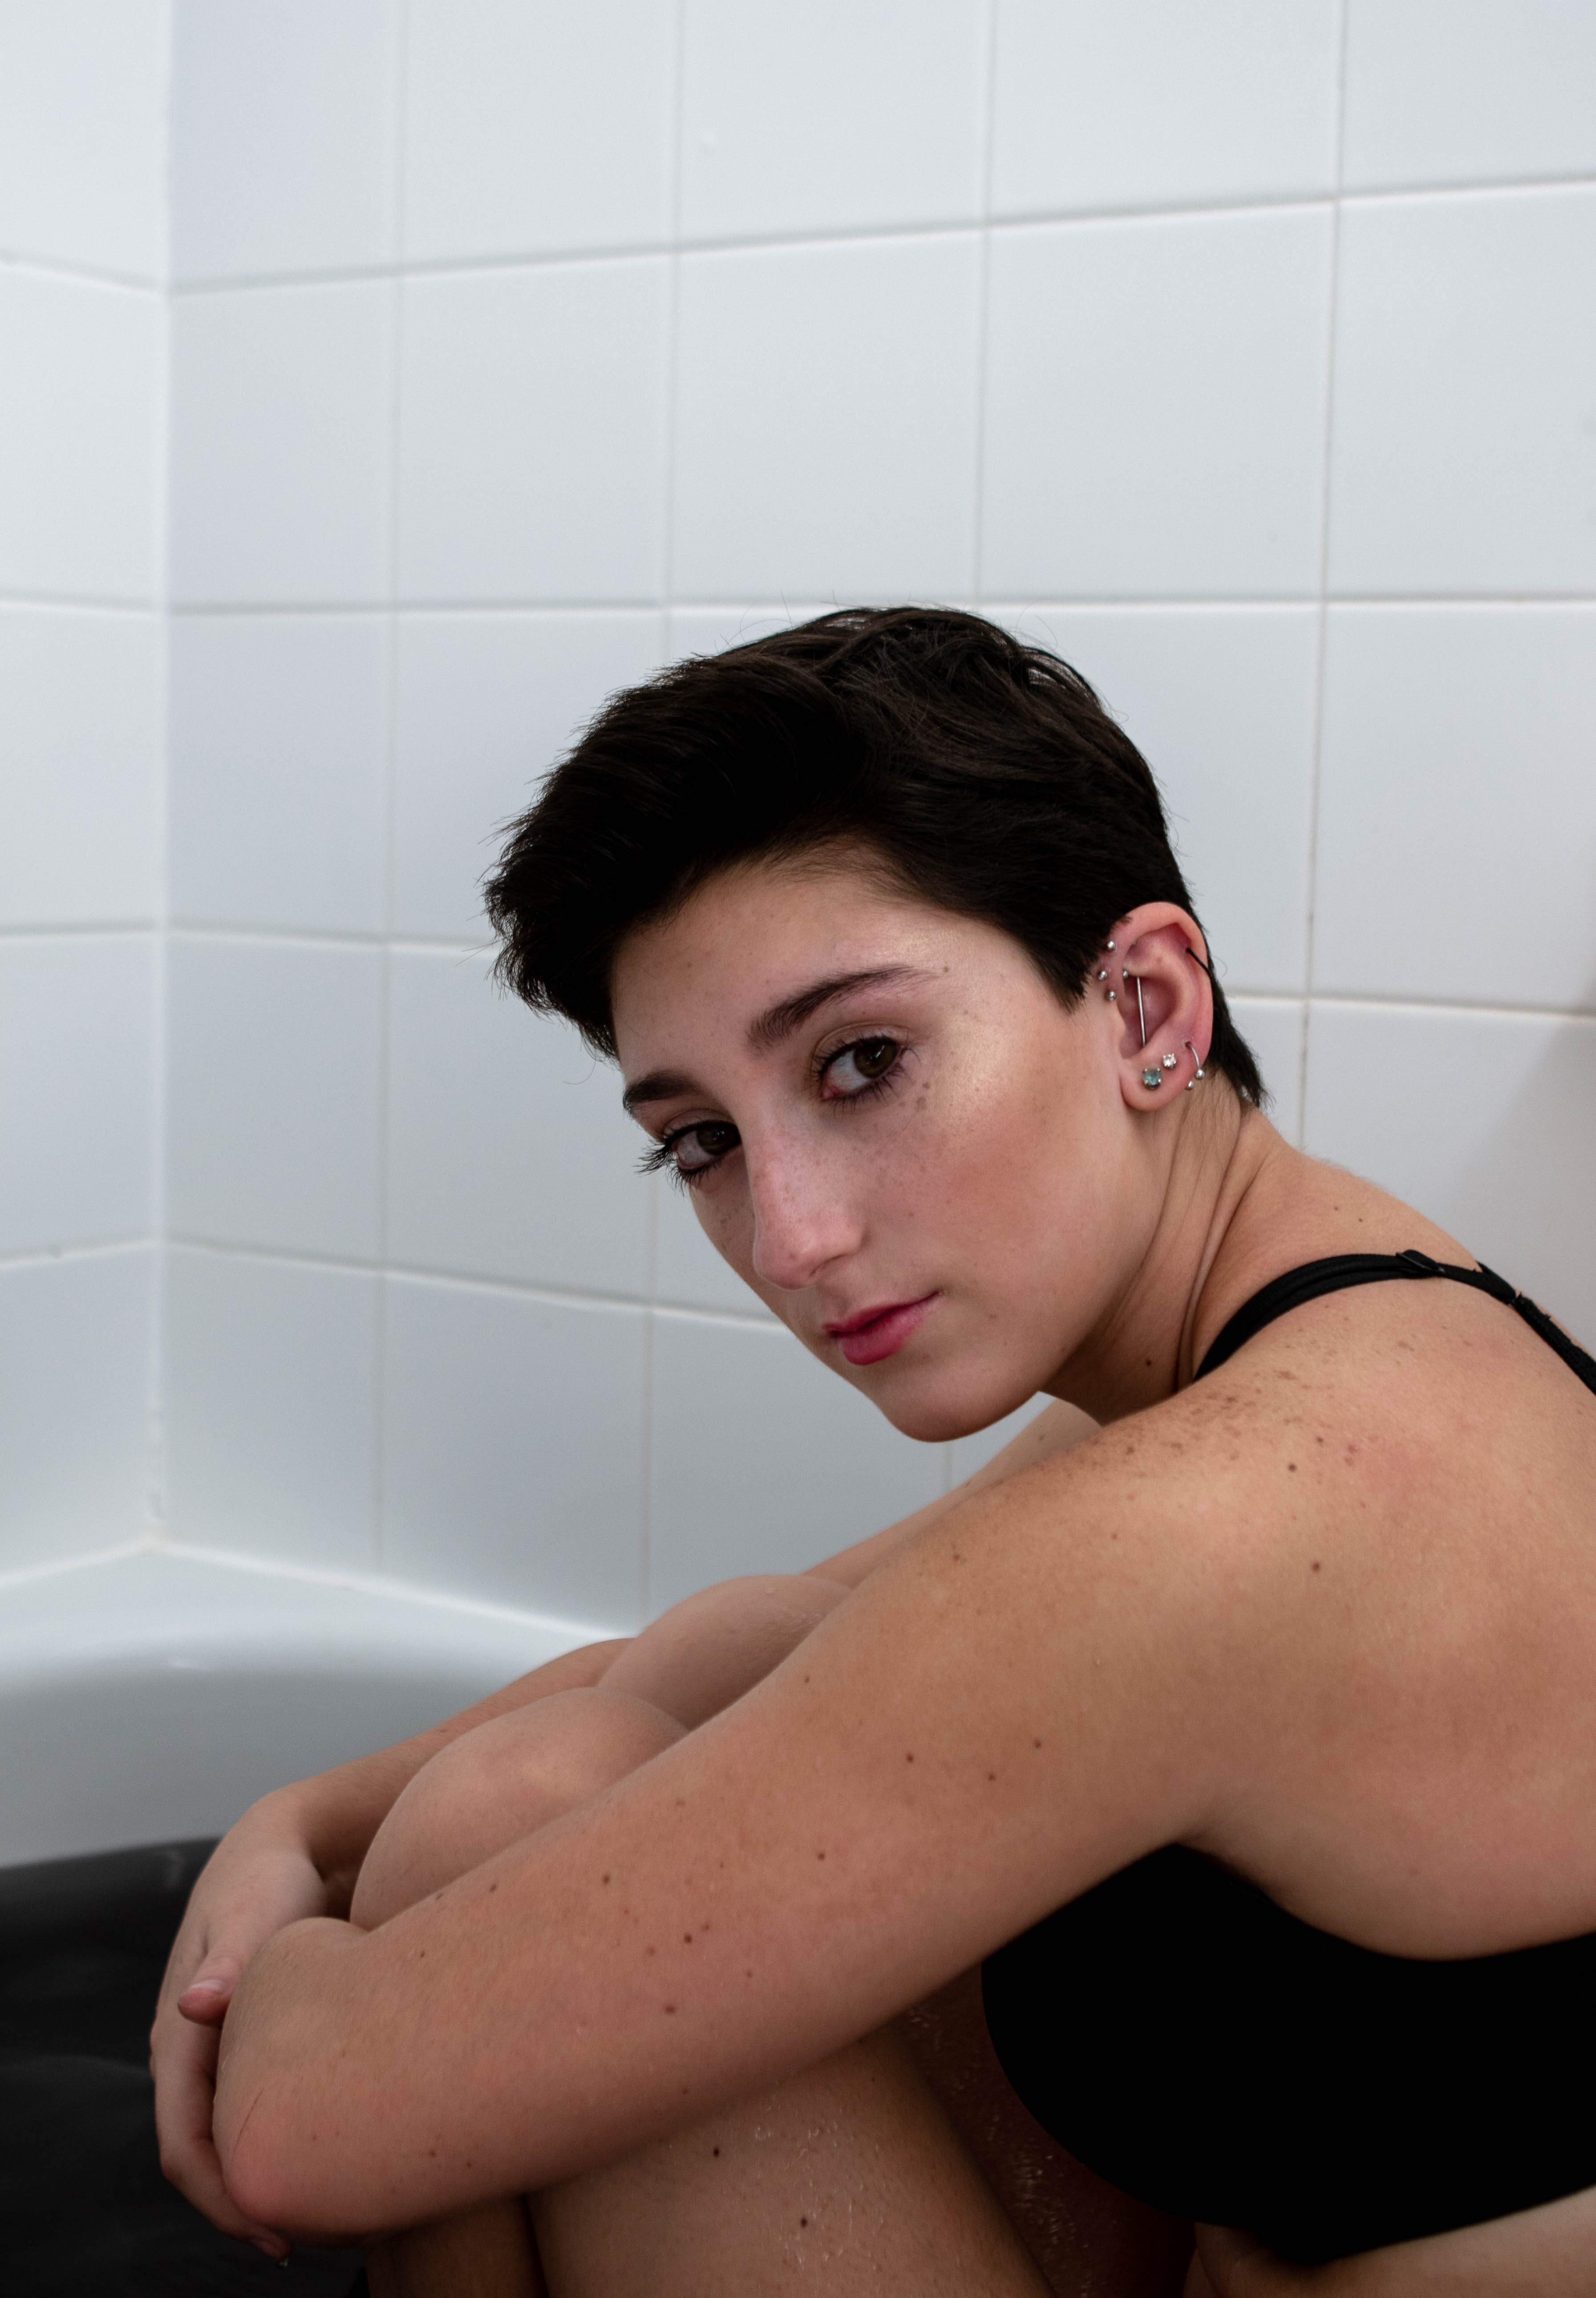
Shooting images with an added element of water can present a whole extra set of problems. After a few tries and learning from my mistakes, I wanted to help you learn how to take beautiful portraits with water.
FOCUS: Since water is ever-moving it is best to make sure you’re focused on the correct subject so it may be better to manually focus if you have the experience. Autofocus might focus on the water instead of your model so you want to double and triple check that you are focused correctly.
SHUTTER SPEED: I recommend shooting on a very quick shutter speed instead of a slower speed. Again since water is constantly moving you don’t want the water to appear too soft in your images unless the water is the main focus of the images. Turn up your shutter speed and really make sure the water is as clear as you can make it.
COLOR SCHEME: Have your model wear a more neutral color and avoid patterns as this can distract from the main focus of the image is the water and portrait. In your images, you should always try to only have 3 main subject points. In the water, those subject points should be water, the model and one additional thing such as clouds in the sky or something floating alongside your model.
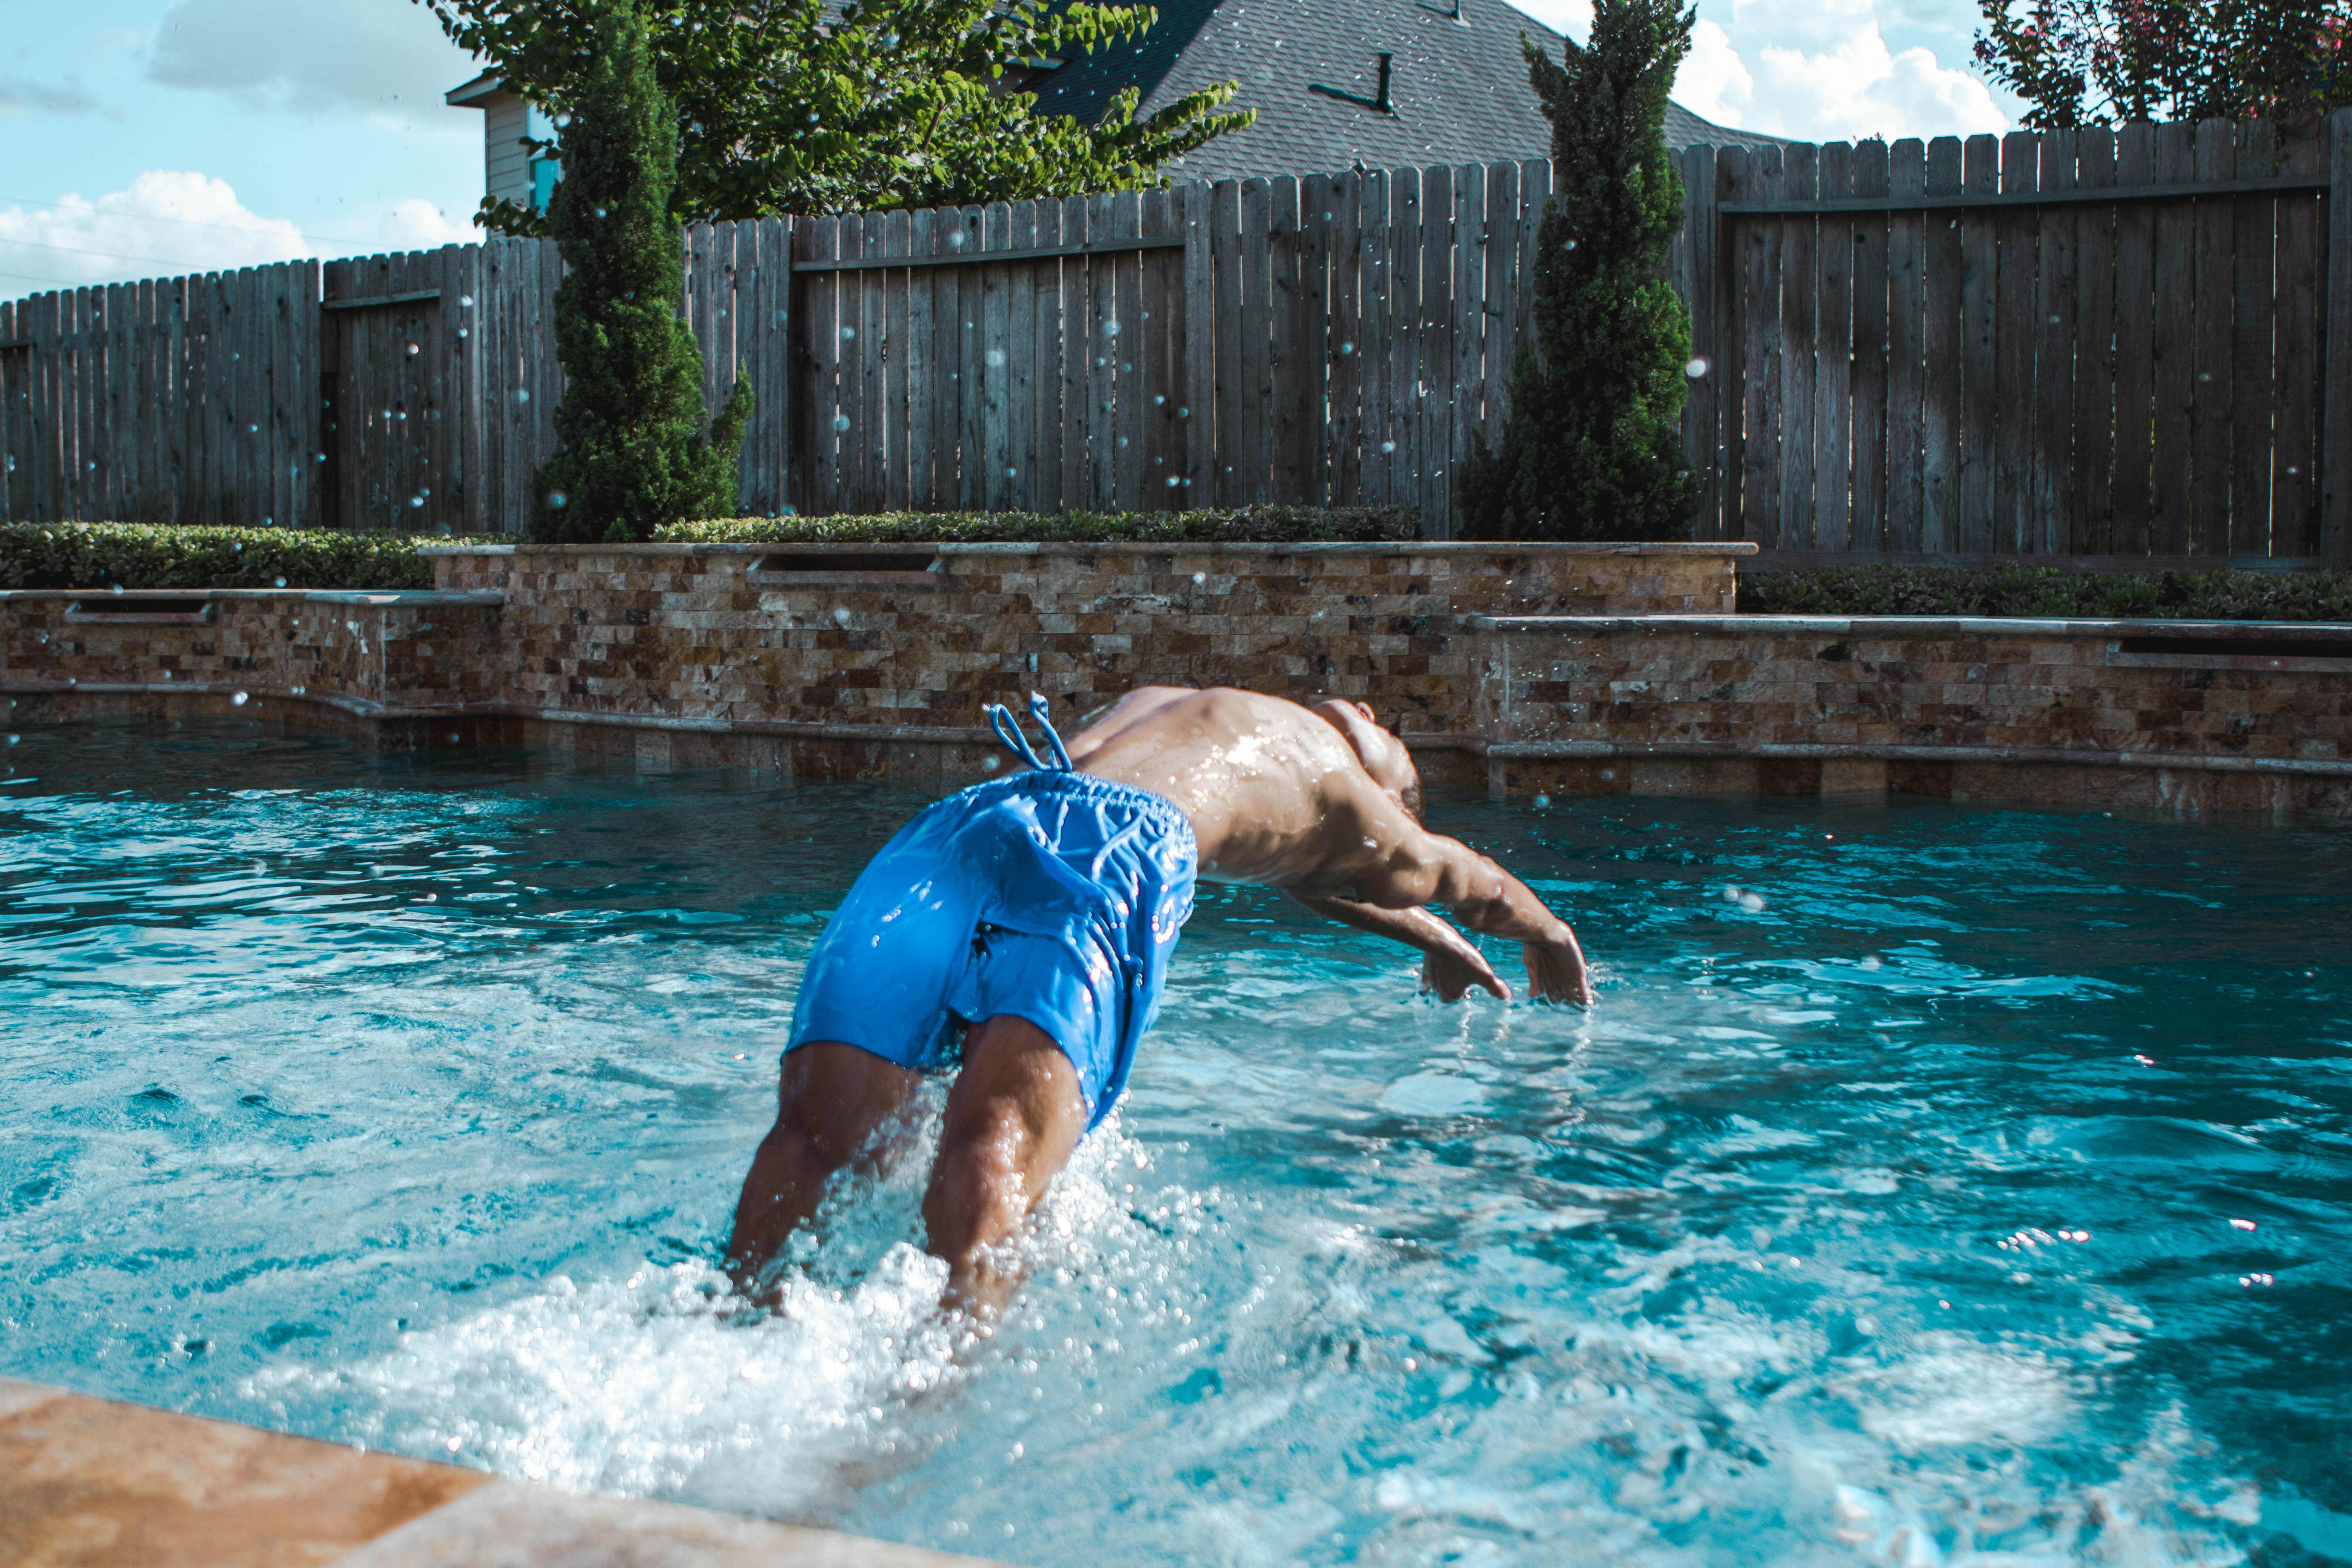
LIGHTING OUTDOORS: If shooting in an outdoor area such as a pool or the ocean make sure to shoot at a time when the sun is not high in the sky so avoid times from 11-4. I say this because water is a natural reflector and can cause excess lighting on your model’s face that isn’t anticipated. Make sure you’re constantly checking your meter reading because the lighting conditions when shooting in water change quickly and drastically.
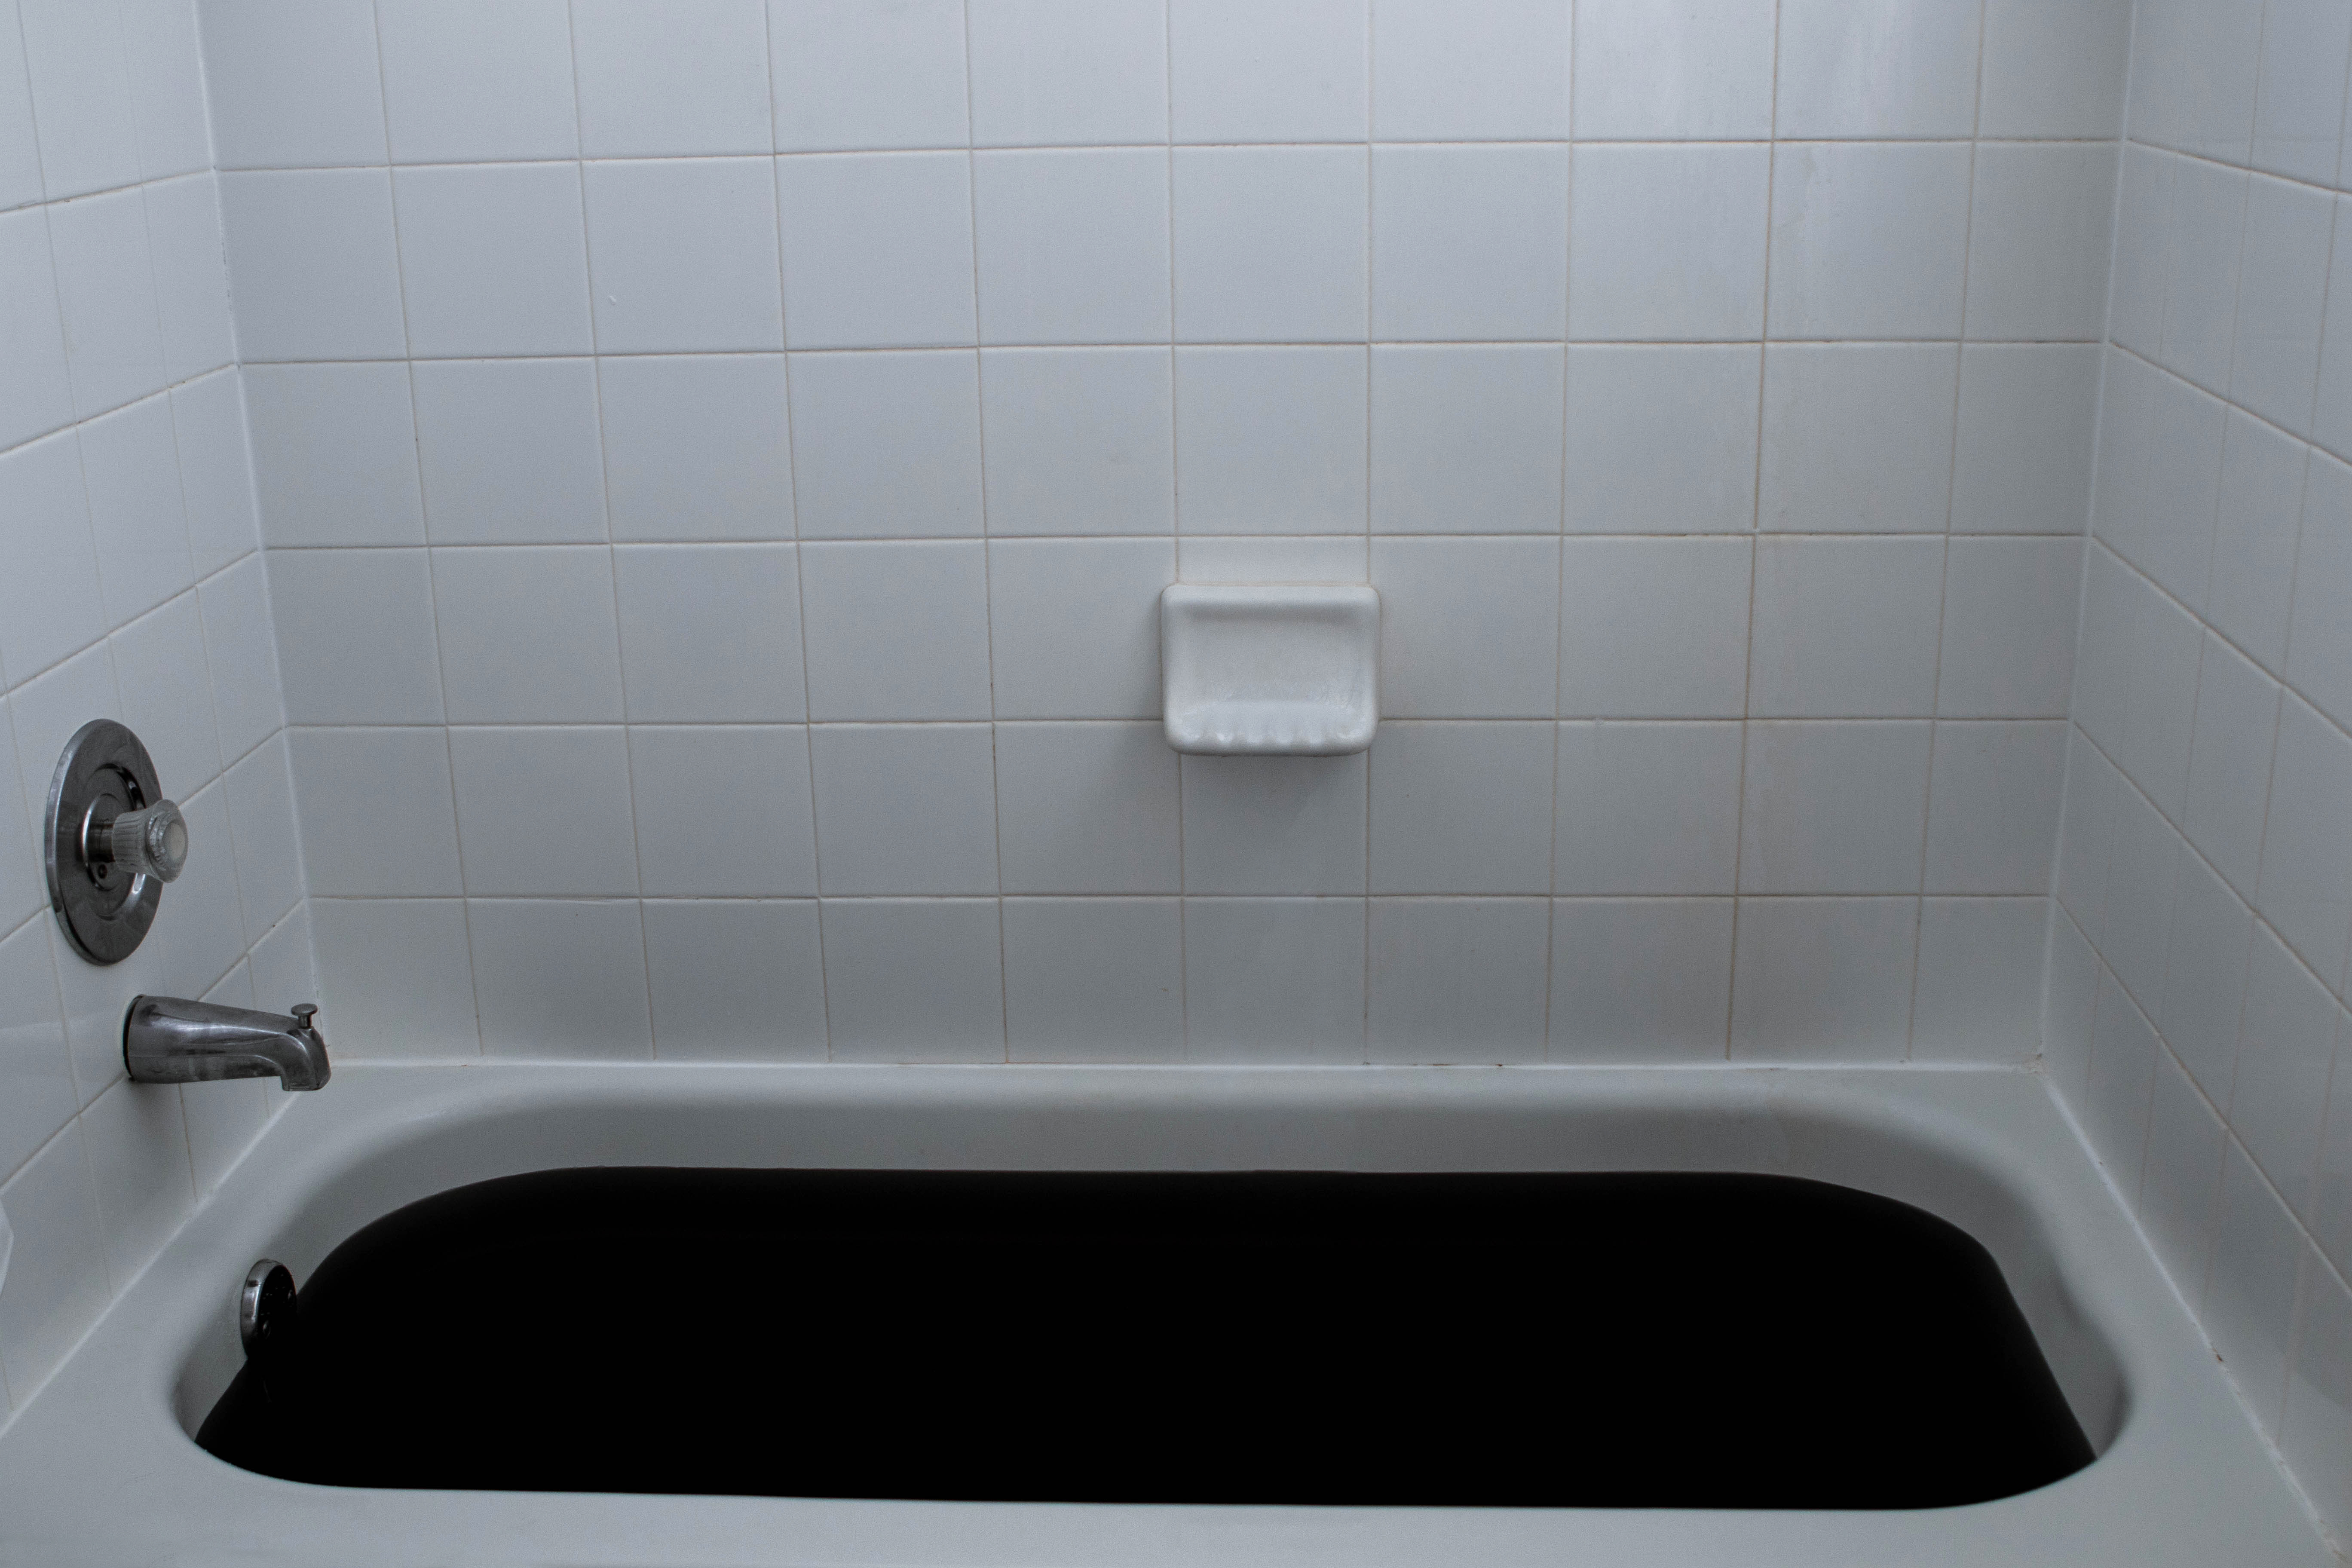
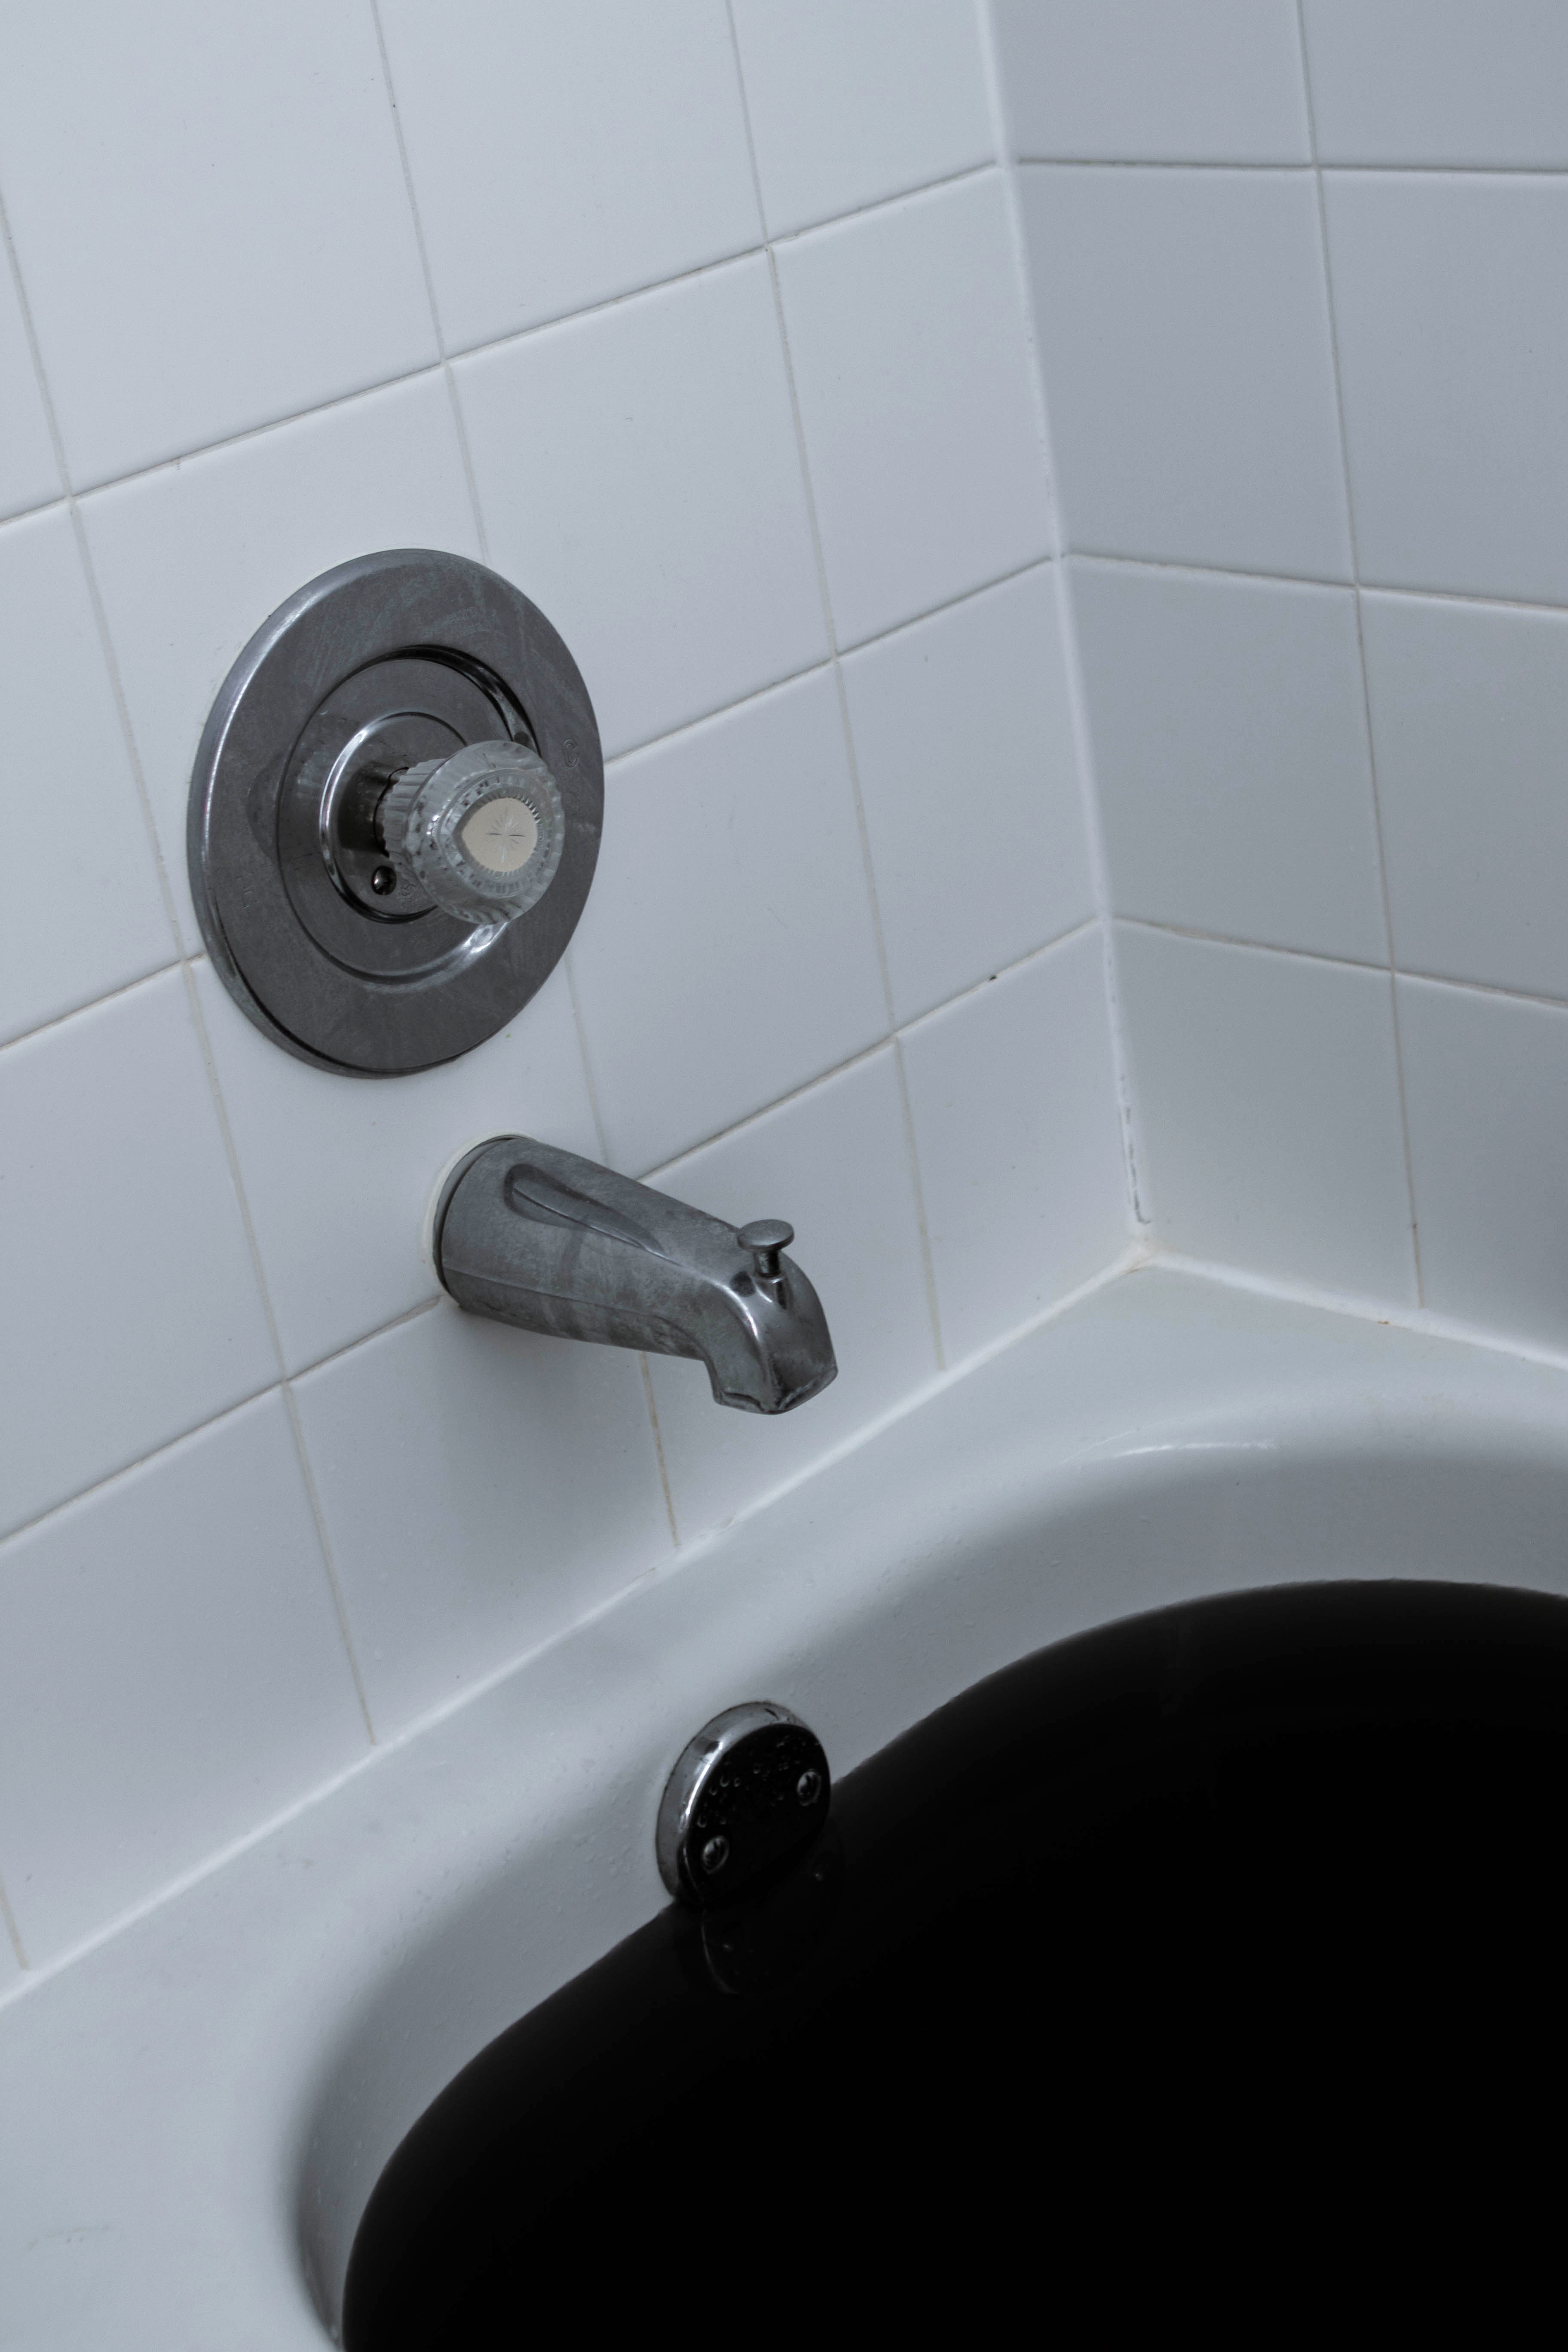
LIGHTING INDOORS: If shooting indoors with water such as in a bathtub I recommend using studio lighting of some sort if you have limited natural light due to a small window. I personally have always used studio lighting because I feel as though it brings out colors better and makes your image look a lot crisper than natural light might. Also since bathtubs are so white the studio light can help make sure it’s very bright and not muddy. I have shot natural light before and it’s a little bit harder to control and maintain the ISO I want to not get grain in my image.
LENS TO USE: I recommend using a 24-70mm lens when shooting bathtub portraits or a 35mm lens because you don’t have a lot of space to move around so a longer focal length lens will work best in these scenarios. When shooting outdoors I recommend a 50mm portrait lens so you can get the nice bokeh behind your subject and it creates a sharper feel than a lot of other lenses I’ve shot.
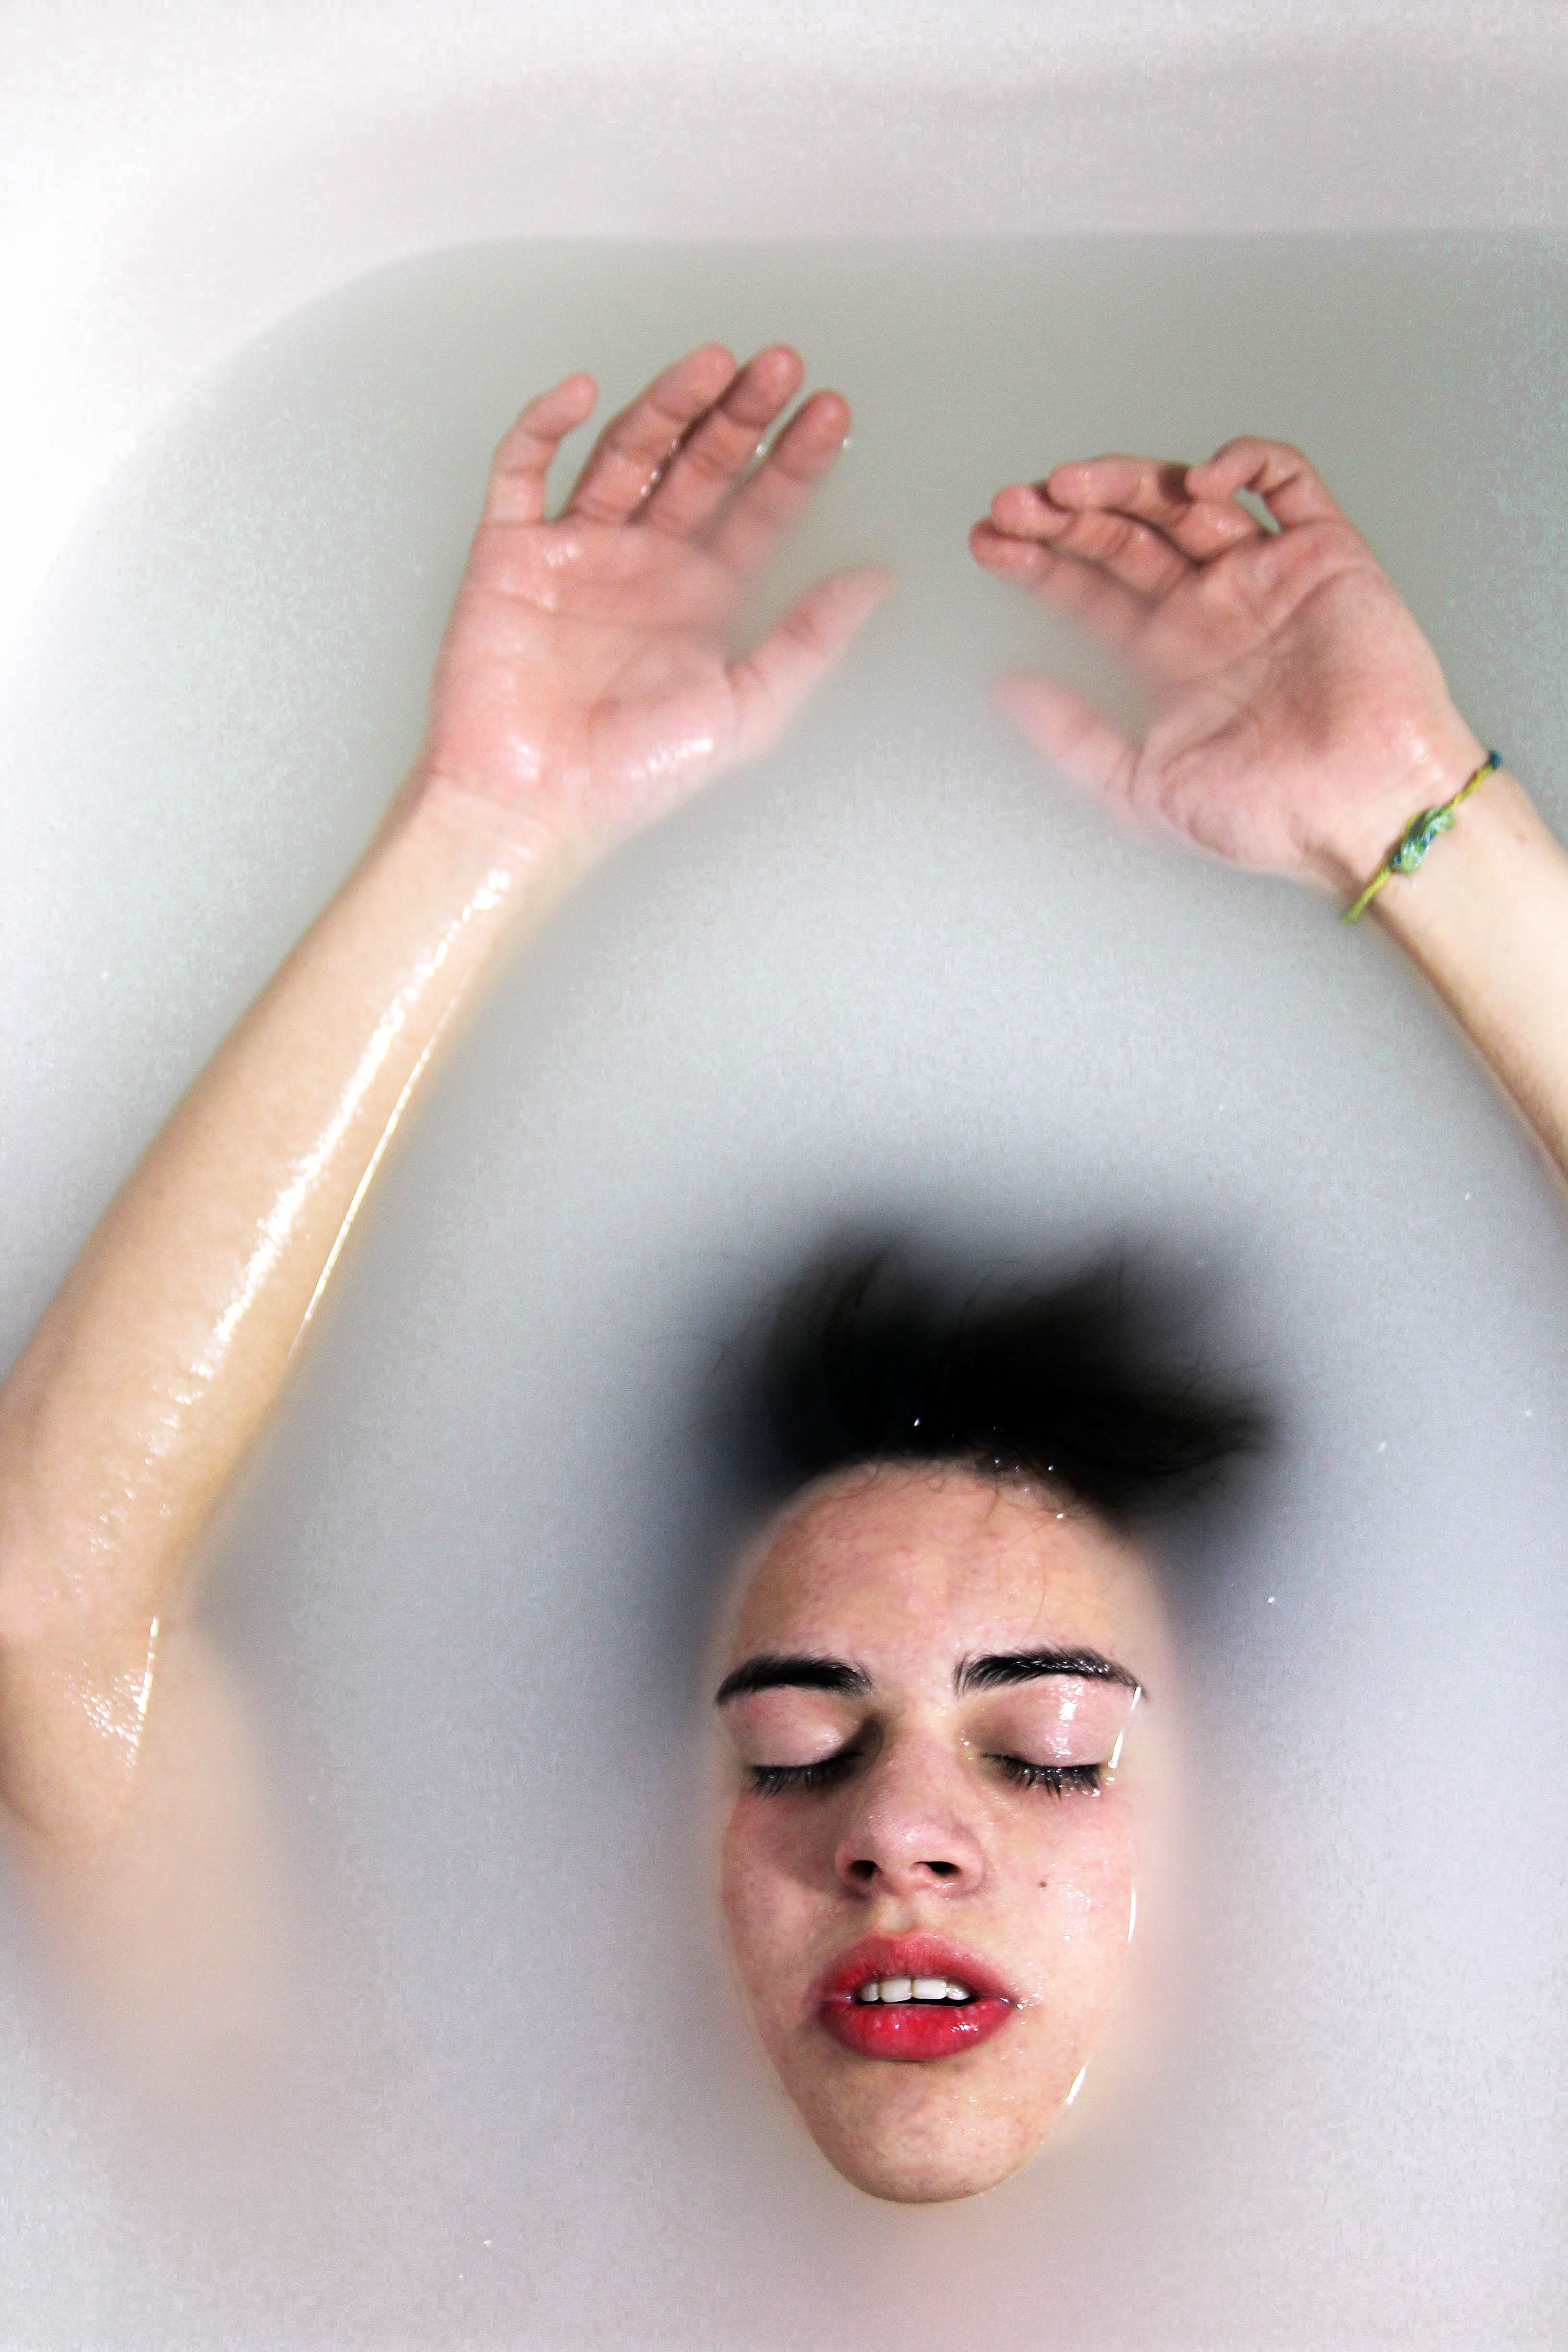
CREATING A MILKY LOOK: Firstly you should fill the bathtub almost all the way with warm water so your model doesn’t freeze! Next, add a gallon of nut or soy milk or as much milk as you need before it becomes a fairly thick consistency. I would say add enough so you can still see your hand if it’s about an inch under but enough so you can’t see it if it’s more than 3 inches into the water.
POSING: Water is ever-moving so evoke that in your model, direct them to move with the water or stay perfectly still to allow for contrast. I personally like to pose women with more graceful and moving poses while I pose men with a more sedentary pose to contrast with the water.
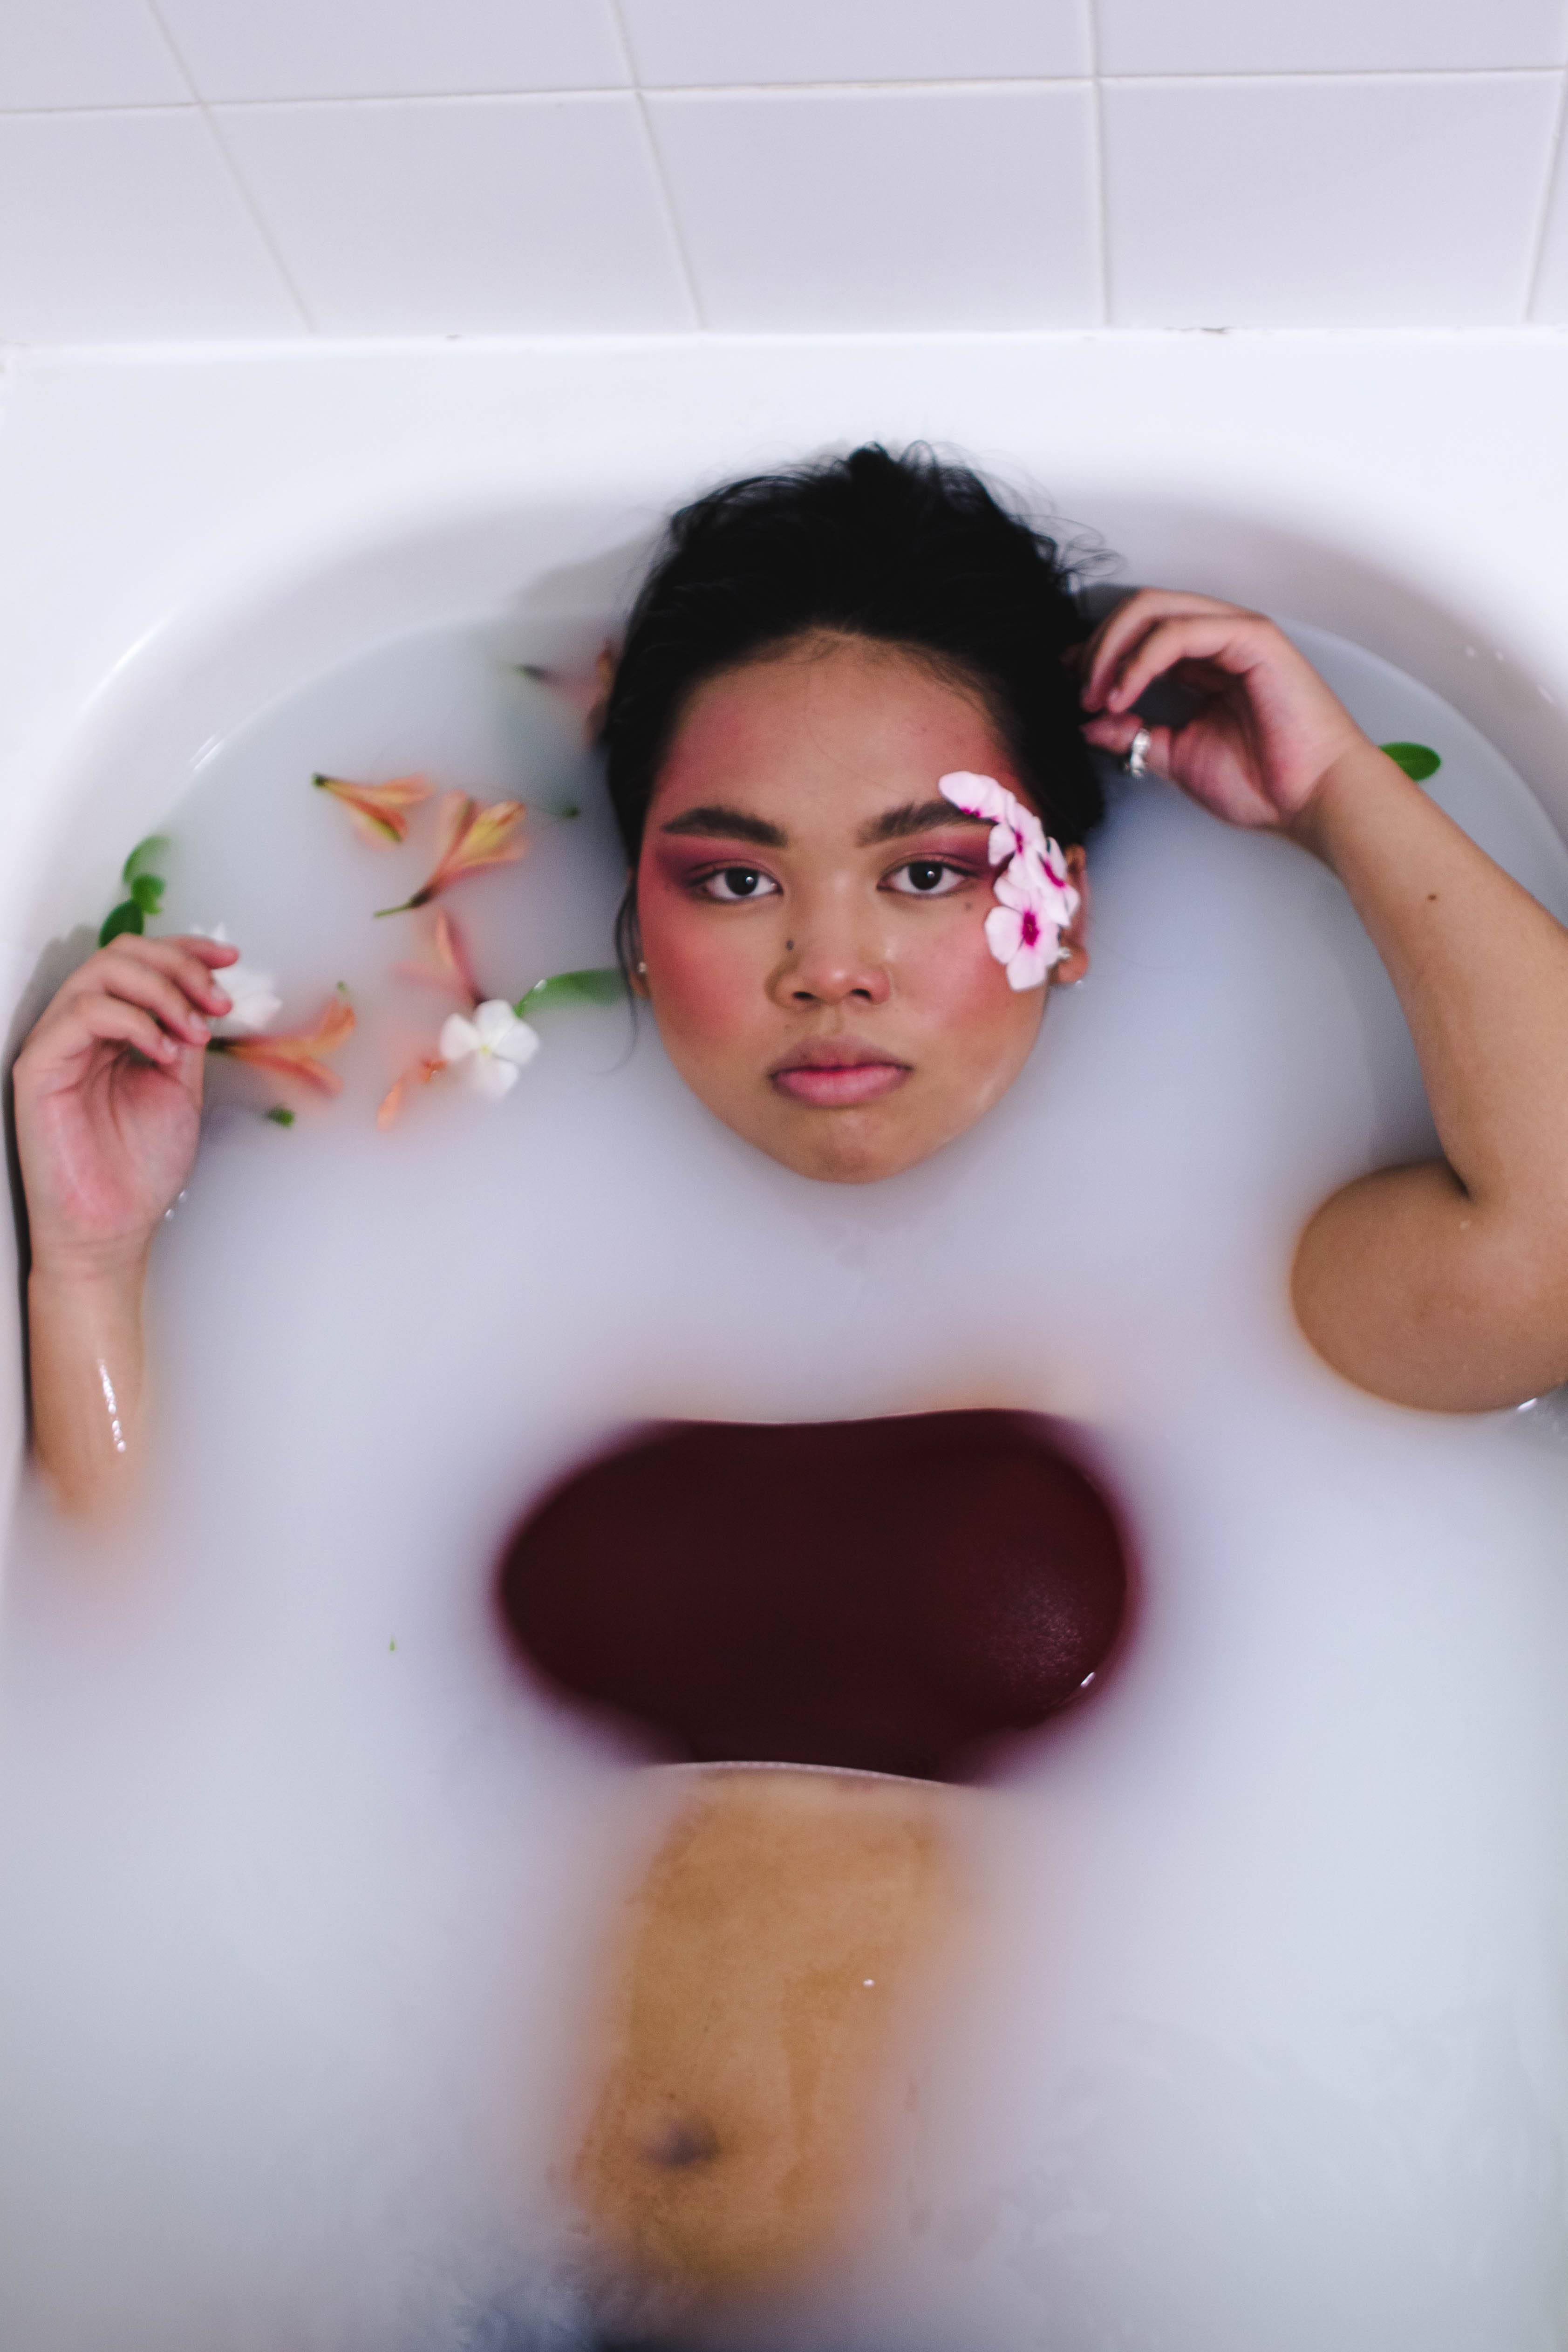
PROPS: In the pool or ocean I don’t recommend using props because I think it distracts from the overall landscape. When shooting in a bathtub I recommend using between 10-15 drops of food coloring, flowers or leaves. Make sure you use real flowers because artificial flowers float to the bottom and don’t allow for the pretty bohemian look. Also when using food coloring make sure your subject isn’t wearing white because although it isn’t likely it will stain there is always the possibility. I also recommend using milk along with the food coloring because I think it makes the colors pop more!
If you would like to see the full set of these images you can click on the three links below! If you end up taking water portraits make sure to tag me @goodallphotos so I can see your interpretation of it!
Water Portraits (the OG)
Want to see more of my photography tutorials? Click here to see more!
Want to do a shoot together? Click here for booking and pricing information!
Want to see more of my summer shoots? Click here!
Instagram: @goodallphotos
Facebook Page: @goodallphotographs
Contact me! goodallphotos1@gmail.com

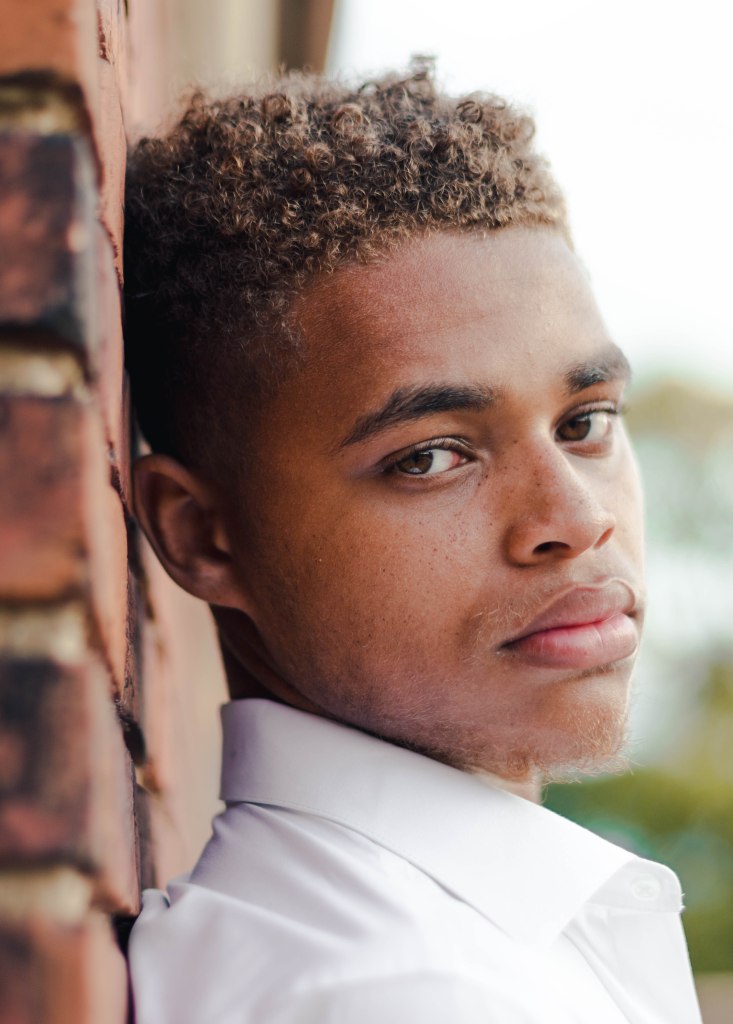
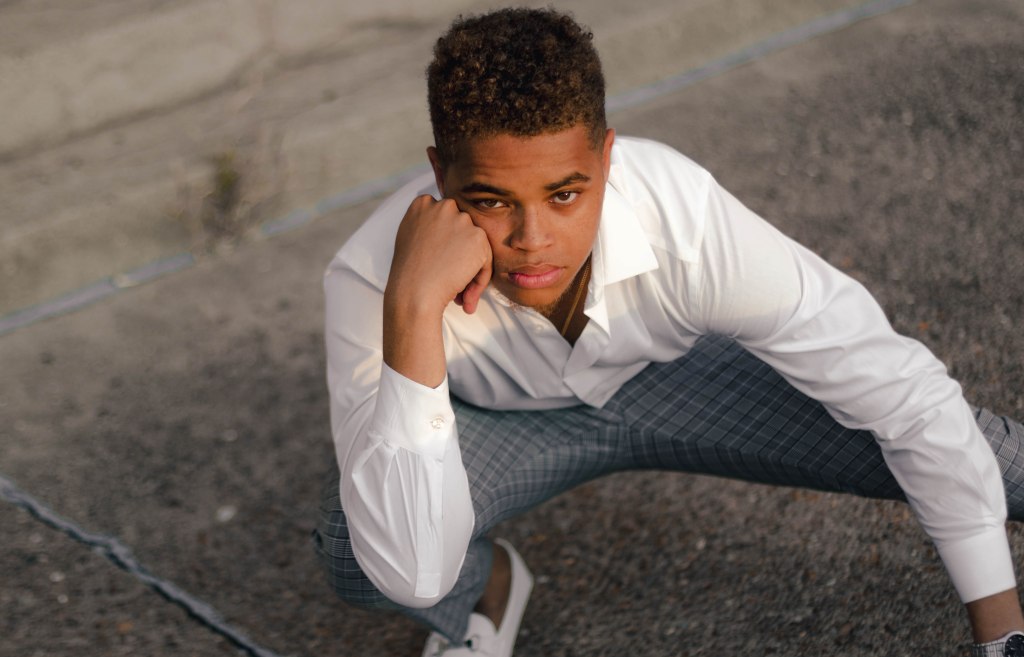
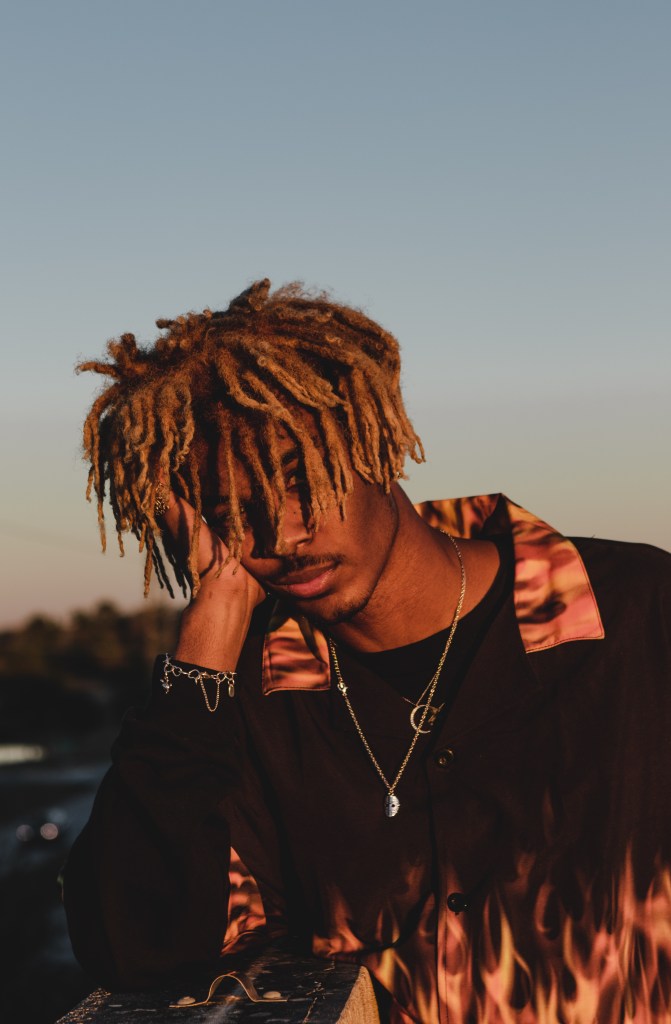
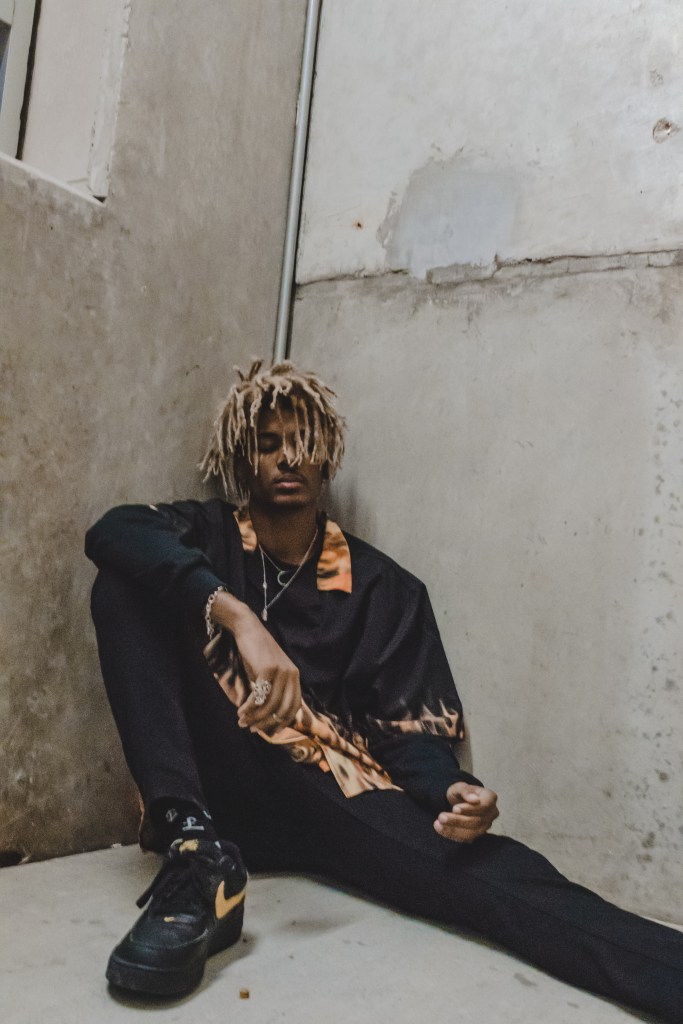
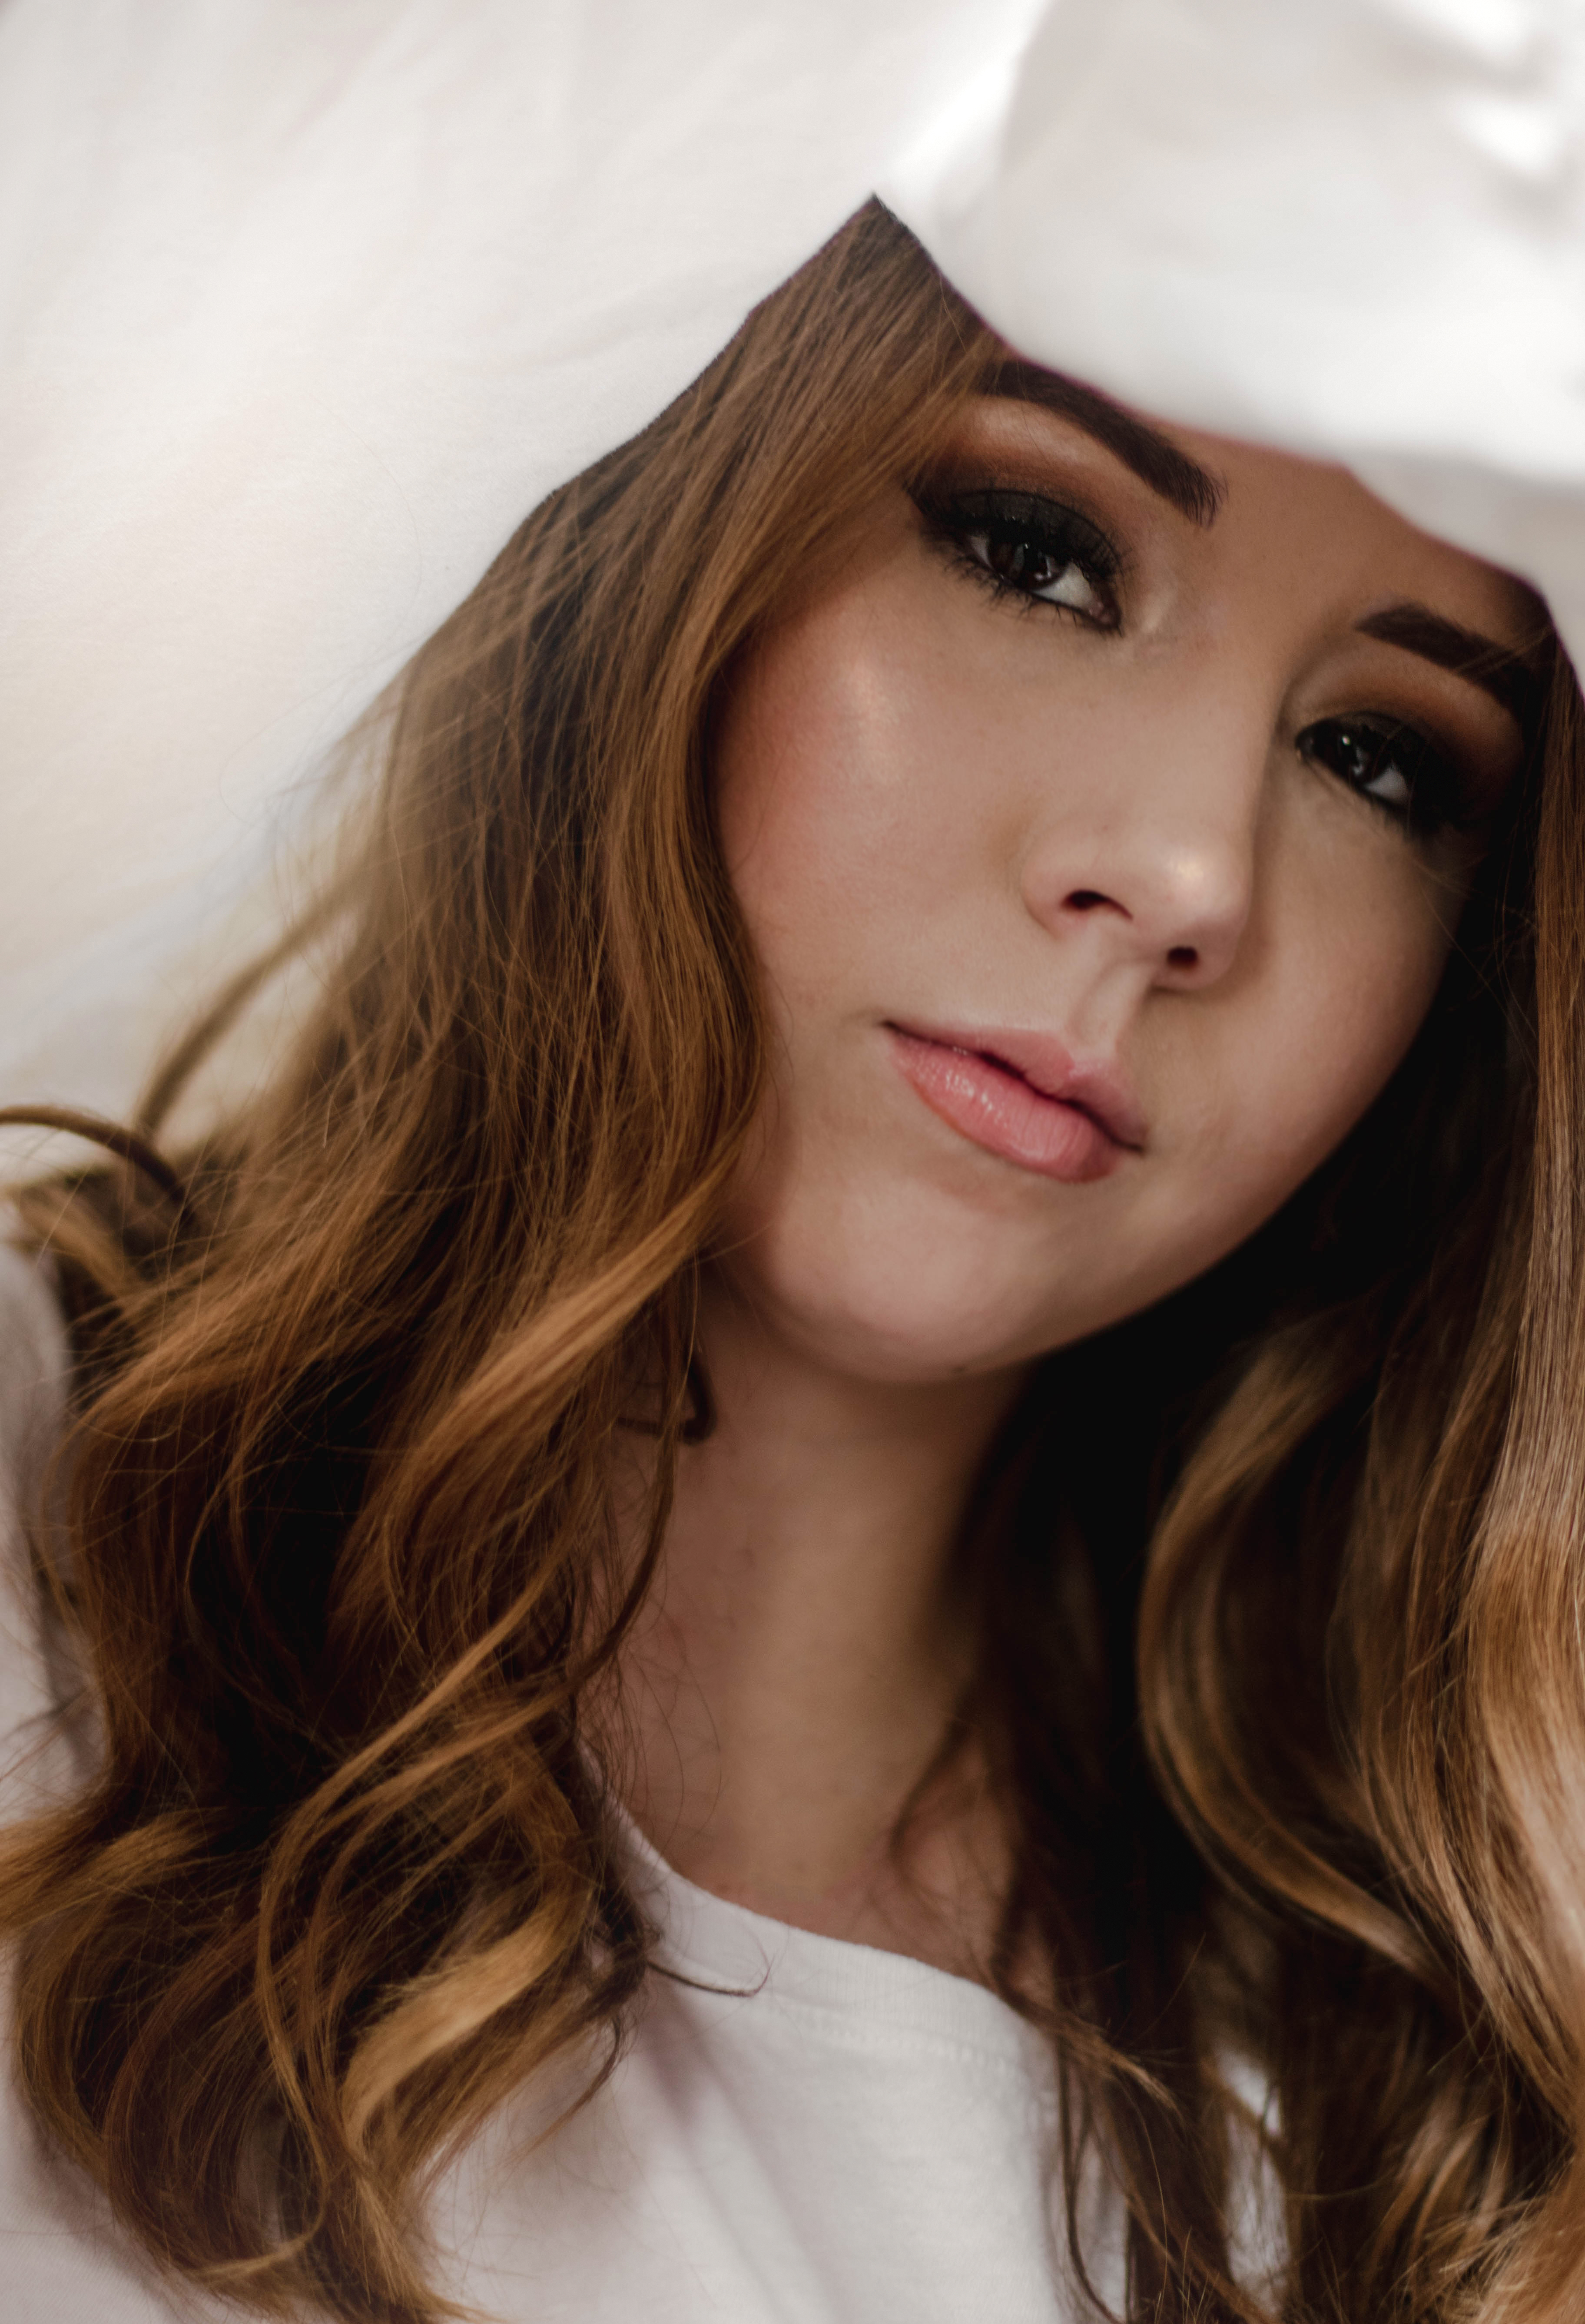
Here is the full set of images from my studio portraits shoot a few weeks ago and some additional portraits from my golden hour shoot, enjoy!
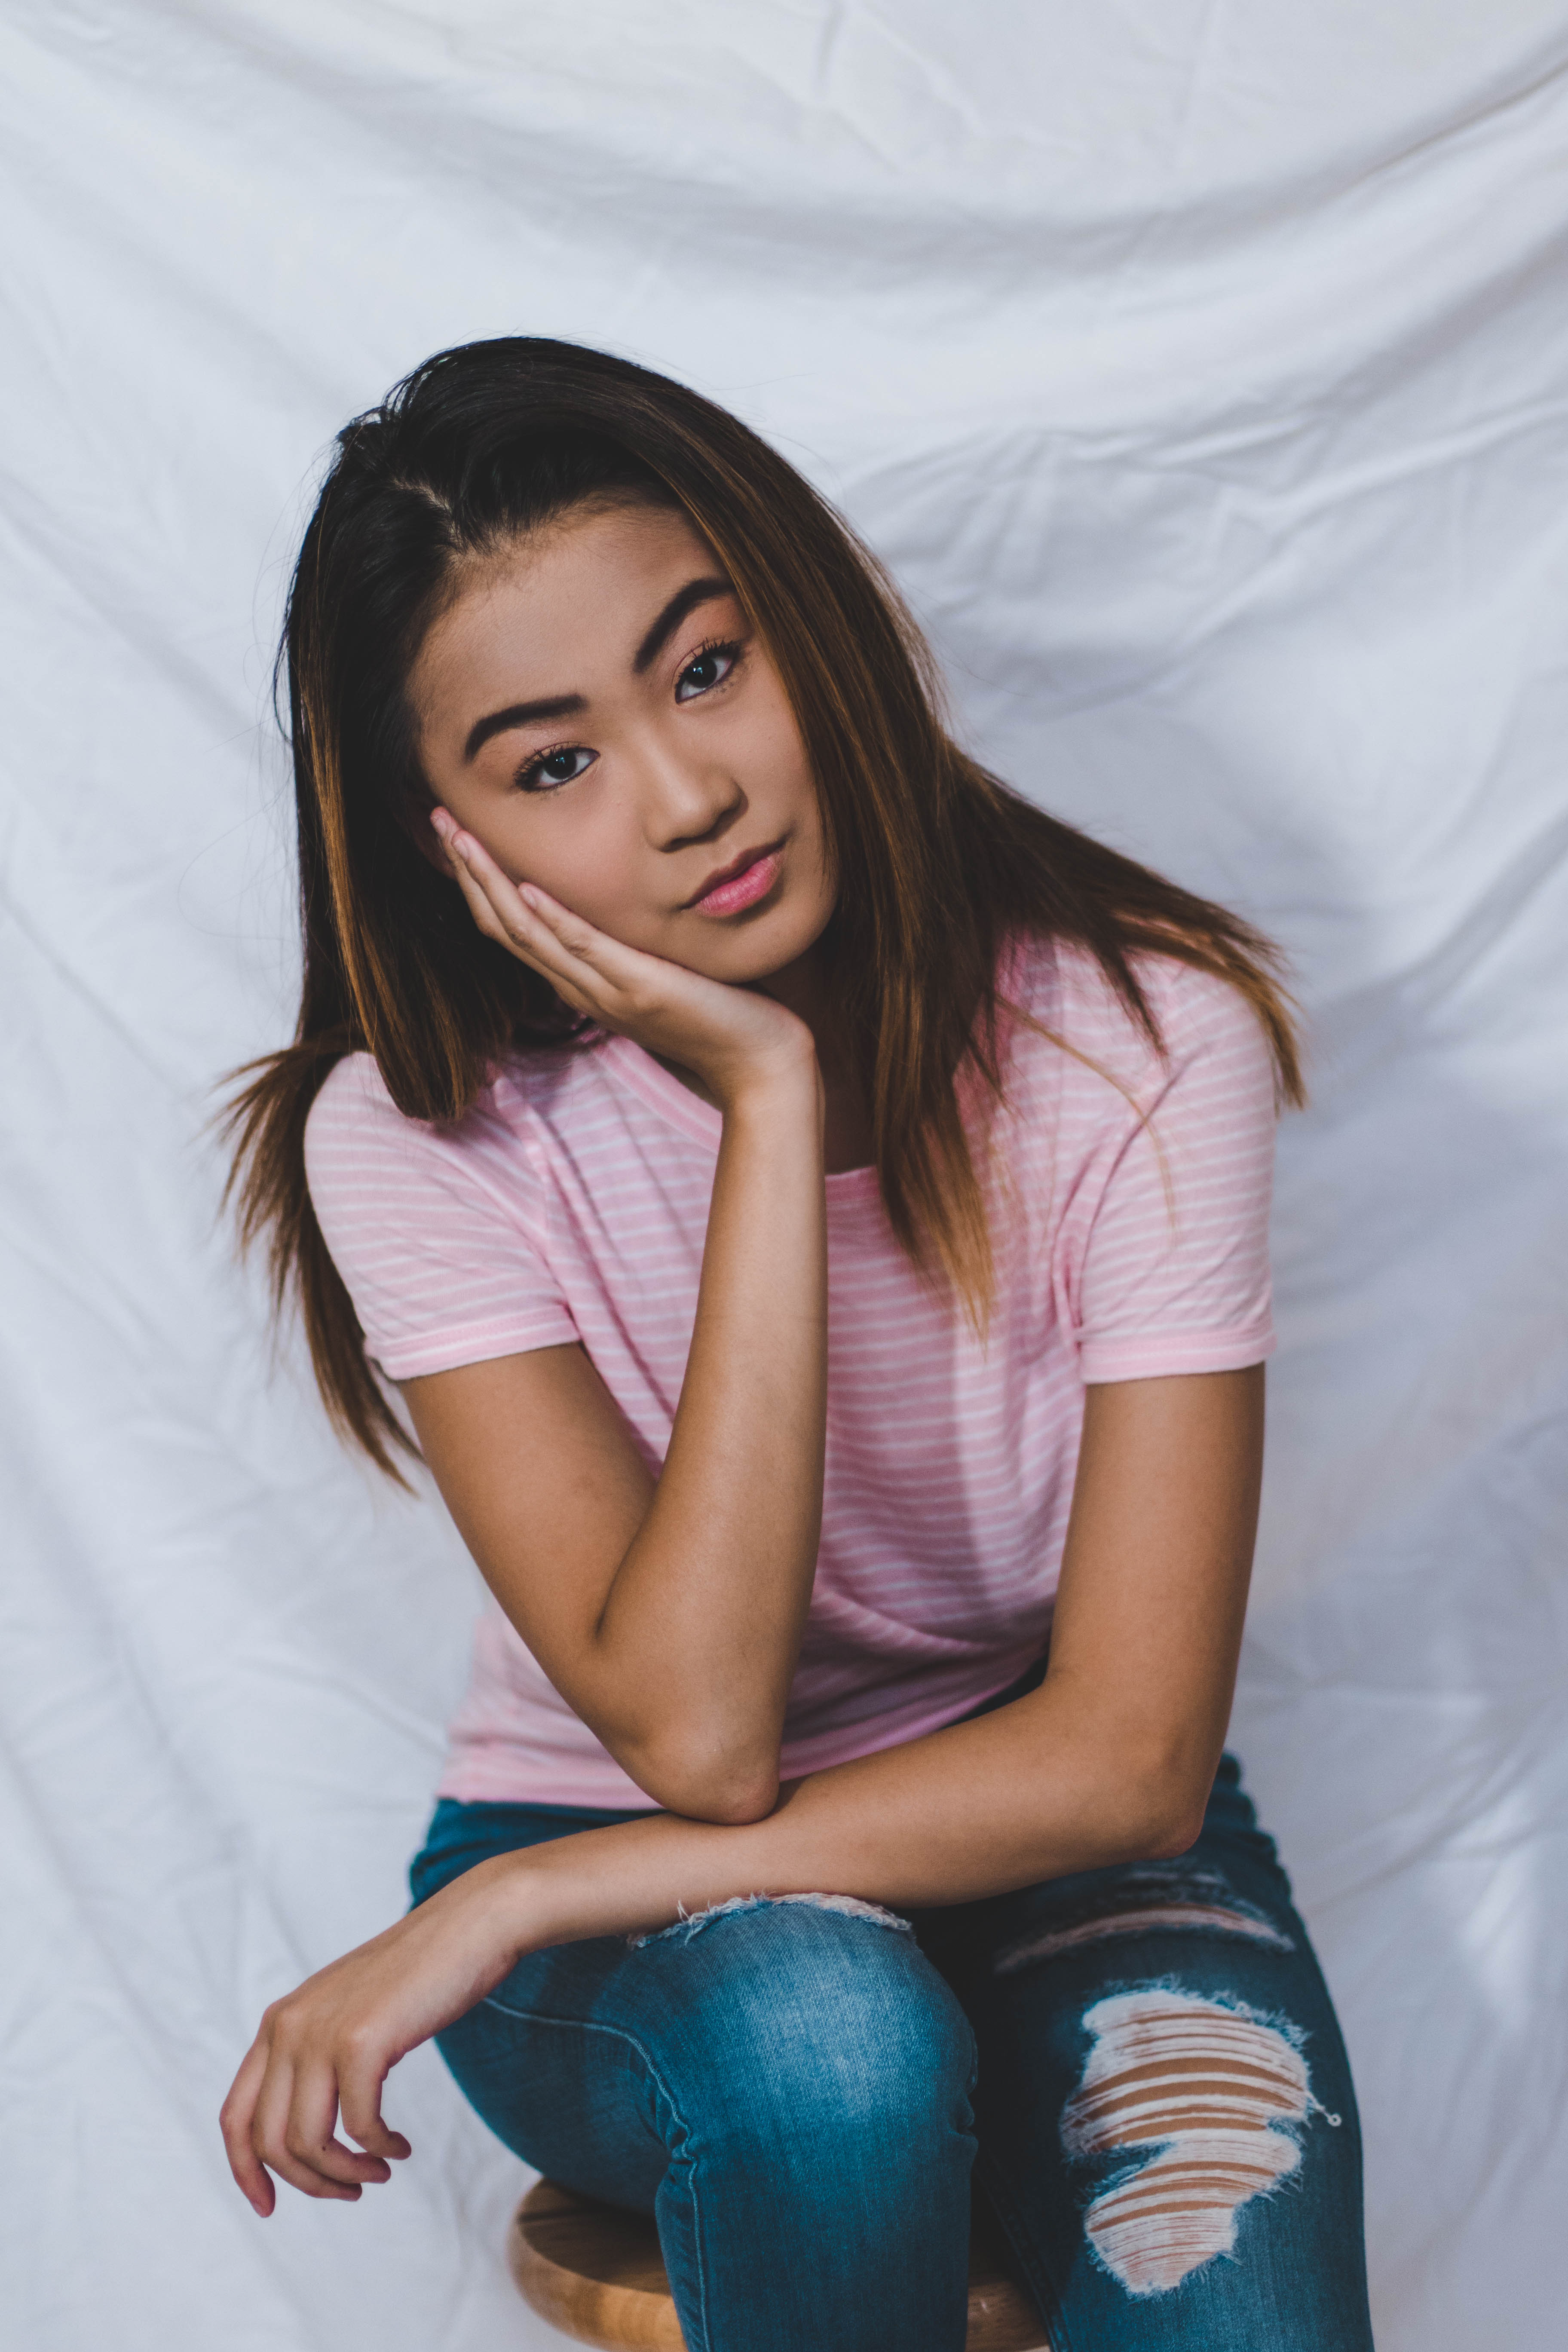
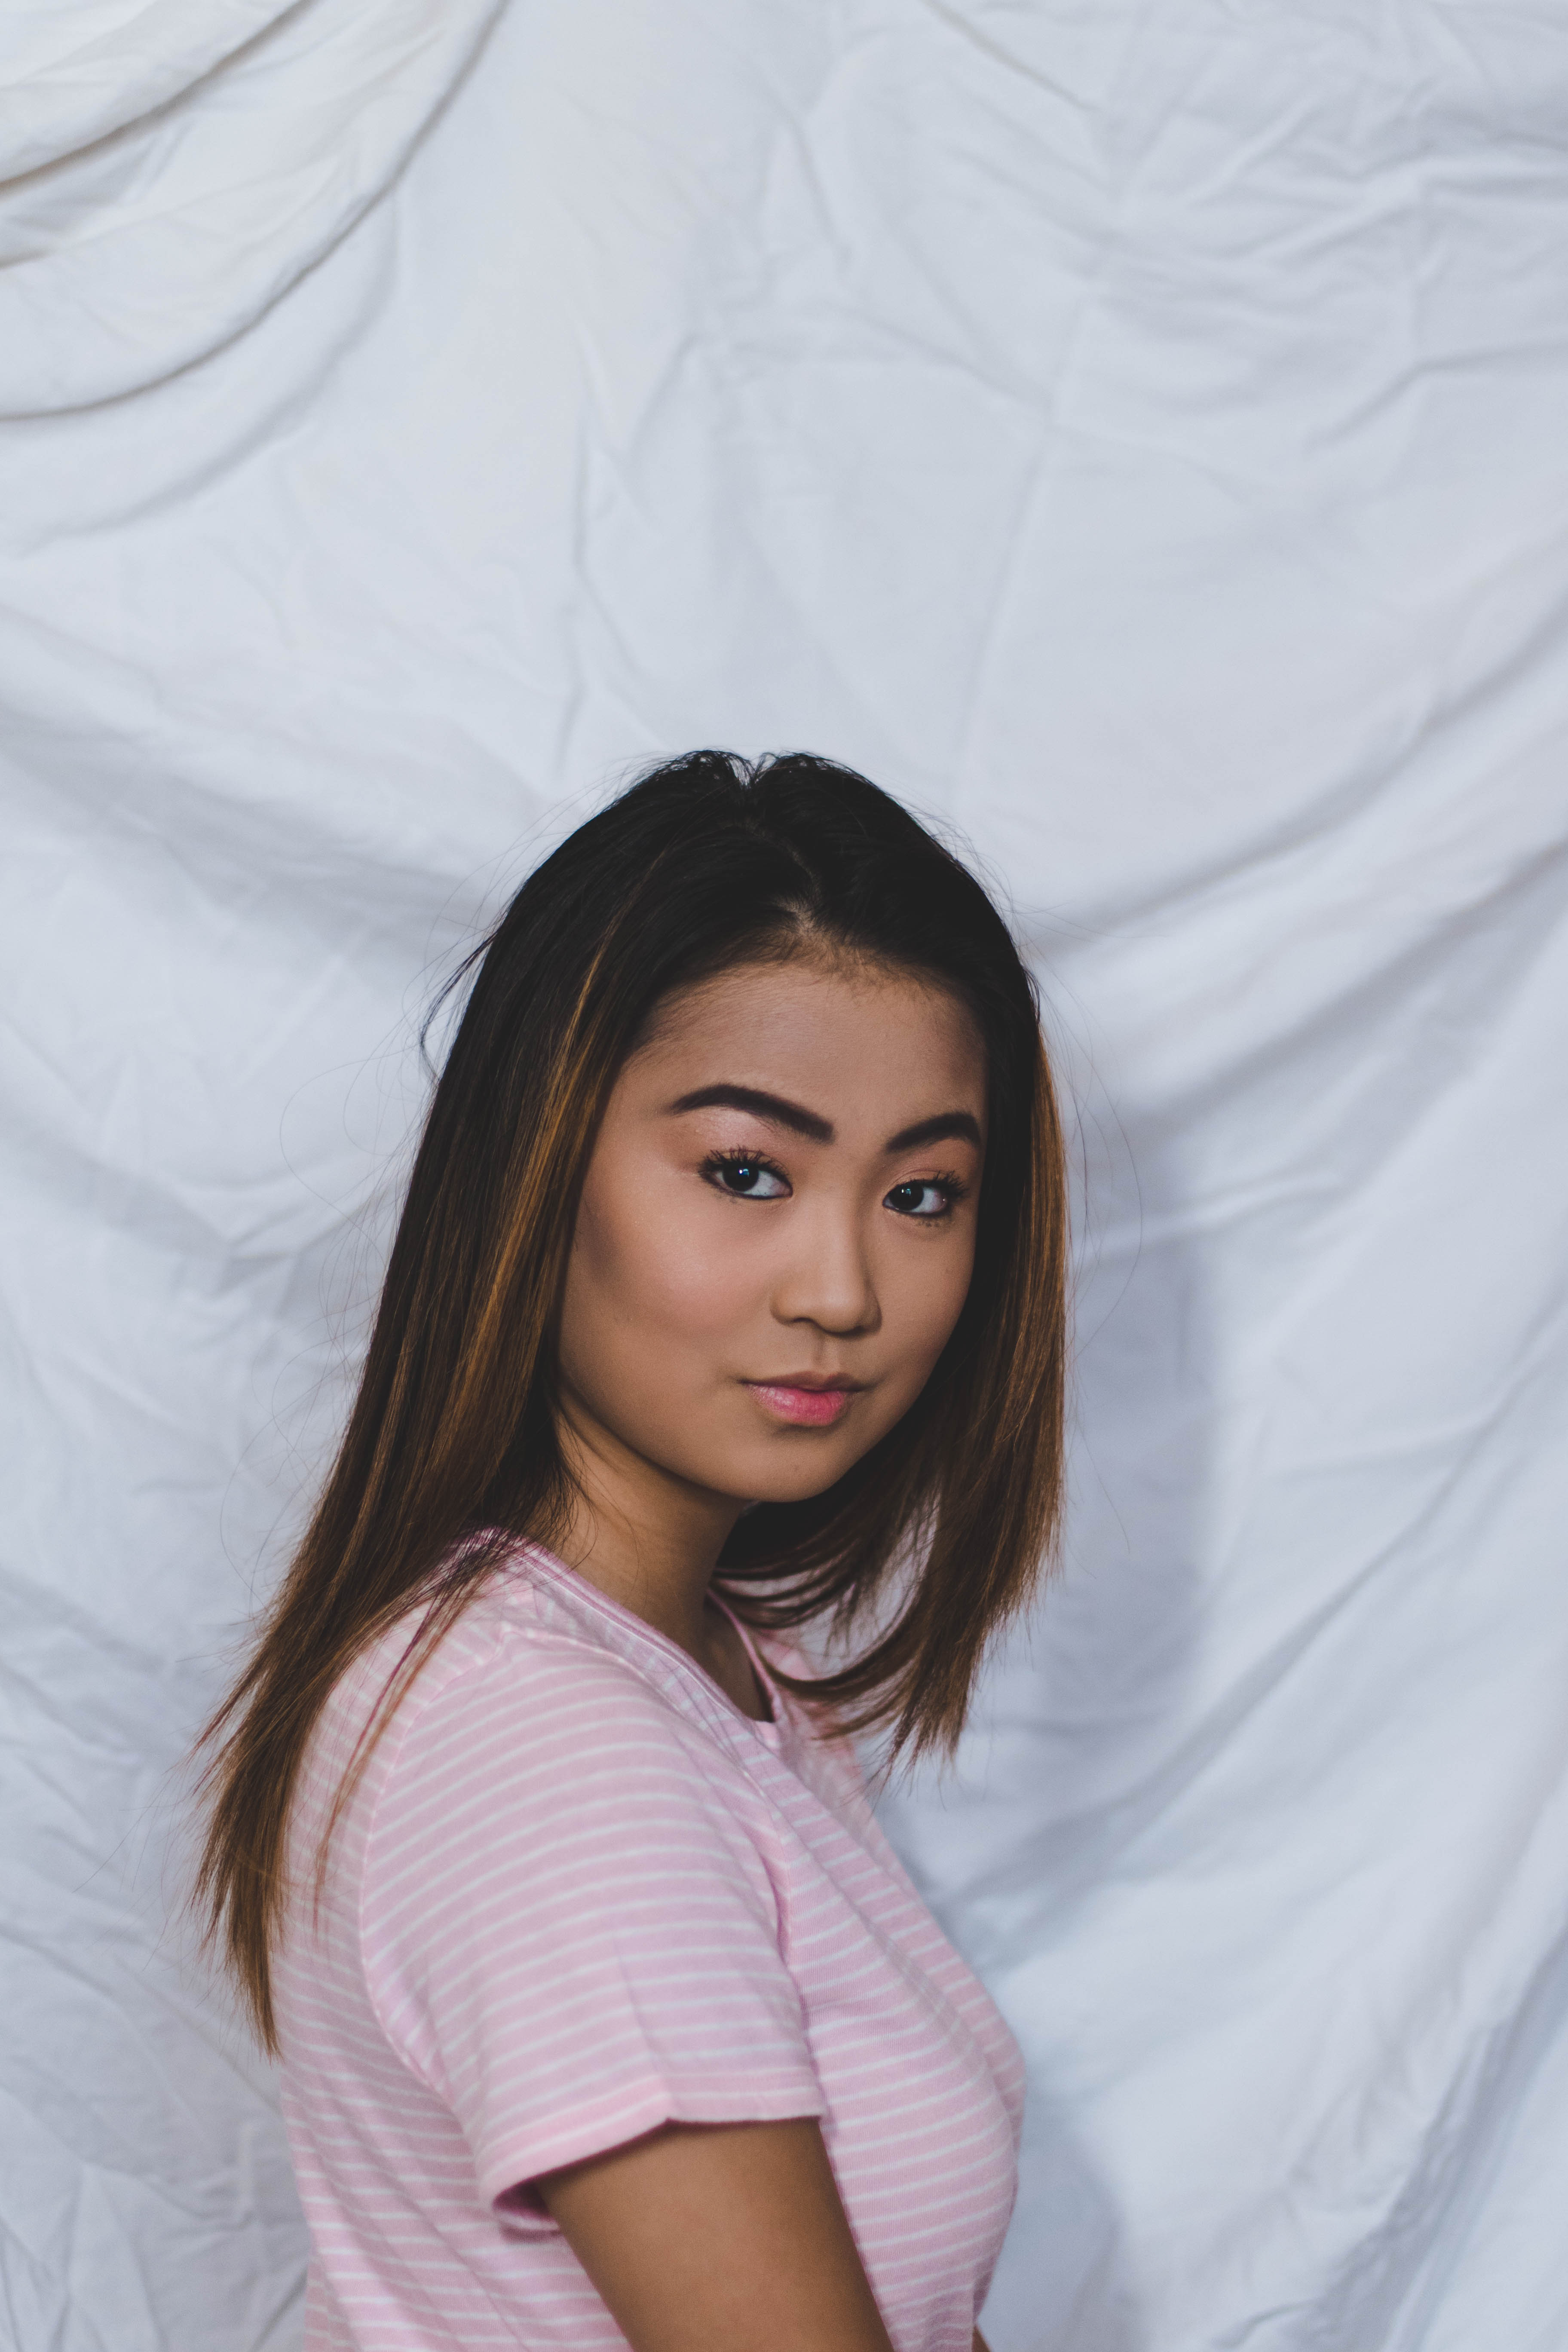
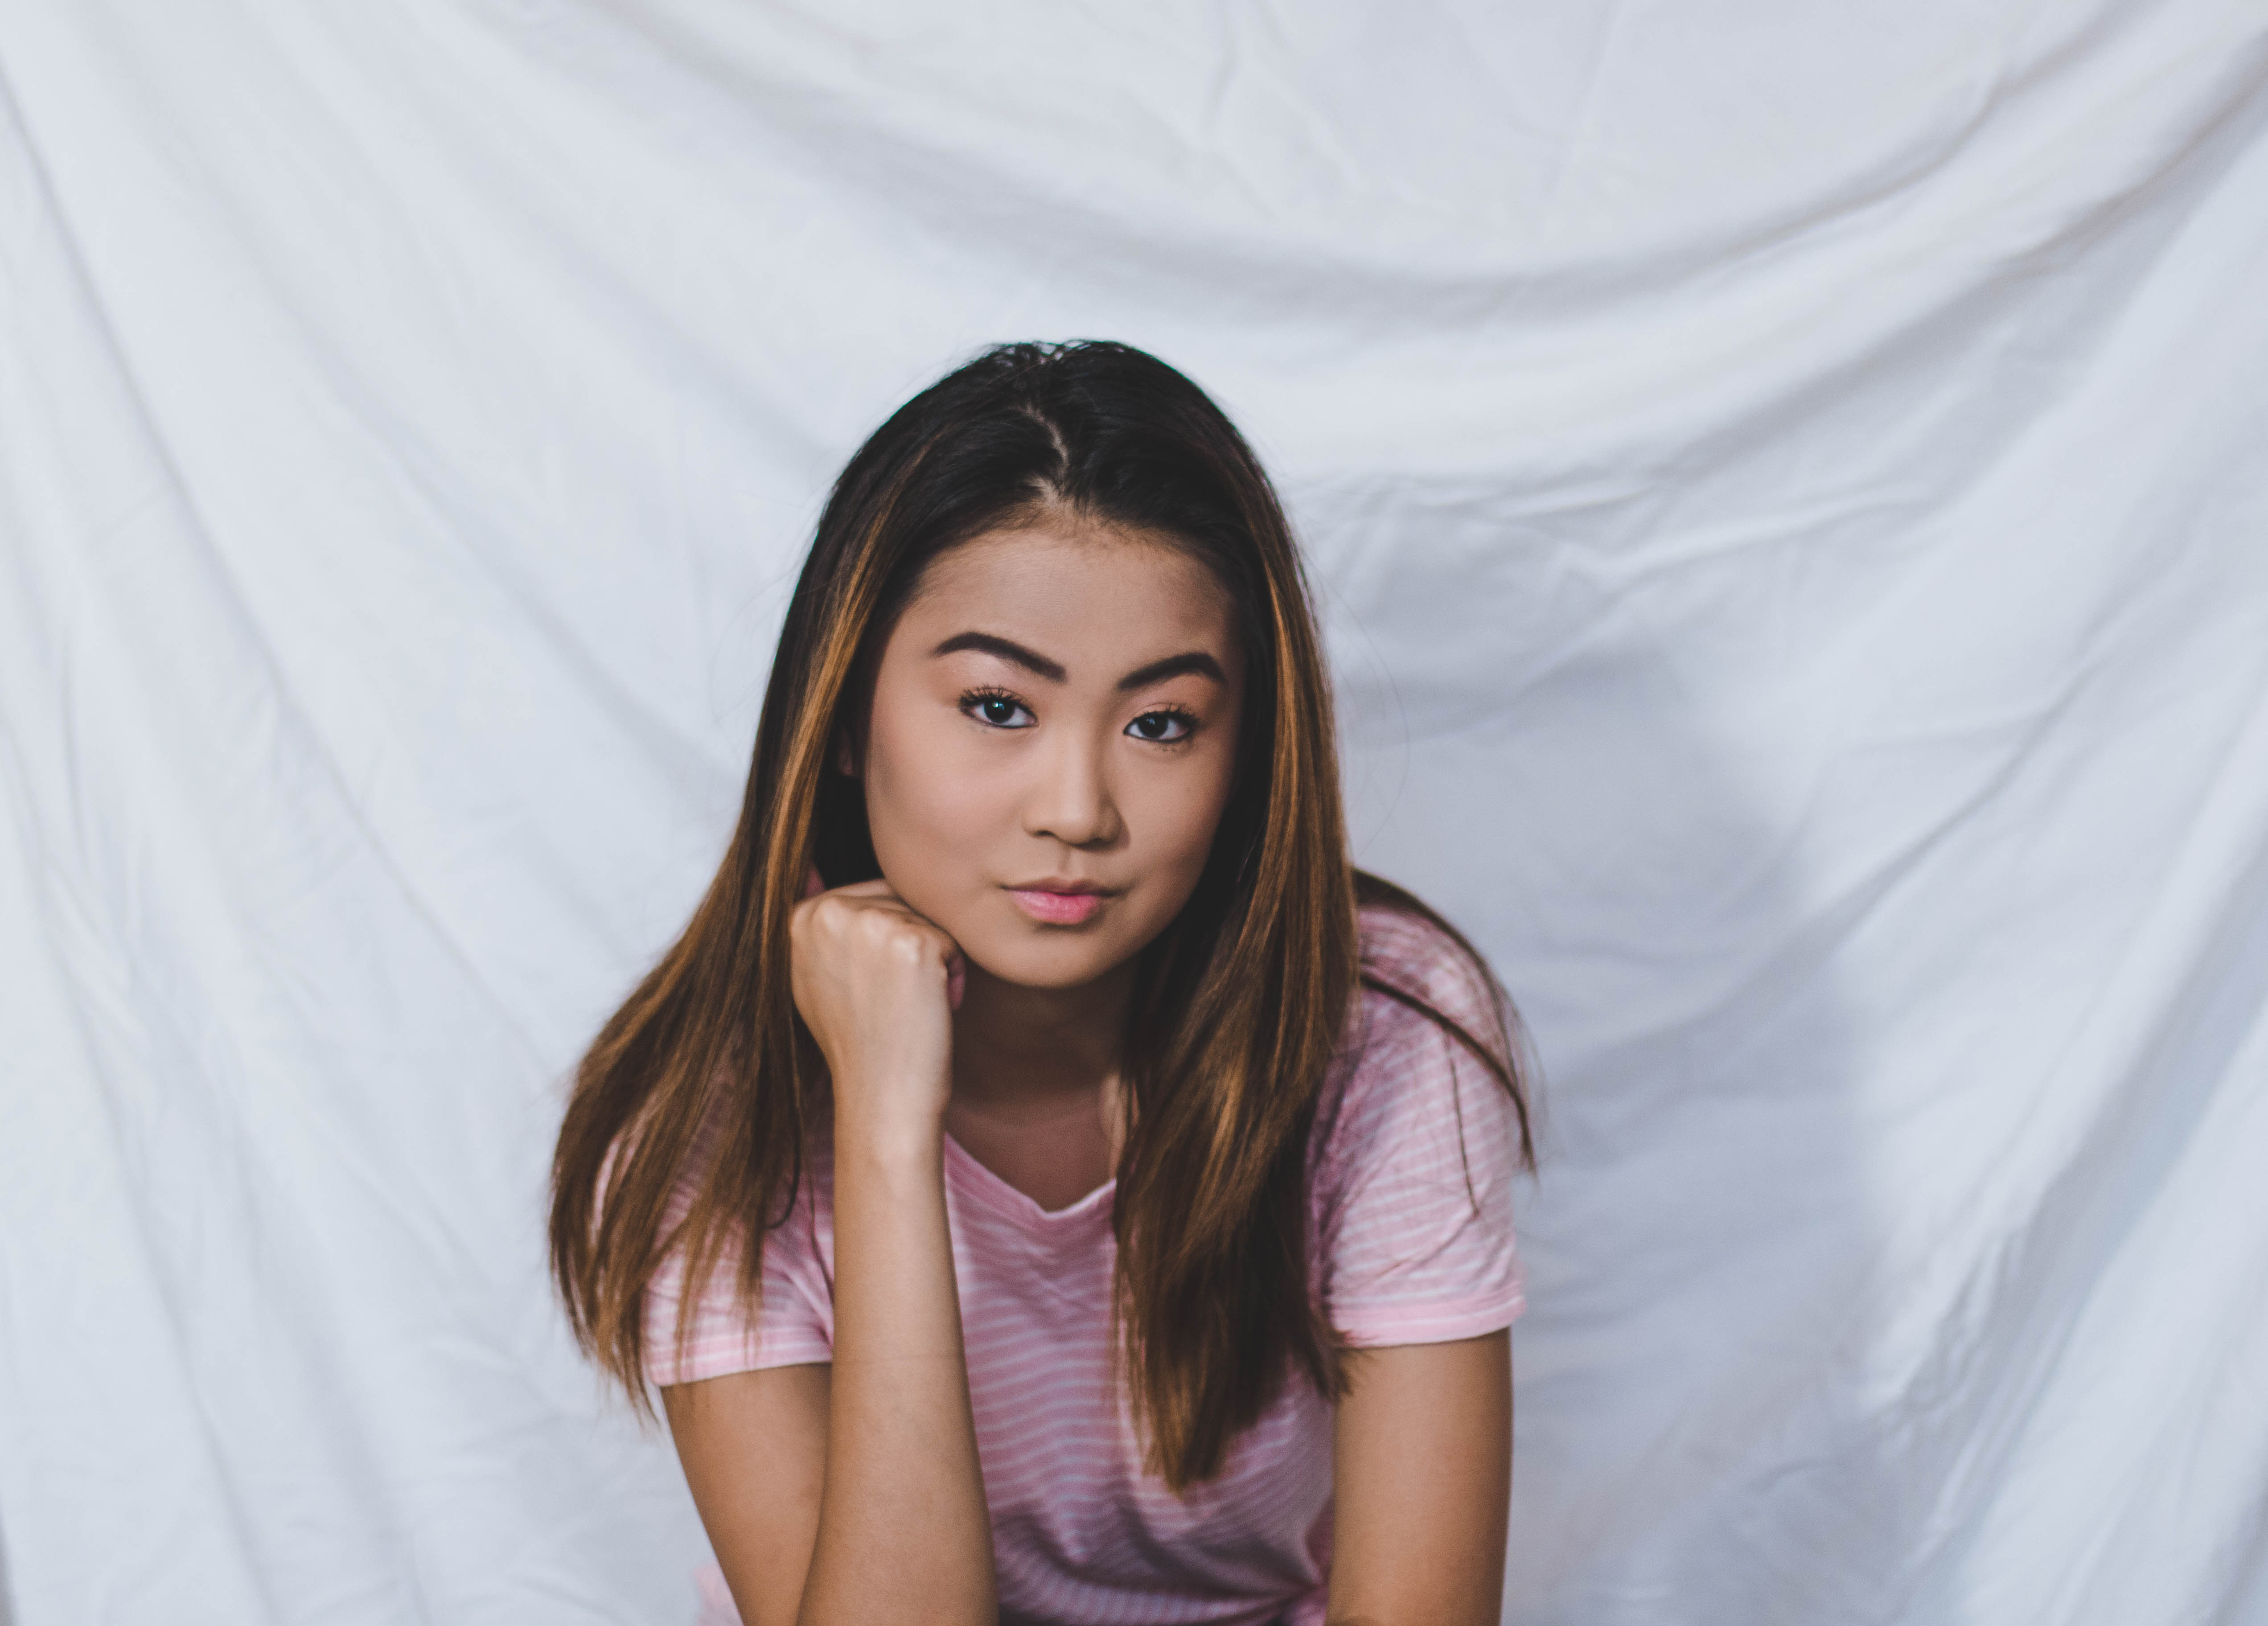
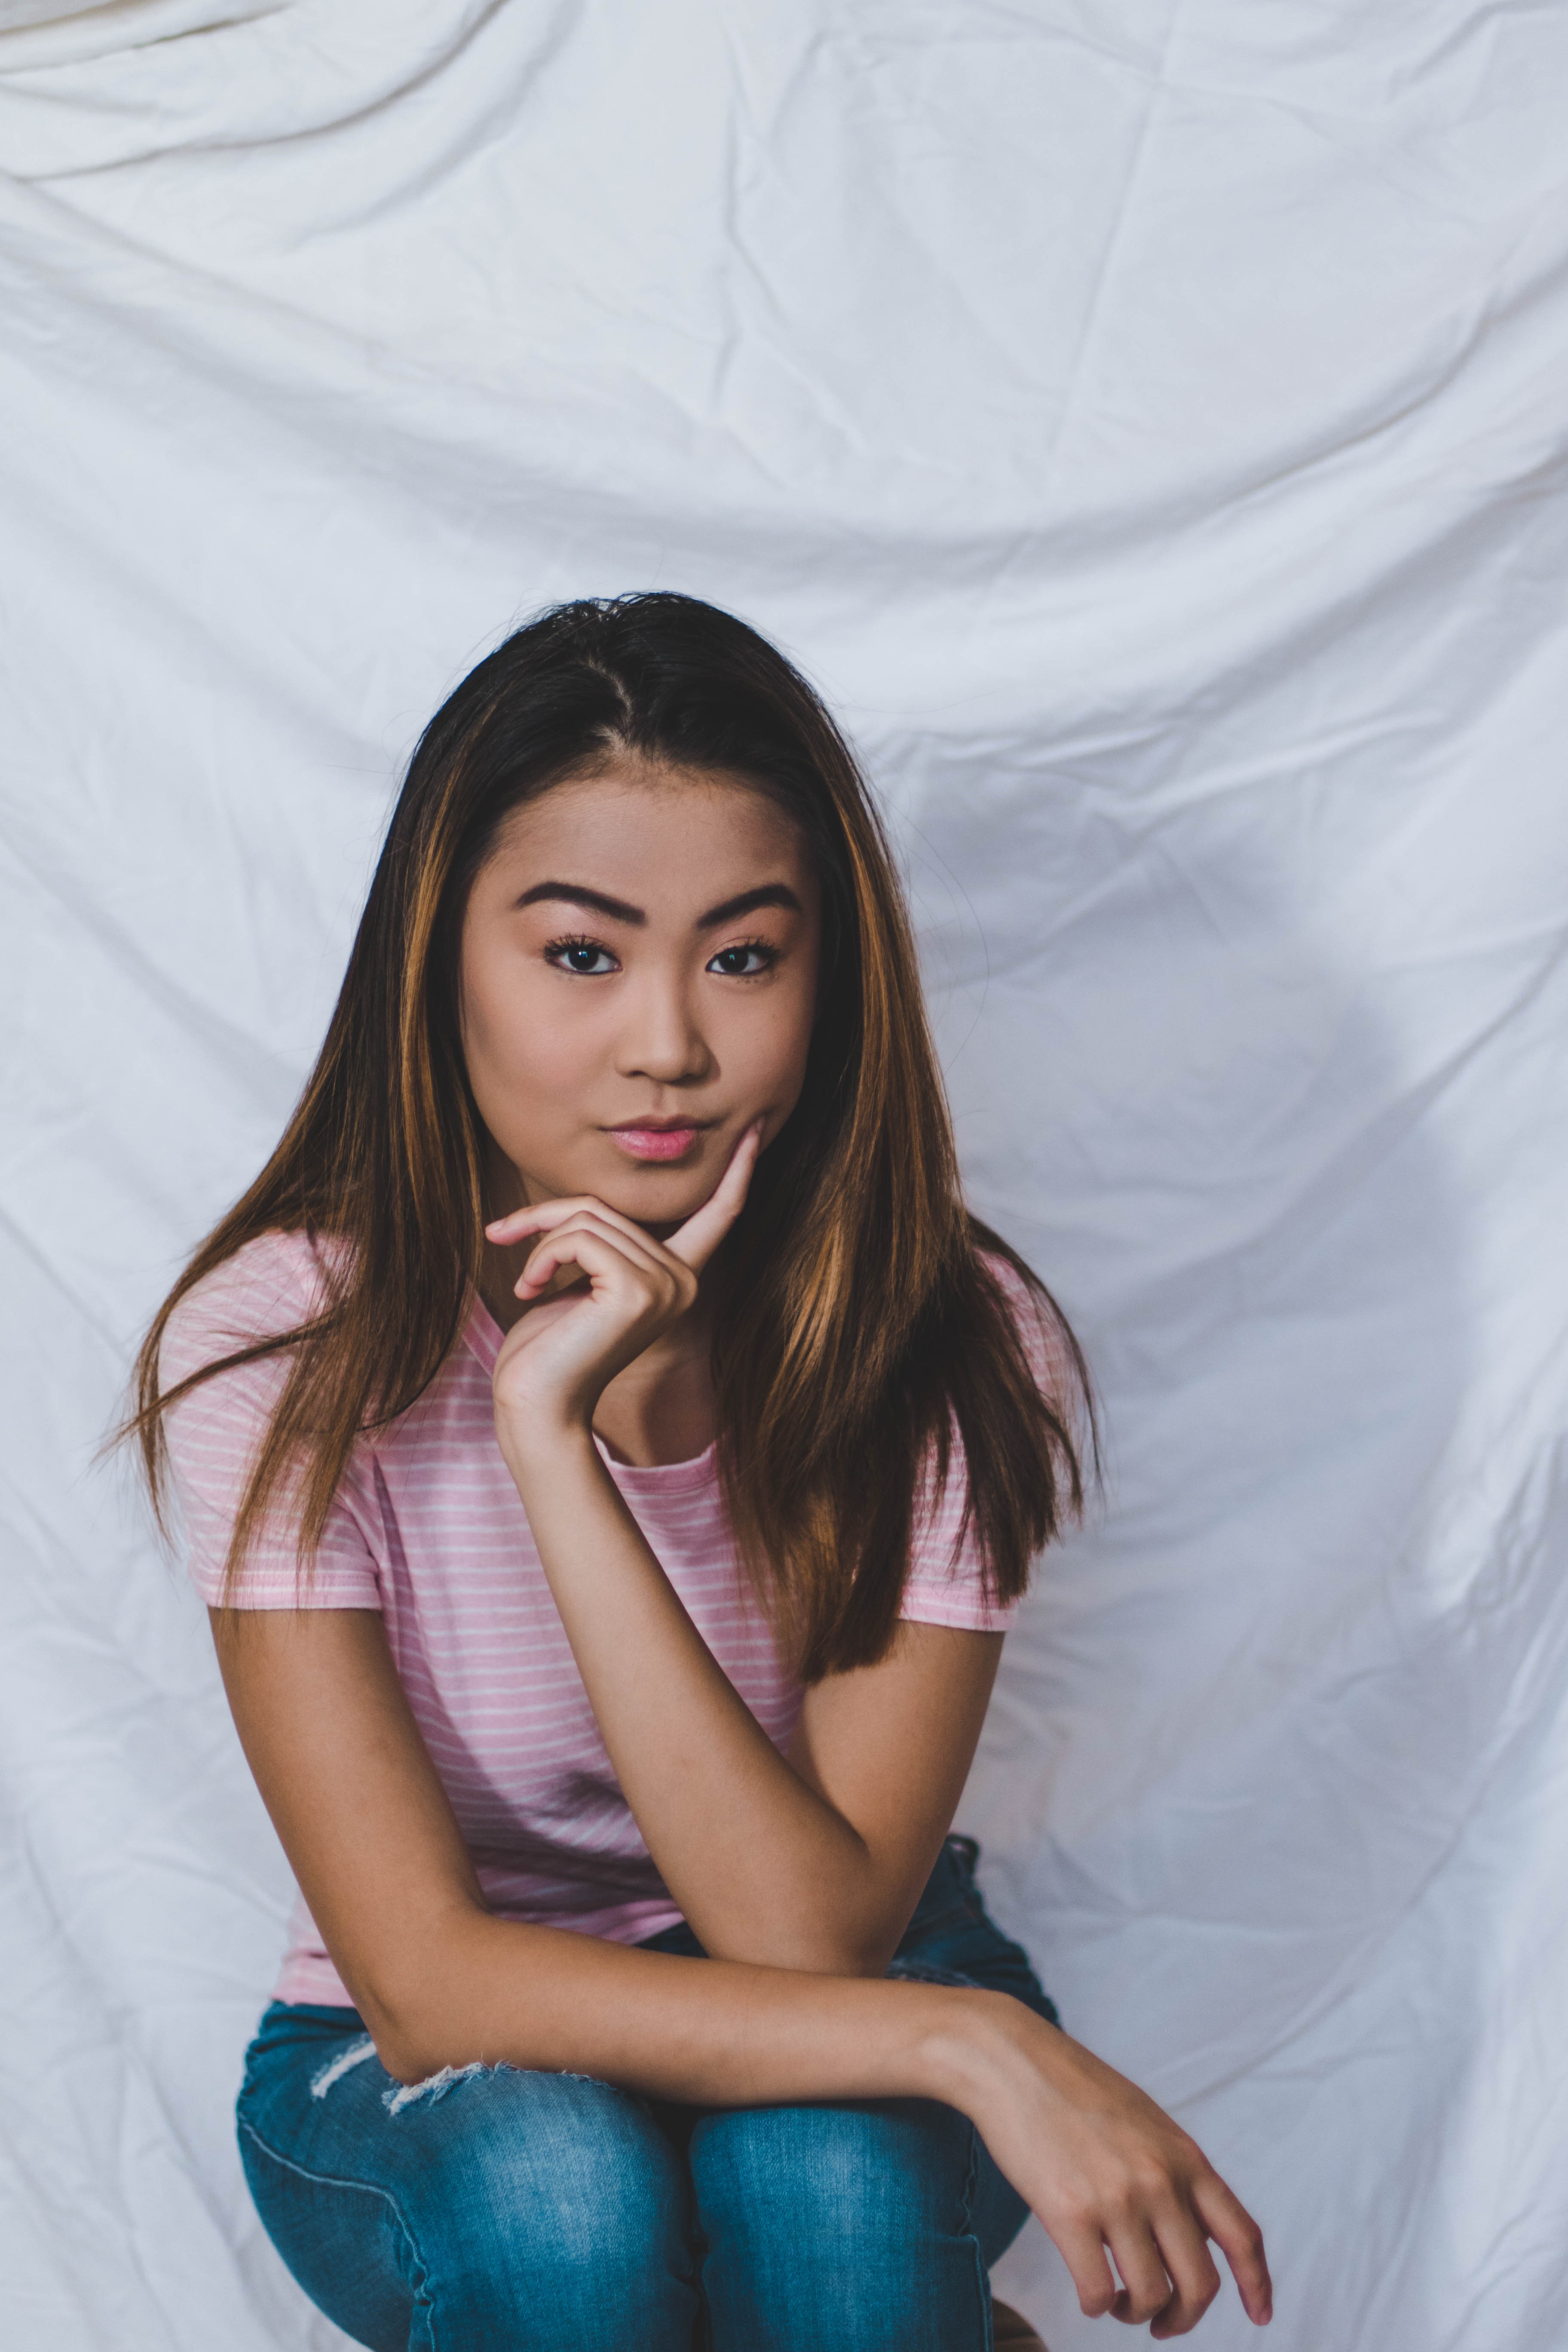


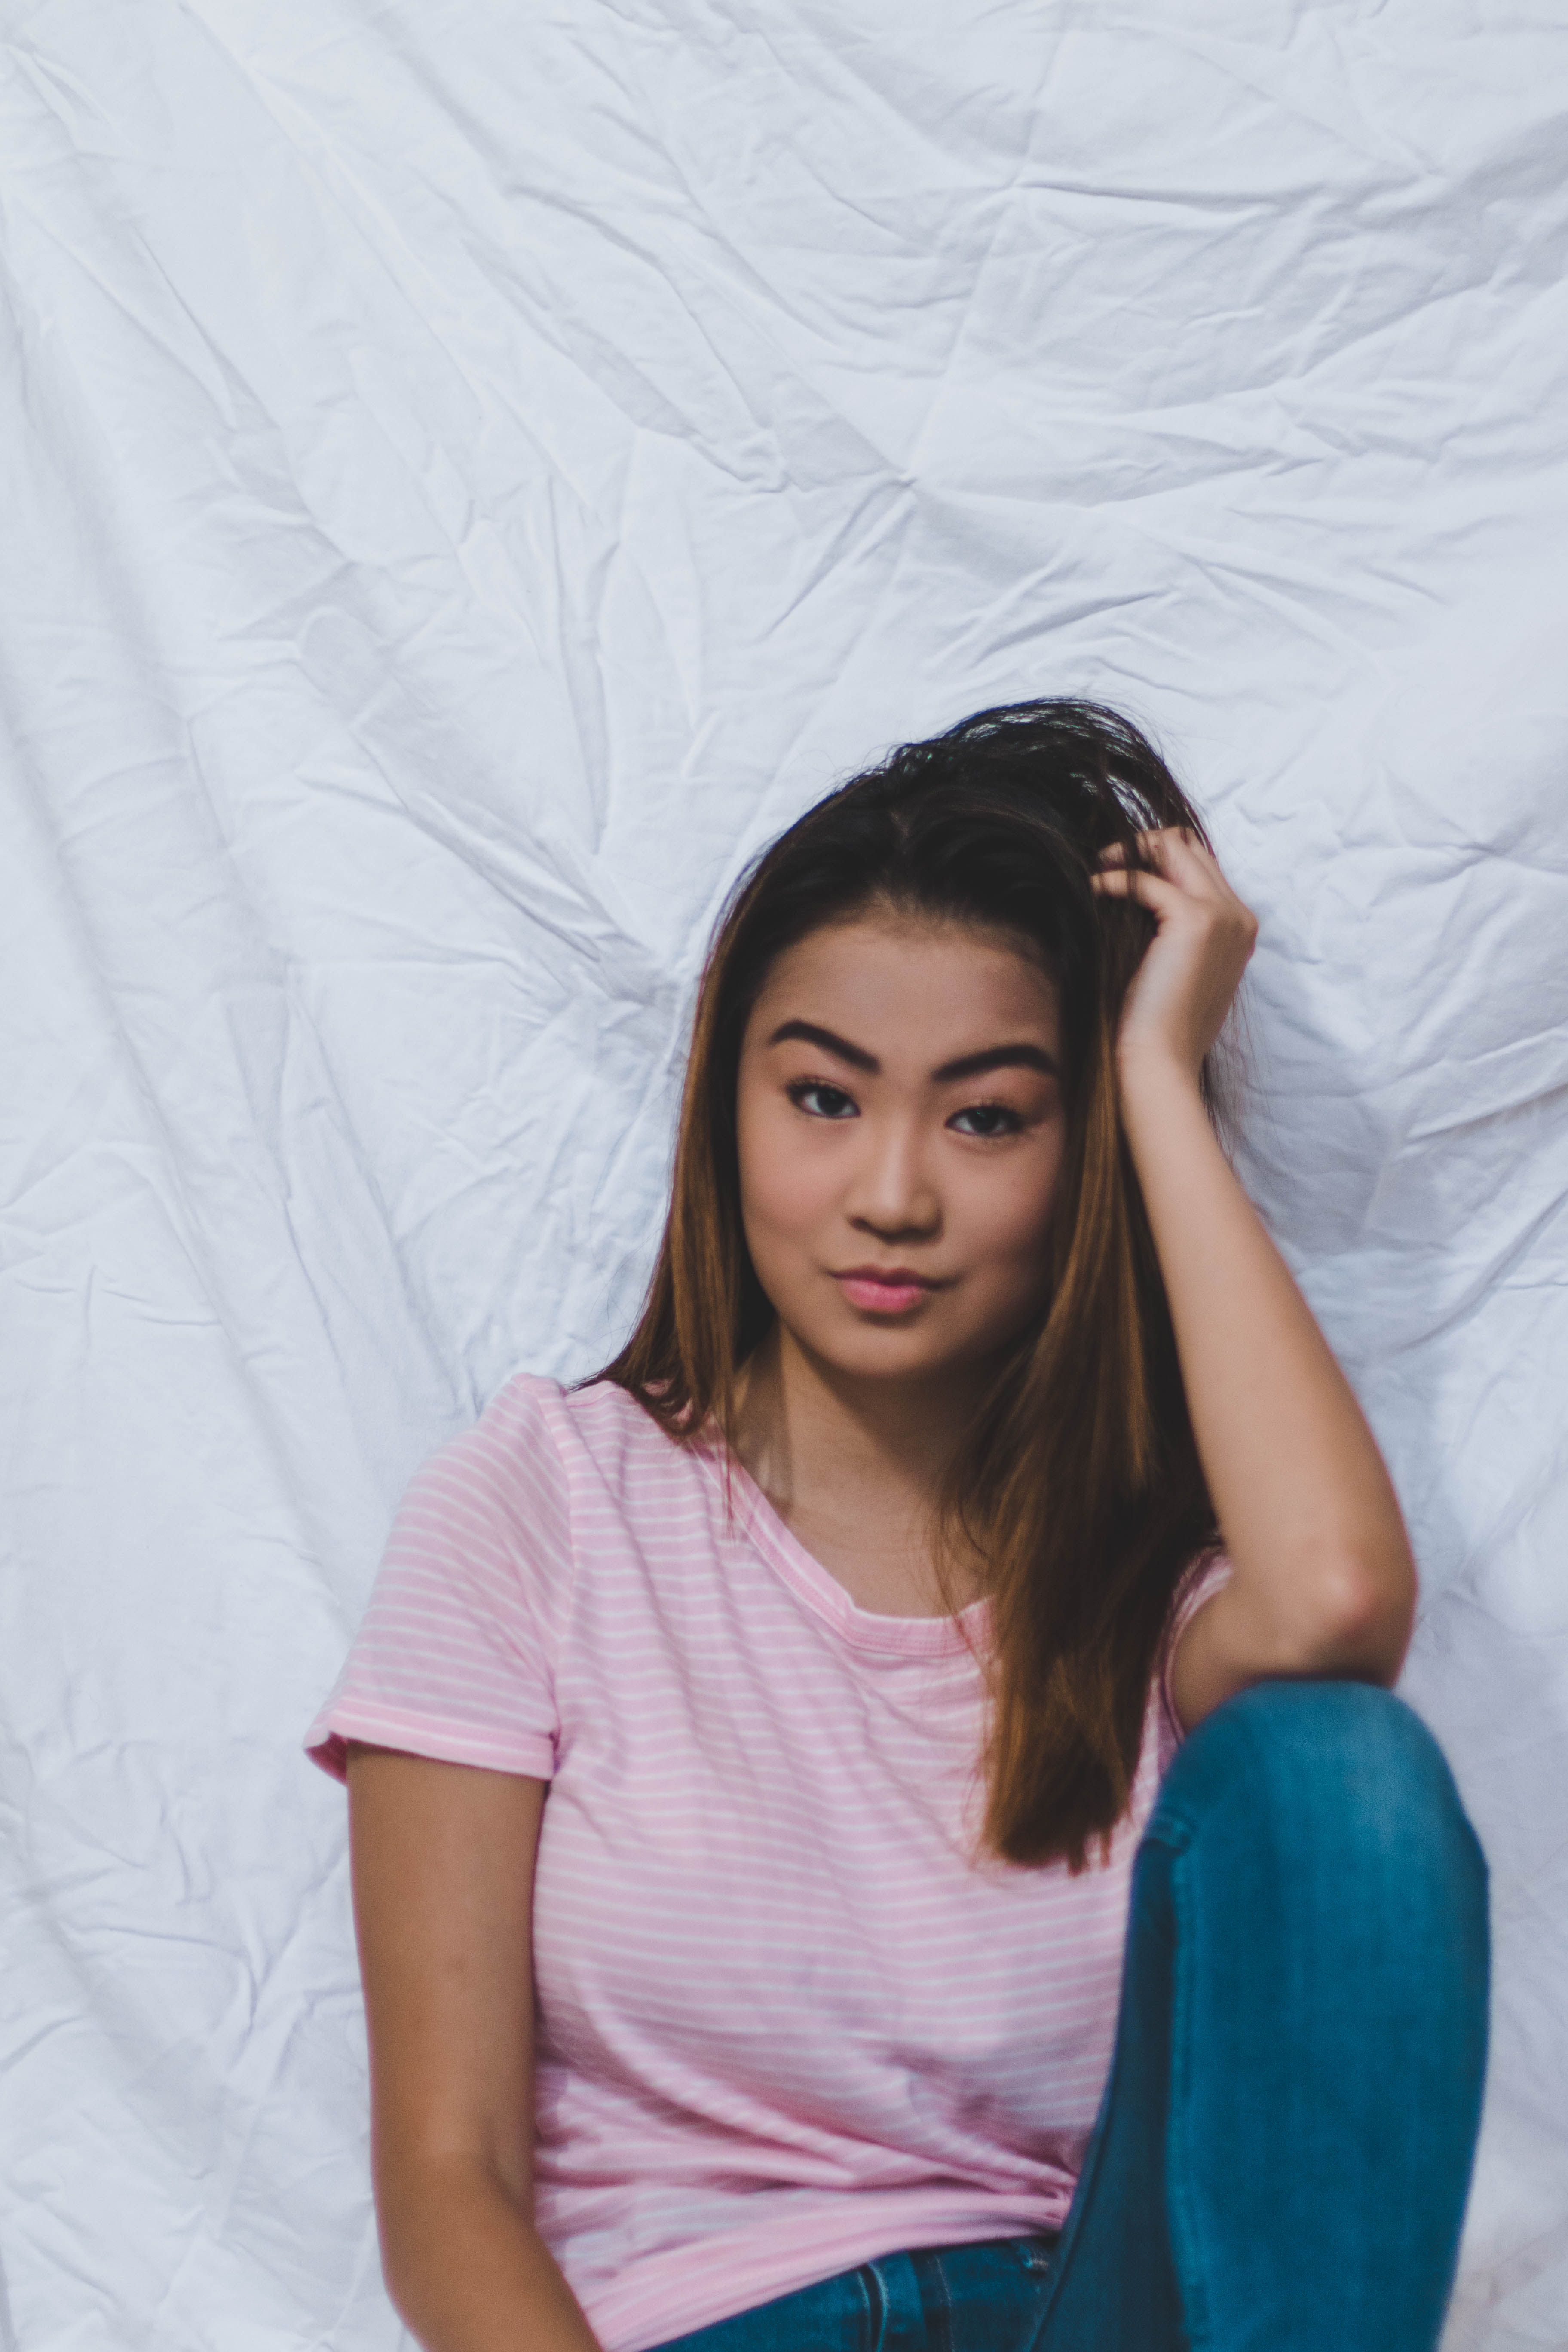
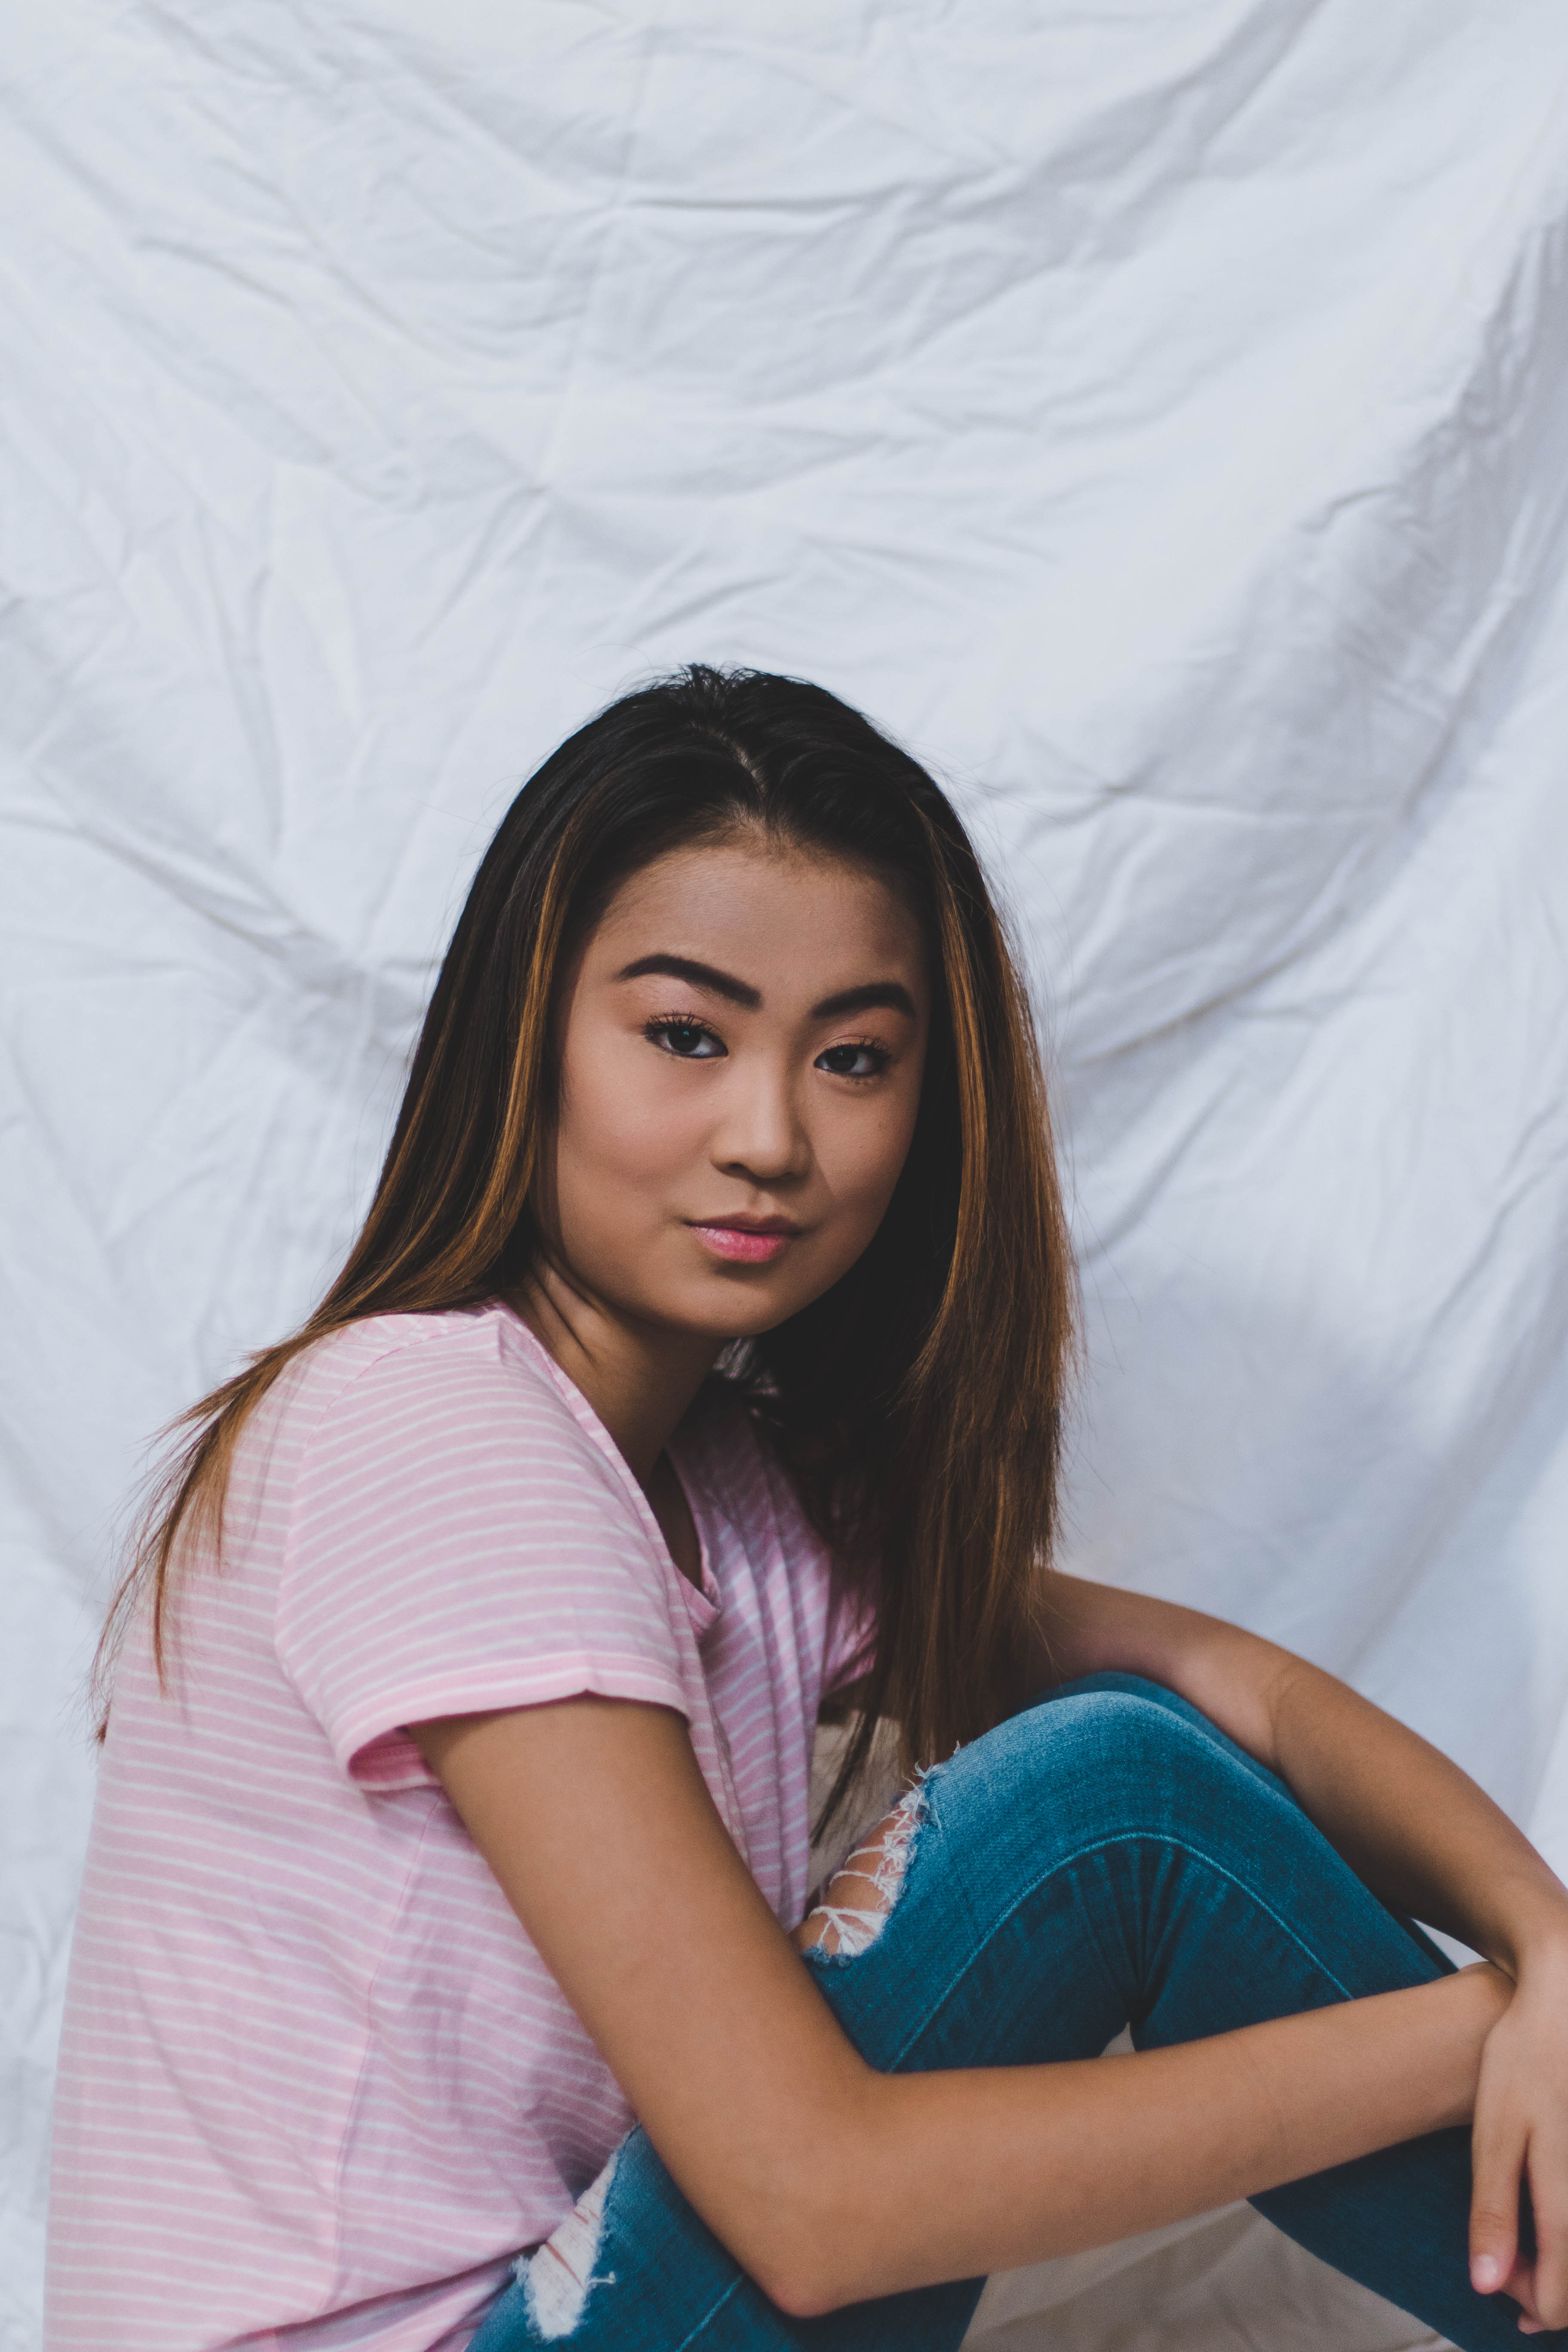

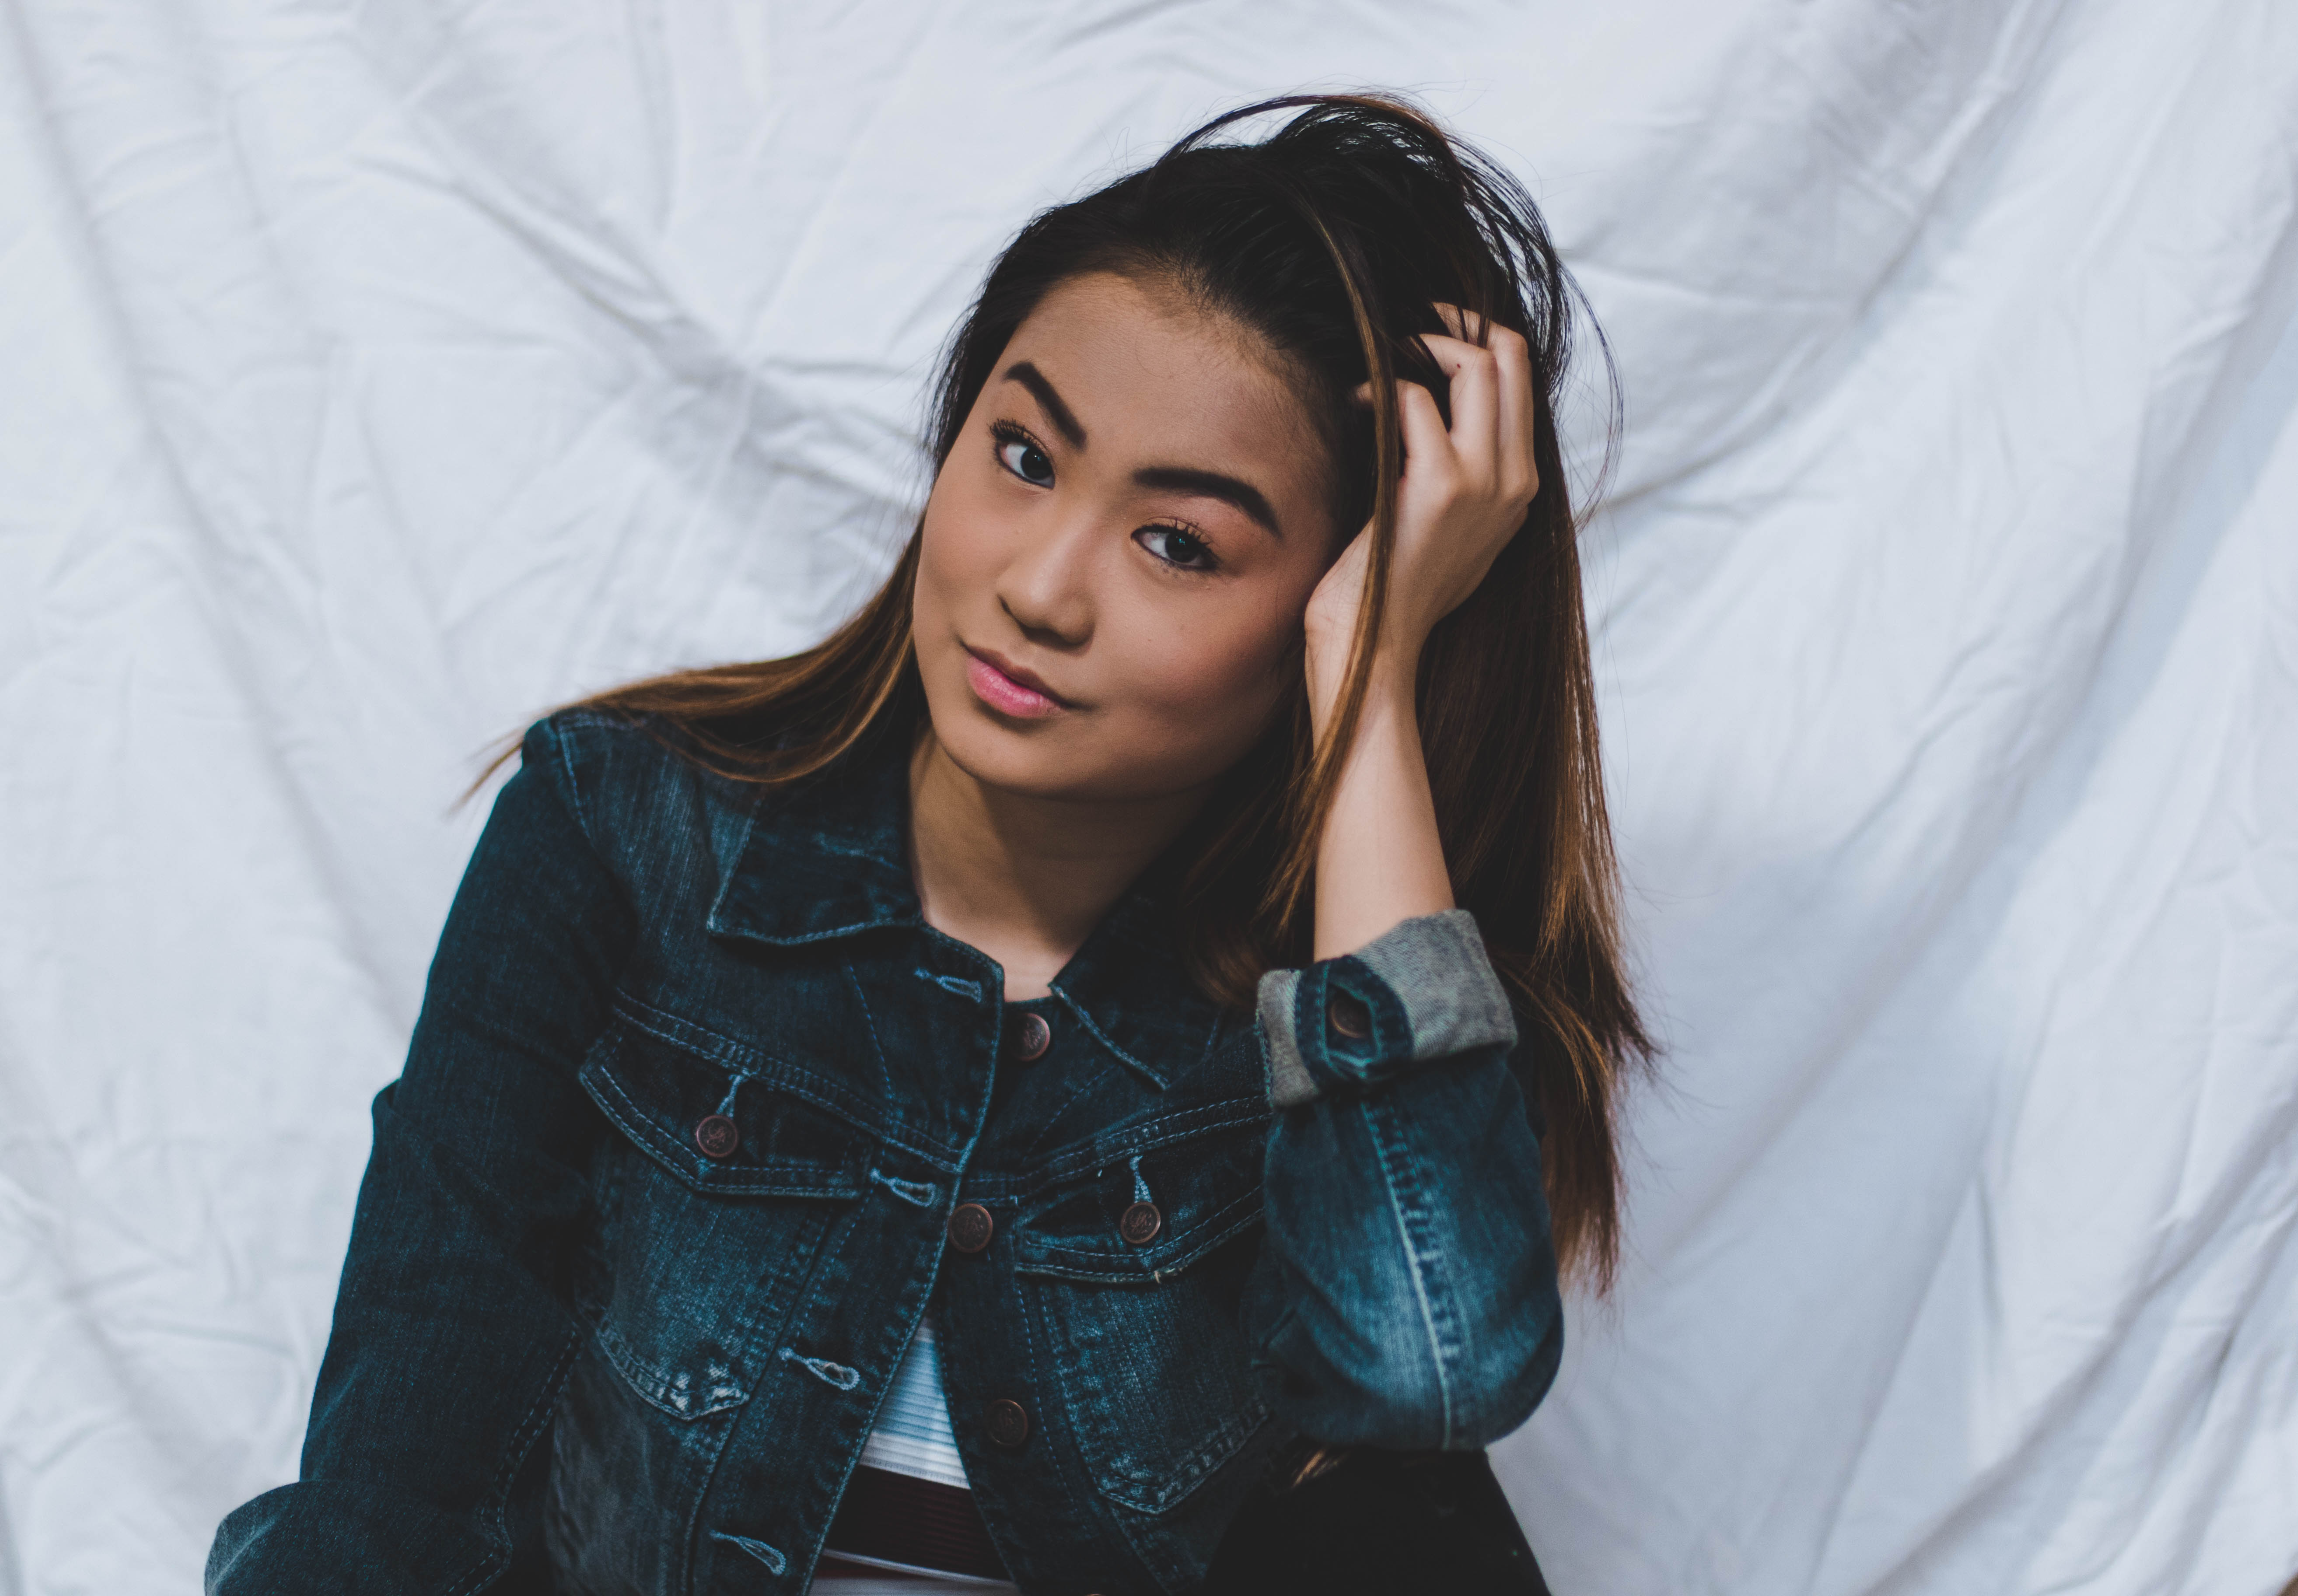
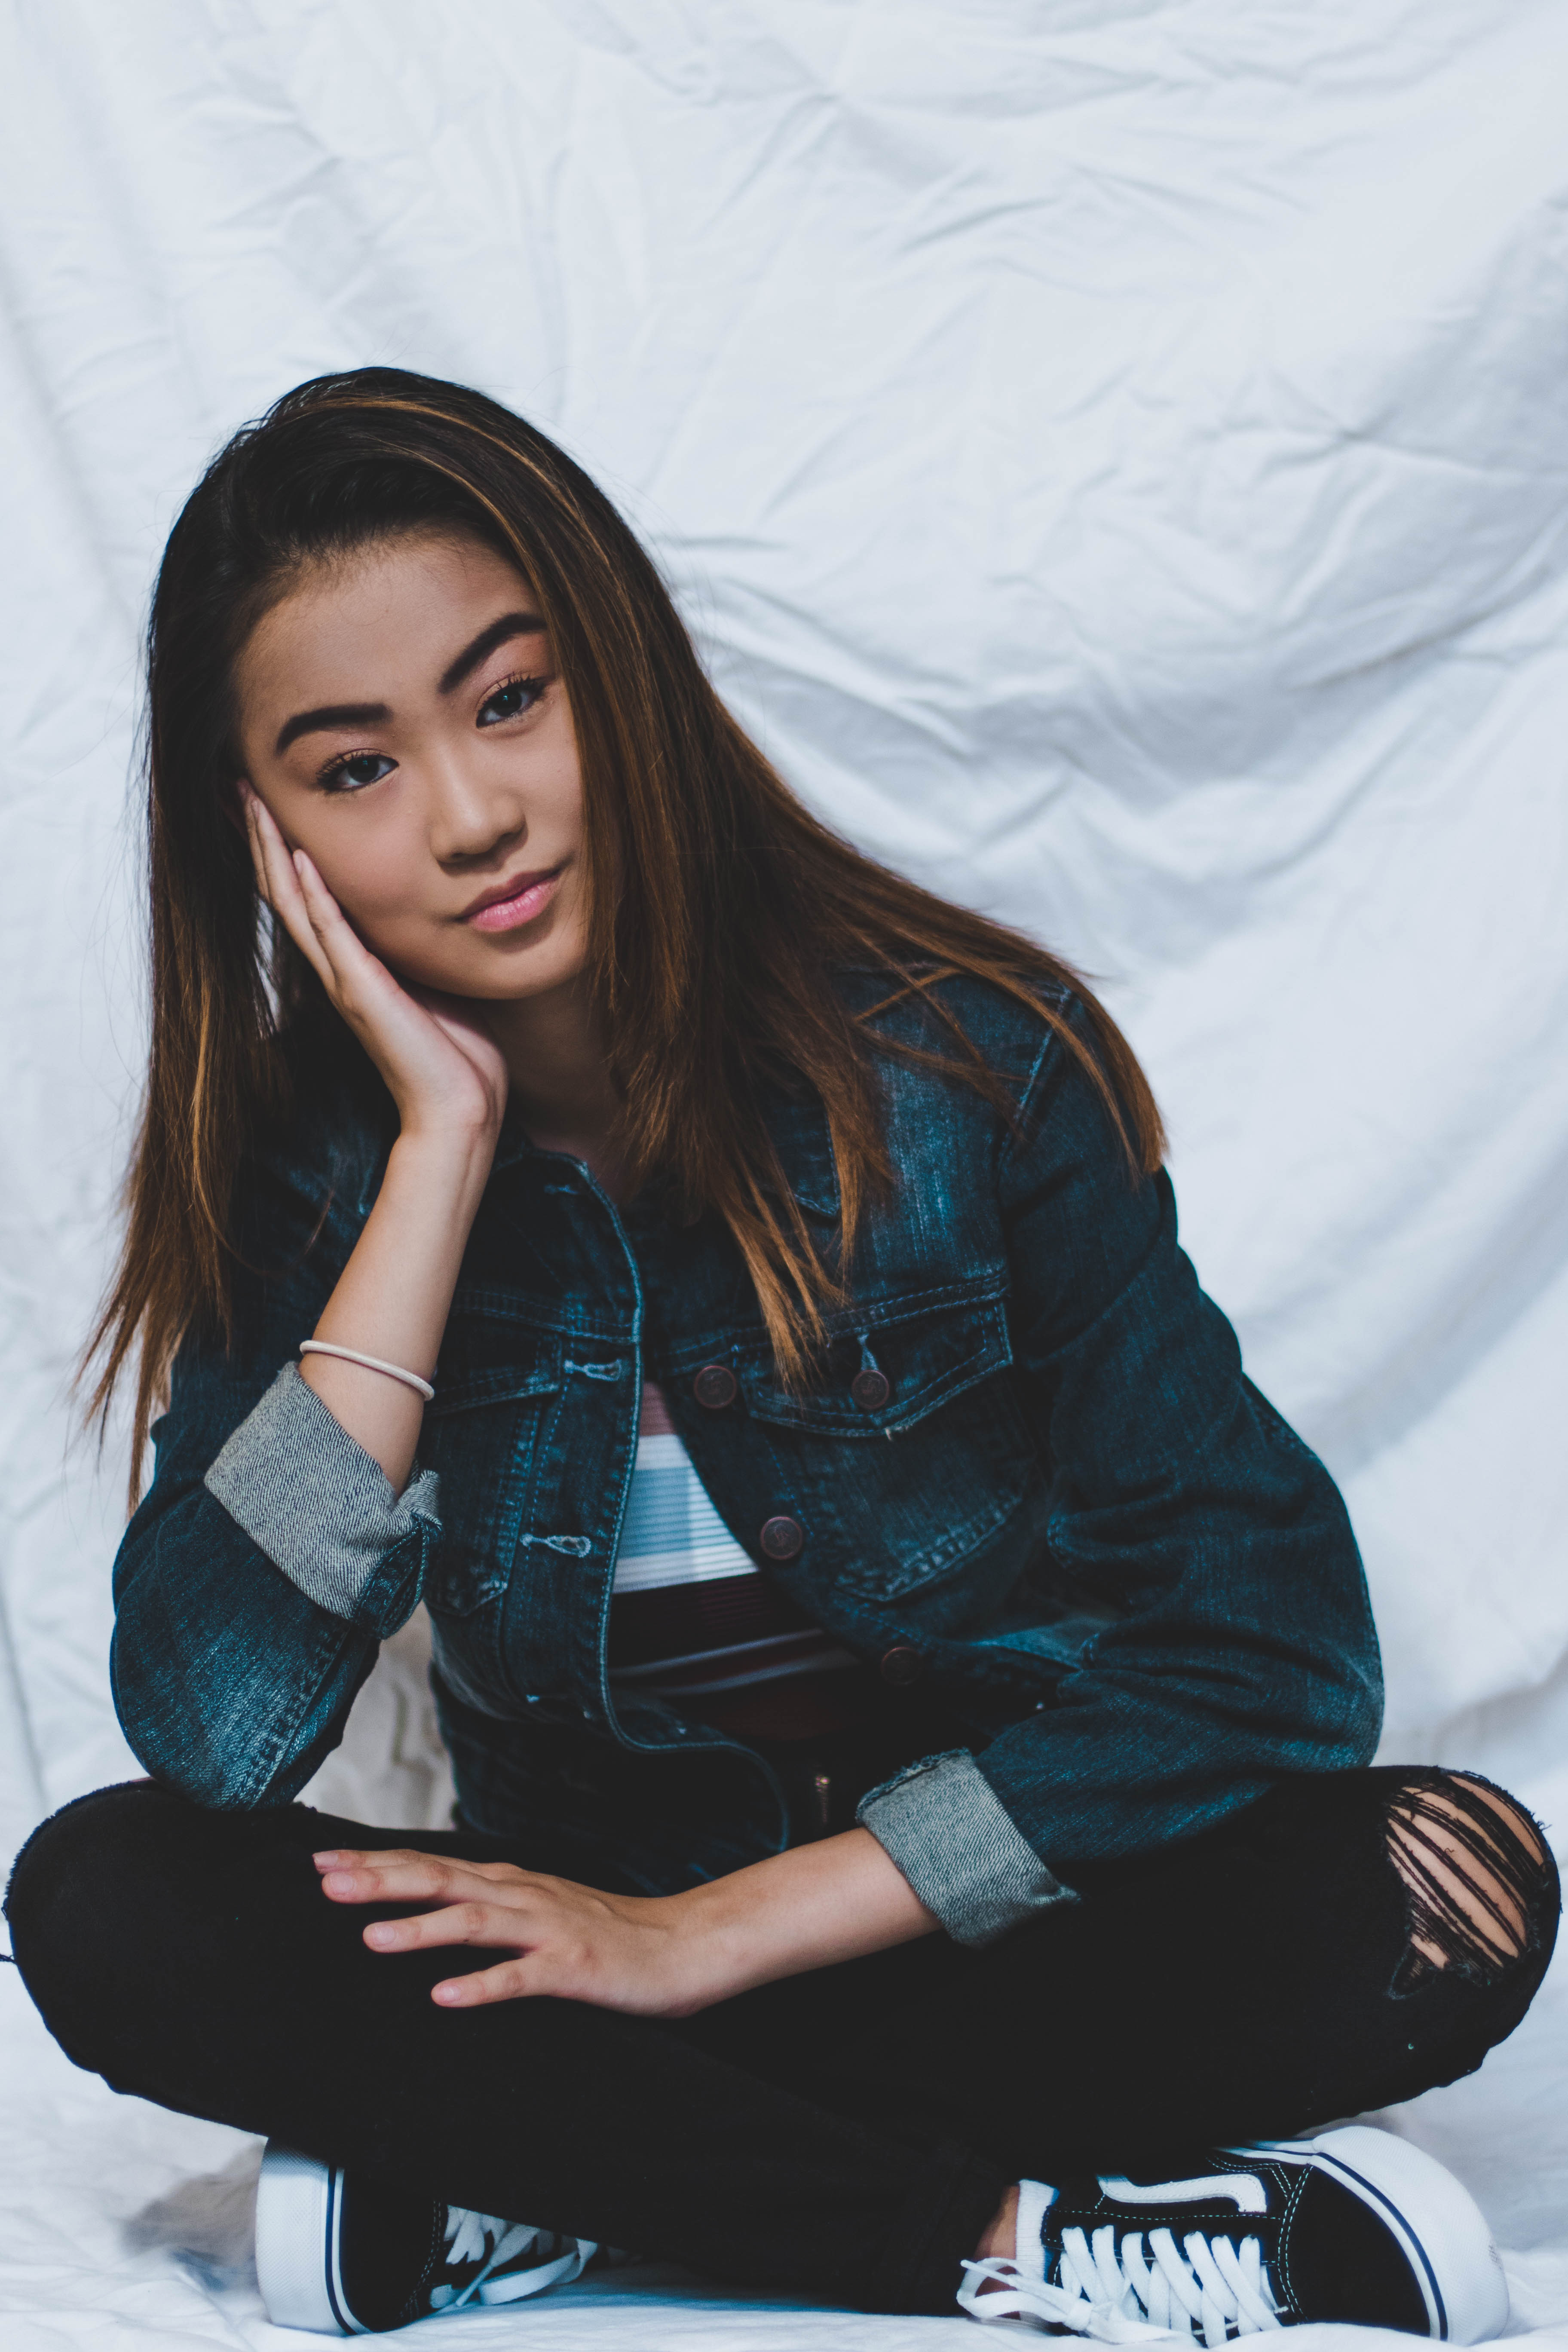
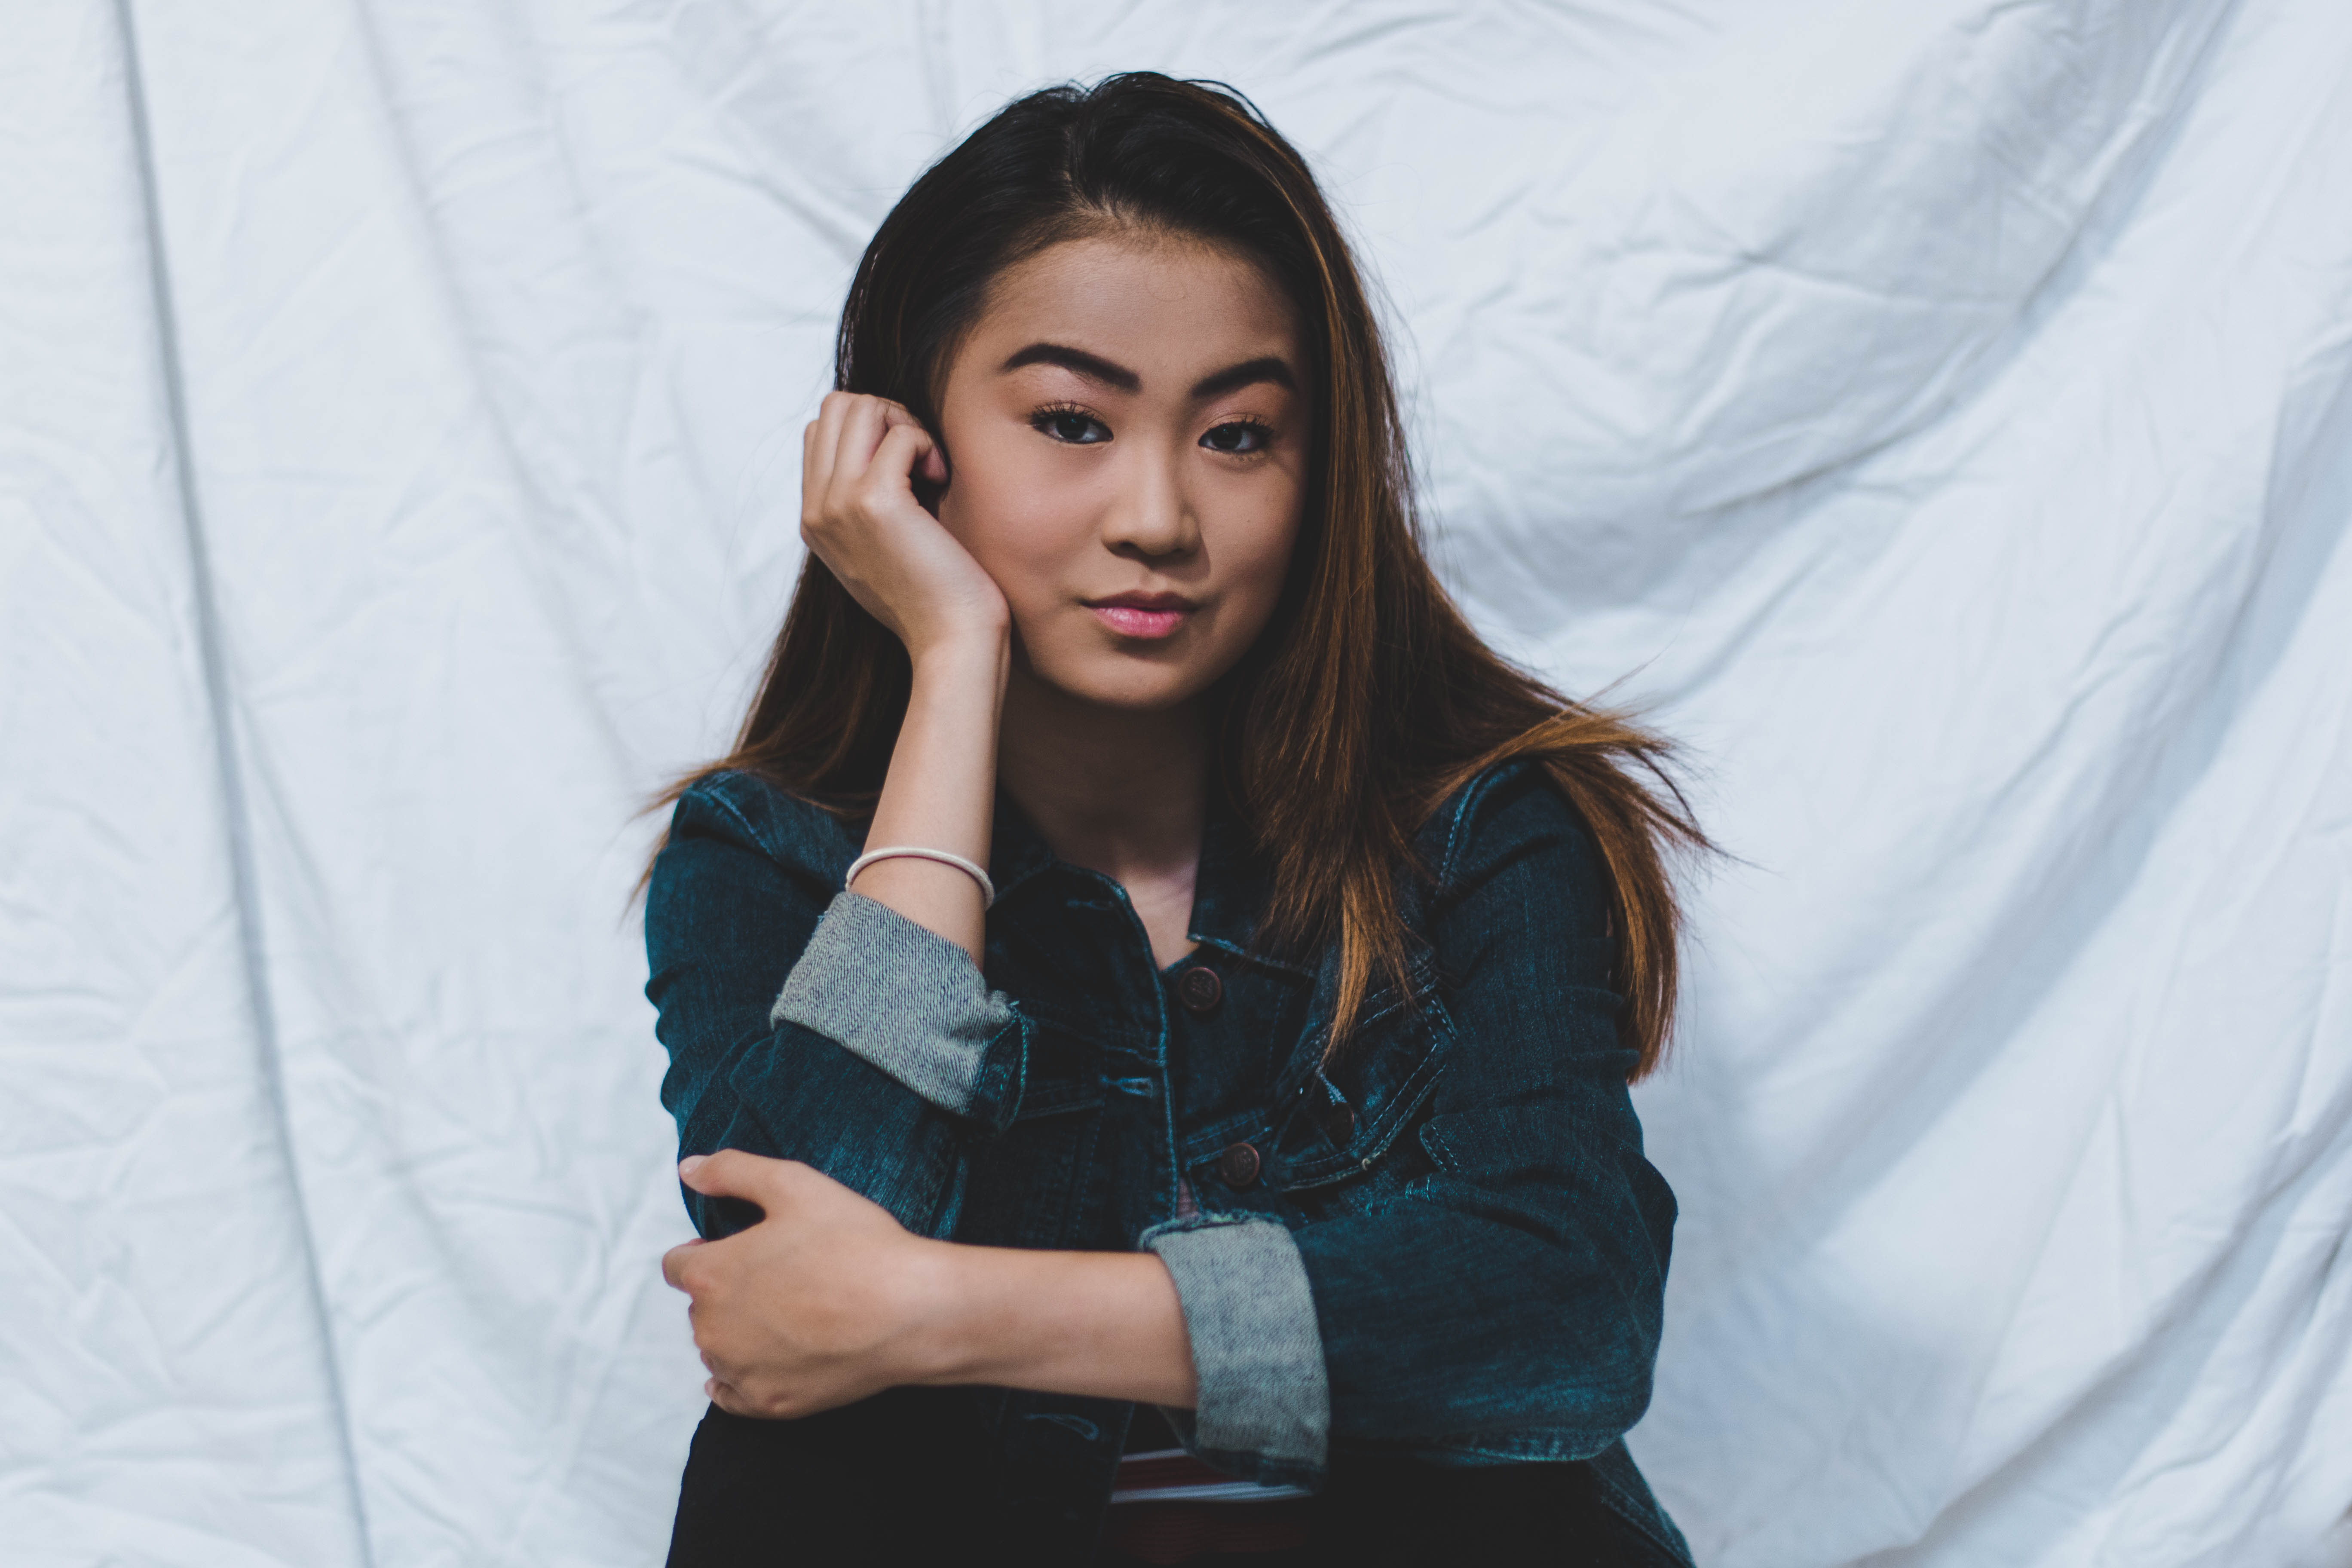
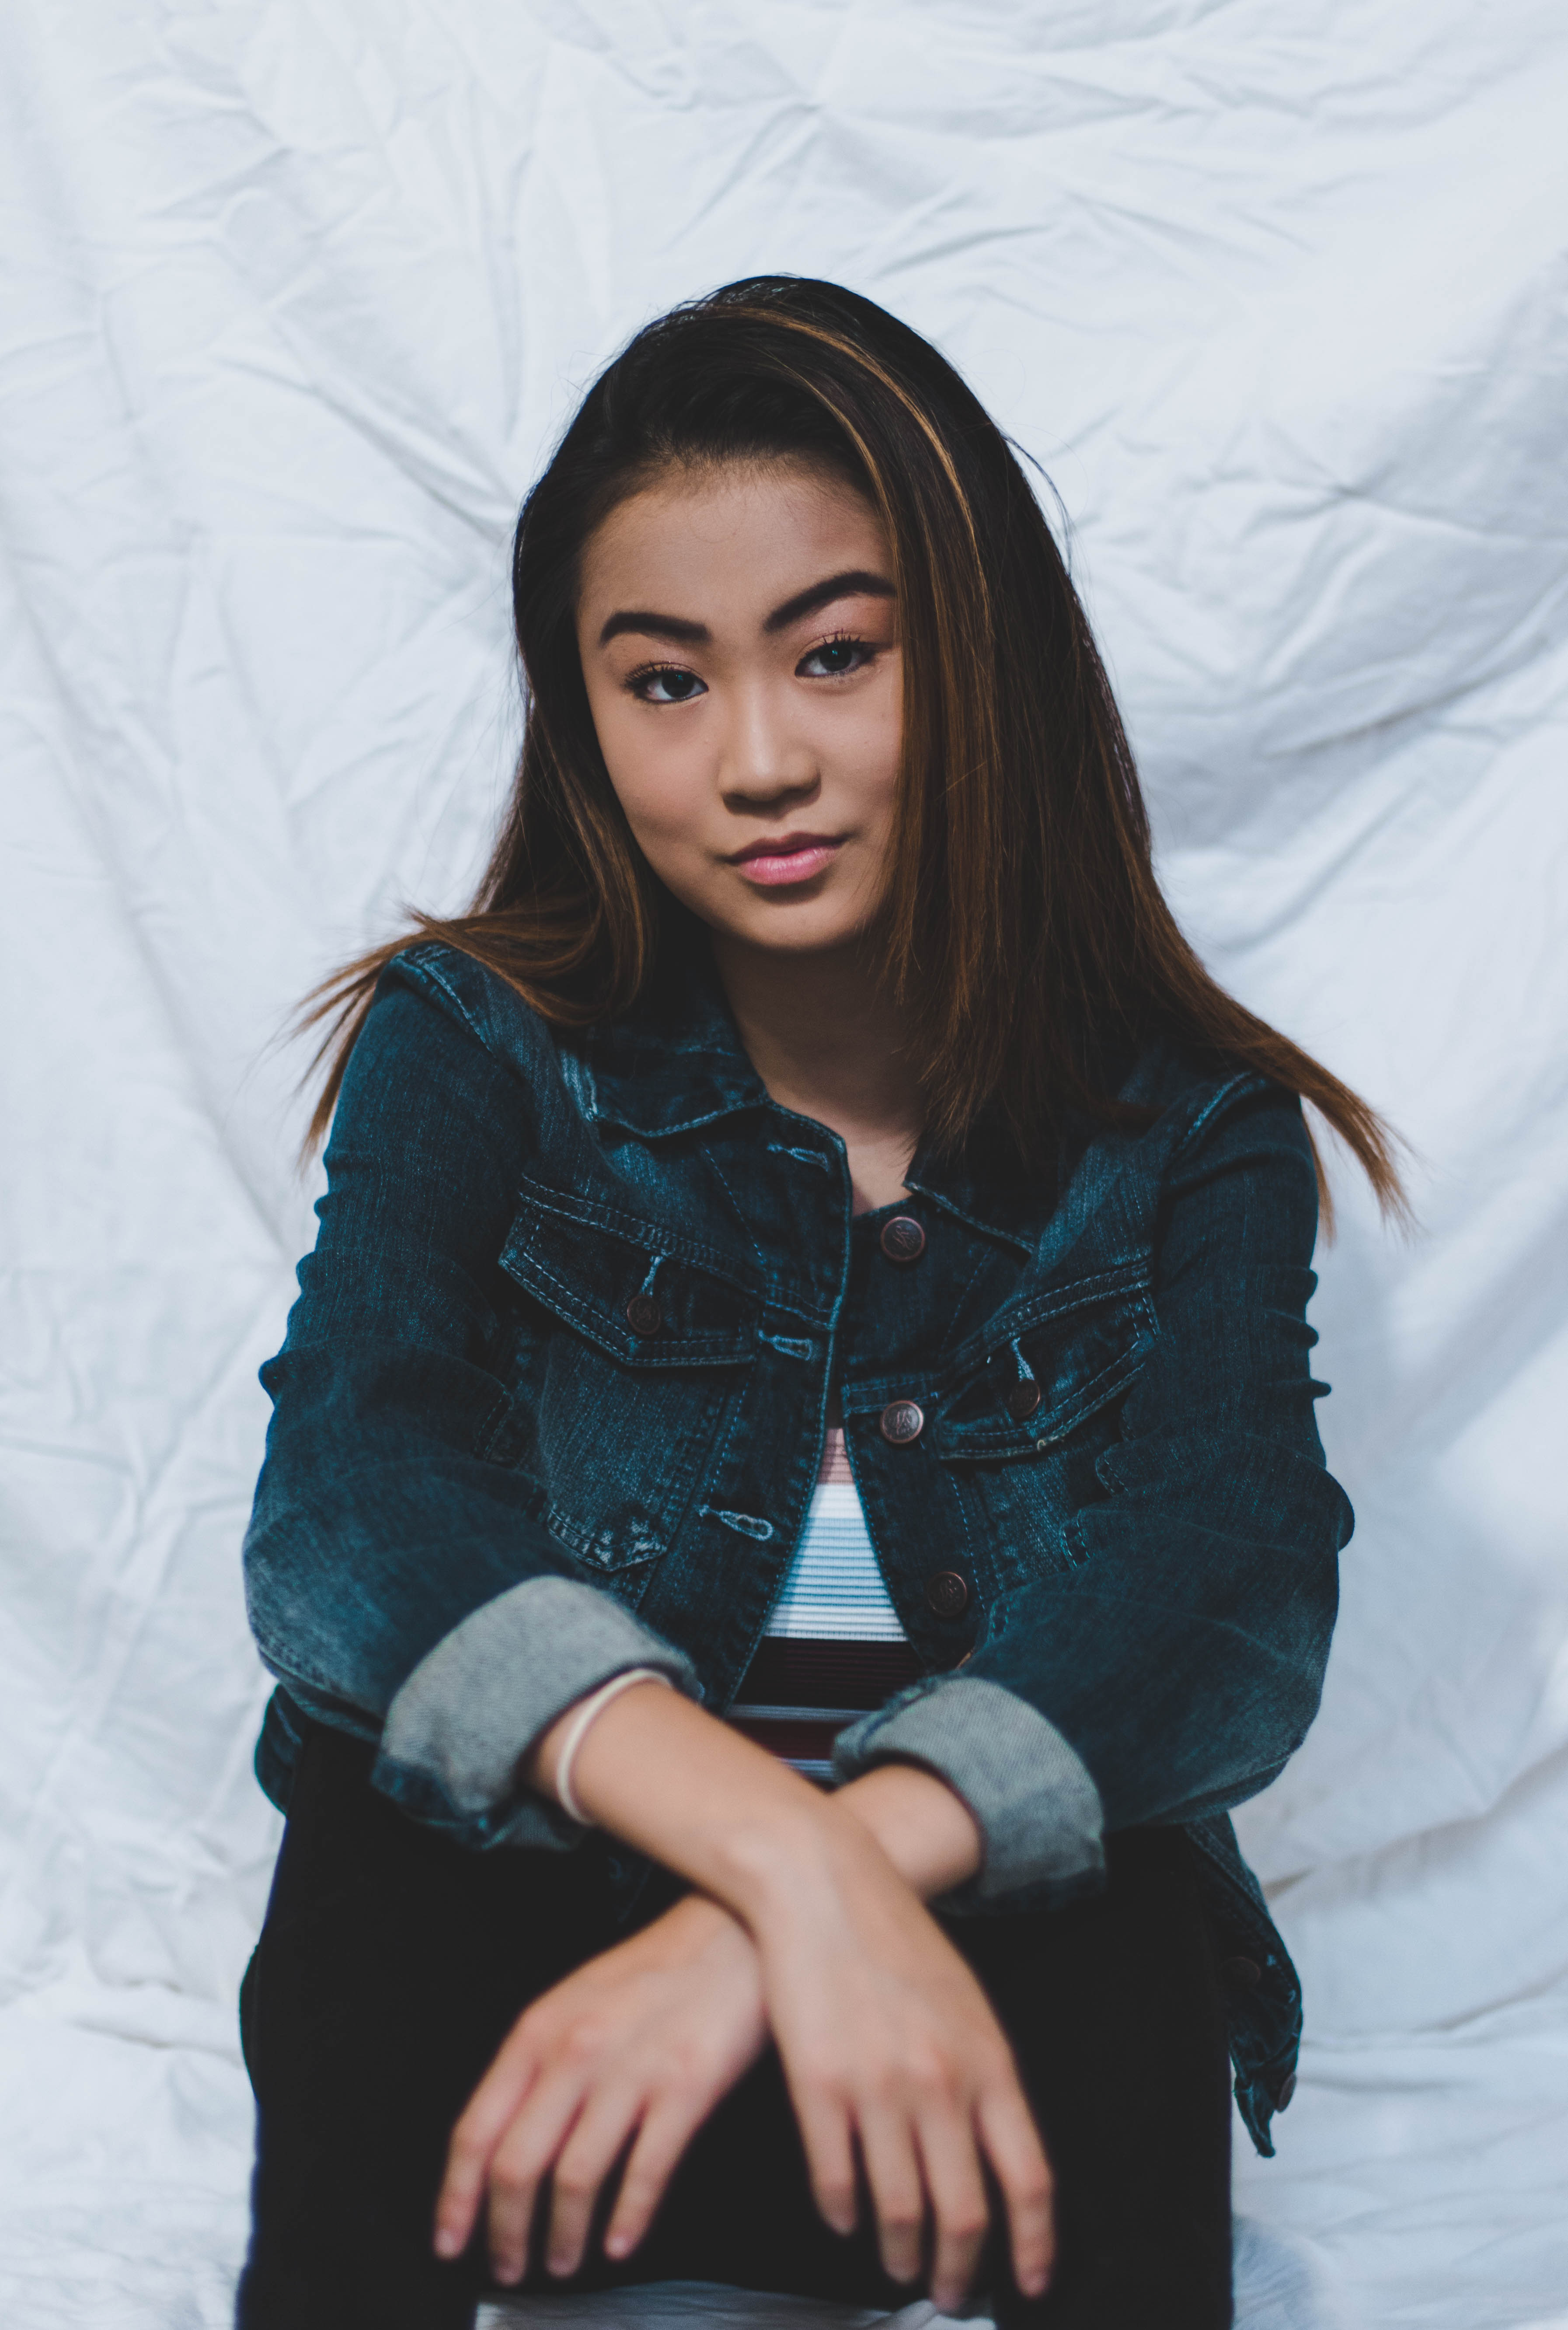
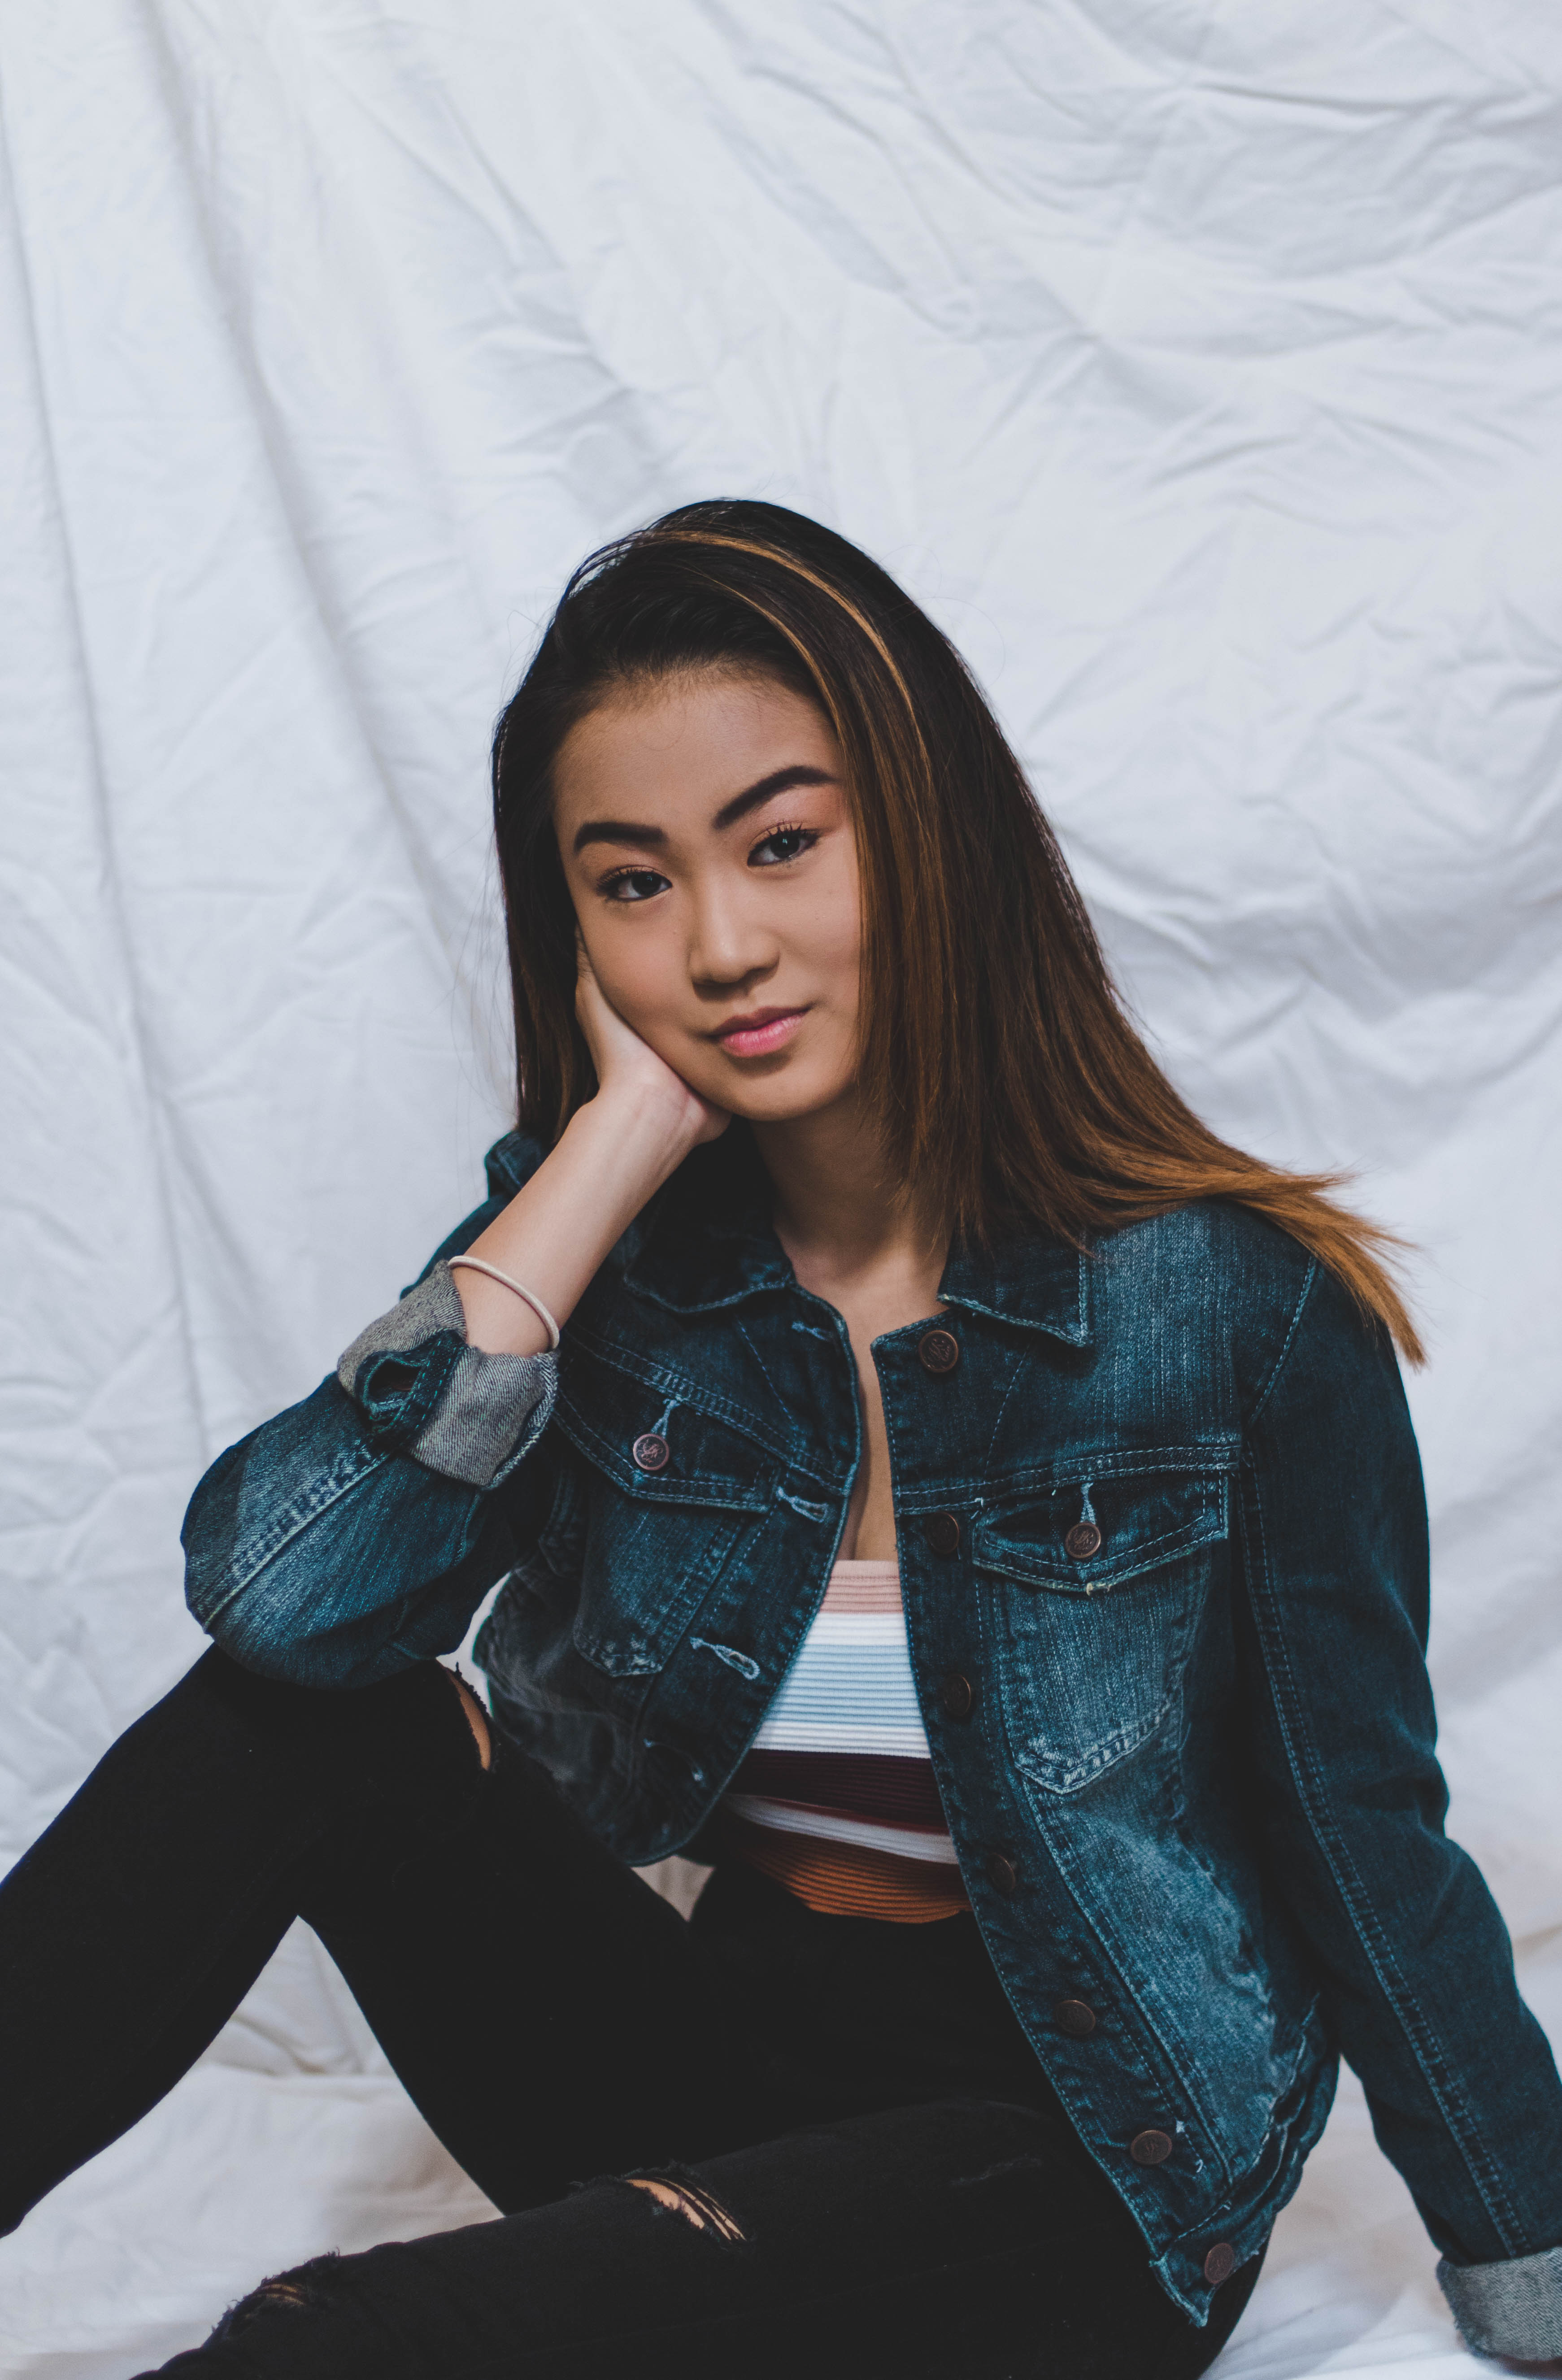
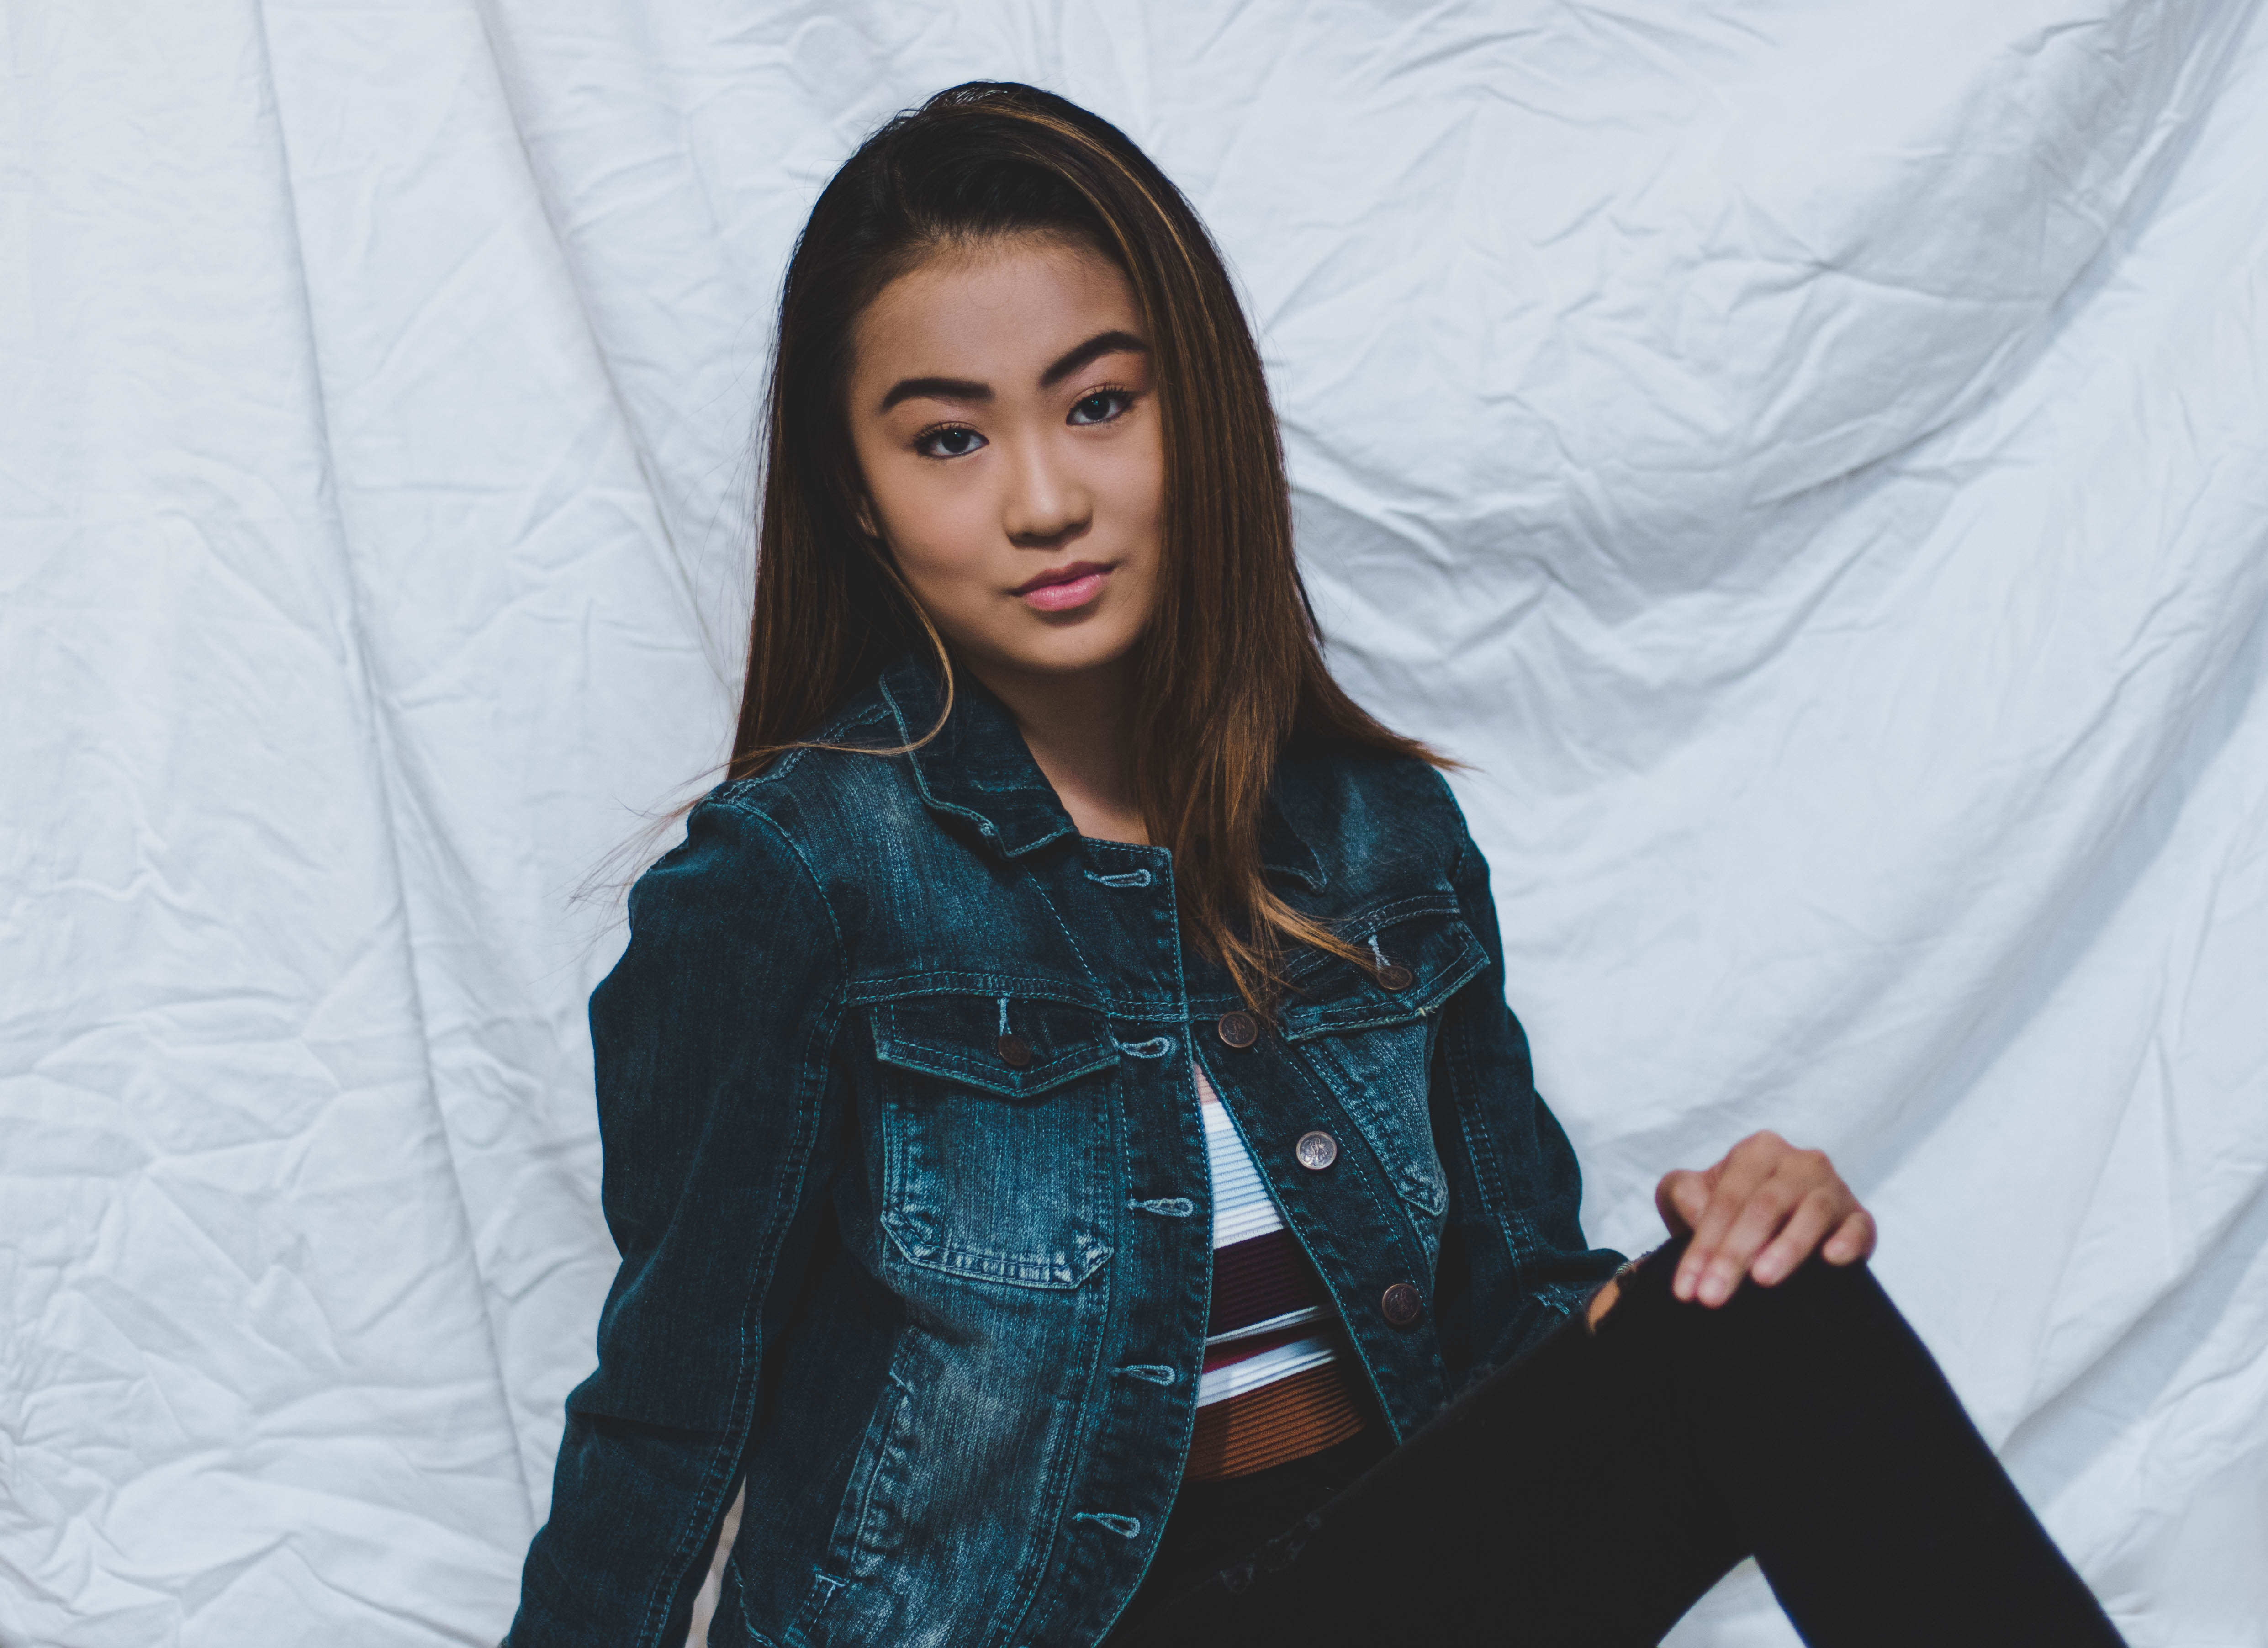
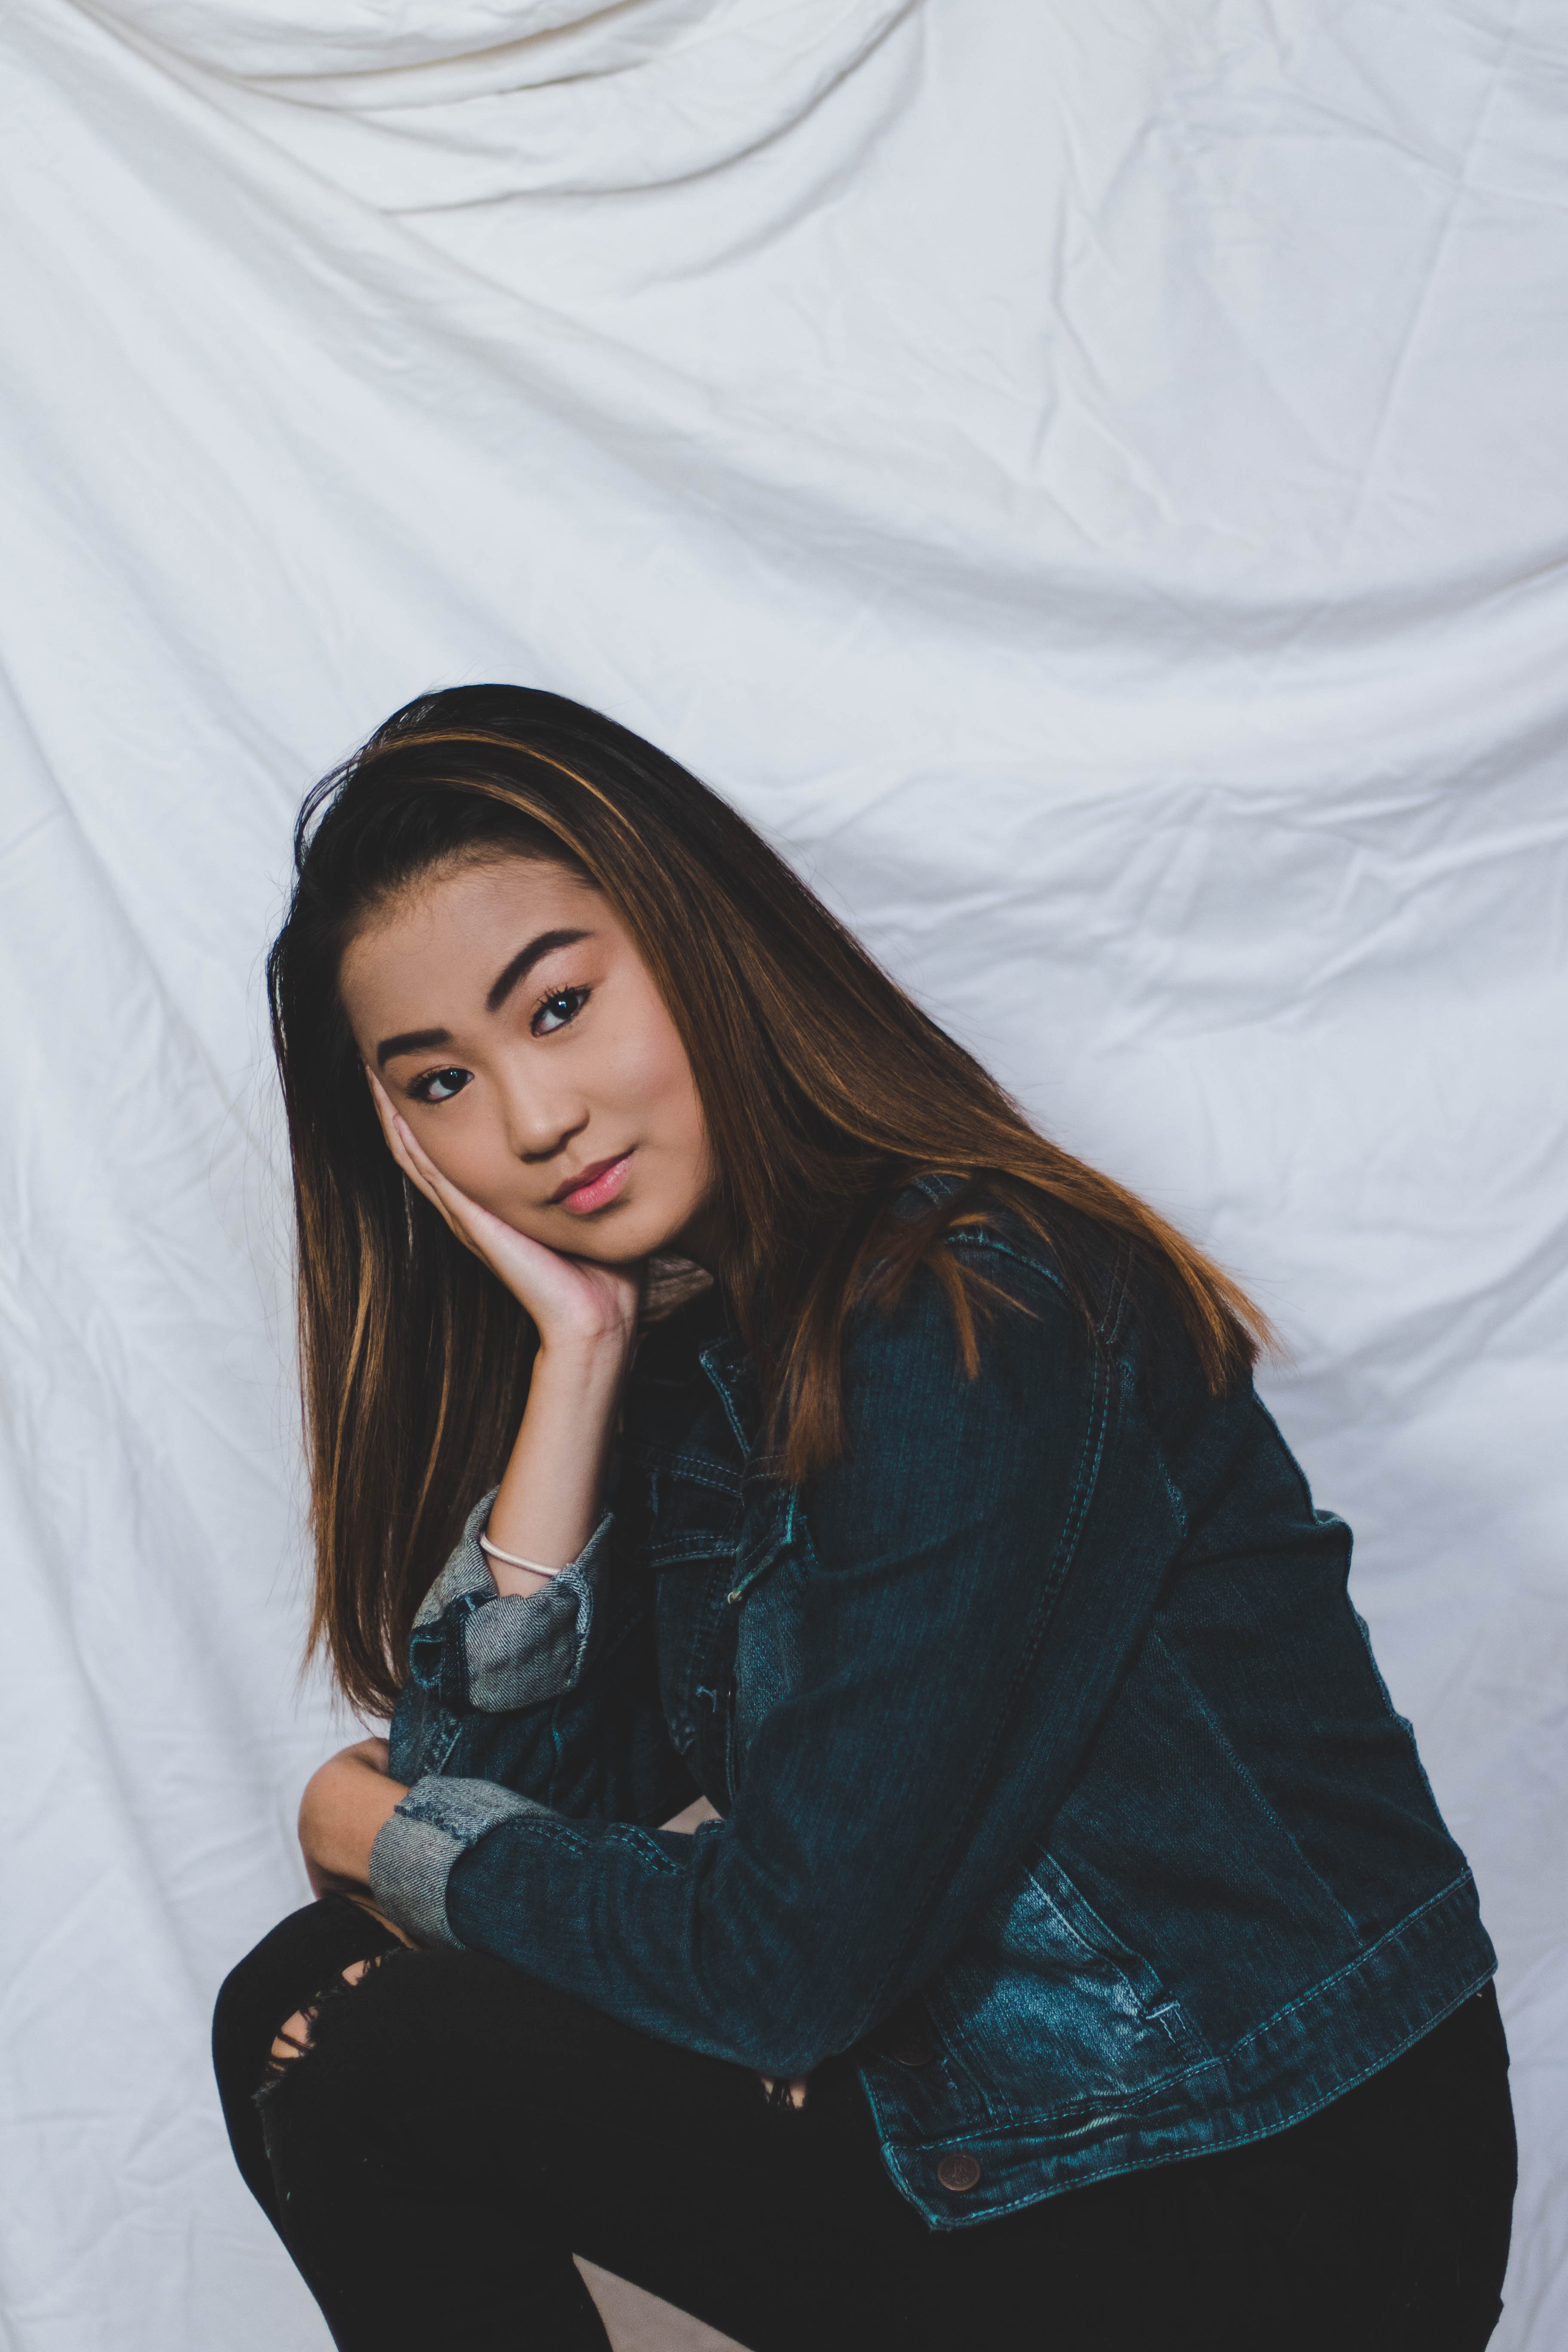
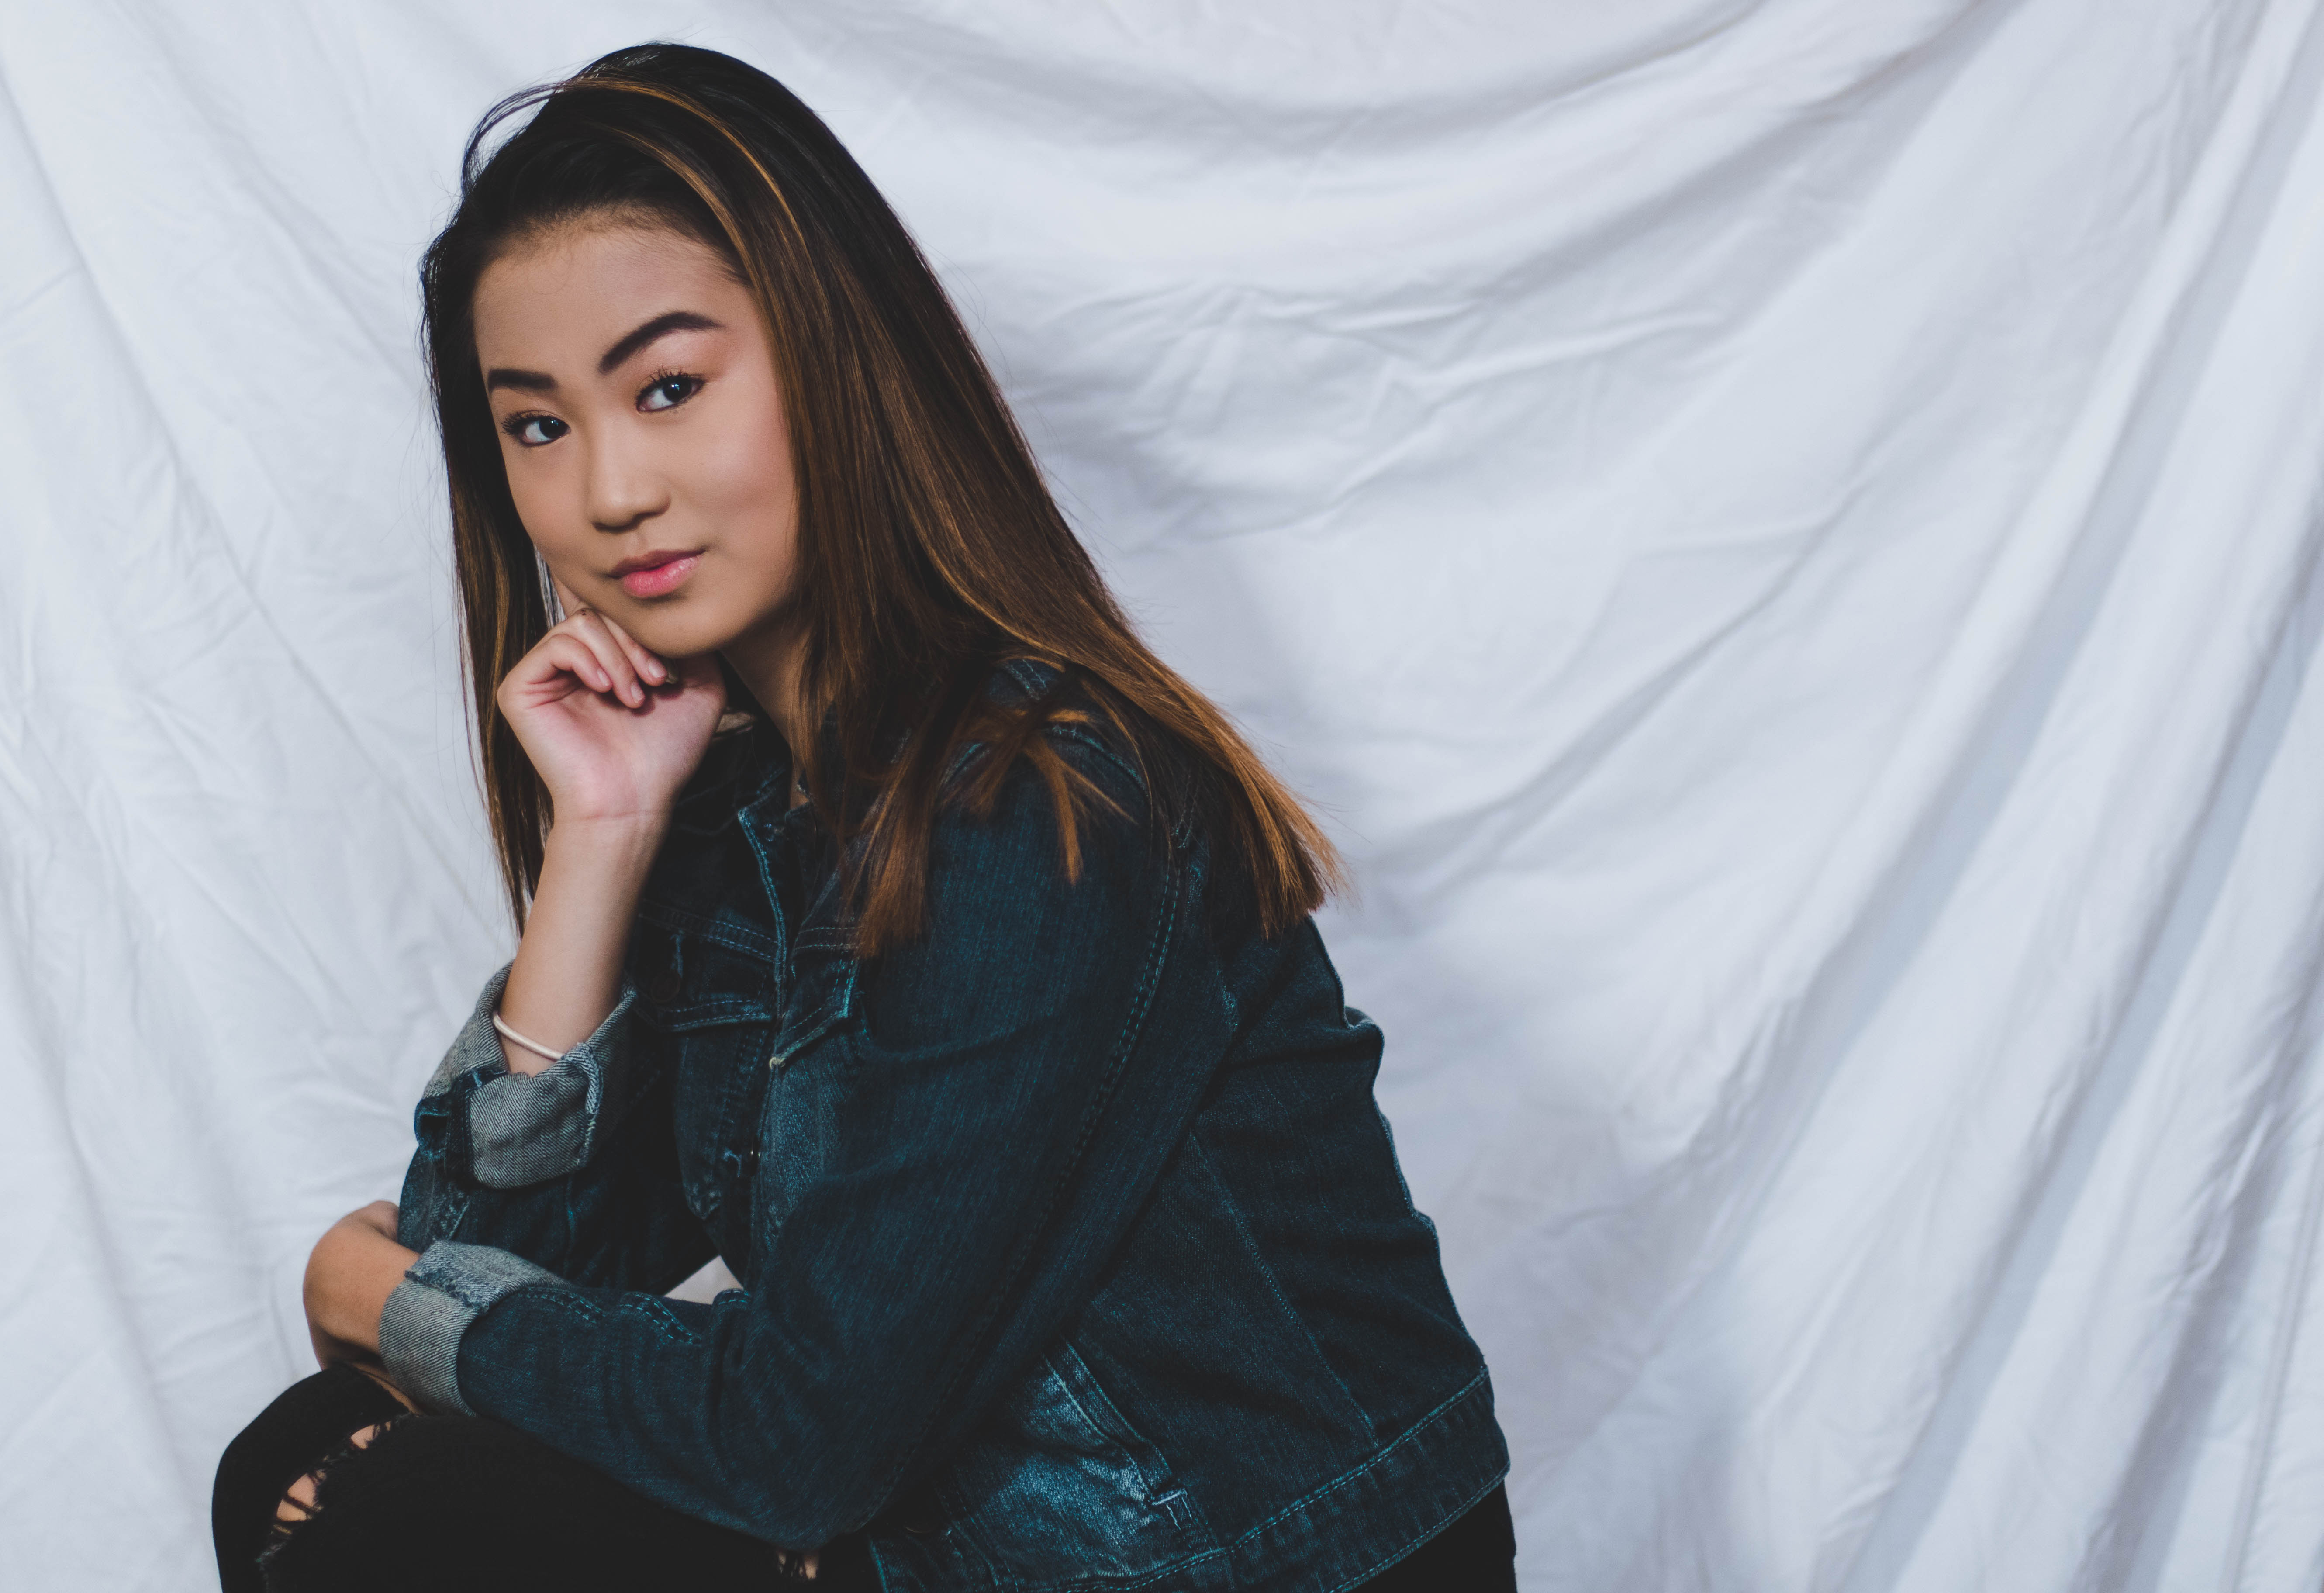
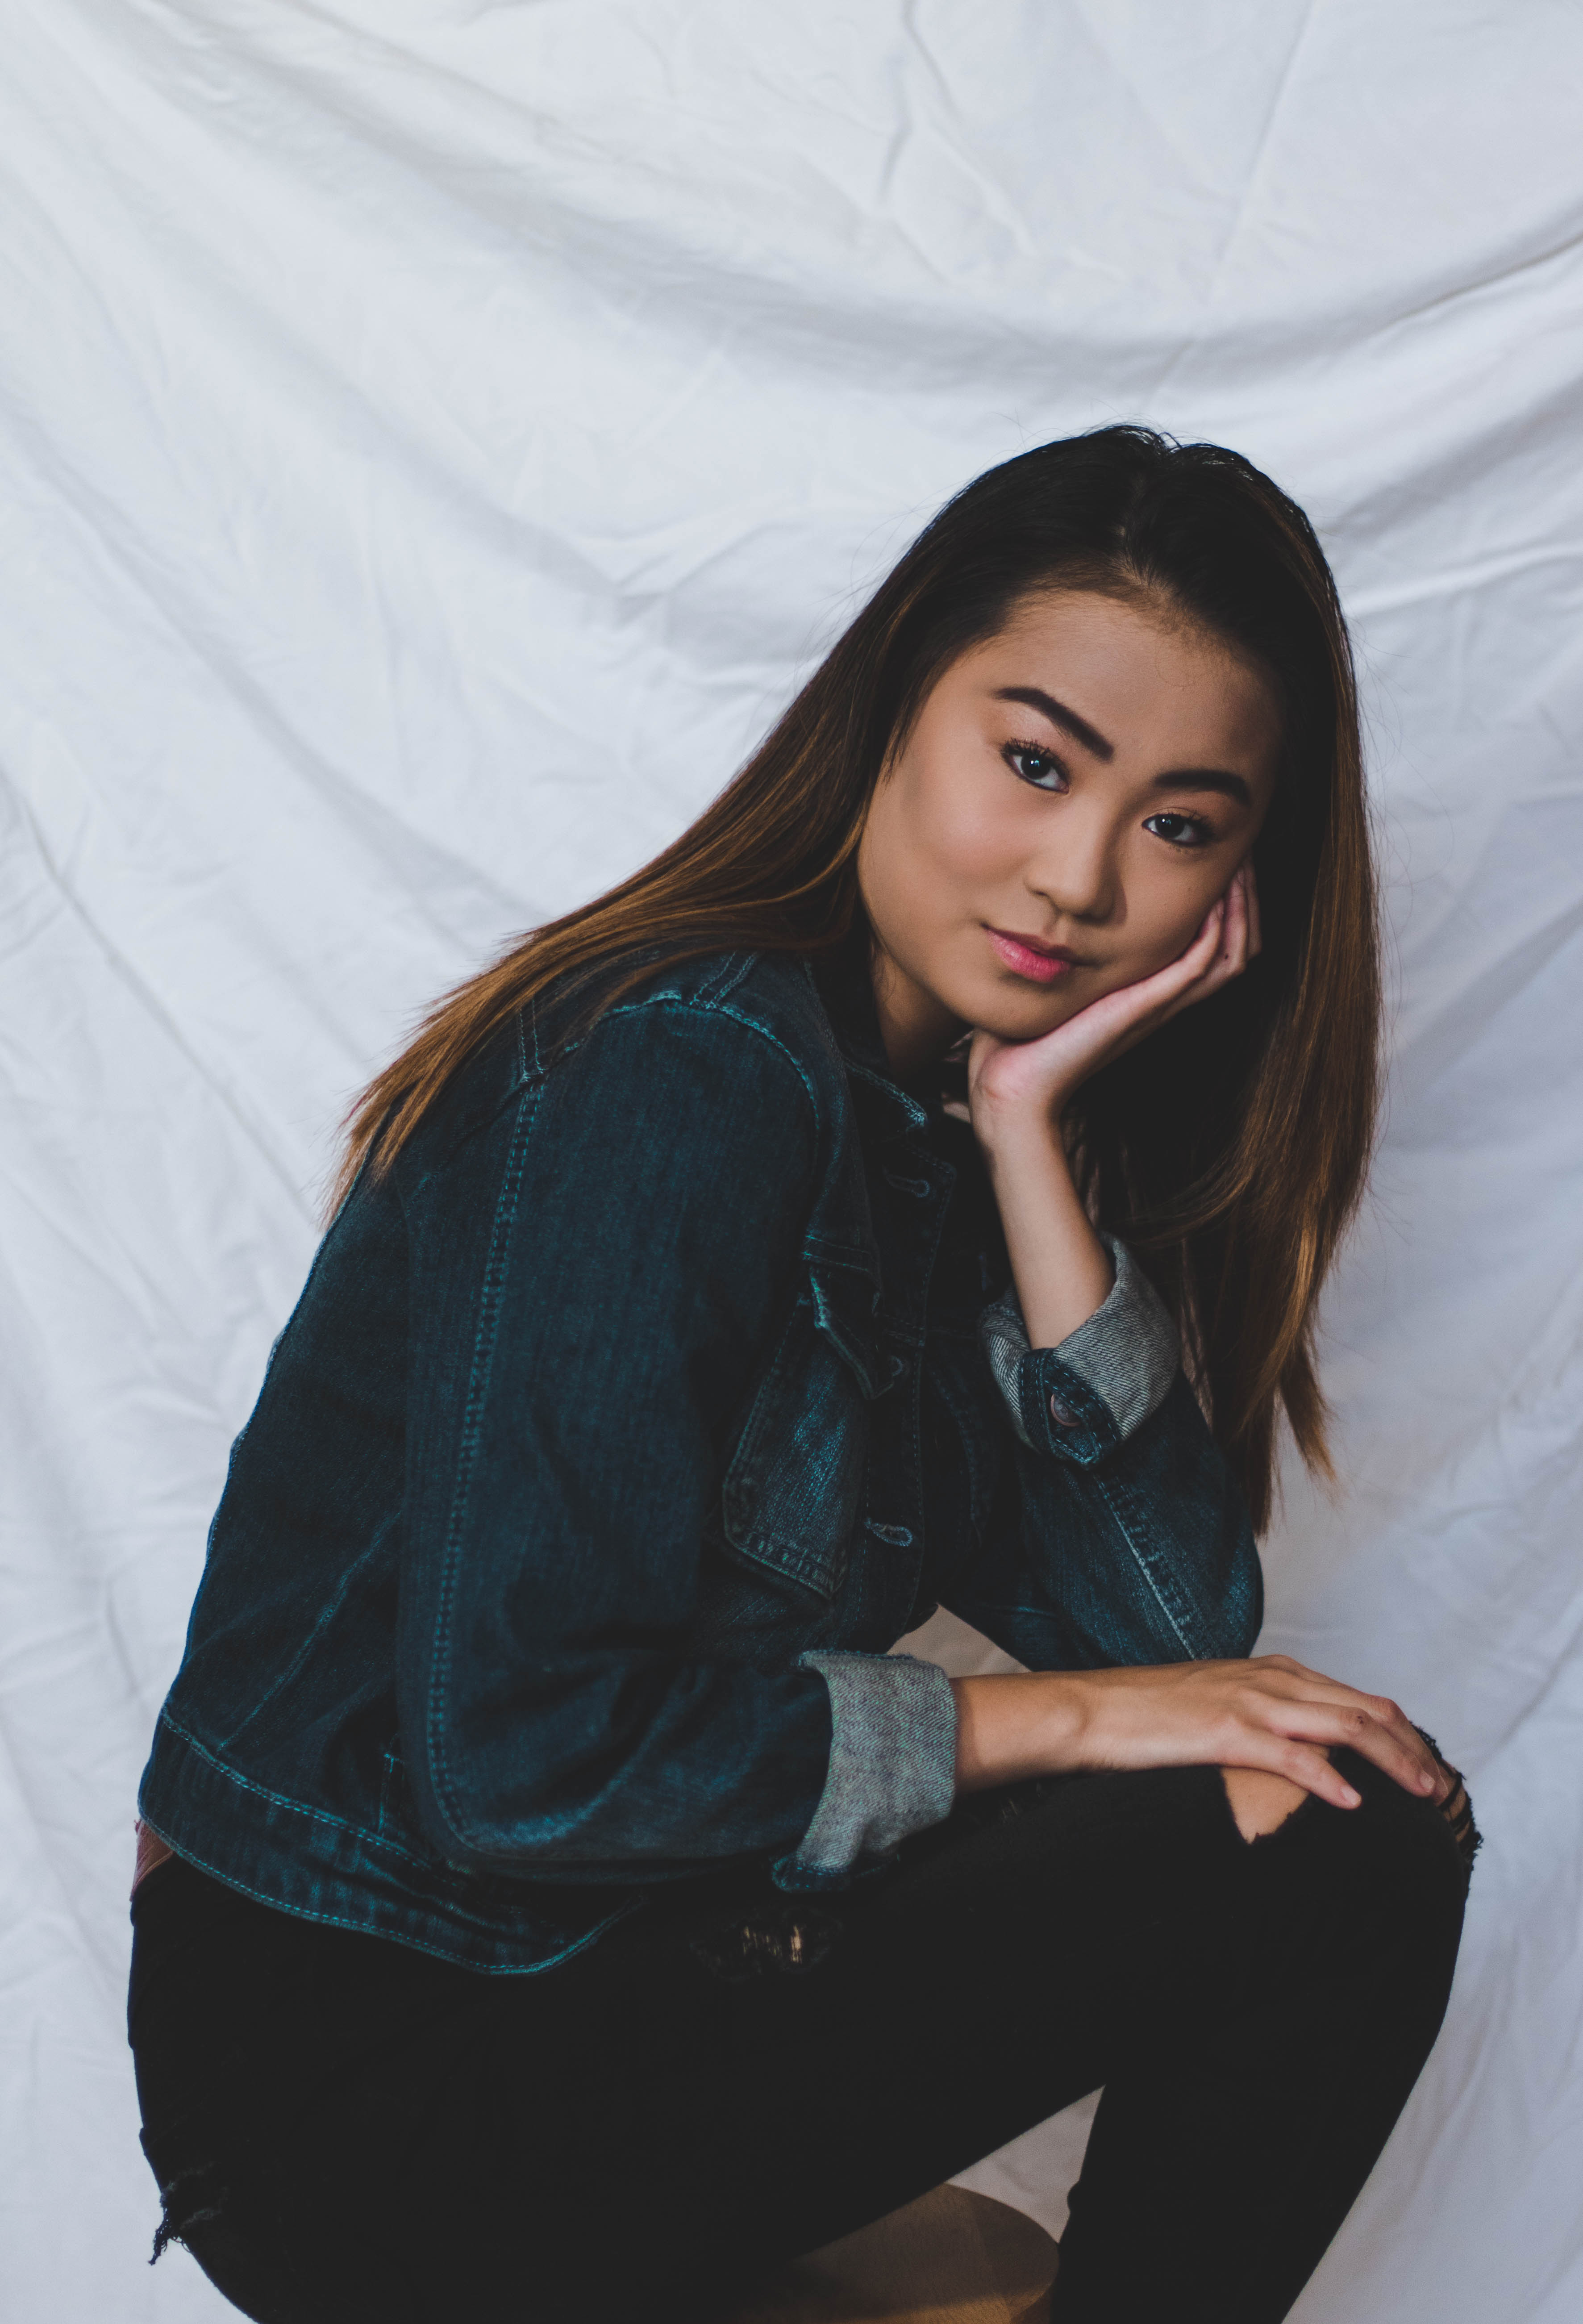
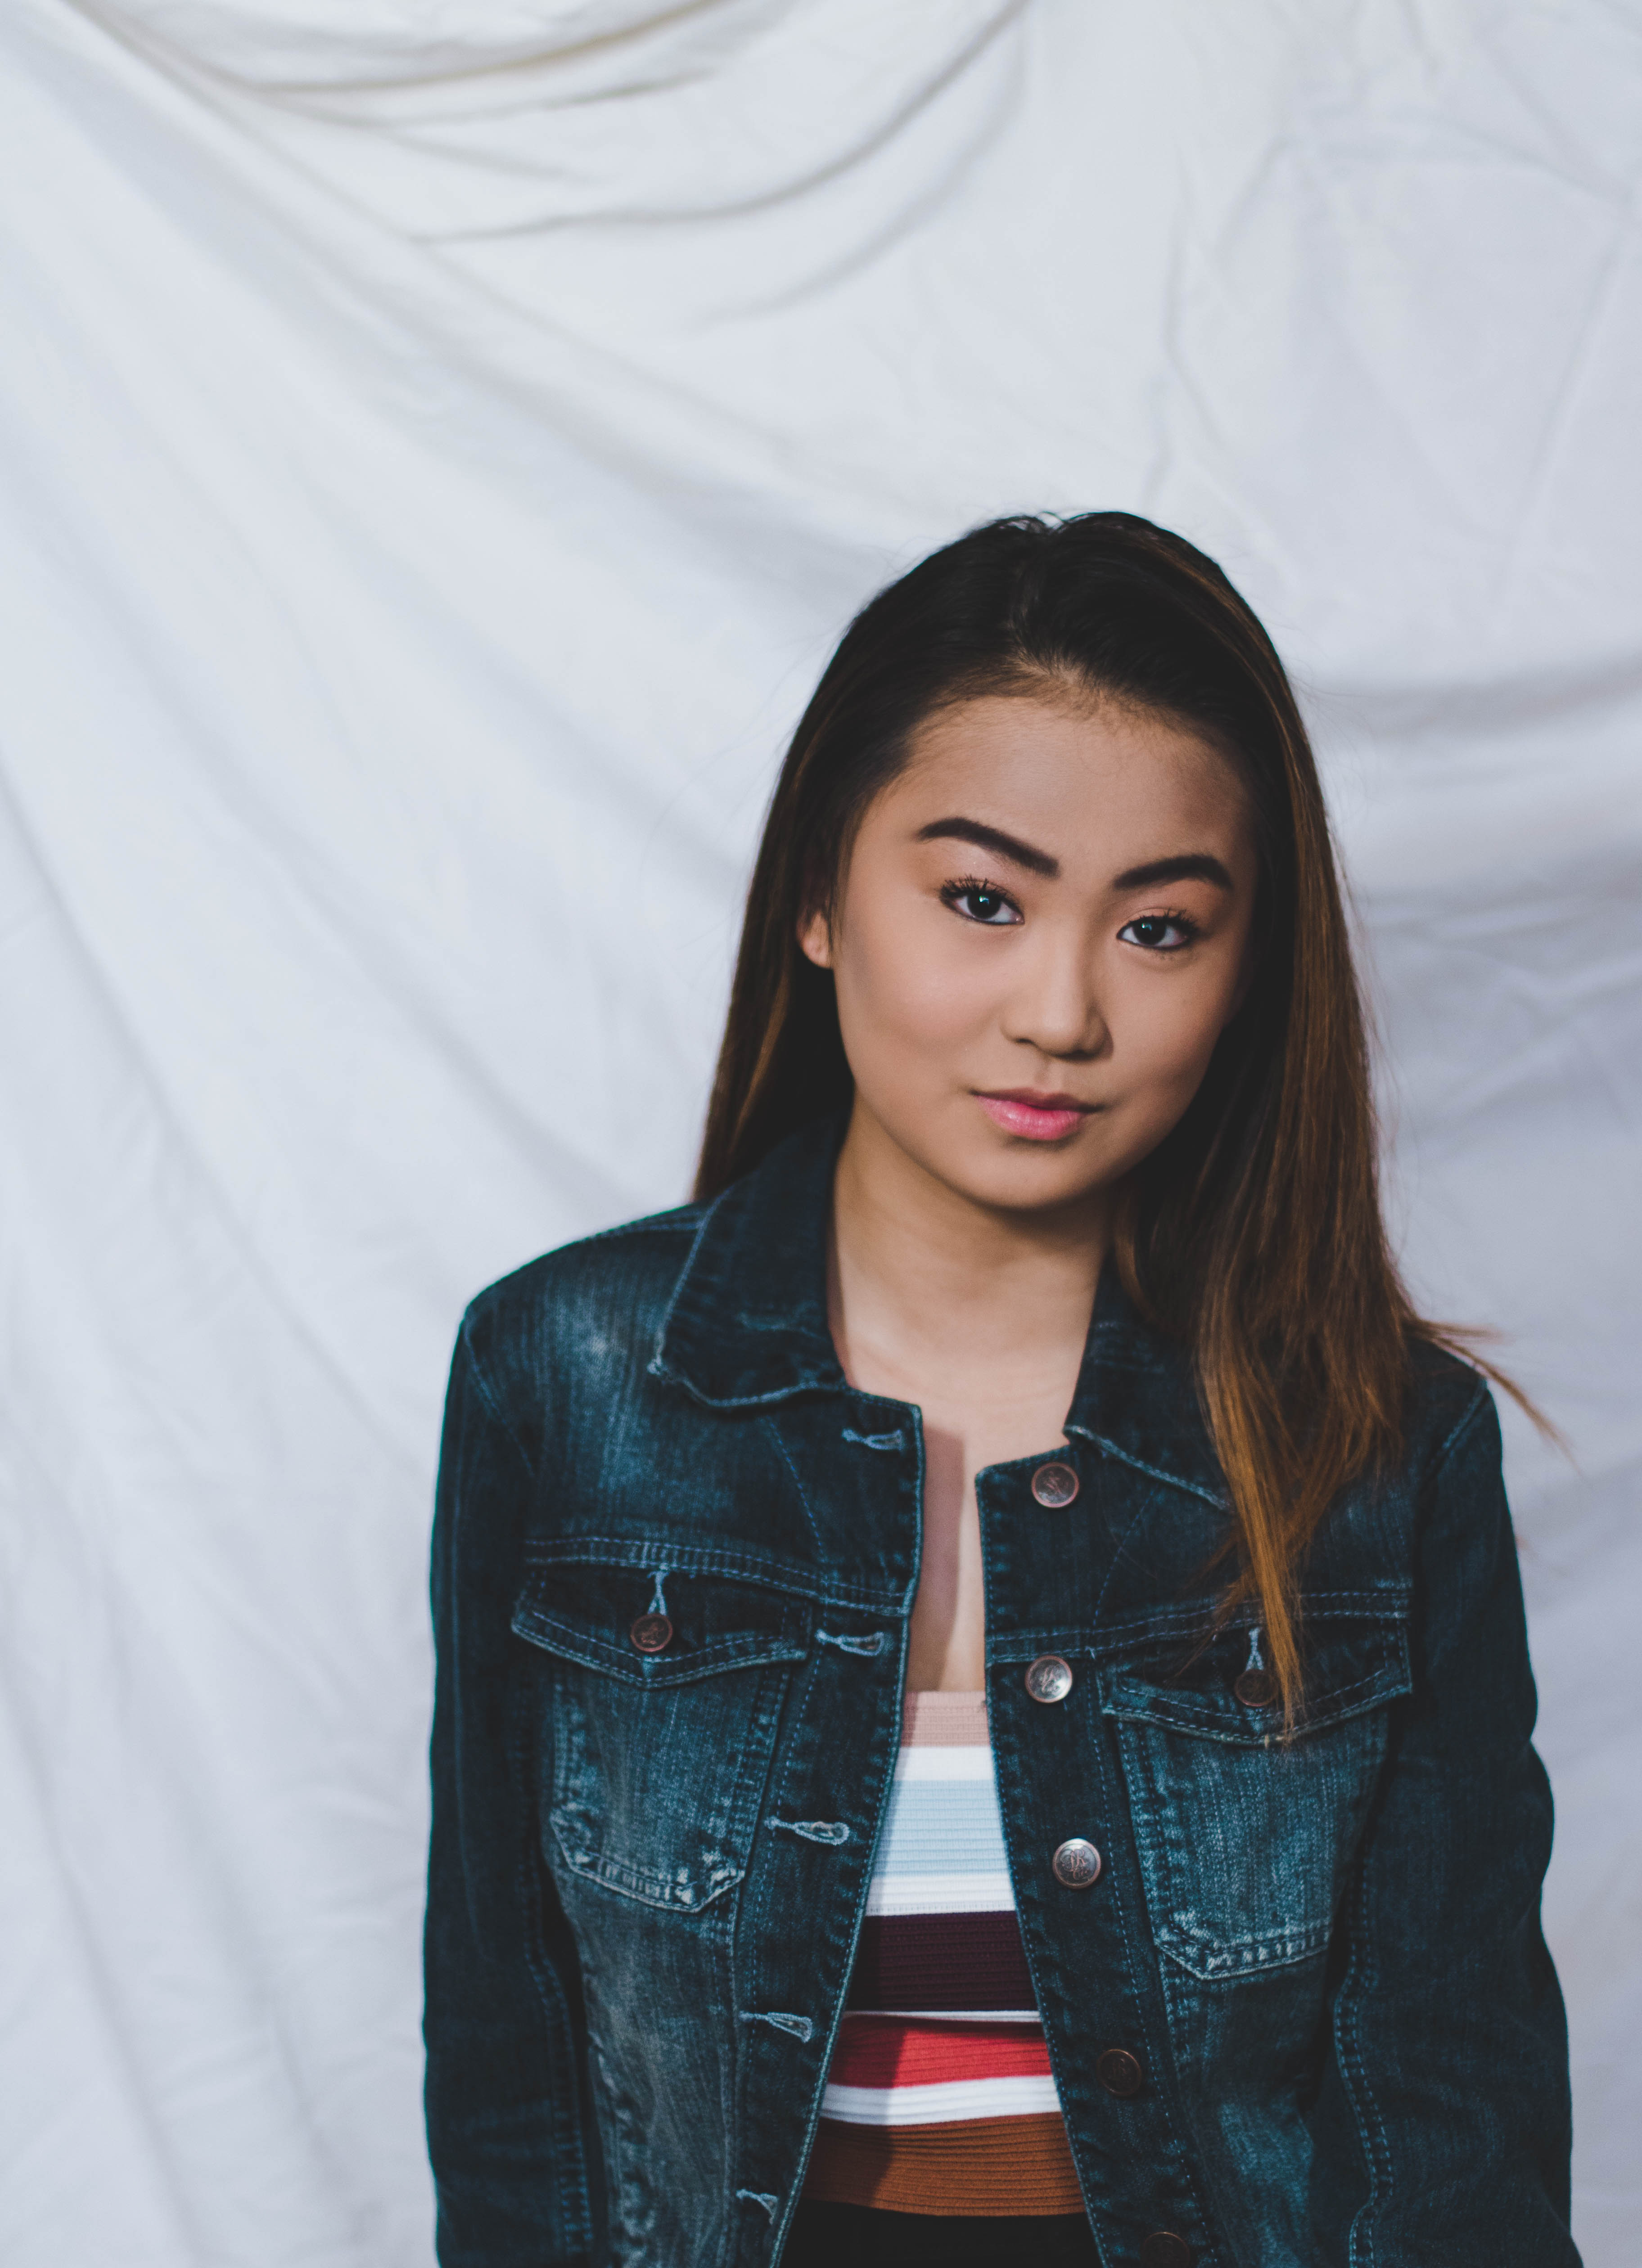
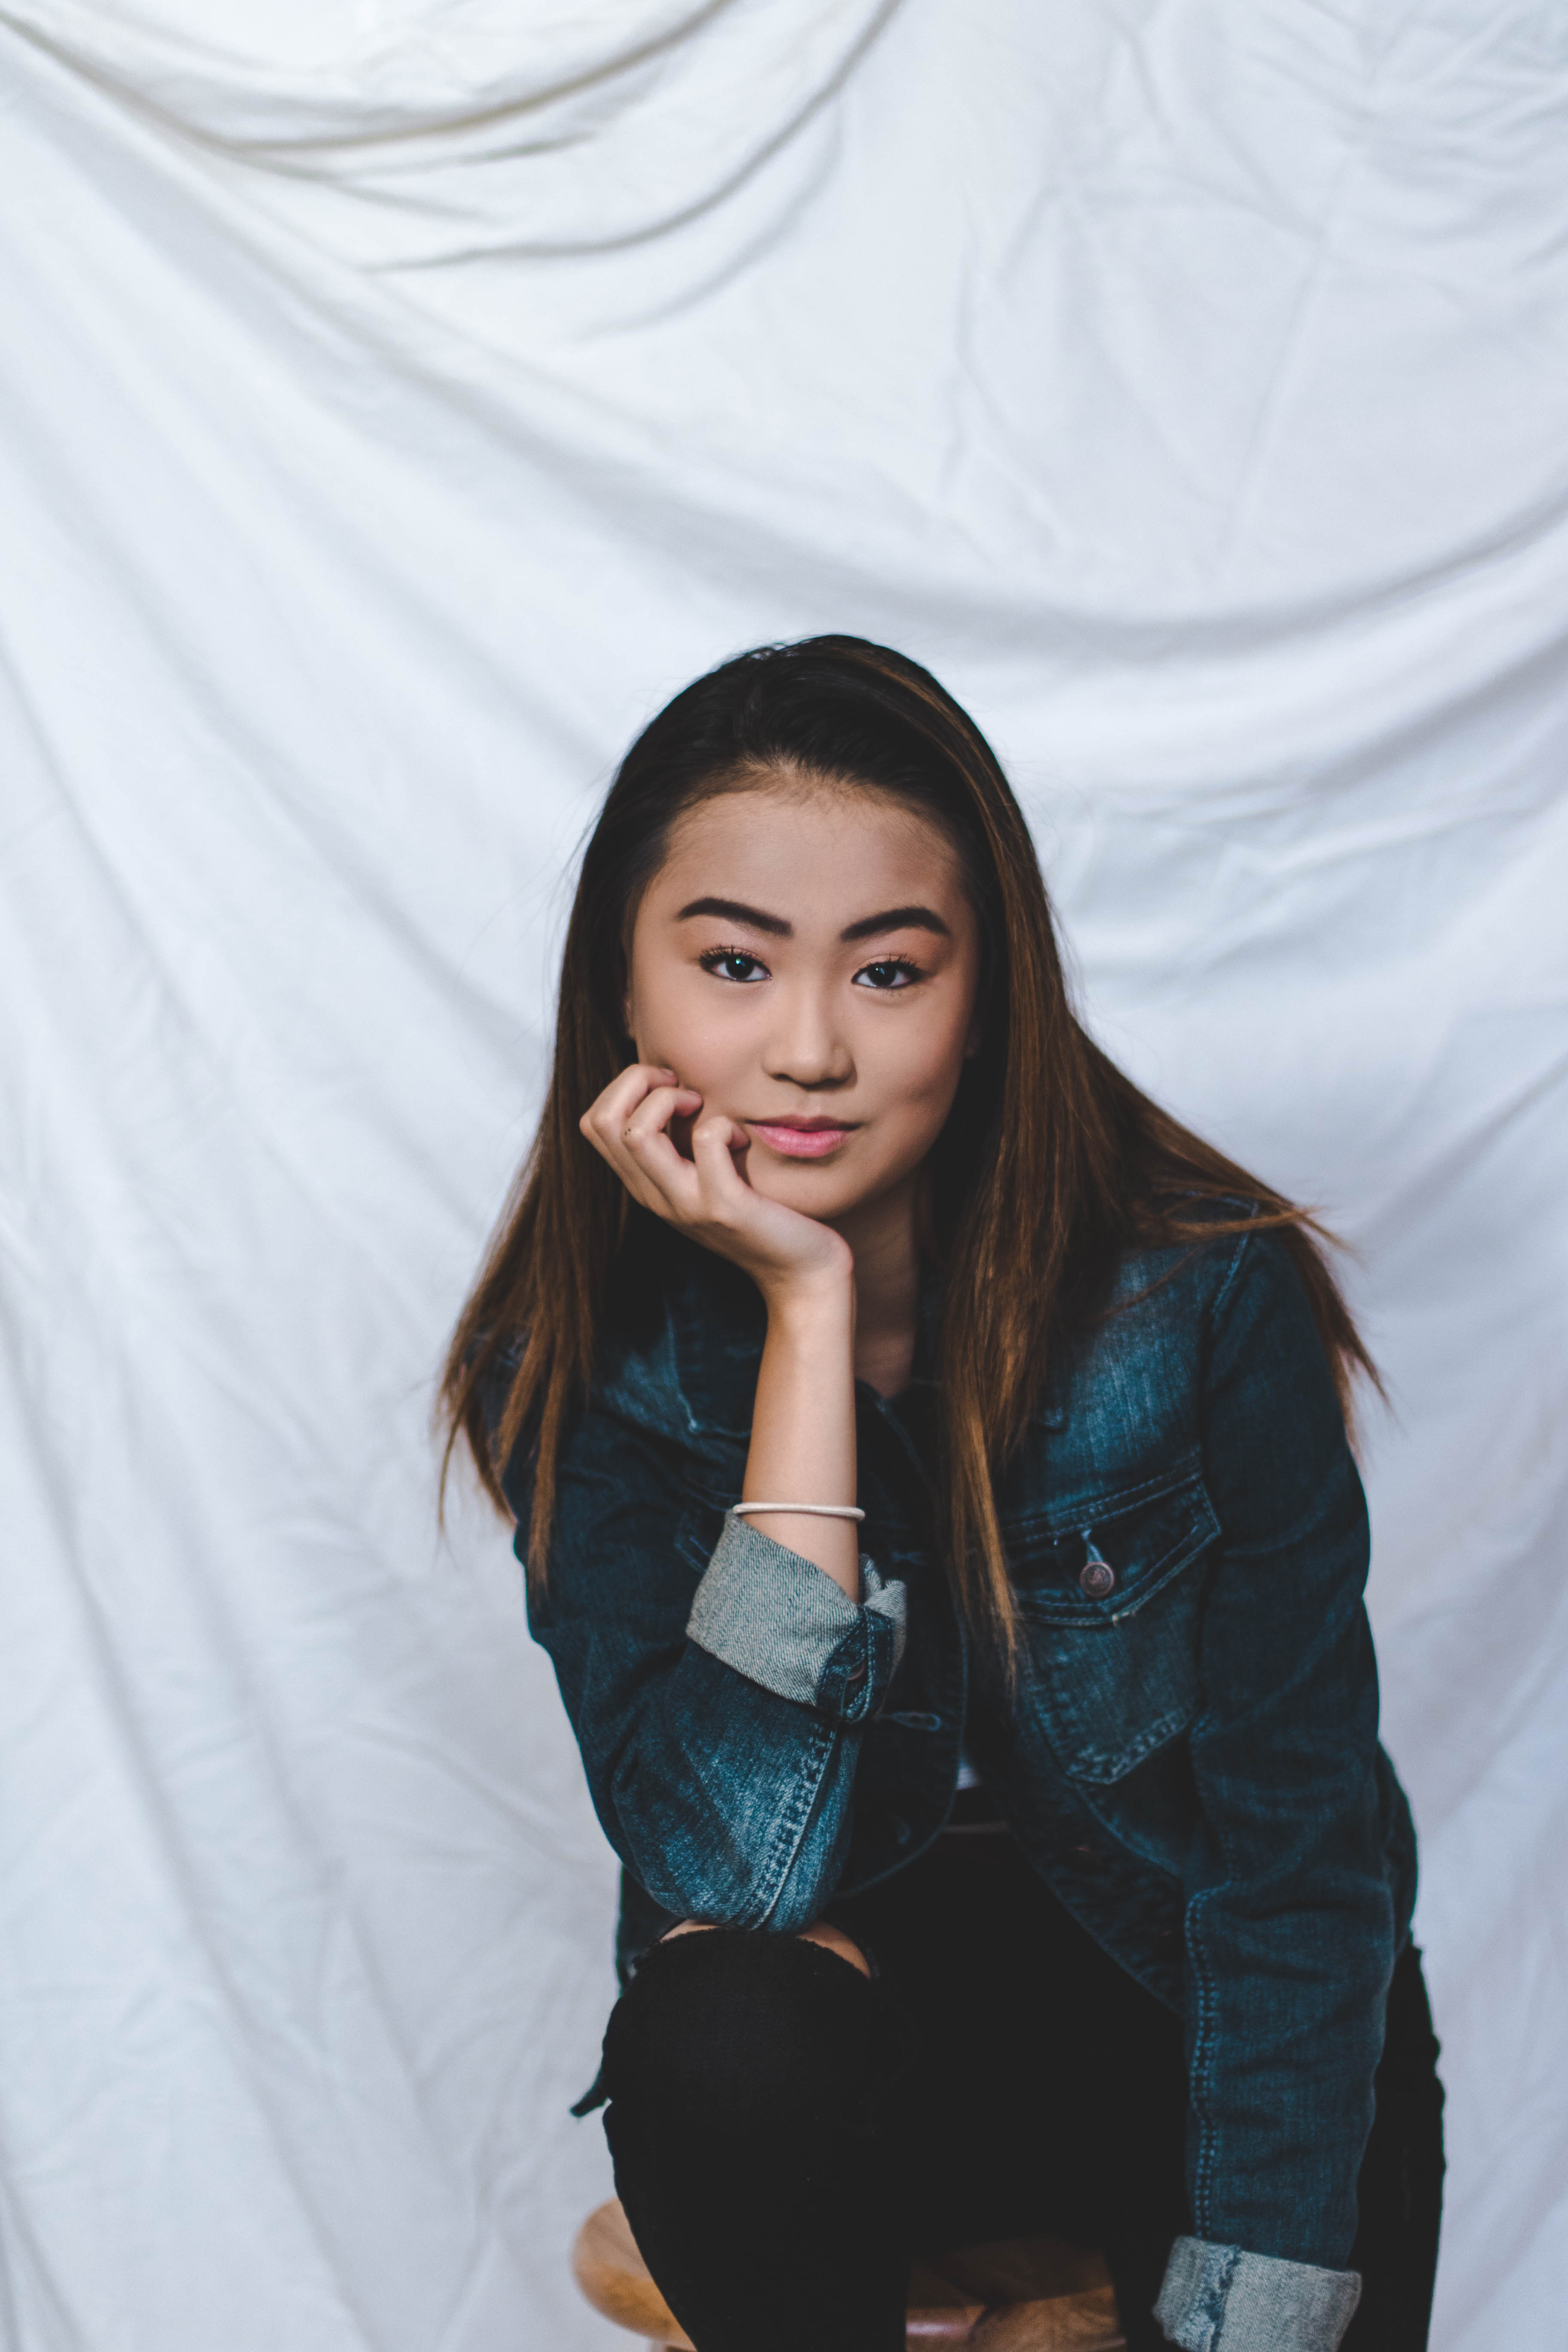

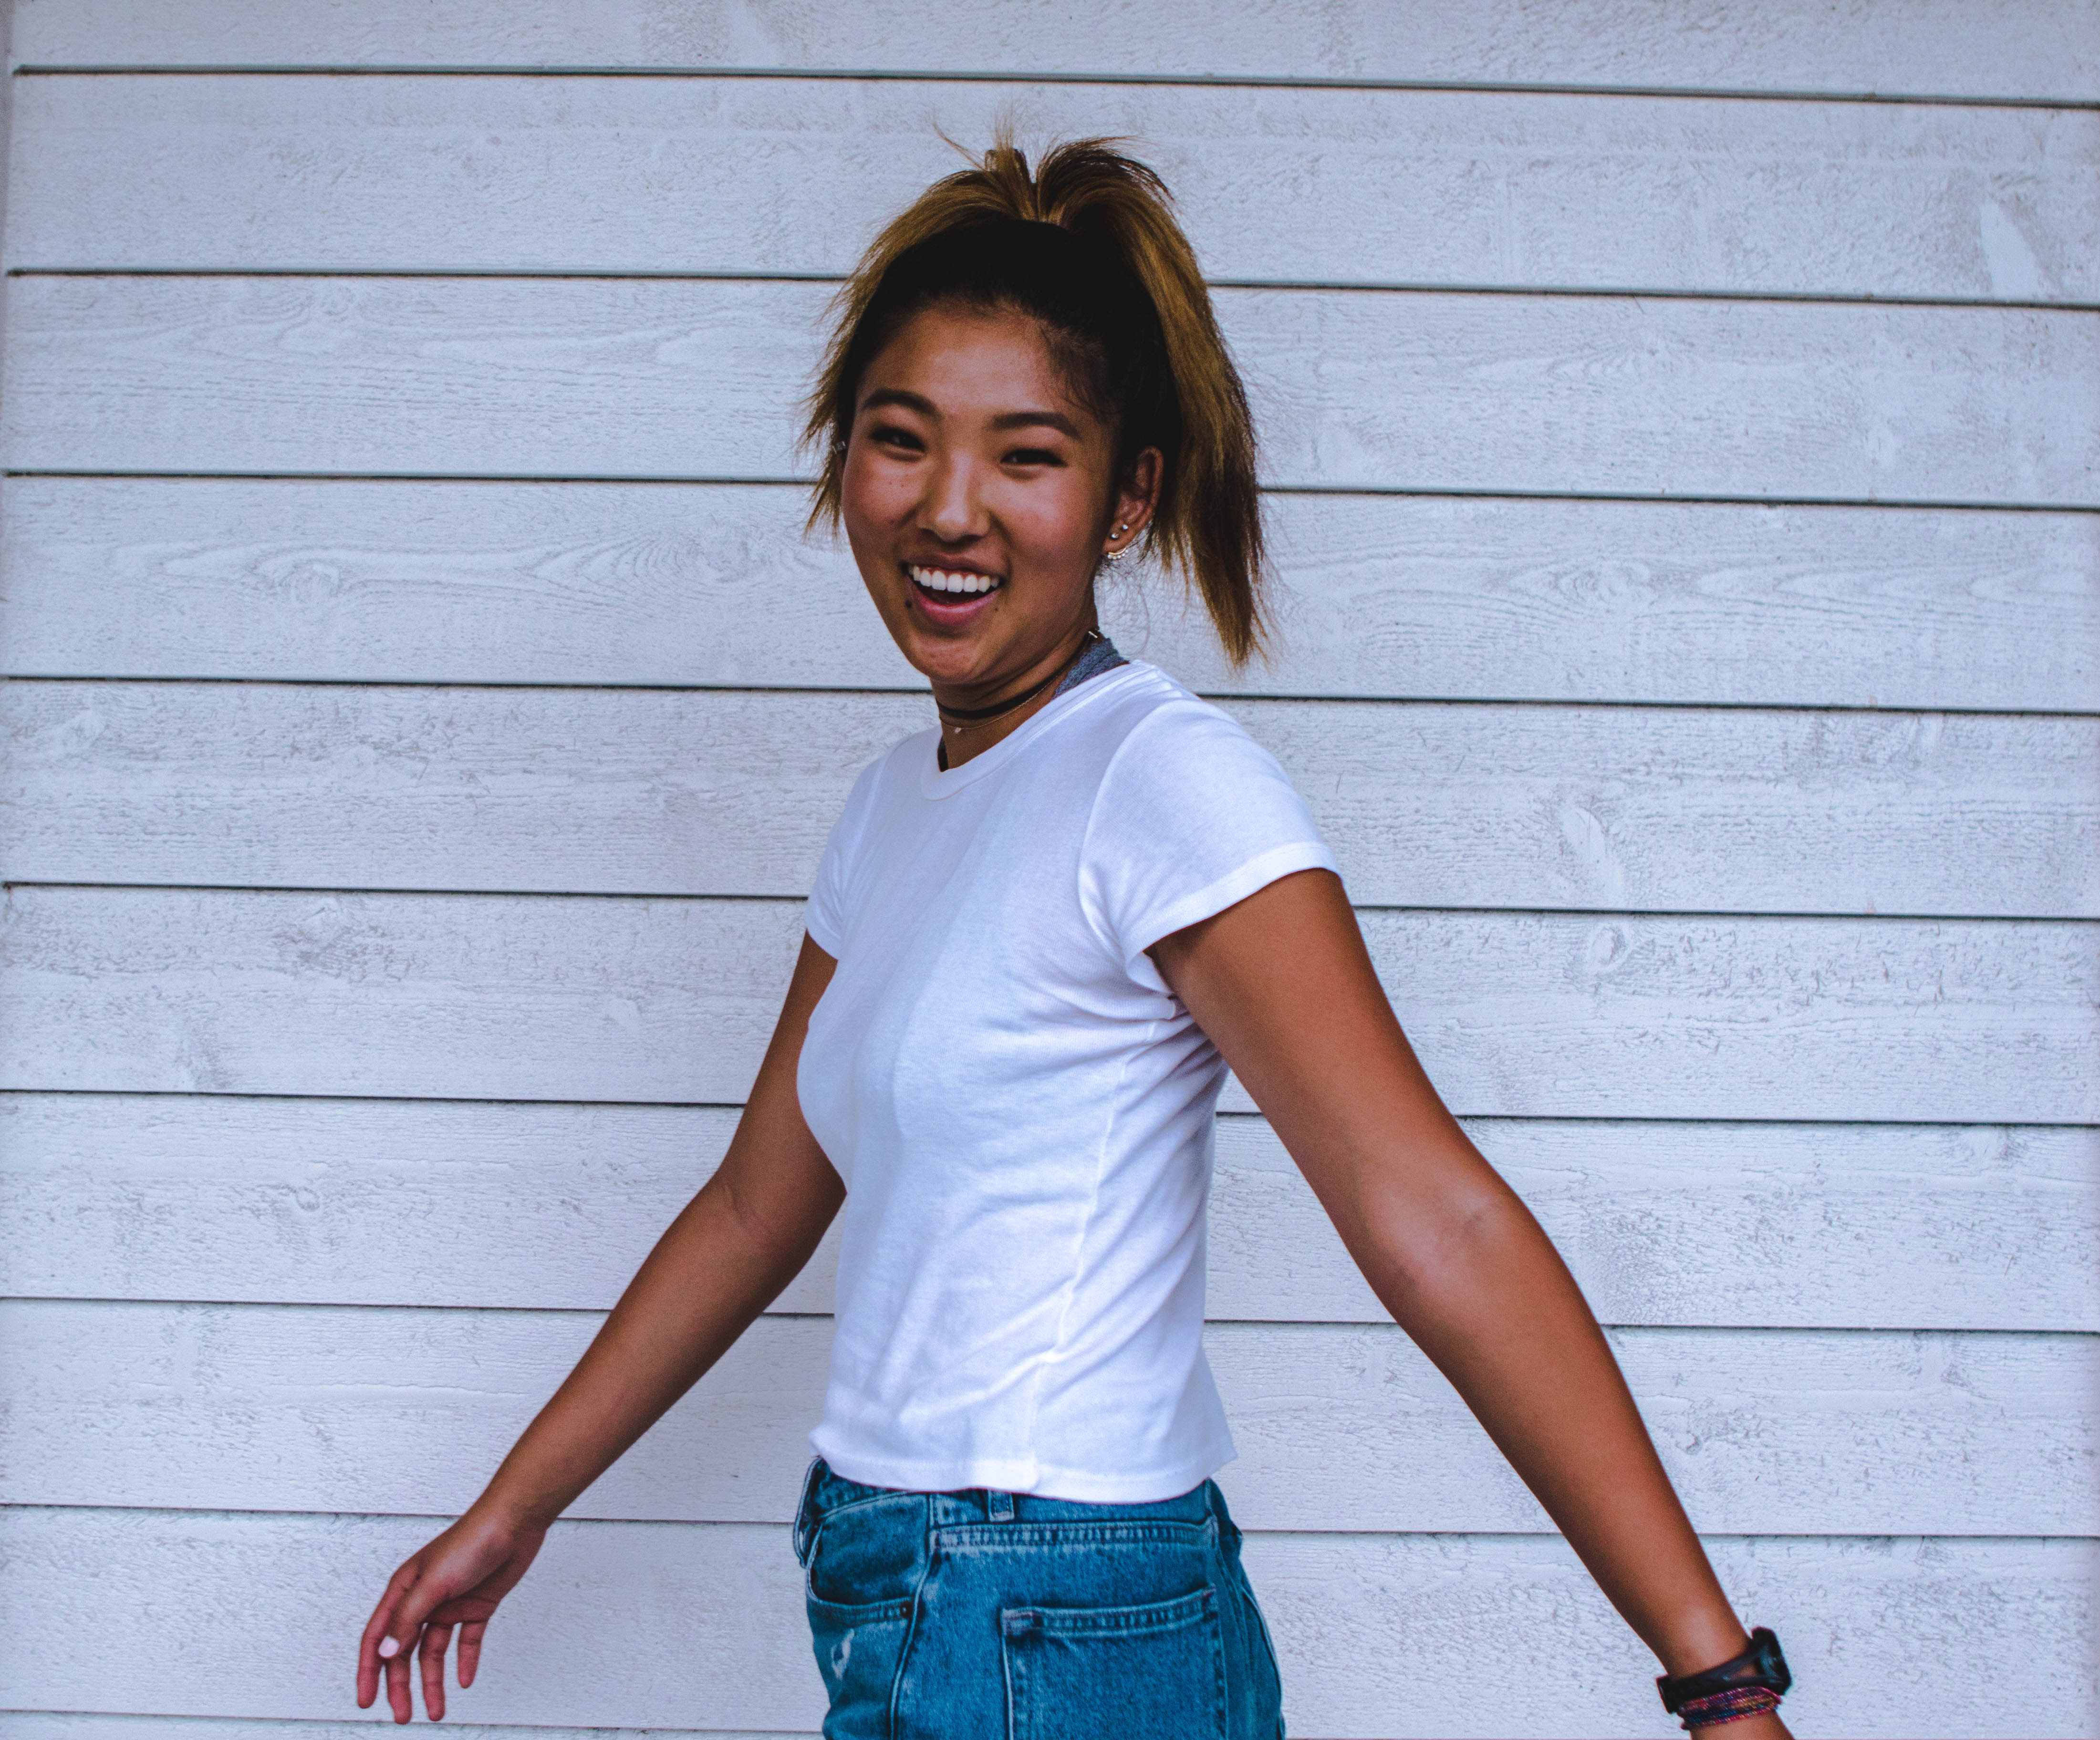
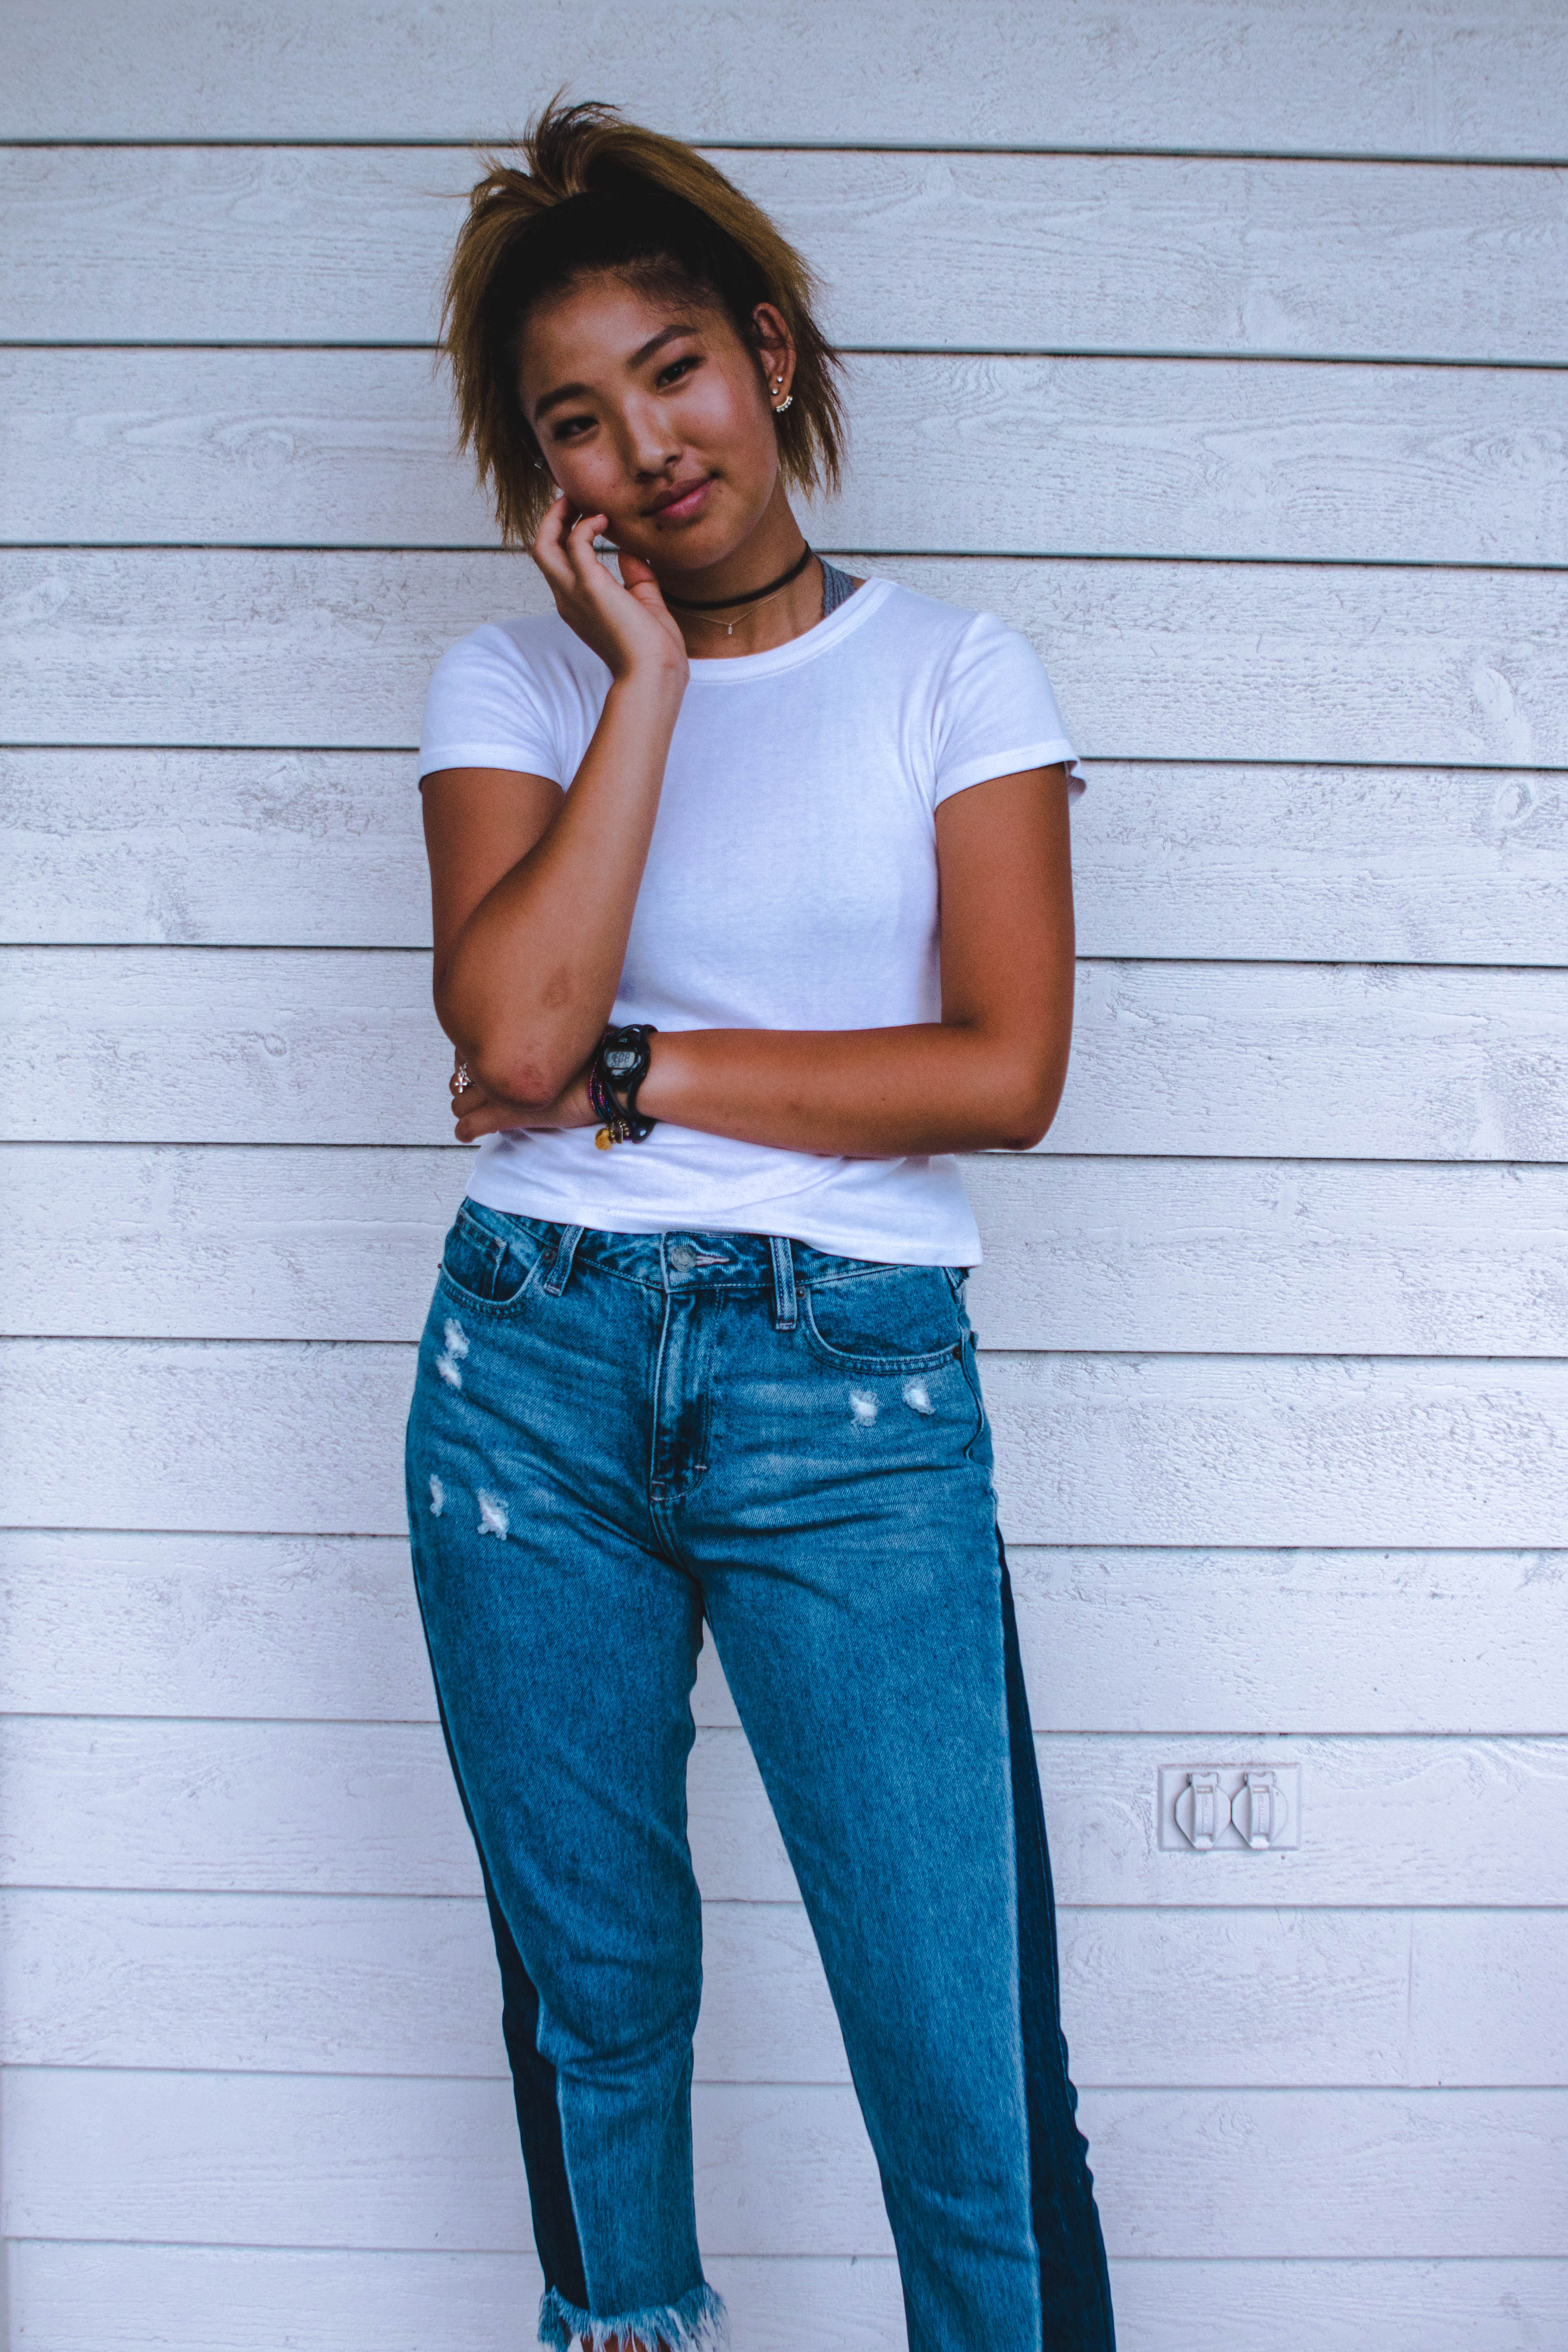
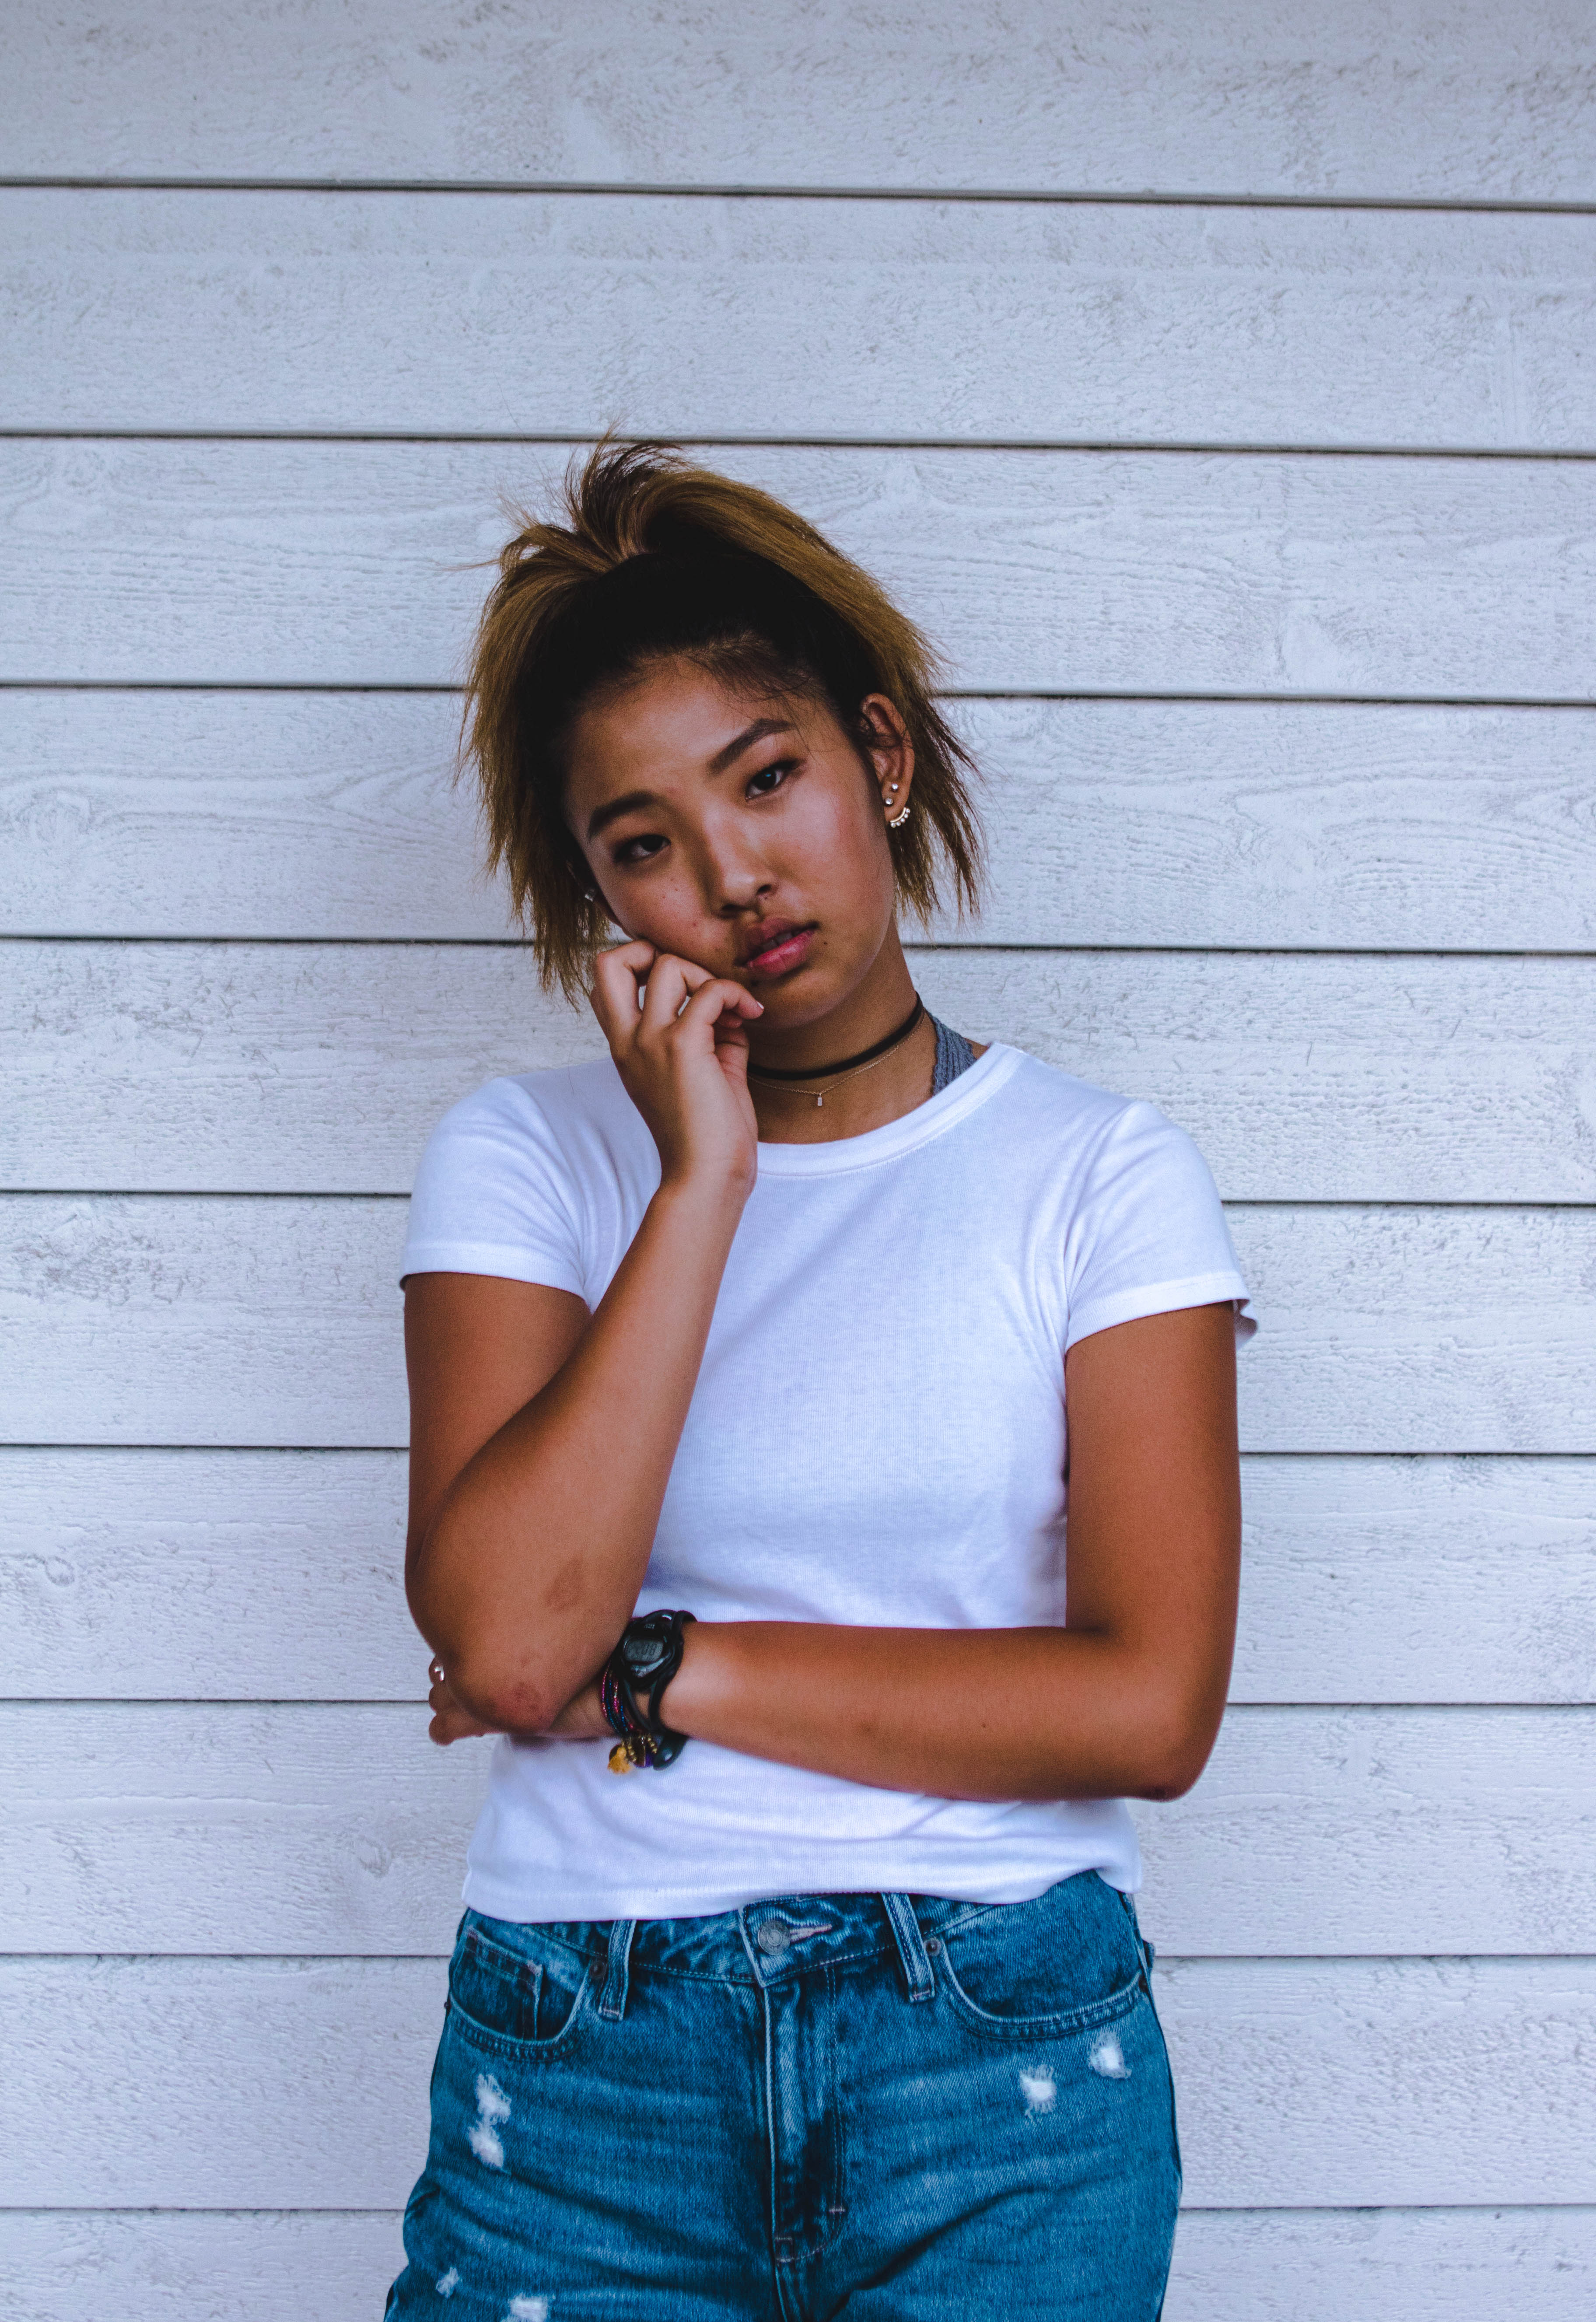
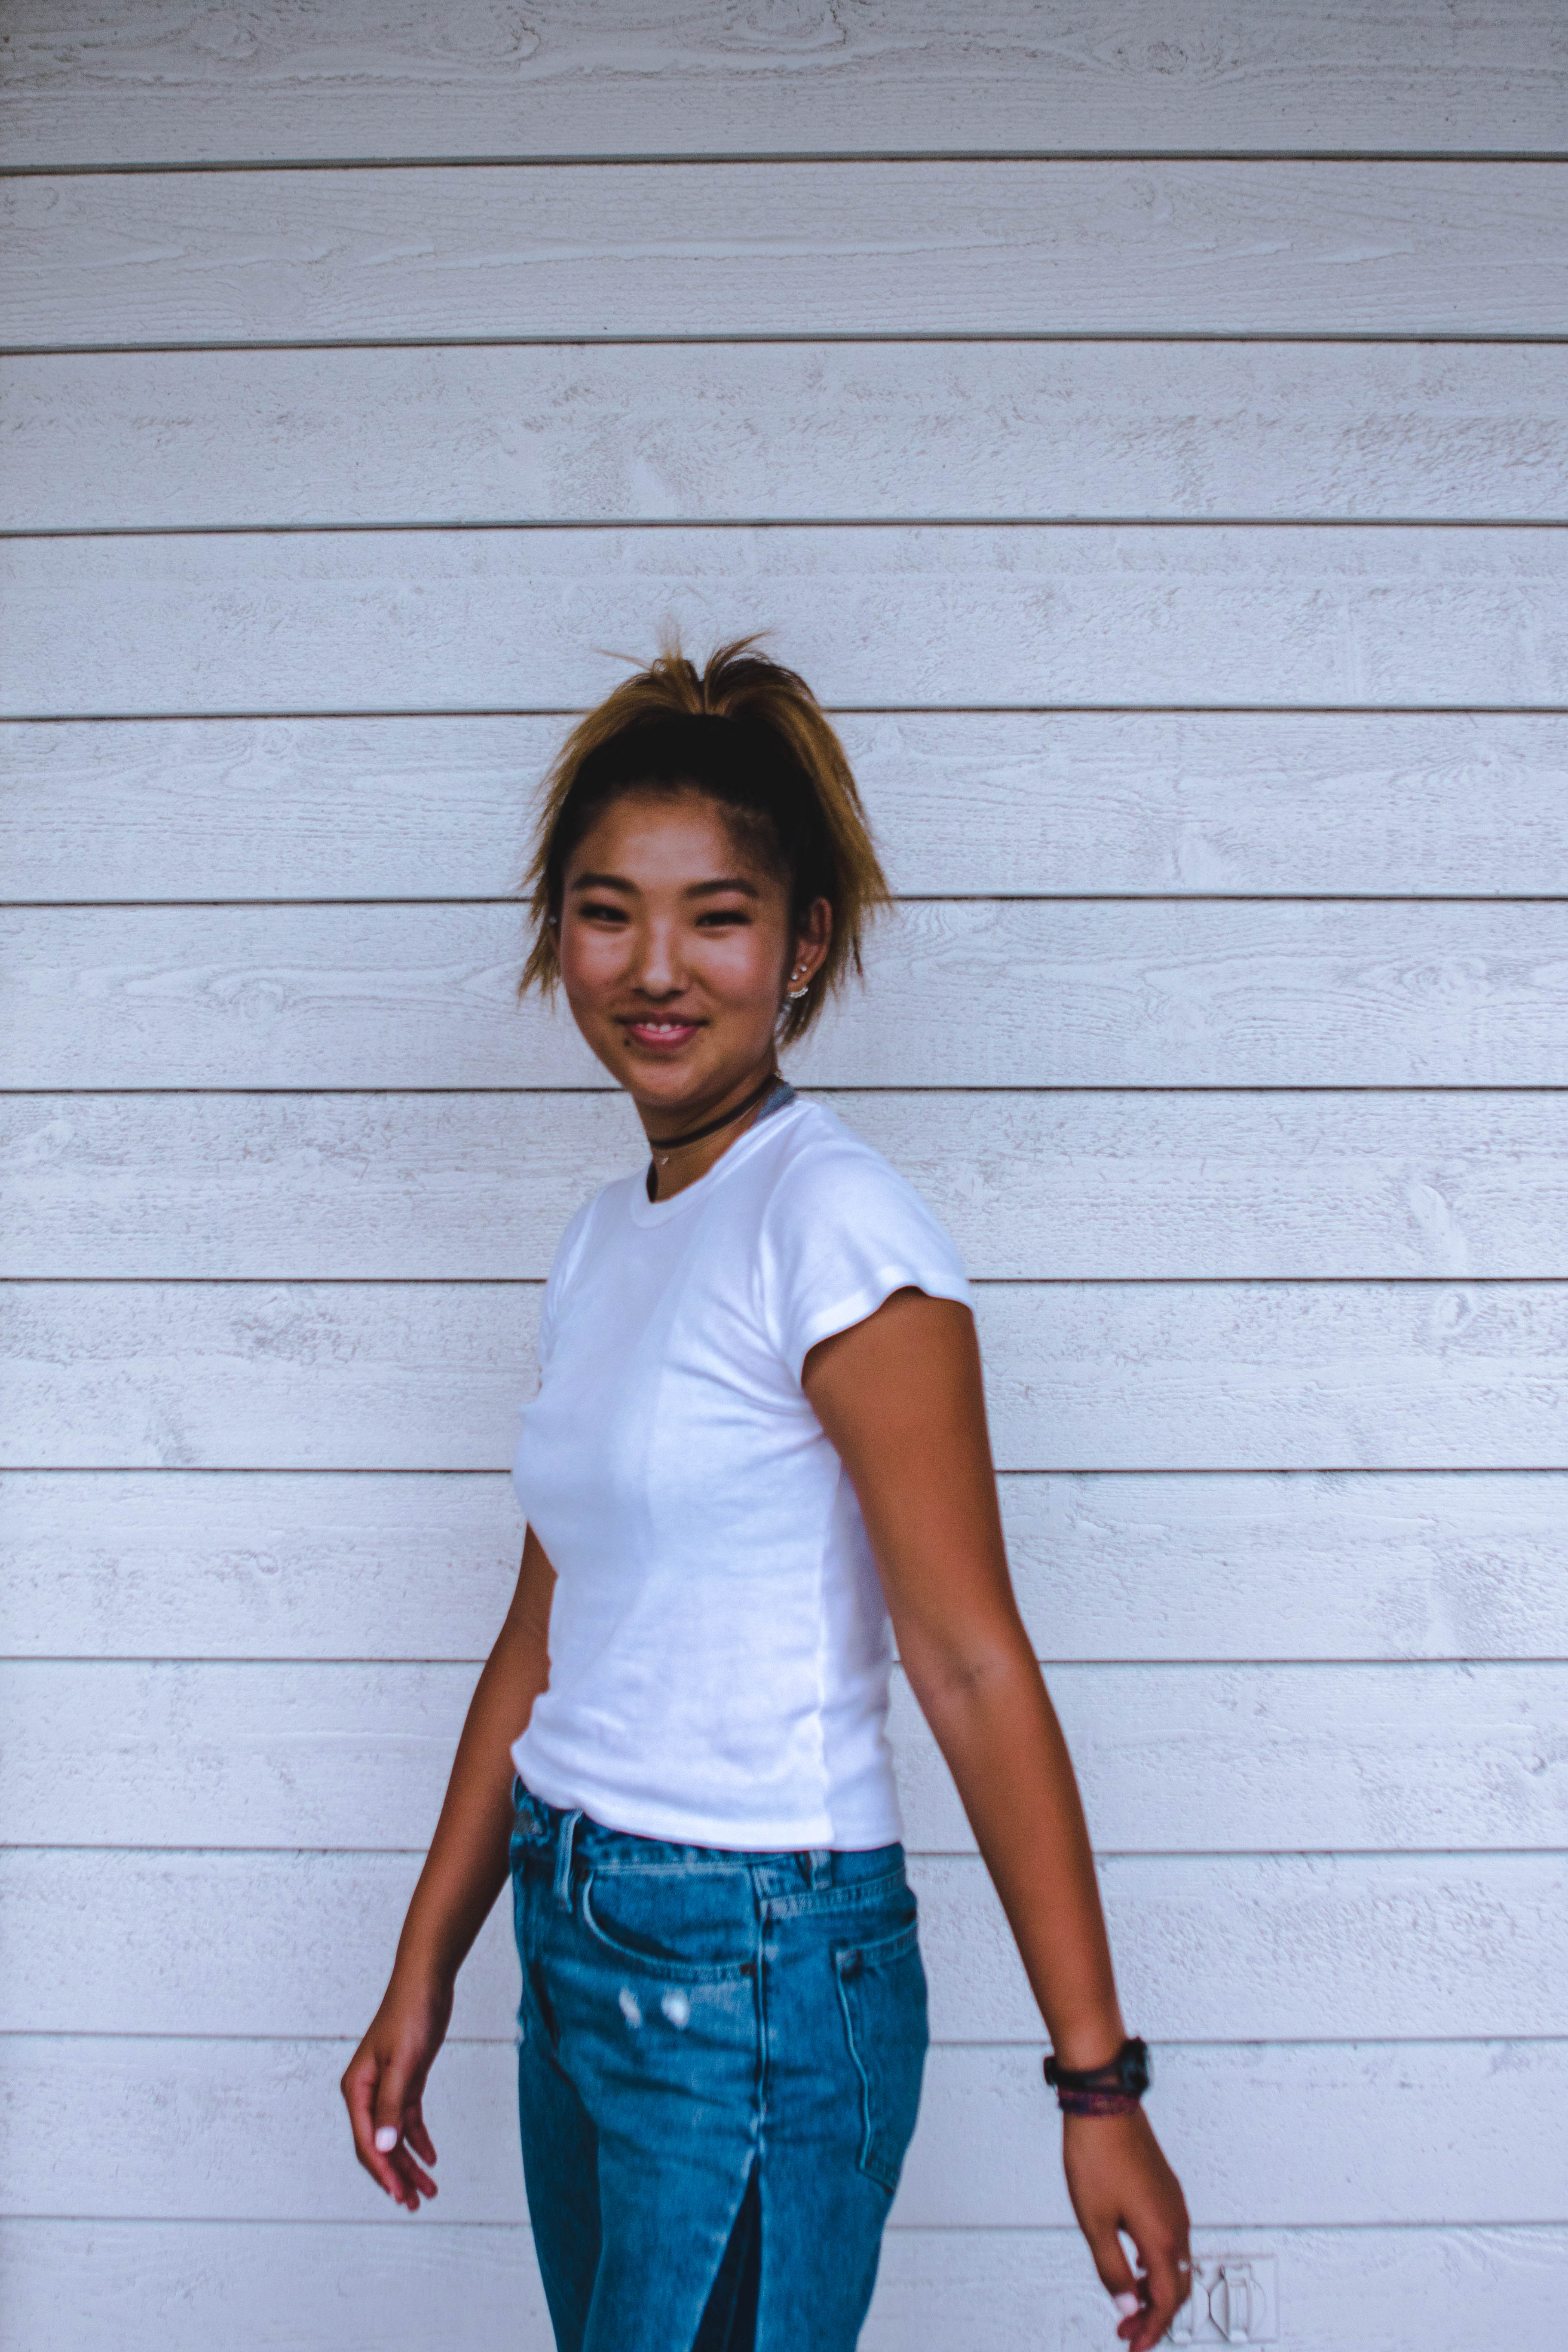
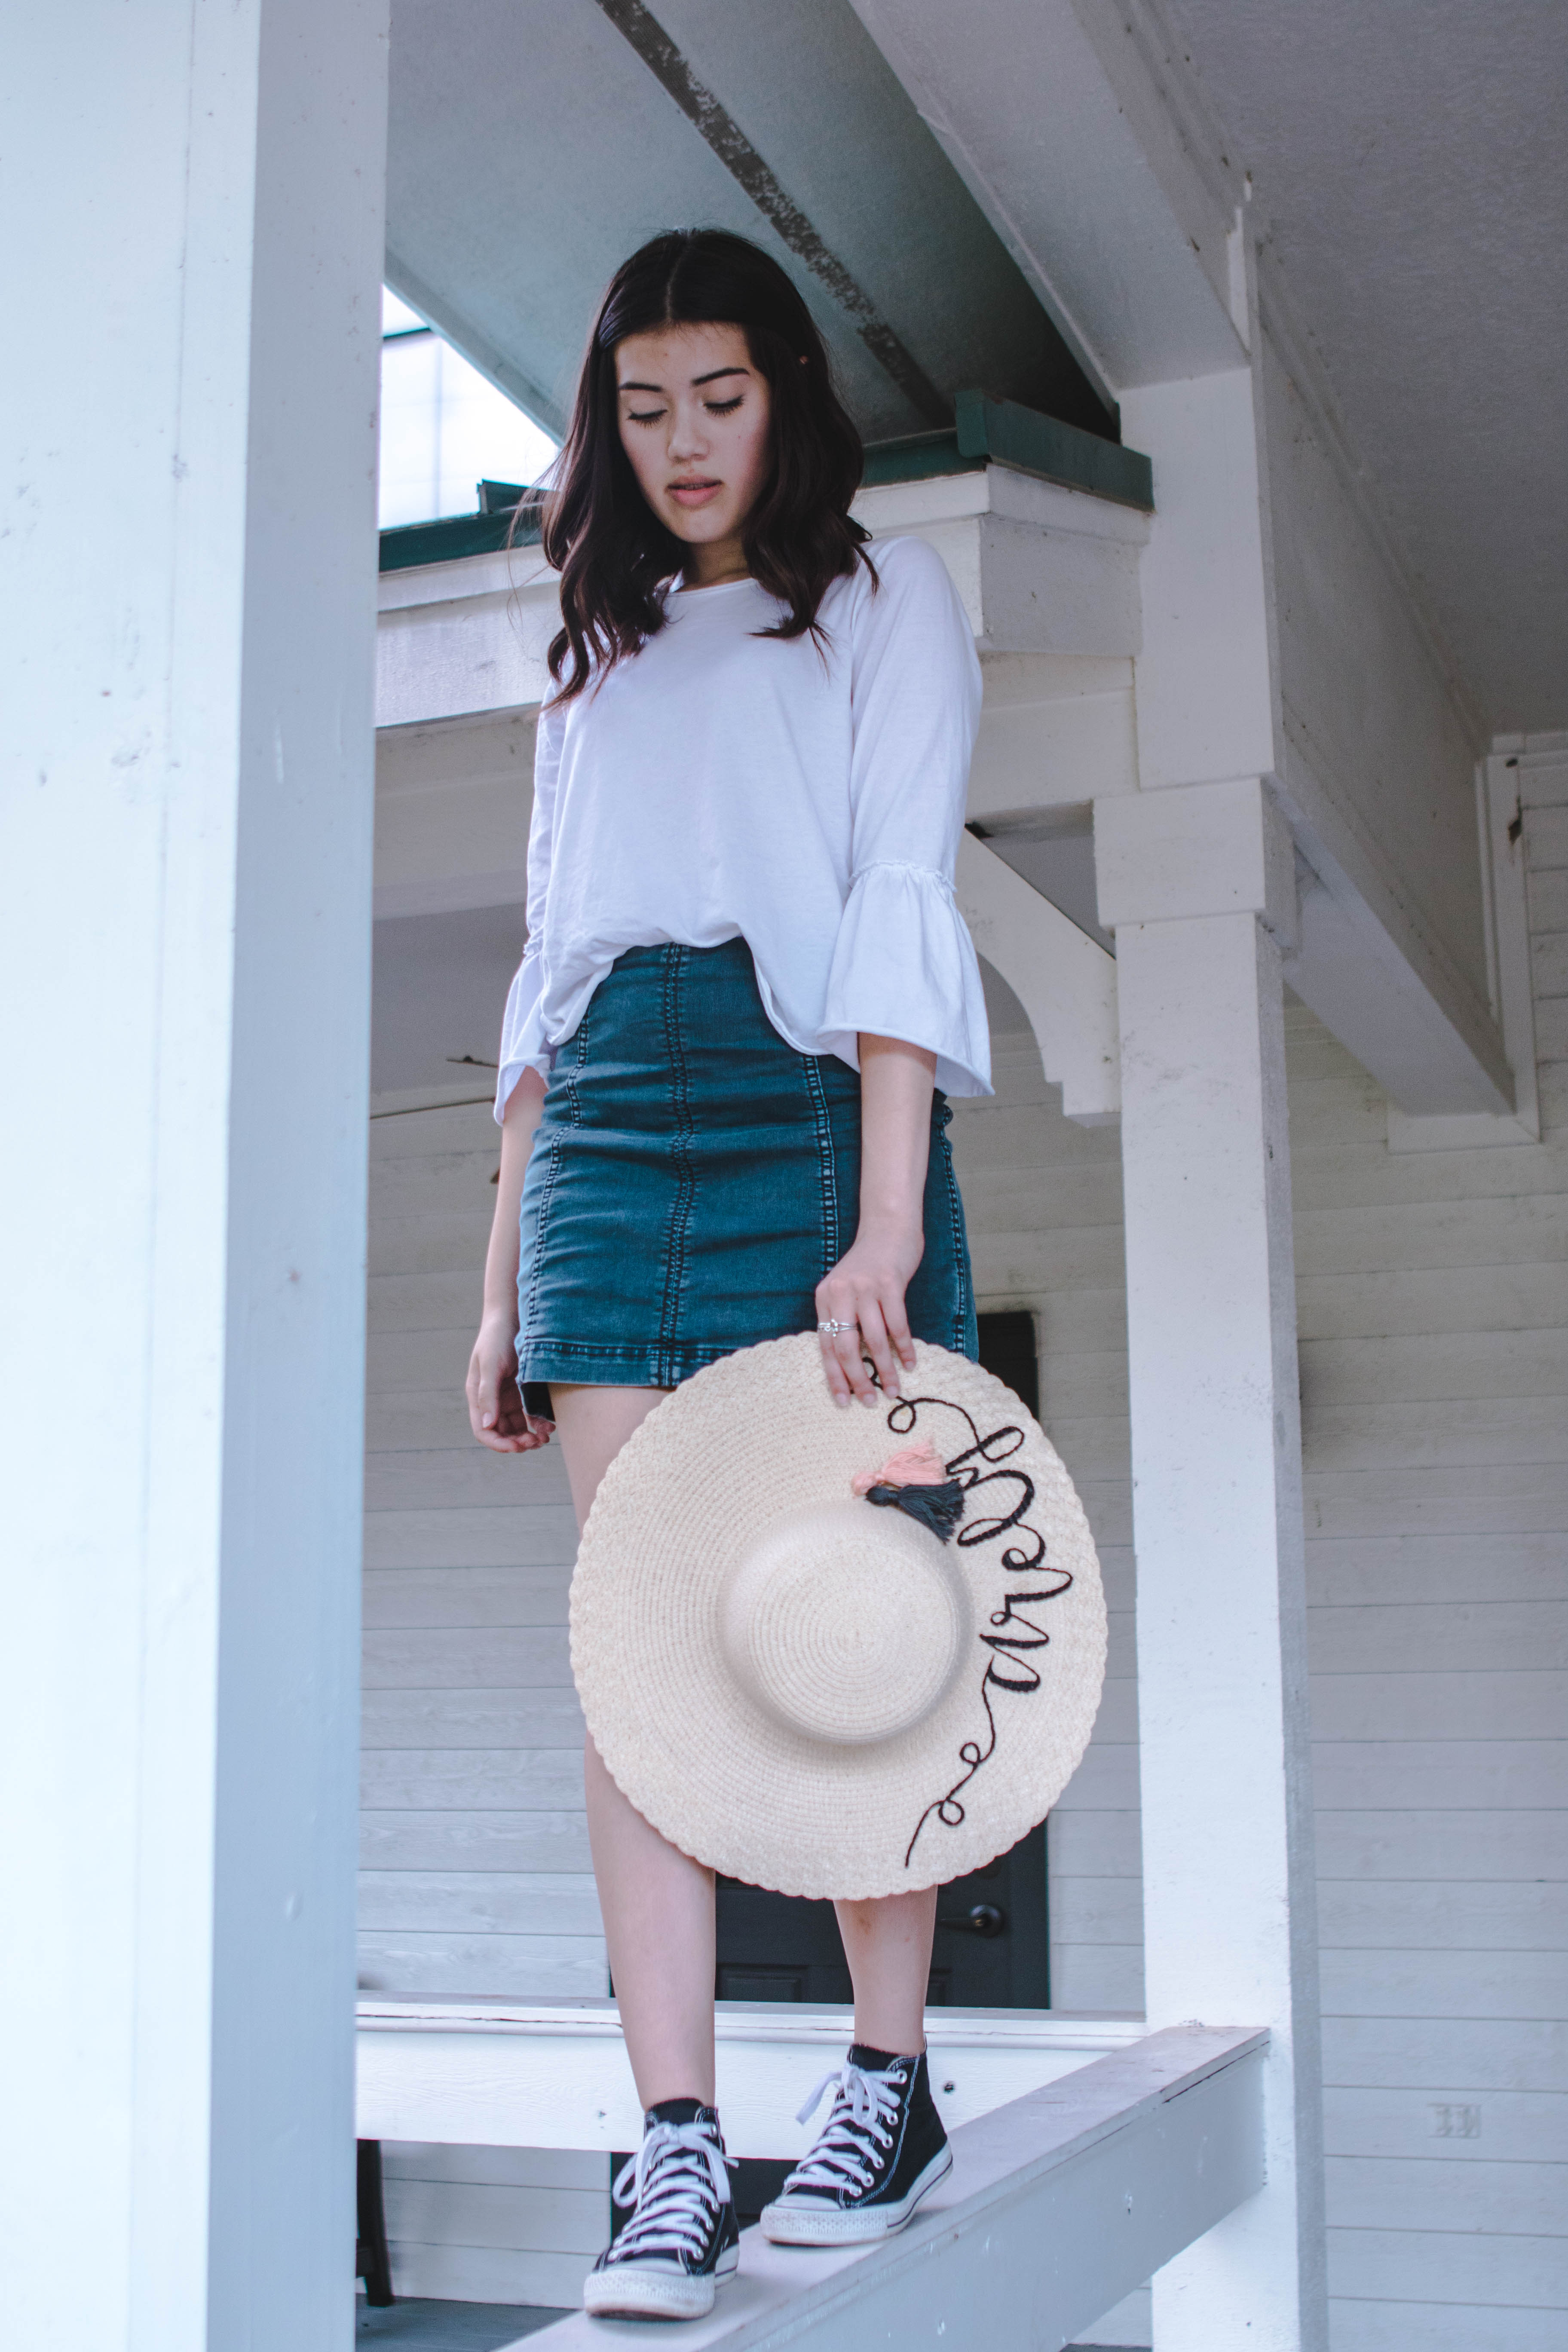
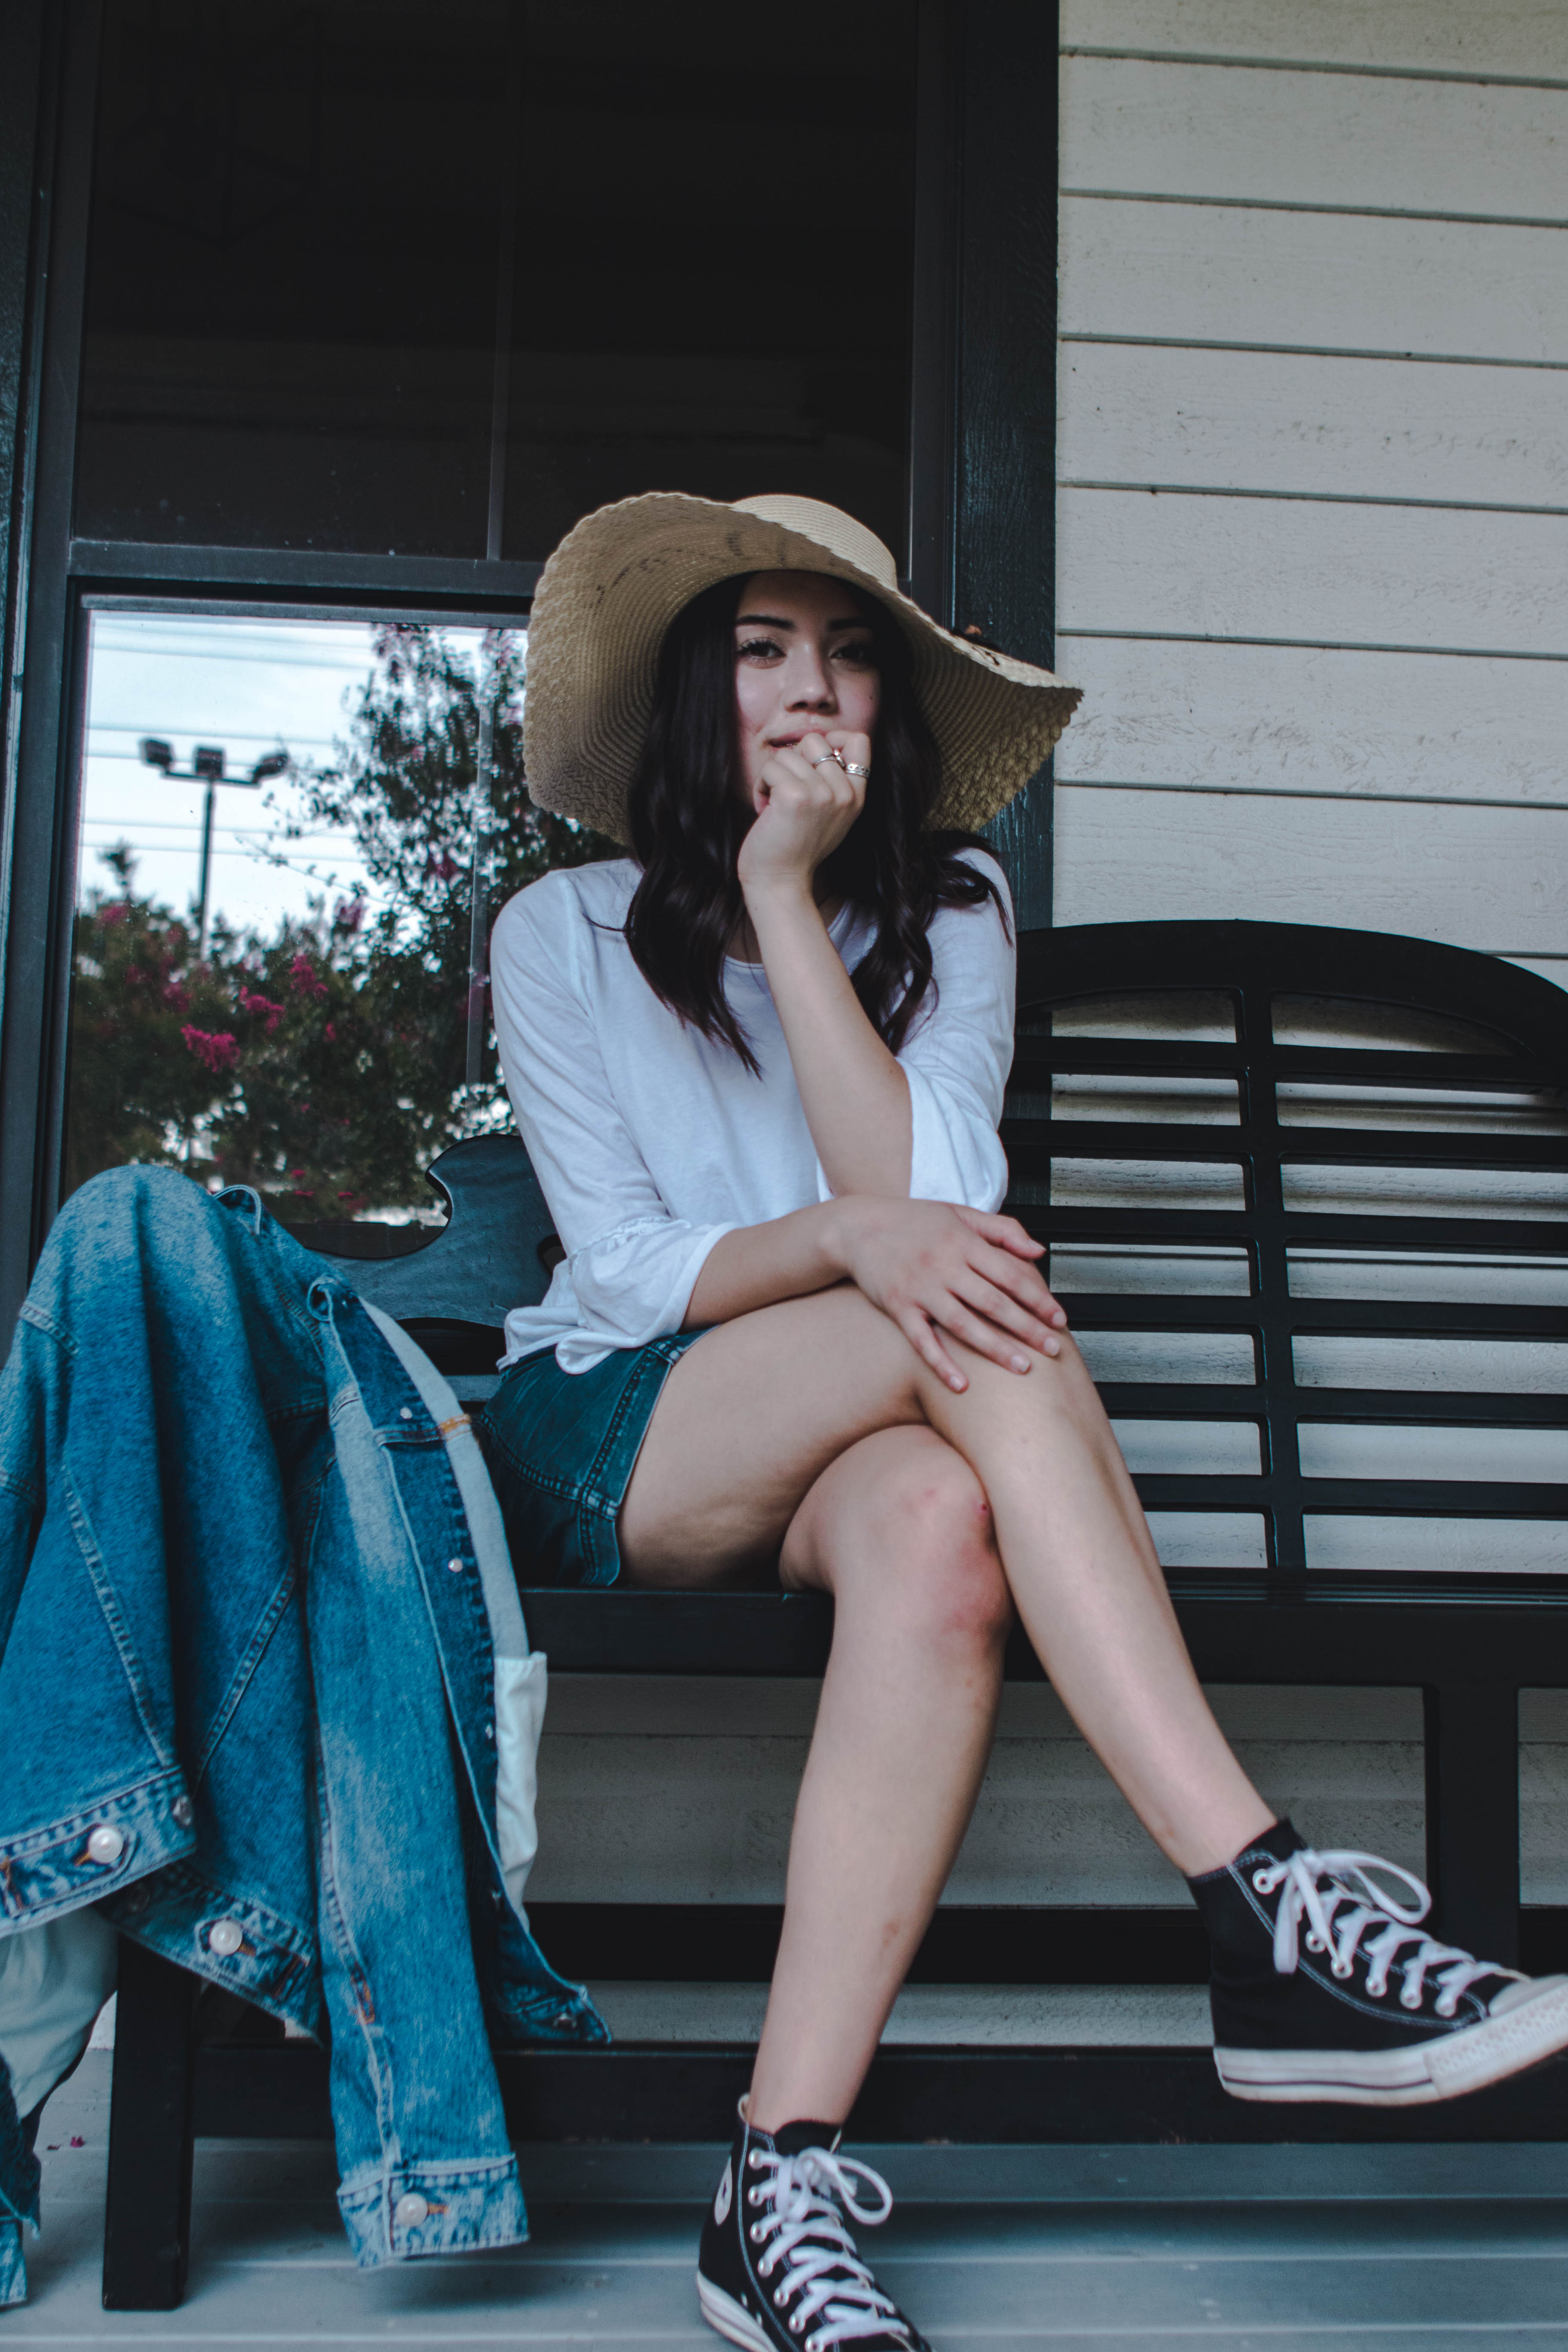
Camera: Canon 7D Mark ii
Lenses: Canon 50mm 1.4 & Canon 24-70mm 2.8
Photographer: Nia Goodall
Want to do a shoot together? Click here for booking and pricing information!
Want to see more of my summer shoots? Click here!
Instagram: @goodallphotos
Facebook Page: @goodallphotographs